Introduction
Inspecting an acoustic guitar is essential before making a purchase, whether you’re a beginner or a seasoned player. By carefully examining the guitar’s condition, you can ensure that you’re investing in a high-quality instrument that meets your needs and preferences.
When inspecting an acoustic guitar, there are several key areas to focus on, including the overall condition, the body, neck, headstock, bridge, and strings. Additionally, it’s important to check for any cracks or structural damage and test the playability and sound.
In this article, we will guide you through the process of inspecting an acoustic guitar thoroughly. By following these steps, you can make an informed decision and choose a guitar that both looks and sounds great.
Keep in mind that every guitar is unique, and the inspection process may vary slightly depending on the specific model and brand. However, these general guidelines will provide you with a solid foundation for evaluating any acoustic guitar you come across.
In the following sections, we will break down each step of the inspection process, providing you with detailed information on how to assess the different components of the guitar. By the end of this guide, you will have the knowledge and confidence to evaluate the quality and condition of an acoustic guitar effectively.
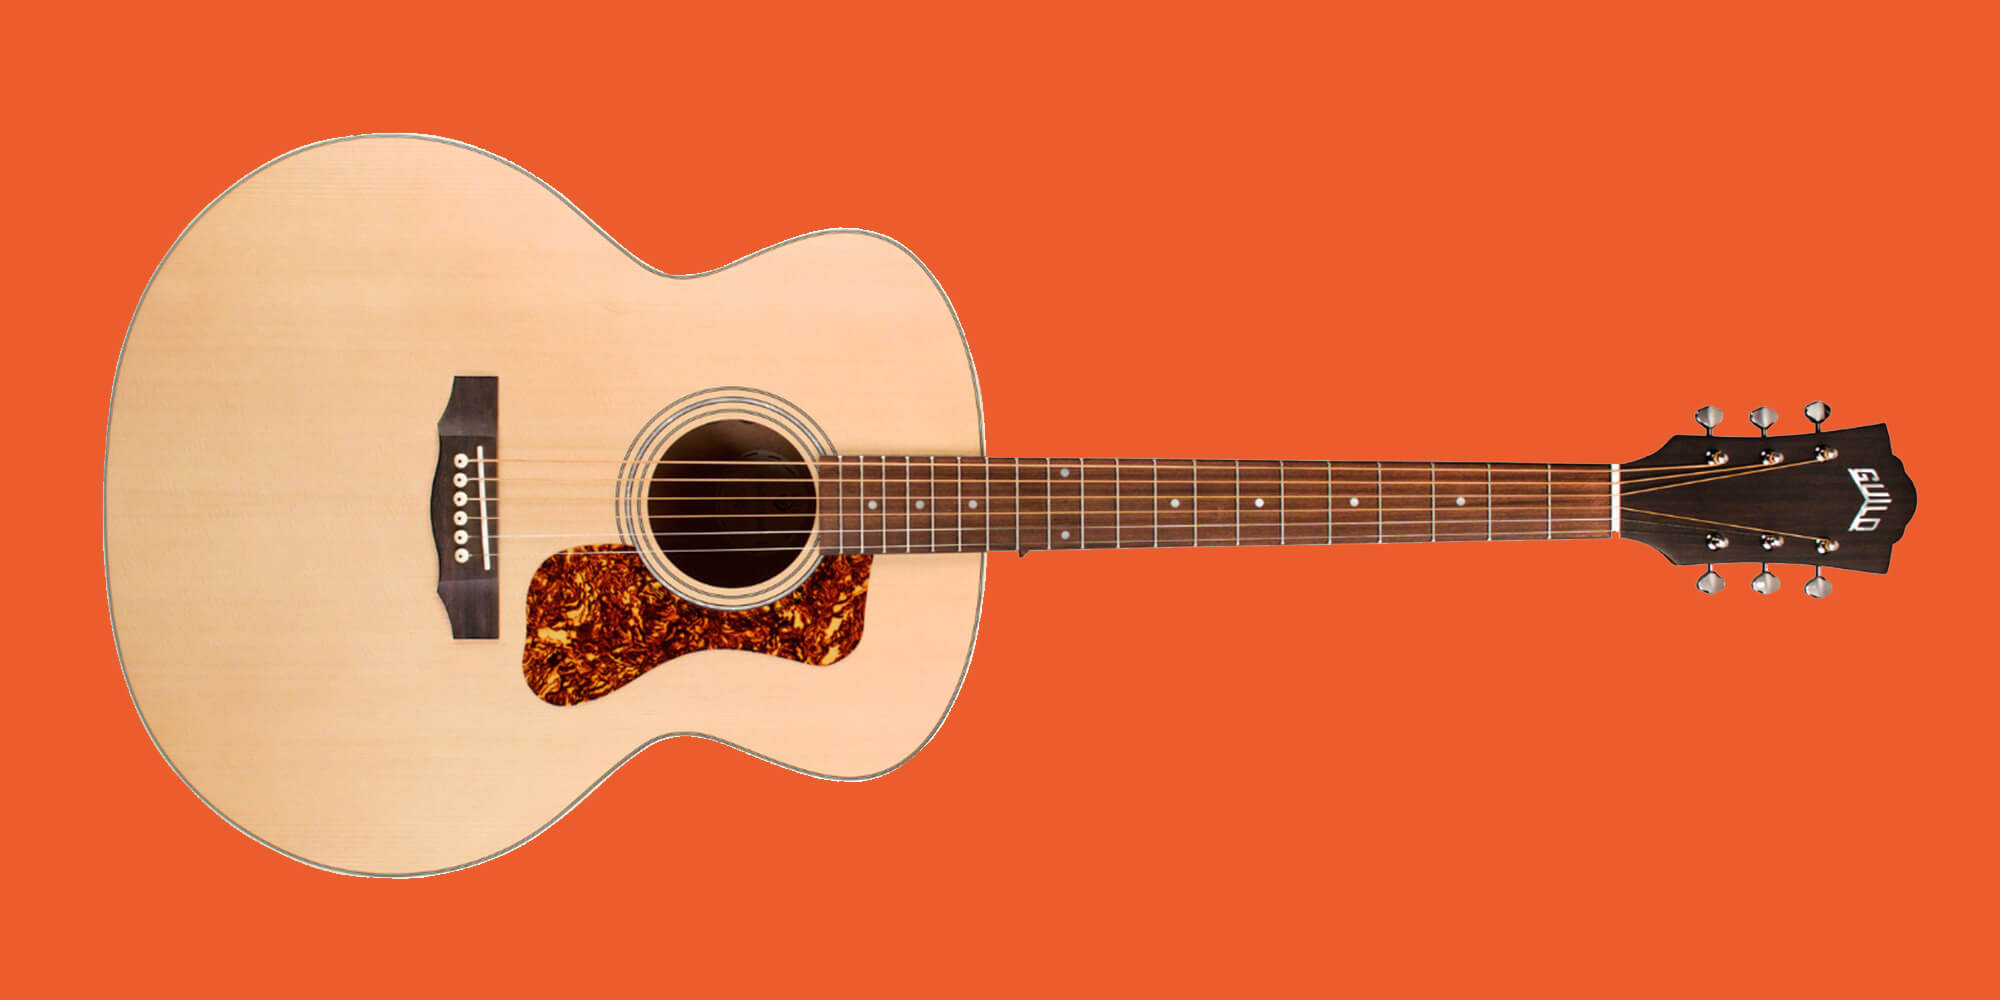
Checking the Overall Condition
When inspecting an acoustic guitar, the first step is to assess its overall condition. This involves carefully examining the guitar for any visible signs of damage, wear, or defects. Here are some key points to consider:
- Inspect the finish: Look for any scratches, dents, or cracks in the body, neck, and headstock. Pay close attention to the high-stress areas such as the bridge and soundhole. A well-maintained guitar will have a smooth and even finish.
- Check for warping or bowing: Hold the guitar at eye level and look down the neck. It should be straight or slightly curved. Excessive bowing or warping can affect playability and may indicate structural issues.
- Examine the bindings: The bindings are the decorative strips of material along the edges of the guitar. Check for any loose or cracked bindings, as they can be an indication of poor craftsmanship or neglect.
- Assess the hardware: Inspect the tuners, bridge, and saddle for signs of corrosion or damage. Make sure the tuners turn smoothly and hold the strings securely. Check that the bridge is properly attached and the saddle is not split or worn down.
- Look for signs of repair: Check for any visible signs of previous repairs, such as patches, glue residue, or mismatched paint. While minor repairs are common and may not affect the guitar’s sound, major repairs could impact its overall integrity.
- Check for any loose or rattling parts: Gently tap on different areas of the guitar’s body to check for any loose or rattling parts. This can indicate loose braces or internal damage.
By thoroughly inspecting the overall condition of the guitar, you can get a sense of how well it has been taken care of and whether there are any issues that need to be addressed. Remember to take your time and consider all aspects of the guitar’s condition before moving on to the next step of the inspection process.
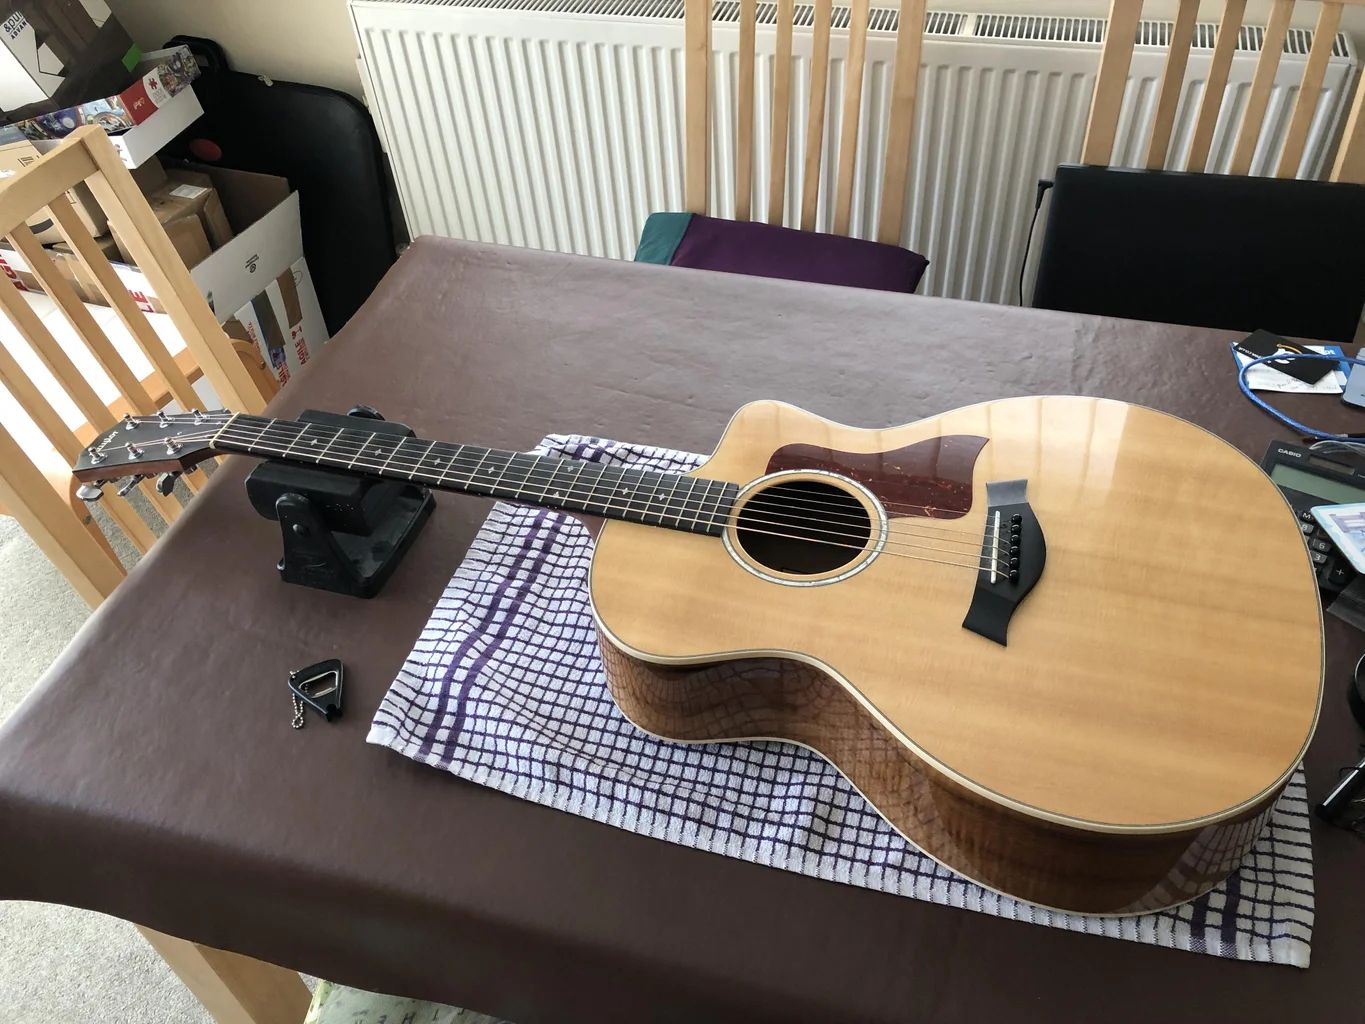
Inspecting the Body of the Guitar
The body of an acoustic guitar plays a significant role in producing its sound and determining its overall quality. When inspecting the body, there are several key aspects to consider:
- Check for cracks or damage: Carefully examine the top, back, and sides of the guitar for any cracks, dents, or scratches. Small cosmetic imperfections are common and may not affect the sound or playability, but larger cracks or structural damage can significantly impact the guitar’s performance.
- Assess the top wood: The type of wood used for the top of the guitar, often referred to as the soundboard, can have a significant influence on the instrument’s tone. Look for solid wood construction, such as spruce or cedar, as it tends to produce a richer and more resonant sound compared to laminated or composite materials.
- Check for bulging or sinking: Press lightly on the top of the guitar near the bridge and observe if it sinks or bulges. A slight belly or rise is normal, but excessive sinking or bulging can indicate structural issues or a compromised soundboard.
- Inspect the binding and purfling: The binding and purfling are decorative details along the edges of the guitar’s body. Check that they are securely attached and free from any cracks or gaps. These details not only add aesthetic appeal but also contribute to the guitar’s overall durability.
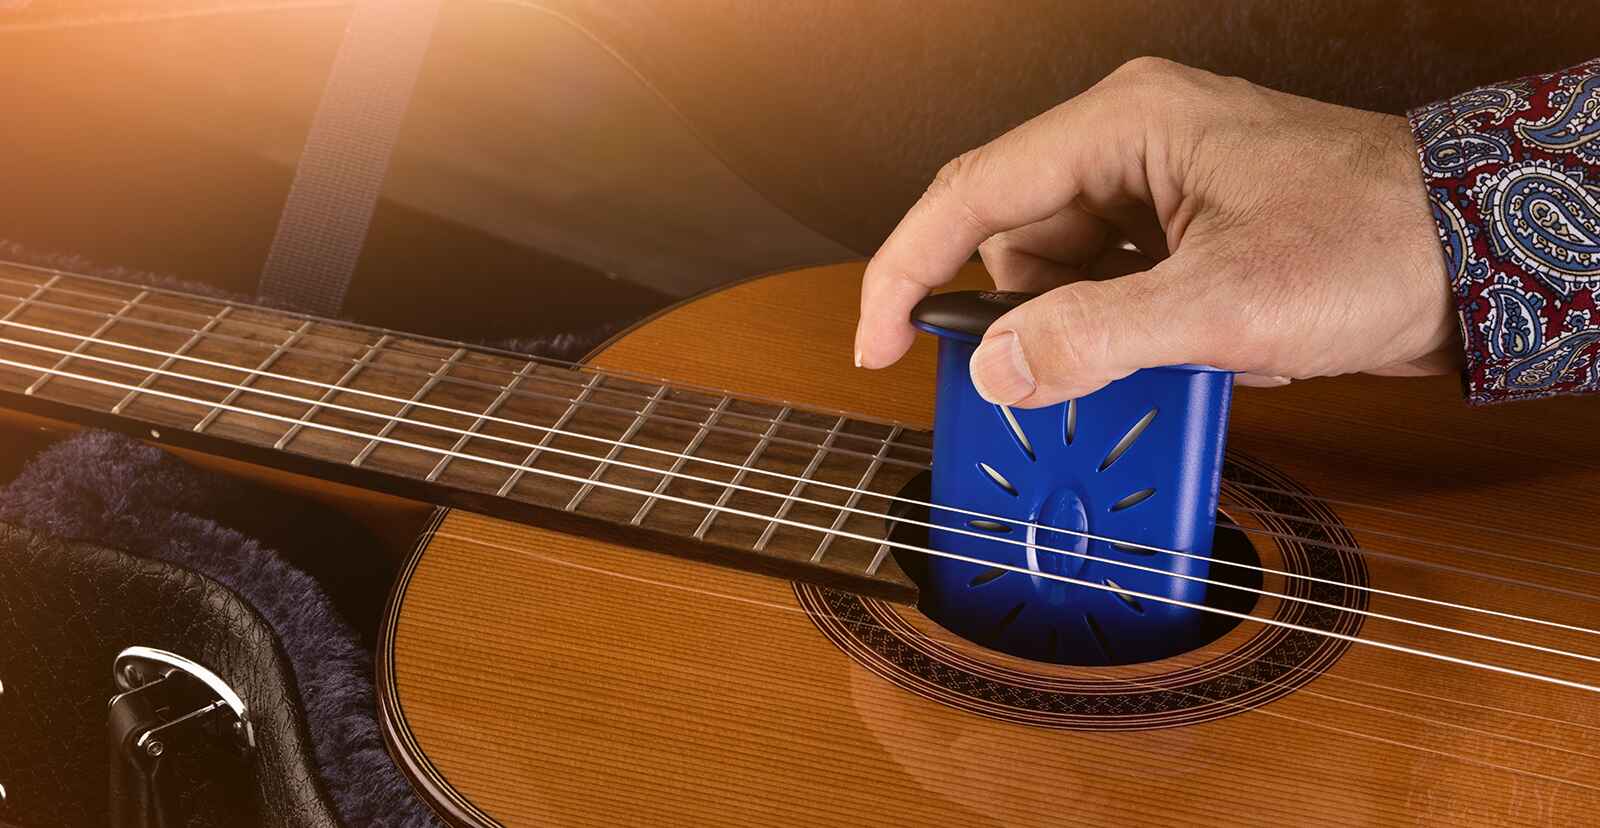
- Inspect the soundhole: The soundhole should be cleanly cut and free from any cracks or damage. It plays a crucial role in allowing the sound to resonate and project from the guitar.
- Examine the back and sides: Look for any cracks, separations, or excessive wear on the back and sides of the guitar. These components contribute to the guitar’s overall construction and can affect its tone and stability.
By thoroughly inspecting the body of the guitar, you can assess its overall craftsmanship, durability, and sound quality. Remember to take your time and closely examine each aspect, as any issues with the body can significantly impact your playing experience.
Checking the Neck and Fretboard
The neck and fretboard of an acoustic guitar play a crucial role in its playability and overall performance. When inspecting the neck and fretboard, there are several important factors to consider:
- Assess the neck alignment: Hold the guitar at eye level and look down the neck from the headstock to the body. Ensure that the neck is straight with no signs of bowing or twisting. A well-aligned neck is essential for proper intonation and comfortable playability.
- Check for smoothness: Run your hand along the back of the neck to feel for any rough or uneven spots. A smooth neck ensures optimal playability and allows for effortless movement along the fretboard.
- Inspect the frets: Examine the frets for any signs of wear, unevenness, or protrusions. Frets should be properly seated and level with the fretboard. Additionally, make sure there are no sharp edges or rough spots that could cause discomfort while playing.
- Assess the action: The action refers to the distance between the strings and the fretboard. Check that the action is comfortable for your playing style and adjustable if needed. Extremely high or low action can affect playability and intonation.
- Check for neck stability: Gently apply pressure to the headstock and body while holding the guitar. This will help identify any movement or play in the neck joint, which can indicate poor construction or potential issues in the future.
- Inspect the fretboard condition: The fretboard should be clean, free from any excessive wear, and properly oiled for optimal playability. Look for any signs of dryness, cracks, or discoloration that may affect the feel and tone of the guitar.
By thoroughly inspecting the neck and fretboard, you can ensure that the guitar is comfortable to play and capable of producing clear and well-defined notes. Taking the time to assess these factors will help you make an informed decision and choose a guitar that meets your playing needs and preferences.
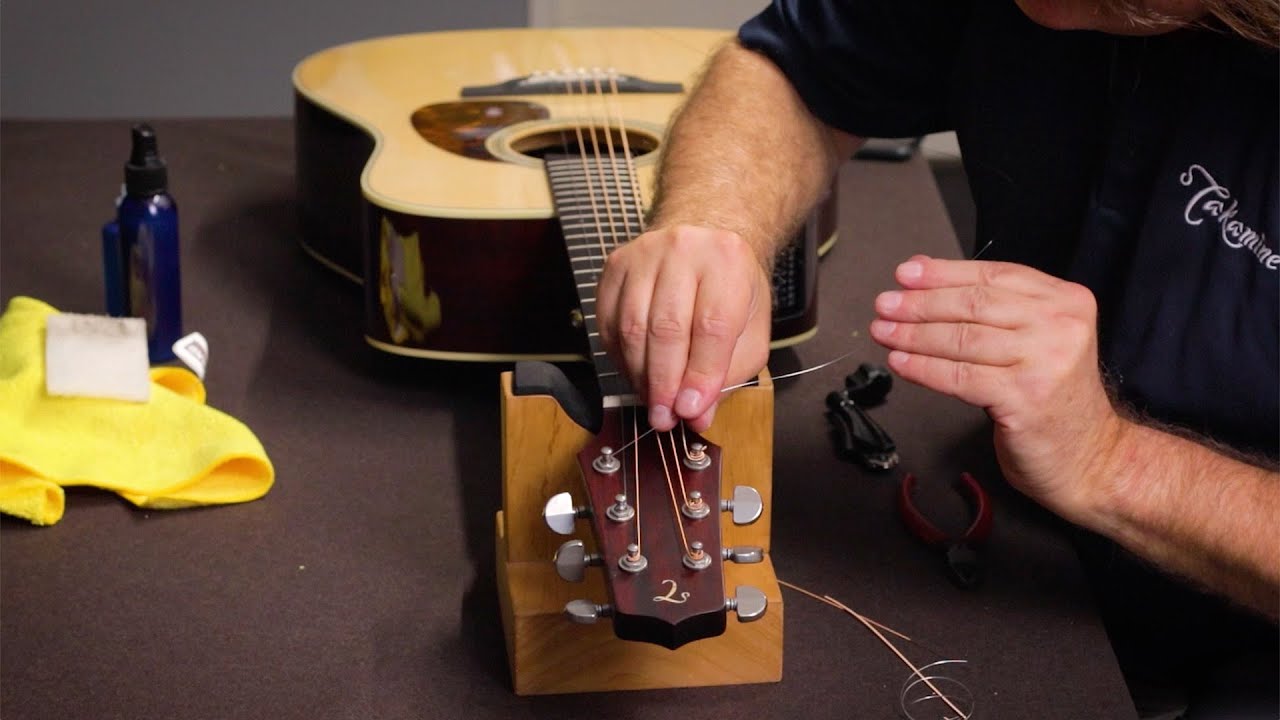
Examining the Headstock and Tuners
The headstock and tuners of an acoustic guitar play a vital role in tuning stability and overall functionality. When examining the headstock and tuners, there are several key aspects to consider:
- Inspect the headstock: Check the headstock for any signs of cracks, chips, or damage. The headstock should be securely attached to the neck and free from any structural issues.
- Assess the tuning machines: Examine the tuning machines, also known as tuners or tuning pegs, that are located on the headstock. They should be smooth, turning easily and holding the strings securely in place. Make sure there are no signs of rust, corrosion, or looseness.
- Check for proper alignment: Look closely at how the tuners are positioned on the headstock. They should be evenly spaced and aligned to ensure smooth and accurate tuning adjustments.
- Inspect the nut: The nut is a small piece located at the end of the fretboard, where the strings pass over. Ensure that the nut is not cracked, chipped, or improperly seated. It should be cut to the correct height and spacing, allowing for clear string action.
- Assess the string winding: Look at how the strings are wound around the tuning pegs. They should be neatly wound without any overlapping or loose strands. Proper string winding contributes to tuning stability and prevents string slippage.
- Check for smooth tuning adjustments: Turn the tuners to see how smoothly they operate. They should move without resistance, allowing for accurate and precise tuning adjustments. Sticky or stiff tuners can make it difficult to achieve and maintain proper pitch.
By carefully examining the headstock and tuners, you can ensure that the guitar is equipped with reliable and functional components for tuning. Having well-functioning tuners and a properly aligned headstock will greatly enhance your playing experience and make it easier to keep your guitar in tune.
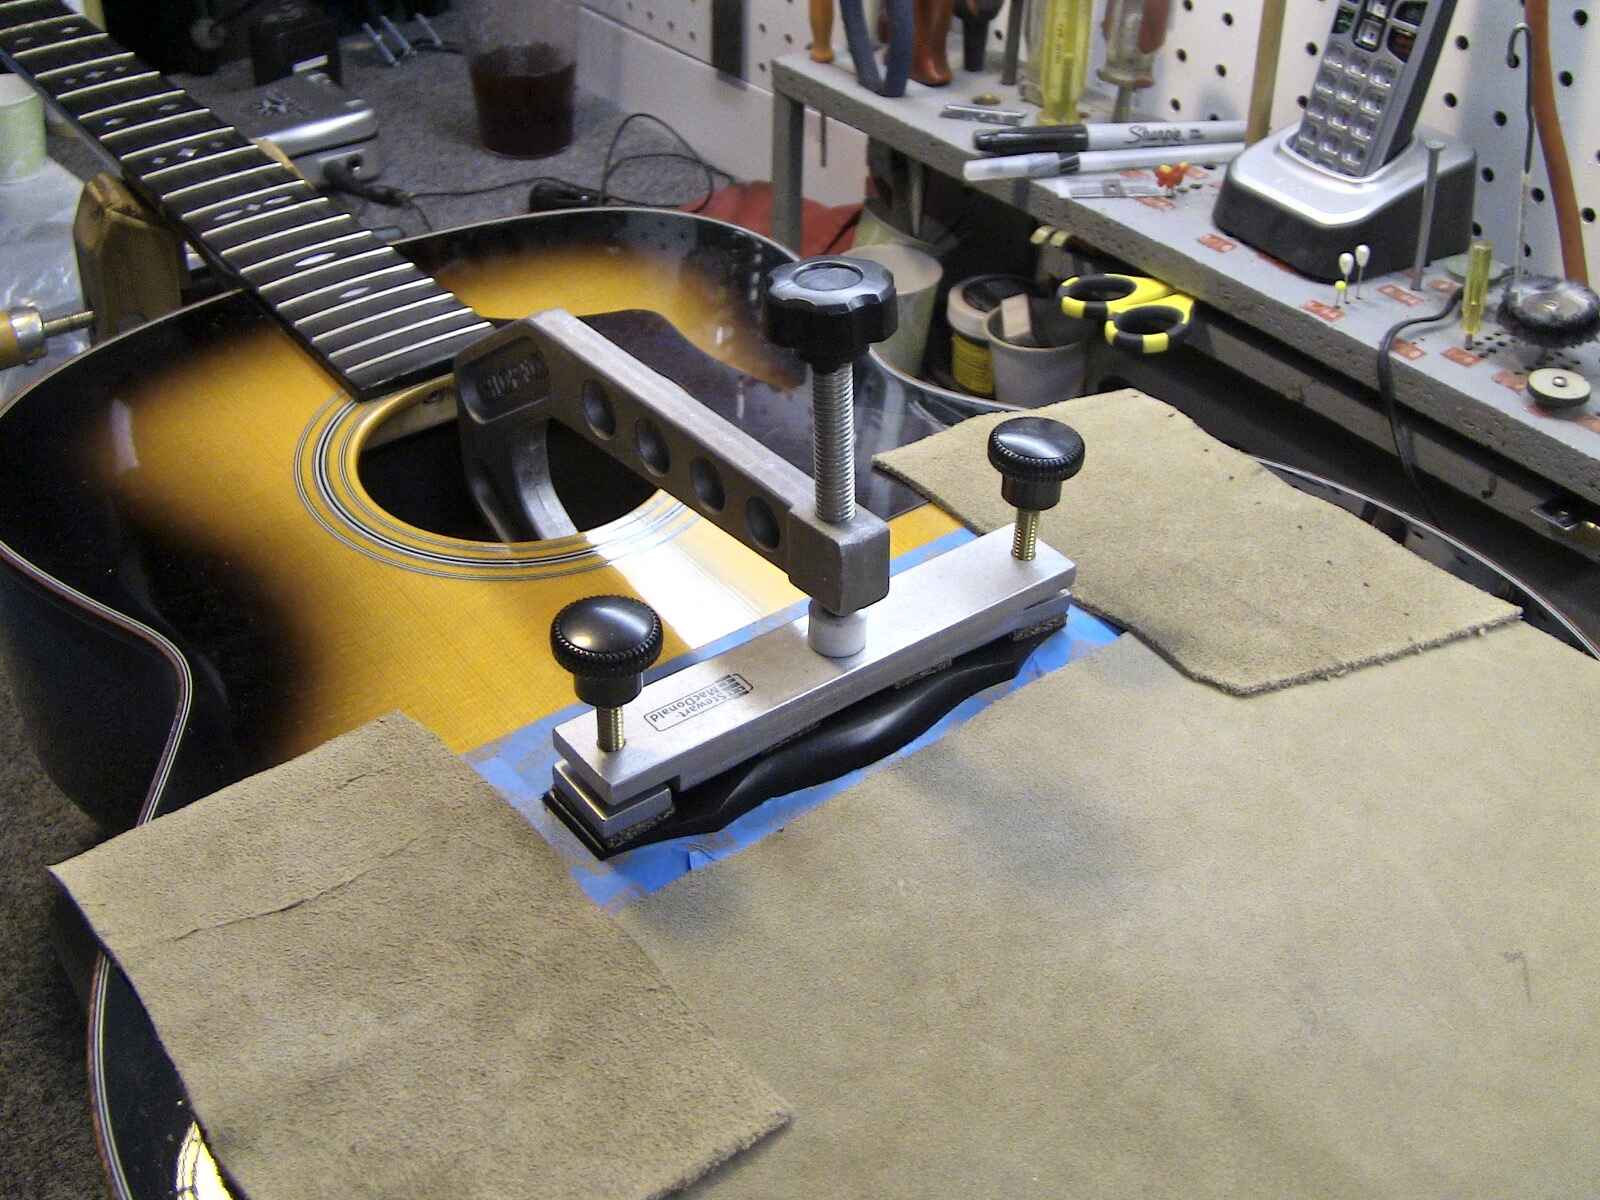
Inspecting the Bridge and Saddle
The bridge and saddle of an acoustic guitar are critical components that directly impact the instrument’s tone, intonation, and overall playability. When inspecting the bridge and saddle, consider the following factors:
- Examine the bridge condition: Carefully inspect the bridge for any signs of cracks, warping, or lifting. The bridge should be firmly attached to the guitar’s body and free from any structural issues that could affect its stability.
- Check the saddle: The saddle is a small piece located on the bridge that transfers the vibrations of the strings to the guitar’s body. It should be properly seated, without any cracks or unevenness. A well-maintained saddle ensures optimal string action and intonation.
- Inspect the bridge pins: Bridge pins are small pegs that hold the strings in place at the bridge. Check that the bridge pins are not loose, damaged, or missing. They should fit securely and evenly into the bridge without affecting the string tension or stability.
- Assess the string height: Measure the string height at the bridge (action) and ensure that it is appropriate for your playing style. The strings should not be too high or too low, as this can affect playability and intonation. Adjustable saddles can be advantageous for fine-tuning the string action.
- Inspect the bridge material: Consider the type of material used for the bridge. Quality acoustic guitars often feature bridges made of hardwood, such as rosewood or ebony, which contribute to the guitar’s tone and durability. Look for signs of wear, discoloration, or damage on the bridge material.
- Check for proper intonation: Play the guitar and compare the open string notes to their corresponding fretted notes on different positions of the neck. Well-placed saddles and a properly intonated bridge will ensure accurate pitch across the fretboard.
By carefully inspecting the bridge and saddle, you can ensure that your acoustic guitar produces a balanced tone, offers optimal playability, and maintains accurate intonation. A well-maintained bridge and saddle contribute to the overall performance and longevity of the instrument.
Assessing the Quality of the Strings
The quality of the strings on an acoustic guitar can greatly impact its sound, playability, and overall performance. When assessing the quality of the strings, consider the following factors:
- Check for string condition: Inspect the strings for any signs of wear, corrosion, or discoloration. Worn-out or rusty strings can affect the guitar’s tone and playability. Fresh, clean strings will produce a brighter and more vibrant sound.
- Assess string tension: Pay attention to the tension of the strings. They should feel evenly tensioned, without any loose or overly tight spots. Inconsistent tension can result in tuning instability and affect the playability of the guitar.
- Consider string gauge: The string gauge refers to the thickness of the strings. Lighter gauge strings are generally easier to play and have less tension, while heavier gauge strings can provide a fuller tone. Choose a string gauge that suits your playing style and preferences.
- Check for proper string winding: Observe how the strings are wound around the tuning pegs. They should be neatly wound without any overlapping or loose strands. Proper winding ensures tuning stability and prevents string slippage.
- Assess the age of the strings: Take into consideration the age of the strings. Older strings tend to lose their brightness and can develop dead spots or intonation issues. If the guitar has old or worn-out strings, consider replacing them to optimize its sound and playability.
- Consider string type: Evaluate the type of strings installed on the guitar. Different materials, such as phosphor bronze or nylon, can produce varying tones and playing characteristics. Select strings that suit your desired sound and playing style.
By assessing the quality of the strings, you can determine if they need to be replaced or adjusted to optimize the guitar’s playability and sound. Focusing on the condition, tension, winding, and age of the strings will help you maintain a well-performing acoustic guitar.
Checking for Any Loose or Rattling Parts
When inspecting an acoustic guitar, it’s important to check for any loose or rattling parts that may affect its playability and structural integrity. Here are some key areas to consider:
- Inspect the tuners: Gently wiggle each tuning machine to ensure they are securely fastened to the headstock. Loose tuners can cause tuning instability and affect the overall performance of the guitar.
- Check the strap buttons: If the guitar has strap buttons, examine them to ensure they are secure and tightly attached. Loose strap buttons can lead to accidental drops or damage to the guitar.
- Assess the pickguard: If the guitar has a pickguard, check that it is firmly adhered to the body. Loose or peeling pickguards can be both aesthetically displeasing and indicative of poor craftsmanship.
- Look for loose or rattling hardware: Gently tap on various parts of the guitar, such as the bridge, saddle, and frets, to check for any loose or rattling hardware. Tighten any screws or fasteners that may be loose to ensure stability and prevent unwanted vibrations.
- Check the endpin: If the guitar has an endpin for attaching a strap or a pickup system, ensure it is securely fitted into the guitar’s body. Loose endpins can cause both discomfort while playing and potential damage to the guitar.
- Inspect the soundhole rosette: If the guitar has a decorative rosette around the soundhole, ensure it is intact and free from any loose or raised segments. Loose rosettes can affect the structural integrity of the soundboard and may need to be repaired.
By thoroughly checking for any loose or rattling parts, you can prevent potential issues that may arise during playing or transportation. Fixing or replacing any loose components will ensure the guitar remains stable, comfortable to play, and maintains its overall quality.
Inspecting the Electronics (if Applicable)
If your acoustic guitar is equipped with electronics, it’s crucial to thoroughly inspect them to ensure they are in proper working condition. Here’s how to assess the electronics:
- Check the output jack: Examine the output jack where you connect the cable. Ensure it is securely attached and free from any damage or loose connections. A faulty jack can cause intermittent sound or signal loss.
- Assess the controls: If your guitar has onboard controls for volume, tone, or EQ adjustments, test them to ensure they are responsive and functional. Rotate the knobs and sliders and listen for any crackling or static noises.
- Test the pickup: If your guitar has an internal pickup, plug it into an amplifier or PA system and test it for sound output. Move the guitar around to check for any interference or crackling caused by loose wiring or connections.
- Check the battery compartment (if applicable): If your guitar has active electronics powered by a battery, open the compartment and inspect the battery. Ensure it is securely installed and not leaking. Consider replacing the battery if it is old or shows signs of deterioration.
- Inspect the wiring: Carefully examine the internal wiring for any loose or frayed connections. Loose or damaged wiring can cause electrical issues and affect the guitar’s sound output. If you’re not confident in diagnosing or repairing wiring problems, consider consulting a professional technician.
By inspecting the electronics of your acoustic guitar, you can ensure that they are in proper working order and contribute to the guitar’s functionality and sound quality. Additionally, addressing any issues with the electronics promptly will help you avoid potential problems during performances or recording sessions.
Checking for Any Cracks or Structural Damage
When inspecting an acoustic guitar, it’s crucial to thoroughly examine the instrument for any cracks or structural damage. Here are some key areas to consider:
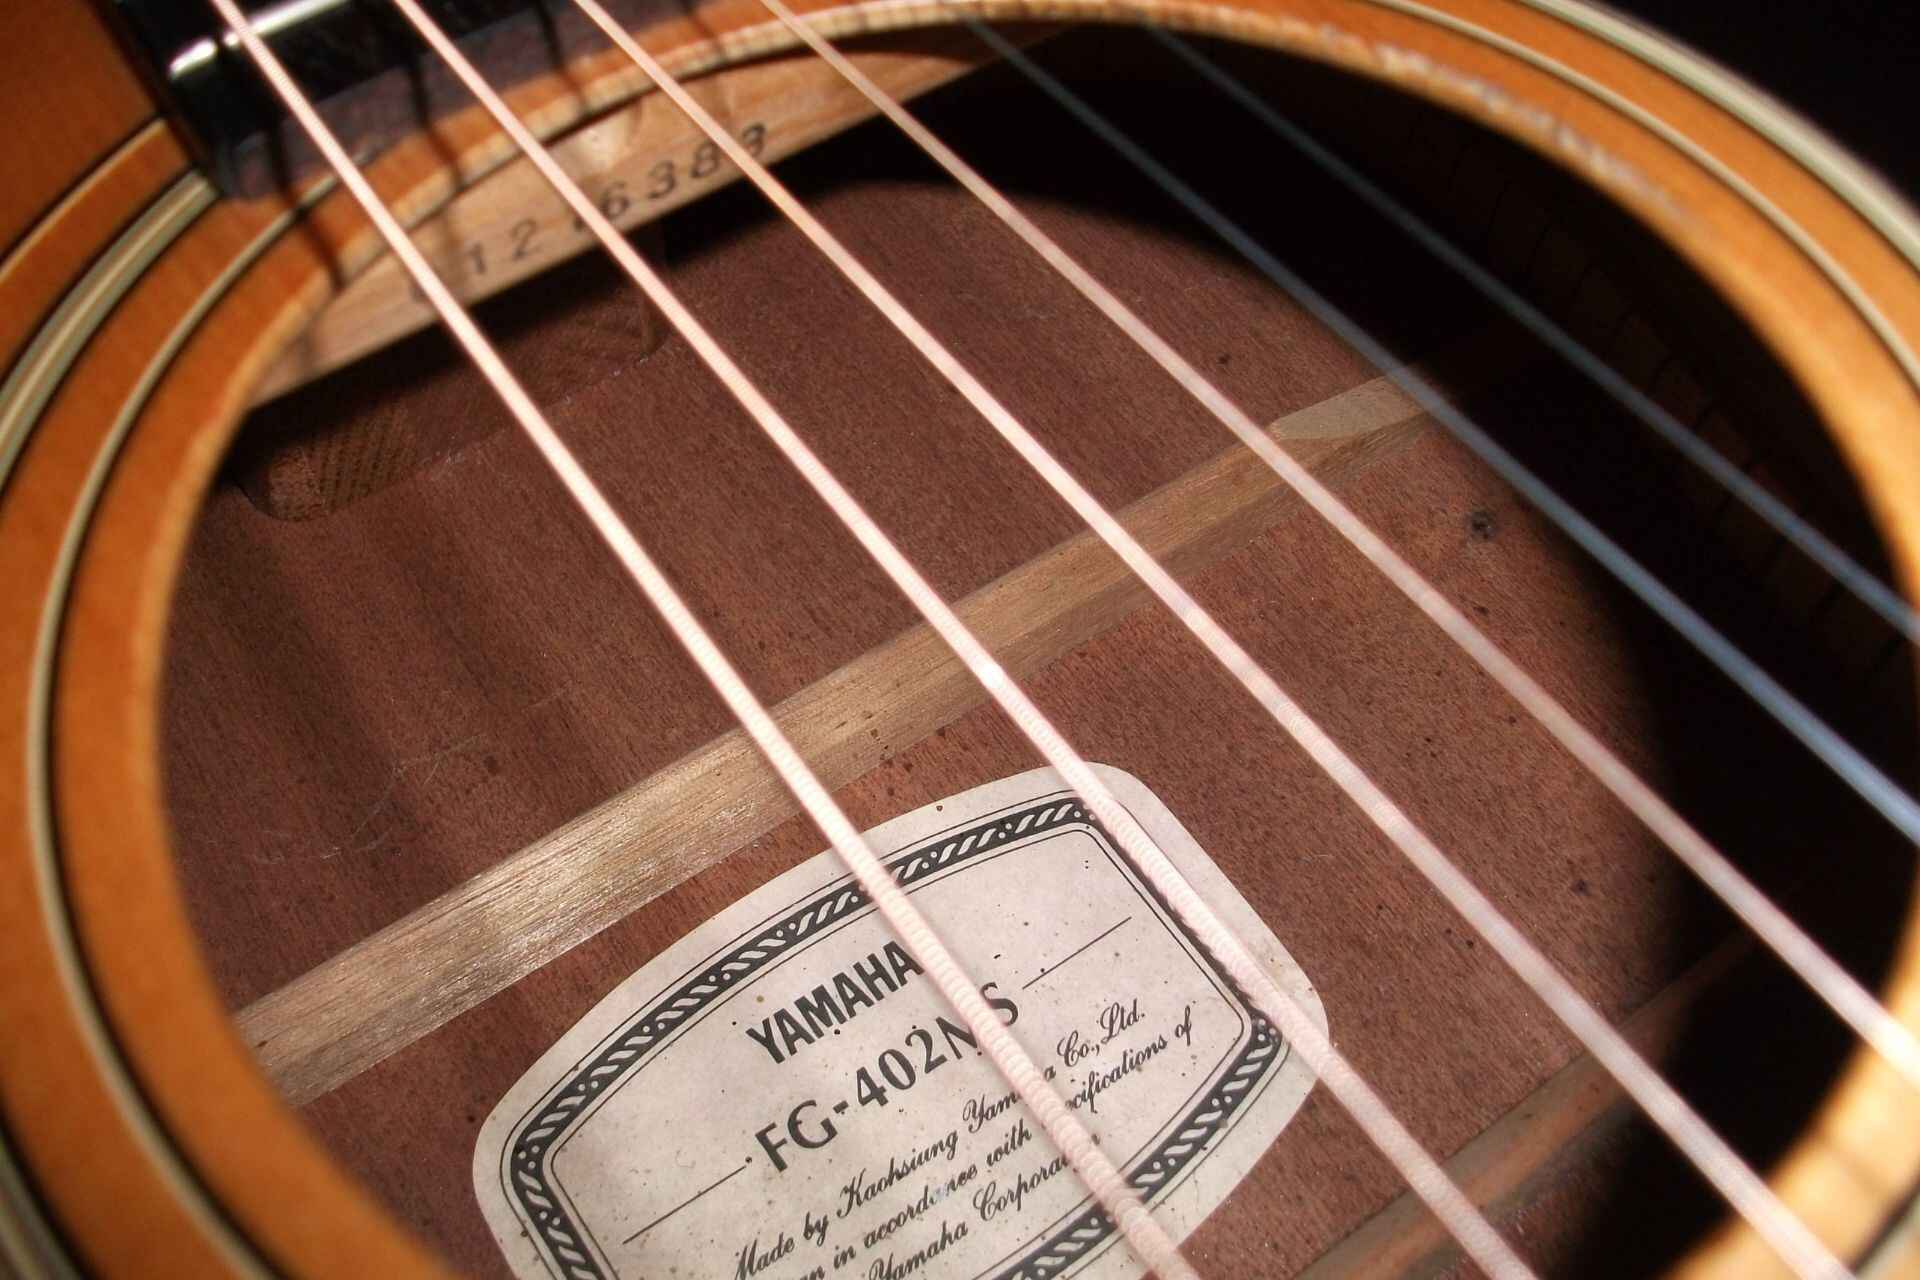
- Inspect the top: Carefully examine the top of the guitar (also known as the soundboard) for any cracks, dents, or separations. Pay close attention to the area around the soundhole, bridge, and edges, as these are common areas where cracks may occur.
- Examine the back and sides: Inspect the back and sides of the guitar for any cracks, separations, or bulging. Use a flashlight to check the internal bracing for any signs of damage or loose joints, as these can affect the guitar’s structural integrity.
- Check the neck joint: Look at the joint where the neck meets the body. Ensure there are no visible gaps or separation between the neck and the body. A loose or compromised neck joint can lead to stability issues and affect the guitar’s playability.
- Assess the headstock: Examine the headstock for any cracks or damage, especially around the points where the tuners are attached. A cracked or weakened headstock can be a significant structural concern and may require professional repair.
- Look for any structural issues: Gently press and tap different areas of the guitar to check for any abnormal vibrations or rattling sounds. This can help identify any loose braces, internal damage, or compromised construction elements that may affect the guitar’s sound or structural integrity.
By thoroughly checking for any cracks or structural damage, you can identify potential issues that may impact the guitar’s playability and overall performance. Remember that while minor cosmetic imperfections may not affect the sound or functionality of the guitar, significant cracks or structural damage should be assessed by a professional luthier or guitar technician.
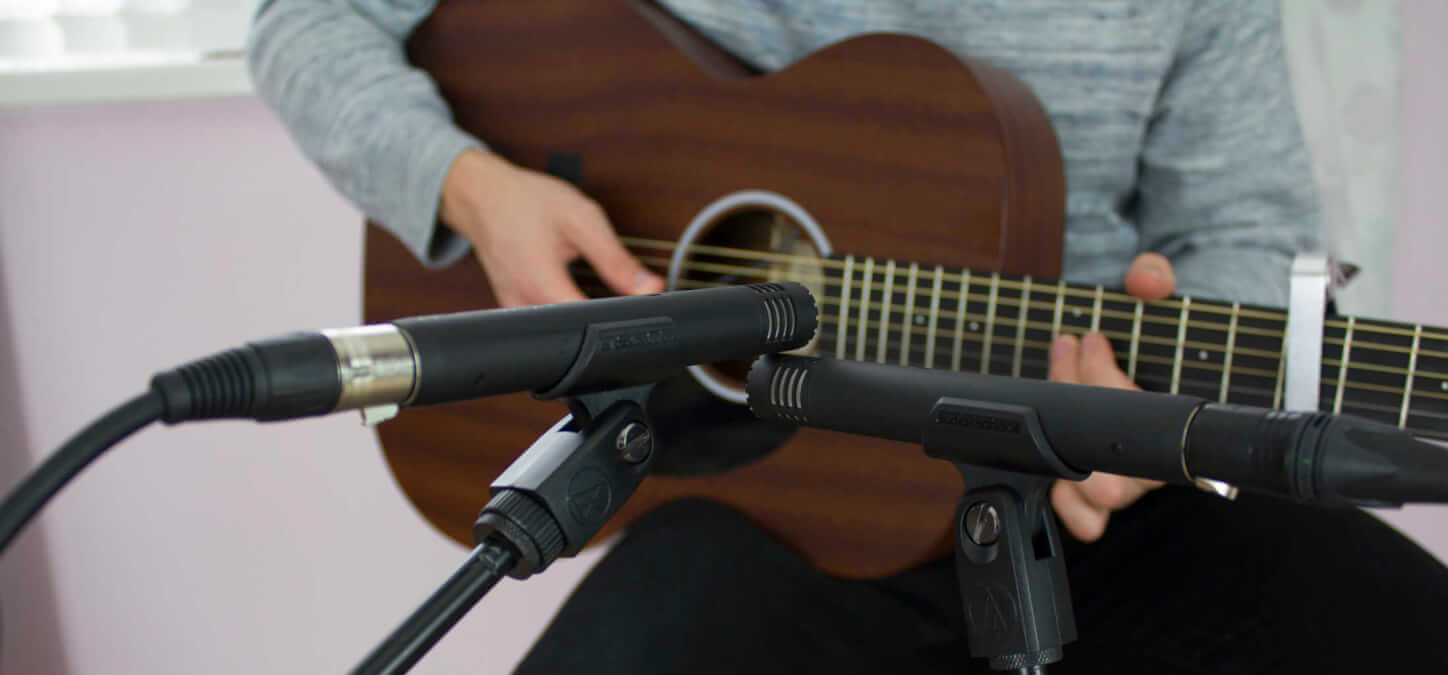
Testing the Playability and Sound
Once you’ve inspected the physical condition and components of an acoustic guitar, it’s important to test its playability and sound. Here are some key factors to consider:
- Check the action: Play the guitar and assess the string action, which refers to the distance between the strings and the fretboard. The action should be comfortable for your playing style, allowing for easy fretting and smooth transitions across the neck.
- Test the frets: Play each fret on each string and listen for any buzzing or dead spots. Frets should be properly seated and level with the fretboard. Ensure there are no sharp edges that could cause discomfort while playing.
- Assess the intonation: Play notes on different frets and compare them to their corresponding open string notes. The guitar’s intonation should be accurate, meaning the fretted notes should be in tune with each other and not significantly sharp or flat.
- Listen to the tone: Strum or pick the strings at various positions and listen to the guitar’s tone. Consider whether it matches your desired sound, whether it’s warm, bright, or balanced. Each guitar may have a unique tonal character, so choose one that suits your preferences.
- Test the dynamics: Play softly and then increase your attack to test the guitar’s responsiveness and ability to produce a wide range of dynamics. A good acoustic guitar should be able to produce both soft and loud sounds with clarity and without distortion.
- Assess the resonance and sustain: Listen for the guitar’s resonance and sustain. A well-built guitar will have good sustain, meaning the notes will ring out clearly and for a decent length of time after being played.
Testing the playability and sound of an acoustic guitar is crucial in determining if it meets your playing style and preferences. Pay attention to how comfortable and enjoyable the guitar is to play, as well as how it sounds in terms of tone, dynamics, and sustain. Remember to trust your ears and personal preferences when selecting a guitar that resonates with you.
Conclusion
Inspecting an acoustic guitar before making a purchase is a crucial step to ensure you are investing in a high-quality instrument that meets your needs and preferences. By following the steps outlined in this guide, you can thoroughly evaluate the condition, playability, and sound of the guitar.
When inspecting the overall condition, pay attention to any visible damage, warping, or loose parts. Assessing the body, neck, headstock, bridge, and saddle will give you insights into the guitar’s craftsmanship, durability, and tonal characteristics. Checking the quality of the strings, electronics (if applicable), and for any cracks or structural damage will further ensure a well-performing instrument.
Once you have examined the physical aspects, testing the playability and sound is crucial. Consider factors such as string action, fret condition, intonation, tone, dynamics, and sustain to determine if the guitar matches your playing style and preferences.
Remember that each guitar is unique, and while inspections are vital, trust your ears and personal experience when making a final decision. If you have any doubts or concerns, it is always a good idea to consult a professional luthier or guitar technician for further evaluation.
By taking the time to inspect and test an acoustic guitar before purchasing, you can make an informed decision and choose an instrument that brings you joy and inspires your musical journey for years to come.