Introduction
An acoustic guitar top is a vital component of the instrument, responsible for its sound projection and resonance. Over time, the top may become damaged, warped, or simply in need of replacement. Whether you’re a seasoned guitar repair specialist or a DIY enthusiast, knowing how to remove an acoustic guitar top is a valuable skill.
This comprehensive guide will take you through the step-by-step process of safely and effectively removing the acoustic guitar top. By following these instructions and using the appropriate tools, you’ll be able to disassemble the guitar top without causing any damage to the rest of the instrument.
Before we dive into the process, it’s crucial to emphasize the importance of patience, precision, and attention to detail. Working on delicate components like the guitar top requires a steady hand and careful execution. Take your time, follow the instructions closely, and you’ll be able to successfully remove the acoustic guitar top.
In the following sections, we’ll outline the tools you’ll need for this task and then go through each step in detail. By the end of this guide, you’ll have the knowledge and confidence to remove the acoustic guitar top swiftly and skillfully.
Tools Needed
Before you start removing the acoustic guitar top, it’s essential to gather all the necessary tools. Having the right equipment at hand will make the process easier and ensure that you can complete the task efficiently. Here are the tools you’ll need:
- Guitar strings winder: This allows you to loosen and remove the strings quickly and efficiently.
- Guitar bridge pin puller: Used to safely remove the bridge pins without damaging them or the guitar.
- Small flathead screwdriver: Useful for prying off the pickguard and soundhole rosette.
- Stiff putty knife: Helps in gently separating the guitar top from the bracing.
- Heat gun or hairdryer: Optional but recommended for softening the glue before removing the top.
- Clamps or a soundboard removal jig: Used for securely holding the guitar body during the top removal process.
- Protective gloves and safety goggles: Always prioritize safety when working with tools and potentially hazardous materials.
Ensure that you have all these tools readily available before you proceed with removing the acoustic guitar top. This will save you time and prevent any unnecessary interruptions during the process.
Step 1: Loosen the Strings
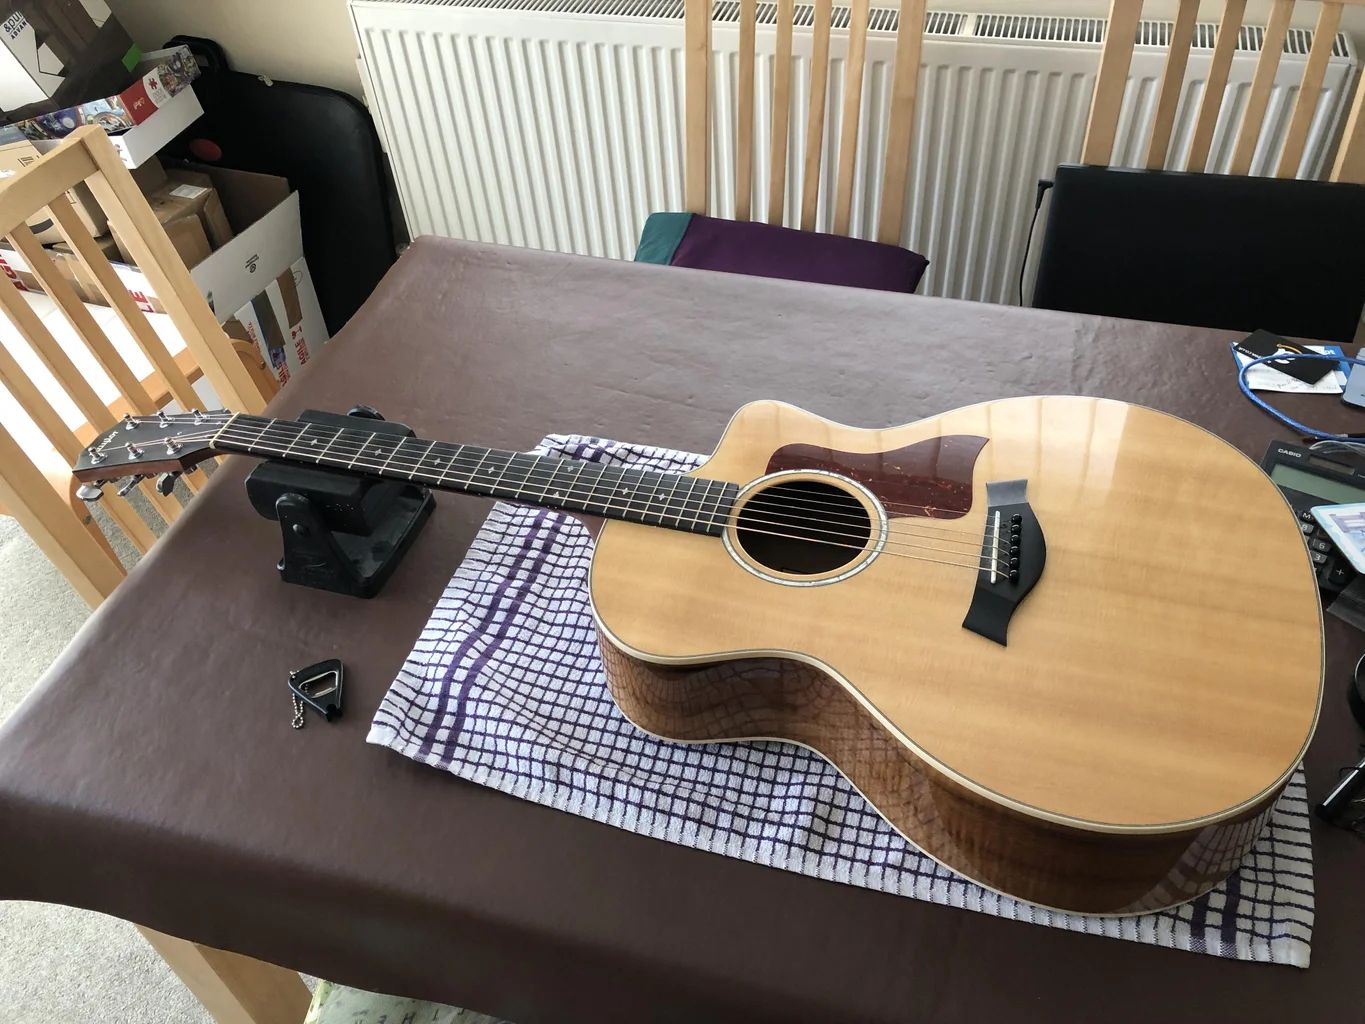
The first step in removing the acoustic guitar top is to loosen and remove the strings. This allows you to access the necessary components without any obstructions and ensures that the strings do not put unnecessary tension on the guitar top.
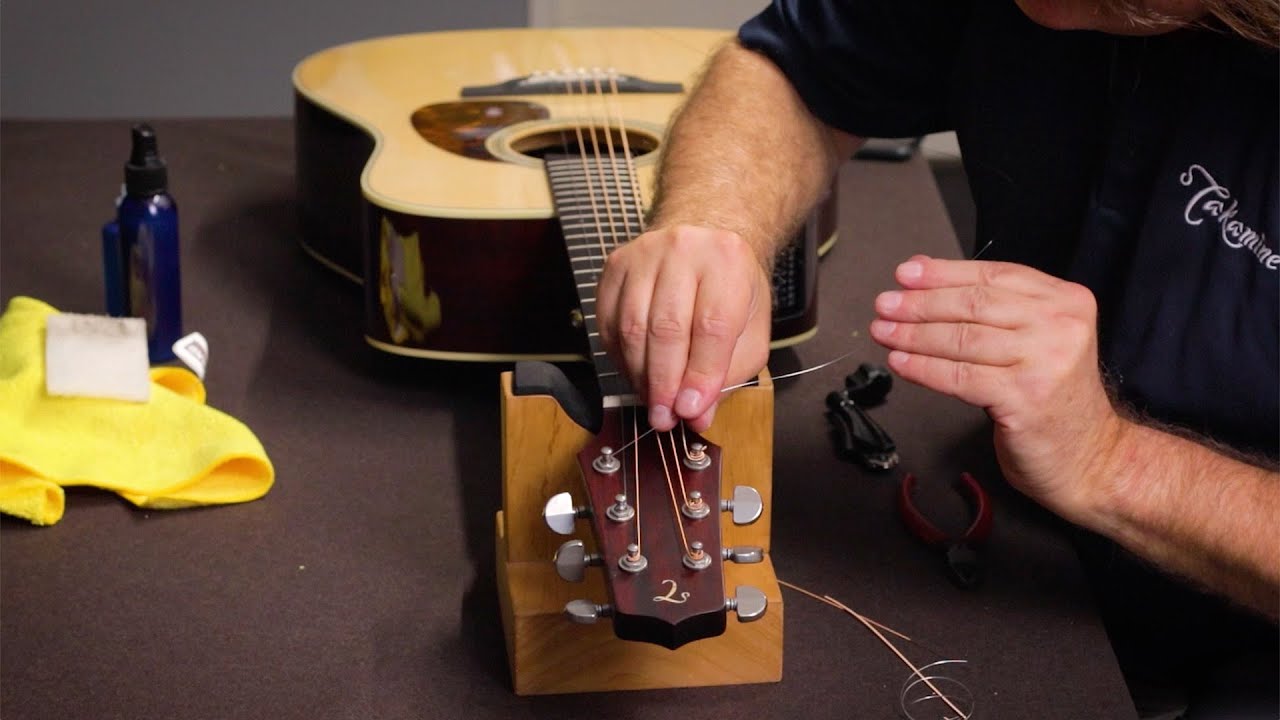
- Start with the lower strings: Begin by loosening the tension of the lower strings (E, A, and D) using a guitar string winder. Rotate the winder counterclockwise to loosen the strings gradually.
- Move to the higher strings: Repeat the process for the higher strings (G, B, and E) until all the strings are sufficiently loose. This will prevent any strain on the guitar top and make it easier to remove.
- Remove the strings: Once all the strings are loosened, use the string winder to unwind them completely. Carefully unwind each string from the tuning pegs and remove them from the guitar.
- Optional: Use masking tape: If you’re concerned about the loose bridge pins or the guitar bridge lifting, you can use masking tape to secure them in place temporarily. This will provide extra support during the later steps.
By completing this step, you’ve successfully loosened and removed the strings, preparing the guitar for the subsequent steps of removing the acoustic guitar top. Remember to keep the strings organized and set them aside in a safe place to avoid misplacing them.
Step 2: Remove the Bridge Pins
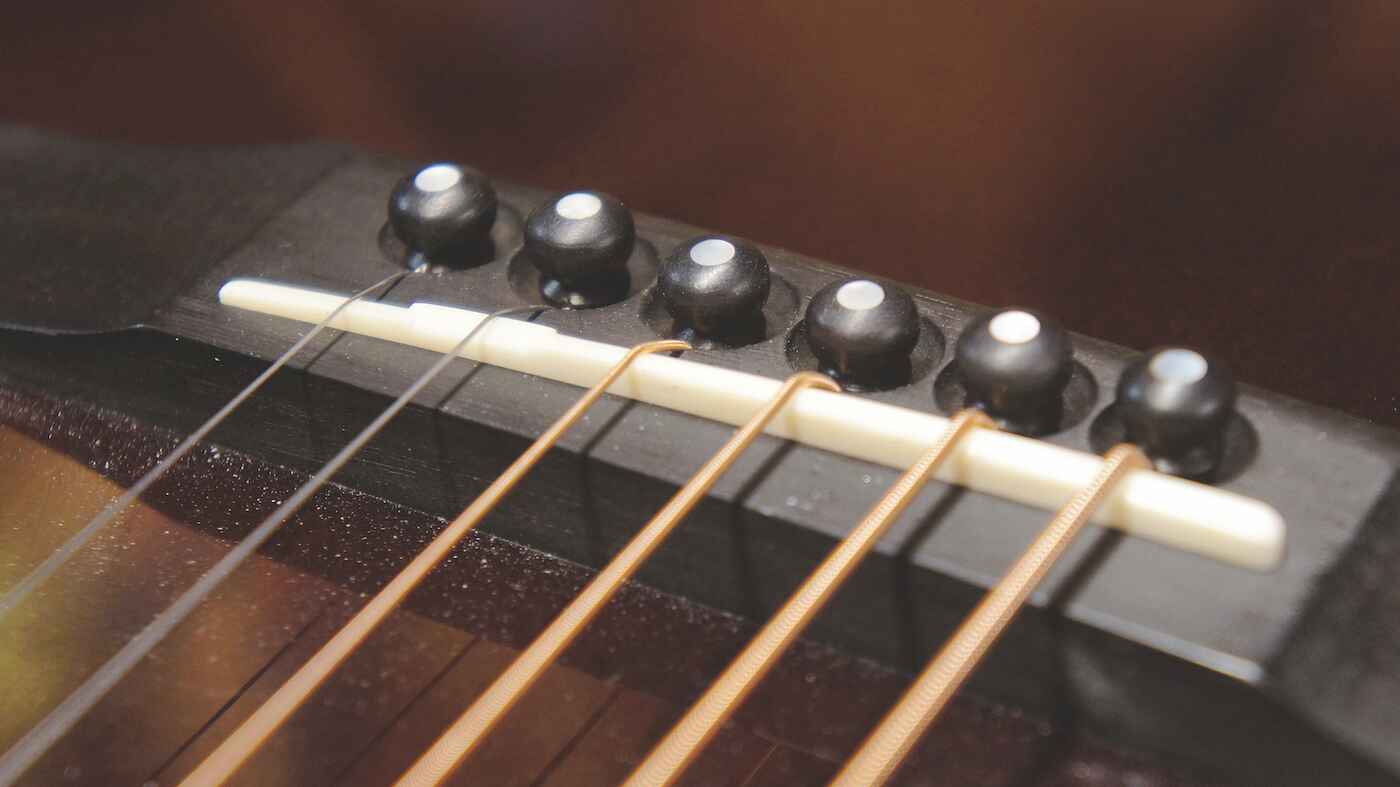
Once you have loosened and removed the strings, the next step is to carefully remove the bridge pins. The bridge pins secure the strings and anchor them to the bridge, and they need to be removed before proceeding with the acoustic guitar top removal.
- Inspect the bridge pins: Take a close look at the bridge pins to identify the type of pins used in your guitar. Some pins have a groove or notch on the side, while others may be plain and smooth.
- Position your bridge pin puller: Place the jaws of the bridge pin puller around the base of the bridge pin, ensuring a secure grip. Position the handle of the puller in a way that allows you to comfortably apply upward pressure.
- Apply upward pressure: Gently squeeze the bridge pin puller handle to apply upward pressure, gradually loosening the pin from its position. Be cautious not to use excessive force to avoid damaging the pin or the guitar.
- Repeat for all bridge pins: Repeat this process for each bridge pin until all of them are removed. Take your time and be patient, as some pins may be tighter than others.
- Set aside the bridge pins: Place the removed bridge pins in a safe container to prevent them from rolling away or getting lost.
Removing the bridge pins allows for easier access to the bridge and the subsequent steps of removing the acoustic guitar top. Take care not to damage the pins or the bridge during this process, as they are delicate components of the guitar.
Step 3: Remove the Bridge
After removing the bridge pins, you’re ready to proceed with removing the bridge itself. The bridge is held in place by adhesive and needs to be carefully detached without damaging the guitar top.
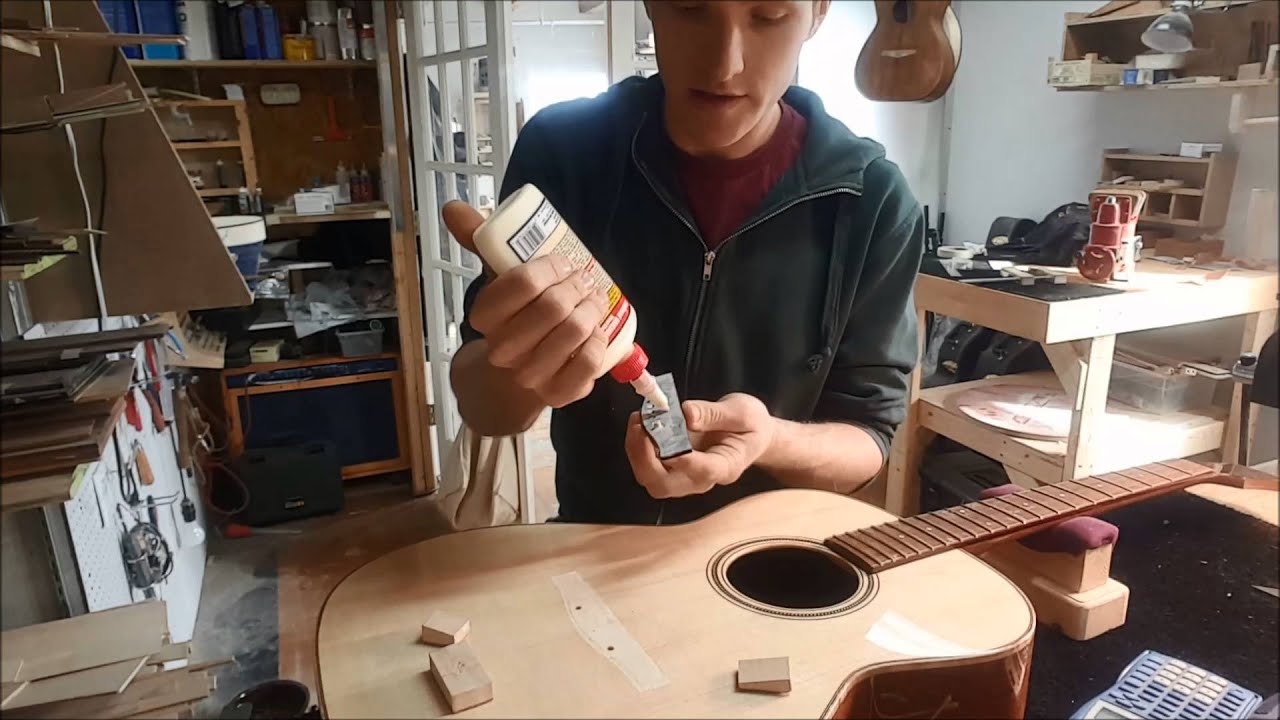
- Heat the bridge: Using a heat gun or hairdryer, gently heat the area around the bridge to soften the adhesive. Be cautious not to overheat the guitar top as excessive heat can cause damage.
- Use a small flathead screwdriver: Insert a small flathead screwdriver under the edge of the bridge, carefully lifting it up and away from the guitar top. Apply gentle pressure and work your way around the entire bridge to loosen it completely.
- Remove the bridge: Once the adhesive is sufficiently softened and the bridge is fully detached, lift it off the guitar top. Take your time and ensure that you don’t accidentally pull on any remaining adhesive that may still be attached.
- Clean the guitar top: After removing the bridge, inspect the guitar top for any remaining adhesive or debris. Use a clean cloth lightly dampened with water or a specific guitar cleaner to wipe away any residue.
By successfully removing the bridge, you’ve completed a significant step in the process of removing the acoustic guitar top. Set the bridge aside in a safe place, as you may need it for reinstallation or replacement later on.
Step 4: Remove the Pickguard
With the bridge removed, it’s time to move on to removing the pickguard. The pickguard is a protective layer that is often affixed to the guitar top, and its removal is necessary to access the underlying layers and continue with removing the acoustic guitar top.
- Inspect the pickguard: Take a close look at the pickguard to determine how it is attached to the guitar top. Pickguards can be secured with adhesive, screws, or a combination of both.
- Prepare your tools: Depending on the attachment method, gather the appropriate tools. If the pickguard is attached with screws, you’ll need a screwdriver that matches the screw heads. If it is adhesive, a small flathead screwdriver or a guitar pick can be used to carefully pry it off.
- Remove screws (if applicable): If the pickguard is held in place with screws, use the appropriate screwdriver to carefully unscrew and remove them. Set the screws aside in a safe place to avoid misplacing them.
- Pry off the pickguard (if adhesive): If the pickguard is secured with adhesive, gently insert a small flathead screwdriver or a guitar pick between the pickguard and the guitar top. Apply gentle pressure to separate the pickguard from the surface, taking care not to damage the guitar top.
- Peel off the pickguard: Slowly and steadily peel off the pickguard, making sure to work from one edge to another. Use gentle force to avoid causing any damage to the underlying layers of the guitar top. If needed, apply heat to the pickguard using a hairdryer to soften the adhesive and facilitate removal.
By removing the pickguard, you have made significant progress in the process of removing the acoustic guitar top. Set the pickguard aside in a safe place, as you may need it for reinstallation or replacement later on.
Step 5: Remove the Soundhole Rosette
Next in the process of removing the acoustic guitar top is removing the soundhole rosette. The soundhole rosette is the decorative ring surrounding the soundhole area, and it adds a touch of style and elegance to the guitar. Removing it allows for easier access to the bracing underneath.
- Inspect the soundhole rosette: Take a close look at the soundhole rosette to determine how it is attached to the guitar top. Some rosettes are glued in place, while others may be fixed with screws or press-fit.
- Prepare your tools: Depending on the attachment method, gather the appropriate tools. If the rosette is glued, a small flathead screwdriver or a thin putty knife can be used to carefully pry it off. If it is secured with screws, use a screwdriver that matches the screw heads.
- Pry off the rosette (if glued): If the rosette is glued, gently insert a small flathead screwdriver or a thin putty knife between the rosette and the guitar top. Apply gentle pressure and carefully work your way around the rosette’s circumference to loosen it. Take care not to exert too much force to avoid damaging the guitar top.
- Remove screws (if applicable): If the rosette is attached with screws, use the appropriate screwdriver to carefully unscrew and remove them. Keep the screws in a safe place to prevent loss.
- Press-fit removal (if applicable): In some cases, the rosette may be press-fit into the guitar top. To remove it, gently insert a small flathead screwdriver or a thin putty knife between the rosette and the guitar top and carefully lift it out.
By successfully removing the soundhole rosette, you have reached another milestone in the process of removing the acoustic guitar top. Handle the rosette with care and set it aside in a safe place, as it may need to be preserved for reinstallation or replaced with a new one.
Step 6: Remove the Bracing
Removing the bracing is a critical step in the process of removing the acoustic guitar top. The bracing provides structural support and affects the tone and resonance of the instrument. By removing the bracing, you can access the final layer between the top and the guitar body.
- Inspect the bracing: Take a close look at the bracing pattern and determine how it is attached to the guitar top. Bracing may be secured with adhesive, screws, or a combination of both.
- Prepare your tools: Gather the appropriate tools based on the attachment method. If the bracing is glued, a stiff putty knife or a chisel can be used to carefully separate it from the guitar top. If it is secured with screws, use a screwdriver that matches the screw heads.
- Work around the bracing: If the bracing is glued, gently insert the putty knife or chisel between the bracing and the guitar top. Apply careful pressure and work your way around the bracing pieces, gradually separating them from the top. Take your time and avoid using excessive force to prevent damage.
- Remove screws (if applicable): If the bracing is attached with screws, use the appropriate screwdriver to carefully unscrew and remove them. Store the screws in a safe place to avoid misplacing them.
- Set aside removed bracing: As you remove each piece of bracing, set them aside in a safe place. Keep them organized and intact, as you may need to preserve them for reinstallation or replacement.
By successfully removing the bracing, you are now approaching the final step in the process of removing the acoustic guitar top. Handle the bracing with care and take note of their original position, as this will be important when assembling the guitar later.
Step 7: Remove the Top
Now that you have completed the previous steps of removing the acoustic guitar top, it’s time to move on to the final step: removing the top itself. This step requires precision and careful handling to ensure that the top is successfully separated from the guitar body.
- Inspect the top: Take a moment to examine the edges of the guitar top where it meets the sides of the guitar body. Note any areas where adhesive may be present.
- Prepare your tools: Equip yourself with a stiff putty knife or a chisel to gently pry the top away from the sides. Take extra care to avoid damaging the guitar body or the top during this process.
- Start at a corner: Begin by inserting the putty knife or chisel in a corner of the guitar top. Apply steady but gentle pressure to gradually separate the top from the sides of the guitar body.
- Work around the edges: Slowly work your way around the entire perimeter of the guitar top, continuously separating it from the guitar body. Take your time and be patient to avoid any accidental damage.
- Apply heat (optional): If the top seems stubborn or resistant to separation, you can use a heat gun or hairdryer to soften any remaining adhesive. Be cautious not to overheat the guitar top, as excessive heat can cause damage.
- Remove the top: Once the top is loosened and separated from the sides, carefully lift it off the guitar body. Take care to support the top as you remove it to prevent any undue stress or potential damage.
Congratulations! You have now successfully removed the acoustic guitar top. Handle it with care and set it aside in a safe place, as you may either need to preserve it for reinstallation or replace it with a new one.
Conclusion
Removing the acoustic guitar top is a meticulous process that requires patience, precision, and the right tools. By following the step-by-step guide outlined in this article, you can confidently and safely remove the guitar top without damaging the instrument.
Throughout this journey, we covered essential steps such as loosening the strings, removing the bridge pins, taking off the bridge, removing the pickguard, removing the soundhole rosette, detaching the bracing, and finally, removing the top itself. Each step plays a crucial role in the overall process and requires careful attention to detail.
Remember to maintain a calm and steady approach throughout the removal process. Take your time, especially when prying off components or separating adhesive. Rushing can lead to unintended damage to your guitar.
After successfully removing the guitar top, you may choose to repair or replace it. Keep in mind that reassembling the guitar will involve following the steps in reverse order. Take care to align all components correctly and ensure a secure and stable fit.
If you’re unsure of your skills or have concerns about the process, it’s always advisable to seek assistance from a professional guitar technician. They have the experience and expertise to handle intricate guitar repairs and will ensure that your instrument is in capable hands.
By learning how to remove the acoustic guitar top, you have acquired a valuable skill that will enable you to perform maintenance, repairs, or modifications on your instrument. May this newfound knowledge empower you to explore and develop a deeper understanding of your guitar’s construction and intricacies.