Introduction
Acoustic guitars are beautiful instruments that can bring joy and inspiration to musicians and enthusiasts alike. However, over time, scratches and wear can diminish their appearance. If you own an acoustic guitar that has been marred by scratches, you might be wondering how to restore its original beauty. Fortunately, with a few simple steps, you can remove scratches from your acoustic guitar and give it a fresh new look.
Before you begin, it’s important to note that removing scratches from an acoustic guitar requires some patience and care. While minor scratches can often be easily fixed, deeper gouges may require professional assistance. Additionally, it is crucial to assess the type of finish on your guitar before proceeding with any repairs. Different finishes require different approaches, and using the wrong method can potentially cause more harm than good.
This article will provide you with a step-by-step guide on how to remove scratches from your acoustic guitar, allowing you to restore its original luster. From cleaning the guitar to applying a finishing coat, we will cover all the necessary steps to help you achieve fantastic results.
So, if you’re ready to give your acoustic guitar the tender loving care it deserves, grab your supplies and let’s get started on the journey to a scratch-free and stunning instrument!
Supplies Needed
Before you begin removing scratches from your acoustic guitar, it’s important to gather the necessary supplies. Having the right tools and materials on hand will ensure a smooth and efficient repair process. Here are the supplies you’ll need:
- Microfiber cloth or soft cotton cloth: These cloths are essential for cleaning and wiping down the guitar’s surface. Avoid using rough or abrasive materials that can further damage the finish.
- Guitar cleaner or mild soap: Choose a guitar-specific cleaner or a mild soap that is safe for use on wood finishes. This will help remove dirt and grime without causing any harm to the guitar.
- Scratch-filling material: Depending on the depth of the scratches, you may need a scratch-filling material such as a clear nail polish or a specialized filler designed for acoustic guitar repairs. Make sure to select a filler that matches the color of your guitar’s finish for seamless blending.
- Sanding materials: For sanding away superficial scratches, you’ll need a variety of sandpaper grits in different levels of coarseness. Start with a finer grit, such as 320, and work your way up to a finer grit, such as 600 or higher.
- Protective finish or polish: To provide a protective layer and restore the guitar’s shine, you’ll need a suitable guitar finish or polish. Opt for a high-quality product that is specifically designed for use on acoustic guitars.
- Buffing and polishing compound: This compound is used to buff and polish the guitar’s surface, giving it a smooth and glossy finish. Look for a fine buffing compound that is safe for use on guitar finishes.
By ensuring you have these supplies ready, you’ll be well-prepared to tackle the scratches on your acoustic guitar and bring it back to its former glory. Remember, quality materials and proper tools will contribute to the success of your repair project.
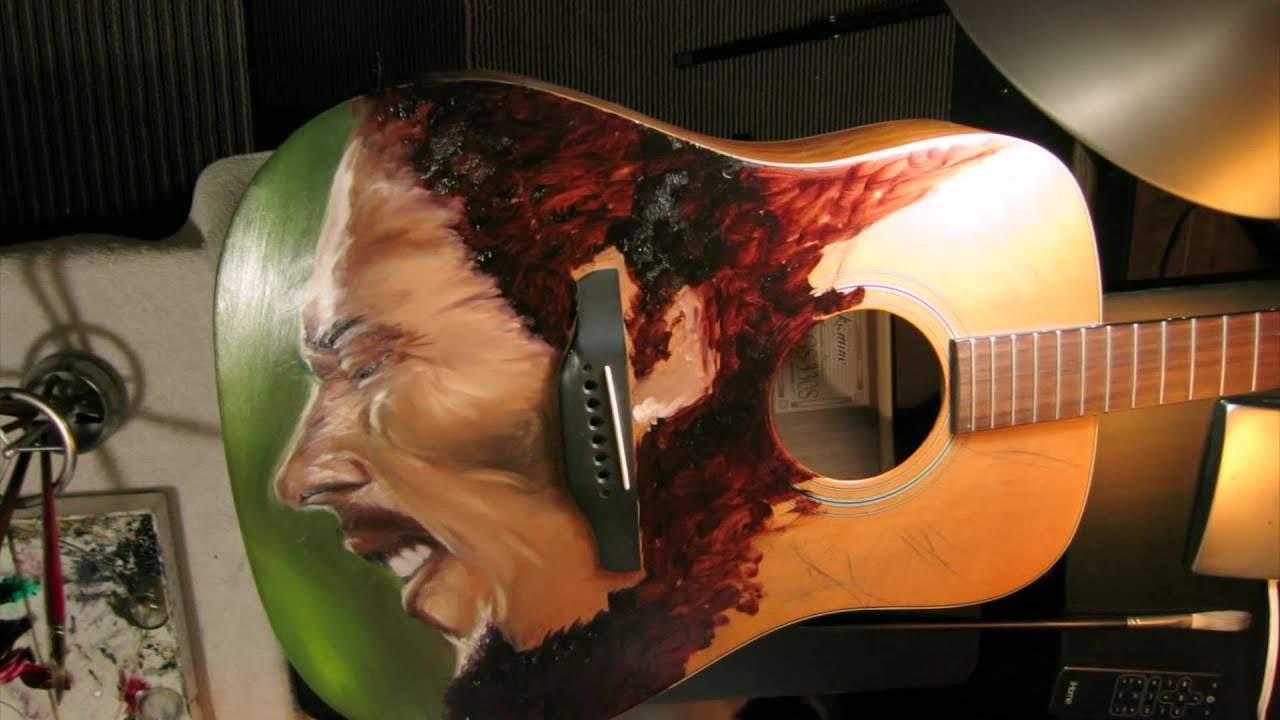
Assessment of Scratches
Before you begin the process of removing scratches from your acoustic guitar, it’s important to assess the severity and depth of the scratches. This will help you determine the best course of action and decide if you can repair the scratches yourself or if professional assistance is required.
Start by examining your guitar under good lighting conditions. Look closely at the affected area and determine whether the scratches are superficial or deeper. Superficial scratches typically only affect the surface finish and can often be repaired with simple techniques. On the other hand, deeper scratches could expose the wood underneath the finish and may require more extensive treatment.
Take note of the location and size of the scratches as well. Small, isolated scratches are usually easier to fix, while larger or multiple scratches may require more time and effort. It’s also essential to consider the overall condition of your guitar. If it has multiple chips, dings, or other signs of damage, you may want to consult a professional for a thorough evaluation.
While assessing the scratches, keep in mind that removing them completely may not always be possible. Certain deep or extensive scratches may be too severe to repair fully. However, with the right techniques and materials, you can minimize their appearance and make your guitar look significantly better.
If you’re unsure about the severity of the scratches or whether you have the skills to repair them yourself, it’s always a good idea to consult with a professional guitar technician or luthier. They can provide expert advice and guidance tailored to your specific situation.
By carefully assessing the scratches on your acoustic guitar, you’ll have a clearer understanding of the necessary steps to repair them and achieve the best possible results. Remember, each scratch is unique, and taking the time to evaluate them properly will ensure you approach the repair process effectively.
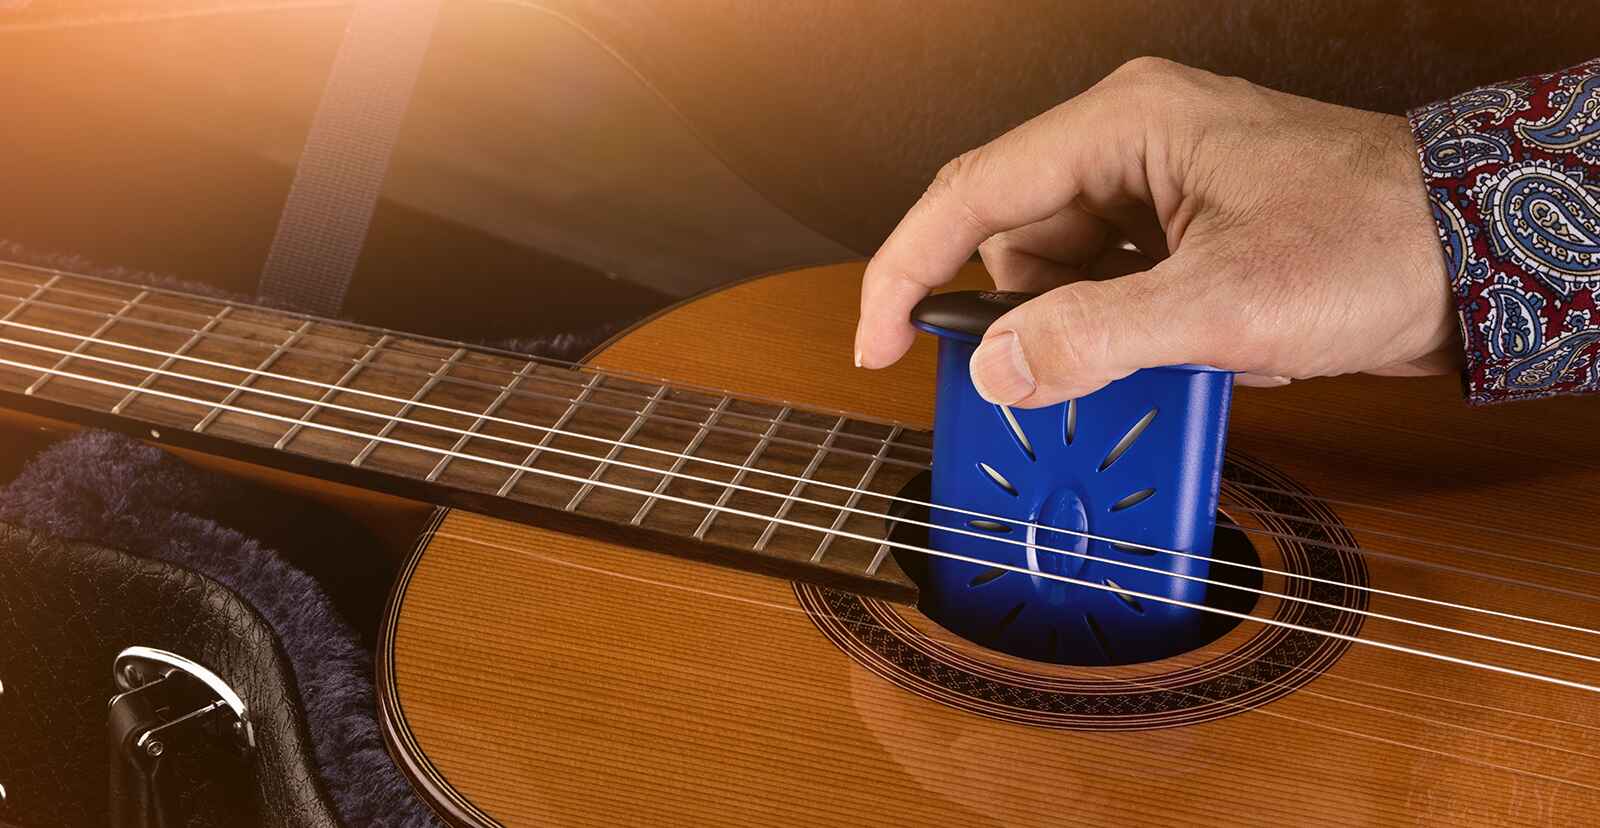
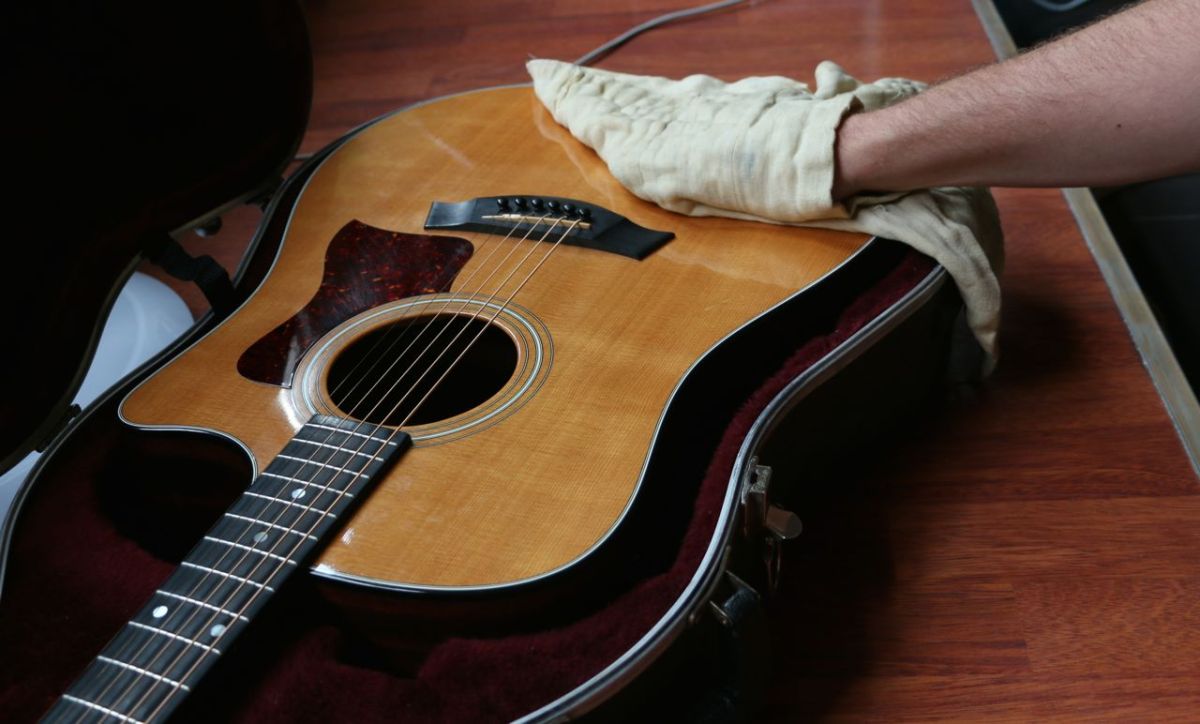
Cleaning the Guitar
Before you begin the process of removing scratches from your acoustic guitar, it’s essential to start with a clean surface. Cleaning the guitar will remove any dirt, dust, and oils that may be present, allowing for a better repair and finish. Here are the steps to effectively clean your guitar:
- Gently wipe the guitar: Start by using a microfiber cloth or a soft cotton cloth to gently wipe the entire surface of the guitar. This will help remove any loose debris that may be present.
- Prepare a cleaning solution: If your guitar requires thorough cleaning, you can prepare a mild cleaning solution by diluting a small amount of guitar-specific cleaner or mild soap in water. Follow the instructions on the cleaner or soap bottle for the correct dilution ratio.
- Dampen the cloth: Dip the cloth in the cleaning solution and wring out any excess liquid. It’s important to ensure that the cloth is damp and not dripping wet.
- Clean the guitar: Using the damp cloth, gently wipe the entire surface of the guitar, including the front, back, sides, and neck. Pay special attention to areas with visible dirt or grime. Avoid excessive rubbing or applying too much pressure, as this can damage the finish.
- Dry the guitar: After cleaning, use a dry microfiber cloth to thoroughly dry the guitar’s surface. Ensure that no excess moisture remains on the guitar, as this can potentially harm the finish.
It’s important to note that if your guitar has a delicate or vintage finish, you may want to consult with a professional before applying any cleaning solutions. They can advise you on the best approach for cleaning your specific guitar to avoid any potential damage.
By starting with a clean guitar, you create a suitable foundation for the subsequent steps of removing scratches and restoring its appearance. Taking the time to clean your guitar thoroughly will contribute to the overall success of the repair process.
Filling in Small Scratches
If your acoustic guitar has small, superficial scratches, you may be able to fill them in to minimize their appearance. Filling in small scratches can help improve the overall look of your guitar. Here’s how you can do it:
- Clean the affected area: Before filling in the scratches, ensure that the guitar’s surface is clean and free from any dust or debris. Use a soft cloth to gently wipe the area.
- Choose a suitable filler: Depending on the color of your guitar’s finish, select a clear nail polish that closely matches the shade or use a specialized scratch-filling material specifically designed for acoustic guitar repairs.
- Apply the filler: Using a small brush or a toothpick, carefully apply a thin layer of the filler material over the scratches. Ensure that the filler is evenly distributed across the affected area.
- Let it dry: Allow the filler to dry completely according to the manufacturer’s instructions. This usually takes a few hours. Avoid touching or disturbing the filled areas during this time.
- Sand the filled area: Once the filler is dry, use a fine-grit sandpaper (around 600 or higher) to gently sand down the filled areas. Be gentle and avoid applying too much pressure. The goal is to level the filled spots with the surrounding area.
- Clean and inspect: After sanding, clean the guitar once again to remove any residue. Inspect the filled areas to ensure the scratches are now less noticeable and blend well with the overall finish.
It’s important to note that filling in scratches is most effective for superficial blemishes. Deeper gouges or scratches that penetrate the wood may require more involved repairs, such as professional touch-ups or refinishing by a guitar technician.
By filling in small scratches, you can significantly improve the appearance of your acoustic guitar. However, exercise caution and take your time during this process to achieve the best possible results.
Sanding the Surface
After filling in small scratches on your acoustic guitar, the next step is to sand the surface to achieve a smooth and even finish. Sanding helps in leveling the filled areas and blending them with the surrounding finish. Here’s how you can sand the surface of your guitar:
- Select sandpaper: Start by choosing the appropriate grit sandpaper. Begin with a coarser grit, such as 320, to remove any excess filler and gradually move to finer grits, such as 400 or 600, for a smoother finish.
- Wrap sandpaper around a block: To ensure even sanding, wrap the sandpaper around a sanding block or a small piece of wood. This will provide stability and help maintain a consistent pressure.
- Sand the filled areas: With a gentle but firm pressure, sand the filled areas in a circular or back-and-forth motion. Aim to level the filled spots with the surrounding finish, taking care not to over-sand the surrounding area.
- Check your progress: Regularly inspect the sanded areas to gauge your progress. Ensure that the scratches are becoming less noticeable and that the surface is becoming smoother. If necessary, switch to finer grit sandpaper for further refinement.
- Clean the guitar: After sanding, use a soft cloth to remove any debris or residue from the surface of the guitar. This will give you a clearer view of the sanded areas and help prepare for the next steps.
It’s crucial to exercise caution when sanding your guitar. Applying too much pressure or prolonged sanding in one area can damage the finish. Take your time, work slowly, and check your progress frequently to achieve the desired results.
If you’re unsure about sanding or working with your acoustic guitar’s finish, it’s advisable to seek guidance from a professional guitar technician or luthier. They can provide valuable expertise and ensure that the sanding process is done correctly and safely.
By sanding the surface of your guitar, you’ll be one step closer to achieving a smooth and flawless finish. Proceed with care and patience to attain the best possible outcome for your instrument.
Applying a Finishing Coat
Once you have filled in the scratches and sanded the surface of your acoustic guitar, the next step is to apply a finishing coat. This protective layer will not only enhance the appearance of your instrument but also help preserve the finish and provide added durability. Here’s how you can apply a finishing coat:
- Choose the right product: Select a guitar-specific protective finish or polish that is compatible with your guitar’s finish. Consider factors such as the type of finish (e.g., nitrocellulose, polyurethane) and the desired sheen (e.g., glossy, satin).
- Read the instructions: Familiarize yourself with the application instructions provided by the manufacturer. Each product may have specific guidelines, including recommended drying times and application techniques.
- Apply the finishing coat: Using a soft brush or a lint-free cloth, apply a thin and even layer of the finishing coat onto the surface of the guitar. Work in small sections, ensuring that the entire area is covered with the finish. Take care to avoid excessive buildup or drips.
- Allow drying time: Follow the drying time recommended by the manufacturer. This may range anywhere from a few hours to overnight. Avoid touching or disturbing the guitar during this time to prevent smudges or imperfections.
- Inspect and repeat if necessary: Once the first coat is dry, inspect the finish for any inconsistencies or areas that might require additional coverage. If needed, apply another thin layer of the finishing coat, following the same application technique.
It’s important to note that applying a finishing coat requires precision and attention to detail. If you’re uncertain about the process or hesitant to do it yourself, seeking professional assistance is advisable. A guitar technician or luthier can guide you through the process and ensure the best results.
By applying a finishing coat, you not only enhance the aesthetic appearance of your acoustic guitar but also provide an added layer of protection. The finishing coat will help maintain the clarity and longevity of the guitar’s finish.
Buffing and Polishing
After applying the finishing coat to your acoustic guitar, the final step in the scratch removal process is buffing and polishing. This step will help achieve a smooth and glossy finish, enhancing the overall appearance of your instrument. Here’s how you can effectively buff and polish your guitar:
- Choose the right compound: Select a fine buffing compound that is specifically designed for use on guitar finishes. Ensure that it is compatible with the type of finish on your guitar.
- Apply the compound: Dab a small amount of the buffing compound onto a clean, soft cloth or a polishing pad. Start with a small section of the guitar’s surface.
- Buffing technique: Using circular motions, gently buff the guitar’s surface with the compound-applied cloth or pad. Apply light pressure and continue buffing until you notice an improvement in the shine and smoothness of the finish.
- Check your progress: Periodically stop and inspect the buffed area to assess the level of gloss achieved. Continue buffing as needed to achieve the desired result. Be cautious not to over-buff, as excessive pressure can damage the finish.
- Repeat on remaining areas: Repeat the buffing process on the remaining areas of the guitar’s surface, working in small sections at a time. Ensure uniform coverage and consistency throughout.
- Clean and inspect: Once you have finished buffing the entire surface, use a clean, soft cloth to wipe away any residue or excess compound. Inspect the guitar’s finish to ensure a smooth, glossy appearance.
Buffing and polishing your guitar is a delicate process. Take your time and exercise caution to avoid inadvertently causing damage. If you’re uncertain about the technique or unsure of your abilities, seeking professional assistance is always a viable option.
By buffing and polishing your acoustic guitar, you will bring out its natural shine and luster. This final step adds the finishing touch to your scratch removal process, leaving you with a beautifully polished instrument.
Final Thoughts
Removing scratches from your acoustic guitar can be a rewarding process that restores its beauty and preserves its value. While it may require some time and effort, the results are well worth it. Here are a few final thoughts to keep in mind:
Patience is key: Taking your time and proceeding with patience is crucial throughout the entire scratch removal process. Rushing or applying too much pressure can lead to unintended damage to the guitar’s finish.
Know your limits: Assess the severity of the scratches and your own skill level. If the scratches are deep or extensive, or if you lack confidence in performing the repairs, it’s best to seek professional help from a qualified guitar technician or luthier.
Maintenance is important: Once you’ve successfully removed the scratches, it’s essential to maintain the appearance of your guitar. Regular cleaning, proper storage, and using a protective case can help prevent future scratches and preserve the guitar’s condition.
Seek professional advice if unsure: If you’re uncertain about any step of the scratch removal process, consult with a professional. They can provide valuable guidance, ensure the proper treatment for your guitar’s specific finish, and help you achieve the best results.
Remember, each acoustic guitar is unique, and the scratch removal process may vary depending on your instrument’s specific characteristics. Take the time to assess and understand your guitar’s needs to implement the appropriate techniques and materials.
By following the steps outlined in this guide, you can restore your acoustic guitar’s beauty and ensure it continues to bring joy and inspiration for years to come. Enjoy the process, and happy guitar repair!