Introduction
When it comes to securing your valuable data, hiding your hard disk drive (HDD) in a different location from your Network Video Recorder (NVR) can be a smart move. By doing so, you can add an extra layer of protection to your surveillance system, making it more challenging for potential intruders to access or tamper with your recorded footage.
In this article, we will explore the reasons why you should consider hiding your HDD, as well as provide you with tips and step-by-step instructions on how to successfully relocate and conceal your storage device. Whether you want to protect sensitive information, prevent theft, or simply keep your HDD out of sight, we’ve got you covered.
Before we dive into the details, it’s important to note that the methods described here assume you have basic knowledge of your NVR setup and are comfortable handling the necessary tools. If you have any doubts or concerns, it’s always a good idea to consult the manufacturer’s instructions or seek professional assistance.
Now, let’s explore the benefits of hiding your HDD and discover the steps you can take to safeguard your data and ensure peace of mind.
Why You Should Hide Your Hard Disk Drive
There are several compelling reasons why hiding your hard disk drive (HDD) from your network video recorder (NVR) can be a wise decision. Let’s take a closer look at some of these reasons:
- Enhanced Security: By hiding your HDD in a different location, you can add an extra layer of security to your surveillance system. In the event of a break-in or theft, the intruders will have a harder time finding and tampering with your recorded footage.
- Data Protection: Your hard disk drive contains valuable data, including video recordings and other sensitive information. By hiding it away from your NVR, you reduce the risk of unauthorized access and potential data breaches.
- Prevent Damage or Loss: Physical damage or loss of your HDD due to accidents, fires, floods, or other unforeseen events can be devastating. By relocating your HDD to a different location, you reduce the risk of losing critical data if something were to happen to your NVR.
- Discreet Surveillance: If you prefer discreet surveillance, hiding your HDD can be a great solution. By concealing the storage device, you can maintain the appearance of a clean and organized space, making it less obvious that you have a surveillance system in place.
- Deterrence: The mere fact that your HDD is hidden can act as a deterrent to potential intruders. When they don’t see the storage device readily accessible, they may be discouraged from attempting to interfere with your surveillance system, reducing the risk of vandalism or tampering.
These are just a few of the compelling reasons why hiding your hard disk drive is beneficial. Now, let’s move on to the next section, where we will provide you with practical tips for effectively hiding your HDD.
Tips for Hiding Your Hard Disk Drive
When it comes to hiding your hard disk drive (HDD) from your network video recorder (NVR), there are several tips and strategies you can employ to ensure effective concealment. Here are some valuable tips to help you hide your HDD securely:
- Choose a Secure Location: Select a location that is not easily accessible and not commonly targeted by intruders. Consider areas such as inside a locked cabinet, an attic, a false ceiling, or even a hidden compartment.
- Consider Ventilation: Ensure that the location you choose for hiding your HDD has proper ventilation to prevent overheating. Poor airflow can cause damage to the hard drive, so keep this in mind when selecting your hiding spot.
- Hide Cables and Wires: Conceal the cables and wires connecting your HDD to the NVR. Use cable management solutions like cord covers, cable clips, or even walls to minimize their visibility. This not only helps with hiding the HDD but also keeps your space neat and tidy.
- Use Camouflage: If the hiding spot allows for it, consider using camouflage techniques to blend your HDD with the surroundings. For example, if you are hiding it in a bookshelf, consider using a book-shaped cover to disguise it as a regular book.
- Consider Secondary Encryption: If you have sensitive data on your HDD and want to add an extra layer of protection, consider encrypting the data. This ensures that even if the HDD is compromised, the encrypted data would be useless without the decryption key.
- Regularly Test Your System: Periodically test your surveillance system to ensure the HDD is functioning correctly and that you are capturing footage properly. Regular testing helps identify any issues early on and allows you to take appropriate action.
- Alert Monitoring: Set up alerts or notifications on your NVR system to alert you of any suspicious activities or potential tampering. This way, you can take immediate action if someone attempts to interfere with or access your hidden HDD.
By following these tips, you can enhance the effectiveness of hiding your HDD and maintain the integrity of your surveillance system. In the next section, we will discuss how to choose a suitable location for your HDD and guide you through the relocation process.
Choosing a Different Location for Your Hard Disk Drive
When deciding on a different location to hide your hard disk drive (HDD) from your network video recorder (NVR), there are several factors to consider. These considerations will ensure the safety and accessibility of your HDD. Here are some guidelines to help you choose an appropriate location:
- Accessibility: Choose a location that is convenient for you to access when you need to retrieve or replace the HDD. Consider the ease of reaching the location and whether it requires any additional tools or effort to access.
- Security: Select a spot that provides a higher level of security compared to the original location. Look for places that are less likely to be targeted by intruders, such as inside a locked cabinet, a secure room, or a hidden compartment.
- Temperature and Humidity: Ensure that the chosen location has a controlled environment to prevent any potential damage to the HDD. Extreme temperatures, excessive humidity, or exposure to direct sunlight can adversely affect the performance and lifespan of the hard drive.
- Protection from Physical Hazards: Consider the potential risks to the HDD from physical hazards such as accidental bumps, falls, or liquid spills. Avoid placing the HDD in areas where it is susceptible to damage or where it could come into contact with liquids.
- Eliminate Vibrations: Vibrations can negatively impact the performance and longevity of your HDD. Choose a location that minimizes exposure to vibrations, such as secure mounting brackets or isolation pads that absorb vibrations.
- Discretion and Concealment: Look for areas where the HDD can be hidden from plain sight, maintaining the appearance of a typical environment. Consider using camouflage techniques or disguising the HDD within existing objects or furniture.
- Power and Connectivity: Ensure that the chosen location has access to power outlets and is within reach of the necessary cables for connecting the HDD to the NVR. Avoid locations where cables may be exposed or become a tripping hazard.
By carefully considering these factors, you can select a suitable location that guarantees the security, accessibility, and longevity of your hidden hard disk drive. In the next section, we will discuss the tools and accessories you will need for relocating and concealing your HDD.
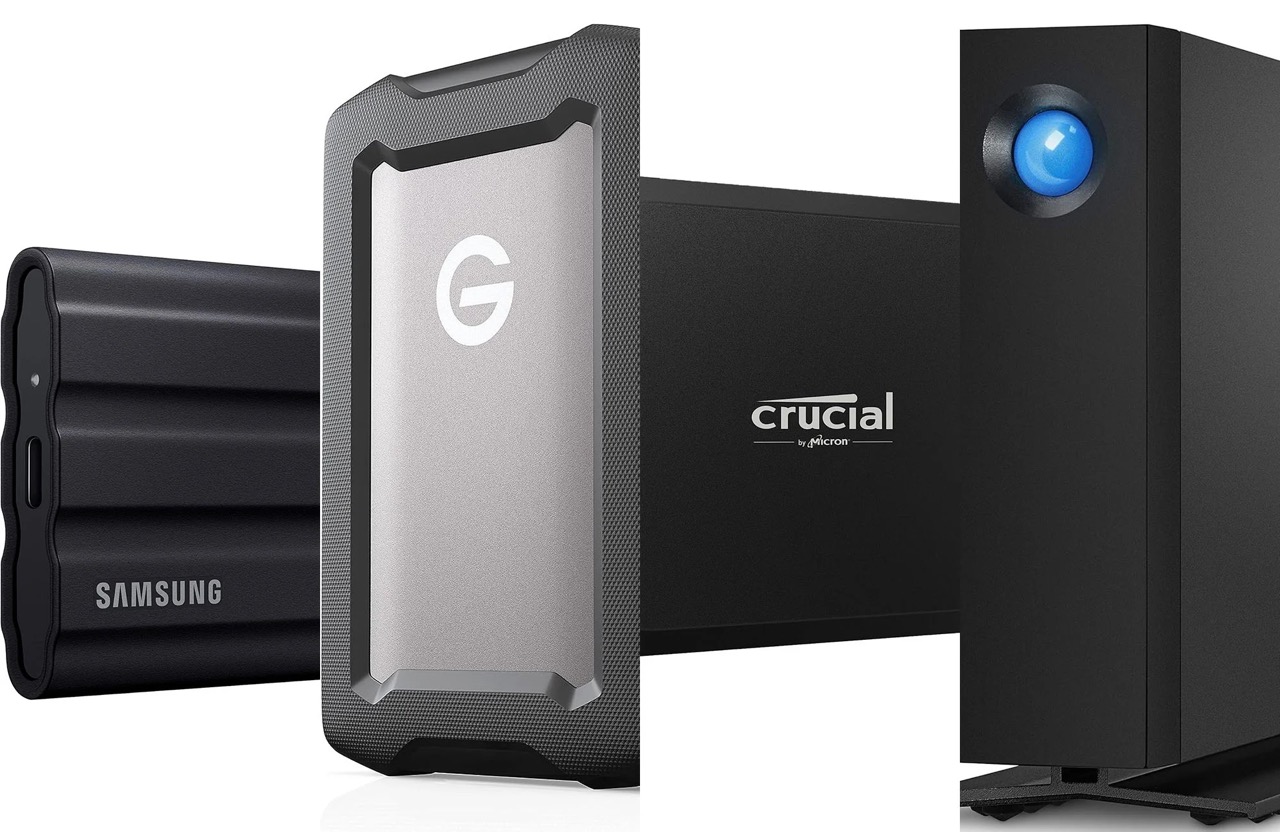
Tools and Accessories You Will Need
Before you begin relocating and concealing your hard disk drive (HDD) from your network video recorder (NVR), it’s important to gather the necessary tools and accessories. This ensures a smooth and successful transition. Here are the essential items you will need:
- Screwdriver Set: A set of screwdrivers with various sizes and types will be essential for disassembling and reassembling the HDD, as well as removing any mounting brackets or panels.
- Cable Management Solutions: To hide the cables and wires connecting your HDD to the NVR, consider using cable management solutions such as cord covers, cable clips, or cable raceways. These will help keep your space organized and minimize the visibility of the cables.
- Mounting Brackets: If you plan to secure your HDD in a specific location, you may need mounting brackets or brackets that are compatible with your HDD and the chosen location. These brackets will help keep the HDD secured and prevent it from moving or falling.
- Camouflage Materials: If you want to disguise your HDD to blend with its surroundings, consider using camouflage materials such as covers, wraps, or cases that match the objects or furniture in the chosen location.
- Ventilation Solutions: To ensure proper airflow and ventilation in the location where you hide your HDD, consider using ventilation solutions like vents, fans, or heat sinks. These will help prevent overheating and prolong the lifespan of your hard drive.
- Labeling Supplies: It’s a good practice to label your HDD and its cables with identifying markers or labels. This will make it easier to identify and locate the HDD if you need to retrieve or replace it in the future.
- Extra Screws and Fasteners: In case you need to replace any damaged or lost screws or fasteners during the relocation process, it’s wise to have a few extra screws and fasteners on hand.
Having these tools and accessories readily available will streamline the relocation and concealment process, ensuring that you have everything you need to securely hide your HDD. In the next section, we will guide you through the step-by-step process of preparing your HDD for relocation.
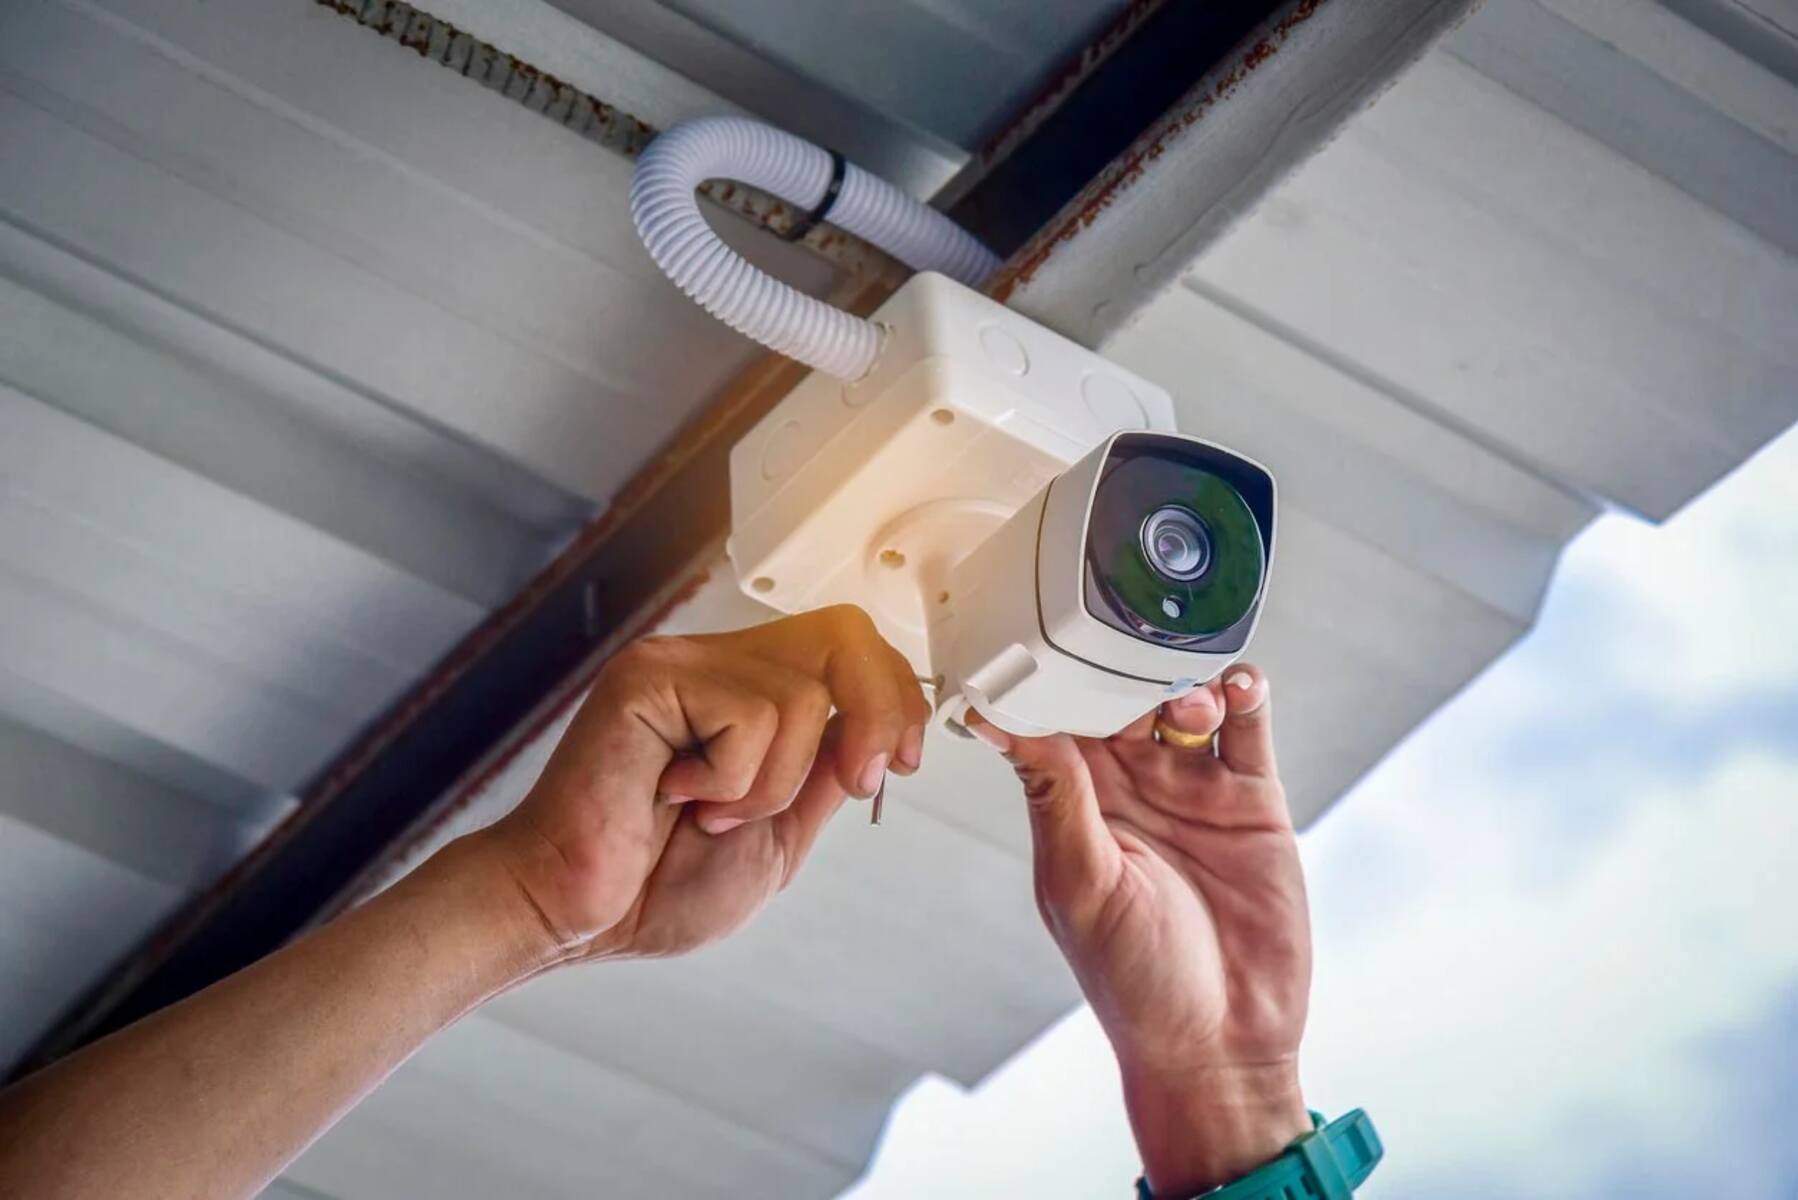
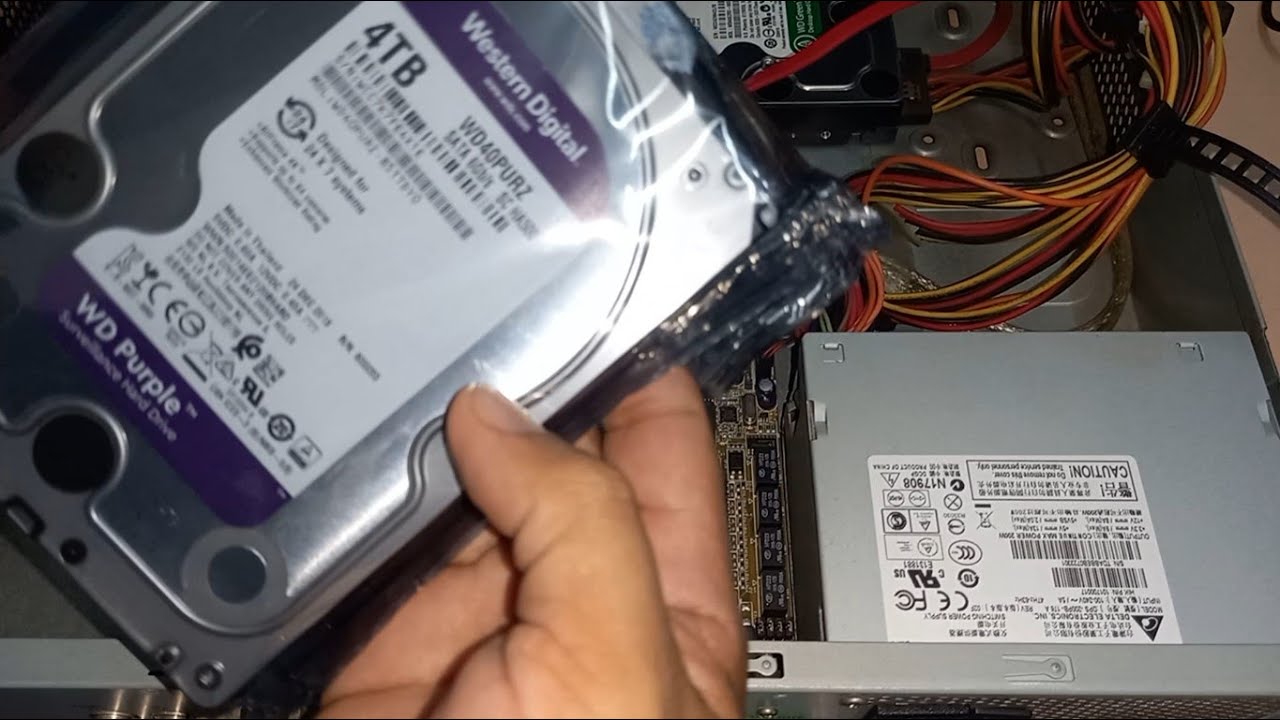
Step 1: Preparing Your Hard Disk Drive for Relocation
Before you can start the process of relocating your hard disk drive (HDD) from your network video recorder (NVR), it’s important to properly prepare the HDD. Taking these necessary steps will ensure a smooth transition and minimize any potential risks. Follow these guidelines to prepare your HDD for relocation:
- Power Off the NVR: Before handling the HDD, make sure to power off the NVR and disconnect it from any power sources. This ensures your safety and prevents any potential damage to the HDD during the preparation process.
- Label and Document Connections: Take note of the connections between the HDD and the NVR. Label the cables or take pictures to document the setup for easy reconnection later. This step will save you time and confusion when you need to reassemble the system.
- Back Up Your Data: It’s always a good practice to back up your data before making any changes to your HDD. Copy or transfer important files or recordings to an external backup device or cloud storage. This ensures that you have a copy of your data in case of any unforeseen issues during the relocation process.
- Handle the HDD with Care: Hard disk drives are sensitive devices, and mishandling them can cause damage. Avoid touching the exposed circuit board or moving parts. Hold the HDD by its edges or use an anti-static wrist strap to prevent electrostatic discharge.
- Remove the HDD from the NVR: Carefully disconnect the cables and screws securing the HDD to the NVR. Follow the manufacturer’s instructions or consult the documentation if you’re unsure about the specific removal process for your NVR model. Keep the screws and other removable components in a safe place for reassembly later.
- Handle Mounting Brackets: If your HDD was mounted using brackets, detach the brackets from the HDD. Ensure that you properly store the brackets for future use, or replace them if necessary based on the new location where you plan to hide the HDD.
- Secure Your HDD: To protect your HDD during transportation and relocation, place it in an anti-static bag or wrap it in an anti-static foam. This will prevent damage from electrostatic discharge and physical impact.
By following these steps, you will properly prepare your HDD for relocation, ensuring its safety and protecting your valuable data. In the next section, we will guide you through the process of finding a suitable location to hide your HDD.
Step 2: Finding a Suitable Location
Choosing the right location to hide your hard disk drive (HDD) from your network video recorder (NVR) is crucial to ensure its security and accessibility. Follow these steps to find a suitable location for your hidden HDD:
- Assess Security: Evaluate the security aspects of potential hiding spots. Look for areas that are less likely to be targeted by intruders, such as hidden compartments, locked cabinets, or secure rooms. Consider factors like visibility, accessibility, and the level of protection these locations offer.
- Consider Accessibility: Determine how easily you can access the hidden HDD when you need to retrieve or replace it. Consider factors such as distance, convenience, and any additional tools or effort required to access the location.
- Avoid Environmental Hazards: Ensure that the chosen location is free from potential environmental hazards such as extreme temperatures, excessive humidity, direct sunlight, or exposure to liquids. These can damage the HDD and affect its performance.
- Ensure Proper Ventilation: Verify that the hiding spot provides adequate ventilation to prevent overheating. The location should have sufficient airflow to dissipate heat generated by the HDD. Consider installing additional ventilation solutions like fans or vents if necessary.
- Discretion and Concealment: Choose a spot where the HDD can be discreetly hidden from plain sight. Consider using camouflage techniques or disguising the HDD within existing objects or furniture to ensure it remains inconspicuous.
- Eliminate Vibrations: Look for a location that minimizes exposure to vibrations to protect the HDD from any potential damage. Secure mounting brackets or isolation pads can help absorb vibrations and ensure the stability of the HDD.
- Ensure Power and Connectivity: Verify that the chosen location has access to power outlets and is within reach of the necessary cables for connecting the HDD to the NVR. Make sure the cables can be discreetly routed without causing a tripping hazard or unwanted visibility.
- Consider Future Expansion: Anticipate any future expansion or upgrades to your surveillance system. Choose a location that can accommodate additional HDDs or equipment if needed, ensuring flexibility for future modifications.
By following these steps, you can identify a suitable location that meets your requirements for security, accessibility, and functionality. In the next section, we will guide you through the process of concealing your hard disk drive in the chosen location.
Step 3: Concealing Your Hard Disk Drive
Once you have chosen a suitable location for hiding your hard disk drive (HDD) from your network video recorder (NVR), it’s time to conceal the HDD effectively. Follow these steps to ensure your HDD remains hidden and secure:
- Camouflage: If the chosen location allows for it, consider using camouflage techniques to blend the HDD with its surroundings. For example, if hiding it in a bookshelf, use a book-shaped cover to make it appear like a regular book.
- Hiding in Plain Sight: Utilize existing objects or furniture in the chosen location to conceal the HDD. Consider using storage boxes, decorative containers, or inconspicuous compartments to hide the HDD while maintaining a natural appearance.
- Cable Management: Conceal the cables connecting the HDD to the NVR using cable management solutions. Route the cables discreetly along baseboards, inside walls, or behind furniture. This helps maintain a clean and organized appearance while reducing the visibility of the connections.
- Secure Mounting: If necessary, secure the HDD in the hiding spot using mounting brackets or other appropriate hardware. Ensure the mounting solution is stable and properly installed to avoid any accidental dislodging or movement of the HDD.
- Consider Sound Dampening: If the HDD generates noise during operation, consider using soundproofing materials in the chosen location to dampen any audible vibrations. This helps maintain the secrecy of the hidden HDD and reduces the potential for detection.
- Maintain Airflow: Ensure the hidden location provides sufficient airflow to prevent overheating of the HDD. Avoid blocking vents or hindering the natural circulation of air. Consider installing additional ventilation solutions if needed.
By following these steps, you can effectively conceal your HDD in the chosen location, ensuring it remains hidden from view while maintaining proper functioning and security. In the next section, we will guide you through securing your hard disk drive in the new location.
Step 4: Securing Your Hard Disk Drive in the New Location
After concealing your hard disk drive (HDD) in the chosen location, it’s important to take measures to secure it properly. Follow these steps to ensure your hidden HDD remains stable and protected:
- Mounting Brackets: If applicable, secure your HDD using appropriate mounting brackets. Ensure the brackets are properly aligned and securely fastened to prevent any movement or dislodging of the HDD.
- Secure Connections: Verify that all cables connecting the HDD to the network video recorder (NVR) are securely plugged in and fastened. Inspect the connections periodically to ensure they remain intact and snug.
- Add Extra Reinforcement: If desired, you can add extra reinforcement to the hidden HDD to provide additional stability. This can include using adhesive hooks or straps to secure the HDD to the surrounding structure or furniture.
- Consider Locking Mechanisms: If the location allows, consider using locking mechanisms such as locking cabinets, drawers, or safes to further secure the hidden HDD. This provides an added layer of protection against unauthorized access.
- Test for Stability: Carefully test the stability of the hidden HDD by gently shaking or moving the surrounding area. Ensure that the HDD remains firmly in place without any noticeable movement or shifting.
- Document the Placement: Make a note or keep a record of the exact placement of your hidden HDD. This will help you locate and retrieve the HDD easily in the future, especially if you need to perform maintenance or replace it.
By following these steps, you can secure your hard disk drive in the new location, minimizing any potential risks of movement, tampering, or unauthorized access. In the next section, we will guide you through the process of testing and monitoring your concealed HDD.
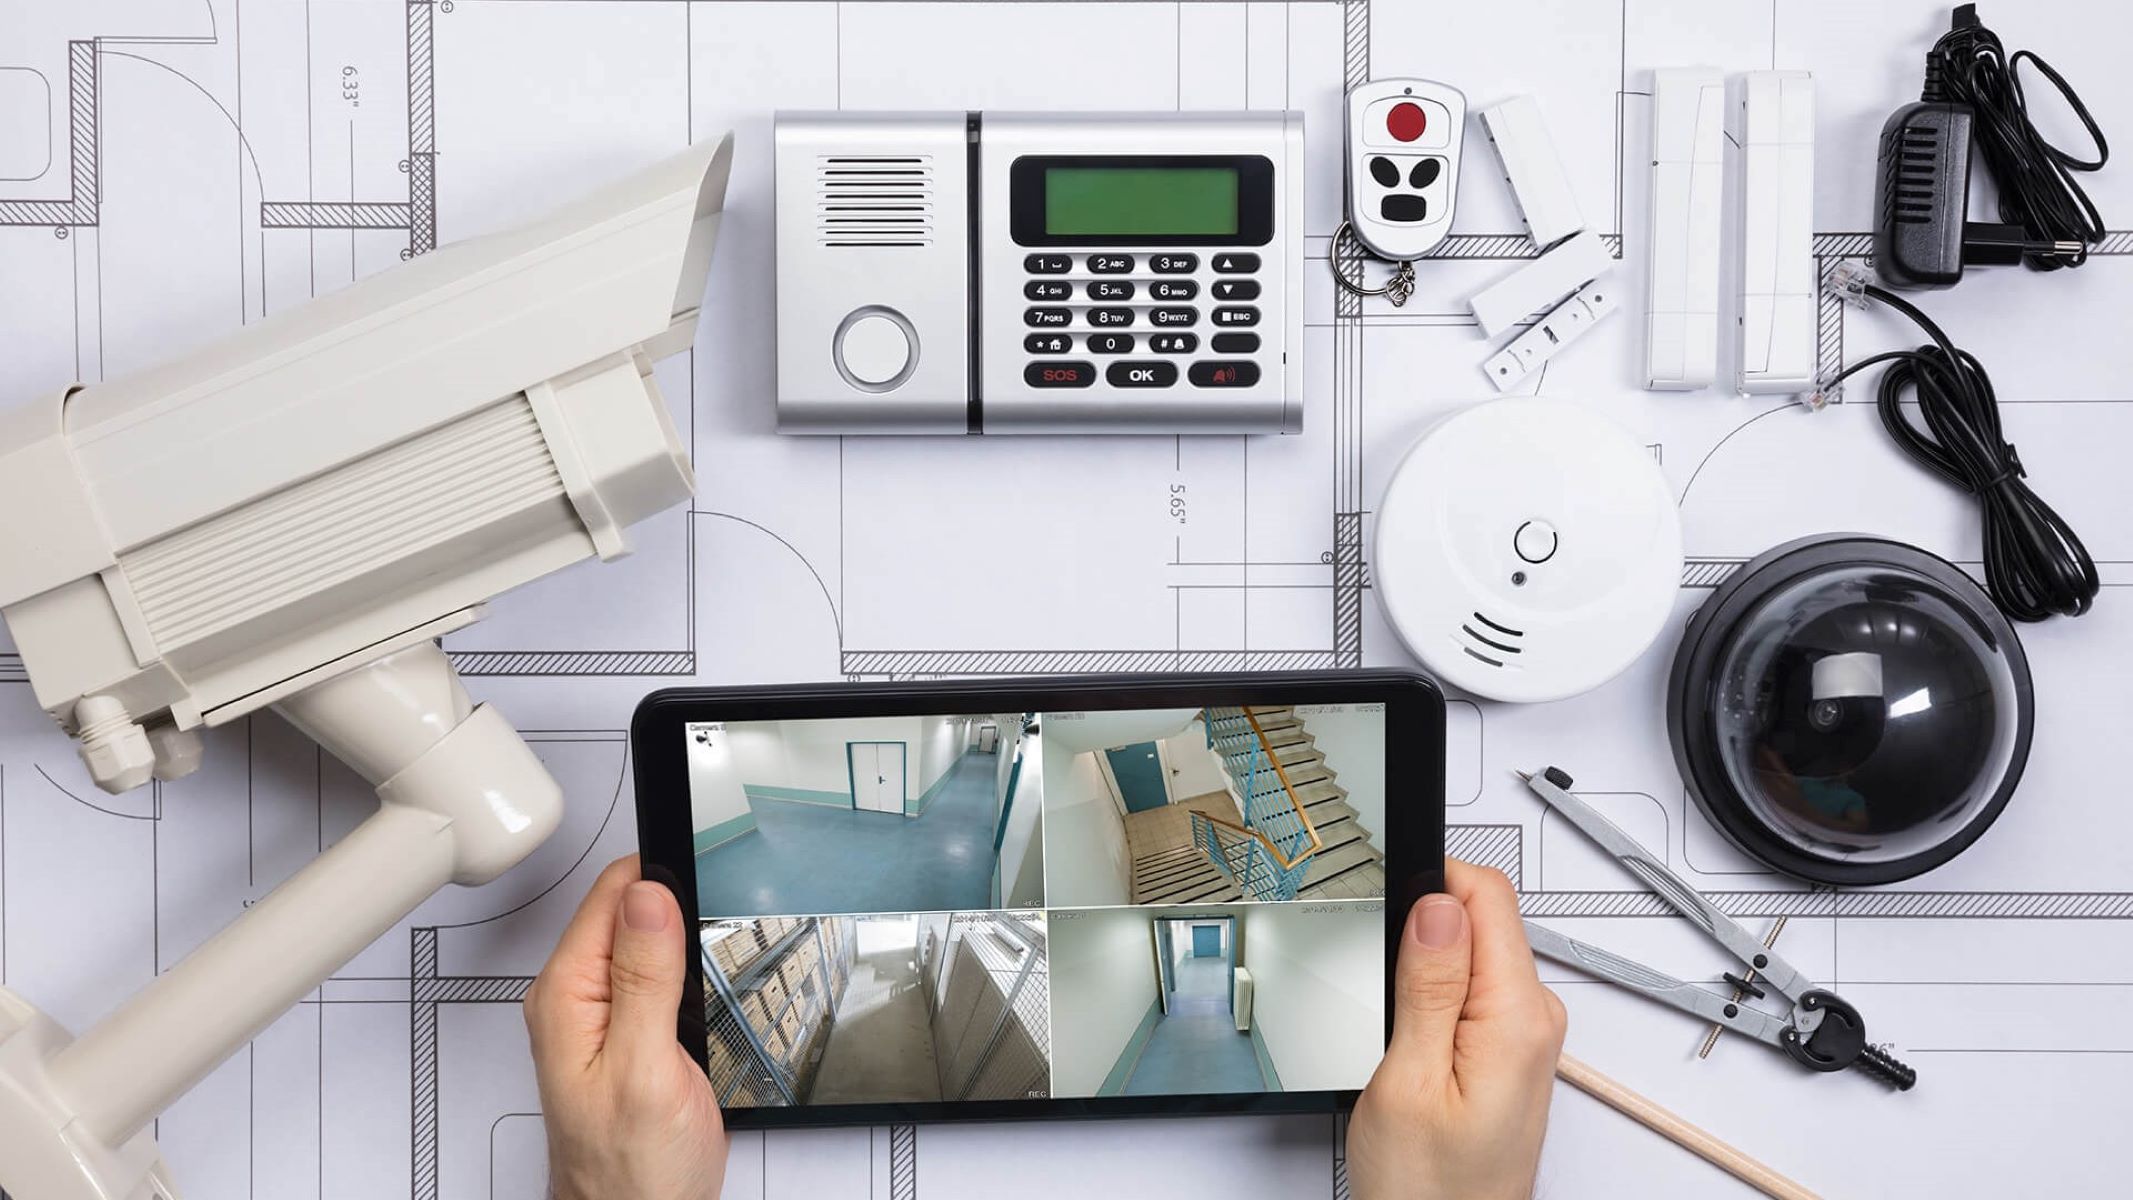
Step 5: Testing and Monitoring
After securing your hard disk drive (HDD) in the new location, it’s essential to conduct testing and monitoring to ensure everything is functioning properly. Follow these steps to test and monitor your hidden HDD:
- Power On the NVR: Reconnect the NVR to the power source and turn it on. Allow the system to fully initialize and ensure that it recognizes the presence of the HDD.
- Check the Recording Function: Test the recording functionality of your surveillance system to ensure that the HDD is capturing and storing video footage correctly. Perform a test recording and verify that the files are being saved to the hidden HDD.
- Review Playback: Playback the recorded video footage to confirm that it is accessible and plays back smoothly. Check for any glitches or issues with playback quality that may indicate problems with the hidden HDD.
- Monitor HDD Temperature: Monitor the temperature of the hidden HDD to ensure it remains within the appropriate operating range. Overheating can lead to performance issues and potential damage to the drive. Consider using software or monitoring tools provided by the NVR manufacturer to keep track of the HDD temperature.
- Regular Maintenance: Establish a schedule for regular maintenance and monitoring of your hidden HDD. This can include tasks like checking the connections, cleaning the surrounding area, and ensuring adequate ventilation to prevent dust buildup and overheating.
- Set Up Alerts: Configure alerts or notifications on your NVR system to notify you of any abnormalities or potential issues with the hidden HDD. This allows you to take prompt action if any problems arise, ensuring the continuous operation and security of your surveillance system.
- Perform Periodic Inspections: Regularly inspect the hidden HDD and its surrounding area for any signs of tampering, damage, or interference. This includes checking the integrity of the cables, ensuring the stability of the mounting brackets, and confirming the concealment remains effective.
By following these steps, you can ensure that your hidden HDD is functioning properly and being monitored effectively. Regular testing and monitoring will help identify and address any issues promptly, providing peace of mind and maintaining the integrity of your surveillance system.
Conclusion
Securing your hard disk drive (HDD) by hiding it in a different location from your network video recorder (NVR) is a strategic move to enhance the security, protection, and discreetness of your surveillance system. By following the steps outlined in this guide, you can successfully relocate and conceal your HDD, ensuring the safety of your valuable data and maintaining the integrity of your surveillance recordings.
First, we explored the reasons why hiding your HDD is beneficial, including enhanced security, data protection, prevention of damage or loss, discreet surveillance, and deterrence. We then provided tips on effectively hiding the HDD, such as choosing a secure location, considering ventilation, hiding cables and wires, and using camouflage techniques.
Next, we guided you through the process of preparing your HDD for relocation, including powering off the NVR, labeling connections, backing up data, handling the HDD with care, and removing it from the NVR. We also discussed how to choose a suitable location, considering factors like accessibility, security, temperature, and concealment.
In step 3, we covered the process of concealing the HDD, emphasizing camouflage and hiding in plain sight, cable management, secure mounting, sound dampening, and maintaining airflow. Step 4 focused on securing the HDD in the new location, including the use of mounting brackets, securing connections, reinforcement, locking mechanisms, and stability testing.
Lastly, in step 5, we discussed the importance of testing and monitoring your hidden HDD, including powering on the NVR, checking recording functionality, reviewing playback, monitoring HDD temperature, scheduling regular maintenance, setting up alerts, and performing periodic inspections.
By following these steps, you can ensure the successful relocation, concealment, and ongoing maintenance of your hard disk drive. Remember to prioritize the security and protection of your valuable data, and regularly assess and update your hiding strategy as needed. With these measures in place, you can enjoy peace of mind knowing that your surveillance system is safeguarded and your data is secure.