Introduction
Home security is a top concern for many homeowners. With advancements in technology, installing security cameras has become an effective way to protect your property and loved ones. Whether you want to prevent burglaries, monitor your children, or simply enhance the overall safety of your home, a well-designed security camera system can provide you with peace of mind.
In this guide, we will take you through the process of wiring home security cameras. From selecting the right camera to running cables and connecting them to the recording device, we will provide you with step-by-step instructions to help you set up a reliable and efficient surveillance system. Whether you are a DIY enthusiast or looking to hire a professional, understanding the basics of wiring home security cameras will be beneficial.
By installing cameras strategically around your property, you can monitor the activities in and around your home, deter potential intruders, and have valuable evidence in case of any unfortunate incidents. With the advancement of technology, modern security cameras offer high-resolution video footage, remote access, and easy integration with phone applications, making it convenient to keep an eye on your home even when you are away.
This guide will empower you with the knowledge to plan, prepare, and successfully wire your home security cameras. Whether you are retrofitting an existing system or starting from scratch, understanding the process will give you the confidence to tackle the project with ease.
Before diving into the technical details of wiring, it is crucial to understand your specific needs and objectives. Consider factors such as the size of your property, the number of entry points, areas of vulnerability, and any specific features or functionalities you require in a surveillance system. Having a clear understanding of your requirements will help you make informed decisions during the installation process.
Read on to learn how to select the right security camera, gather the necessary tools and materials, determine camera placement, run cables and wires, install the cameras, connect them to the recording device, and configure and test the system. With proper planning and careful execution, you can achieve a well-functioning home security camera system that provides the protection and peace of mind you desire.
Planning and Preparation
Before diving into the installation process, it is essential to spend some time planning and preparing for your home security camera project. Proper planning will save you time and ensure that you have all the necessary tools and materials on hand. Here are some key steps to consider:
- Assess your surveillance needs: Take a walk around your property and identify areas that require monitoring. This could include entry points, driveways, backyards, or any other vulnerable areas. Determine the number of cameras you need based on the coverage area and your objectives.
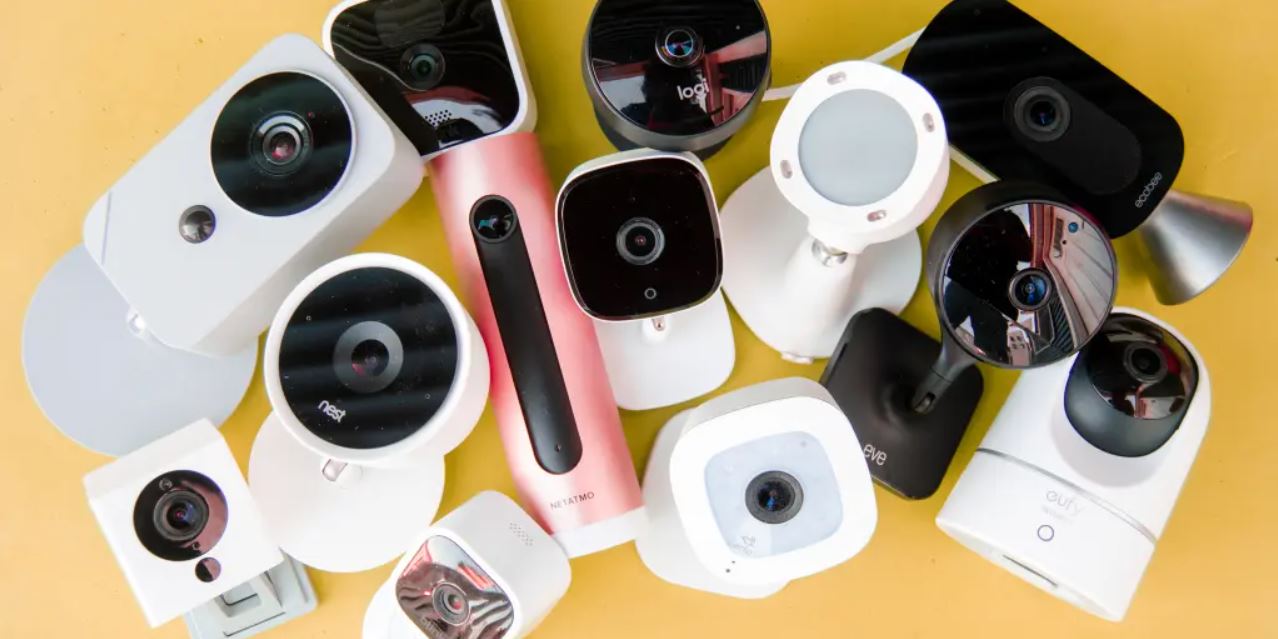
- Research camera types: There are various types of security cameras available, including wired, wireless, and IP cameras. Each has its own advantages and limitations. Do some research to understand which type suits your needs best. Consider factors such as image quality, connectivity options, and installation requirements.
- Determine storage requirements: Depending on your preferences, you can choose between a Digital Video Recorder (DVR) or a Network Video Recorder (NVR) for recording and storing footage. Consider the amount of storage you need based on the number of cameras and the duration of recording you require.
- Create a detailed installation plan: Measure the distance between your cameras and the recording device to determine the length of cables needed. Consider the locations of power outlets and plan accordingly. Sketch a diagram of your property and mark the camera placement areas for easy reference during installation.
- Gather the necessary tools and materials: Once you have a clear plan, gather all the tools and materials required for the installation. This may include security cameras, cables, power adapters, drill, screws, connectors, and a ladder. Ensure that you have everything you need before starting the installation process.
- Familiarize yourself with local regulations: Depending on your location, there may be specific regulations regarding the placement and use of security cameras. Familiarize yourself with these regulations to ensure that you comply with any legal requirements.
By spending time on planning and preparation, you can ensure a smoother installation process and achieve the desired results. Taking these steps will help you make informed decisions, avoid unnecessary delays, and ultimately have a functional and effective home security camera system in place.
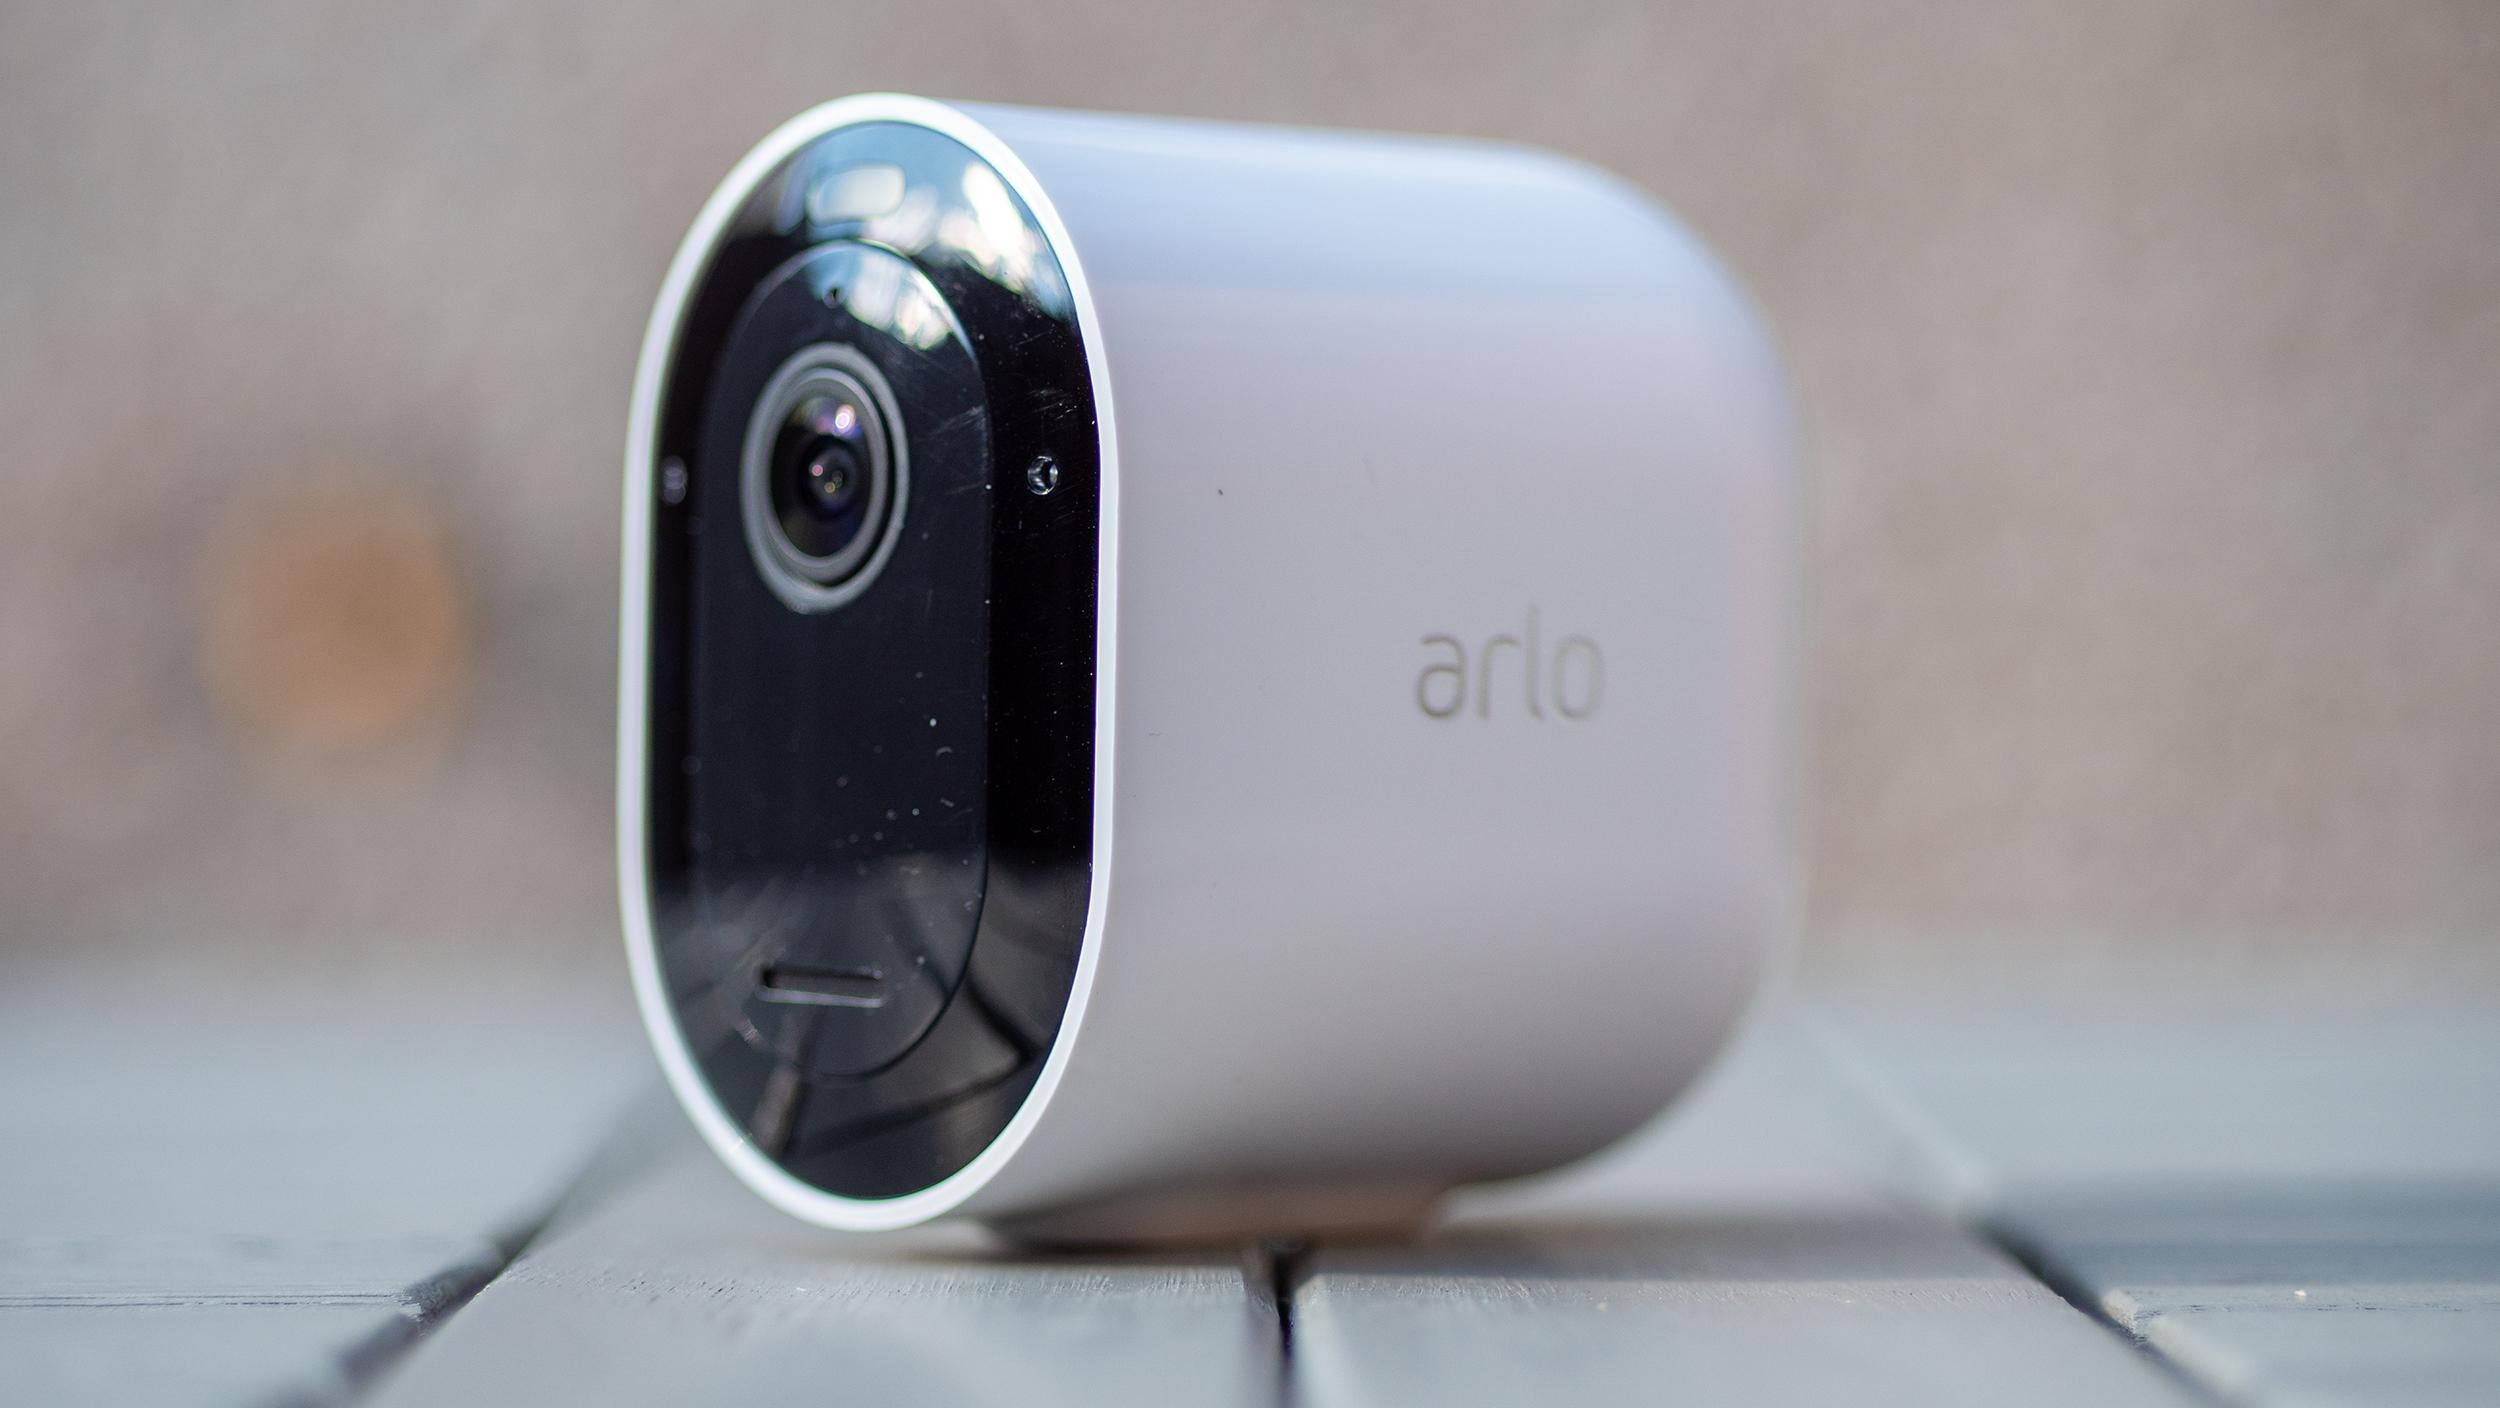
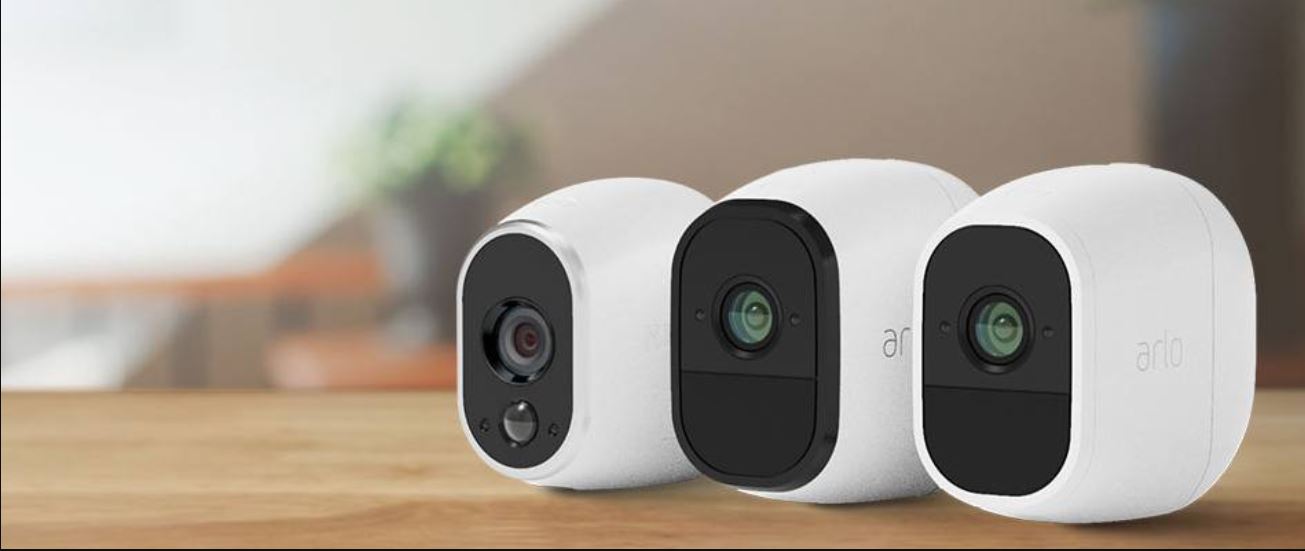
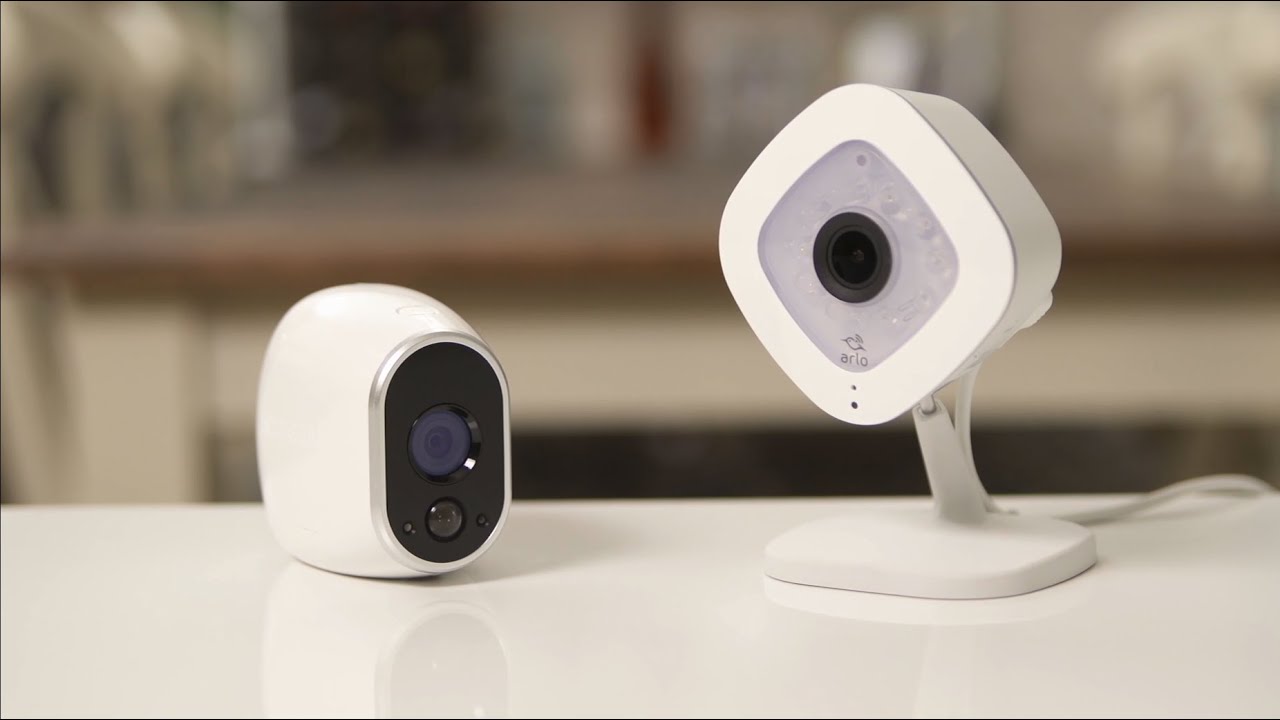
Selecting the Right Security Camera
Choosing the right security camera is crucial to the effectiveness of your surveillance system. With a wide range of options available, it’s important to consider your specific needs and requirements before making a decision. Here are some factors to consider when selecting the right security camera:
- Indoor or outdoor use: Determine whether you need cameras for indoor monitoring, outdoor surveillance, or both. Outdoor cameras should be weatherproof and able to withstand varying temperatures and environmental conditions.
- Image quality: Look for cameras with high-resolution capabilities. Higher resolution translates to clearer and more detailed images, allowing for better identification of people or objects in the footage.
- Field of view: Consider the desired field of view for each camera. Wide-angle lenses offer a broader view, while cameras with adjustable lenses allow for flexibility in capturing different areas. Pan, tilt, and zoom (PTZ) cameras offer even greater flexibility with their ability to rotate and zoom in on specific areas.
- Night vision: If you require surveillance during nighttime or in low-light conditions, look for cameras with built-in infrared (IR) LEDs for night vision capabilities. These cameras can capture clear images even in complete darkness.
- Power source: Determine whether you prefer wired cameras that require a power source or wireless cameras that are battery-powered or solar-powered. Wired cameras are more reliable but require the installation of power cables.
- Remote access: Consider whether you want the ability to access live footage remotely through a mobile app or software. This feature allows you to monitor your home from anywhere, providing peace of mind while you’re away.
- Additional features: Some cameras offer advanced features like motion detection, two-way audio, facial recognition, and cloud storage options. Assess which features are important to you and select a camera that meets your requirements.
It is also essential to consider your budget when selecting a security camera. Determine how many cameras you need and allocate your budget accordingly. Keep in mind that investing in higher-quality cameras may provide better long-term value due to their durability and advanced features.
Take the time to research different brands and read customer reviews to assess the reliability and performance of the cameras you are considering. Moreover, consult with a professional security camera installer or seek guidance from experts to ensure you make an informed decision.
Choosing the right security camera is crucial in building a reliable surveillance system. By considering the factors mentioned above and understanding your specific needs, you can select a camera that fits your requirements and provides the level of security you desire for your home.
Gathering the Necessary Tools and Materials
Before you start the installation process, it is essential to gather all the necessary tools and materials to ensure a smooth and successful setup of your home security camera system. Here are the key tools and materials you will need:
- Security cameras: Depending on your camera selection, ensure you have the required number of cameras for your surveillance system.
- Power adapters: Check whether your cameras come with power adapters included. If not, ensure you have the appropriate power adapters to supply power to the cameras.
- Cables: Most wired security cameras require cables for power and video transmission. Measure the distance between your cameras and the recording device to determine the length of cables needed.
- BNC connectors: These connectors are required to connect the coaxial cables to the cameras and the recording device.
- Recording device: If you are using a standalone DVR or NVR, make sure you have the necessary recording device along with any required hard drives for storing the footage.
- Monitor: You will need a monitor to set up and configure your security camera system. Ensure you have a compatible monitor or use a TV with HDMI or VGA input.
- Drill and screws: You may need to drill holes to mount the cameras. Make sure you have the appropriate drill and screws for the job.
- Ladder: If you need to install cameras in high or hard-to-reach areas, ensure you have a sturdy ladder for safe access.
- Network cables (for IP cameras): If you are installing IP cameras, you will need network cables for data transmission. Make sure you have the required length of network cables.
- Cable clips and cable management tools: These tools will help you neatly organize and secure the cables along the installation route.
- Testing instruments: Having a multimeter or cable tester will allow you to check the continuity and integrity of the cables, ensuring a proper connection.
- Power tools: Depending on the complexity of the installation, you may need additional power tools such as a screwdriver, wire stripper, or crimping tool.
>
It is crucial to ensure that all the tools and materials are of high quality and suitable for the installation process. Using proper tools will help streamline the installation, minimize potential damage, and ensure the longevity and effectiveness of your security camera system.
Before starting the installation, double-check that you have all the necessary tools and materials readily available. This way, you can avoid unnecessary delays and complete the installation smoothly.
Determining Camera Placement
The placement of your security cameras plays a significant role in the effectiveness of your surveillance system. By strategically positioning them, you can maximize coverage, identify potential blind spots, and ensure the security of your property. Here are some factors to consider when determining camera placement:
- Entry points: Focus on areas such as doors, windows, and garage entrances that provide potential access points for intruders. Install cameras in a way that captures clear footage of anyone approaching or attempting to enter your home.
- Perimeter coverage: Consider placing cameras around the perimeter of your property to monitor the surrounding area. Ensure that the cameras have a wide field of view to cover as much ground as possible.
- High-value areas: Identify areas that hold high-value items, such as safes or jewelry cabinets. Install cameras in these locations to deter theft or monitor any suspicious activity.
- Backyard or outdoor spaces: If you have a backyard or outdoor area, install cameras to cover these areas as well. This allows you to monitor the activities happening outside your home and provides an extra layer of security.
- Stairways and hallways: Place cameras in stairways and hallways to monitor movement within your home. These areas are common routes for burglars and can serve as crucial points for capturing intruders’ activities.
- Focal points and blind spots: Identify any focal points or blind spots where cameras will be most effective. Focal points include areas with high foot traffic or places where valuable items are kept. Blind spots are areas where cameras may have restricted viewing angles or obstructions that can hinder their functionality.
- Height and angle: Consider the ideal height and angle for each camera to capture a clear view. Mount the cameras high enough to prevent tampering or vandalism, while ensuring they are angled appropriately to capture the desired area.
- Lighting conditions: Take into account the lighting conditions in the areas where you plan to install the cameras. Consider cameras with built-in IR LEDs for night vision capabilities or ensure there is sufficient ambient lighting for clear daytime footage.
- Privacy concerns: Be mindful of privacy concerns and legal regulations. Avoid placing cameras in areas where they may intrude on your neighbors’ privacy, such as their windows or private areas of their property.
It is recommended to create a layout or diagram of your property, marking the desired camera placement areas. This will help you visualize the coverage and ensure that you have adequate camera positions to monitor all crucial areas.
Remember to test camera positions before permanently mounting them. Temporarily install the cameras and assess the quality of the footage to ensure optimal coverage. Adjust the angle or position as needed before finalizing the installation.
By taking these factors into consideration and strategically placing your security cameras, you can maximize the effectiveness of your surveillance system and ensure comprehensive coverage of your property.
Running Cables and Wires
Running cables and wires is a crucial step in the installation of a wired security camera system. Proper cable management ensures a reliable and efficient connection between the cameras and the recording device. Here are the steps to run cables and wires for your security cameras:
- Plan the cable routes: Determine the paths the cables will take from each camera to the recording device. Consider the most direct and discreet routes, taking into account any obstacles or obstructions that may be in the way.
- Measure the cable lengths: Measure the distance between each camera location and the recording device. Add some extra length to account for corners, bends, and potential adjustments during the installation process.
- Prepare the cables: If necessary, attach connectors to the ends of the cables. For coaxial cables, use BNC connectors, ensuring proper connections and secure attachment.
- Drill holes: If needed, drill holes for the cables to pass through walls or ceilings. Ensure that the size of the hole is appropriate for the cables and smooth any rough edges to avoid damaging the cables.
- Secure the cables: Use cable clips or cable management tools to secure the cables along the planned routes. This will not only keep the cables neat and organized but also protect them from potential damage or tripping hazards.
- Connect the cables: Once the cables are in place, connect them to the cameras and the recording device. For each camera, connect the appropriate cables to both the power supply and the video input/output ports on the camera and the recording device.
- Test the connections: After all the cables are connected, test the connections to ensure everything is working properly. Check for any loose or faulty connections and address them promptly.
- Conceal the cables (optional): If desired, you can conceal the cables to give your installation a cleaner, more professional look. This can be done by hiding the cables behind walls, using cable conduits, or routing them through existing structures.
- Label the cables: It is a good practice to label each cable for easy identification. Use labels or color-coded markers to indicate which cable corresponds to which camera.
When running cables and wires, it is important to exercise caution and ensure the cables are installed securely. Avoid any sharp objects or potential sources of interference that could damage the cables or impact the quality of the video transmission.
Additionally, consider cable management options such as cable ties, Velcro straps, or cable sleeves to keep the cables organized and minimize the risk of tangling or accidental disconnection.
By following these steps and properly running the cables and wires, you will ensure a reliable and tidy installation of your wired security camera system.
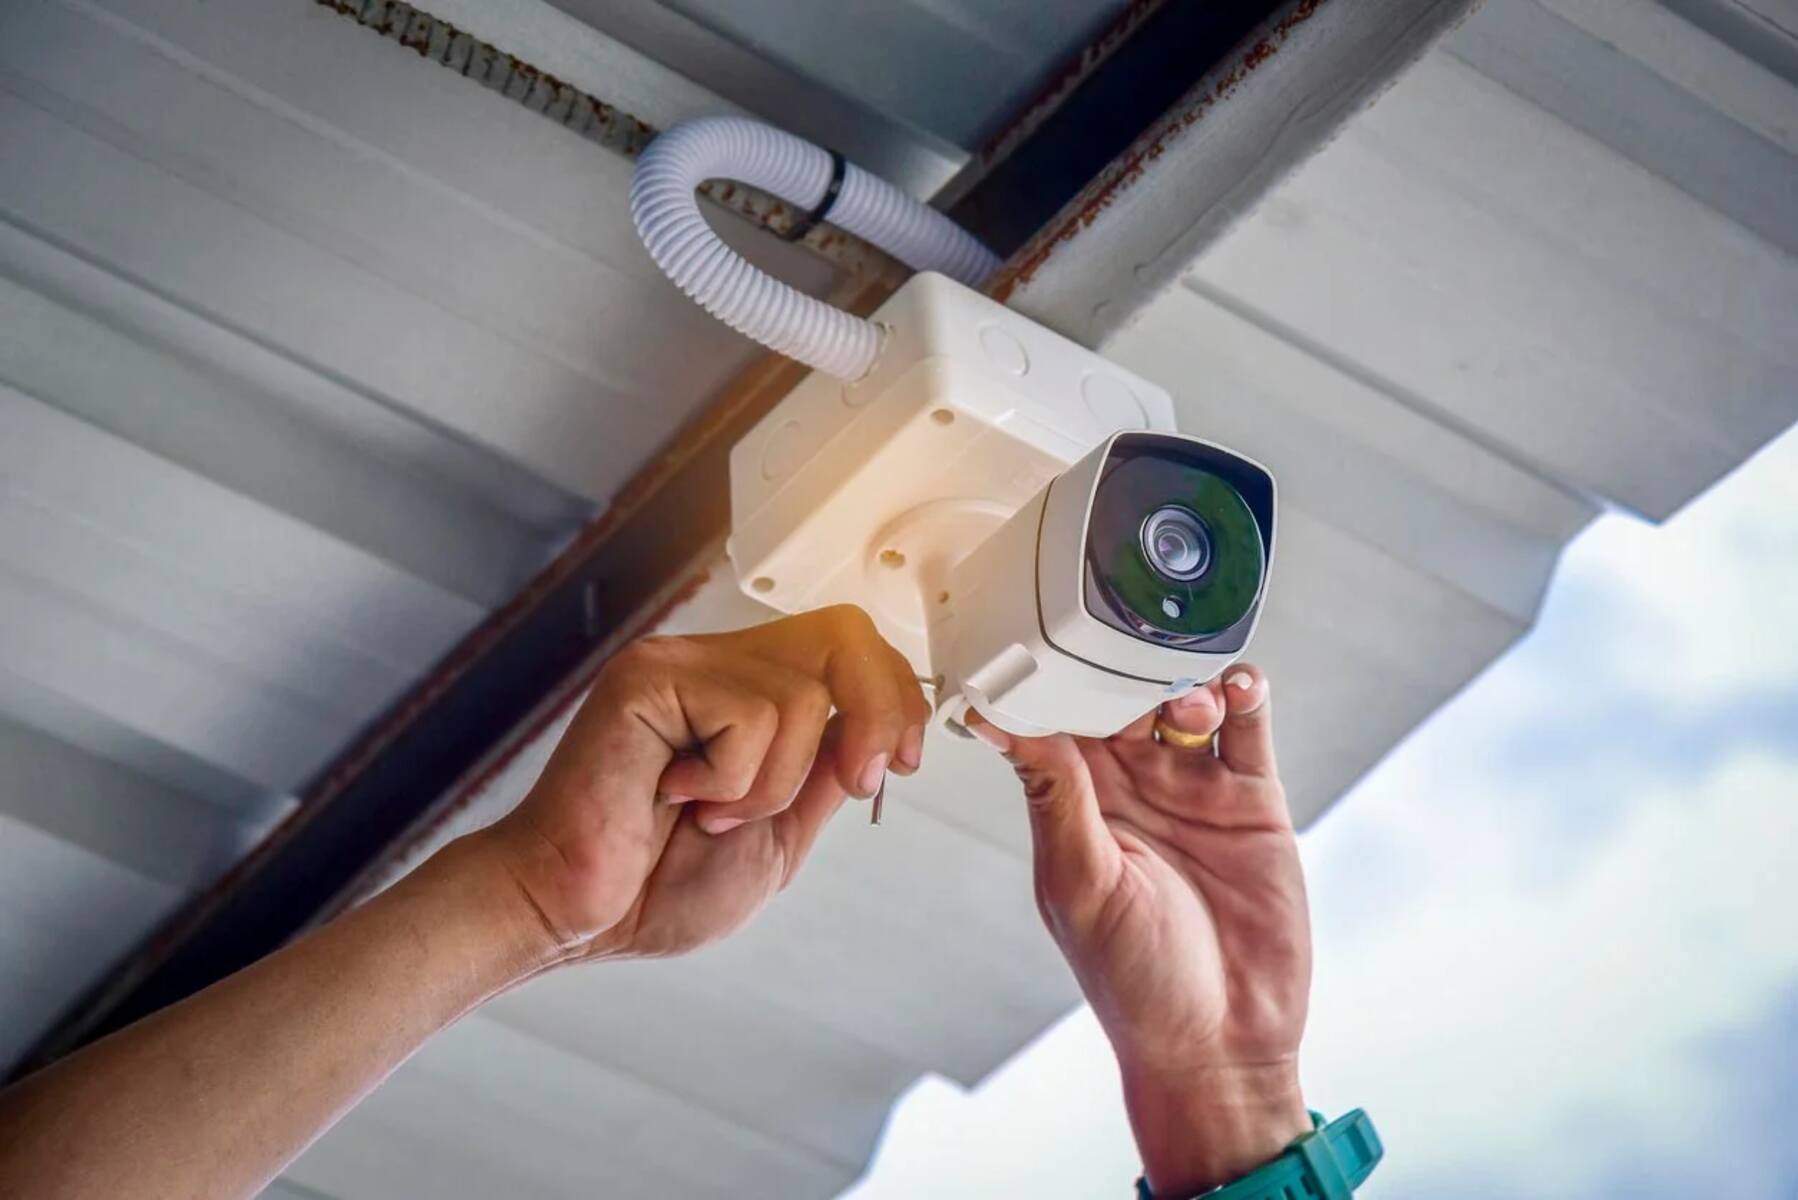
Installing the Cameras
Now that you have determined camera placement and run the necessary cables, it’s time to install the security cameras. Proper installation ensures optimal functionality and coverage. Here is a step-by-step guide to installing your security cameras:
- Gather the necessary tools: Collect the tools you will need for the installation, such as a drill, screws, and a ladder. Ensure you have all the required equipment nearby for easy access.
- Position the camera: Mount the cameras in their predetermined locations. Use the appropriate mounting brackets or hardware to secure the cameras in place. Ensure they are positioned at the desired angle to capture the desired field of view.
- Adjust the camera angle: Adjust the camera angle, if necessary, to ensure the camera lens is pointing in the desired direction. Take into account any obstructions or potential glare that may affect the clarity of the footage.
- Secure the mounting hardware: Double-check that the mounting hardware is securely fastened to prevent the camera from moving or becoming loose over time. This is especially important for outdoor cameras exposed to weather conditions.
- Connect the cables: Connect the cables from each camera to the appropriate ports on the recording device. Ensure that the connections are secure and properly aligned.
- Test the camera: Once the cameras are installed and connected, test each camera to ensure it is functioning correctly. Check the live feed on the monitor or mobile app to verify that the camera is capturing the desired view.
- Make adjustments if necessary: If any issues or concerns arise during the testing phase, make any necessary adjustments to camera position, angle, or cable connections. It’s important to ensure the cameras are working optimally before moving forward.
- Secure the cables: Neatly secure the cables along the installation route using cable clips or cable management tools. This will help protect the cables from damage and maintain a clean and professional appearance.
- Repeat the installation process: Repeat the installation process for each camera in your system, ensuring that all cameras are mounted securely and connected properly.
During the installation process, take extra precautions if you are installing outdoor cameras. Ensure they are adequately protected from the elements and securely mounted to withstand weather conditions.
Remember to refer to the manufacturer’s instructions for specific installation guidelines and recommendations, as they may vary depending on the camera model.
By following these steps, you can confidently install your security cameras and ensure reliable surveillance of your property.
Connecting the Cameras to the DVR or NVR
Once you have installed your security cameras, the next step is to connect them to the Digital Video Recorder (DVR) or Network Video Recorder (NVR). This connection allows the cameras to transmit video footage to the recording device for storage and monitoring. Here’s how to connect the cameras to the DVR or NVR:
- Locate the video inputs: Identify the video input ports on your DVR or NVR. These ports are typically labeled with numbers or camera icons and correspond to the number of cameras you have installed.
- Connect the cables: Take the cables connected to each camera and plug them into the corresponding video input ports on the DVR or NVR. Ensure that each cable is securely inserted, making a proper connection.
- Power on the DVR or NVR: Plug in the power adapter for the DVR or NVR and turn it on. Wait for the device to boot up and establish a connection with the connected cameras.
- Configure the cameras: Access the settings menu of the DVR or NVR through a connected monitor or using the remote control. Navigate to the camera settings and configure them according to your preferences. You may need to set the correct resolution, frame rate, and recording settings.
- Test the camera feeds: Once the cameras are connected and the settings are configured, test the camera feeds on the connected monitor or through remote access. Ensure that each camera is displaying a clear and live video feed on the screen.
- Adjust camera settings if necessary: If you notice any issues with the camera feeds, such as poor image quality or incorrect display, make adjustments within the camera settings menu. Experiment with different settings until you achieve the desired results.
- Set up recording settings: Determine the recording settings for each camera, such as continuous recording or motion detection recording. Configure the recording duration, quality, and storage options according to your needs and available storage capacity.
- Set up remote access (optional): If you want to access your security camera feeds remotely, configure remote access settings. This may involve setting up a mobile app or accessing the cameras through a web portal for remote viewing.
- Ensure proper cable management: Before completing the installation, ensure that the cables are neatly organized and secured to prevent any damage or tangling. Use cable clips or management tools to keep the cables in place.
It’s important to consult the manufacturer’s instructions for specific guidelines and troubleshooting tips related to your particular DVR or NVR model. Each system may have slightly different settings and procedures for camera connection and configuration.
By following these steps, you will successfully connect your security cameras to the DVR or NVR, allowing for effective video recording, storage, and monitoring of your surveillance system.
Configuring and Testing the System
Once you have connected the cameras to the DVR or NVR, the next step is to configure and test the system to ensure optimal functionality. This involves setting up various parameters, testing the video feeds, and making necessary adjustments. Follow these steps to configure and test your security camera system:
- Access the system settings: Use the connected monitor or remote access to access the settings menu of the DVR or NVR. Navigate to the system settings and proceed to configure the system according to your preferences.
- Date and time settings: Set the correct date and time on the system to ensure accurate timestamps on your recorded footage. This will be crucial during playback or when reviewing specific events.
- Enable motion detection (optional): If your system supports motion detection, configure the sensitivity levels and specific areas of interest. This feature allows the system to record only when motion is detected, saving storage space and providing alerts when activity is detected.
- Configure recording settings: Set up the desired recording settings such as resolution, frame rate, and storage options. Determine whether you want continuous recording or motion-based recording for each camera and adjust the recording duration accordingly.
- Enable remote access (if desired): If you want to access your security camera system remotely, configure the remote access settings. Set up the necessary apps or software on your mobile device or computer to securely monitor your cameras from anywhere.
- Test the camera feeds: With the system settings configured, thoroughly test the camera feeds to ensure they are working correctly. Verify that each camera is displaying live video on the connected monitor or through remote access.
- Check video quality and coverage: Evaluate the quality of the recorded video to ensure it meets your expectations. Make any necessary adjustments to the camera settings, such as brightness, contrast, or focus, to improve the clarity and visibility of the video.
- Verify storage capacity and playback: Check the available storage capacity on your DVR or NVR and ensure it is sufficient for your recording requirements. Test the playback functionality to review recorded footage and confirm that it can be easily accessed and viewed.
- Perform system tests: Conduct various system tests to ensure all components are functioning properly. Test features such as motion detection, alarm triggers, and remote access to ensure they are working as expected.
- Make necessary adjustments: If any issues or concerns arise during testing, such as poor video quality or unreliable motion detection, make the necessary adjustments within the system settings. Refer to the manufacturer’s instructions or seek technical support if needed.
Regularly monitor and review the system as part of ongoing maintenance. Check for system updates and software upgrades to ensure your security camera system remains up to date and continues to operate efficiently.
By following these steps and conducting thorough testing, you can configure your security camera system effectively, ensuring its reliability and performance to protect your home or property.
Troubleshooting Common Issues
While setting up a security camera system, you may encounter some common issues or challenges that can affect its functionality. Understanding how to troubleshoot these issues can help you resolve them quickly and ensure the smooth operation of your system. Here are some common problems and their possible solutions:
- No video signal: If you are not getting a video signal from one or more cameras, check the cable connections. Make sure the cables are securely plugged into both the cameras and the DVR or NVR. Test the cable by connecting it to a different camera or video input port to determine if the issue lies with the camera or the cable.
- Poor video quality: If you notice blurry or pixelated video, check the camera lens for any smudges or dirt. Clean the lens with a soft cloth and ensure it is focused properly. Adjust the camera settings for brightness, contrast, and resolution to improve the video quality. If the issue persists, consider upgrading to higher-resolution cameras.
- Interference or noise in video feed: If you are experiencing interference or noise in the video feed, it could be caused by nearby electronic devices or power sources. Reposition the cameras away from these sources of interference. If the issue continues, consider using shielded cables or adding signal amplifiers or filters to reduce interference.
- Camera not recording: If a camera is not recording despite being properly connected, check the recording settings in the DVR or NVR. Ensure that the camera is included in the recording schedule and that the storage capacity is sufficient. If motion detection is enabled, adjust the sensitivity levels to ensure proper triggering of recording.
- Remote access issues: If you are facing difficulties accessing your security camera system remotely, check the network settings and ensure port forwarding is properly configured on your router. Verify that the mobile app or software is up to date and compatible with your system. Troubleshoot network connectivity issues or consult with technical support if necessary.
- Power supply problems: In case a camera is not receiving power or frequently loses power, check the power connections and cables. Ensure the power adapter is functioning correctly and providing the appropriate voltage. Consider using a different power outlet or replacing the power adapter if needed.
- System freezing or crashing: If your DVR or NVR freezes or crashes intermittently, check if there are any firmware updates available for your specific model. Update the firmware if necessary. Verify that your system meets the minimum requirements for its operation, including sufficient storage capacity and memory. Clear out any unnecessary files or footage that may be causing the system to overload.
If you encounter any persistent issues that you cannot resolve, consult the manufacturer’s documentation or reach out to technical support for further assistance. They can provide specific troubleshooting steps or potential solutions based on your system’s make and model.
Regular maintenance, including cleaning the cameras and cables, checking for software updates, and periodically reviewing system settings, can help prevent or address common issues that may arise with your security camera system.
Conclusion
Setting up a wired security camera system requires careful planning, preparation, and execution. By following the steps outlined in this guide, you can successfully wire your home security cameras and create a reliable surveillance system to enhance the safety and security of your property.
Starting with proper planning and selecting the right security cameras, you can ensure that your system meets your specific needs and objectives. Gathering the necessary tools and materials beforehand saves time and ensures a smooth installation process.
When determining camera placement, strategic positioning helps maximize coverage and minimize blind spots. Running cables and wires efficiently and testing connections ensure a reliable and stable connection between the cameras and the recording device.
Installing the cameras securely and making the necessary adjustments for optimal performance is crucial. Connecting the cameras to the DVR or NVR and configuring the system settings allows for proper recording and monitoring.
Thorough testing and troubleshooting help identify and resolve any common issues that may arise. Regular maintenance and updates ensure the long-term functionality of your security camera system.
Remember to consult the manufacturer’s instructions and seek assistance from professionals if needed. Prioritize safety during installation and ensure compliance with any local regulations.
By following these guidelines, you can create a robust security camera system to protect your home and loved ones. Enhance your peace of mind with continuous monitoring, deter potential intruders, and have valuable evidence at hand in case of any unfortunate incidents. Enjoy the added security and comfort that a well-designed and properly wired home security camera system provides.