Introduction
Finding the perfect audio setup for your TV can greatly enhance your entertainment experience. While placing a soundbar under your TV might seem like a simple task, it’s essential to ensure that you do it correctly to achieve optimal sound quality and aesthetics. By hanging a soundbar under your TV, you can achieve a sleek and streamlined look while immersing yourself in a rich audio experience that complements the visuals on your screen.
In this guide, we will walk you through the step-by-step process of hanging a soundbar under your TV. We will cover everything from checking the compatibility of your TV and soundbar, to choosing the right mounting option, finding the optimal placement, attaching the bracket, organizing cables, and testing the setup. Whether you’re a DIY enthusiast or a beginner, you’ll find the instructions easy to follow, ensuring a successful installation.
Before we dive into the details, it’s important to note that different TVs and soundbars may have specific requirements and recommendations, so it’s always a good idea to consult the user manuals for both your TV and soundbar before proceeding. Additionally, make sure to gather the necessary tools and materials as listed in the next section to ensure a smooth installation process.
Checking Compatibility
Before you begin the installation process, it’s crucial to ensure that your TV and soundbar are compatible with each other. This will help you avoid any potential issues or complications down the line. Here are a few factors to consider when checking compatibility:
- TV Mounting Capability: Check if your TV has the necessary mounting provisions to attach a soundbar. This could include mounting holes or a dedicated soundbar mount on the back of the TV.
- Weight and Size Limitations: Verify the weight and size limitations specified by the manufacturer of both the TV and soundbar. Ensure that the soundbar is within the recommended weight range and dimensions that can be safely supported by the TV.
- Audio Output Options: Examine the audio output options available on your TV. Common options include HDMI ARC (Audio Return Channel), optical audio output, or a 3.5mm audio jack. Ensure that your soundbar has corresponding inputs to connect with the TV.
- Power Requirements: Consider how the soundbar will be powered. Some soundbars are powered through the TV’s USB port, while others require a separate power source. Confirm the power requirements and ensure compatibility.
- Remote Control Compatibility: Check if your TV and soundbar have compatible remote control functionalities. This will ensure that you can easily control the volume and settings of the soundbar using the TV remote or a universal remote.
By thoroughly checking the compatibility between your TV and soundbar, you can ensure a smooth installation process and avoid any potential issues that may arise. If you are unsure about any of the compatibility factors, refer to the user manuals or reach out to the manufacturers for further clarification.
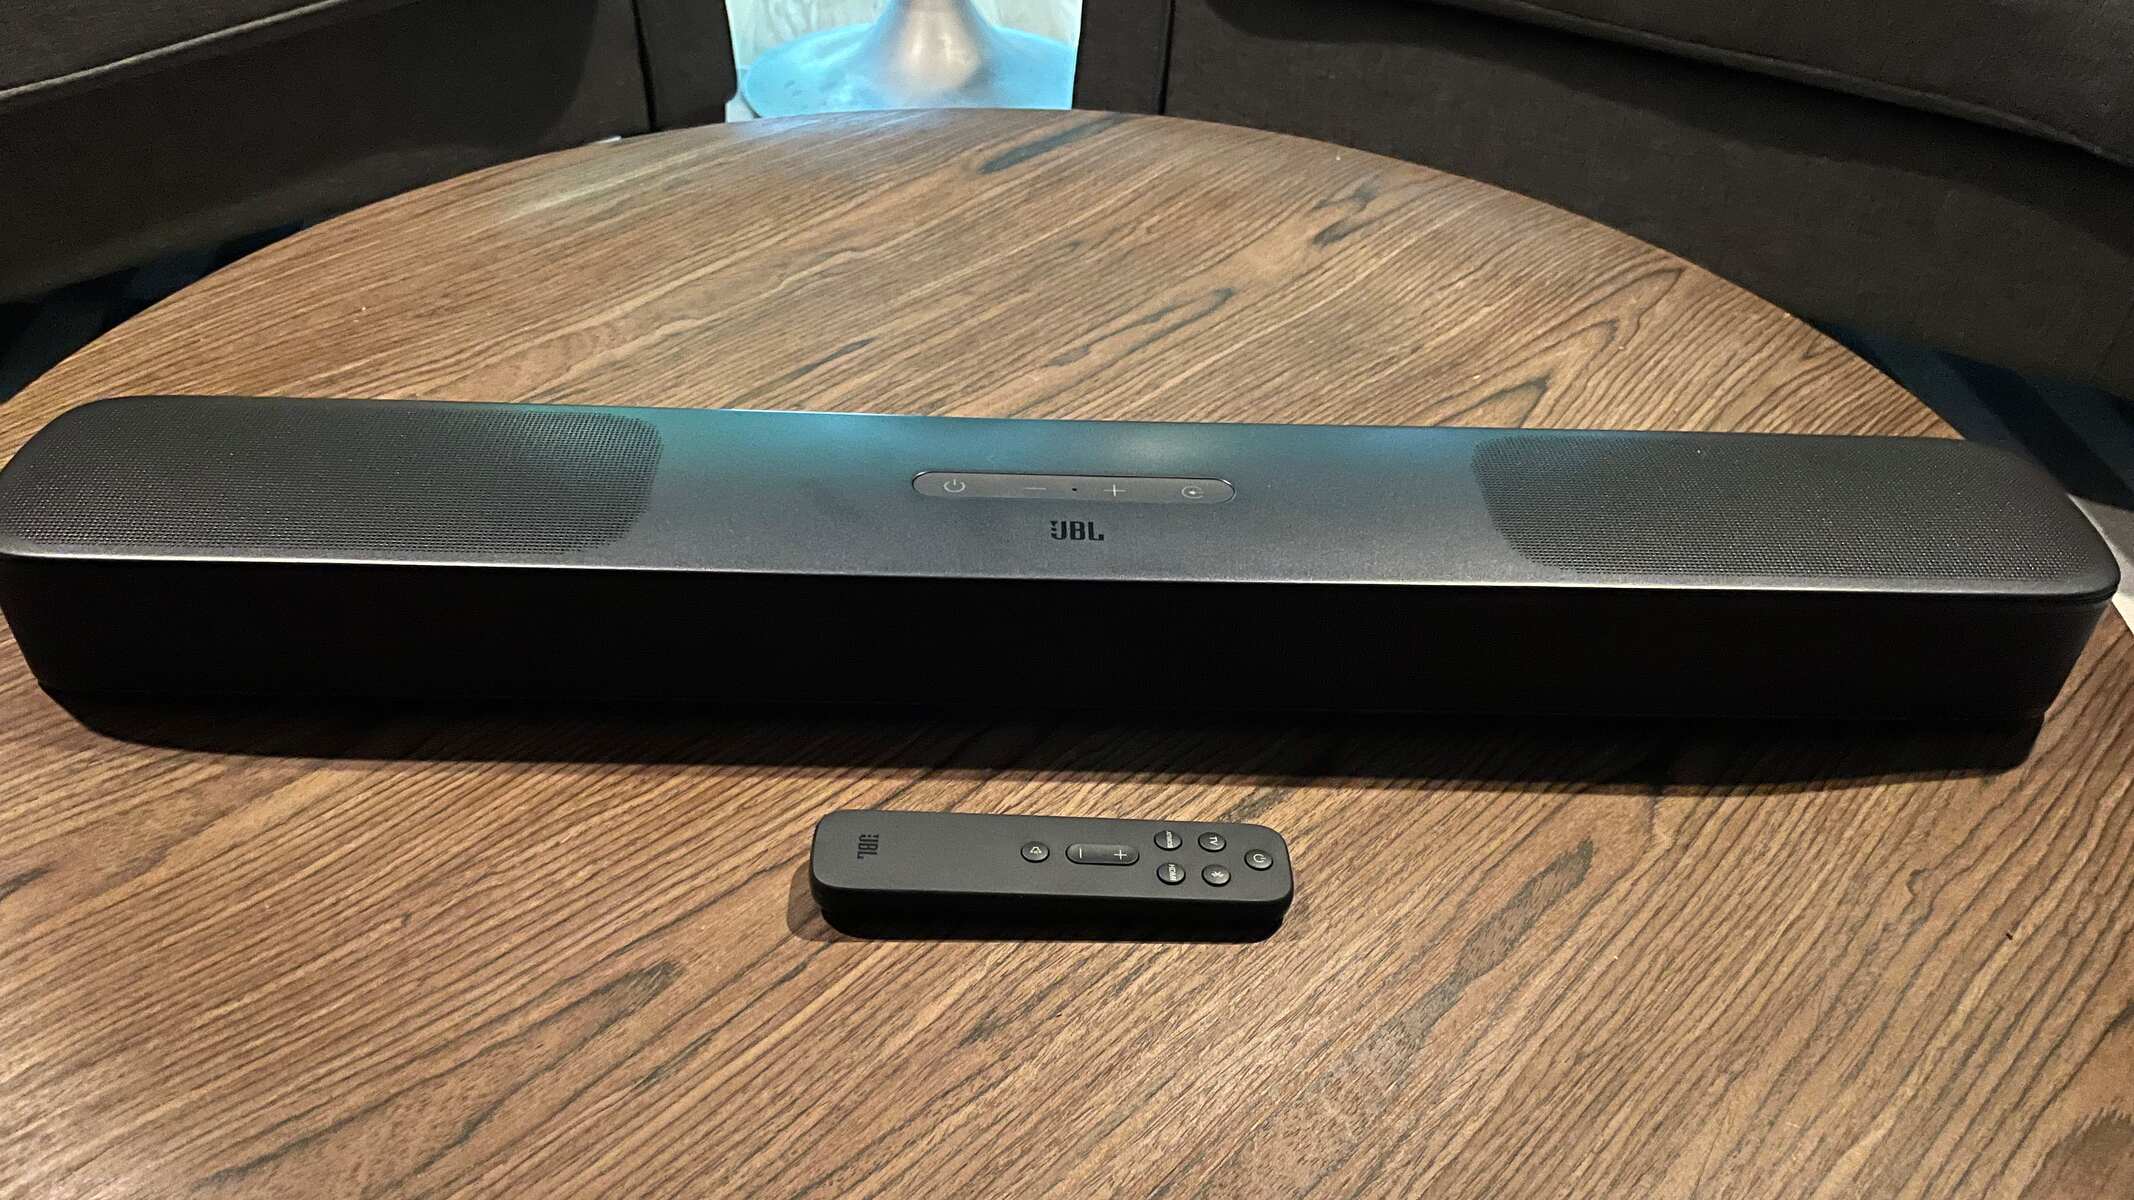
Tools and Materials Needed
Before you start hanging your soundbar under the TV, make sure you have the necessary tools and materials to complete the installation. Here’s a list of what you’ll need:
- Measuring Tape: You’ll need a measuring tape to determine the correct placement and ensure proper alignment.
- Screwdriver Set: A screwdriver set with various sizes of Phillips and flathead screwdrivers will be necessary for attaching the soundbar bracket and any other mounting components.
- Level: A level tool will help you ensure that the soundbar is mounted straight and level.
- Stud Finder: A stud finder tool will assist you in locating the studs in the wall to ensure secure mounting.
- Masonry Drill Bits (if applicable): If you’re mounting the soundbar on a brick or concrete wall, you’ll need masonry drill bits to create holes for the mounting screws.
- Pencil or Marker: You’ll need a pencil or marker to mark the positions for drilling holes and attaching the bracket.
- Mounting Bracket: Depending on your soundbar model, you may need a specific mounting bracket that is designed to fit your soundbar and TV.
- Mounting Hardware: This includes screws, washers, and anchors that are necessary for attaching the bracket to the wall and mounting the soundbar.
- Cable Management Solutions: To keep the cables organized and concealed, you may need cable clips, cable ties, or cable raceways.
Having these tools and materials on hand will make the installation process much smoother and ensure that you have everything you need to hang your soundbar under your TV. Double-check the user manuals of your TV and soundbar to see if there are any specific recommendations regarding tools or materials for the installation.
Choosing the Right Mounting Option
When it comes to mounting your soundbar under the TV, there are a few different options available. The choice you make will depend on the specific requirements of your TV and soundbar, as well as your personal preferences. Here are the common mounting options to consider:
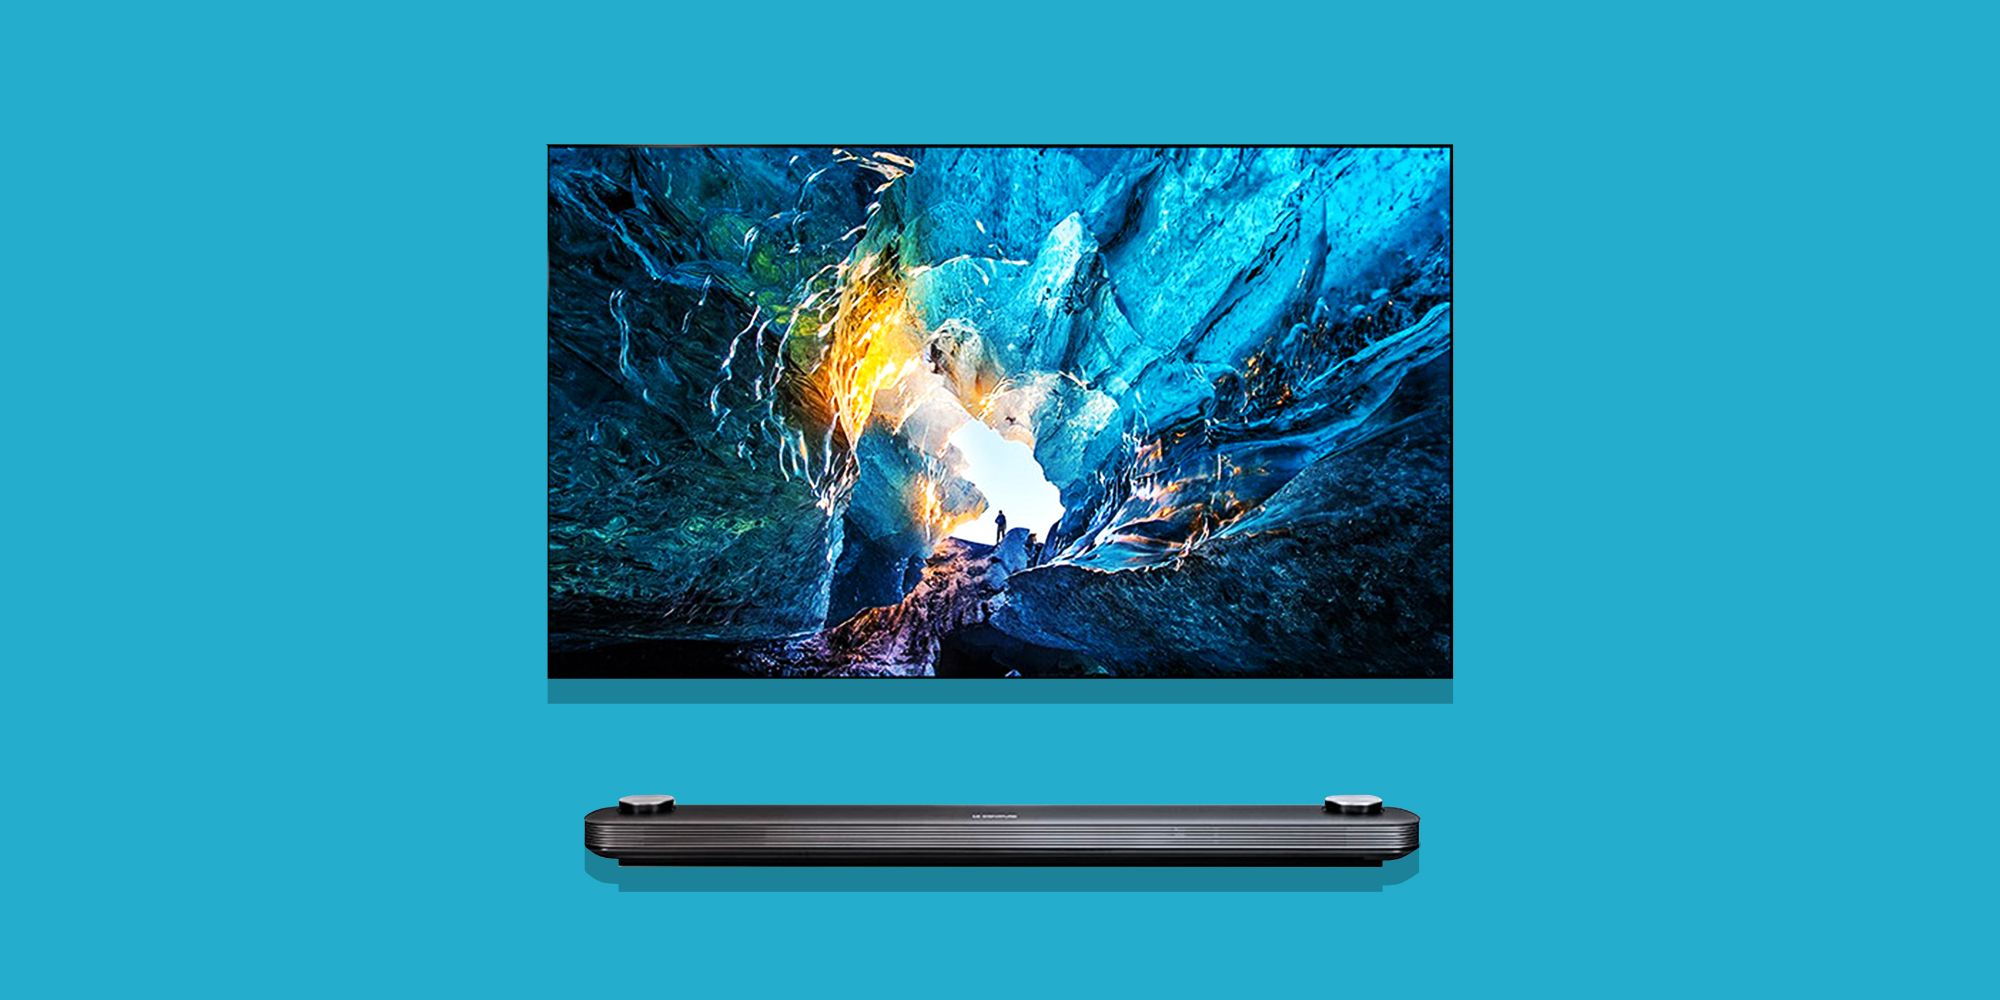
- Wall Mount: If you have enough wall space below your TV, you can choose to mount the soundbar directly on the wall. This option provides a clean and streamlined look. Make sure to use a sturdy wall mount that can support the weight of the soundbar along with the necessary mounting hardware.
- TV Mount: Some TV mounts come with built-in soundbar brackets or shelf attachments. This is a convenient option if you already have a TV mount and want to have the soundbar placed directly below the TV. Ensure that the TV mount is compatible with your soundbar and can support its weight.
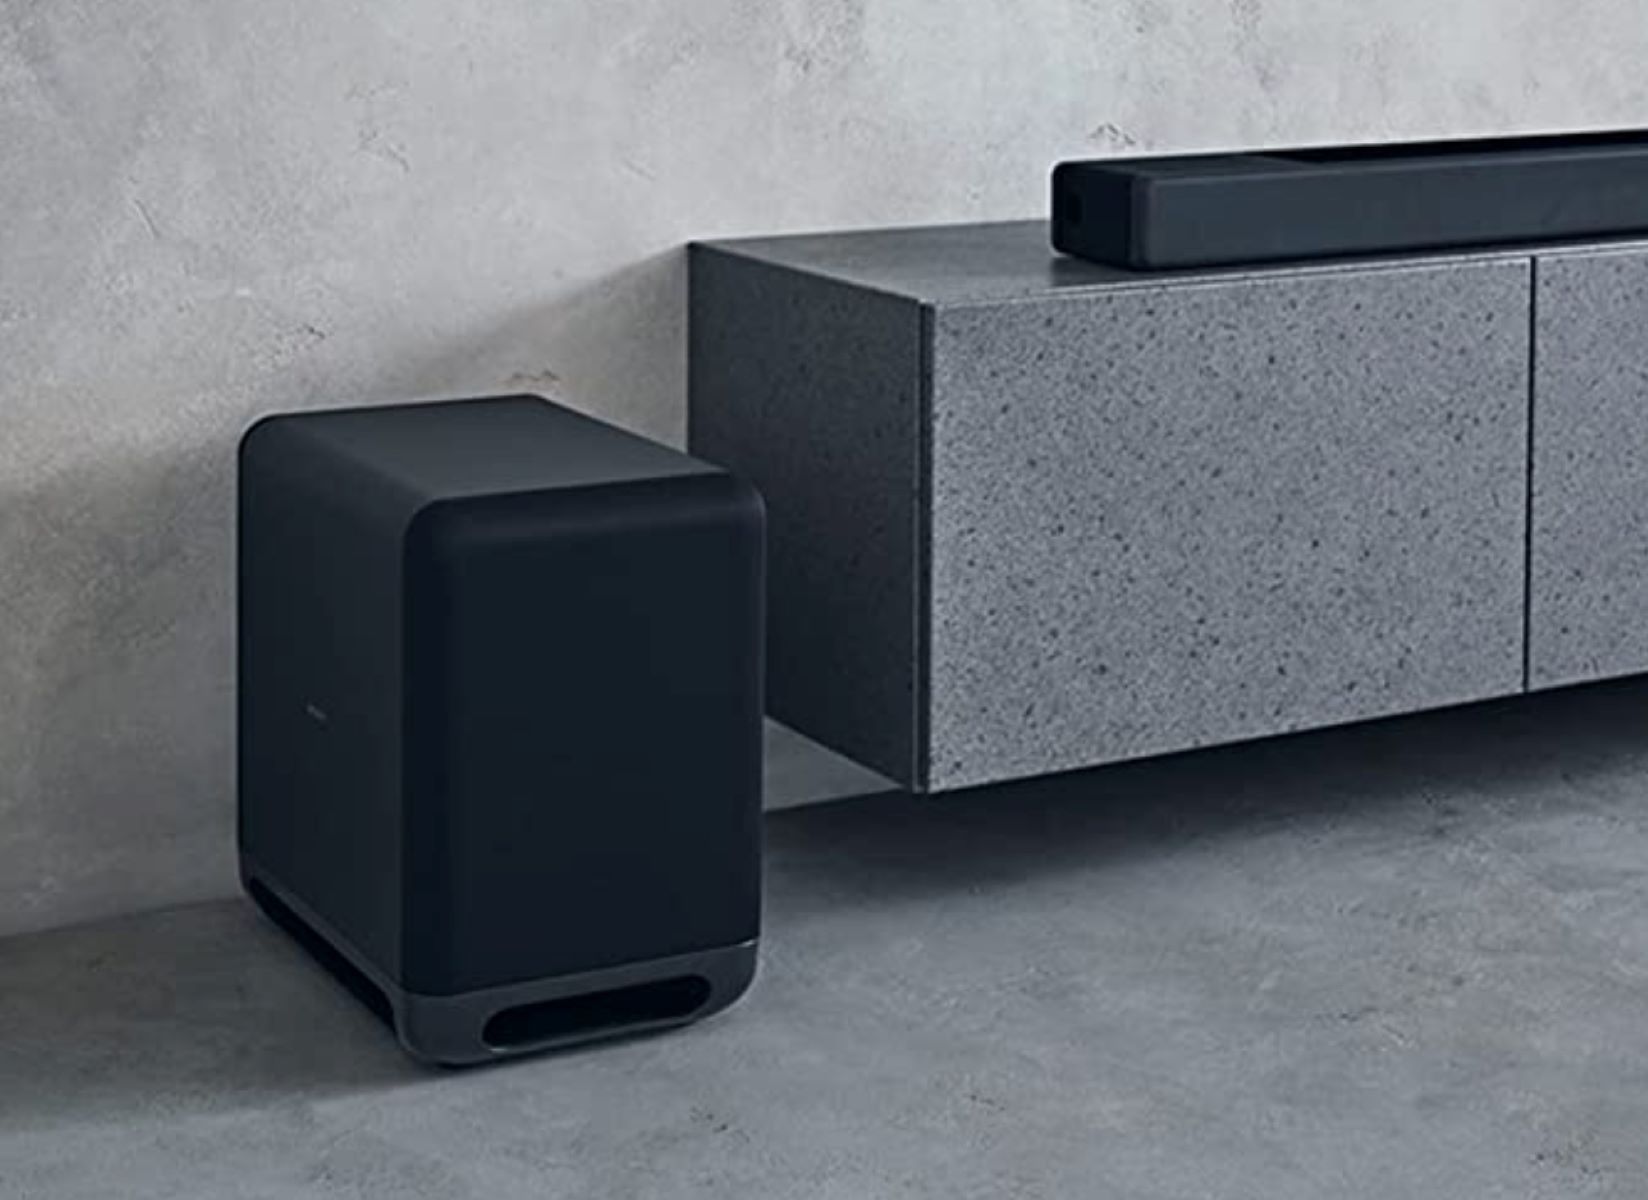
- Soundbar Stand: If you prefer not to mount the soundbar on the wall or TV, you can opt for a soundbar stand. This stand will allow you to place the soundbar below the TV on a flat surface. Look for a stand that matches the size and weight requirements of your soundbar.
When choosing the right mounting option, consider the aesthetics, available space, and the overall look you want to achieve. Wall mounting is a popular choice as it keeps the soundbar neatly tucked under the TV, creating a minimalist appearance. However, if wall mounting isn’t practical or desired, a TV mount or soundbar stand can provide a similar effect.
Remember to refer to the user manuals of your TV and soundbar for any specific recommendations or limitations regarding mounting options. Taking the time to choose the right option will ensure a secure and visually pleasing setup for your soundbar and TV combination.
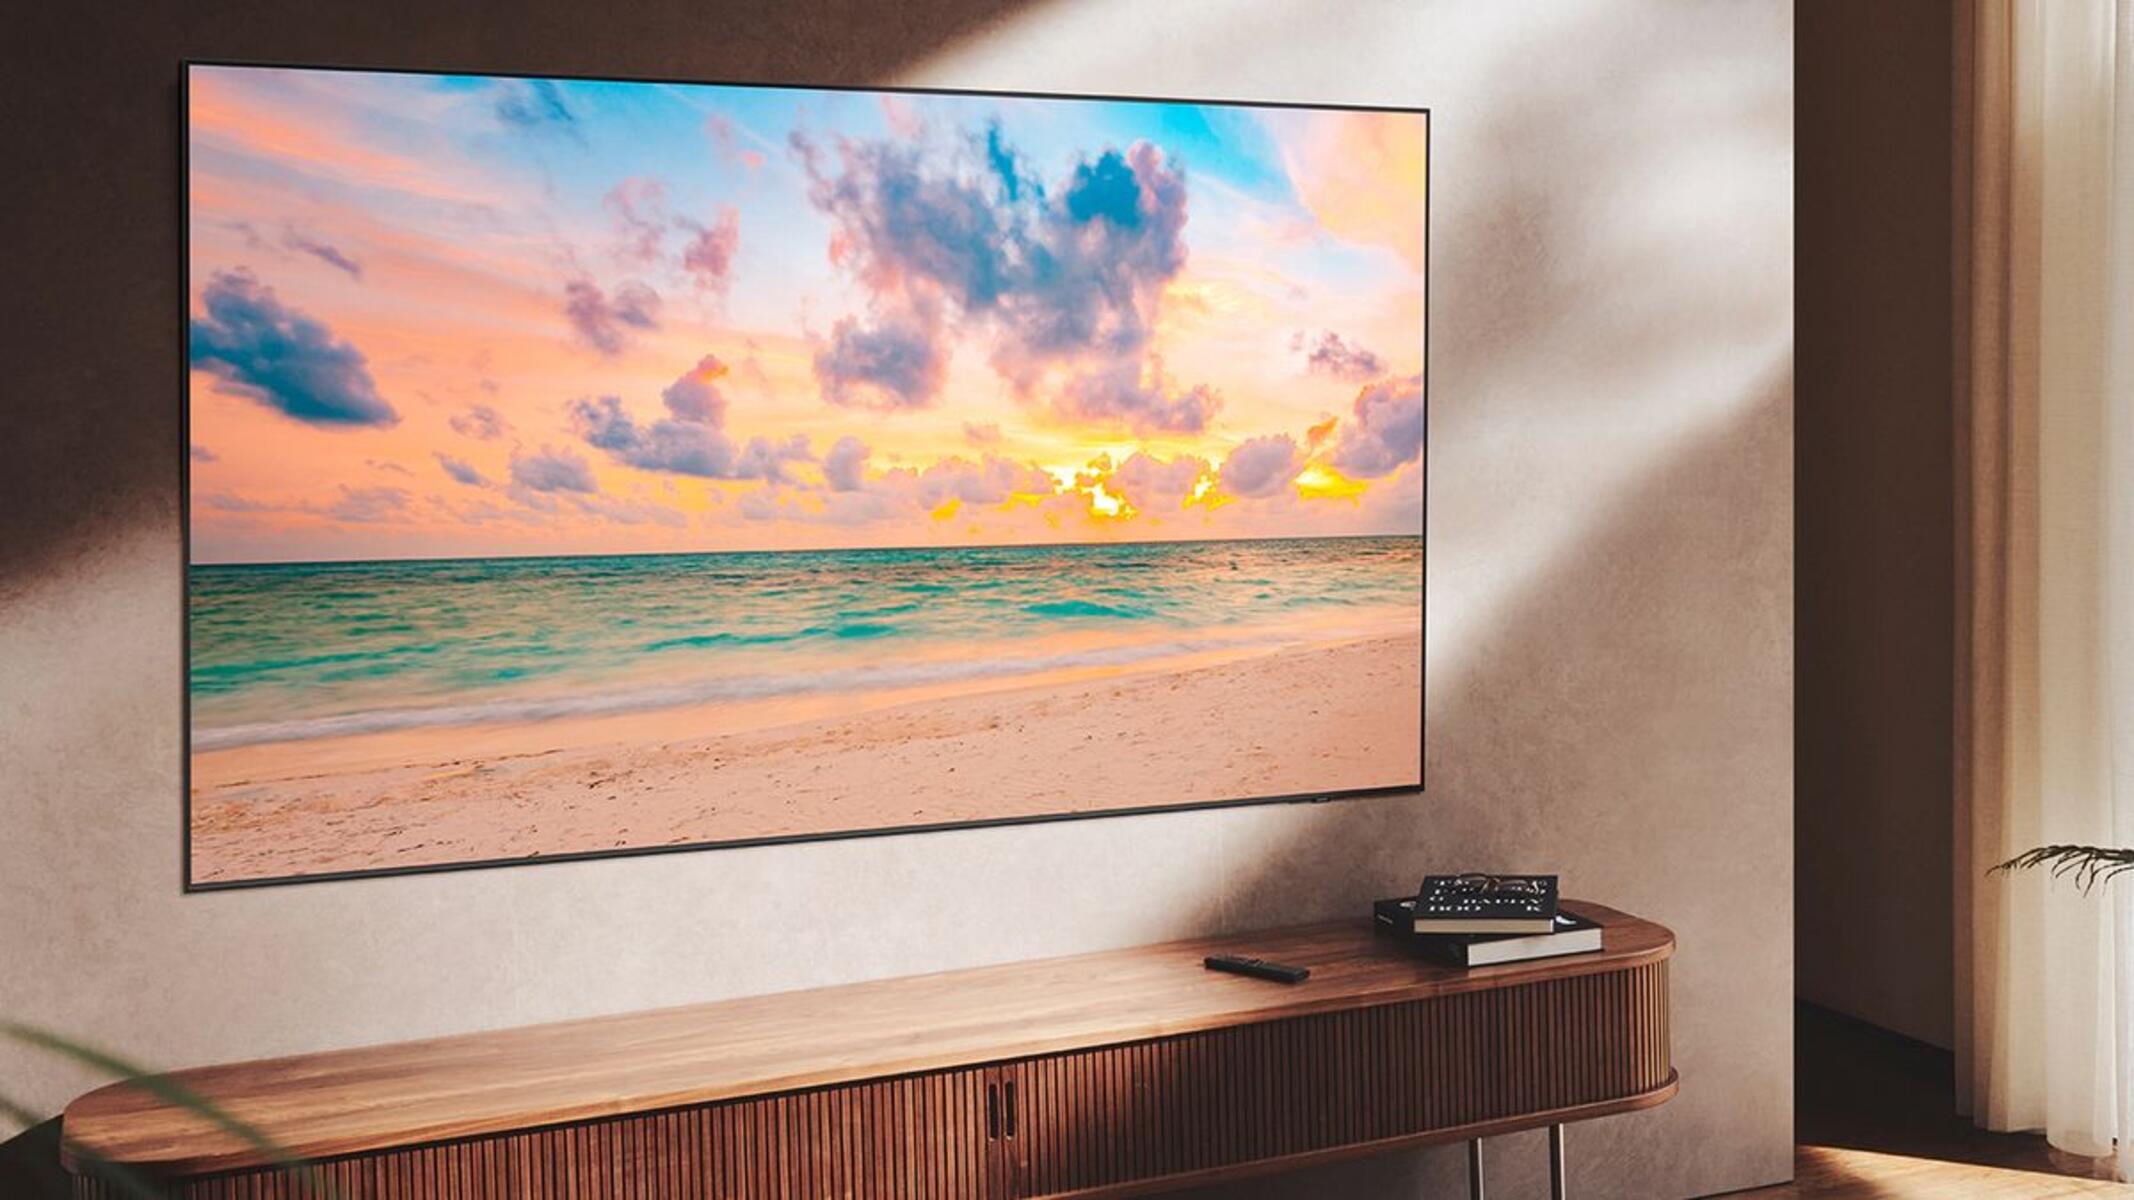
Finding the Optimal Placement
To maximize the audio experience and aesthetics, it’s important to find the optimal placement for your soundbar. Here are some factors to consider when determining the placement:
- Height: Ideally, the soundbar should be positioned at ear level for the best audio performance. This ensures that the sound is directed towards the listener without any obstructions.
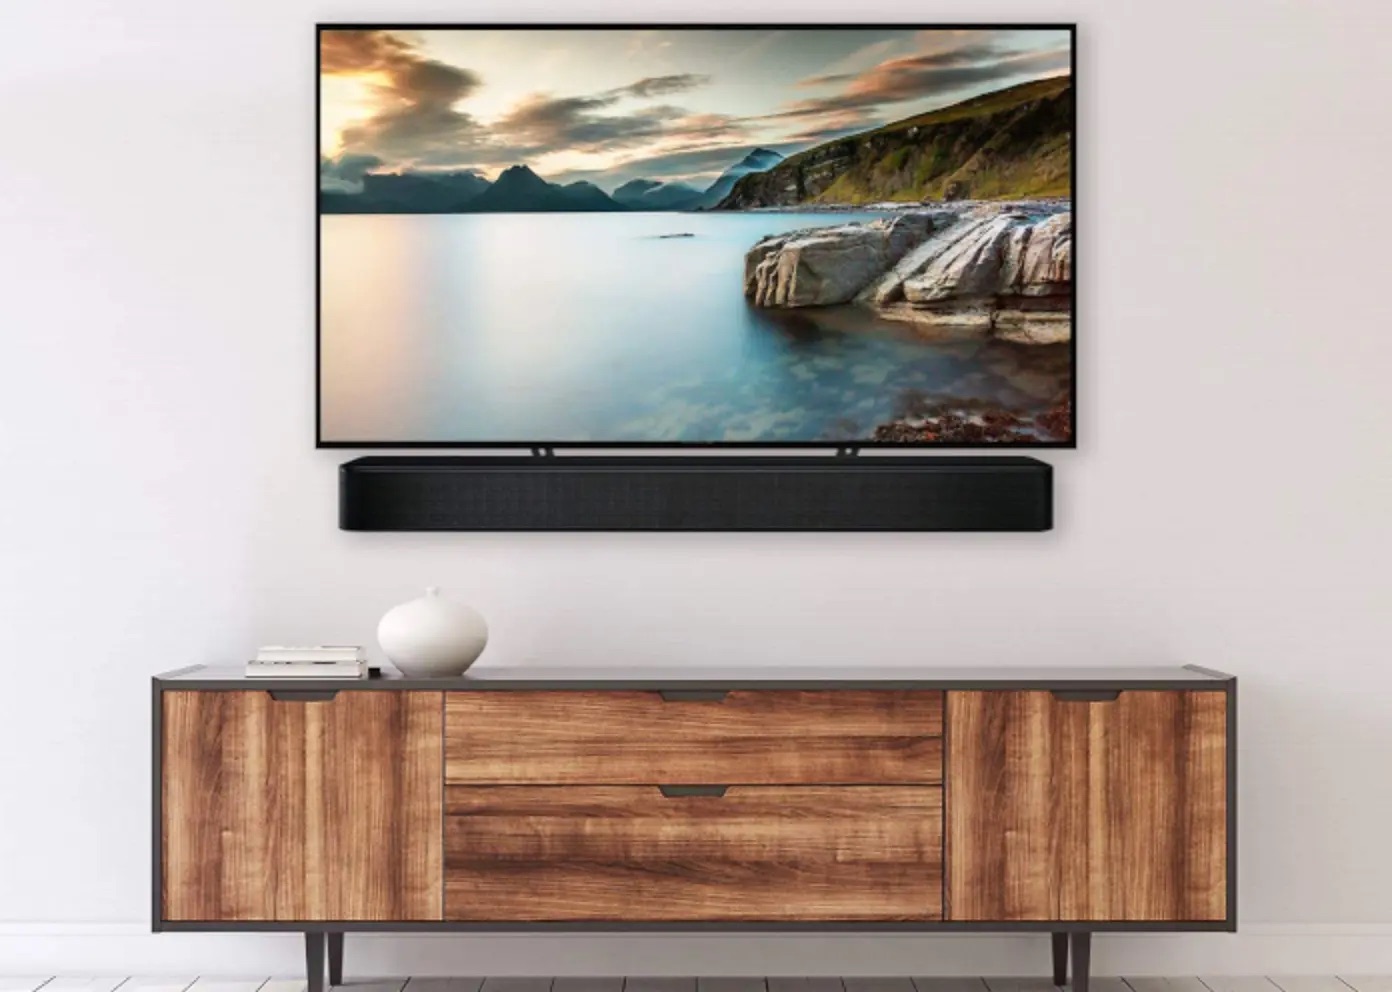
- Distance from TV: While there’s no one-size-fits-all answer, a general rule of thumb is to have the soundbar placed directly below the TV. This helps create a cohesive visual and audio experience, as the sound will appear to come from the same direction as the on-screen action.
- Center Alignment: If your soundbar is wider than the TV, it’s recommended to center-align the soundbar with the TV to maintain a balanced look. This applies to wall-mounted soundbars as well as those placed on TV mounts or stands.
- Wall Reflections: Consider the acoustics of your room. Avoid placing the soundbar too close to walls that might cause sound reflections or interfere with the audio quality. Experiment with different placements to find the best soundstage.
Once you have determined the ideal placement, mark the location with a pencil or tape. This will serve as a reference point when attaching the mounting bracket or stand.
Keep in mind that the optimal placement may vary depending on the specific layout of your room and personal preferences. Take into consideration factors such as the seating arrangement, room size, and any existing furniture or wall-mounted devices that could affect the placement of the soundbar.
By taking the time to find the optimal placement, you can ensure that the soundbar enhances your audio experience and complements the overall aesthetic of your TV setup.
Mounting the Soundbar Bracket
Once you have determined the optimal placement for your soundbar, it’s time to mount the soundbar bracket. Here’s a step-by-step guide to help you through the process:
- Measure and Mark: Use a measuring tape to determine the desired height and center alignment for the soundbar bracket. Mark the positions for the bracket with a pencil or marker.
- Find Studs: Use a stud finder to locate the studs in the wall in the marked positions. Mounting the bracket to studs will provide stability and ensure a secure installation.
- Attach the Bracket: Align the bracket holes with the stud locations and use appropriate screws to attach the bracket to the wall. Make sure to tighten the screws securely, but avoid overtightening to prevent damage to the wall or bracket.
- Level Check: Use a level tool to ensure that the bracket is mounted straight and level. Adjust if necessary.
If you’re mounting the soundbar bracket on a brick or concrete wall, you’ll need to use masonry drill bits to create holes for the mounting screws. Make sure to follow the manufacturer’s instructions and use appropriate anchors for added stability.
It’s important to consult the user manual or installation guide that comes with your specific soundbar bracket, as the mounting process may vary slightly depending on the model. The manual will provide detailed instructions and any additional information to ensure a successful installation.
Once the bracket is securely mounted, take a moment to ensure that it is level and aligned with the desired placement for your soundbar. This will ensure a professional and visually appealing setup.
In the next section, we will cover how to properly attach the soundbar to the mounted bracket.
Attaching the Soundbar to the Bracket
Now that the soundbar bracket is securely mounted, it’s time to attach the soundbar itself. Follow these steps to properly attach the soundbar to the bracket:
- Check Soundbar Compatibility: Before attaching the soundbar, ensure that it is compatible with the mounting bracket. Refer to the user manual or installation guide for any specific recommendations or limitations.
- Positioning: Carefully position the soundbar in front of the bracket, aligning the mounting holes on the soundbar with the corresponding holes on the bracket.
- Securing the Soundbar: Depending on the bracket design, you may need to use screws, bolts, or other fasteners to secure the soundbar to the bracket. Follow the instructions provided in the soundbar’s manual to ensure proper attachment.
- Tightening: Use the appropriate tools, such as a screwdriver or wrench, to tighten the screws or bolts securely. Make sure not to overtighten, as this could damage the soundbar or the bracket.
- Double-Check Stability: Once the soundbar is securely attached, gently give it a slight tug to ensure it is stable and properly secured. If it feels loose or unstable, double-check the attachment and tighten any loose screws.
While attaching the soundbar, it’s important to take care and follow the manufacturer’s instructions. Each soundbar model may have its own specific requirements and recommendations for attachment. If you have any doubts or questions, consult the user manual or reach out to the manufacturer for clarification.
Once the soundbar is securely attached to the bracket, take a step back and visually inspect the setup. Ensure that the soundbar is level and aligned with the TV and that it complements the overall aesthetic of your entertainment area.
In the next section, we will discuss how to organize and conceal the cables for a clean and tidy setup.
Organizing and Concealing the Cables
Now that the soundbar is securely attached to the bracket, it’s time to tackle the task of organizing and concealing the cables. Here are some tips to help you achieve a clean and streamlined setup:
- Cable Management Solutions: Consider using cable clips, cable ties, or cable raceways to neatly bundle and guide the cables along the wall or furniture. These solutions will help prevent tangling and keep the cables organized.
Take the time to route the cables carefully and adjust their position as needed to achieve the desired aesthetics. By keeping the cables organized and concealed, you can create a clutter-free entertainment area that enhances the visual appeal of your soundbar and TV setup.
Once you have organized and concealed the cables, step back and admire your handiwork. Ensure that the cables are neatly arranged and the overall setup looks clean and professional.
In the next section, we will discuss the importance of testing the setup to ensure optimal performance.
Testing the Setup
After completing the installation and cable management process, it’s essential to test the setup to ensure optimal performance. Here are some steps you can take to test your newly installed soundbar:
- Power On: Turn on your TV and soundbar, ensuring that they both have power.
- Audio Output: Check the audio settings on your TV and make sure the sound is set to output through the soundbar. If necessary, adjust the audio output settings to HDMI ARC, optical audio, or any other designated soundbar input.
- Volume Control: Test the soundbar’s volume control by using the TV remote or the soundbar’s dedicated remote, if available. Increase and decrease the volume to ensure it is functioning correctly.
- Audio Quality: Play audio from different sources, such as TV shows, movies, and music, to test the sound quality of the soundbar. Pay attention to clarity, balance, and overall sound experience.
- Surround Sound: If your soundbar supports surround sound or additional audio features, test them out to ensure they are working as intended. Adjust the audio settings for optimal surround sound experience, if applicable.
- Connection Stability: While testing the setup, observe if there are any issues with the soundbar’s connection to the TV. If you notice any dropouts or audio cutting out, check the cables and connections to ensure they are secure.
During the testing phase, take the time to adjust settings and fine-tune the sound to your personal preference. Experiment with different audio content and familiarize yourself with the capabilities of your soundbar.
If you encounter any issues or the setup does not meet your expectations, consult the user manual or reach out to the soundbar’s manufacturer for assistance. They may be able to provide troubleshooting tips or solutions to address any concerns you may have.
By thoroughly testing the setup, you can ensure that the soundbar is functioning properly and delivering the enhanced audio experience you desired.
Conclusion
Hanging a soundbar under your TV is a great way to enhance your audio experience while maintaining a sleek and organized entertainment setup. By following the steps outlined in this guide, you can successfully install and mount your soundbar with confidence.
We began by checking the compatibility of your TV and soundbar, ensuring that they are suitable for mounting together. Then, we discussed the tools and materials needed for the installation, emphasizing the importance of having the right equipment on hand.
Choosing the right mounting option is crucial, and we explored different options such as wall mounting, TV mounting, and soundbar stands. Finding the optimal placement for the soundbar is also essential to achieve the best audio performance and aesthetic appeal.
We then walked you through the process of mounting the soundbar bracket securely to the wall and attaching the soundbar to the bracket. Organizing and concealing the cables are vital steps to create a clean and tidy setup.
To ensure everything is working correctly, we highlighted the importance of testing the setup. By checking the audio output, volume control, audio quality, and connection stability, you can fine-tune the soundbar to meet your preferences and enjoy a superior audio experience.
In conclusion, hanging a soundbar under your TV adds a new dimension to your home entertainment system. With the right tools and steps outlined in this guide, you can achieve a professional installation and enjoy immersive sound while watching your favorite movies, TV shows, or playing games. So, roll up your sleeves, follow the instructions, and elevate your audio experience today!