Introduction
Are you tired of crowding around a small screen to watch your favorite movies or videos on your Mac? Luckily, there’s a solution – you can connect your Mac to your smart TV wirelessly! This convenient feature allows you to enjoy your Mac’s content on a larger, more immersive screen without the hassle of cables and wires.
Whether you want to stream online videos, show a presentation, or simply mirror your Mac’s display, connecting your Mac to your smart TV wirelessly is easier than you might think. In this article, we will guide you through the steps to achieve this seamless connection.
Before we dive in, it’s essential to mention that the methods described in this article may vary depending on the model of your smart TV and the version of your Mac’s operating system. However, we will cover the most common methods to connect your Mac to a smart TV wirelessly, so you’ll likely find a solution that suits your specific setup.
Ready to enhance your entertainment and productivity by connecting your Mac to your smart TV wirelessly? Let’s get started with Step 1: Check for Compatibility.
Step 1: Check for Compatibility
Before attempting to connect your Mac to your smart TV wirelessly, it’s vital to ensure that both devices are compatible with each other. This will save you time and frustration as you won’t have to troubleshoot compatibility issues later on.
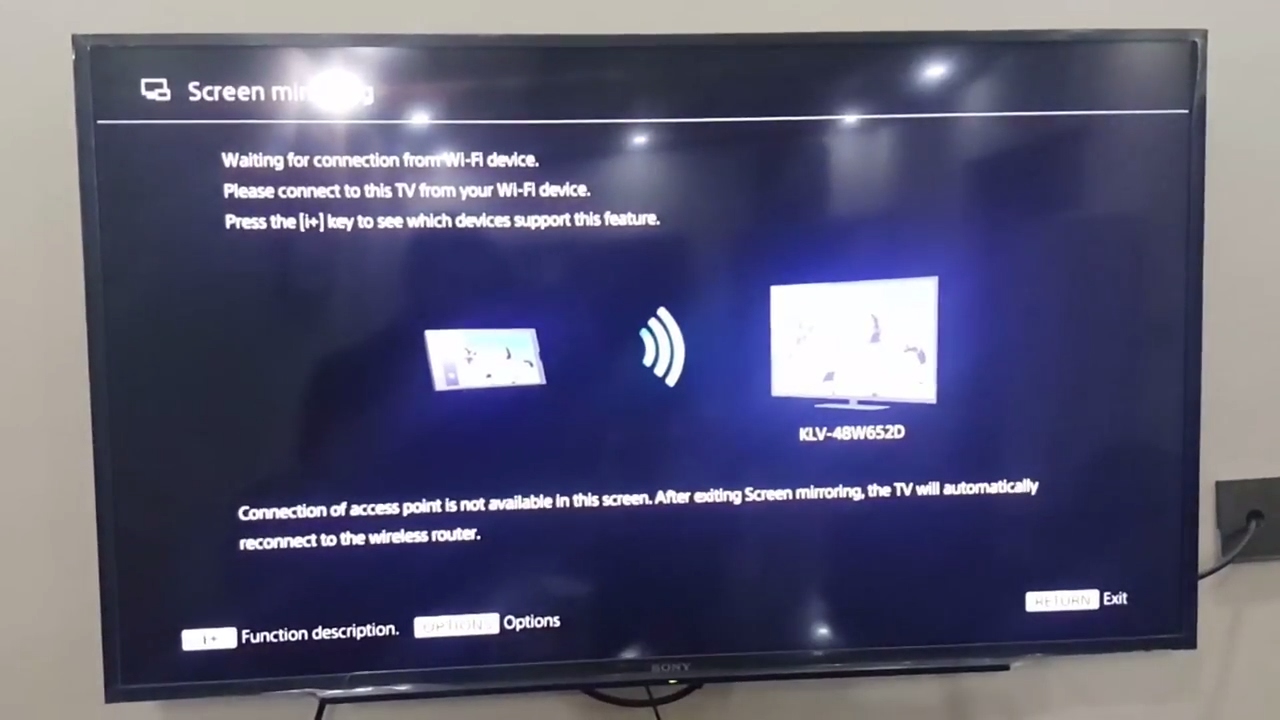
Firstly, check if your smart TV supports screen mirroring or has built-in features that allow for wireless connectivity with Mac devices. Most modern smart TVs come with these capabilities, but it’s always recommended to consult the TV’s manual or visit the manufacturer’s website to confirm.
Next, verify that your Mac supports the necessary wireless connectivity features. If you have a Mac from 2011 or later, the chances are high that it supports AirPlay. However, for older models, you might need additional hardware or software solutions to establish the wireless connection.
Another important consideration is the operating system version of your Mac. Newer versions of macOS generally have improved support for wireless connections. Ensure that your Mac is running the latest macOS version to take full advantage of the wireless connectivity options available.
Lastly, check if your home Wi-Fi network is stable and capable of handling the data transfer between your Mac and smart TV. A fast and reliable network connection is crucial for smooth wireless streaming and mirroring. Try to position your Mac and smart TV within close proximity to the Wi-Fi router to ensure a strong signal.
Once you have confirmed that both your Mac and smart TV are compatible and meet the necessary requirements, you can proceed to the next steps to establish the wireless connection. It’s time to move on to Step 2: Connect via AirPlay.
Step 2: Connect via AirPlay
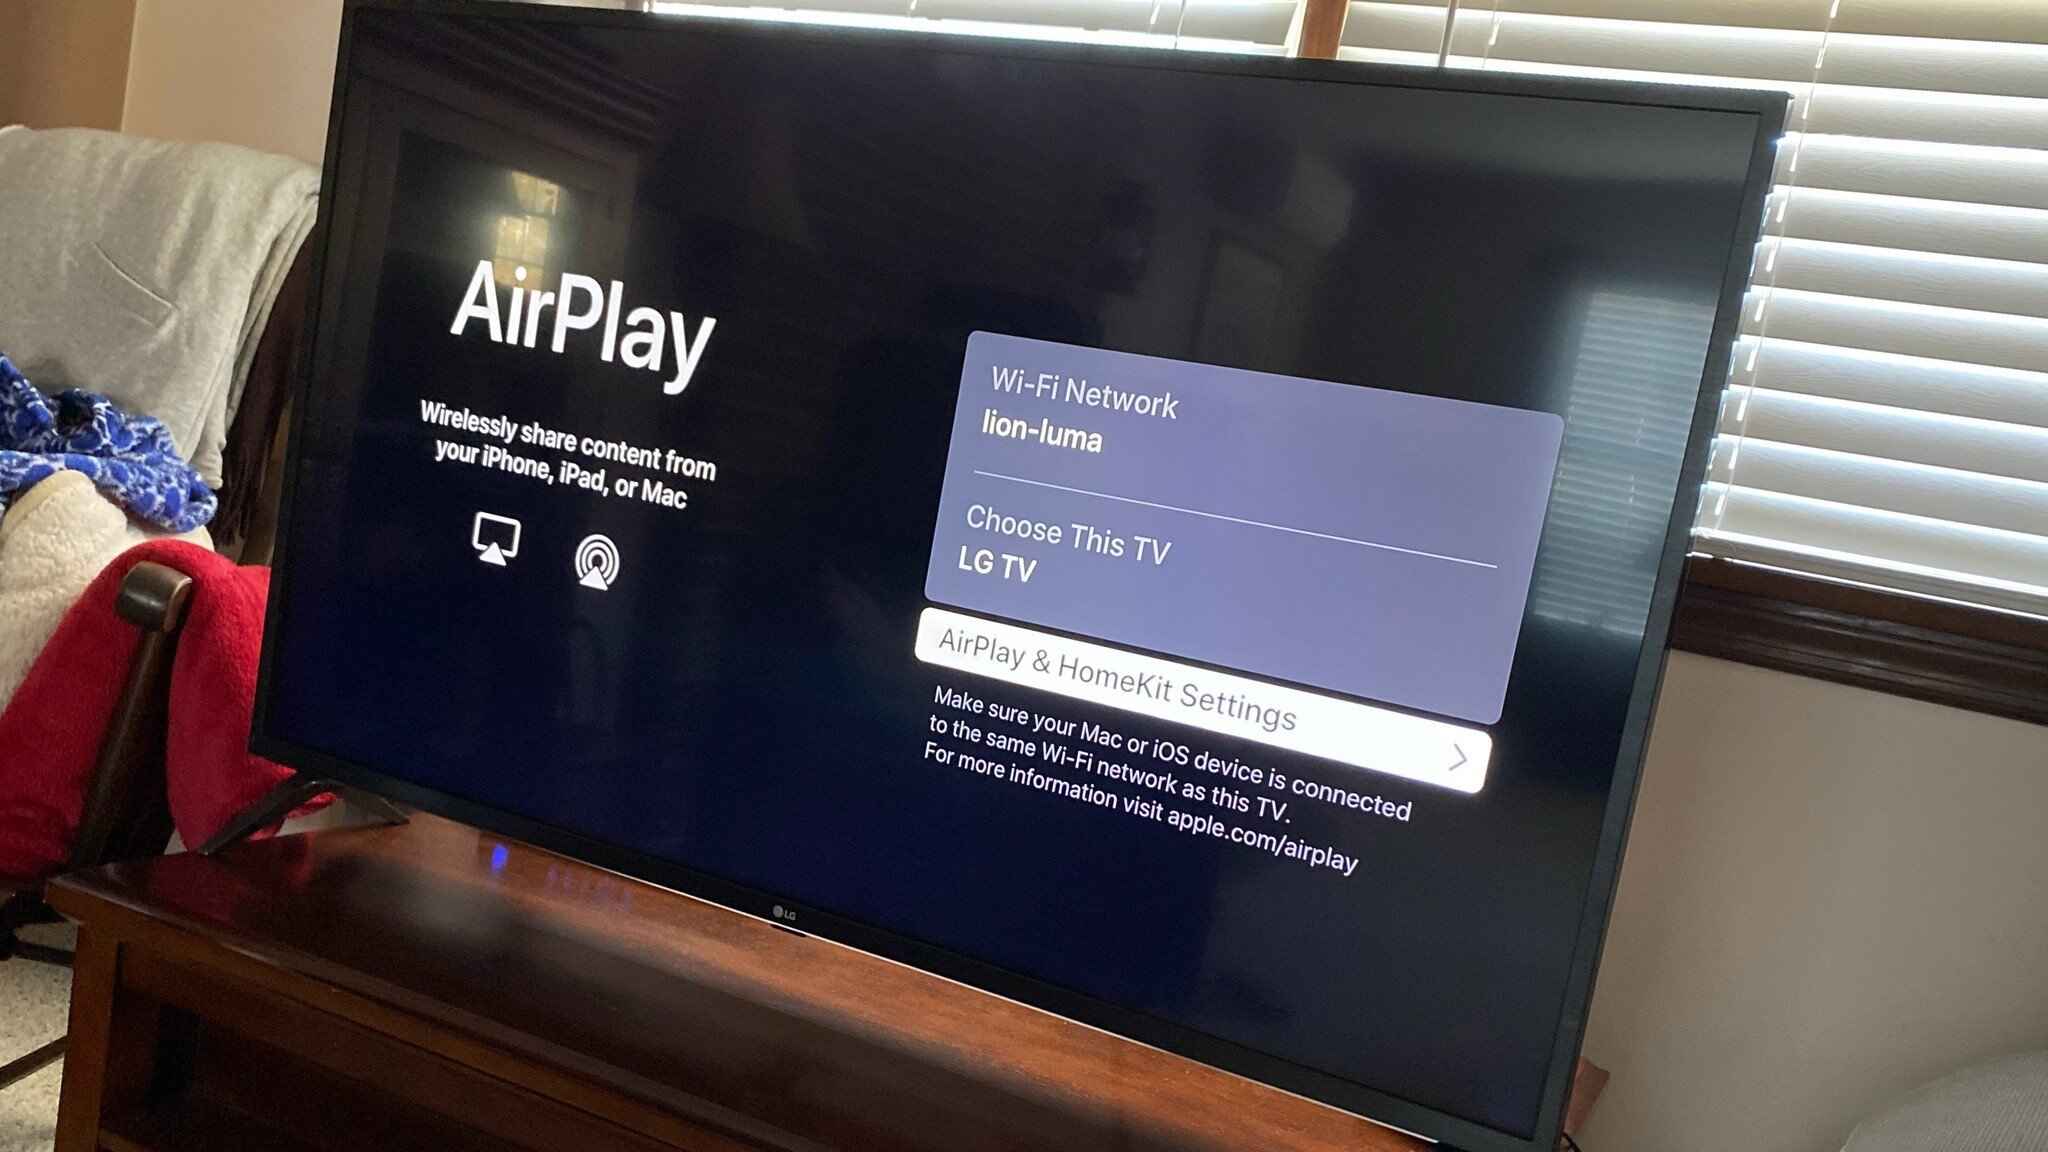
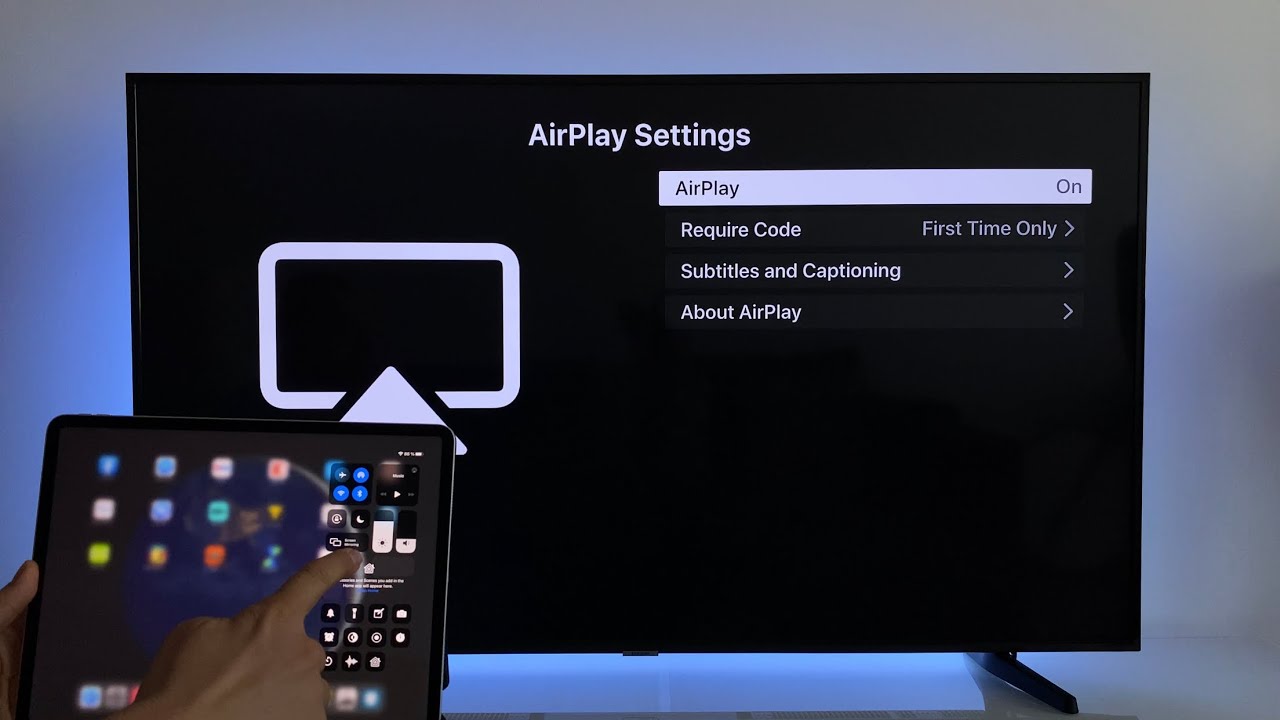
If your Mac and smart TV are both compatible with AirPlay, connecting wirelessly becomes a breeze. AirPlay is Apple’s wireless streaming technology that allows users to mirror their Mac’s screen or stream media to an Apple TV or compatible smart TV.
To begin, make sure that your Mac and smart TV are connected to the same Wi-Fi network. This is essential for AirPlay to work seamlessly.
On your Mac, open the AirPlay menu. You can find this in the menu bar at the top of your screen. It looks like a rectangle with an upwards-pointing triangle at the bottom. Click on the AirPlay icon, and a drop-down menu will appear.
In the drop-down menu, locate and select your smart TV from the list of available devices. If you don’t see your TV listed, ensure that AirPlay is enabled on the TV and that it is connected to the same Wi-Fi network as your Mac.
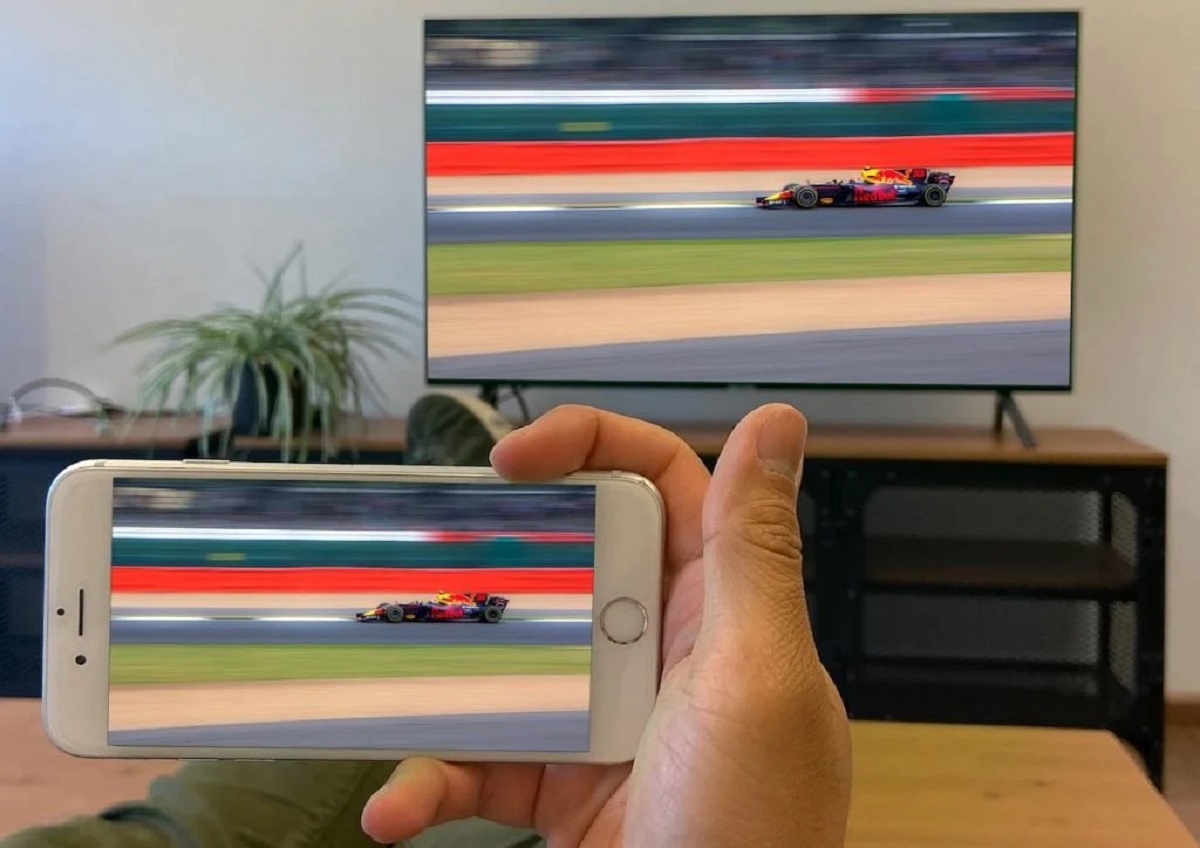
Once you’ve selected your TV, you have the option to mirror your Mac’s entire screen or opt for the “Extend Desktop” mode. Mirroring replicates your Mac’s display on the TV, while “Extend Desktop” allows you to use the TV as an additional display. Choose the mode that suits your needs.
After selecting the desired mode, your Mac’s screen will be wirelessly mirrored or extended to the smart TV. You can now enjoy your Mac’s content on the big screen, whether it’s a movie, photo slideshow, or even a presentation.
Remember that while mirroring, any action taken on your Mac will be reflected on the TV in real-time. This makes it ideal for showcasing multimedia content or demonstrating software applications on a larger, more visible display.
To end the AirPlay connection, simply navigate back to the AirPlay menu on your Mac and select “Turn Off AirPlay.” Alternatively, you can also turn off the TV or switch the input source to disconnect the connection.
Now that you’ve successfully connected your Mac to your smart TV via AirPlay, you can move on to exploring other wireless connection options. Continue reading to learn about Step 3: Connect via HDMI.
Step 3: Connect via HDMI
If your smart TV does not support AirPlay or if you prefer a direct wired connection, utilizing an HDMI cable is a reliable and hassle-free option to connect your Mac to your smart TV.
To get started, make sure you have an HDMI cable and an available HDMI port on both your Mac and smart TV. HDMI cables support high-definition audio and video signals, allowing for a seamless connection and high-quality playback.
First, locate the HDMI ports on your Mac and smart TV. On most Macs, you’ll find the HDMI port on the side or back of the device. On the TV, the HDMI ports are typically located on the back or side panel.
Once you have identified the HDMI ports, connect one end of the HDMI cable to the HDMI port on your Mac and the other end to the HDMI port on your smart TV.
After connecting the HDMI cable, switch the input source on your smart TV to the corresponding HDMI port. This may involve using your TV’s remote control and navigating through the input/source options until you find the correct HDMI input.
Upon switching to the correct HDMI input, your Mac’s screen should be mirrored or extended on the smart TV automatically. If not, go to the “Displays” section in your Mac’s System Preferences and ensure that the TV is recognized as the secondary display.
With the HDMI connection established, you can now enjoy your Mac’s content on the big screen. Whether you’re watching movies, browsing the web, or giving a presentation, the HDMI connection ensures a reliable and high-quality visual experience.
If you encounter any issues with the HDMI connection, ensure that both the HDMI cable and ports are undamaged and functioning correctly. Additionally, check the audio and video settings on your Mac to ensure that the output is directed to the HDMI connection.
When you’re finished using the HDMI connection, simply disconnect the HDMI cable from both devices. This will revert your Mac’s display back to its default settings.
Now that you know how to connect your Mac to your smart TV via HDMI, it’s time to explore another wireless connection method. Read on to discover Step 4: Connect via Chromecast.
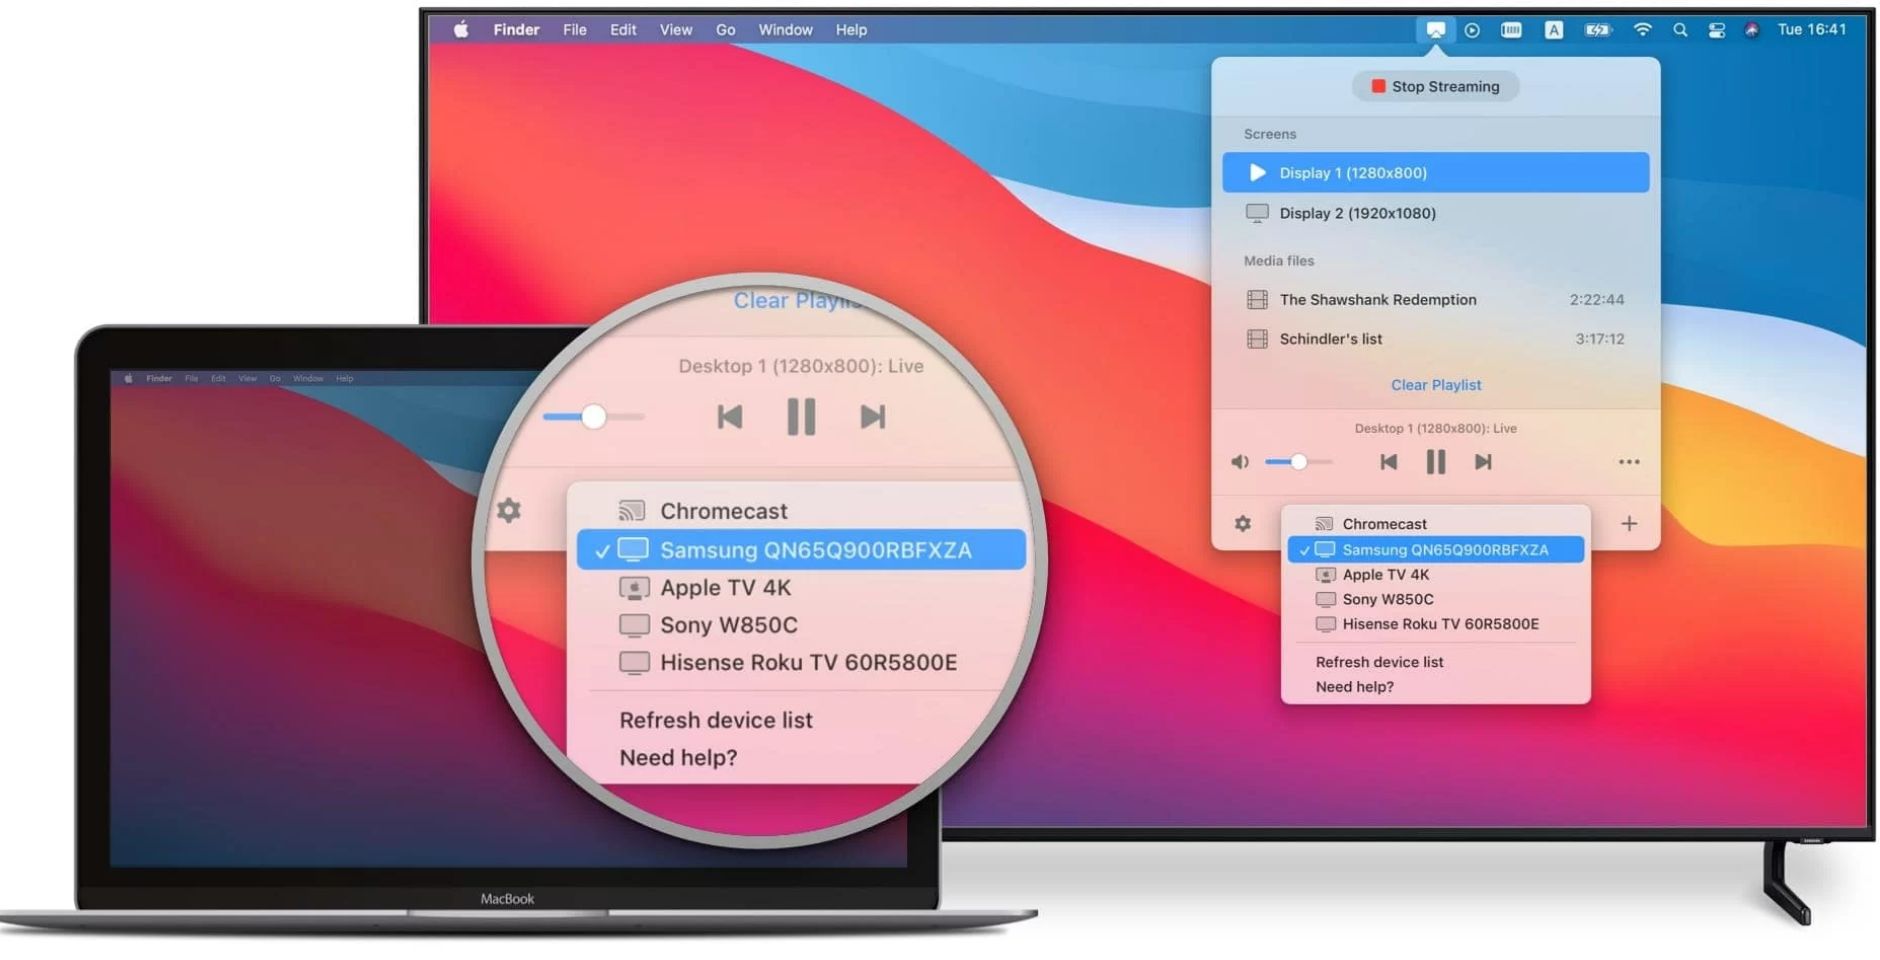
Step 4: Connect via Chromecast
If you own a Chromecast device and want to connect your Mac to your smart TV wirelessly, Google’s Chromecast can be a great option. Chromecast allows for seamless streaming of media from your Mac to your TV using Wi-Fi.
To begin, ensure that you have set up your Chromecast device and that it’s connected to the same Wi-Fi network as your Mac and smart TV.
Next, download and install the Google Chrome browser on your Mac if you haven’t already. Chromecast relies on the Chrome browser’s built-in casting feature.
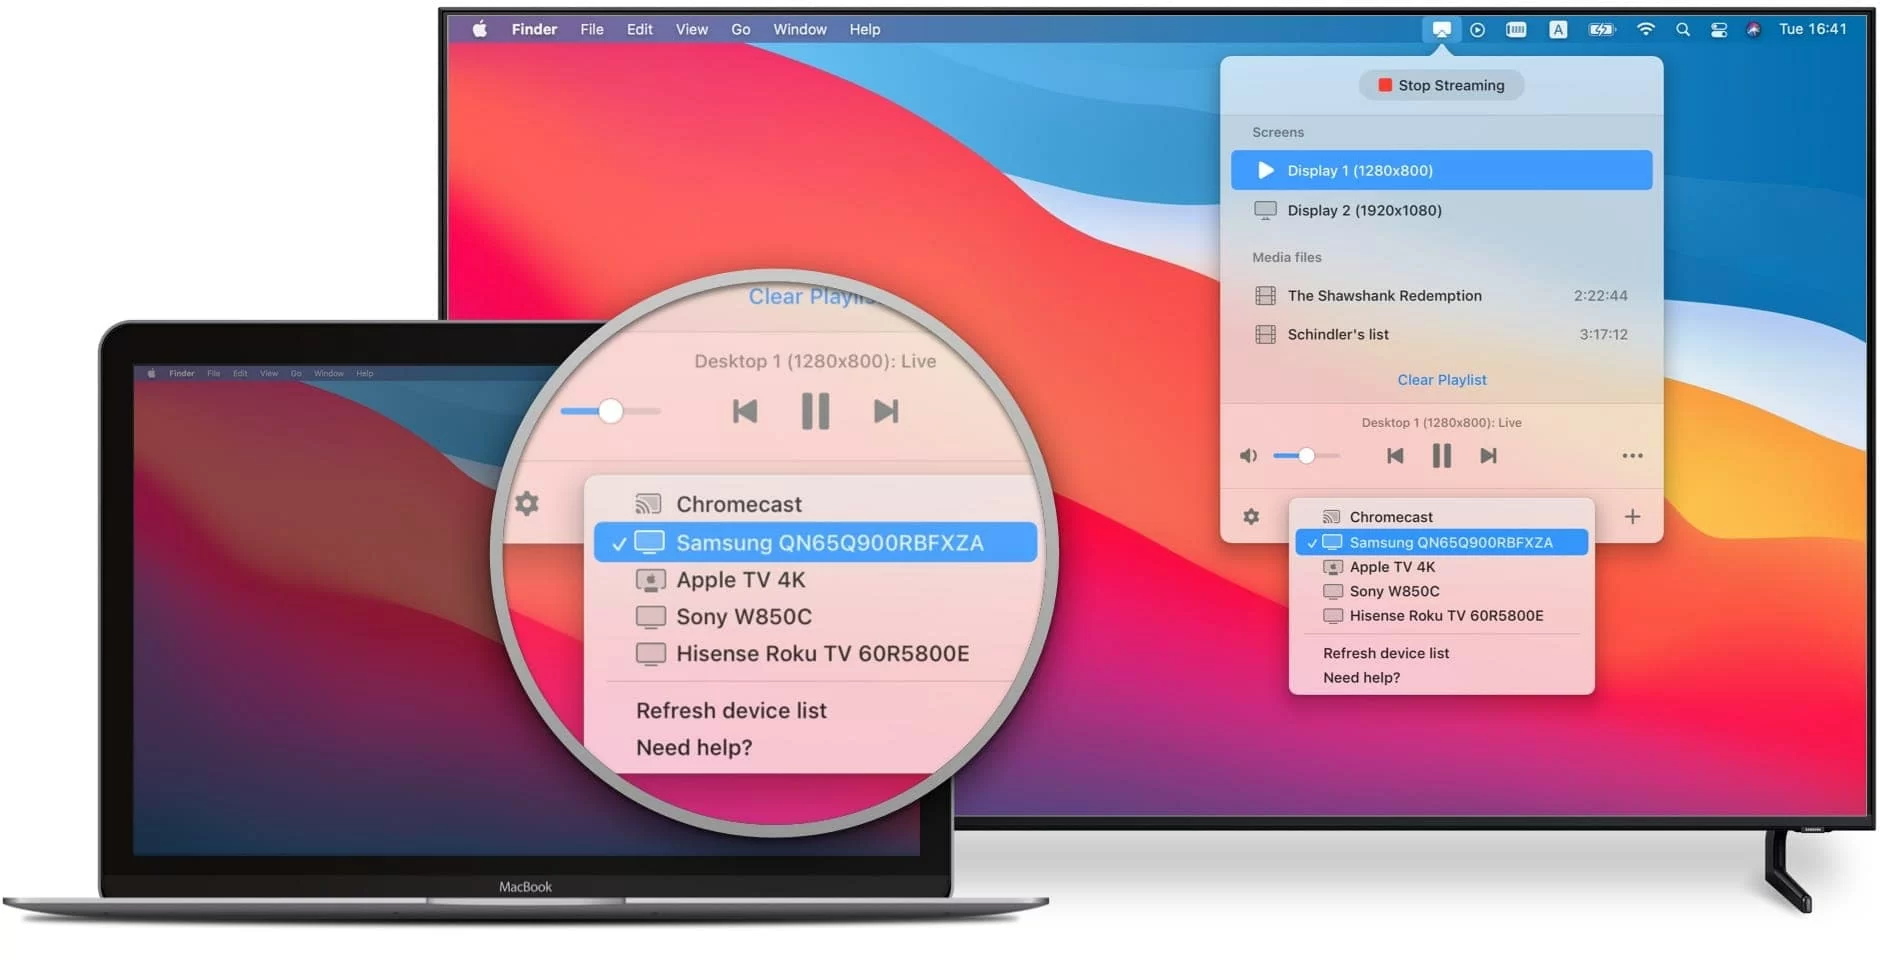
Once you have Chrome installed, click on the three vertical dots in the top-right corner of the browser window to open the Chrome menu. From the menu, select “Cast…”.
A new window will appear showing available casting devices on your network, including your Chromecast. Select your Chromecast device from the list.
After selecting your Chromecast, you have the option to choose whether to cast your entire screen or a specific tab in the Chrome browser. Choose the desired option based on what you want to display on your smart TV.
If you choose to cast a specific tab, select the tab from the drop-down menu in the casting window. This allows you to display specific web pages, videos, or other content from your Mac on the smart TV.
Once you’ve made your selection, click on the “Share” button, and your Mac’s screen or the selected tab will be wirelessly displayed on your smart TV via the Chromecast.
While casting, you can continue to use your Mac for other tasks without interrupting the streaming process. This makes Chromecast a convenient option for multitasking or performing other activities on your Mac while enjoying content on the big screen.
To end the Chromecast connection, return to the Chrome menu, click on the “Cast” option again, and select “Stop casting”. Alternatively, you can turn off the TV or switch the input source to disconnect the connection.
With the Chromecast connection, you can effortlessly stream videos, browse websites, and enjoy various media content from your Mac on your smart TV. It’s time to move on to the final step: Step 5: Connect via Apple TV.
Step 5: Connect via Apple TV
If you own an Apple TV, connecting your Mac to your smart TV wirelessly is a seamless process. Apple TV allows for easy screen mirroring and media streaming from your Mac to your TV.
To start, ensure that your Apple TV and Mac are connected to the same Wi-Fi network. This is crucial for establishing a reliable wireless connection.
On your Mac, open the “System Preferences” and click on the “Displays” icon. From there, select the “AirPlay Display” dropdown menu and choose your Apple TV from the available options.
Once you’ve selected your Apple TV, you have the option to mirror your Mac’s screen or extend the desktop. Choose the desired mode based on your preference and needs.
After making your selection, your Mac’s screen will be wirelessly mirrored or extended on your smart TV through the Apple TV. You can now view your Mac’s content on the larger screen, whether it’s watching movies, giving presentations, or playing games.
During screen mirroring, any actions performed on your Mac will be reflected in real-time on the TV, allowing for a seamless user experience. This makes it ideal for showcasing multimedia content or demonstrating software applications on a bigger display.
To end the connection, return to the “System Preferences” on your Mac, click on the “Displays” icon, and select “Turn Off AirPlay Display.” Alternatively, you can turn off the TV or switch the input source to disconnect the connection.
Connecting your Mac to your smart TV via Apple TV delivers a reliable and high-quality wireless streaming experience. Enjoy your favorite content on a larger screen without the hassle of cables and wires.
With Step 5 completed, you’ve now learned various methods to connect your Mac to your smart TV wirelessly. Whether it’s through AirPlay, HDMI, Chromecast, or Apple TV, you have the flexibility to choose the method that best suits your needs and preferences.
Now that you’re equipped with the knowledge to connect your Mac to your smart TV wirelessly, it’s time to sit back, relax, and enjoy your favorite content on the big screen!
Conclusion
Connecting your Mac to your smart TV wirelessly opens up a whole new world of entertainment and productivity. Whether you want to watch movies, stream videos, give presentations, or simply extend your desktop, the methods discussed in this article provide you with convenient and efficient ways to achieve this.
We explored various options for wirelessly connecting your Mac to your smart TV, including AirPlay, HDMI, Chromecast, and Apple TV. Depending on your smart TV’s capabilities and your preferences, you can choose the method that suits you best.
AirPlay offers seamless wireless streaming and screen mirroring from your Mac to compatible smart TVs. It’s an excellent choice if you have both Apple devices and want easy integration and control.
HDMI provides a direct wired connection that guarantees high-quality audio and video playback. It’s a reliable option if your smart TV doesn’t support AirPlay or if you prefer a physical connection.
Chromecast allows for wireless streaming through the Google Chrome browser, making it a versatile and convenient option. It’s ideal for users who have a Chromecast device and want to utilize their Mac’s content on the big screen.
Apple TV offers seamless integration with Mac devices, providing a reliable and high-quality wireless streaming experience. It’s the go-to option for Apple enthusiasts who want effortless connectivity and screen mirroring capabilities.
Remember to check for compatibility between your Mac and smart TV before attempting to establish a wireless connection. Ensure that both devices are connected to the same Wi-Fi network and meet the necessary requirements.
By following the steps outlined in this article, you can connect your Mac to your smart TV wirelessly and enjoy a more immersive and engaging viewing experience. Whether you’re streaming movies, showing presentations, or simply extending your desktop, the possibilities are endless.
Now that you have the knowledge and tools to connect your Mac to your smart TV wirelessly, it’s time to sit back, relax, and start enjoying your favorite content on the big screen!