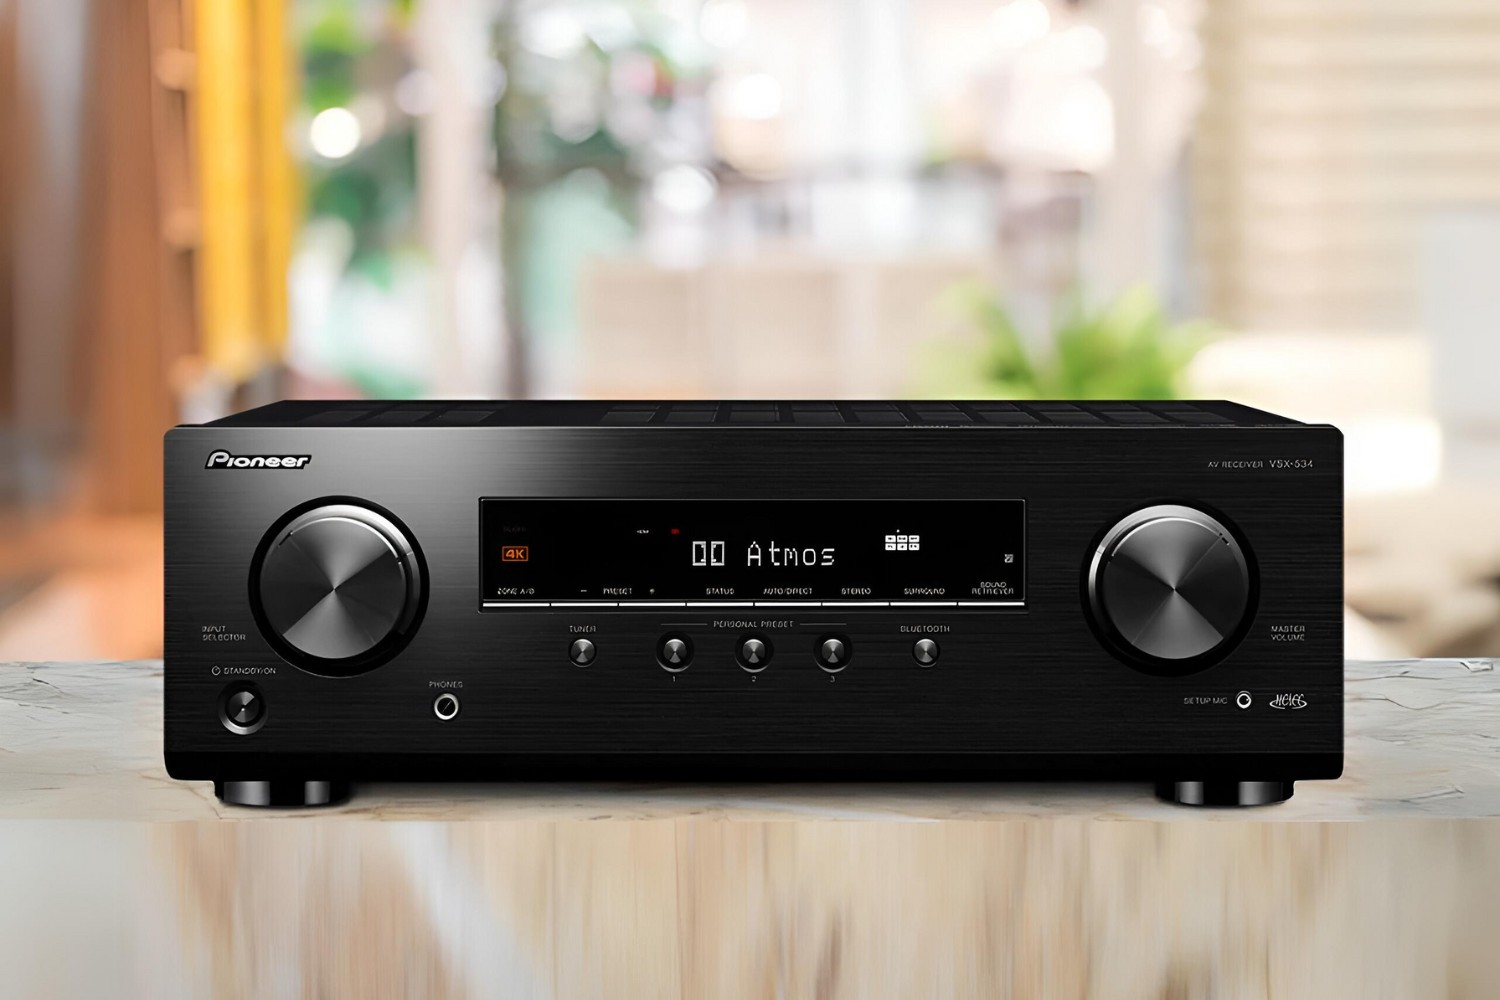
Introduction
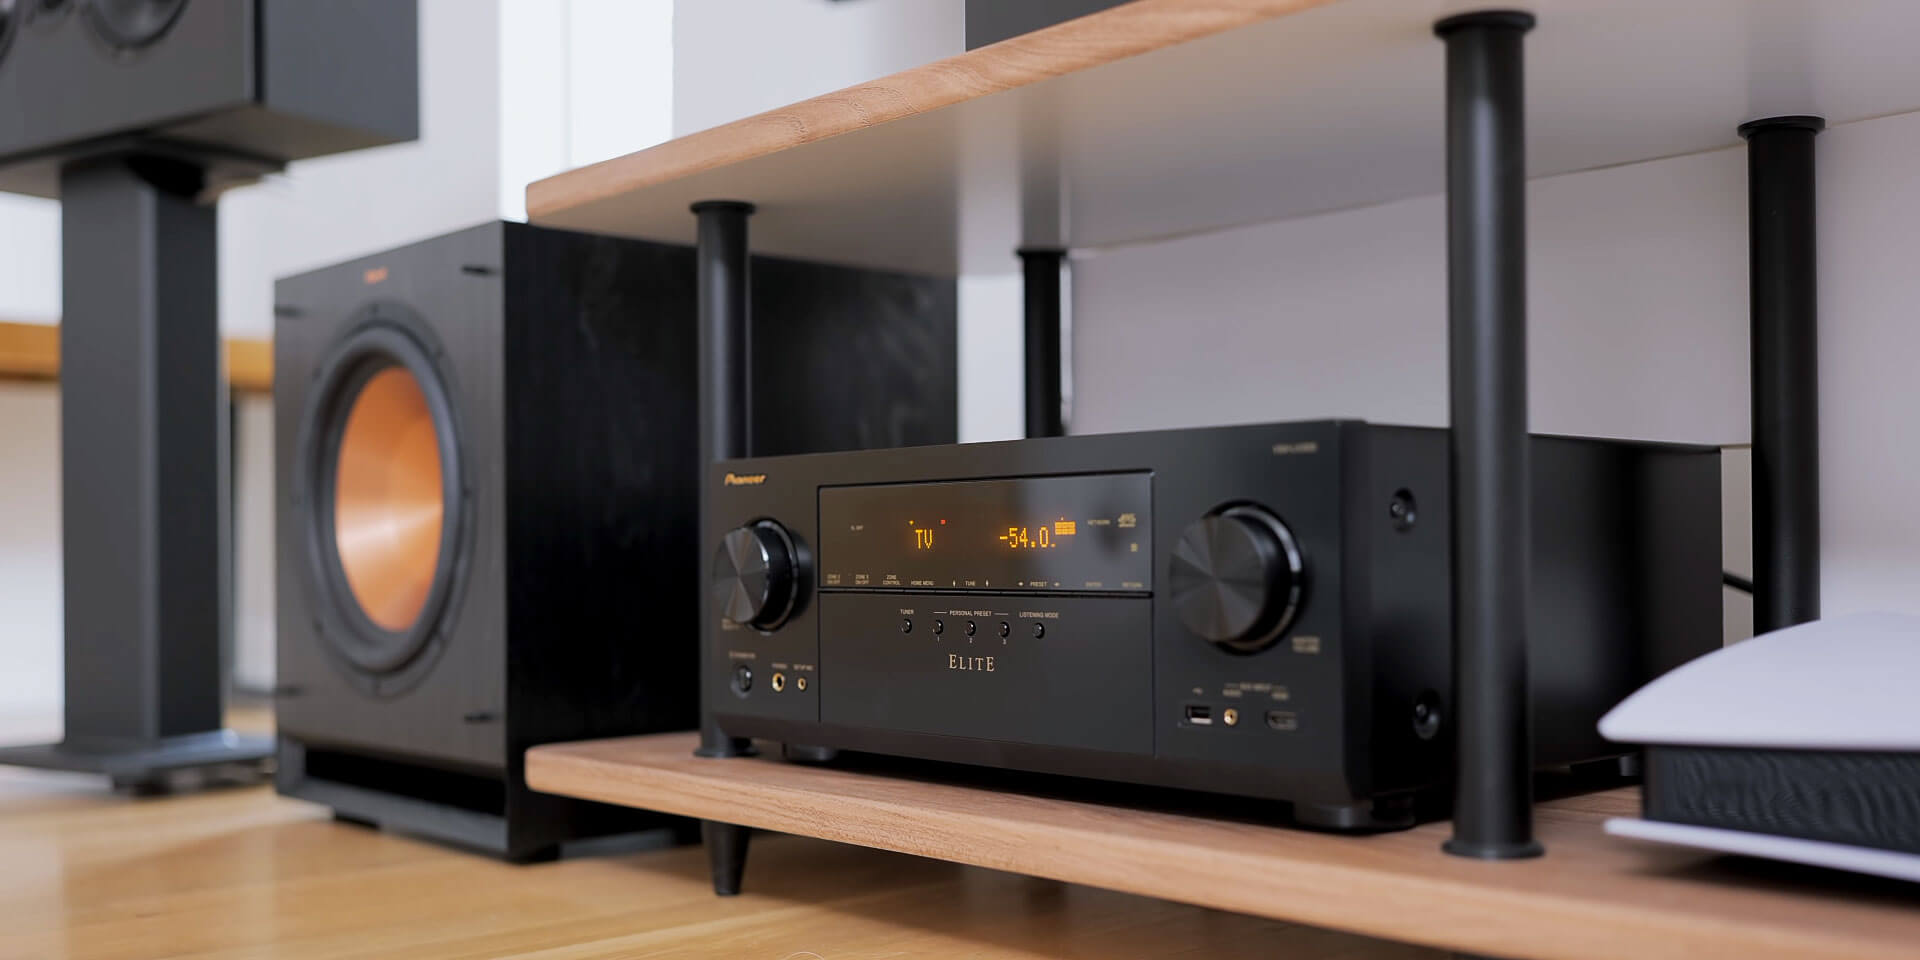
Resetting your Pioneer AV receiver can resolve various issues, such as freezing, audio or video disturbances, or connectivity problems. This process can also be beneficial when preparing the receiver for a new setup or troubleshooting persistent technical issues. By following the step-by-step procedure outlined below, you can effectively reset your Pioneer AV receiver without the need for professional assistance.
Resetting the receiver is a straightforward process that can help to restore its default settings, effectively resolving many common issues. Whether you are experiencing audio or video problems, connectivity issues, or simply want to start afresh with your receiver's settings, the reset process can prove to be an invaluable troubleshooting tool.
In the following steps, you will learn how to reset your Pioneer AV receiver with ease, allowing you to enjoy uninterrupted audio and video experiences. Whether you are a seasoned AV enthusiast or a novice user, this guide will equip you with the necessary knowledge to reset your receiver and optimize its performance. Let's dive into the step-by-step process and get your Pioneer AV receiver back to its default settings.
Step 1: Power off the Receiver
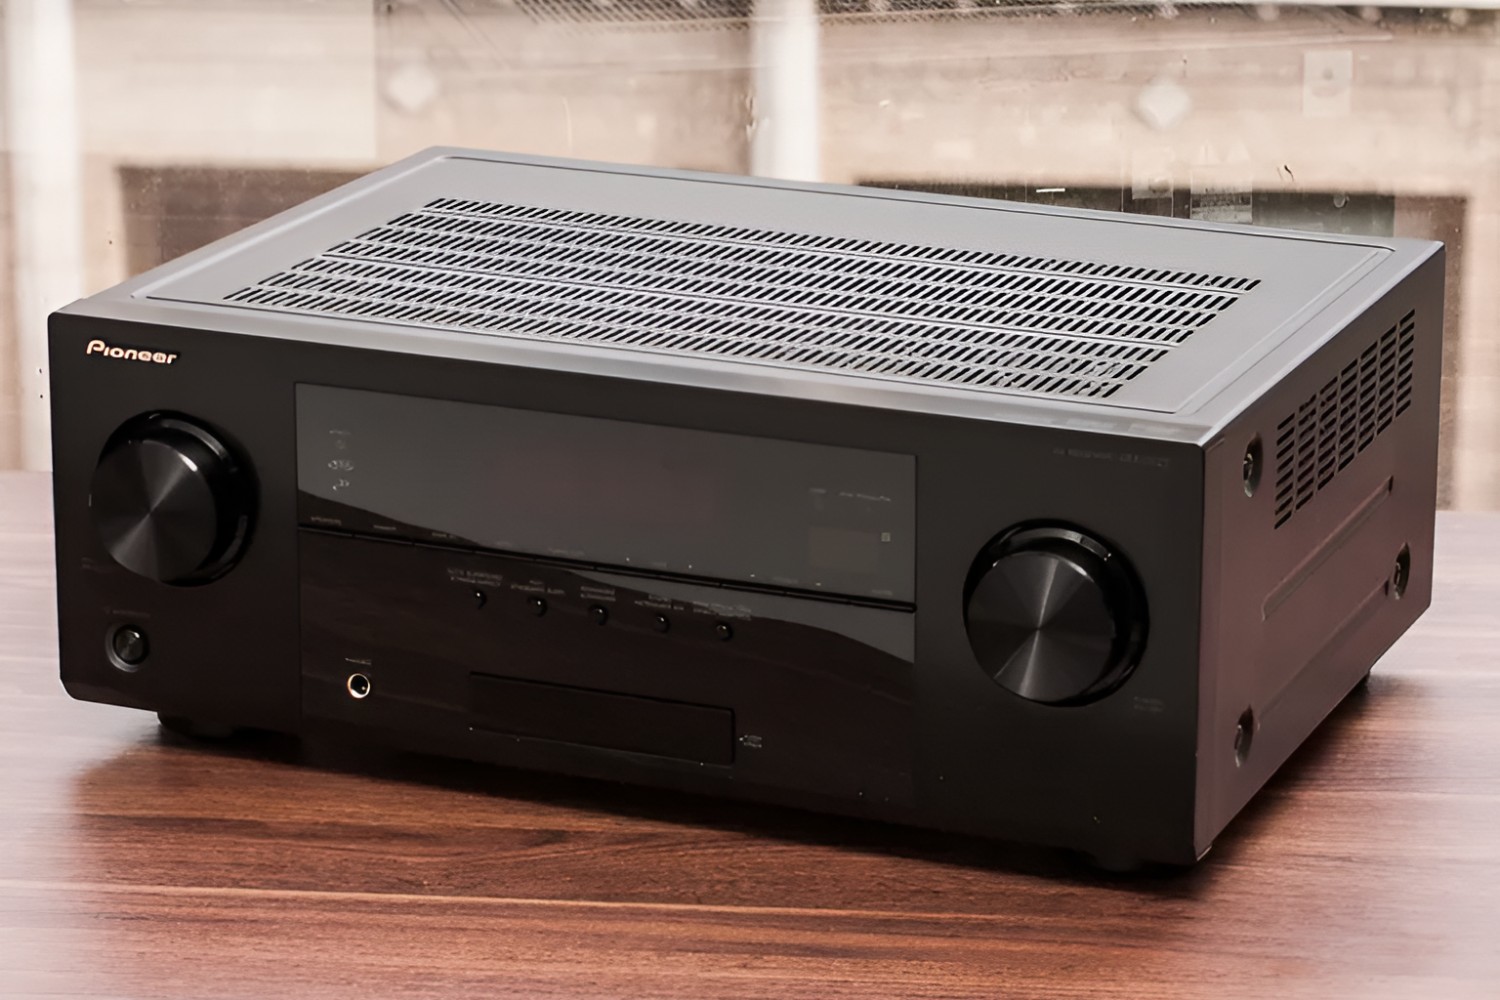
Before initiating the reset process, ensure that your Pioneer AV receiver is powered off. This is a crucial first step to prevent any potential issues during the reset procedure. To power off the receiver, locate the power button, typically situated on the front panel or the top of the unit. Press the power button until the receiver completely powers down. It is essential to wait for a few moments to ensure that the receiver is entirely powered off before proceeding to the next step.
By powering off the receiver, you are effectively preparing it for the reset process, allowing the internal components to enter a reset-ready state. This step sets the foundation for a seamless reset procedure, ensuring that the receiver can be reset without any interruptions or complications.
Once the receiver is powered off, you are ready to proceed to the next step, which involves pressing and holding specific buttons to initiate the reset process. With the receiver powered down, you can confidently move on to the subsequent steps, ultimately restoring the default settings of your Pioneer AV receiver.
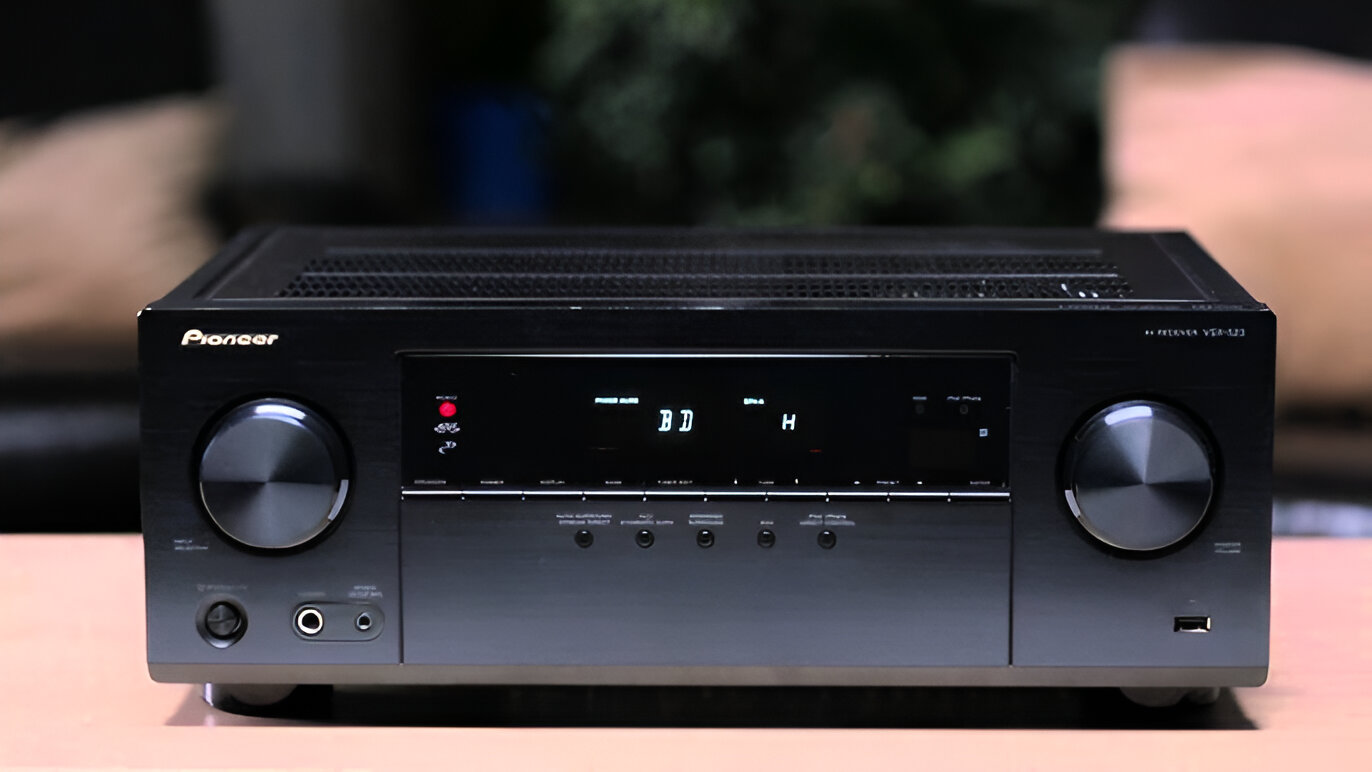
Step 2: Press and Hold the “Auto/Direct” and “Pure Direct” Buttons
After ensuring that the Pioneer AV receiver is powered off, the next step involves pressing and holding specific buttons to initiate the reset process. Locate the “Auto/Direct” and “Pure Direct” buttons on the front panel of the receiver. These buttons are typically positioned alongside the other control buttons, easily identifiable by their respective labels.
To proceed with the reset, firmly press and hold down both the “Auto/Direct” and “Pure Direct” buttons simultaneously. It is essential to maintain a steady pressure on these buttons to ensure that the reset process is initiated effectively. Holding down these buttons triggers the receiver to enter the reset mode, preparing it for the subsequent steps in the reset procedure.
By pressing and holding the designated buttons, you are setting the stage for the receiver to restore its default settings, effectively resolving any persistent issues or technical glitches. This step is pivotal in preparing the receiver for the comprehensive reset process, ensuring that the default settings are reinstated without any complications.
Once you have firmly pressed and held the “Auto/Direct” and “Pure Direct” buttons, you are ready to move on to the next step, which involves powering on the receiver while continuing to hold down these buttons. This seamless transition from one step to the next paves the way for a successful reset, allowing you to optimize the performance of your Pioneer AV receiver with ease.
Step 3: Power on the Receiver While Holding the Buttons
With the “Auto/Direct” and “Pure Direct” buttons firmly pressed and held, it is time to power on the Pioneer AV receiver. Locate the power button, typically situated on the front panel or the top of the unit, and press it to turn on the receiver. As the receiver powers on, continue to hold down the “Auto/Direct” and “Pure Direct” buttons without releasing them.
Powering on the receiver while maintaining pressure on the designated buttons is a critical step in the reset process. This action prompts the receiver to enter the reset mode, initiating the restoration of default settings. By holding down the buttons throughout the power-up sequence, you are ensuring that the receiver progresses seamlessly through the reset procedure, ultimately reinstating its default configuration.
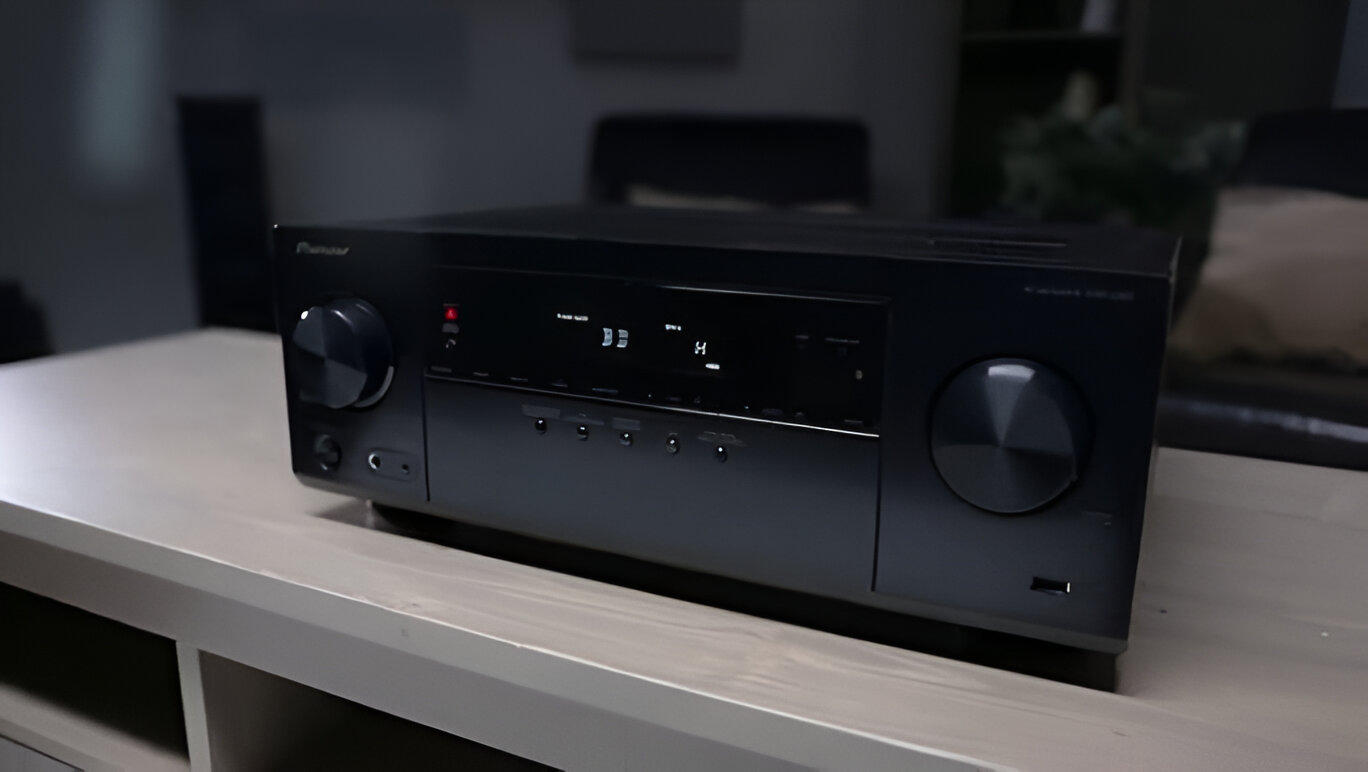
As the receiver powers on, you may notice specific indicators or displays that signify its entry into the reset mode. This visual feedback confirms that the reset process has been successfully initiated, setting the stage for the subsequent steps. It is essential to remain vigilant and observant during this phase, as the receiver progresses towards the comprehensive reset of its settings.
By following this step with precision and attentiveness, you are actively contributing to the successful execution of the reset process, allowing the receiver to recalibrate and restore its default settings. With the receiver powered on and the designated buttons held down, you are now prepared to progress to the next pivotal step in completing the reset of your Pioneer AV receiver.
Step 4: Release the Buttons When “Reset” Appears on the Display
As the Pioneer AV receiver powers on and progresses through the reset process, continue to monitor the display for any visual cues indicating the initiation of the reset mode. While holding down the “Auto/Direct” and “Pure Direct” buttons, observe the receiver’s display for the appearance of the “Reset” message. This visual indicator signifies that the reset process has been successfully triggered, prompting you to release the designated buttons.
When the “Reset” message prominently appears on the receiver’s display, promptly release the “Auto/Direct” and “Pure Direct” buttons. This action marks a pivotal moment in the reset procedure, signifying that the receiver has entered the reset mode and is actively restoring its default settings. By releasing the buttons at this juncture, you are allowing the receiver to seamlessly progress through the final stages of the reset process.
It is essential to exercise attentiveness and precision during this step, ensuring that the “Reset” message is clearly visible on the display before releasing the buttons. This deliberate approach contributes to the smooth execution of the reset procedure, effectively reinstating the default settings of your Pioneer AV receiver without any interruptions or complications.
Once the buttons have been released, the receiver continues to recalibrate and restore its default settings, finalizing the comprehensive reset process. This transition from holding the buttons to releasing them marks a significant milestone in the reset procedure, bringing you closer to optimizing the performance of your Pioneer AV receiver and resolving any persistent technical issues.
Step 5: Complete the Reset Process
With the “Reset” message displayed on the receiver and the designated buttons released, the reset process is well underway. At this stage, the receiver is actively restoring its default settings, effectively resolving any persistent technical issues or glitches that may have impacted its performance. It is crucial to allow the receiver to complete the reset process without interruption, ensuring that the default settings are reinstated comprehensively.
As the reset process unfolds, the receiver recalibrates its internal configurations, fine-tuning various parameters to align with the default settings. This intricate recalibration paves the way for a seamless transition to the optimized state, allowing the receiver to function at its full potential without any lingering issues or disruptions.
During this phase, it is essential to exercise patience and allow the receiver sufficient time to complete the reset process. Avoid interrupting the receiver or attempting to adjust its settings while the reset is in progress, as this can impede the restoration of default configurations and compromise the effectiveness of the reset procedure.
Once the reset process is complete, the Pioneer AV receiver will have successfully restored its default settings, effectively addressing any technical issues and optimizing its performance. You can proceed with confidence, knowing that the receiver is now primed to deliver uninterrupted audio and video experiences, free from the complications that may have previously hindered its functionality.
Conclusion
Congratulations! You have successfully completed the reset process for your Pioneer AV receiver. By following the step-by-step procedure outlined in this guide, you have effectively restored the default settings of your receiver, resolving any technical issues and optimizing its performance. Whether you encountered audio disturbances, video disruptions, or connectivity problems, the comprehensive reset process has rejuvenated your receiver, ensuring that it operates at its full potential.
As you embark on your audiovisual journey with the reset Pioneer AV receiver, you can expect seamless and uninterrupted experiences, free from the complications that may have previously affected your enjoyment. The meticulous execution of each step has culminated in the successful restoration of the receiver’s default settings, setting the stage for immersive audio and captivating visual experiences.
It is essential to remember that the reset process is a valuable troubleshooting tool, capable of addressing a wide range of technical issues and preparing the receiver for new setups. By familiarizing yourself with the reset procedure, you have empowered yourself to maintain the optimal performance of your Pioneer AV receiver, ensuring that it continues to deliver exceptional audio and video quality.
As you revel in the enhanced functionality of your reset Pioneer AV receiver, you can explore its myriad features and settings with confidence, knowing that it has been rejuvenated to its default state. Whether you are an avid AV enthusiast or a casual user, this guide has equipped you with the knowledge and expertise to reset your Pioneer AV receiver with ease, unlocking its full potential and ensuring a captivating audiovisual experience.
With the reset process now complete, you can look forward to seamless integration, uncompromised performance, and unparalleled audiovisual enjoyment with your Pioneer AV receiver. Embrace the enhanced functionality and optimized settings, and immerse yourself in a world of captivating audio and mesmerizing visuals, knowing that your receiver is operating at its peak performance.