Introduction
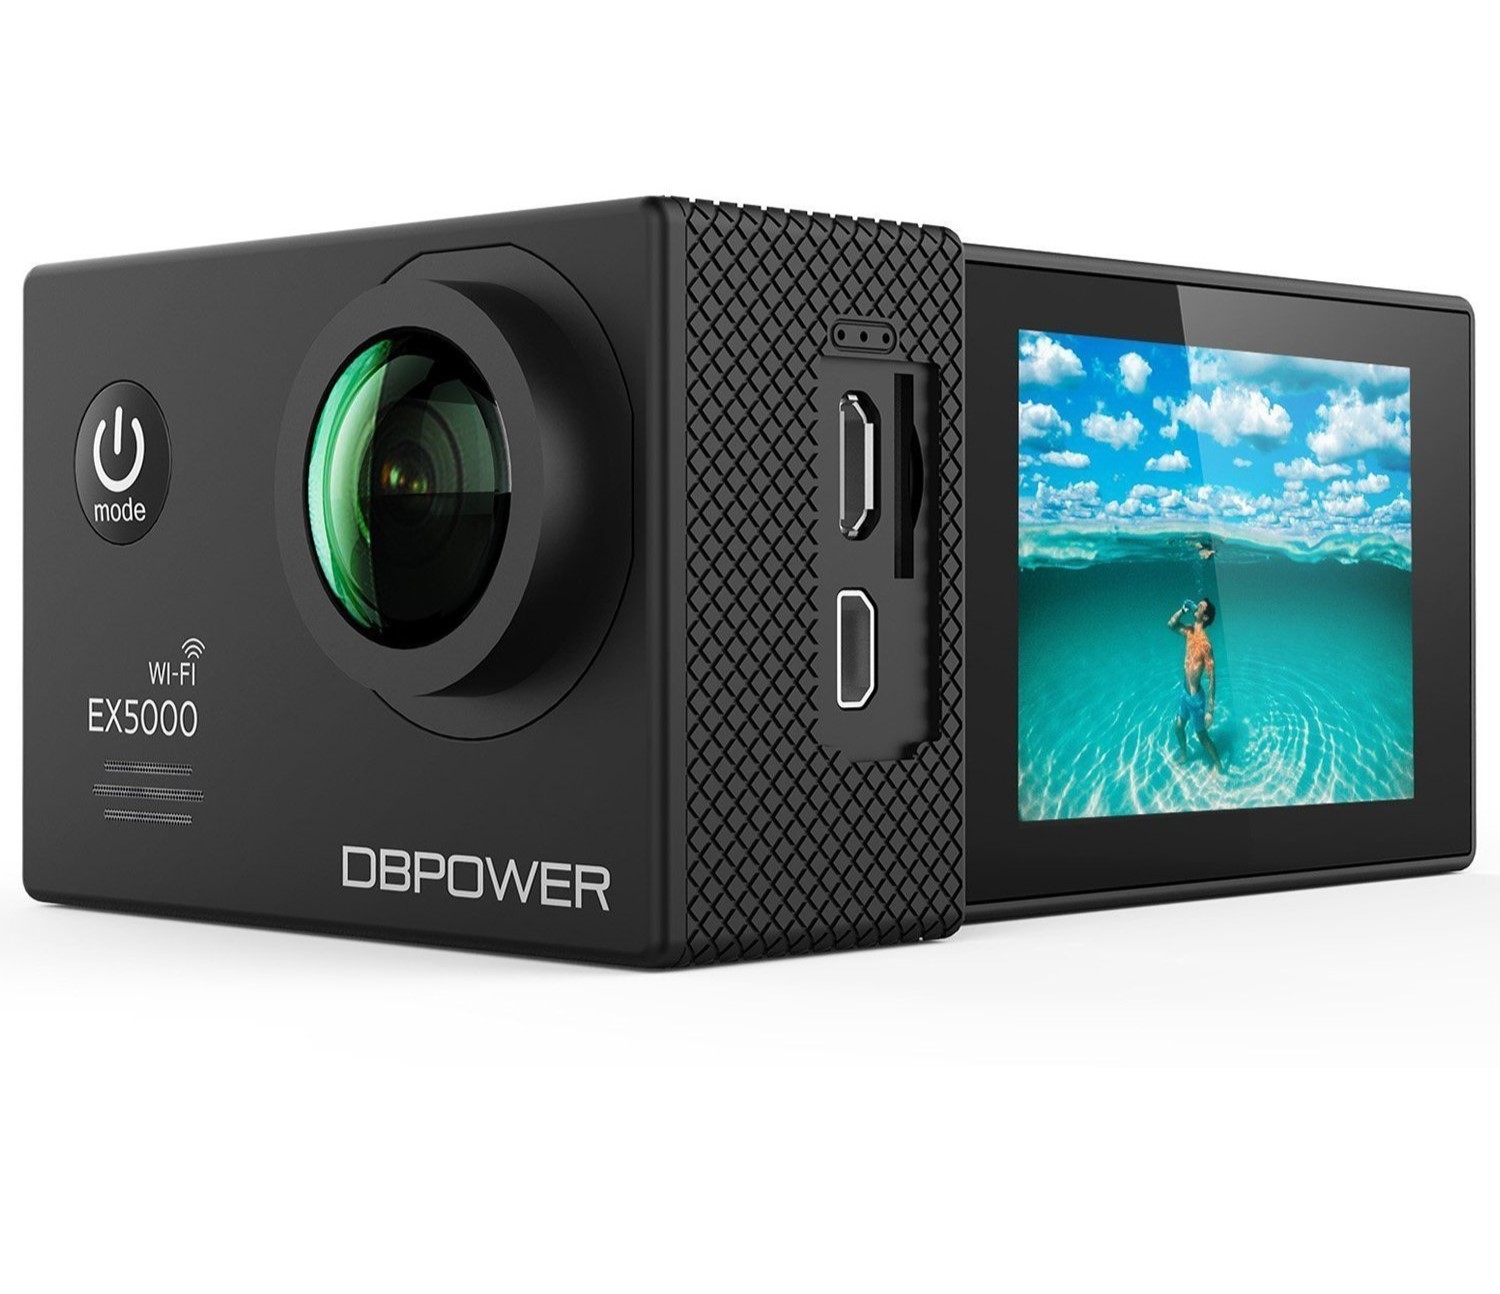
So, you've had a thrilling adventure with your action camera, capturing breathtaking moments and adrenaline-pumping activities. However, as you review the footage and images, you realize that some photos didn't quite meet your expectations. Whether they're blurry, poorly framed, or simply not worth keeping, it's time to declutter your action camera's storage by deleting these unwanted photos.
Deleting photos from an action camera is a straightforward process, similar to managing files on a computer. By following a few simple steps, you can free up space on your device and ensure that only the best and most cherished memories remain. In this guide, we'll walk you through the process of deleting photos from your action camera, providing clear and easy-to-follow instructions.
Before you begin, it's essential to ensure that your action camera is connected to your computer and that you have access to the device's file directory. Once these prerequisites are met, you'll be ready to embark on the journey of organizing and optimizing your action camera's photo collection. Let's dive into the steps involved in deleting unwanted photos from your action camera, empowering you to curate a collection that truly reflects your most exhilarating experiences.
Step 1: Connect your action camera to your computer
The first step in deleting photos from your action camera is to establish a connection between the device and your computer. This connection enables you to access the action camera’s file directory, where you can manage and delete photos as needed. Here’s how to connect your action camera to your computer:
- Locate the USB cable: Begin by locating the USB cable that was provided with your action camera. This cable is essential for establishing a direct connection between the device and your computer.
- Connect the USB cable: With the USB cable in hand, connect one end to the appropriate port on your action camera. This port is typically located on the side or back of the device, and it is designed for data transfer and charging purposes.
- Connect to your computer: After connecting the USB cable to your action camera, locate an available USB port on your computer. Insert the USB cable into the USB port, ensuring a secure and snug connection.
- Power on your action camera: Once the action camera is connected to your computer, power on the device. This step is crucial, as it allows your computer to recognize the action camera as an external storage device.
- Wait for the connection: After powering on the action camera, give your computer a few moments to detect the device. Depending on your computer’s operating system, you may receive a prompt or notification indicating that a new device has been connected.
Once the connection between your action camera and computer is established, you’re ready to move on to the next step: opening the file directory of your action camera to access and manage your photos.
Step 2: Open the file directory of your action camera
After successfully connecting your action camera to your computer, the next step is to access the device’s file directory. This directory contains all the files, including photos and videos, stored on your action camera. By navigating through the file directory, you can locate the specific photos you wish to delete. Here’s how to open the file directory of your action camera:
- Locate the connected device: On your computer, navigate to the file explorer or desktop, depending on your operating system. Look for the connected devices section, where your action camera should appear as an external storage device.
- Access the action camera: Click on the icon or label representing your action camera to open its file directory. This action will display the contents of the device, including folders containing photos and videos captured during your adventures.
- Navigate through the folders: Once inside the file directory of your action camera, you may encounter multiple folders categorizing your media. Look for the folder specifically designated for photos or images. This folder may have a distinct label, such as “Photos” or “Images,” making it easier to identify.
- View the photos: Upon locating the folder containing your photos, open it to reveal the individual images stored on your action camera. Depending on your computer’s settings, the photos may be displayed as thumbnails, allowing you to preview their contents before proceeding to the next step.
By opening the file directory of your action camera, you gain direct access to the stored photos, setting the stage for the next crucial step: selecting the photos you wish to delete. With the file directory open, you’re ready to proceed to the next phase of managing your action camera’s photo collection.
Step 3: Select the photos you want to delete
Now that you have accessed the file directory of your action camera and located the folder containing your photos, it’s time to identify and select the specific images you wish to delete. This step involves carefully reviewing your photo collection and choosing the photos that no longer align with your desired storage criteria. Here’s how to select the photos you want to delete:
- Review the photos: Take a moment to review the contents of the photo folder on your action camera. Scroll through the images and identify those that you no longer wish to keep. Whether it’s due to blurriness, poor composition, or simply being duplicates, make a mental note of the photos you intend to remove.
- Use the selection tools: Most file explorers and operating systems offer selection tools to facilitate the process of choosing multiple files at once. Utilize these tools to select the unwanted photos efficiently. Depending on your system, you may be able to click and drag to create a selection box or use keyboard shortcuts to mark the photos for deletion.
- Consider individual selection: If you prefer a more meticulous approach, consider individually clicking on each photo you wish to delete. This method allows for precise selection and ensures that no unintended files are marked for deletion.
- Verify your selections: Once you have made your selections, take a moment to verify that the correct photos have been chosen for deletion. Double-checking your selections can prevent accidental deletion of important or cherished images.
By carefully selecting the photos you want to delete, you are taking a proactive step toward organizing and optimizing your action camera’s photo collection. With the unwanted photos identified and marked for deletion, you’re ready to proceed to the final step: removing these selected photos from your action camera’s storage.
Step 4: Delete the selected photos
With the unwanted photos from your action camera now identified and selected, it’s time to complete the deletion process. Deleting the selected photos not only frees up storage space on your action camera but also streamlines your photo collection, ensuring that only the most memorable and impactful images remain. Here’s how to delete the selected photos from your action camera:
- Right-click and delete: One of the most common methods for deleting files is to right-click on the selected photos and choose the “Delete” option from the context menu. This action prompts a confirmation dialog, asking if you are sure you want to move the selected photos to the recycle bin or permanently delete them. Confirm your decision to initiate the deletion process.
- Drag and drop to the recycle bin: Another intuitive approach is to drag the selected photos from the file directory of your action camera and drop them into the recycle bin on your computer. This action effectively removes the photos from the action camera’s storage, placing them in the recycle bin for eventual permanent deletion.
- Use the delete key: Some systems allow for the use of the “Delete” key on your keyboard to initiate the deletion of selected files. With the unwanted photos selected, pressing the “Delete” key triggers the same confirmation process, prompting you to confirm the removal of the selected photos.
- Empty the recycle bin: After deleting the selected photos, it’s essential to empty the recycle bin on your computer to permanently remove the photos from your action camera’s storage. This final step ensures that the deleted photos are no longer recoverable and effectively clears up the space on your action camera.
By following these deletion methods, you can effectively remove the selected photos from your action camera, creating room for new memories and ensuring that your photo collection is a curated reflection of your most exhilarating experiences. With the deletion process complete, your action camera’s storage is now optimized, and you can continue capturing unforgettable moments with ease.
Conclusion
Congratulations! You’ve successfully navigated the process of deleting photos from your action camera, reclaiming valuable storage space and refining your photo collection to showcase only the most captivating and cherished moments. By following the simple steps outlined in this guide, you’ve empowered yourself to manage your action camera’s photo library with ease and efficiency.
Deleting unwanted photos from your action camera is a pivotal aspect of maintaining an organized and optimized device, ensuring that each image stored holds significance and value. Whether you’re preparing for your next adventure or simply tidying up your photo collection, the ability to delete photos directly from your action camera provides a seamless and convenient solution.
Remember, the process begins with connecting your action camera to your computer, granting you access to the device’s file directory. From there, you can navigate through the folders, select the photos you wish to delete, and confidently initiate the deletion process. With the unwanted photos removed, your action camera is primed for new adventures and unforgettable captures.
As you continue to explore and capture life’s most exhilarating moments, the ability to manage and curate your photo collection will remain a valuable skill. By regularly reviewing and deleting unwanted photos, you ensure that your action camera’s storage remains optimized, allowing you to focus on creating new memories without the burden of cluttered or redundant images.
Embrace the simplicity and effectiveness of managing your action camera’s photo library, and revel in the freedom of curating a collection that truly reflects your most thrilling experiences. With your newfound proficiency in deleting photos from your action camera, you’re poised to embark on your next adventure with a clear and organized storage space, ready to capture the extraordinary moments that await.