Introduction
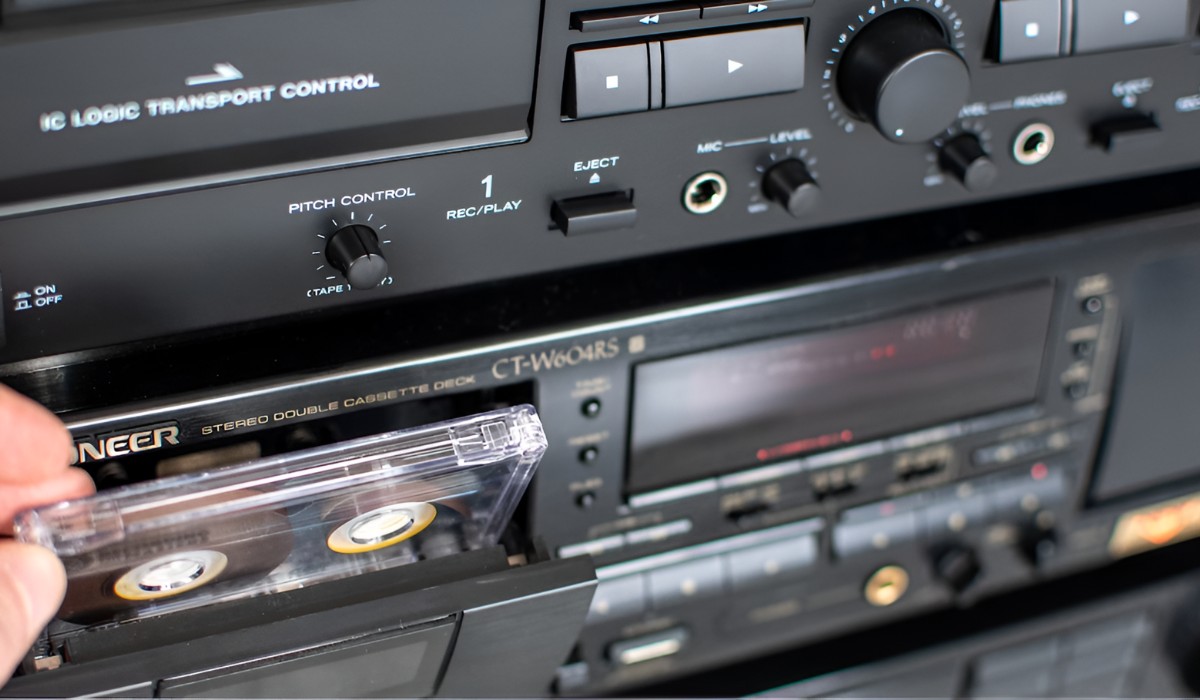
So, you've dusted off your old cassette deck and are eager to relive the nostalgia of creating mixtapes or listening to classic recordings. However, you're faced with the challenge of connecting it to your modern AV receiver. While the technology may seem outdated, the warm and authentic sound of cassette tapes holds a special place in the hearts of many audiophiles. Fortunately, integrating your cassette deck with your AV receiver is a straightforward process that can significantly enhance your audio setup.
In this comprehensive guide, we'll walk you through the steps to seamlessly connect your cassette deck to your AV receiver, allowing you to enjoy your favorite cassette tapes with the full audio prowess of your modern entertainment system. Whether you're a vintage audio enthusiast or simply seeking to expand your audio options, this guide will equip you with the knowledge and confidence to bridge the gap between old-school cassette technology and contemporary AV equipment.
By understanding the functionalities of both your cassette deck and AV receiver, you'll gain valuable insights into their compatibility and how they can complement each other. We'll delve into the intricacies of connecting various audio cables and configuring the input and output settings to ensure optimal sound quality. Additionally, we'll cover essential testing and troubleshooting procedures to address any potential issues, ensuring that your cassette deck seamlessly integrates with your AV receiver.
So, grab your favorite cassette tapes and get ready to embark on a journey that merges the best of both worlds: the nostalgic charm of cassette tapes and the modern capabilities of your AV receiver. With this guide as your companion, you'll soon be enjoying the rich, analog sound of your cassette deck through your high-fidelity AV receiver, creating a harmonious blend of past and present in your audio setup. Let's dive in and bring your cassette deck back to life in the digital age.
Understanding Your Cassette Deck and AV Receiver
Before embarking on the process of connecting your cassette deck to your AV receiver, it’s essential to familiarize yourself with the key features and functions of both components. Understanding the capabilities of your cassette deck and AV receiver will enable you to make informed decisions regarding their integration, ensuring a seamless and optimized audio experience.
Cassette Deck:
- Playback and Recording: Your cassette deck serves as a platform for both playing back pre-recorded cassette tapes and recording audio onto blank tapes. Understanding the playback and recording functionalities will allow you to leverage the full potential of your cassette deck, whether you’re enjoying classic albums or creating personalized mixtapes.
- Input and Output Connections: Take note of the input and output ports on your cassette deck, as these will be crucial for establishing the connection with your AV receiver. Common connections include RCA or auxiliary inputs and outputs, which facilitate the transmission of audio signals between devices.
- Playback Controls: Familiarize yourself with the playback controls on your cassette deck, such as play, stop, fast forward, and rewind buttons. These controls enable you to navigate through cassette tapes and manage the playback process with ease.
- Head Cleaning and Maintenance: It’s important to maintain your cassette deck by periodically cleaning the playback heads and ensuring the overall upkeep of the device. Proper maintenance can prolong the lifespan of your cassette deck and preserve the quality of audio playback.
AV Receiver:
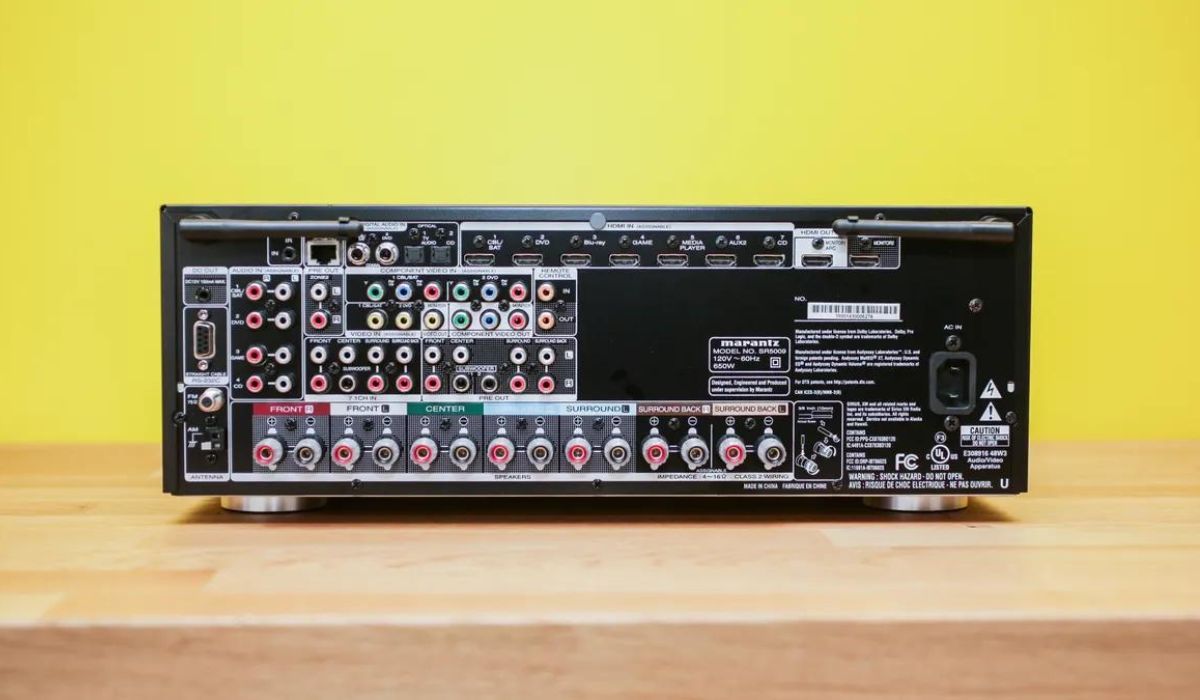
- Audio Inputs and Outputs: Your AV receiver features a variety of audio input and output options, including HDMI, optical, and analog connections. Understanding the available input and output ports will guide you in selecting the appropriate connection method for integrating your cassette deck.
- Input Selection and Configuration: The AV receiver allows you to select different input sources and configure the settings for each input. Familiarize yourself with the input selection process and the configuration options to prepare for connecting the cassette deck.
- Amplification and Signal Processing: The AV receiver amplifies audio signals and may incorporate signal processing technologies to enhance audio quality. Understanding the amplification and signal processing capabilities will help you optimize the audio output when integrating the cassette deck.
- Speaker Connections: Take note of the speaker connections on the AV receiver, as these will be essential for routing the audio output from the cassette deck to the connected speakers or audio system.
By gaining a comprehensive understanding of your cassette deck and AV receiver, you’ll be well-equipped to proceed with the connection process, leveraging the unique features of each component to create a cohesive audio setup that seamlessly integrates the classic charm of cassette tapes with the advanced capabilities of your AV receiver.
Connecting Your Cassette Deck to Your AV Receiver
Now that you have a solid grasp of the functionalities of your cassette deck and AV receiver, it’s time to bridge the gap between these two audio components by establishing the necessary connections. By following the steps outlined below, you’ll be able to seamlessly integrate your cassette deck with your AV receiver, unlocking the potential for enjoying your favorite cassette tapes with enhanced audio quality.
Identify Audio Input and Output Ports:
Begin by identifying the audio input and output ports on both your cassette deck and AV receiver. Common audio connections include RCA, auxiliary, and possibly optical or coaxial inputs and outputs. Take note of the specific labels or color-coding for these ports to ensure accurate connections.
Selecting the Connection Method:
Depending on the available input and output options on your cassette deck and AV receiver, determine the most suitable connection method. If both devices feature RCA connections, you can use a pair of RCA cables to establish the audio link between the cassette deck’s output and the AV receiver’s input. For digital connections, such as optical or coaxial, ensure that both devices support the respective interface for seamless integration.
Establishing the Audio Connection:
With the appropriate cables in hand, connect the output ports of your cassette deck to the corresponding input ports on your AV receiver. Ensure a secure and snug fit for the connections to prevent signal loss or interference. If your cassette deck offers multiple output options, select the one that best aligns with the input capabilities of your AV receiver.
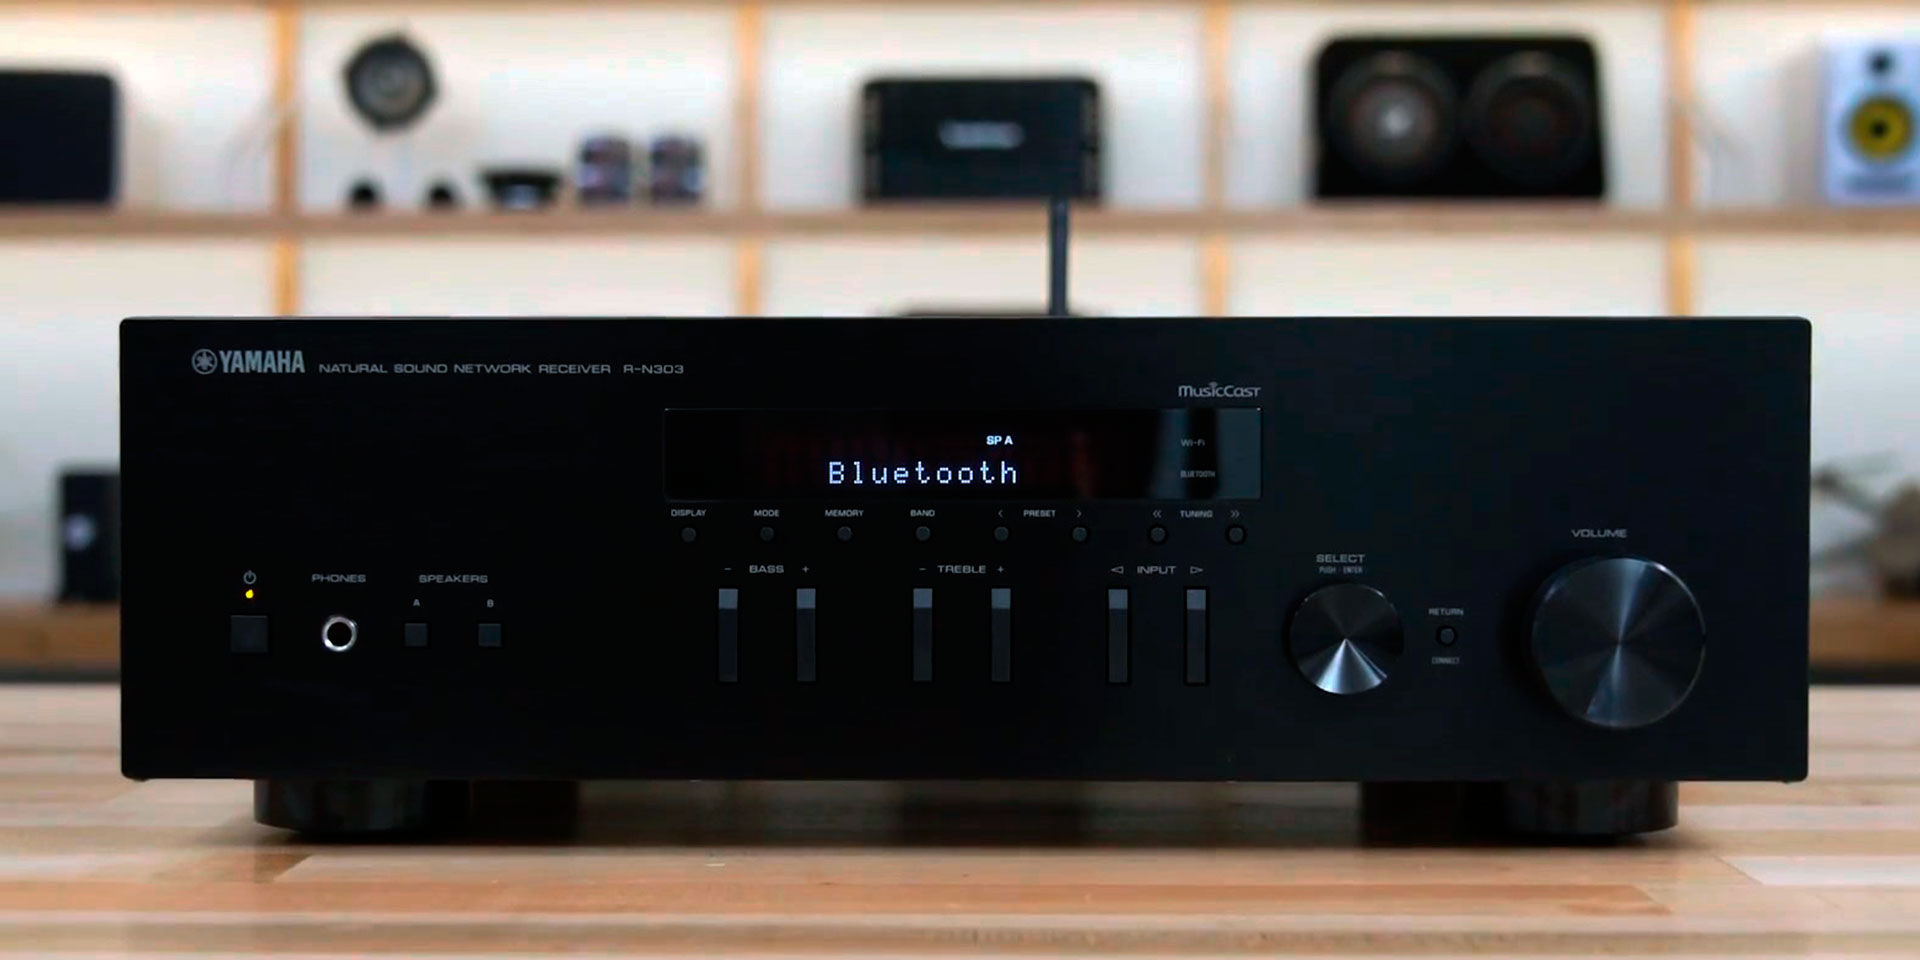
Configuring Input Selection on the AV Receiver:
Access the input selection menu on your AV receiver and choose the input source to which the cassette deck is connected. This step ensures that the receiver recognizes the audio signal coming from the cassette deck and routes it to the appropriate playback channel for monitoring or amplification.
Testing the Connection:
Once the physical connections are in place, power on both the cassette deck and AV receiver. Play a cassette tape on the deck and select the corresponding input on the receiver. Verify that the audio is successfully transmitted from the cassette deck to the receiver, and listen for any distortions or anomalies that may indicate a faulty connection.
By meticulously following these steps, you’ll effectively establish a seamless audio connection between your cassette deck and AV receiver, setting the stage for an immersive and nostalgic audio experience that seamlessly integrates the vintage charm of cassette tapes with the modern capabilities of your AV receiver.
Testing and Troubleshooting
After connecting your cassette deck to your AV receiver, it’s essential to conduct thorough testing to ensure that the audio signals are transmitting seamlessly and that the integrated setup is functioning optimally. Additionally, being equipped with troubleshooting techniques will empower you to address any potential issues that may arise during the testing phase, allowing you to fine-tune the connection and maximize audio performance.
Audio Playback Verification:
Initiate the testing process by playing a variety of cassette tapes through your newly integrated audio setup. Listen attentively to the audio output and assess the overall sound quality, ensuring that the playback is clear, free from distortions, and faithfully reproduces the nuances of the recorded content. Pay close attention to both music and spoken-word recordings to gauge the fidelity and balance of the audio output.
Channel Configuration and Balance:
Verify that the audio channels are correctly configured and balanced within the AV receiver’s settings. Ensure that the left and right audio channels are accurately mapped to the corresponding speakers or output channels, maintaining a harmonious stereo image and spatial distribution of sound. Adjust the balance settings if necessary to achieve an optimal listening experience.
Signal Interference and Grounding:
Be attentive to any potential signal interference or grounding issues that may manifest as unwanted noise or hum during audio playback. If such anomalies are detected, consider rechecking the audio connections, ensuring proper grounding of the devices, and minimizing potential sources of electromagnetic interference in the vicinity of the setup.
Volume and Gain Calibration:
Calibrate the volume and gain levels on both the cassette deck and AV receiver to achieve a balanced and controlled audio output. Avoid excessively high volume levels during testing to prevent potential damage to speakers or audio components, and ensure that the gain settings align with the input sensitivity of the AV receiver for optimal signal processing.
Troubleshooting Steps:
If you encounter any audio irregularities or connectivity issues during testing, consider the following troubleshooting steps:
- Inspect and reseat the audio cables to ensure secure connections.
- Verify that the input and output settings on the AV receiver correspond to the connected cassette deck.
- Check for firmware updates or compatibility issues between the cassette deck and AV receiver.
- Consult the user manuals for both devices to identify specific troubleshooting guidelines.
- Consider testing the cassette deck with an alternative audio system to isolate potential issues.
By diligently conducting testing and implementing troubleshooting measures, you’ll be able to fine-tune the integration of your cassette deck with your AV receiver, ensuring a seamless and immersive audio experience that faithfully captures the nostalgic allure of cassette tapes while harnessing the technological prowess of your modern AV setup.
Conclusion
Embarking on the journey to connect your cherished cassette deck with your contemporary AV receiver has not only rekindled the nostalgia of analog audio but also empowered you to create a harmonious fusion of vintage charm and modern technology in your audio setup. By understanding the functionalities of your cassette deck and AV receiver, navigating the intricacies of audio connections, and conducting thorough testing, you’ve successfully bridged the generational gap between these audio components, unlocking a world of captivating soundscapes and timeless music playback.
As you immerse yourself in the rich, analog warmth of cassette tapes, now seamlessly integrated with the advanced capabilities of your AV receiver, you’re poised to embark on a sonic journey that transcends eras. The meticulous attention to detail in establishing the audio connections, configuring input settings, and fine-tuning the playback quality has culminated in an audio setup that pays homage to the past while embracing the present.
With the integration of your cassette deck and AV receiver, you’ve not only expanded your audio horizons but also preserved the art of analog playback in the digital age. The seamless transmission of audio signals between these components has amplified the nostalgic allure of cassette tapes, allowing you to relive cherished memories and discover new dimensions of audio enjoyment.
Furthermore, the troubleshooting techniques you’ve acquired have equipped you with the confidence to address potential audio irregularities and optimize the performance of your integrated setup. The ability to identify and resolve connectivity issues ensures that your audio experience remains uninterrupted, allowing you to savor the captivating melodies and immersive soundscapes that cassette tapes uniquely deliver.
As you revel in the fusion of vintage and contemporary audio technologies, the successful integration of your cassette deck with your AV receiver stands as a testament to your dedication to preserving the art of analog audio playback. Your commitment to creating a seamless and harmonious audio setup has not only enriched your listening experience but also honored the timeless legacy of cassette tapes in the ever-evolving landscape of audio technology.
With your cassette deck now intricately connected to your AV receiver, you’re poised to embark on a captivating audio journey that transcends time, blending the nostalgia of yesteryear with the cutting-edge capabilities of modern audio equipment. As you savor the melodic tapestries and evocative sonorities that emanate from your integrated setup, you’ll find solace in the enduring magic of analog audio, perpetuated through the seamless harmony of your cassette deck and AV receiver.