Introduction
Introduction
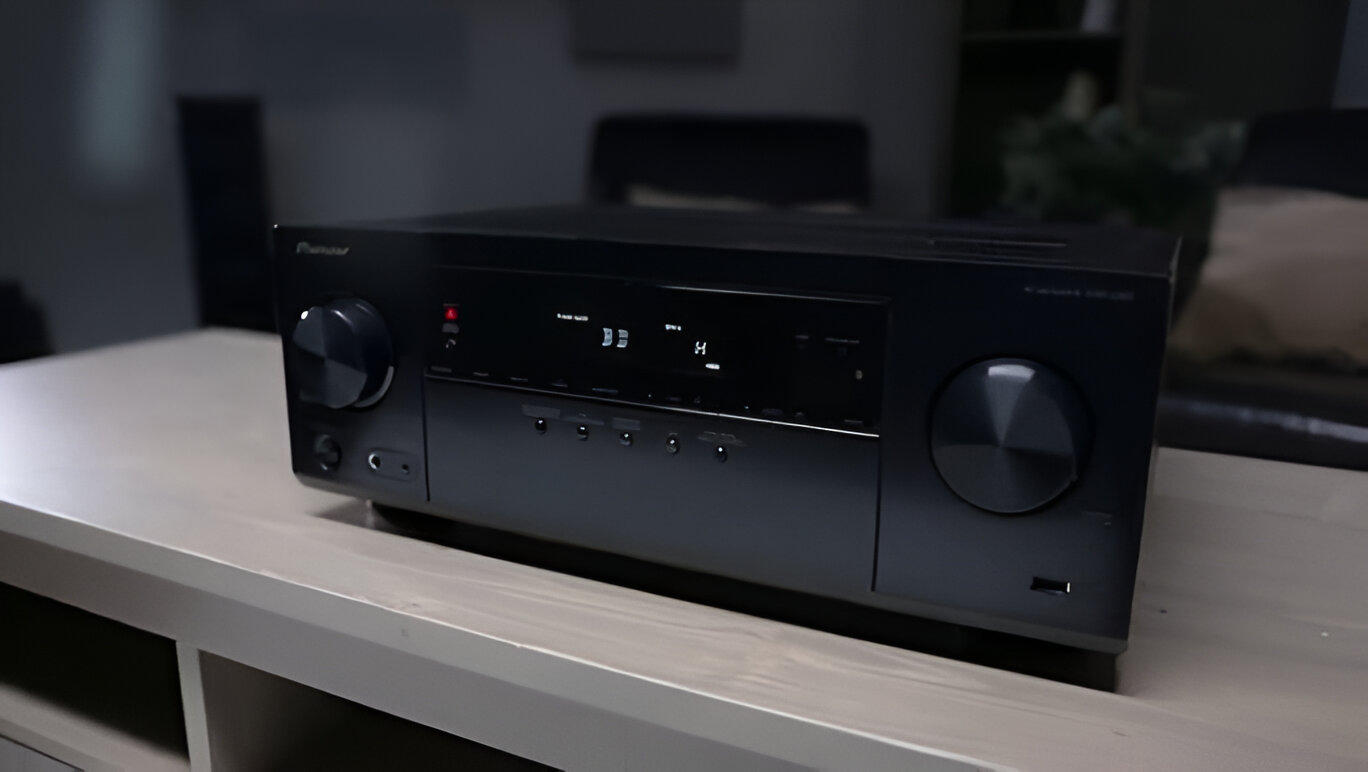
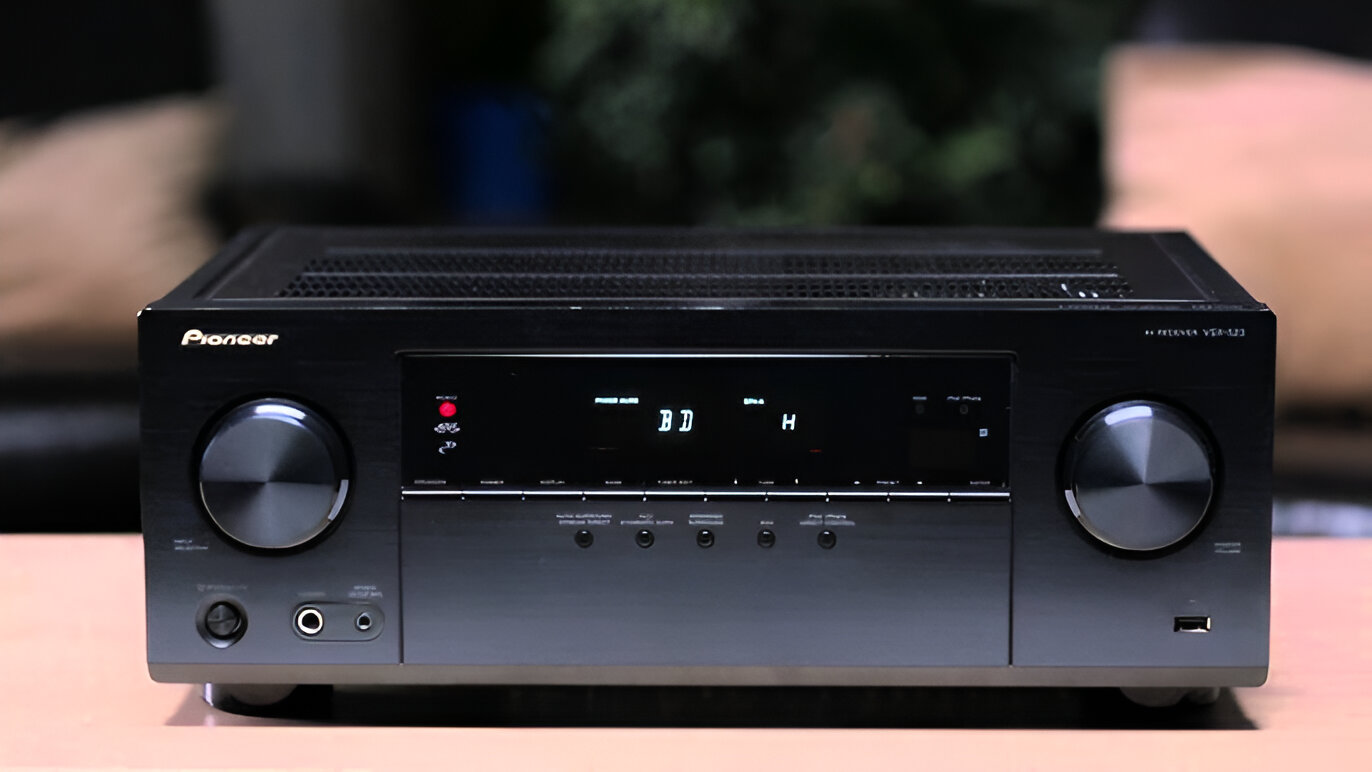
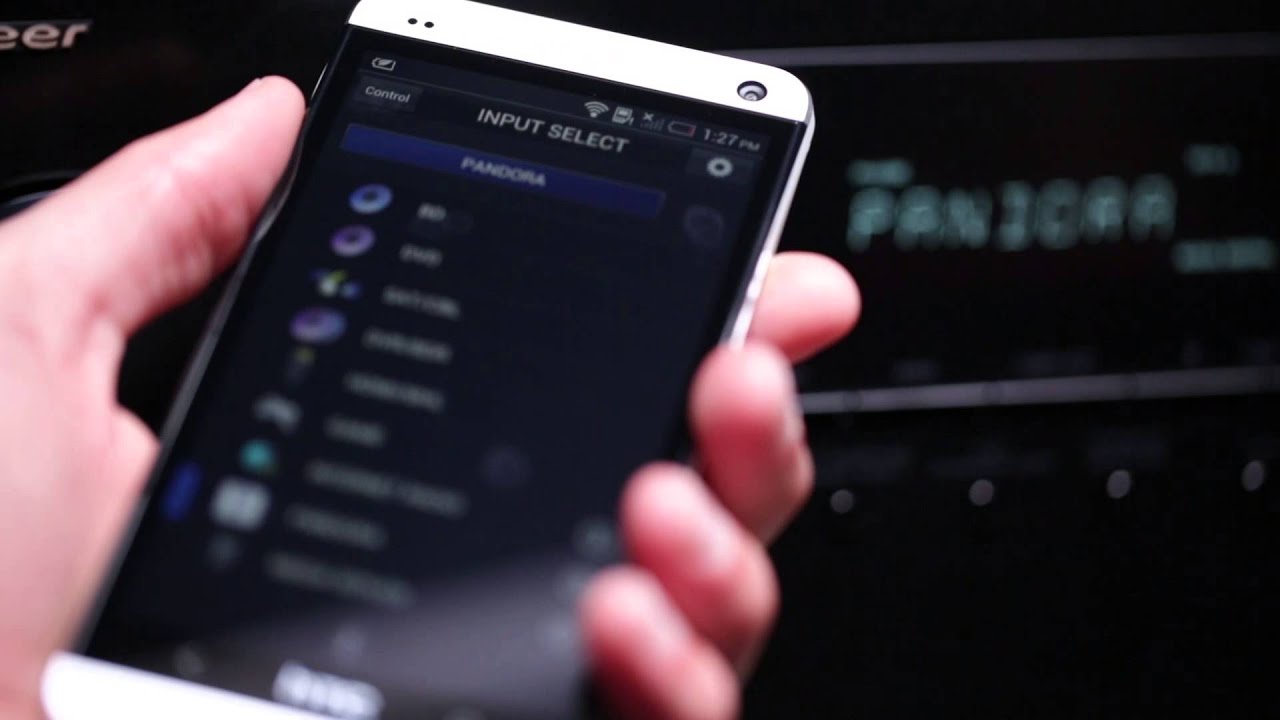
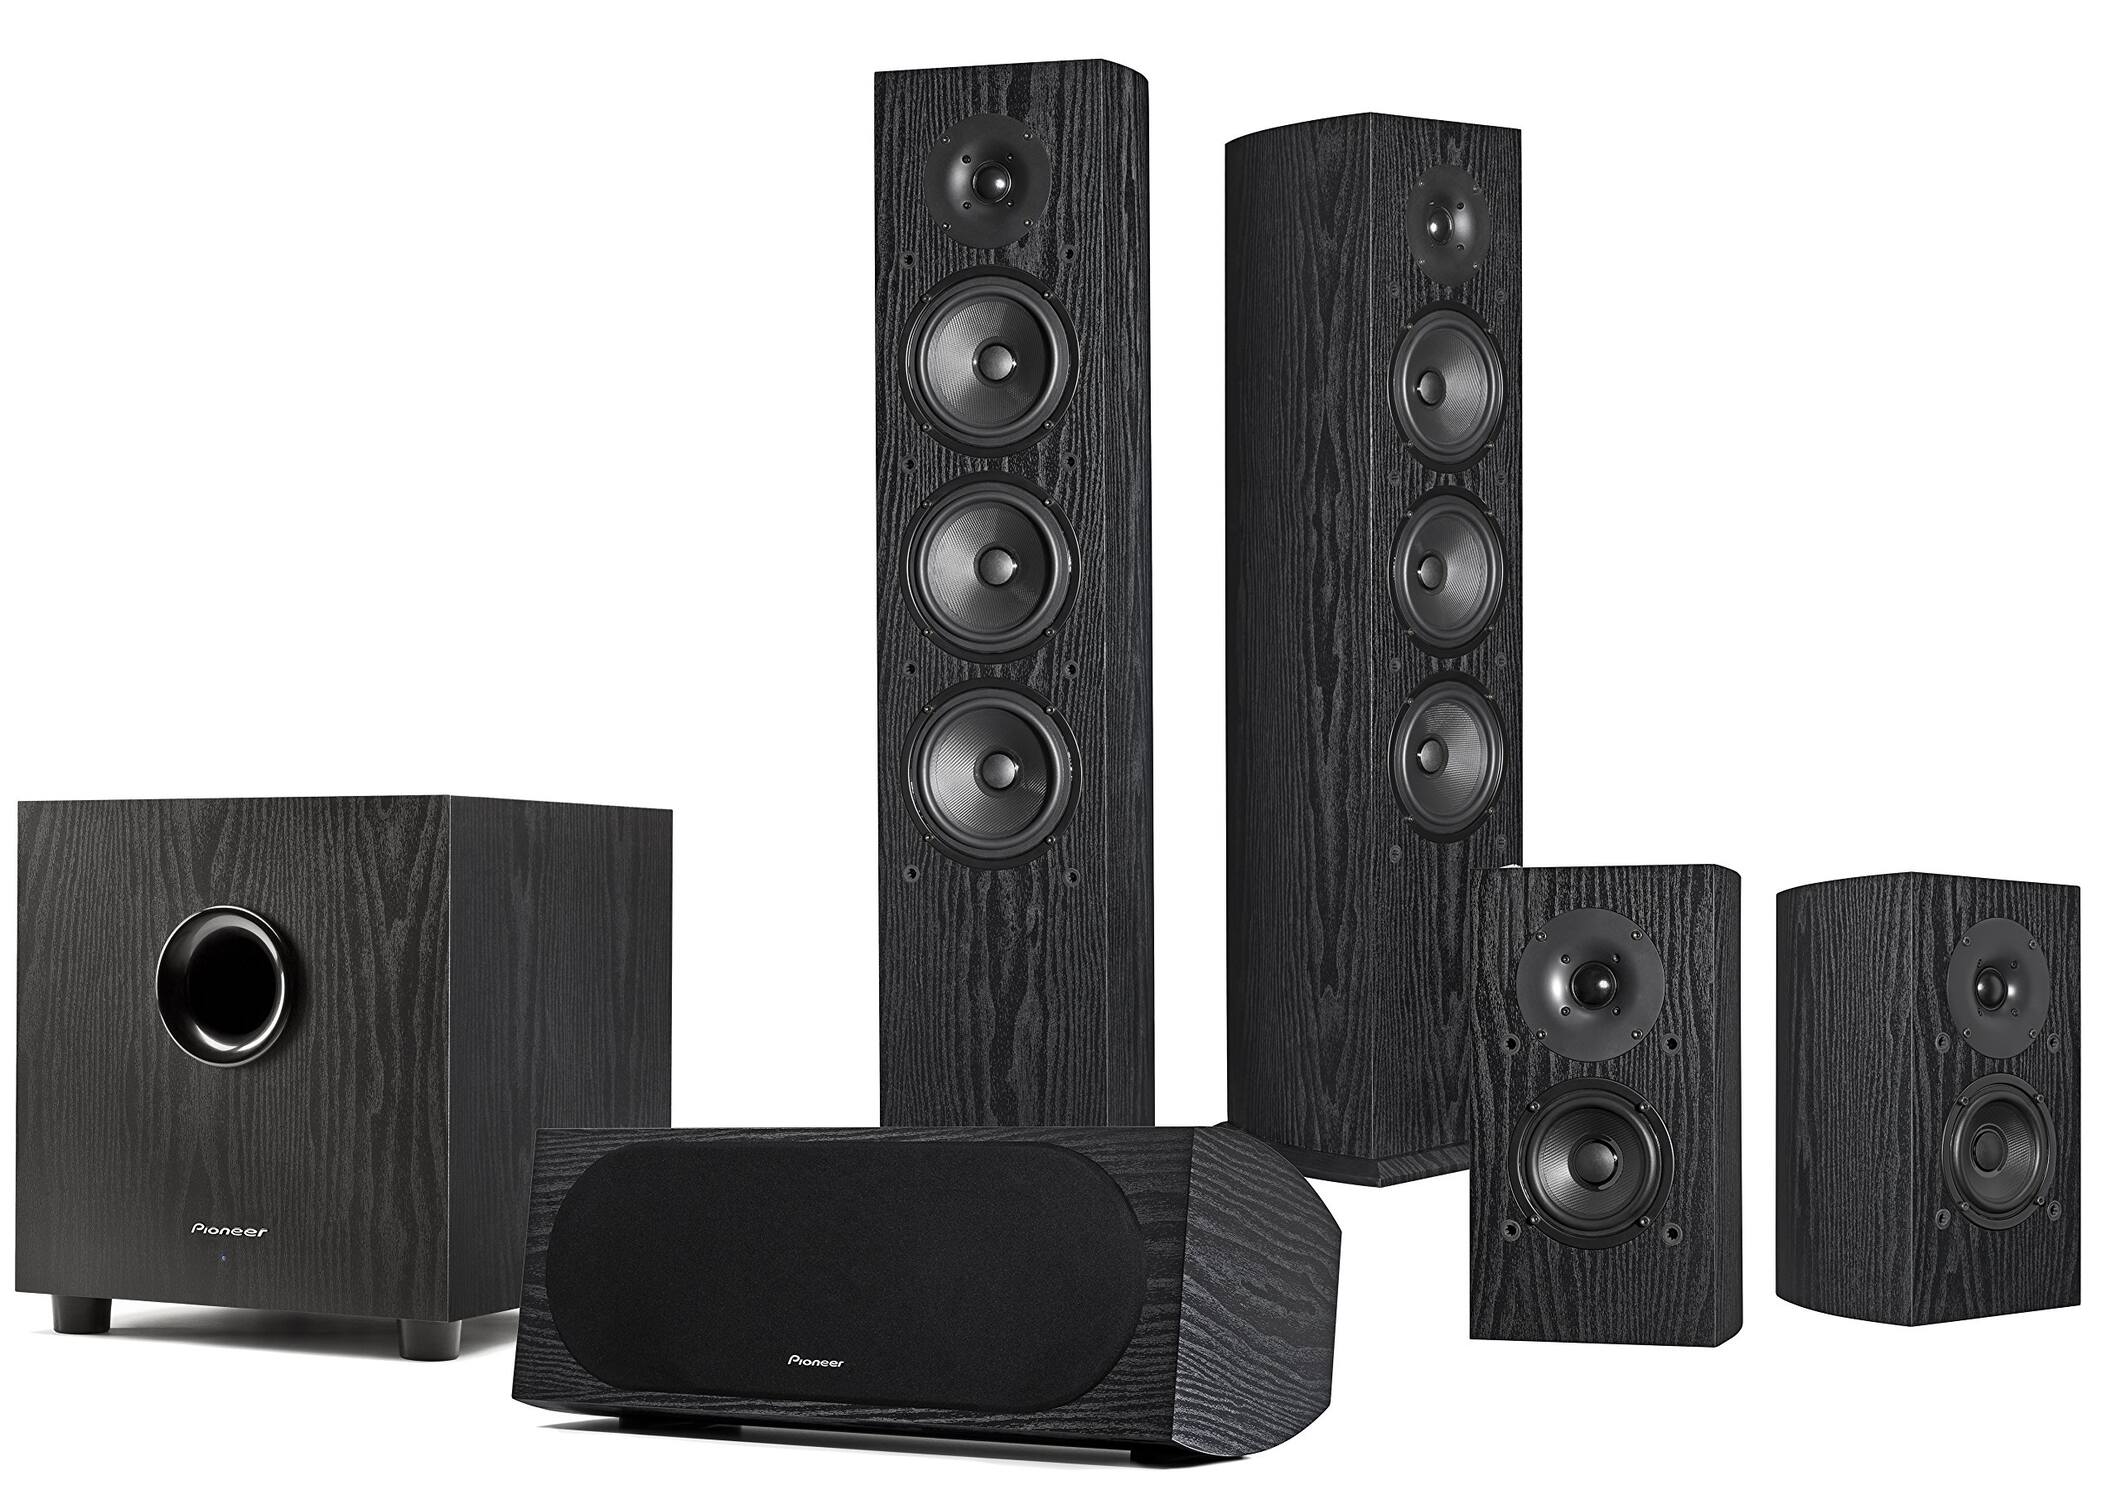
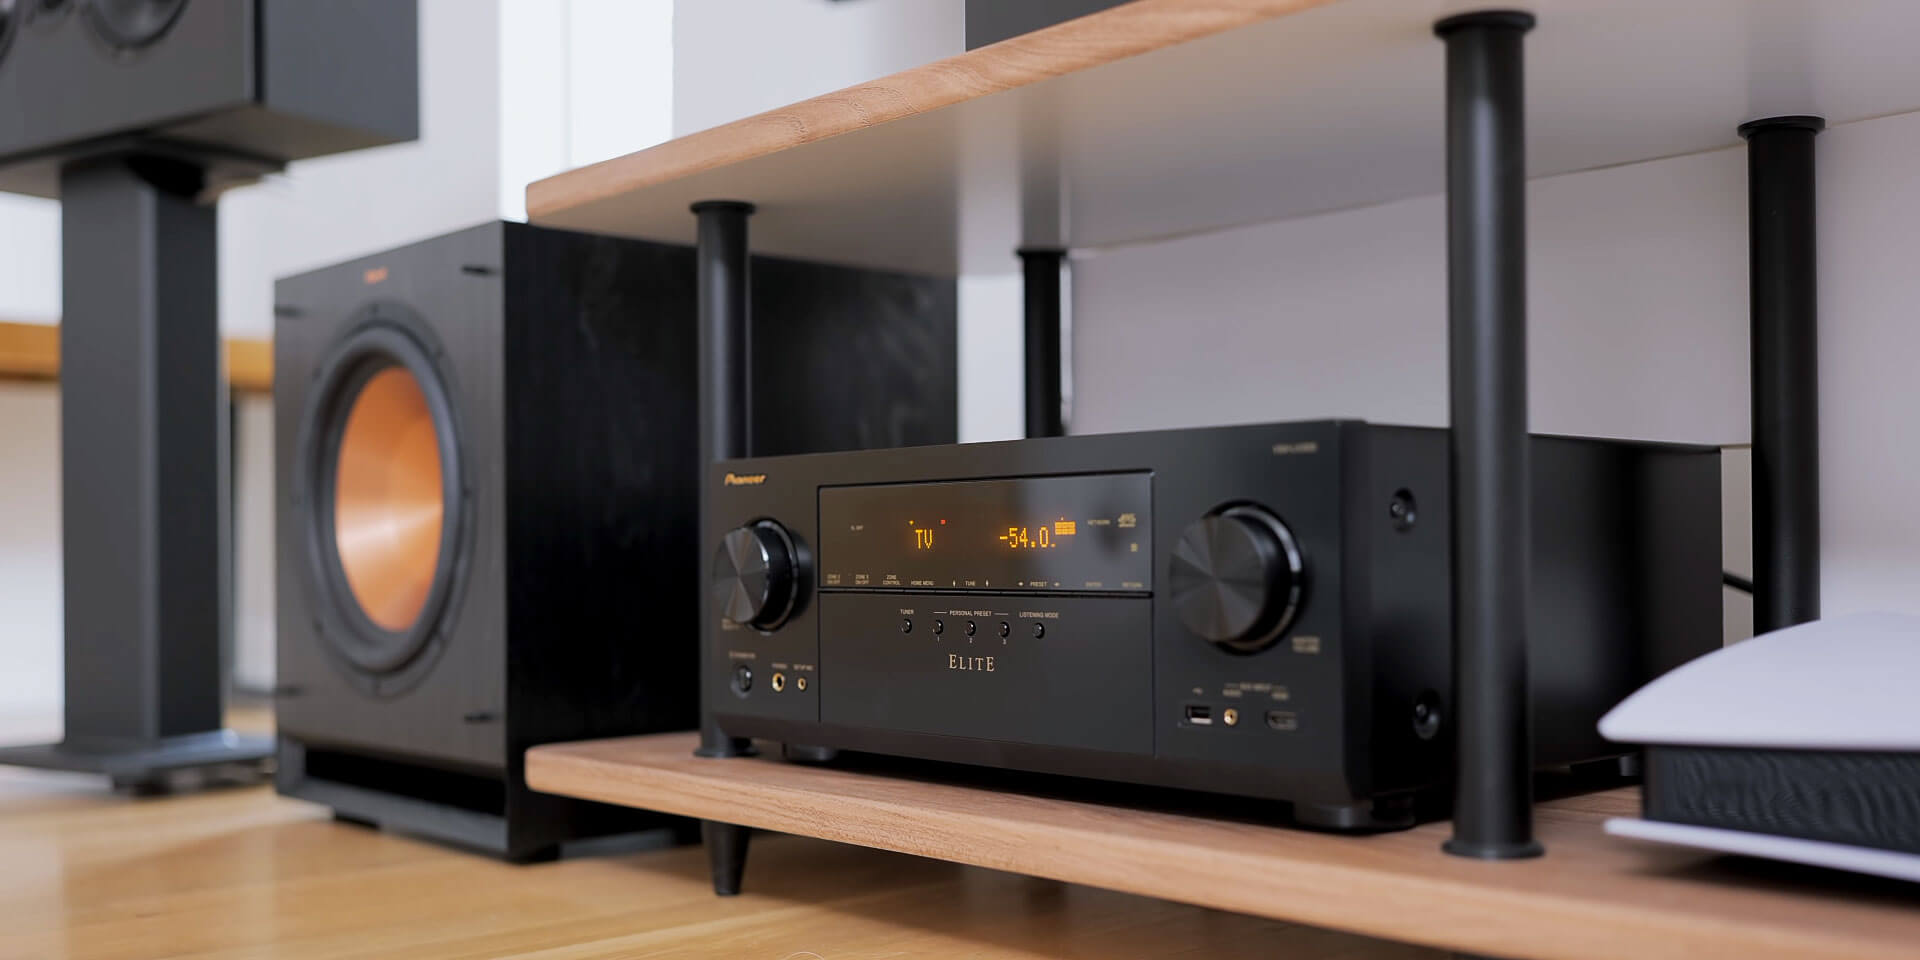
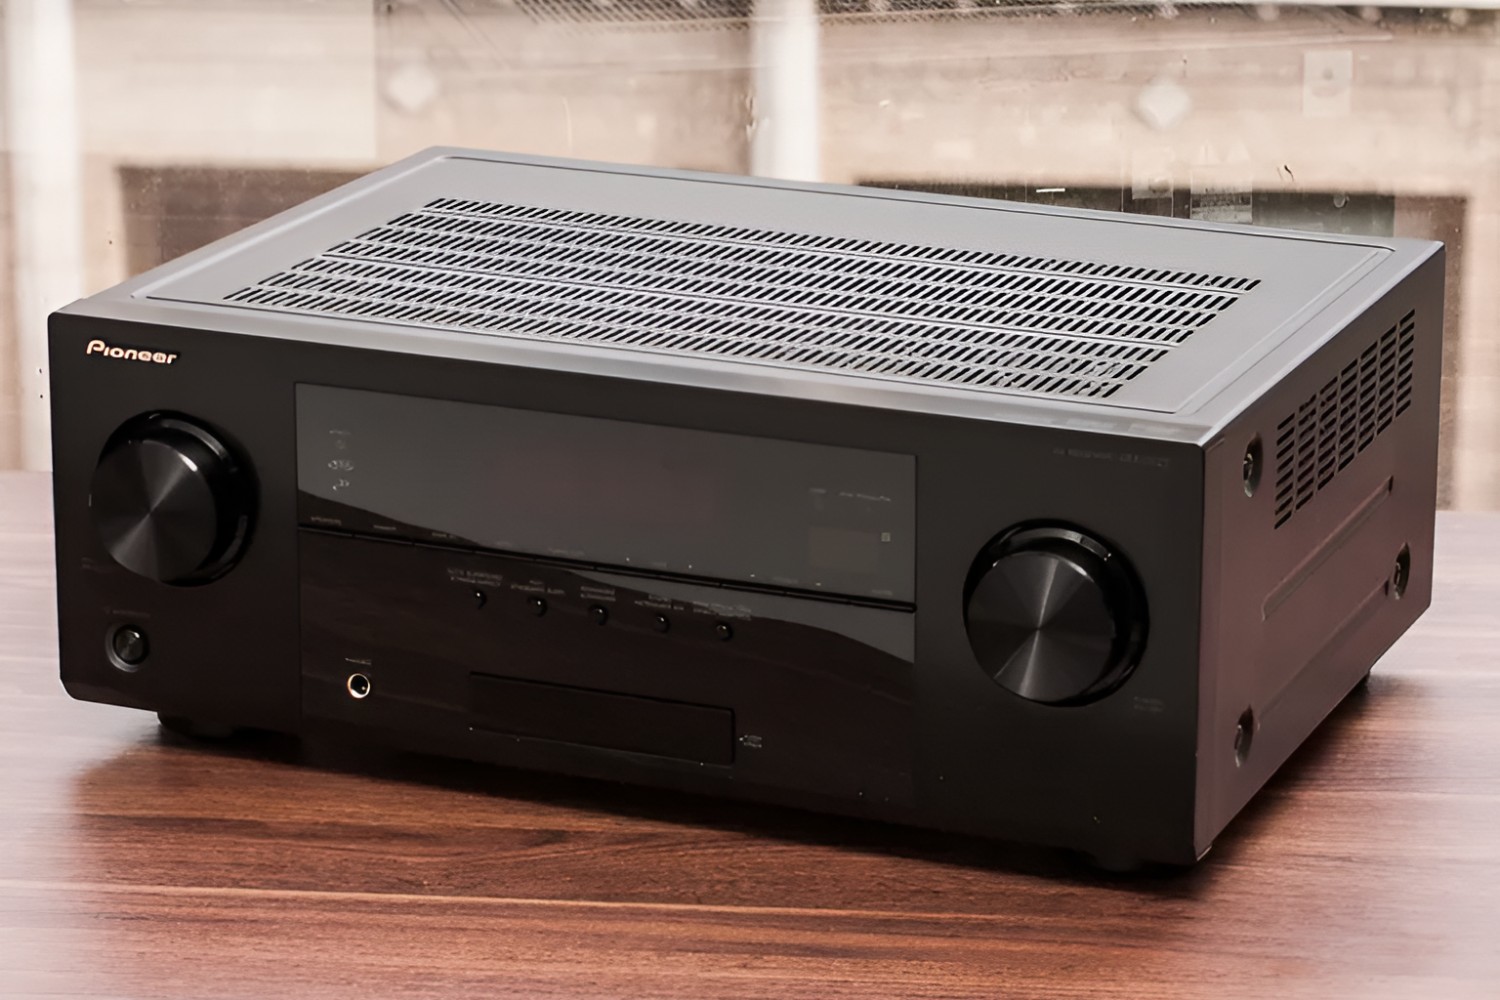
Resetting a Pioneer AV Receiver VSX 522 can resolve various issues, such as audio or video malfunctions, network connectivity problems, or unresponsive controls. Before diving into the reset process, it's essential to consult the receiver's manual for specific instructions and precautions. Additionally, understanding the difference between a soft reset and a hard reset is crucial, as each method serves a distinct purpose.
Resetting the receiver can be a simple yet effective troubleshooting step, potentially sparing you the inconvenience of seeking professional assistance or incurring repair costs. By following the appropriate reset procedure, you can often restore the receiver to its default settings, rectifying performance issues and enhancing its overall functionality.
Understanding the nuances of resetting a Pioneer AV Receiver VSX 522 empowers you to maintain and optimize your audio-visual experience. Whether you encounter technical glitches or seek to reconfigure the receiver's settings, the reset process can serve as a valuable tool in your troubleshooting arsenal.
Resetting a Pioneer AV Receiver VSX 522 can resolve various issues, such as audio or video malfunctions, network connectivity problems, or unresponsive controls. Before diving into the reset process, it’s essential to consult the receiver’s manual for specific instructions and precautions. Additionally, understanding the difference between a soft reset and a hard reset is crucial, as each method serves a distinct purpose.
Resetting the receiver can be a simple yet effective troubleshooting step, potentially sparing you the inconvenience of seeking professional assistance or incurring repair costs. By following the appropriate reset procedure, you can often restore the receiver to its default settings, rectifying performance issues and enhancing its overall functionality.
Understanding the nuances of resetting a Pioneer AV Receiver VSX 522 empowers you to maintain and optimize your audio-visual experience. Whether you encounter technical glitches or seek to reconfigure the receiver’s settings, the reset process can serve as a valuable tool in your troubleshooting arsenal.
Checking the Receiver’s Manual
Before initiating a reset of the Pioneer AV Receiver VSX 522, it is imperative to consult the receiver’s manual for comprehensive guidance. The manual serves as a vital resource, offering specific instructions, safety precautions, and insights into the receiver’s functionality. Here’s a detailed approach to effectively utilize the manual:
- Locate the Manual: The manual is typically provided with the receiver at the time of purchase. If the physical copy is unavailable, it can often be accessed digitally on the manufacturer’s website or through online databases.
- Identify Reset Procedures: Within the manual, navigate to the troubleshooting or maintenance section to find detailed instructions on performing a soft or hard reset. It is essential to understand the nuances of each reset method and any associated implications.
- Safety Precautions: The manual outlines crucial safety measures to observe during the reset process, such as unplugging the receiver from power sources, avoiding contact with internal components, and ensuring a stable operating environment.
- Understanding Error Codes: In cases where the receiver displays error codes or indicators, the manual provides insights into their meanings and corresponding troubleshooting steps. This knowledge can streamline the diagnostic process and guide the appropriate reset approach.
- Exploring Advanced Settings: The manual often delves into advanced settings and configurations, enabling users to make informed decisions regarding the reset process and subsequent adjustments to the receiver’s settings.
By thoroughly reviewing the receiver’s manual, users can gain a comprehensive understanding of the reset procedures, safety considerations, and the broader functionality of the Pioneer AV Receiver VSX 522. This knowledge empowers users to approach the reset process with confidence and precision, mitigating the risk of errors and ensuring a successful outcome.
Performing a Soft Reset
A soft reset is a preliminary troubleshooting step that can address minor technical hitches without altering the receiver’s settings extensively. To perform a soft reset on the Pioneer AV Receiver VSX 522, follow these steps:
- Power Off the Receiver: Ensure the receiver is powered off completely before proceeding with the reset process. This involves turning off the receiver using the power button or unplugging it from the power source.
- Wait for a Few Minutes: Allow the receiver to remain powered off for at least 10-15 minutes. This waiting period facilitates the dissipation of residual power and helps reset internal components.
- Power On the Receiver: After the waiting period, power on the receiver and observe its behavior. Check for any improvements in audio output, video display, network connectivity, or control responsiveness.
- Test Functionality: Test the various features and inputs of the receiver to ascertain whether the soft reset has resolved the issues. Pay attention to audio playback, video output, network connectivity, and remote control functionality.
Performing a soft reset is a prudent initial step when encountering minor technical glitches or erratic behavior in the Pioneer AV Receiver VSX 522. It allows for a quick and non-invasive attempt to rectify performance issues before considering more extensive troubleshooting measures.
Performing a Hard Reset
When encountering persistent issues with the Pioneer AV Receiver VSX 522 that are unresponsive to a soft reset, a hard reset may be necessary to restore the device to its factory default settings. It is important to proceed with caution, as a hard reset will erase all custom configurations and user preferences. Follow these steps to perform a hard reset:
- Power Off the Receiver: Ensure the receiver is powered off completely before initiating the hard reset process.
- Locate the Reset Button: The receiver is equipped with a reset button, often located on the rear panel. Use a pointed object, such as a paperclip, to press and hold the reset button.
- Hold the Reset Button: While holding the reset button, power on the receiver. Continue holding the reset button for approximately 5-10 seconds until the receiver’s display indicates a successful reset.
- Release the Reset Button: After the reset process is complete, release the reset button and allow the receiver to restart. The device will initialize with default settings and configurations.
- Reconfigure Settings: Following the hard reset, reconfigure the receiver’s settings according to your preferences. This may include network setup, speaker configuration, input assignments, and audio/video adjustments.
Performing a hard reset on the Pioneer AV Receiver VSX 522 is a decisive measure reserved for addressing persistent technical issues and restoring the device to a baseline state. It is essential to exercise caution and ensure that a hard reset is truly warranted before proceeding, as it entails the loss of all customized settings and configurations.