Introduction
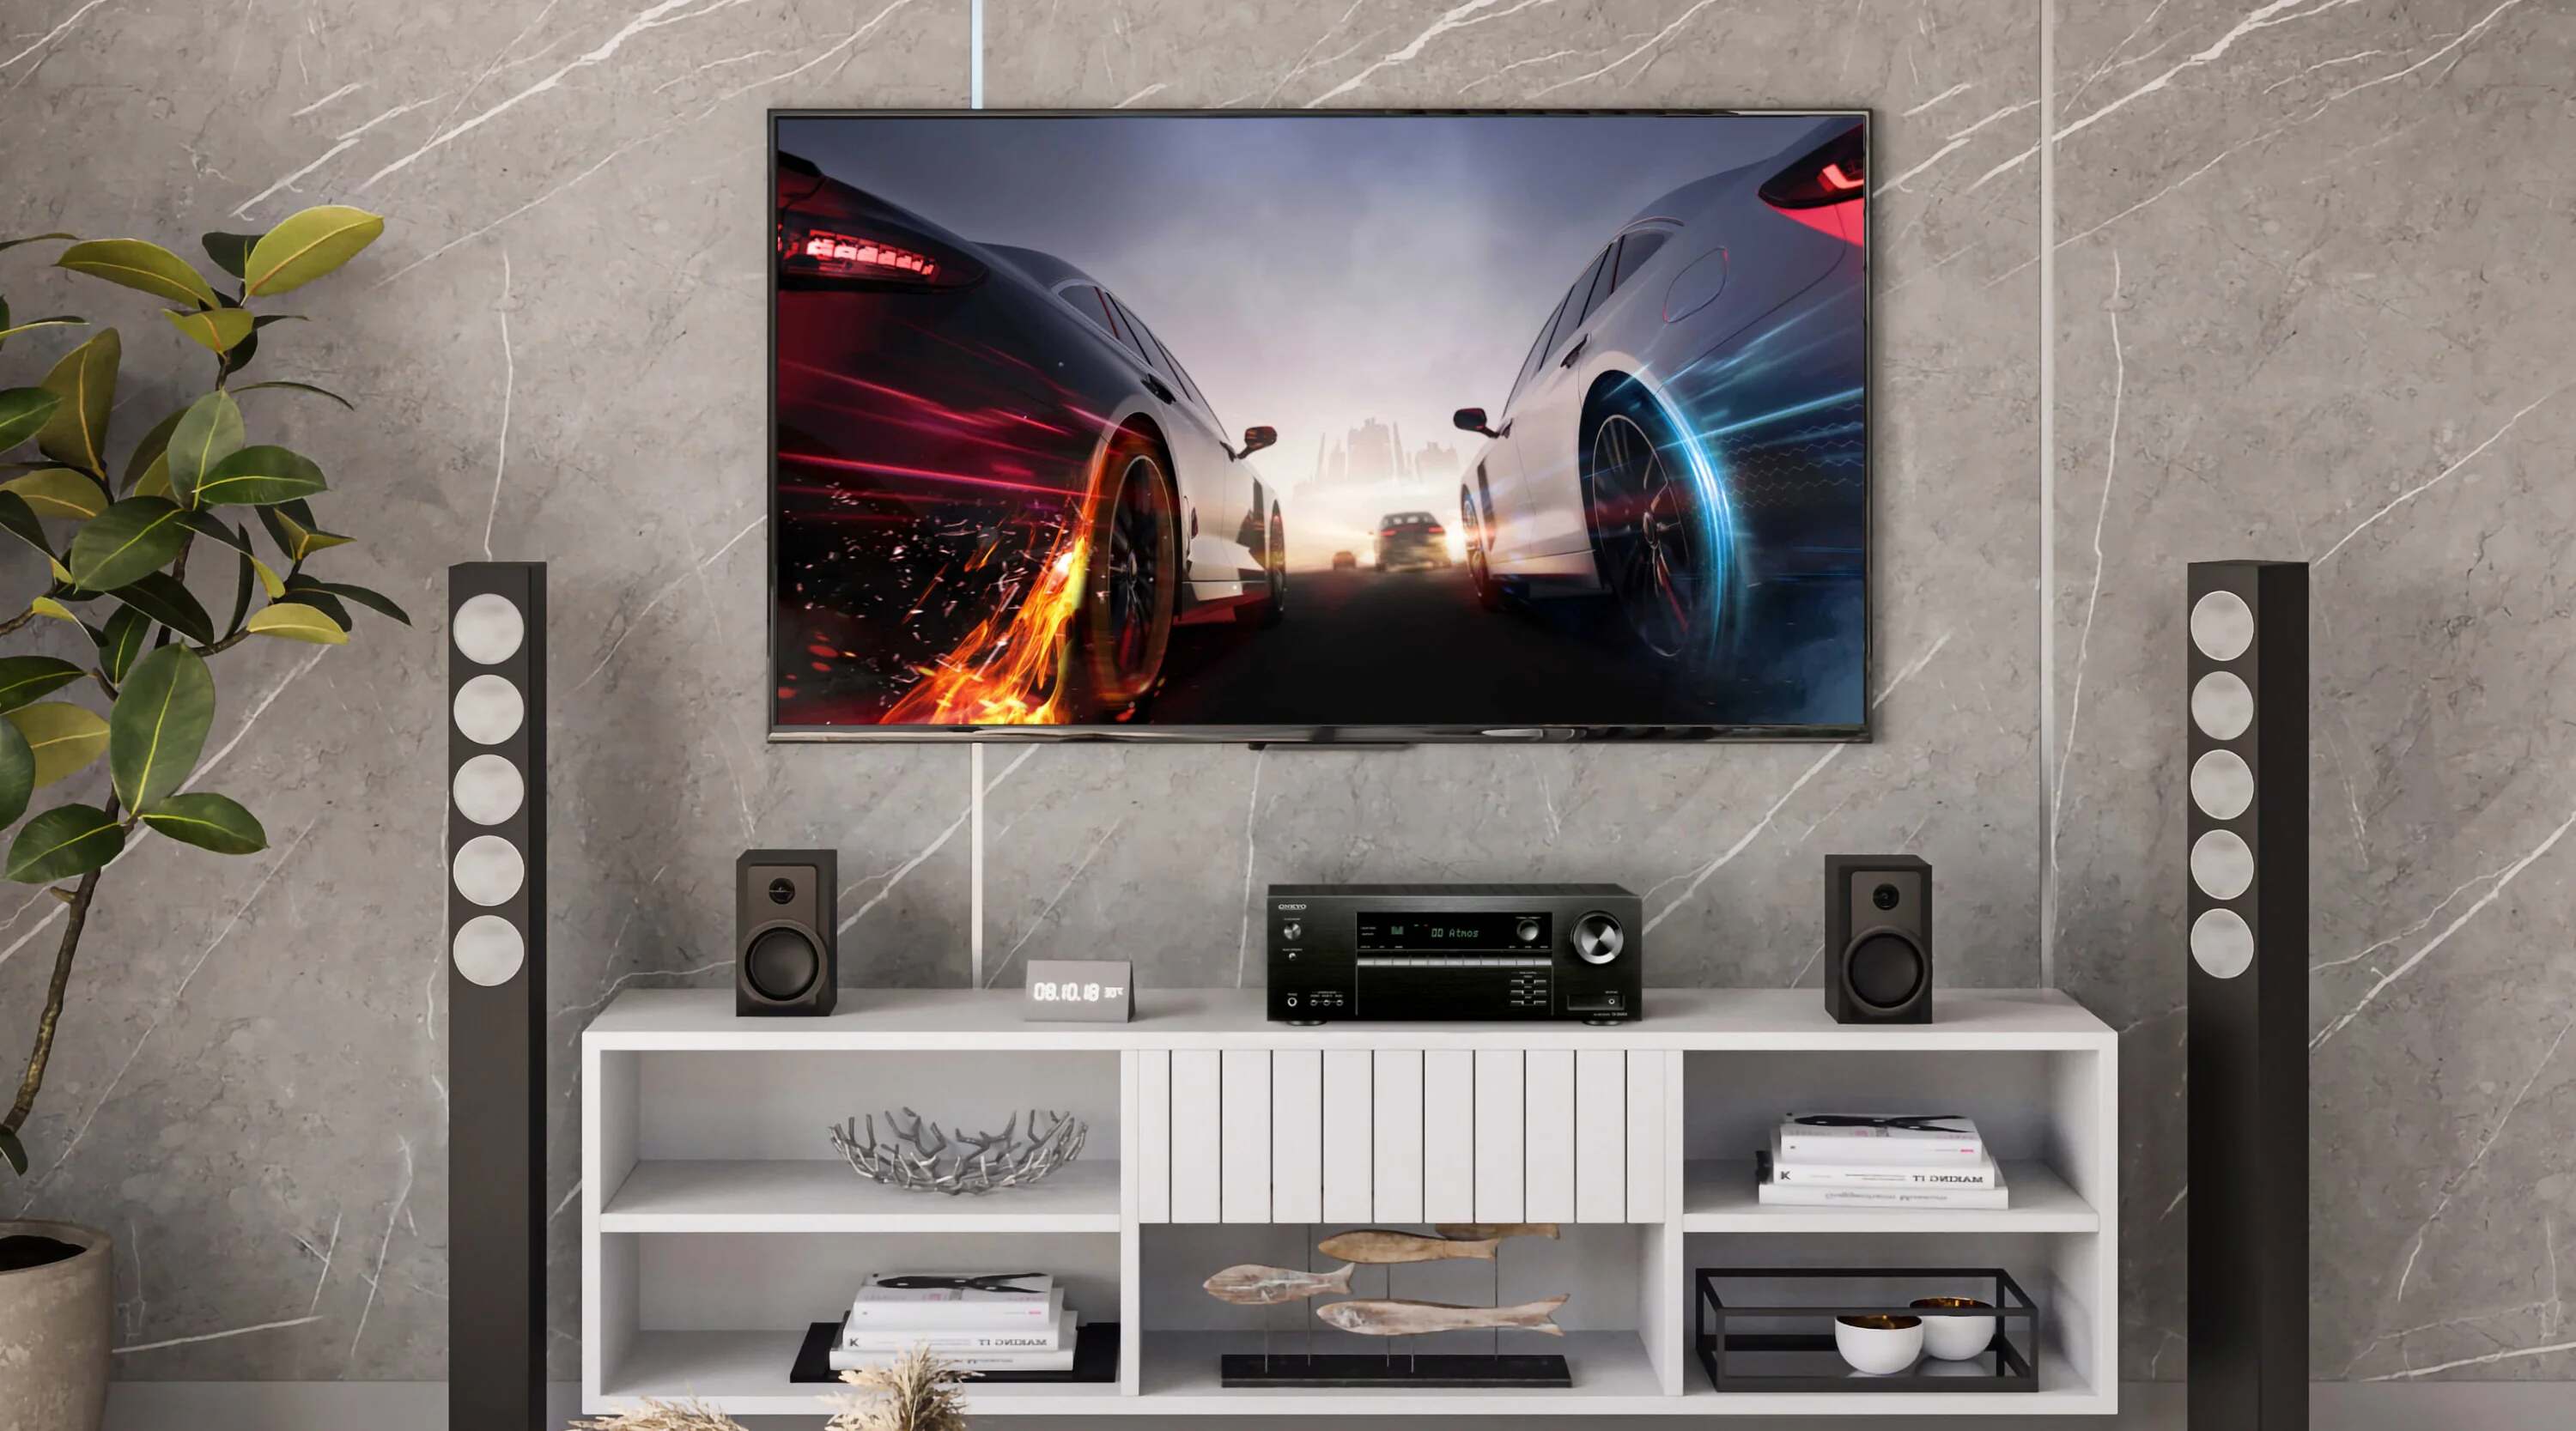
Connecting a Sony turntable to an Onkyo TX-SR333 AV receiver allows you to enjoy the warm, rich sound of vinyl records through your home audio system. By following a few simple steps, you can seamlessly integrate your turntable into your existing setup and experience the nostalgic pleasure of vinyl playback with modern convenience.
In this guide, we will walk you through the process of hooking up your Sony turntable to the Onkyo TX-SR333 AV receiver, ensuring that you can savor the distinctive sound of vinyl records with ease. Whether you are a seasoned audiophile or a newcomer to the world of vinyl, this step-by-step tutorial will equip you with the knowledge and confidence to make the connection and optimize the settings for an exceptional listening experience.
With the resurgence of vinyl records and the enduring appeal of their analog sound, integrating a turntable into your home audio system can add a touch of vintage charm to your listening environment. By bridging the gap between classic vinyl playback and modern AV technology, you can create a harmonious blend of old and new, enriching your audio setup with the unique characteristics of vinyl records.
As we delve into the process of connecting your Sony turntable to the Onkyo TX-SR333 AV receiver, you will gain insights into the necessary cables and adapters, the specific inputs and settings on the receiver, and the adjustments required to optimize the performance of both the turntable and the receiver. By the end of this guide, you will be ready to indulge in the warm, authentic sound of vinyl records through your Onkyo audio system, infusing your listening sessions with the timeless allure of analog music playback.
So, let's embark on this journey to seamlessly integrate your Sony turntable with the Onkyo receiver, unlocking the captivating sonic qualities of vinyl records within your modern audio setup. Whether you are a dedicated vinyl enthusiast or a curious newcomer, this guide will empower you to bridge the gap between the analog past and the digital present, allowing you to revel in the distinctive charm of vinyl playback through your Onkyo AV receiver.
Step 1: Gather the Necessary Cables and Adapters
Before embarking on the process of connecting your Sony turntable to the Onkyo TX-SR333 AV receiver, it is essential to gather the required cables and adapters to ensure a seamless integration. Here’s what you’ll need:
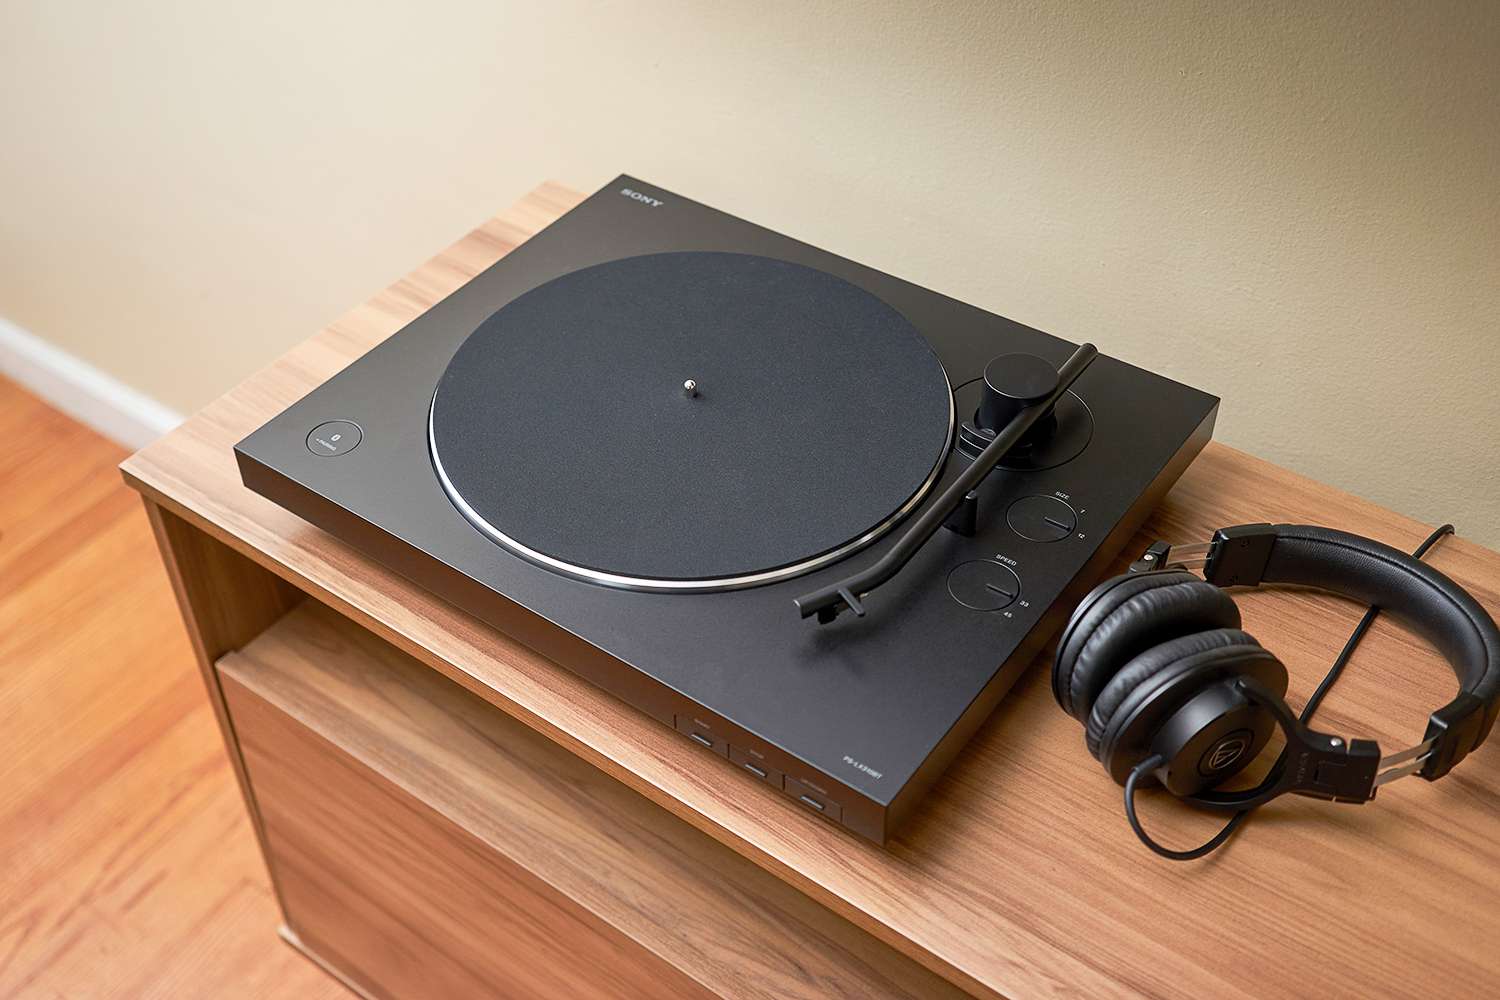
- RCA Cables: These are essential for transmitting the audio signal from the turntable to the receiver. Ensure that you have a pair of RCA cables with the appropriate length to span the distance between the turntable and the receiver.
- Grounding Wire: Some turntables require a separate grounding wire to minimize unwanted noise and ensure optimal audio quality. Check if your Sony turntable necessitates a grounding wire and ensure that it is included in your setup.
- Adapter (if needed): Depending on the specific connectors on your turntable and receiver, you may require an adapter to facilitate the connection. For instance, if your turntable has a different type of output connector than the input on the receiver, an adapter can bridge the gap and enable a secure connection.
By assembling these essential components, you will lay the groundwork for a successful connection between your Sony turntable and the Onkyo receiver. Ensuring that you have the necessary cables and adapters at your disposal will streamline the setup process and minimize any potential delays or complications.
With the required cables and adapters in hand, you are now ready to proceed to the next step, where we will locate the phono input on the Onkyo TX-SR333 AV receiver, setting the stage for the seamless integration of your Sony turntable into your home audio system.
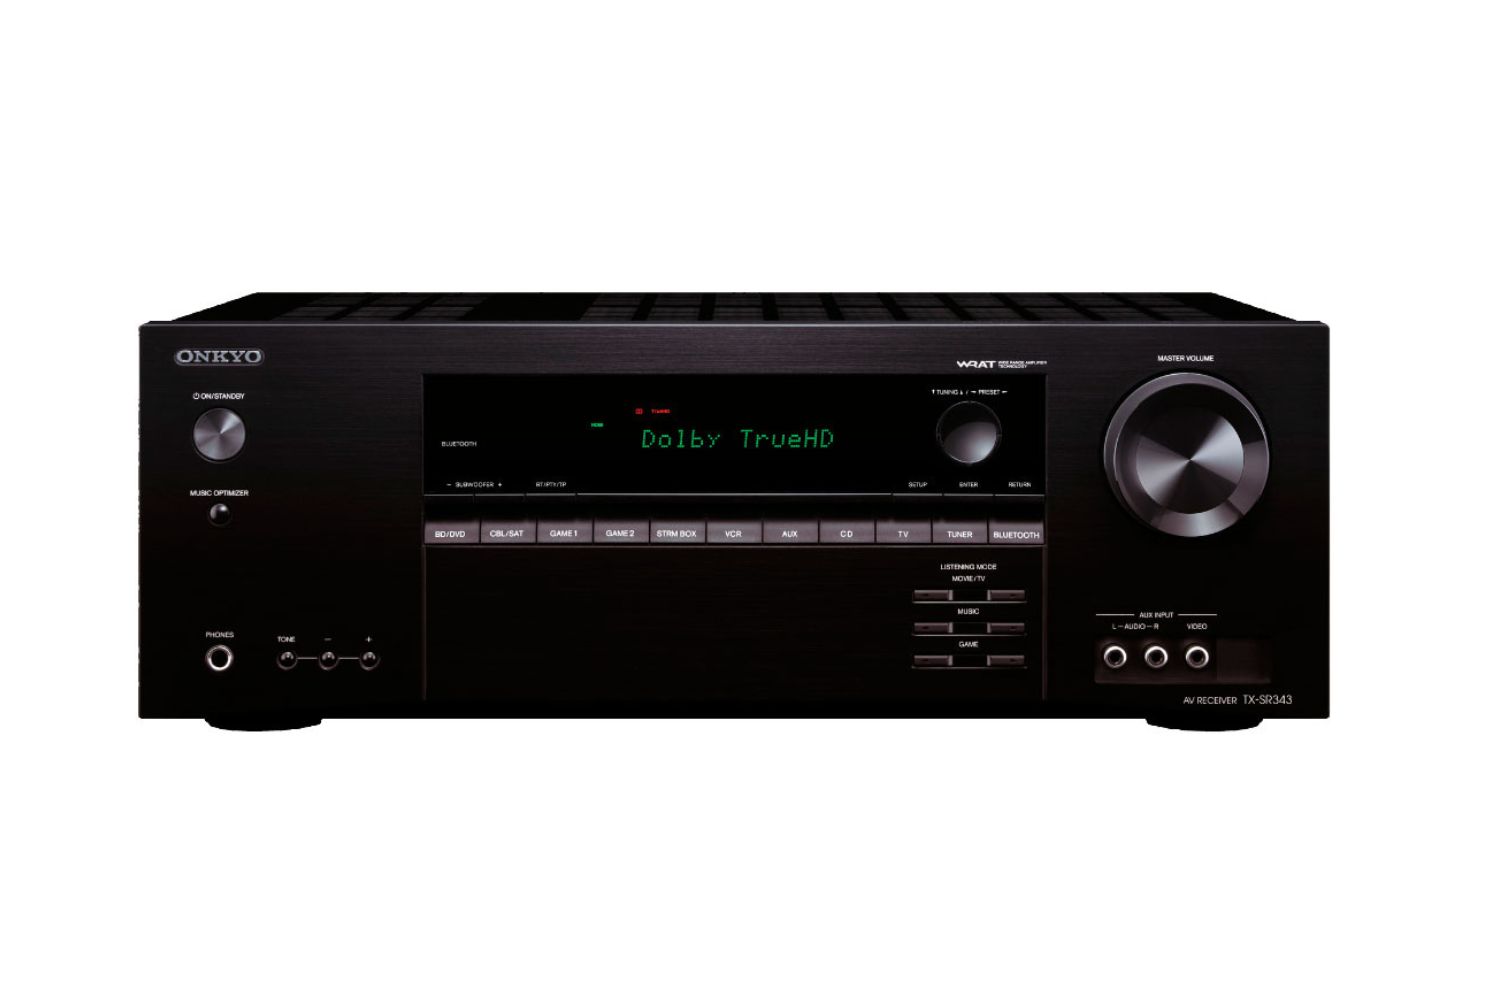
Step 2: Locate the Phono Input on the Onkyo TX-SR333 AV Receiver
Locating the phono input on the Onkyo TX-SR333 AV receiver is a crucial initial step in connecting your Sony turntable. The phono input is specifically designed to accommodate the unique signal produced by a turntable’s cartridge, which requires special equalization to reproduce the audio accurately.
Typically, the phono input on the Onkyo TX-SR333 AV receiver is labeled “Phono” and is equipped with the necessary preamplification to process the low-level signal from the turntable. To locate the phono input, you can refer to the rear panel of the receiver, where the input ports are usually situated.
Upon identifying the “Phono” input, take note of its location and the surrounding input ports to ensure a clear understanding of where the turntable will be connected. Familiarizing yourself with the layout of the rear panel will facilitate a smooth and accurate connection in the subsequent step.
It is important to note that the phono input is distinct from other line-level inputs on the receiver, such as “CD,” “AUX,” or “Tape.” Attempting to connect a turntable to a non-phono input will result in a significantly lower audio level and an inadequate frequency response, as these inputs are not designed to process the unique characteristics of a turntable’s output signal.
By successfully locating the phono input on the Onkyo TX-SR333 AV receiver, you are now prepared to proceed to the next step, where we will connect the Sony turntable to the receiver, establishing the vital link that will enable you to enjoy the warm, authentic sound of vinyl records through your audio system.
Step 3: Connect the Sony Turntable to the Onkyo Receiver
With the phono input located on the Onkyo TX-SR333 AV receiver, you are now ready to establish the physical connection between your Sony turntable and the receiver. Follow these steps to ensure a secure and proper connection:
- Positioning: Place your Sony turntable in close proximity to the Onkyo receiver, allowing for easy access to both devices and ensuring that the connecting cables can reach without strain.
- RCA Connection: Take the pair of RCA cables and connect one end to the RCA output jacks on the back of the Sony turntable. The left channel is typically denoted by white or black, while the right channel is denoted by red. Ensure that the cables are securely inserted into the corresponding output jacks on the turntable.
- Receiver Input: Locate the “Phono” input on the rear panel of the Onkyo TX-SR333 AV receiver. Connect the other ends of the RCA cables to the “Phono” input, ensuring that the left and right channels are correctly aligned with the corresponding input jacks.
- Grounding Wire: If your Sony turntable requires a grounding wire for noise reduction, connect one end of the grounding wire to the designated grounding terminal on the turntable, and the other end to the grounding screw on the back of the Onkyo receiver. This step is crucial for minimizing unwanted noise and ensuring optimal audio quality.
- Secure Connections: Double-check all the connections to ensure that the RCA cables and, if necessary, the grounding wire are securely attached to both the turntable and the receiver. A snug and secure connection will prevent signal loss and audio interference during playback.
Once the Sony turntable is successfully connected to the Onkyo receiver, you have established the physical link that will enable the transmission of the analog audio signal from the turntable to the receiver. This pivotal connection sets the stage for the forthcoming steps, where we will configure the input settings on the receiver and make adjustments to optimize the performance of both the turntable and the receiver.
By completing this step with precision and attention to detail, you have laid the groundwork for a seamless integration of your Sony turntable into your home audio system, paving the way for an immersive vinyl listening experience enhanced by the capabilities of the Onkyo TX-SR333 AV receiver.
Step 4: Set the Input on the Receiver to “Phono”
Configuring the input on the Onkyo TX-SR333 AV receiver to “Phono” is a critical step in ensuring that the incoming signal from the Sony turntable is processed with the appropriate equalization and amplification. Follow these steps to select the “Phono” input on the receiver:
- Access the Receiver Settings: Power on the Onkyo TX-SR333 AV receiver and access the menu or input selection options using the remote control or the front panel of the receiver.
- Navigate to Input Selection: Using the remote control or the front panel interface, navigate to the input selection menu, which allows you to choose the input source for audio playback.
- Select “Phono” Input: Within the input selection menu, locate and choose the “Phono” input option. This action designates the “Phono” input on the receiver, configuring it to process the incoming signal from the connected Sony turntable.
- Confirm the Selection: Once you have selected the “Phono” input, confirm the setting to ensure that the receiver is now configured to receive and process the audio signal from the turntable.
By setting the input on the Onkyo TX-SR333 AV receiver to “Phono,” you are enabling the receiver to apply the necessary equalization and amplification specifically tailored to the output signal of the connected turntable. This step is crucial in ensuring that the audio signal is accurately reproduced and optimized for playback through your audio system.
Upon successfully configuring the receiver’s input to “Phono,” you have established the necessary settings to accommodate the unique characteristics of the vinyl record playback, setting the stage for an authentic and immersive listening experience. With the “Phono” input selected, the Onkyo receiver is now primed to process the analog audio signal from your Sony turntable, allowing you to savor the warm, rich sound of vinyl records through your home audio system.
Step 5: Adjust the Settings on the Receiver and Turntable
After connecting the Sony turntable to the Onkyo TX-SR333 AV receiver and configuring the input to “Phono,” it is essential to make specific adjustments to both the receiver and the turntable to optimize the playback quality and ensure an immersive listening experience. Follow these steps to fine-tune the settings:
On the Onkyo TX-SR333 AV Receiver:
- Equalization Settings: Access the receiver’s equalization or sound settings and ensure that any built-in phono equalization features are enabled. These settings are designed to compensate for the frequency response characteristics of the vinyl record playback, enhancing the overall audio fidelity.
- Volume and Balance Adjustment: Set the volume to an appropriate level and adjust the balance to ensure that the audio output from the turntable is well-balanced and suited to your listening environment.
- Additional Audio Enhancements: Explore the receiver’s additional audio enhancement features, such as tone controls or sound modes, to tailor the audio output to your preferences while preserving the unique characteristics of vinyl playback.
On the Sony Turntable:
- Tracking Force and Anti-Skate: Verify that the tracking force and anti-skate settings on the turntable are correctly adjusted according to the specifications of your turntable’s cartridge. Proper setup of these parameters ensures optimal tracking and reduces wear on your vinyl records.
- Cartridge Alignment: Check the alignment of the cartridge on the tonearm to ensure that it is aligned correctly, minimizing tracking errors and distortion during playback.
- Stylus Condition: Inspect the condition of the stylus (needle) to ensure that it is clean and free from debris, as a well-maintained stylus contributes to the faithful reproduction of the recorded audio.
By meticulously adjusting the settings on both the Onkyo receiver and the Sony turntable, you are fine-tuning the playback parameters to deliver an exceptional vinyl listening experience. These adjustments ensure that the audio signal is faithfully reproduced and optimized for your listening environment, allowing you to immerse yourself in the distinctive warmth and richness of vinyl record playback.
With the settings on both the receiver and turntable carefully adjusted, you have completed the essential steps to integrate your Sony turntable with the Onkyo TX-SR333 AV receiver, culminating in a harmonious fusion of analog and digital technologies that enhances the enjoyment of vinyl records within your modern audio setup.
Conclusion
In conclusion, the process of connecting a Sony turntable to an Onkyo TX-SR333 AV receiver involves a series of meticulous steps that culminate in a seamless integration, allowing you to indulge in the captivating sound of vinyl records through your home audio system. By gathering the necessary cables and adapters, locating the phono input on the receiver, establishing the physical connection, configuring the input to “Phono,” and adjusting the settings on both the receiver and turntable, you have successfully bridged the gap between the analog charm of vinyl playback and the modern capabilities of the Onkyo AV receiver.
With the resurgence of vinyl records and the enduring appeal of their warm, authentic sound, integrating a turntable into your audio setup enriches your listening environment with a touch of vintage allure. The meticulous process outlined in this guide equips you with the knowledge and confidence to seamlessly connect your Sony turntable to the Onkyo receiver, ensuring that you can savor the distinctive qualities of vinyl playback with precision and finesse.
As you navigate through the steps, you have gained insights into the essential components of the setup, the specific inputs and settings on the receiver, and the adjustments required to optimize the performance of both the turntable and the receiver. This comprehensive approach empowers you to create a harmonious blend of classic and contemporary audio technologies, enhancing your listening experiences with the timeless appeal of vinyl records.
By meticulously following each step, you have not only established a physical and technical connection but also cultivated an immersive listening environment where the rich, analog sound of vinyl records can flourish. The successful integration of your Sony turntable with the Onkyo TX-SR333 AV receiver paves the way for countless hours of musical enjoyment, as you indulge in the nostalgia and sonic richness of vinyl playback within your modern audio setup.
With the completion of this guide, you are now poised to embark on a journey of musical exploration, where the evocative charm of vinyl records converges with the technological prowess of the Onkyo AV receiver. The harmonious fusion of these elements promises to elevate your listening experiences, infusing your home with the timeless allure of vinyl playback and enriching your audio journey with the distinctive characteristics of analog music.