Introduction
Are you eager to elevate your home entertainment experience by integrating your Sony Google TV with an AV receiver? This seamless connection promises to enhance your audio-visual enjoyment, delivering immersive sound and stunning visuals. Whether you're a cinephile, a gaming enthusiast, or simply seeking a more captivating TV viewing experience, syncing your Sony Google TV with an AV receiver can unlock a new realm of entertainment possibilities.
In this comprehensive guide, we'll walk you through the step-by-step process of connecting your Sony Google TV to an AV receiver, ensuring that you make the most of your home theater setup. By following these instructions, you'll be able to enjoy high-quality audio output and seamless integration with your TV, creating an immersive and captivating entertainment environment right in the comfort of your living room.
Let's embark on this journey to seamlessly connect your Sony Google TV to an AV receiver, unlocking the full potential of your home entertainment system. Whether you're a tech-savvy enthusiast or a novice in the realm of audio-visual setups, this guide is designed to provide clear and concise instructions, enabling you to achieve a seamless connection with ease. Let's dive in and transform your home theater experience!
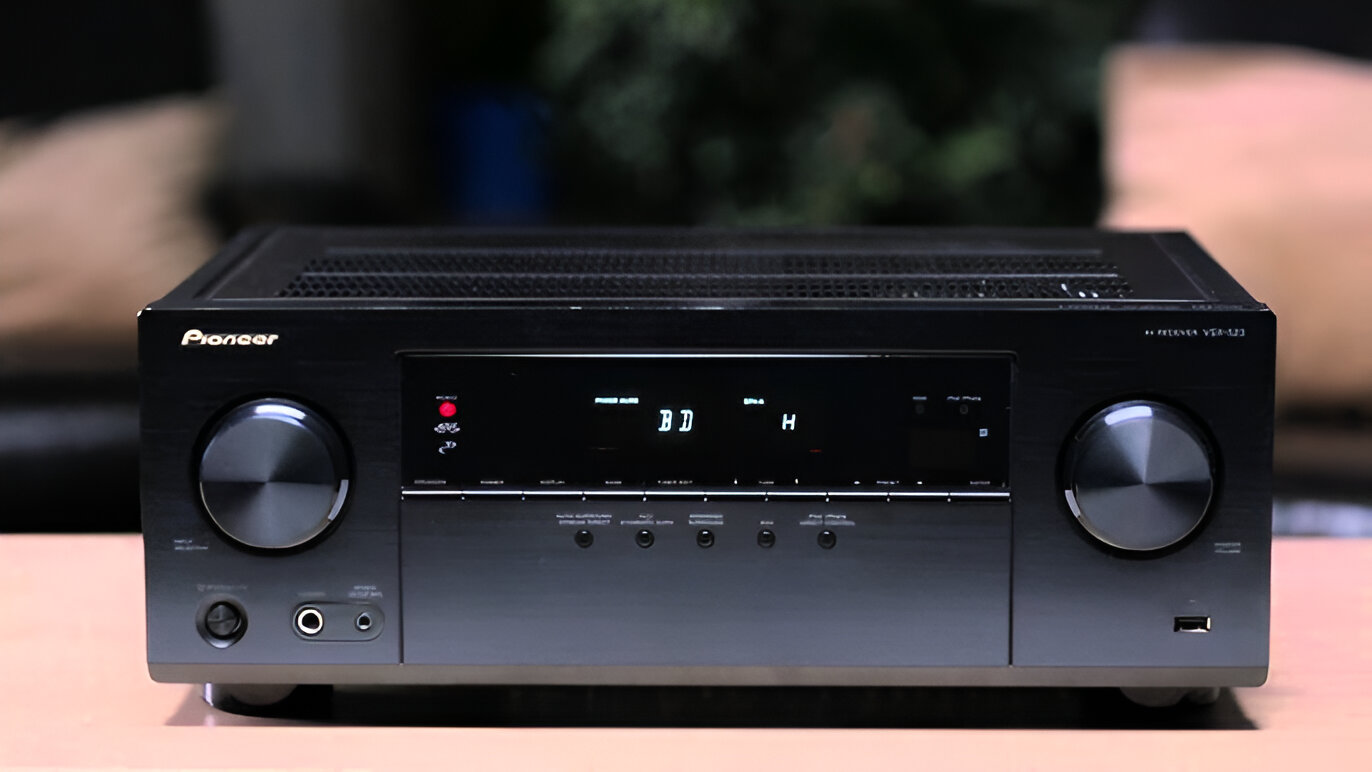
Step 1: Check Your AV Receiver
Before diving into the process of connecting your Sony Google TV to an AV receiver, it’s crucial to ensure that your AV receiver is compatible and properly set up. Here’s a step-by-step guide to help you verify and prepare your AV receiver for the seamless integration with your Sony Google TV:
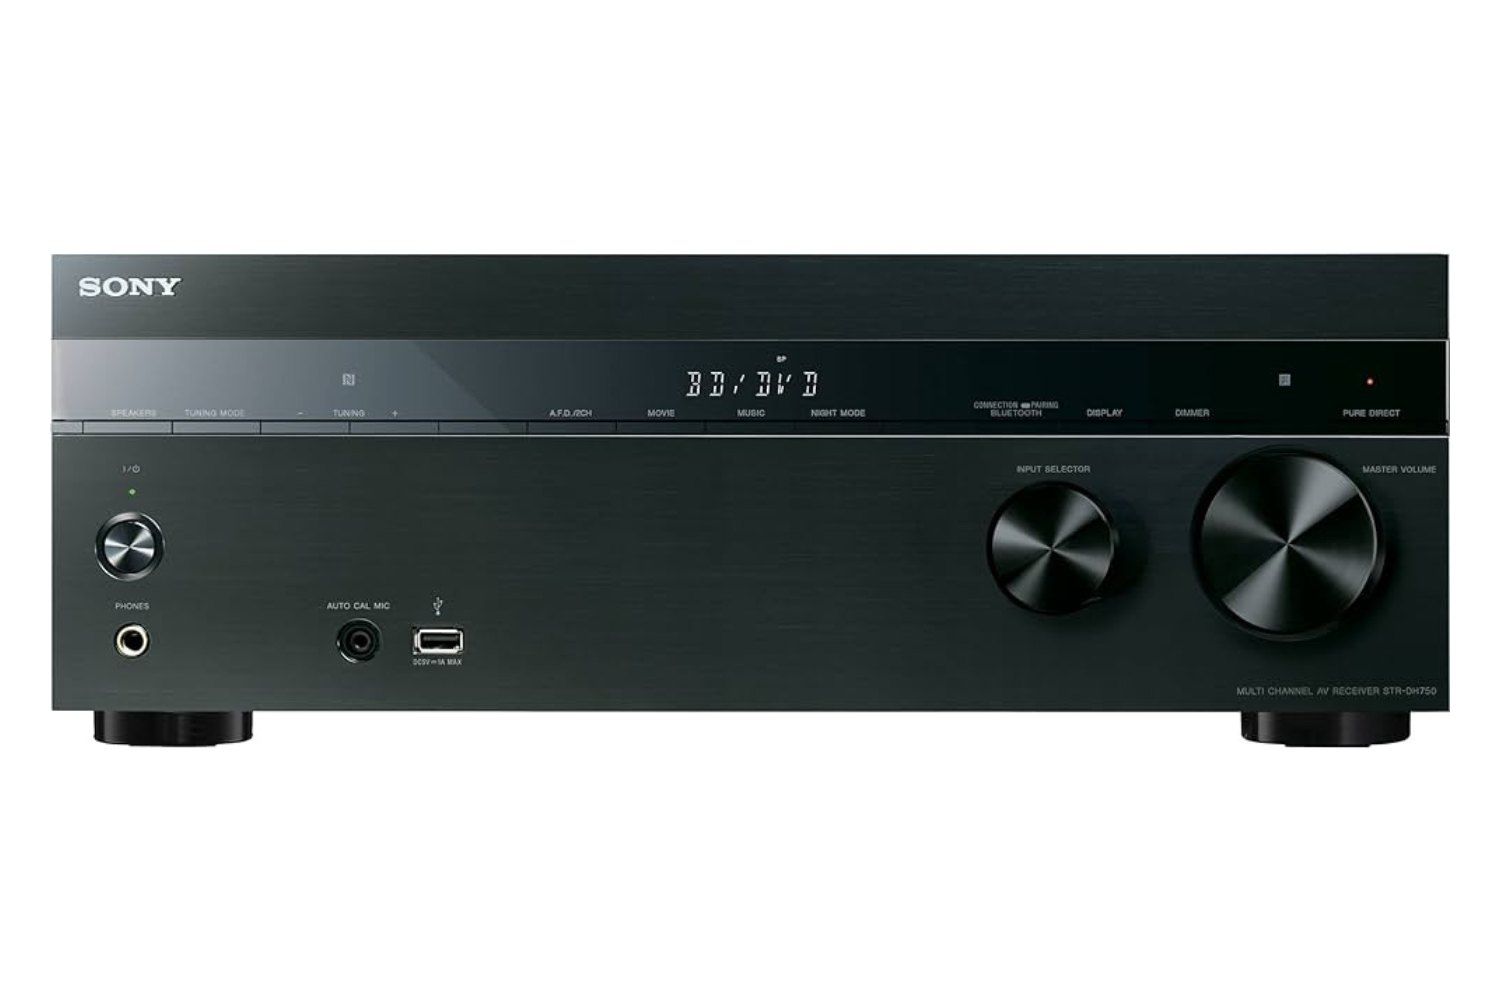
- Compatibility Check: Start by confirming that your AV receiver supports the necessary input and output connections for integrating with your Sony Google TV. Check the receiver’s specifications and look for HDMI inputs and outputs, as well as support for audio return channel (ARC) and enhanced audio return channel (eARC) if you plan to utilize these features.
- Software Updates: Ensure that your AV receiver’s firmware is up to date. Manufacturers often release firmware updates to improve compatibility and functionality, so visiting the manufacturer’s website or using the receiver’s built-in update feature can ensure that you have the latest software installed.
- Input Selection: Familiarize yourself with the input selection process on your AV receiver. Identify the specific input port to which you intend to connect your Sony Google TV, and ensure that the corresponding input on the receiver is available and properly labeled.
- Speaker Configuration: Verify the speaker configuration settings on your AV receiver. Depending on your home theater setup, you may need to adjust the speaker layout and settings to optimize the audio output for your viewing area.
By carefully examining and preparing your AV receiver, you can lay a solid foundation for the seamless connection with your Sony Google TV. This proactive approach ensures that your AV receiver is ready to deliver an immersive audio experience, complementing the exceptional visual performance of your TV. With these preparatory steps completed, you’re now poised to proceed to the next stage of the integration process.
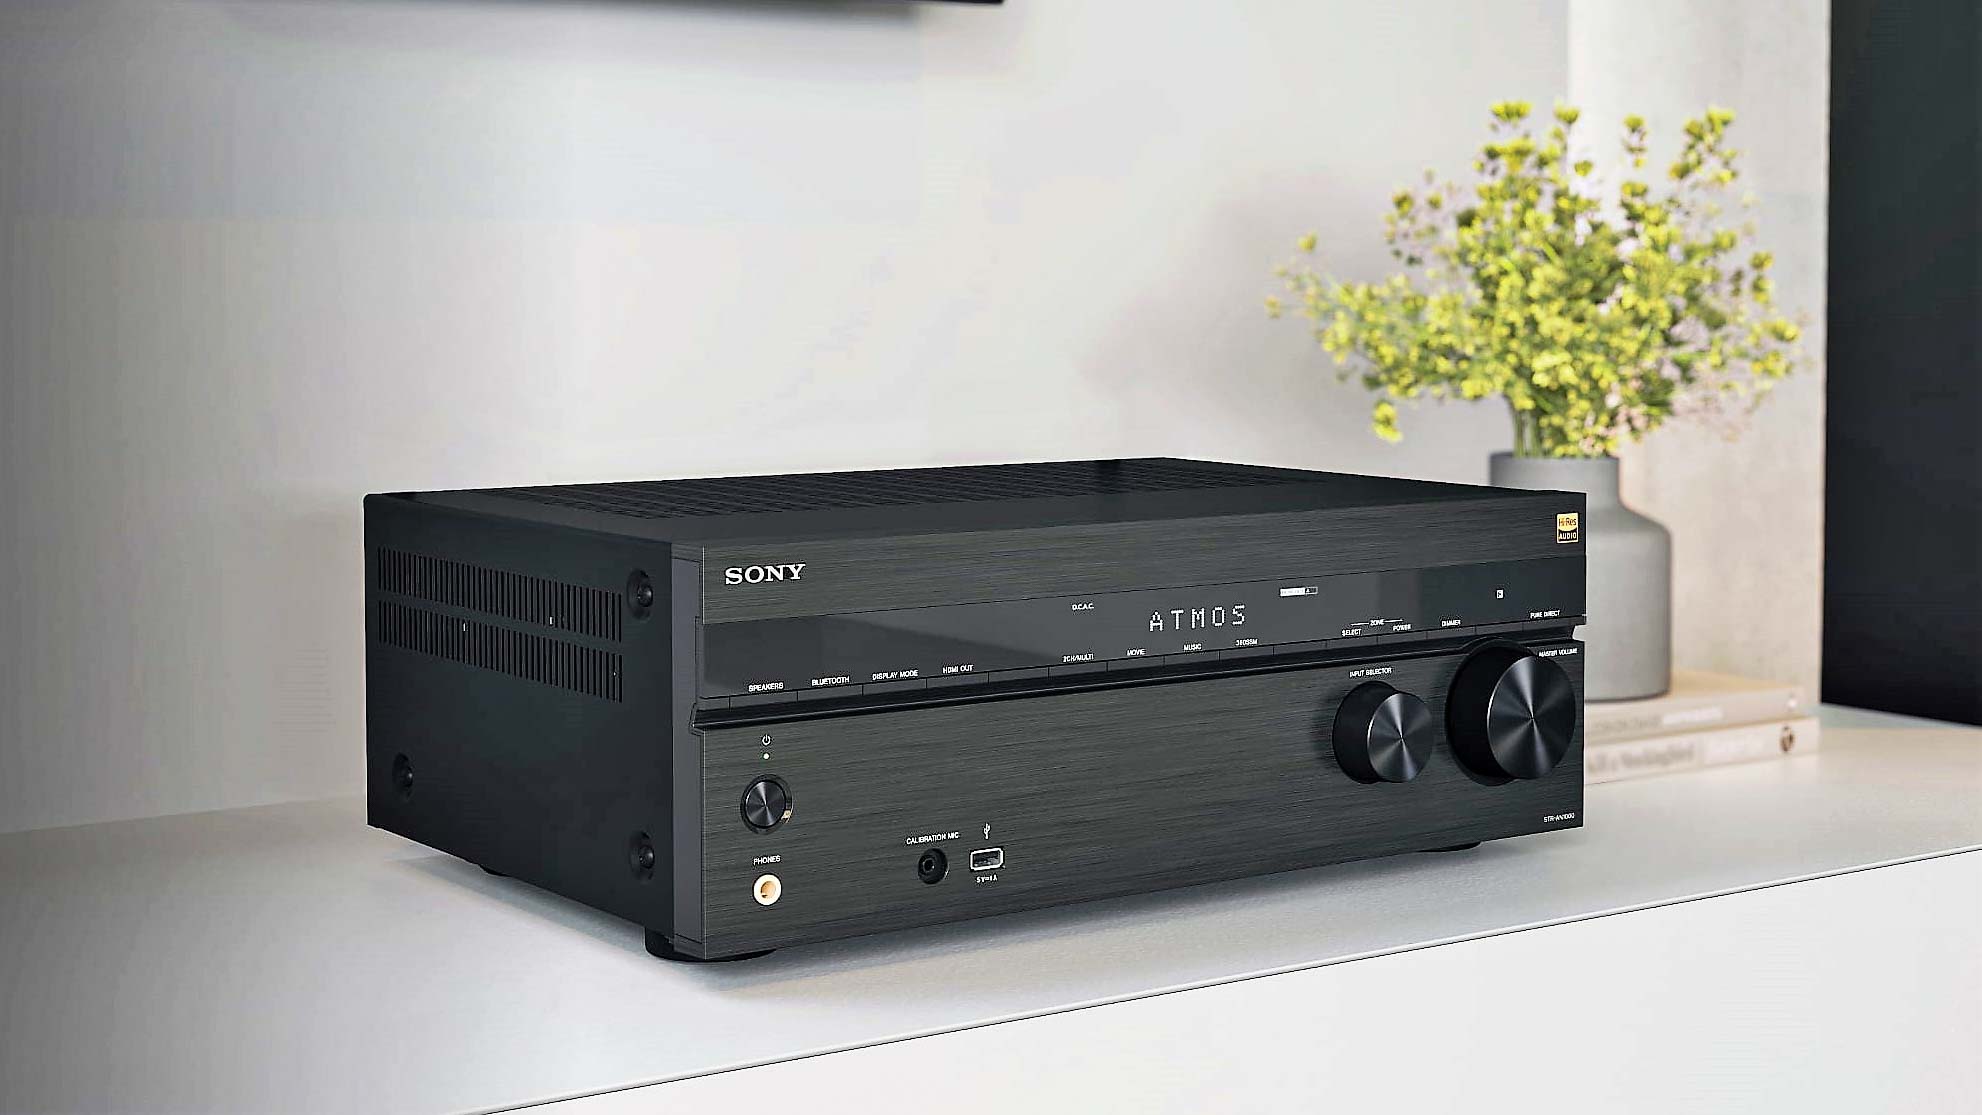
Step 2: Connect the Sony Google TV to the AV Receiver
Now that you’ve confirmed the compatibility and readiness of your AV receiver, it’s time to establish the physical connection between your Sony Google TV and the receiver. This crucial step sets the stage for seamless audio-visual integration, allowing you to harness the full potential of your home entertainment system. Follow these steps to connect your Sony Google TV to the AV receiver:
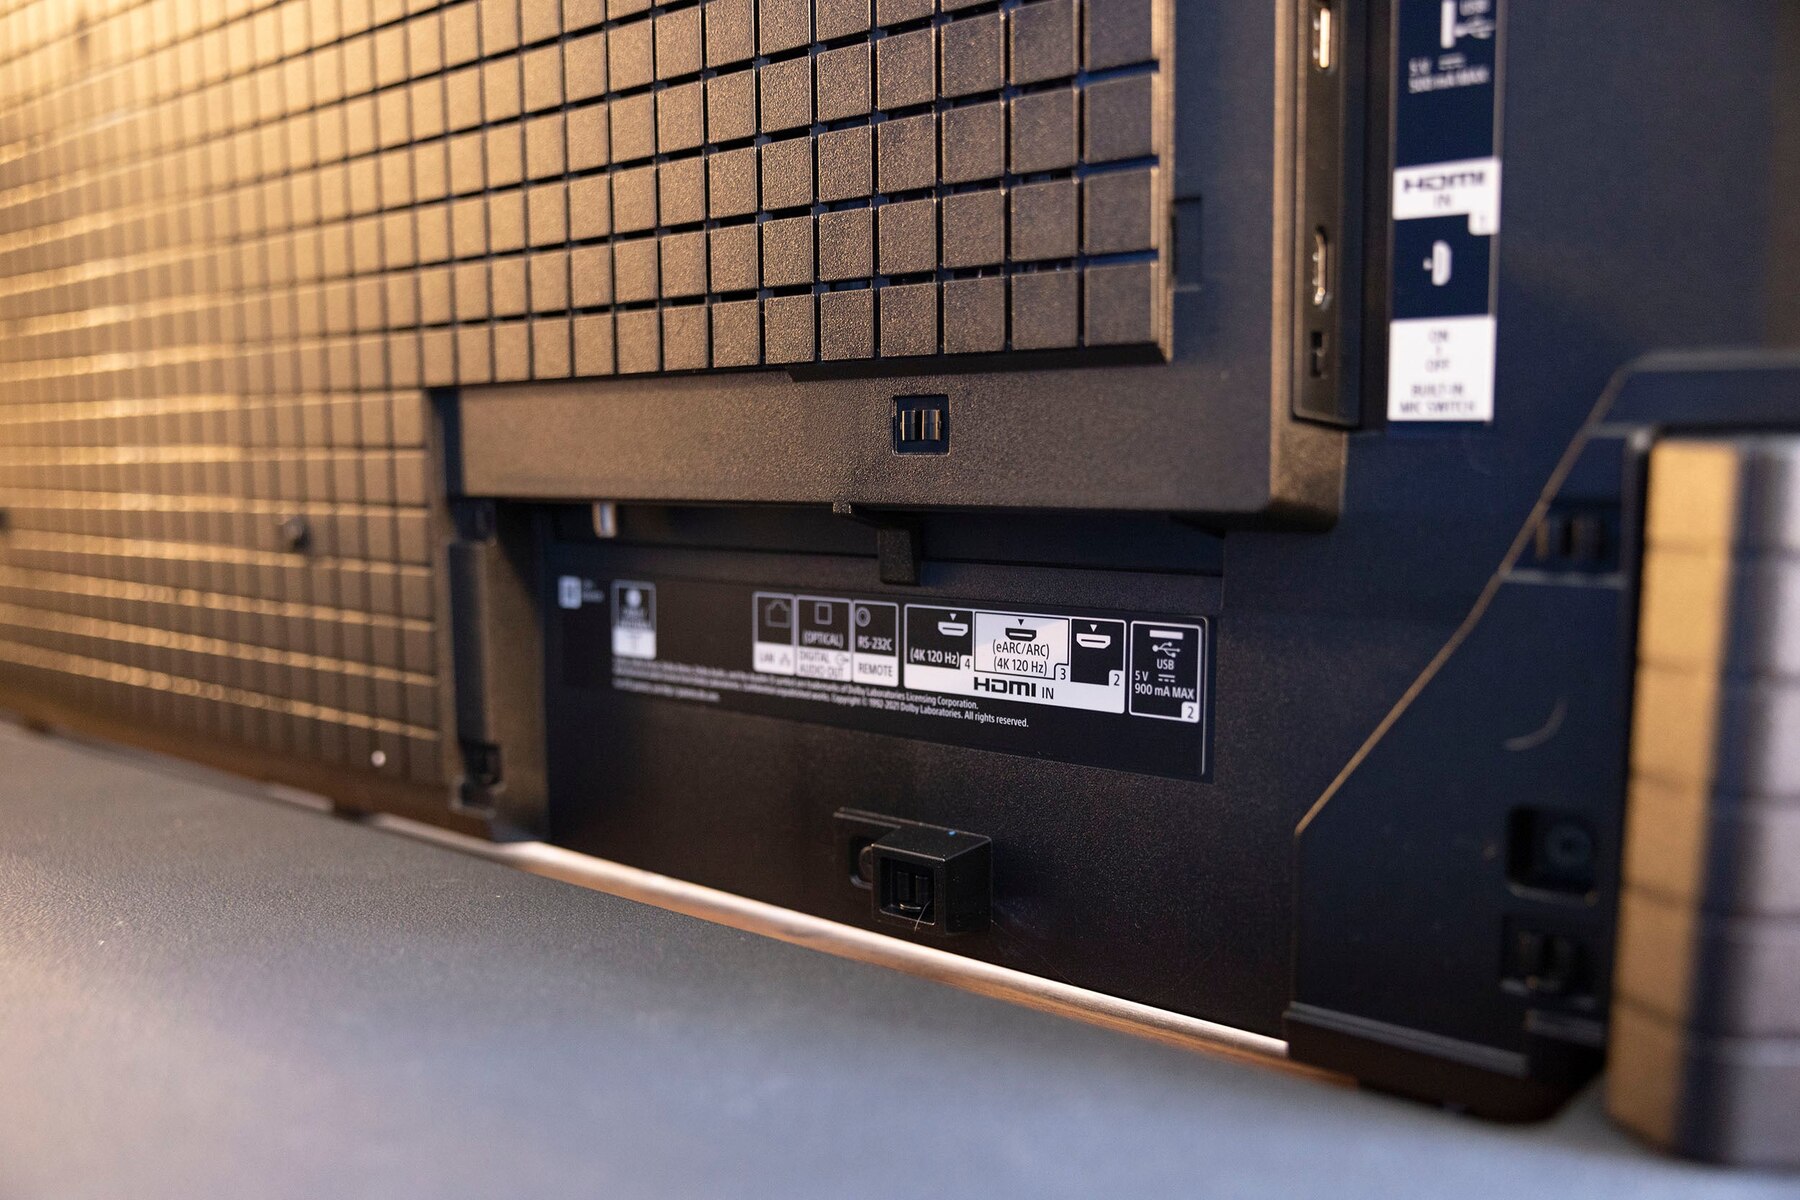
- Identify HDMI Ports: Locate the HDMI output port on your Sony Google TV and the corresponding HDMI input port on your AV receiver. Ensure that both devices are powered off before proceeding with the connection.
- Use High-Quality HDMI Cable: Select a high-quality HDMI cable that is capable of transmitting high-definition audio and video signals. Connect one end of the HDMI cable to the HDMI output port on your Sony Google TV and the other end to the designated HDMI input port on your AV receiver.
- Power On and Select Input: Power on your AV receiver and Sony Google TV. Use the remote or on-screen menu of your AV receiver to select the input to which your Sony Google TV is connected. This step ensures that the receiver recognizes the audio and video signals from your TV.
- Configure Audio Return Channel (ARC) or Enhanced Audio Return Channel (eARC) (if applicable): If your AV receiver and Sony Google TV support ARC or eARC, you can use a compatible HDMI cable to enable two-way communication between the devices, allowing audio from the TV’s built-in apps to be played through the receiver without the need for a separate audio connection.
- Secure and Organize Cables: Once the connection is established, secure the HDMI cable and ensure that it is neatly routed to avoid tangling or accidental disconnection. Organizing the cables minimizes clutter and maintains a tidy setup.
With the physical connection in place, your Sony Google TV is now seamlessly linked to your AV receiver, setting the stage for a harmonious audio-visual experience. This pivotal step paves the way for immersive sound and stunning visuals, elevating your home entertainment to new heights.
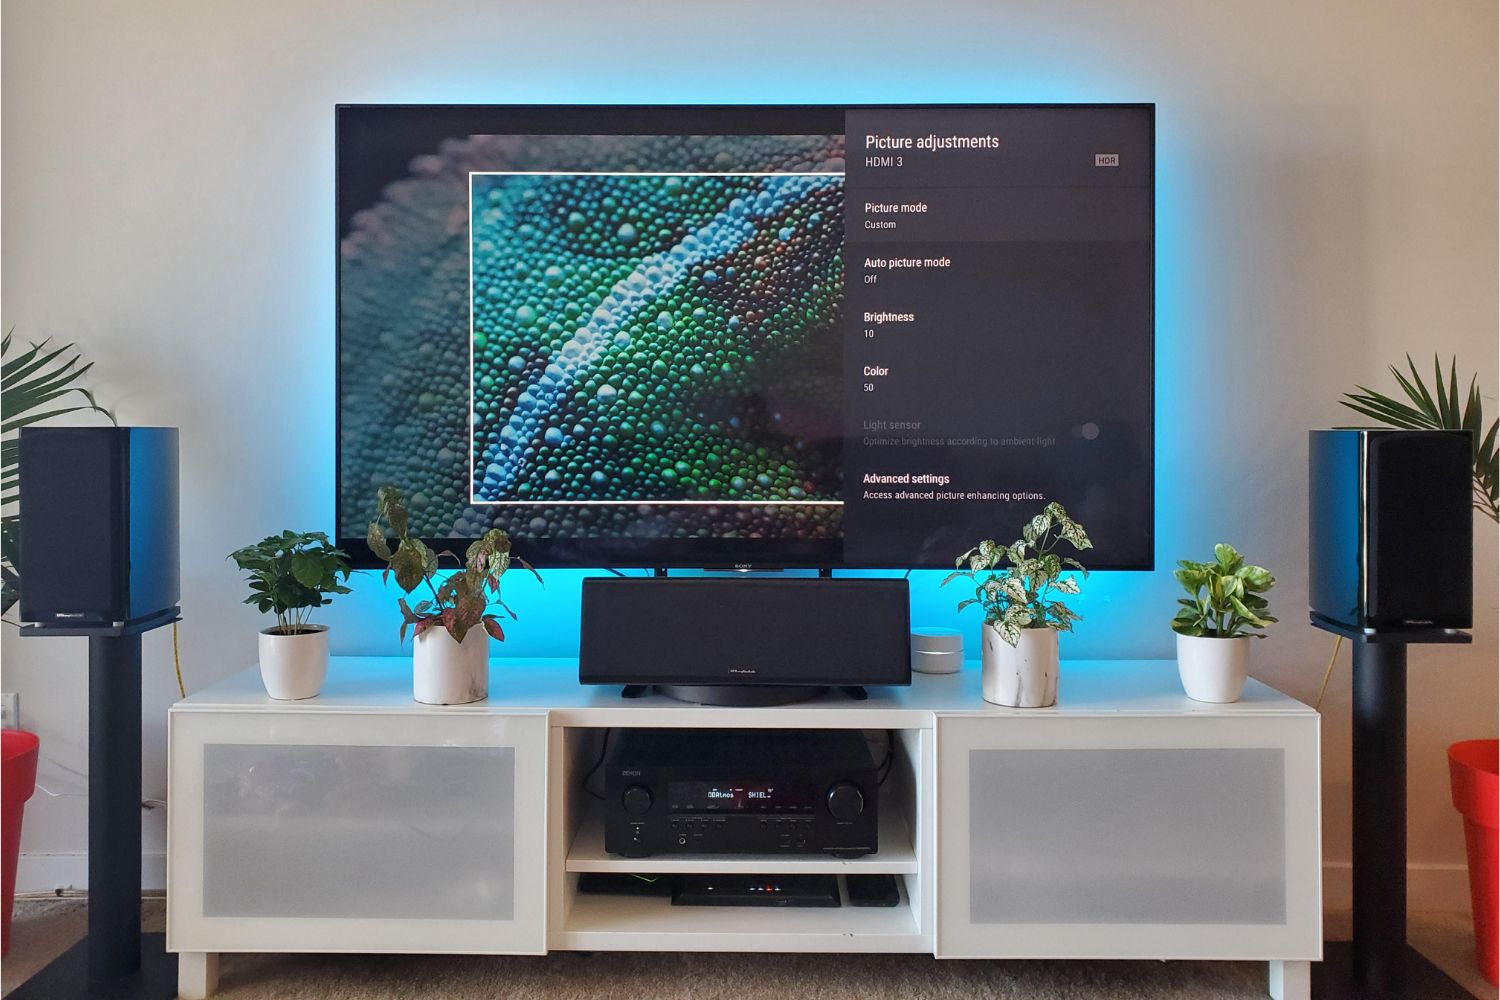
Step 3: Configure the Audio Settings
With the physical connection between your Sony Google TV and AV receiver established, it’s time to fine-tune the audio settings to ensure optimal sound performance. By configuring the audio settings, you can unleash the full potential of your AV receiver, delivering rich, immersive sound that complements the stunning visuals from your TV. Follow these essential steps to configure the audio settings:
- Access Receiver Menu: Using the remote control or front panel of your AV receiver, access the menu or settings interface to begin configuring the audio settings. Navigate to the audio setup or sound settings section, where you can adjust various parameters.
- Audio Output Selection: Within the receiver’s menu, ensure that the audio output is set to the HDMI input to which your Sony Google TV is connected. This step directs the audio signals from the TV to the receiver for processing and playback through your speaker system.
- Speaker Configuration: Verify that the speaker configuration settings on your AV receiver align with your home theater setup. Adjust the speaker size, distance, and channel levels to optimize the audio output for your viewing area, ensuring a balanced and immersive sound experience.
- Audio Processing Modes: Explore the audio processing modes offered by your AV receiver, such as Dolby Atmos, DTS:X, or other surround sound formats. Select the desired audio processing mode to match the content you’re enjoying, whether it’s movies, music, or gaming, to enhance the audio experience.
- Volume Leveling and EQ: Fine-tune the volume leveling and equalizer settings to achieve the desired audio balance and tonal characteristics. Adjust the bass, treble, and other audio parameters to suit your preferences and the acoustic properties of your viewing space.
By meticulously configuring the audio settings on your AV receiver, you’re poised to unlock the full potential of your home theater’s sound system. These adjustments pave the way for a captivating audio experience that complements the visual splendor of your Sony Google TV, creating an immersive environment for your entertainment pursuits.
Step 4: Test the Connection
After completing the physical connection and configuring the audio settings, it’s essential to conduct a thorough test to ensure that the integration between your Sony Google TV and AV receiver is seamless and optimized for an exceptional home entertainment experience. Follow these steps to methodically test the connection and verify the audio-visual performance:
- Playback Verification: Power on your Sony Google TV and select a variety of content, including movies, music, and TV shows, to assess the audio and video playback. Pay attention to the clarity of dialogue, the depth of sound effects, and the overall visual quality to gauge the performance.
- Audio Source Examination: Explore the audio sources available on your Sony Google TV, such as built-in apps, streaming services, or external devices connected to the TV. Verify that the audio signals are being routed to your AV receiver and that the sound is emanating from your speaker system.
- Surround Sound Evaluation: If your AV receiver supports surround sound formats, test the surround sound capabilities by playing content that is encoded with multi-channel audio. Confirm that the receiver accurately processes and distributes the audio to create an immersive surround sound experience.
- Volume and Balance Adjustment: Adjust the volume levels and speaker balance to ensure that the audio output is well-balanced and suits your preferences. Fine-tune the settings based on the content being played to achieve an optimal audio-visual synchronization.
- Input Switching Validation: Test the input switching functionality of your AV receiver by switching between various connected devices, including your Sony Google TV, to confirm that the receiver seamlessly transitions between different audio and video sources.
By meticulously testing the connection between your Sony Google TV and AV receiver, you can identify any potential issues and fine-tune the settings to deliver an exceptional audio-visual experience. This proactive approach ensures that your home entertainment system operates seamlessly, allowing you to immerse yourself in captivating content with unparalleled audio and visual fidelity.
Conclusion
Congratulations on successfully connecting your Sony Google TV to an AV receiver and optimizing the audio-visual integration of your home entertainment system. By following the comprehensive steps outlined in this guide, you’ve embarked on a journey to elevate your viewing experience, immersing yourself in captivating sound and stunning visuals right in the comfort of your living space.
Through careful consideration of your AV receiver’s compatibility, meticulous physical connection, precise audio configuration, and thorough testing, you’ve laid the groundwork for a seamless and immersive entertainment environment. The harmonious collaboration between your Sony Google TV and AV receiver promises to deliver a captivating audio-visual experience, whether you’re indulging in cinematic adventures, gaming escapades, or simply unwinding with your favorite music.
With the integration complete, you’re now poised to explore a myriad of content with enhanced audio fidelity and visual splendor. Whether you’re delving into the latest blockbuster, immersing yourself in a musical journey, or engaging in immersive gaming experiences, the synergy between your Sony Google TV and AV receiver sets the stage for an unforgettable entertainment odyssey.
As you embark on this new chapter of audio-visual immersion, remember to explore the diverse capabilities of your home theater setup, experiment with different content genres, and adjust the settings to suit your preferences. Embrace the transformative power of seamless audio-visual integration, and let your home entertainment system become a gateway to captivating experiences and cherished moments.
By seamlessly connecting your Sony Google TV to an AV receiver, you’ve unlocked the potential for a truly immersive and captivating entertainment experience within the confines of your own home. Let the symphony of sound and the allure of visuals envelop you as you embark on a journey of audio-visual splendor.