Introduction
So, you've got your Comcast cable box and a shiny new AV receiver, and you're ready to immerse yourself in the ultimate home theater experience. Connecting your Comcast cable box to an AV receiver can unlock a world of high-quality audio and video, bringing your favorite movies, TV shows, and music to life like never before. Whether you're a cinephile seeking cinematic audio bliss or a music lover craving pristine sound, this guide will walk you through the process of hooking up your Comcast cable box to an AV receiver.
By integrating your Comcast cable box with an AV receiver, you can harness the full potential of your home entertainment system. This setup allows you to enjoy immersive surround sound, optimize audio and video settings, and streamline the management of multiple audiovisual devices. With the right connections and configurations, you'll be well on your way to elevating your viewing and listening experiences to new heights.
In this guide, we'll delve into the step-by-step process of connecting your Comcast cable box to an AV receiver, ensuring that you can make the most of your home entertainment setup. From gathering the necessary cables and equipment to testing the connection, each step is designed to simplify the setup process and enhance your overall entertainment experience. So, grab your cables, power on your devices, and let's embark on this journey to seamlessly integrate your Comcast cable box with your AV receiver.
Step 1: Gather the Necessary Cables and Equipment
Before diving into the process of connecting your Comcast cable box to an AV receiver, it’s essential to gather the required cables and equipment. Ensuring that you have the right tools at your disposal will streamline the setup process and minimize any potential hiccups along the way.
Here’s a checklist of the essential cables and equipment you’ll need:
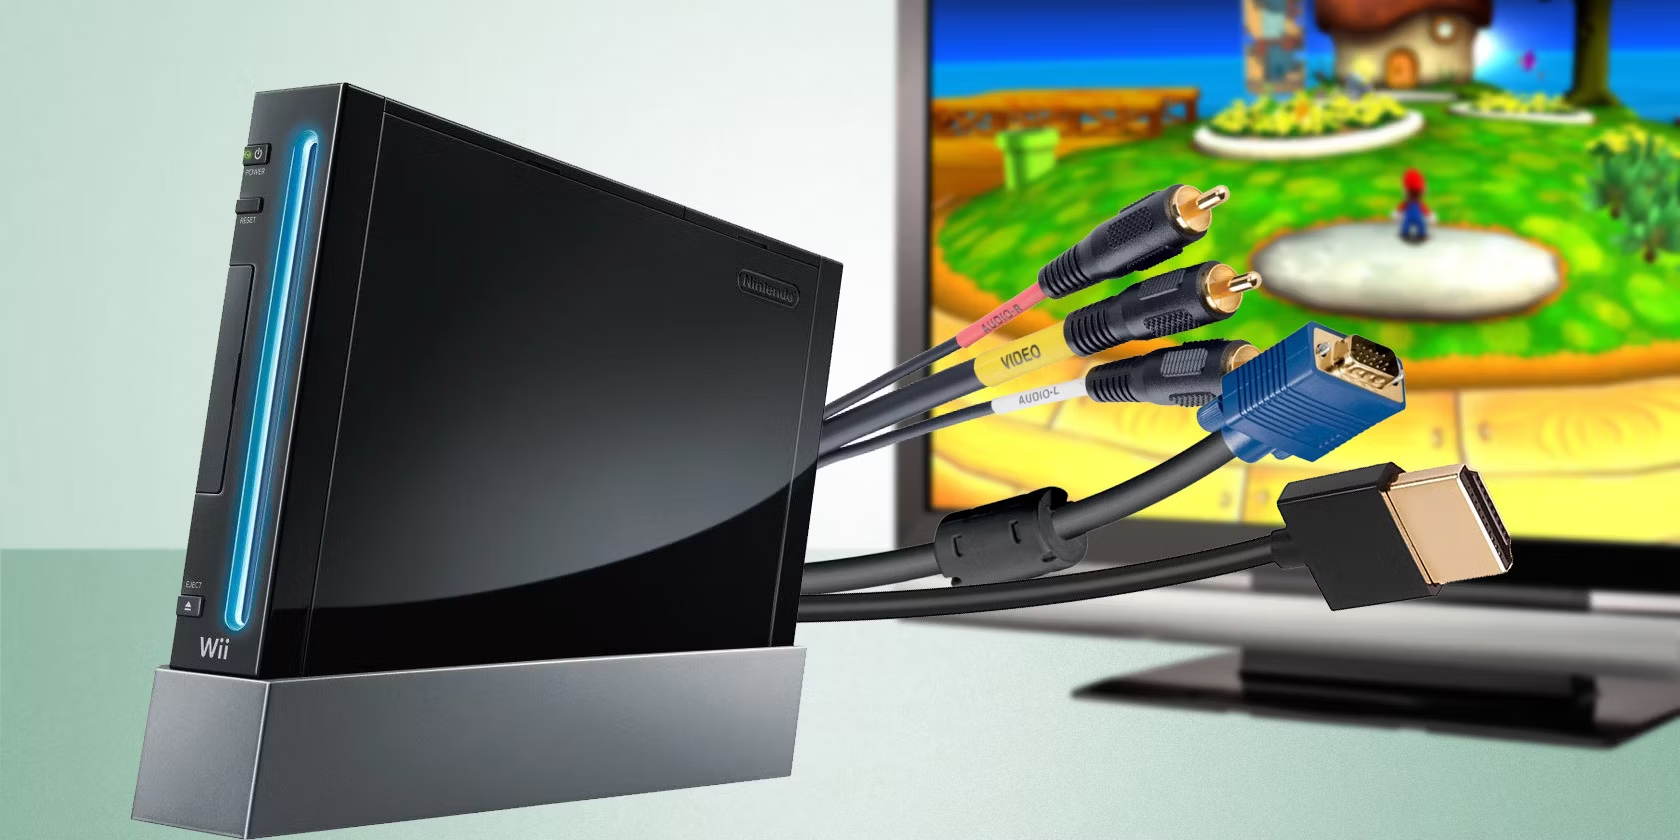
- HDMI Cable: This cable will serve as the primary connection between your Comcast cable box and the AV receiver, transmitting both high-definition video and audio signals. Ensure that you have an HDMI cable with sufficient length to reach between the two devices.
- Power Cables: Make sure you have the power cables for both the Comcast cable box and the AV receiver. Having easy access to power outlets near each device will simplify the setup and prevent any unnecessary cable stretching.
- Remote Control: Keep the remote controls for both the Comcast cable box and the AV receiver handy. You may need to access various settings and configurations during the setup process.
- AV Receiver Manual: Having the AV receiver’s manual nearby can be invaluable, especially if you encounter any specific setup requirements or troubleshooting needs.
- Comcast Cable Box: Of course, the Comcast cable box itself is a crucial component. Ensure that it’s powered on and ready for the setup process.
By assembling these essential cables and equipment, you’ll be well-prepared to proceed with the seamless integration of your Comcast cable box and AV receiver. With everything at your fingertips, you can embark on the next steps with confidence, knowing that you have the necessary tools to create a robust and immersive home entertainment setup.
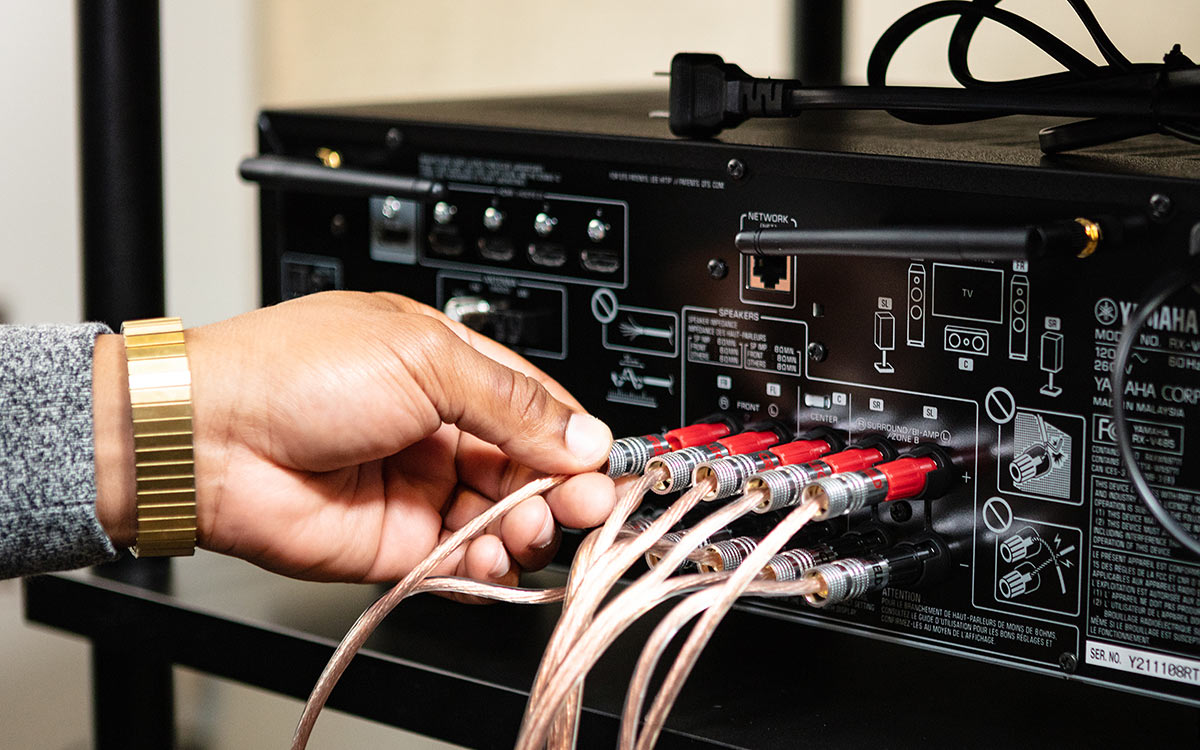
Step 2: Connect the Comcast Cable Box to the AV Receiver
Now that you have all the necessary cables and equipment at the ready, it’s time to establish the physical connection between your Comcast cable box and the AV receiver. This step is crucial for ensuring that both audio and video signals are seamlessly transmitted between the two devices, setting the stage for an immersive home theater experience.
Follow these steps to connect the Comcast cable box to the AV receiver:
- Locate the HDMI Ports: Identify the HDMI output port on your Comcast cable box and the HDMI input port on your AV receiver. These ports are usually labeled for easy identification.
- Connect the HDMI Cable: Take one end of the HDMI cable and plug it into the HDMI output port on your Comcast cable box. Then, connect the other end of the HDMI cable to the HDMI input port on your AV receiver. Ensure that the connection is secure and snug.
- Power On the Devices: Power on both the Comcast cable box and the AV receiver. Once powered on, you should see the video output from the cable box displayed on your TV or projector screen through the AV receiver.
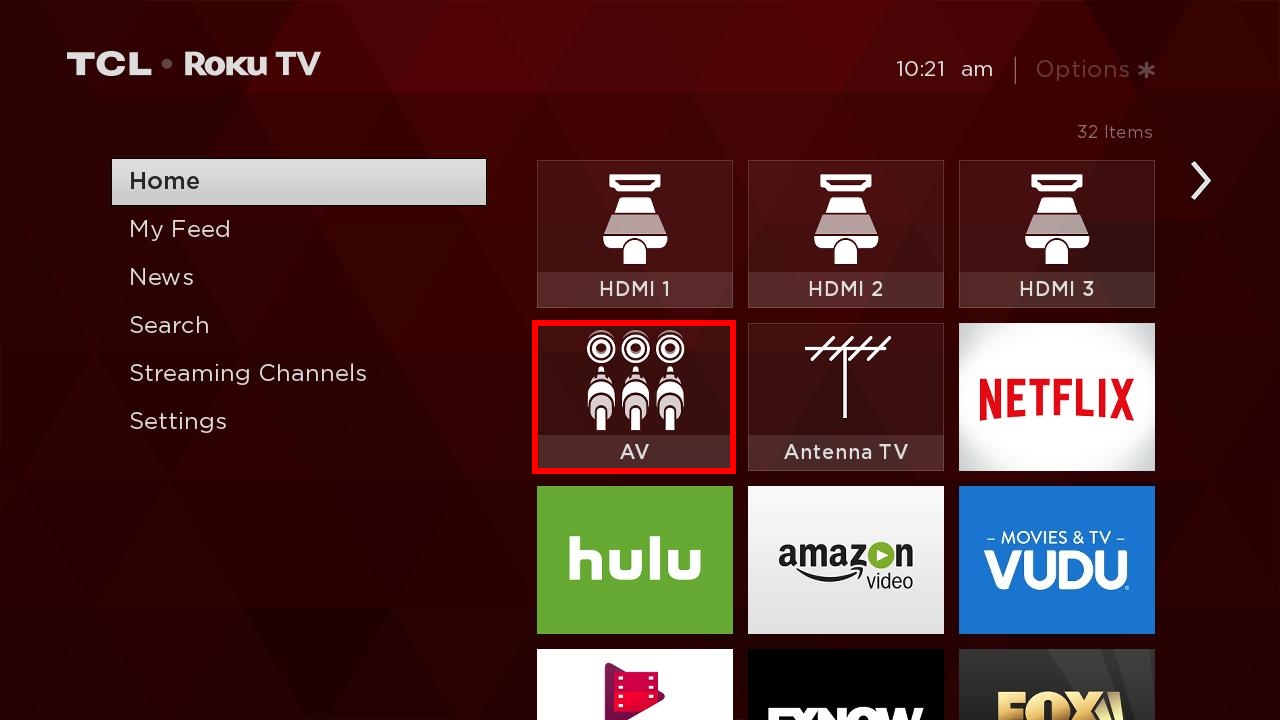
- Select the Correct Input Source: On your AV receiver, select the input source corresponding to the HDMI port to which the Comcast cable box is connected. This ensures that the audio and video signals from the cable box are routed through the receiver for optimal playback.
By following these steps, you’ll establish a direct and seamless connection between your Comcast cable box and the AV receiver, setting the stage for enhanced audiovisual performance. With the physical link in place, you’re now ready to move on to the next crucial step: setting up the AV receiver to optimize the audio and video output.
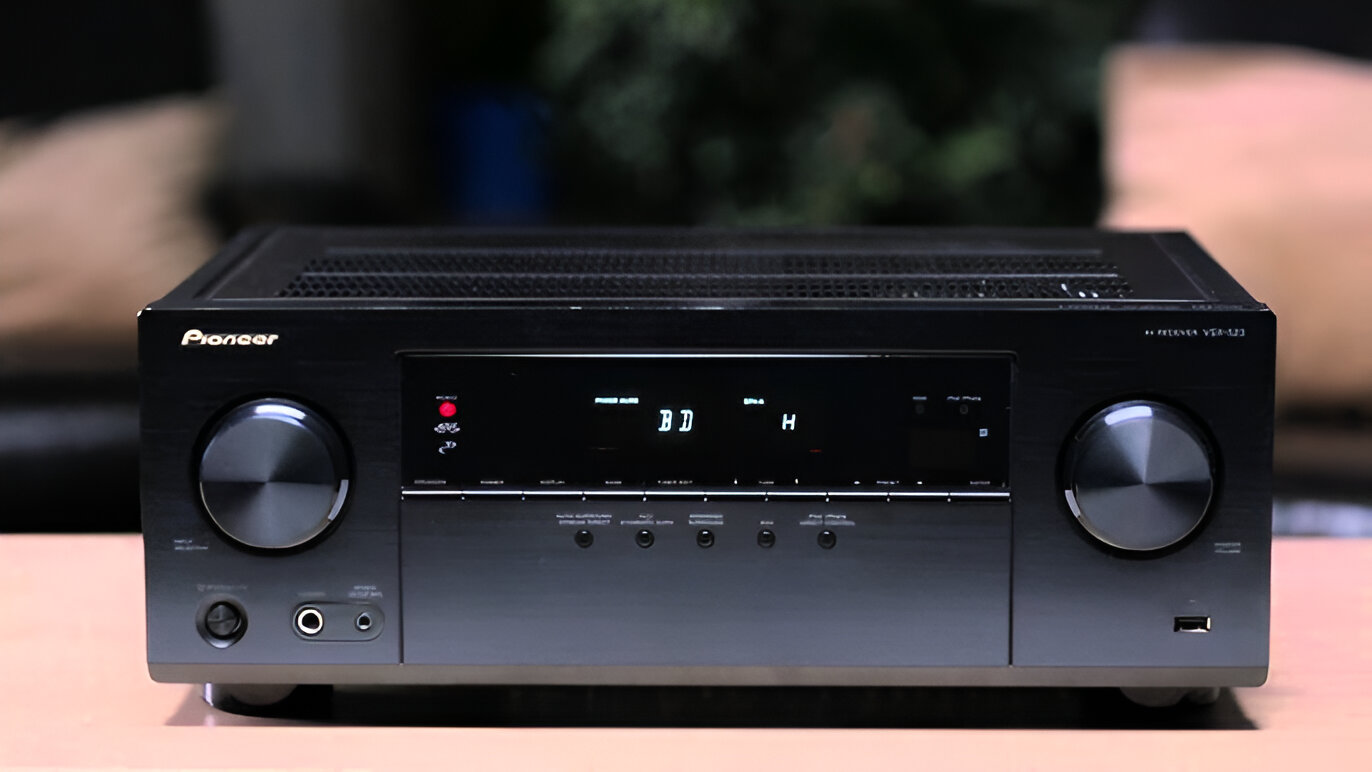
Step 3: Set Up the AV Receiver
With the Comcast cable box successfully connected to the AV receiver, the next step involves configuring the receiver to optimize the audio and video output. This critical phase ensures that you can harness the full potential of your home theater system, delivering immersive surround sound and pristine visual quality.
Here’s how to set up the AV receiver for optimal performance:
- Access the Receiver’s Settings: Use the remote control or front panel of the AV receiver to access its settings menu. This may involve navigating through on-screen menus or using the receiver’s display panel, depending on the model.
- Audio Settings: Configure the audio settings to align with your preferences and the capabilities of your speaker system. This may include selecting the appropriate audio output format (e.g., Dolby Digital, DTS) and adjusting speaker levels and crossover frequencies to optimize sound distribution.
- Video Settings: Navigate to the video settings menu to ensure that the video output from the Comcast cable box is optimized for your display device. Adjust parameters such as resolution, aspect ratio, and color settings to achieve the best visual quality.
- Input Assignments: If your AV receiver supports input assignments, you can customize the names of input sources to reflect the connected devices, making it easier to select the correct source when switching between different components.
- Network and Firmware Updates: If your AV receiver is network-enabled, consider connecting it to your home network to access firmware updates and online streaming services. This step ensures that your receiver remains up to date with the latest features and enhancements.
By carefully configuring the settings of your AV receiver, you can unlock its full potential, delivering a tailored audiovisual experience that aligns with your preferences and the capabilities of your home entertainment setup. With the receiver optimized, you’re now ready to proceed to the final step: testing the connection to ensure everything is functioning as intended.
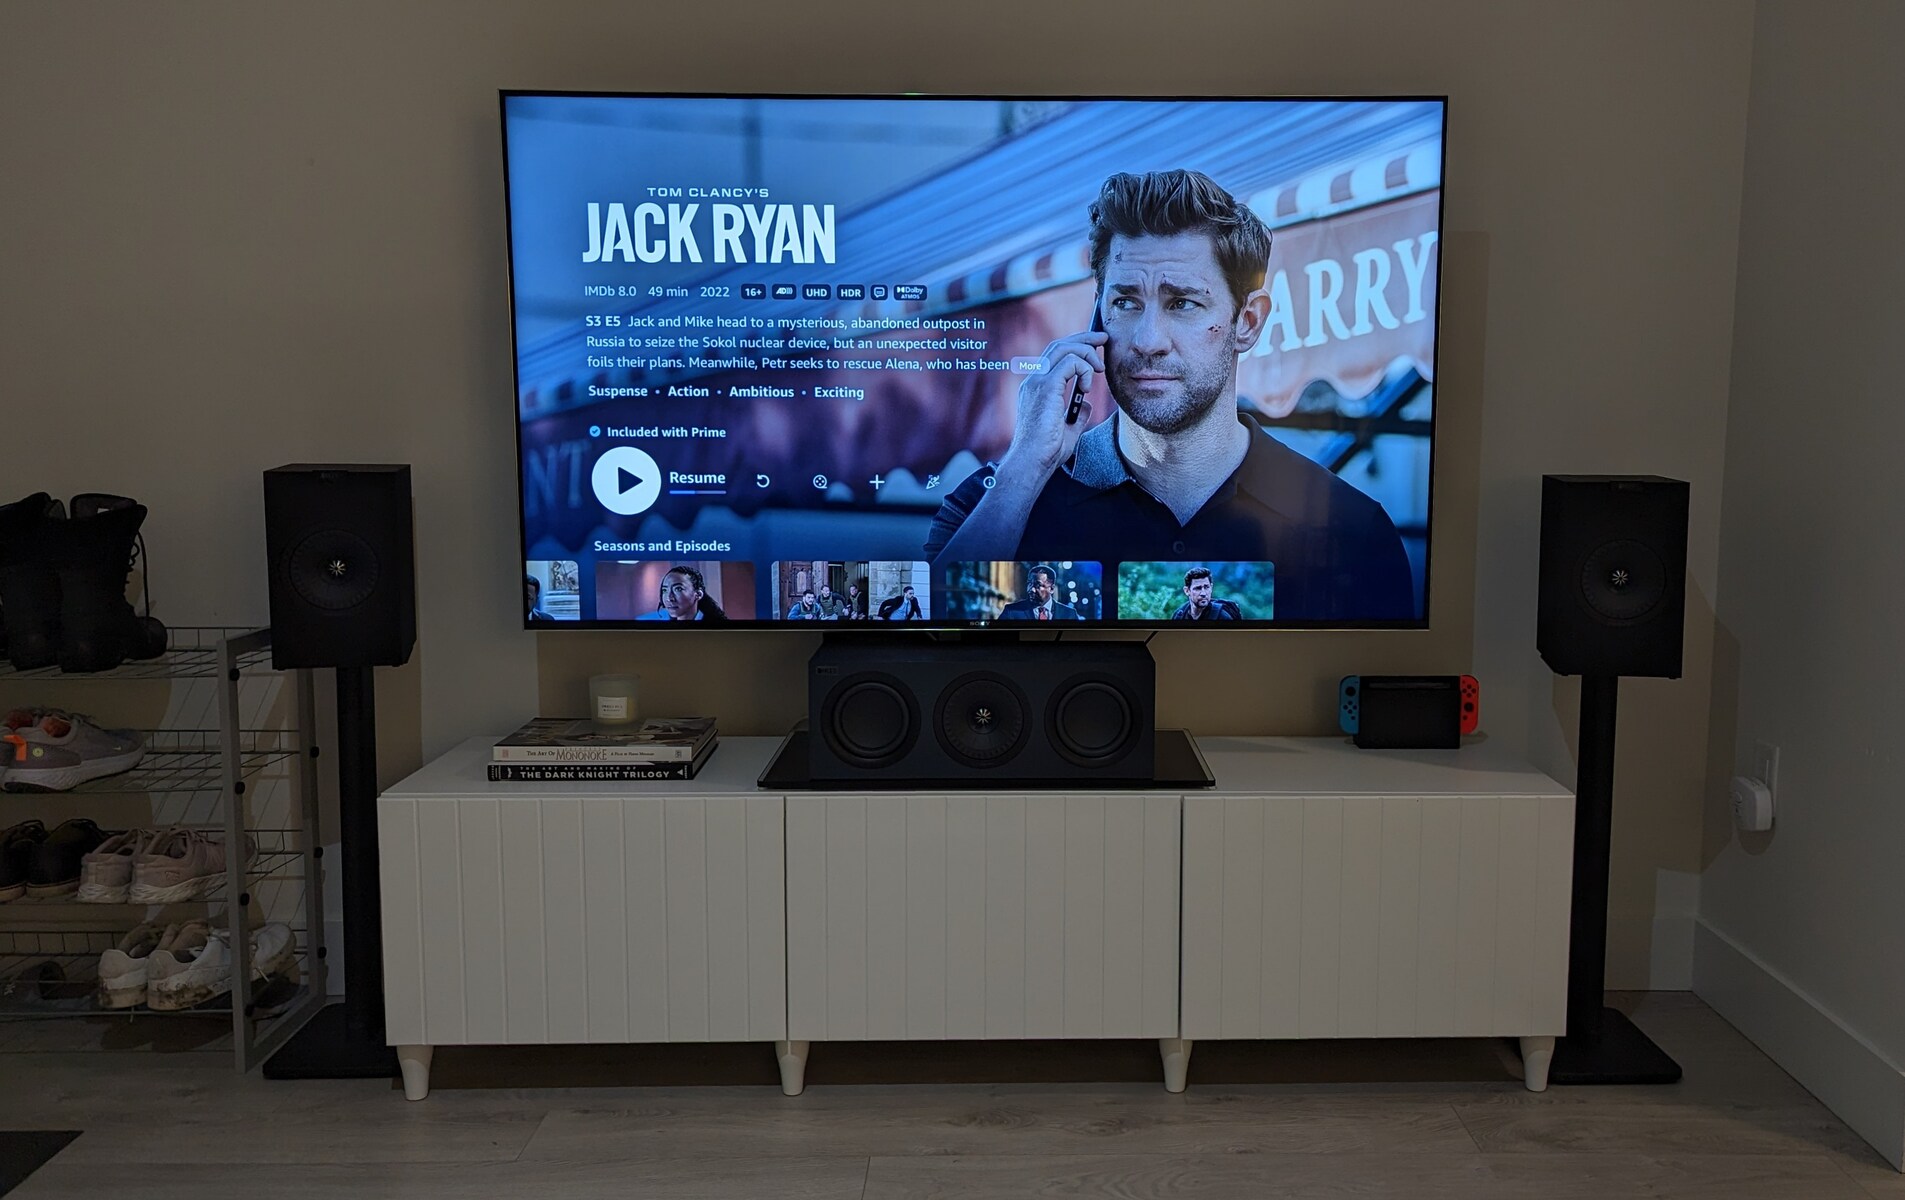
Step 4: Test the Connection
After completing the setup of your Comcast cable box and AV receiver, it’s essential to test the connection to ensure that both devices are functioning harmoniously, delivering the intended audio and video performance. This final step allows you to identify any potential issues and make adjustments as needed, providing peace of mind as you prepare to enjoy your favorite content.
Here’s how to test the connection between your Comcast cable box and AV receiver:
- Audio Playback: Play a piece of audio content, such as music or a movie soundtrack, to verify that the AV receiver is producing sound through your connected speakers. Ensure that the audio is immersive and balanced, with proper distribution across your speaker setup.
- Video Playback: Select a video source on your Comcast cable box, such as a movie or TV show, and observe the video output on your display device. Confirm that the video is displayed in high definition and that the colors and contrast are visually appealing.
- Surround Sound Test: If your AV receiver supports surround sound formats, play content that is specifically designed to showcase surround sound capabilities. Listen for directional audio cues and ensure that the receiver is delivering a captivating surround sound experience.
- Input Switching: Test the functionality of input switching on the AV receiver by seamlessly transitioning between different connected devices, including the Comcast cable box. Verify that the receiver accurately switches audio and video sources without signal loss or interruption.
By conducting these tests, you can confirm that the connection between your Comcast cable box and AV receiver is robust and reliable, delivering the high-quality audio and video performance you expect from your home entertainment system. If any issues are identified during testing, you can revisit the previous steps to make adjustments and fine-tune the setup for optimal results.
Conclusion
Congratulations! You’ve successfully navigated the process of connecting your Comcast cable box to an AV receiver, unlocking a world of immersive audio and video experiences within your home theater setup. By following the step-by-step guide outlined in this article, you’ve established a seamless connection between your cable box and receiver, paving the way for enhanced entertainment possibilities.
Through the careful selection of cables and equipment, the precise physical connection between devices, the optimization of audio and video settings, and thorough testing of the setup, you’ve ensured that your home entertainment system is primed for exceptional performance. The integration of your Comcast cable box with an AV receiver opens the door to high-fidelity audio, captivating surround sound, and stunning visual clarity, transforming your viewing and listening experiences.
As you embark on your entertainment journey with this newly established connection, don’t hesitate to explore the myriad of content available to you. Whether it’s the latest blockbuster movie, a gripping TV series, or a playlist of your favorite music, your Comcast cable box and AV receiver are poised to deliver an immersive and tailored experience that aligns with your preferences.
Should you encounter any challenges or seek further optimization of your setup, remember that the process of integrating audiovisual components is a dynamic and customizable endeavor. You have the flexibility to adjust settings, explore additional features, and expand your home entertainment ecosystem to suit your evolving needs and desires.
With your Comcast cable box seamlessly integrated with your AV receiver, you’re now poised to embark on a journey of audiovisual delight, immersing yourself in the captivating realms of cinema, music, and entertainment, all within the comfort of your own home.