Introduction
So, you've set up your dream home entertainment system with an AV receiver at the heart of it. You've got your TV, speakers, and other audio-visual components all hooked up and ready to go. But now, you're considering adding studio monitors to the mix to take your audio experience to the next level. Studio monitors are designed to deliver accurate and precise sound reproduction, making them an excellent choice for audio enthusiasts and professionals alike. However, connecting studio monitors to an AV receiver requires careful consideration and the right approach to ensure optimal performance.
In this guide, we'll walk you through the process of connecting studio monitors to an AV receiver, covering everything from understanding the equipment to adjusting settings for the best possible sound. Whether you're a music producer, a home studio enthusiast, or simply someone who appreciates high-quality audio, this guide will help you integrate studio monitors seamlessly into your existing AV setup. By the end, you'll have the knowledge and confidence to make the most of your studio monitors and AV receiver, creating a captivating audio experience in your home entertainment space. Let's dive in and explore the world of studio monitor integration with AV receivers.
Understanding Studio Monitors and AV Receivers
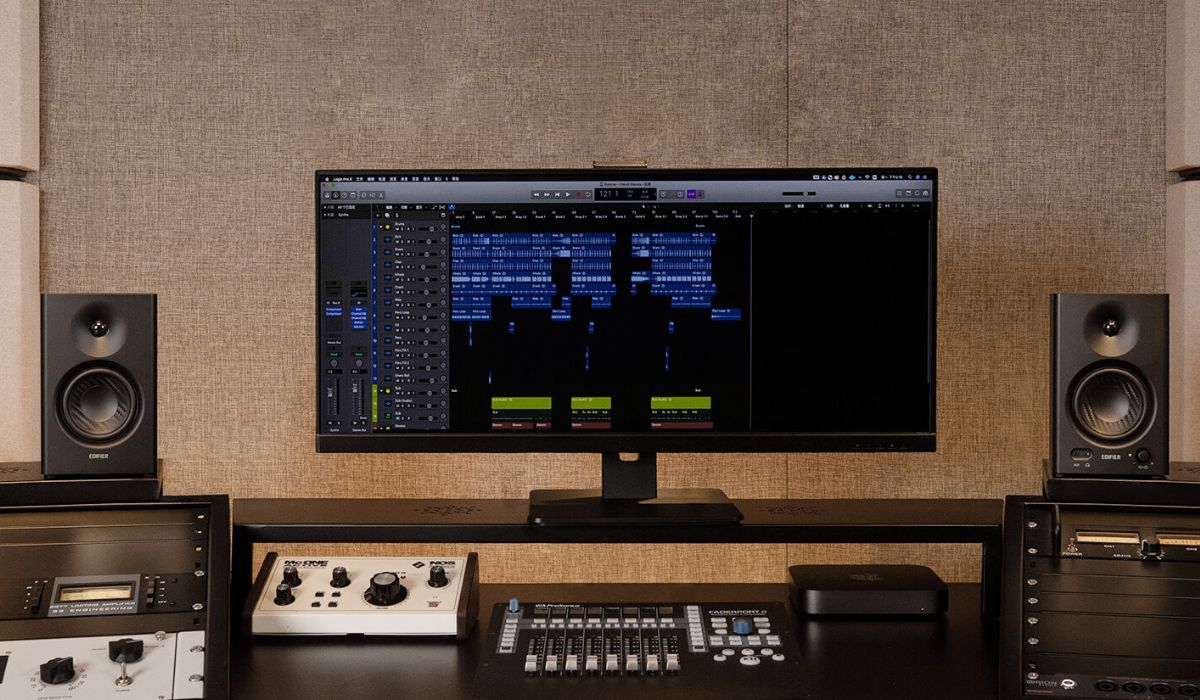
Before delving into the intricacies of connecting studio monitors to an AV receiver, it’s essential to grasp the fundamental characteristics of these two types of audio equipment. Studio monitors, also known as reference monitors or studio speakers, are designed to deliver accurate and uncolored sound reproduction. Unlike consumer speakers, which often enhance or color the audio to cater to personal preferences, studio monitors aim to provide a flat frequency response, allowing users to hear audio exactly as it was recorded without any embellishments. This makes them invaluable tools for audio professionals, as they can make precise judgments about sound quality and mixing decisions.
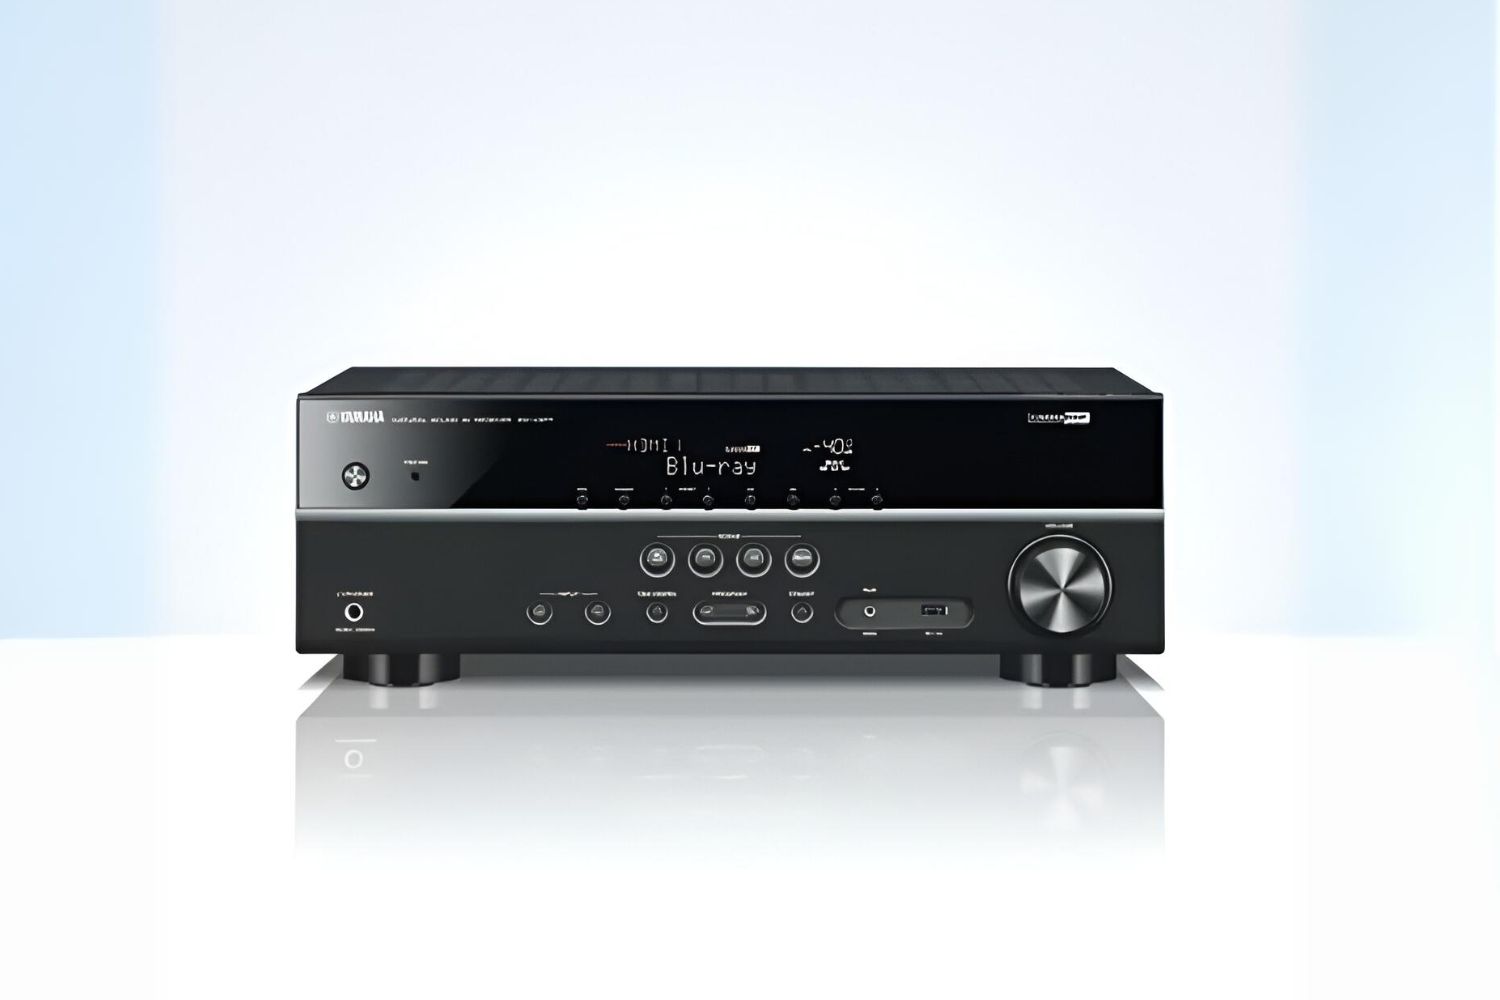
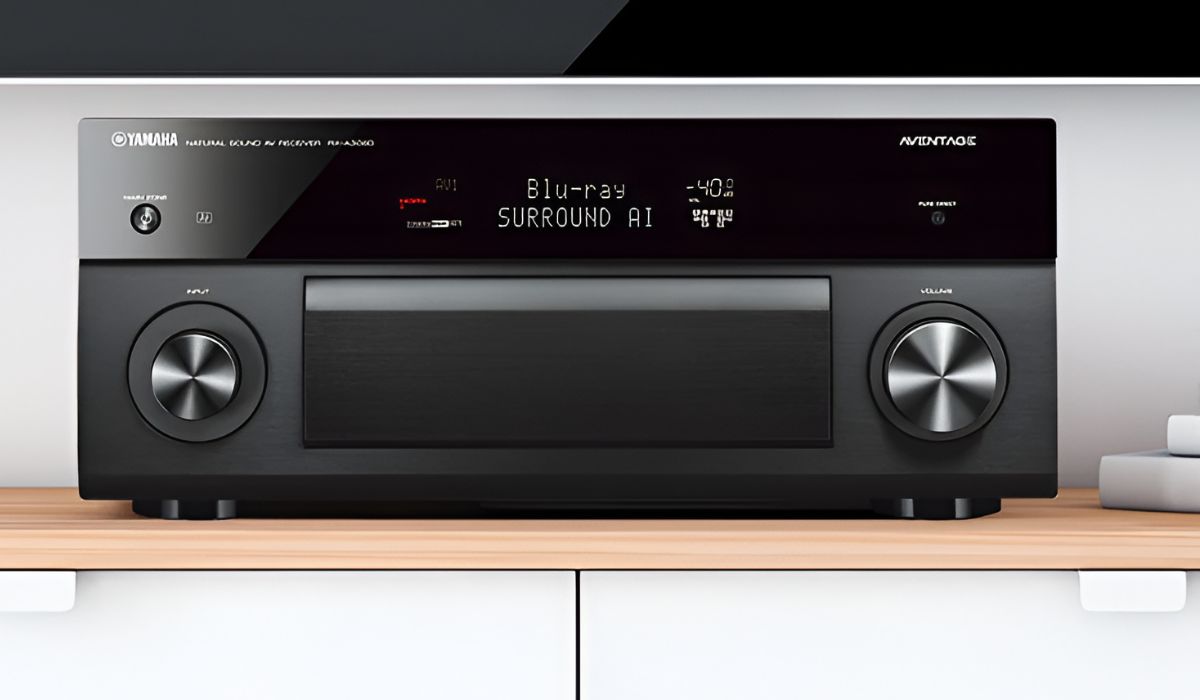
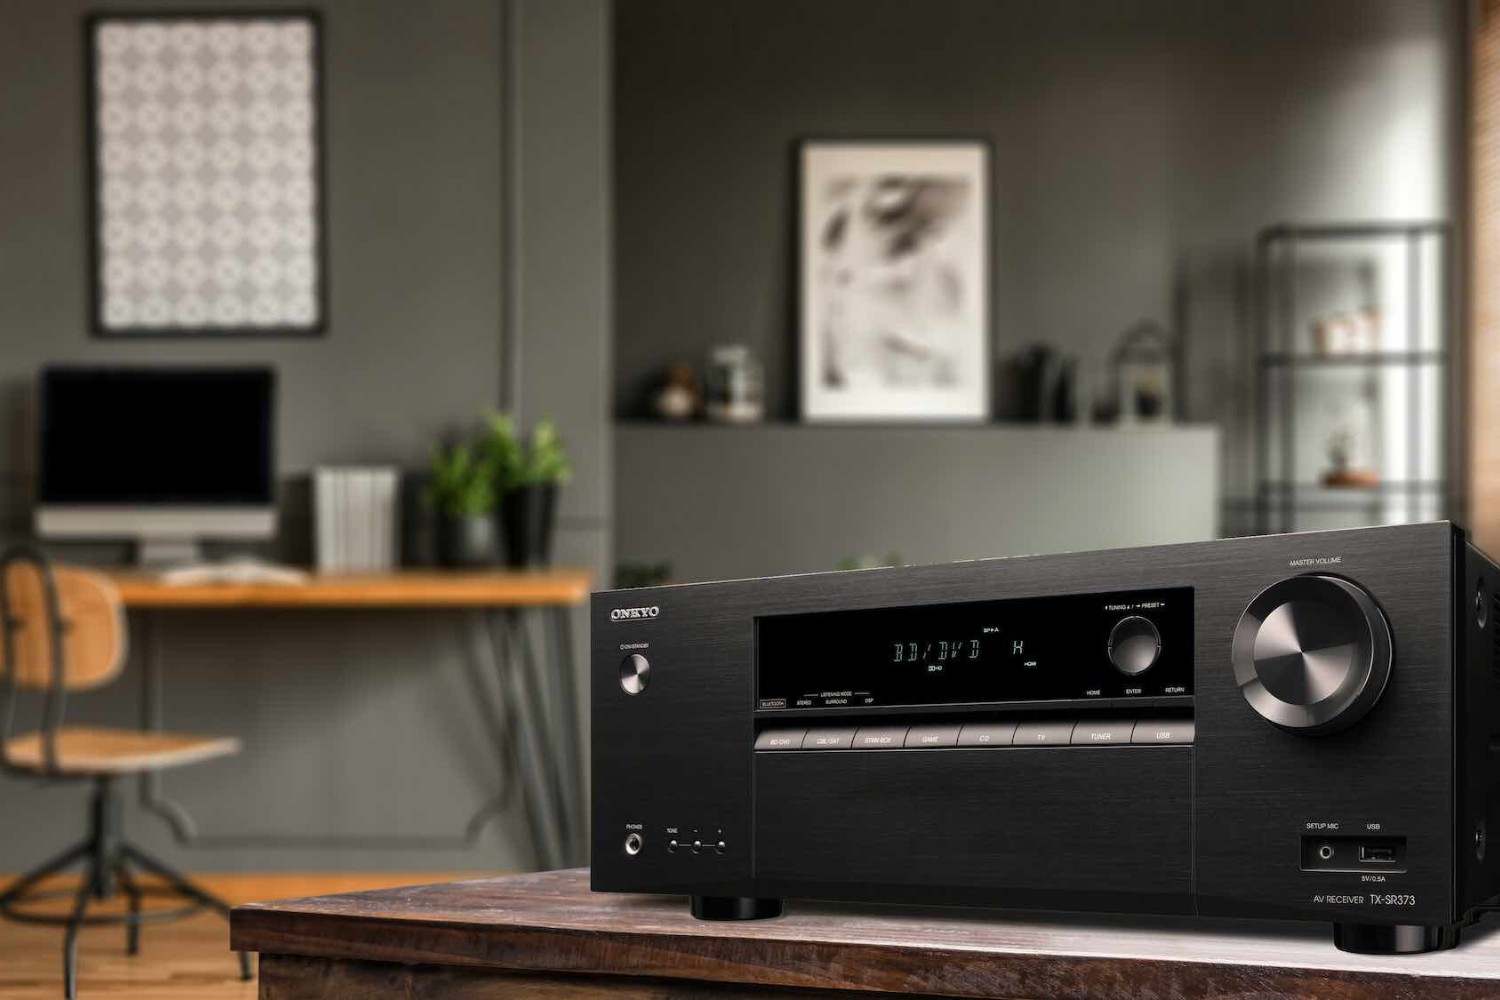
On the other hand, AV receivers serve as the central hub of a home entertainment system, combining audio and video processing capabilities with the ability to power and distribute audio to connected speakers. These versatile devices typically feature multiple audio inputs, amplification for various speaker configurations, and advanced sound processing technologies to optimize the listening experience. AV receivers are commonly used in home theaters and audio setups to decode surround sound formats, manage audio and video sources, and provide seamless integration between different audiovisual components.
When integrating studio monitors with an AV receiver, it’s crucial to understand the differences in their intended applications. While studio monitors prioritize accuracy and transparency, AV receivers cater to the diverse needs of home entertainment, offering features such as surround sound processing, room calibration, and signal routing. By recognizing the distinct roles of these two types of equipment, users can make informed decisions about how to effectively combine them to achieve their desired audio performance.
Connecting Studio Monitors to an AV Receiver
Now that we have a clear understanding of studio monitors and AV receivers, let’s explore the process of connecting studio monitors to an AV receiver. While this task may seem straightforward, it requires attention to detail to ensure compatibility and optimal performance.
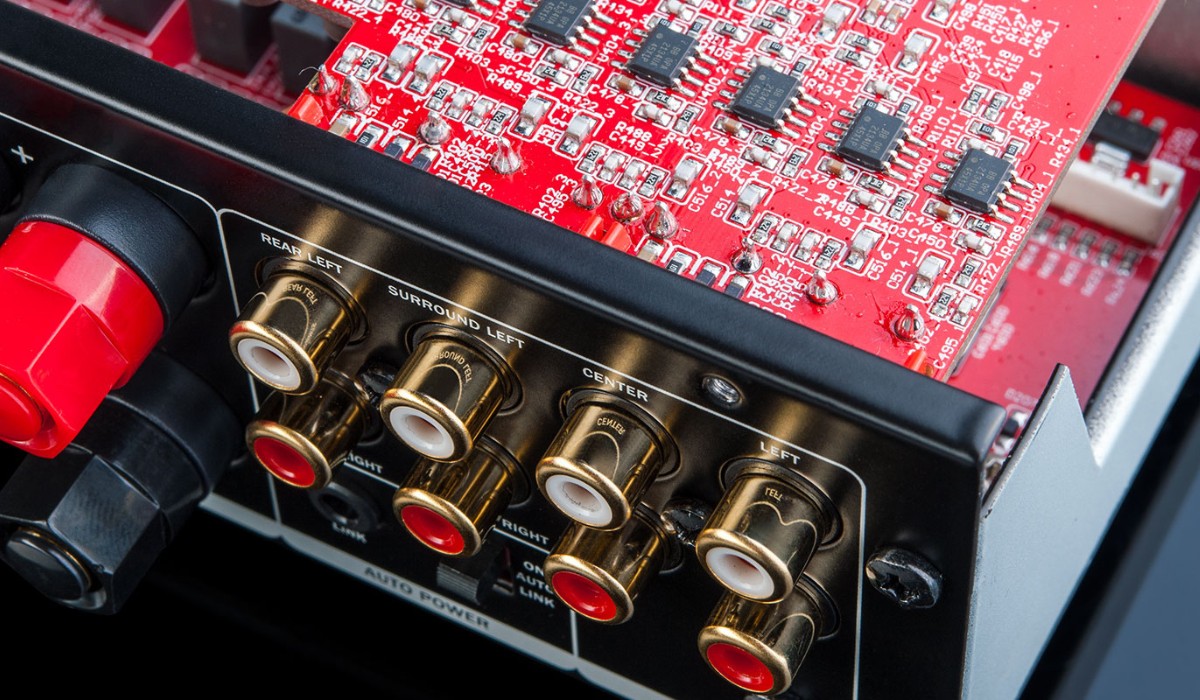
1. Identify Available Outputs: The first step is to identify the available audio outputs on the AV receiver. Most AV receivers feature a variety of output options, including analog and digital connections. Common analog outputs include RCA, XLR, and 1/4″ TRS, while digital outputs may include optical (Toslink) or coaxial connections. Understanding the available outputs will determine the type of cables or adapters needed to connect the studio monitors.
2. Select Appropriate Cables: Once the outputs are identified, select the appropriate cables to establish the connection between the AV receiver and the studio monitors. For analog connections, RCA, XLR, or TRS cables are commonly used, while digital connections require optical or coaxial cables. It’s important to use high-quality cables to minimize signal degradation and interference, ultimately preserving the audio fidelity.
3. Set Output Configuration: Depending on the AV receiver’s configuration options, users may need to access the settings menu to designate the specific output channels intended for the studio monitors. This step ensures that the audio signal is correctly routed to the connected studio monitors, allowing for seamless integration into the existing audio setup.
4. Power Considerations: Studio monitors often require a dedicated power source, so it’s essential to ensure that adequate power outlets are available near the desired placement of the monitors. Additionally, consider the power requirements of the studio monitors and avoid overloading electrical circuits to prevent potential issues.
By following these steps and considering the specific characteristics of the studio monitors and AV receiver, users can establish a reliable and effective connection, laying the foundation for an immersive audio experience in their home entertainment environment.
Adjusting Settings for Optimal Performance
After successfully connecting the studio monitors to the AV receiver, it’s crucial to fine-tune the settings to achieve optimal performance and ensure that the audio output meets the desired standards. This involves considering various factors that can influence the sound quality and overall listening experience.
1. Volume Calibration: Begin by calibrating the volume levels of the studio monitors within the AV receiver’s settings. Many AV receivers offer speaker calibration routines that use built-in test tones and microphones to automatically adjust the volume and optimize the audio output based on the room’s acoustics. Alternatively, manual volume adjustments can be made to match the studio monitor levels and achieve a balanced soundstage.
2. Crossover and Frequency Response: Some AV receivers feature adjustable crossover settings, which determine the frequency range of audio signals sent to the studio monitors. By configuring the crossover points to complement the studio monitors’ frequency response, users can ensure a seamless transition between speakers and achieve a cohesive sound reproduction across the entire audio spectrum.
3. Room Acoustics Consideration: Take into account the acoustic characteristics of the room where the studio monitors are placed. Factors such as room dimensions, wall materials, and furniture placement can significantly impact the sound quality. Utilize the AV receiver’s room correction features, if available, to compensate for acoustic anomalies and optimize the audio output for the specific listening environment.
4. EQ and Sound Modes: Many AV receivers offer equalizer (EQ) settings and sound modes that allow users to tailor the audio output to their preferences. Experiment with these settings to fine-tune the sound characteristics, adjusting parameters such as bass, treble, and spatial effects to achieve a personalized and immersive listening experience.
5. Signal Source Management: Ensure that the AV receiver is configured to manage the various audio sources effectively. This may involve selecting the appropriate input settings, configuring surround sound formats, and managing signal routing to accommodate different audiovisual sources and playback devices.
By addressing these considerations and leveraging the advanced settings offered by the AV receiver, users can optimize the performance of their connected studio monitors, unlocking their full potential and delivering a captivating audio experience that aligns with their preferences and requirements.
Conclusion
As we conclude our exploration of connecting studio monitors to an AV receiver, it’s evident that this integration offers a pathway to elevate the audio experience within a home entertainment environment. By understanding the distinct characteristics of studio monitors and AV receivers and following a systematic approach to establish the connection, users can harness the full potential of both components, resulting in immersive and accurate sound reproduction.
Moreover, the process of adjusting settings for optimal performance underscores the importance of fine-tuning the audio output to align with individual preferences and the acoustic properties of the listening space. Through volume calibration, consideration of crossover settings, room acoustics, and utilization of EQ and sound modes, users can tailor the audio experience to their liking, creating a captivating and personalized sonic environment.
Whether used for critical audio monitoring in a professional studio setting or to enhance the audio fidelity of a home theater system, the integration of studio monitors with an AV receiver opens up a realm of possibilities for audio enthusiasts and professionals alike. This synergy allows for accurate sound reproduction, precise monitoring, and a heightened appreciation of music, movies, and other audio content.
By embracing the guidance provided in this guide, individuals can navigate the process of connecting and optimizing studio monitors within their AV setup with confidence and proficiency. As a result, they can enjoy a rich, detailed, and faithful audio experience that resonates with the intended artistic expression and creative vision of the audio content.
In essence, the integration of studio monitors with an AV receiver represents a convergence of technical precision and artistic appreciation, culminating in a harmonious audio experience that transcends conventional boundaries and immerses listeners in the intricacies of sound. This fusion of technology and artistry embodies the essence of audio excellence, empowering individuals to savor the nuances and subtleties of their favorite music, movies, and multimedia content.