Introduction
When it comes to producing high-quality audio, having the right equipment is crucial. One essential component of any sound studio is the studio monitor. Studio monitors, also known as reference monitors or speaker monitors, are specially designed speakers that offer a clear and accurate representation of audio. They play an integral role in the recording, mixing, and mastering process, allowing professionals to make precise adjustments and create a balanced sound.
Unlike regular speakers, studio monitors are designed to have a flat frequency response. This means that they reproduce audio without emphasizing or de-emphasizing certain frequencies, providing a neutral sound representation. This neutrality is crucial for audio engineers and producers as it allows them to make accurate judgments about the quality of the sound they are working on. By providing an honest representation of the audio, studio monitors enable professionals to detect flaws, inconsistencies, and imperfections that might not be apparent on consumer-grade speakers or headphones.
The importance of studio monitors in achieving high-quality audio cannot be overstated. They serve as a critical tool for audio professionals to make informed decisions throughout the production process. Whether it’s recording vocals, mixing instruments, or fine-tuning the overall mix, studio monitors provide the level of detail and accuracy required to ensure the best possible sound reproduction.
Studio monitors come in various shapes, sizes, and price ranges, offering options to suit different budgets and needs. It’s essential to select the right type of studio monitor based on factors such as room size, audio preferences, and intended use. Setting up studio monitors correctly is also crucial to maximize their performance and achieve optimal sound quality.
In this article, we will explore the key features of studio monitors, the different types available, and how to choose the right studio monitor for your needs. We will also discuss the proper setup of studio monitors and provide tips on getting the best sound quality from them. Additionally, we will offer guidance on maintaining and caring for your studio monitors to ensure their longevity and optimal performance.
Definition of Studio Monitor
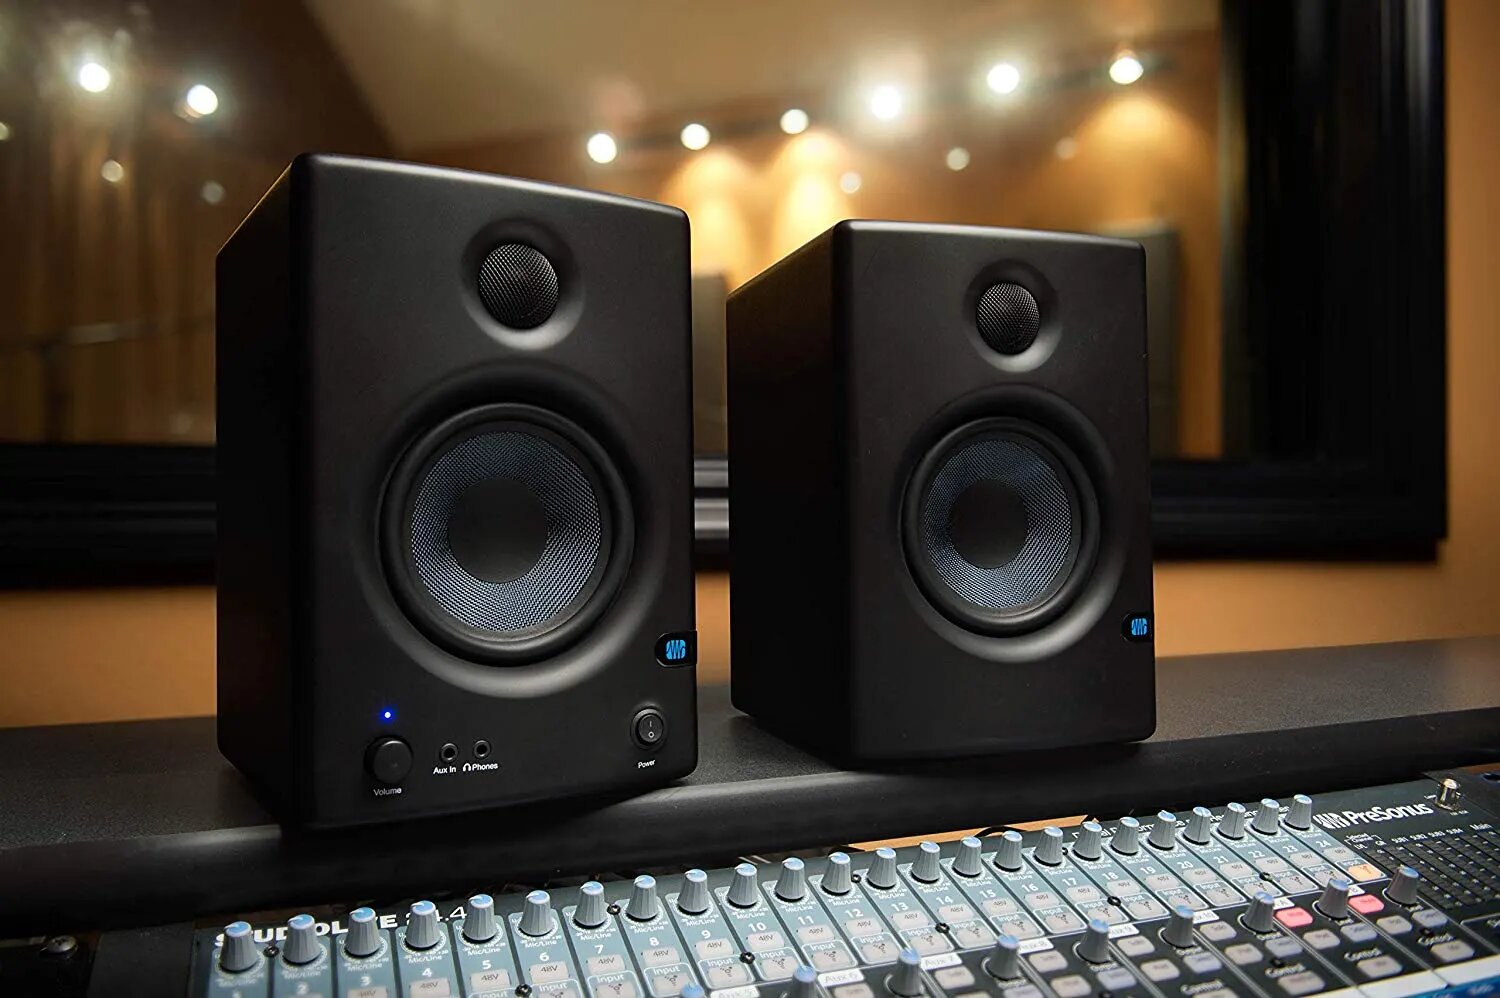
Before delving deeper into the world of studio monitors, let’s start by understanding what exactly a studio monitor is. A studio monitor is a type of loudspeaker specifically designed for professional audio production environments such as recording studios, broadcast facilities, and home studios. Also known as reference monitors or speaker monitors, they are designed to provide a transparent and accurate representation of audio without artificially enhancing or attenuating frequencies.
Unlike consumer-grade speakers or headphones that are often designed to enhance bass or treble frequencies for an enjoyable listening experience, studio monitors aim to reproduce audio as faithfully as possible. This means that studio monitors have a flat frequency response, meaning that they reproduce sound without significant frequency boosts or cuts. This neutrality allows audio professionals to make precise and unbiased decisions during the recording, mixing, and mastering process.
Studio monitors are engineered to provide a clear and accurate representation of audio so that audio engineers, producers, and musicians can assess the true quality of their recordings. By using studio monitors, professionals can detect any imperfections, flaws, or anomalies in the audio that may not be evident on regular speakers or headphones. This is particularly important for mixing, as slight variations in frequency response can significantly impact the final mix.
Furthermore, studio monitors are also designed to have a wide dynamic range, enabling them to reproduce soft and loud sounds without distortion or compression. This dynamic accuracy ensures that every nuance and detail in the audio is accurately conveyed, allowing for precise sound shaping and manipulation during the recording and mixing stages.
Overall, the primary purpose of a studio monitor is to provide an accurate and transparent representation of audio, allowing professionals to make critical decisions during the production process. By utilizing studio monitors, audio professionals can create mixes that translate well across different playback systems, ensuring that the final product sounds its best in various listening environments.
Importance of Studio Monitors
Studio monitors play a vital role in the world of audio production, and their importance cannot be overstated. Here are several key reasons why studio monitors are essential:
Accurate Sound Representation: The primary purpose of studio monitors is to provide an accurate and unbiased representation of audio. Unlike consumer-grade speakers or headphones that often color the sound with frequency boosts or cuts, studio monitors offer a flat frequency response. This neutrality allows audio professionals to hear the audio as it truly is, making informed decisions about mixing, EQ, and other audio adjustments.
Detail and Clarity: Studio monitors are designed to reproduce audio with exceptional detail and clarity. With their wide frequency response and low distortion, they reveal even the smallest nuances and subtleties in the sound. This level of detail is crucial for mixing and mastering processes, where precise adjustments are made to create a balanced and polished final product.
Dynamic Range: Studio monitors are capable of reproducing a wide dynamic range, meaning they can accurately convey both soft and loud sounds without distortion or compression. This allows audio professionals to capture and reproduce the full range of a sound source, ensuring that every quiet whisper or roaring guitar riff is reproduced faithfully.
Consistency Across Playback Systems: One of the significant advantages of using studio monitors is the ability to achieve consistency across different playback systems. By mixing and mastering on accurate monitors, audio professionals can ensure that their final product will sound good on various speakers and headphones. This is essential in today’s diverse listening environments, where music is consumed on a wide range of devices.
Quality Control: Studio monitors act as a quality control tool throughout the audio production process. Audio engineers and producers rely on accurate monitoring to identify and address any issues, anomalies, or imperfections in the audio. By using studio monitors, they can ensure that the final mix is of the highest possible quality, free from any unwanted artifacts or inconsistencies.
Analyze and Improve: Studio monitors provide the ability to critically analyze and improve audio recordings. By accurately reproducing the sound, professionals can identify problem areas, such as unwanted resonances, frequency imbalances, or poor soundstage. This allows them to make precise adjustments and enhancements to achieve a balanced and immersive audio experience.
Professional Standard: Studio monitors are considered the professional standard in audio production. They are widely used in recording studios, broadcast facilities, and home studios by professionals who demand accurate and reliable audio monitoring. By investing in studio monitors, audio professionals can ensure that their work meets industry standards and effectively communicates their artistic vision.
Overall, the importance of studio monitors lies in their ability to provide accurate sound representation, reveal detail and clarity, maintain consistency across systems, act as a quality control tool, and enable critical analysis and improvement of audio recordings. With these benefits, studio monitors are an essential tool for anyone involved in audio production and engineering.
Key Features of Studio Monitors
Studio monitors are complex devices that incorporate various features to ensure accurate sound reproduction and optimal performance. Here are some key features to consider when choosing studio monitors:
Frequency Response: The frequency response refers to the range of frequencies that a studio monitor can reproduce. Ideally, studio monitors should have a flat frequency response, meaning they reproduce audio without emphasizing or attenuating specific frequencies. A wider frequency response allows for more accurate representation of the audio, capturing both the low and high-frequency content with precision.
Transducers: The transducers of studio monitors, including the woofers and tweeters, play a crucial role in reproducing sound accurately. High-quality transducers are designed to handle a wide frequency range with minimal distortion. They should be able to respond quickly to changes in audio signals, enabling precise and detailed sound reproduction.
Amplification: Studio monitors can come with either an active or passive design. Active studio monitors have built-in amplifiers, which provide dedicated power to the drivers. This built-in amplification ensures that the driver and amplifier are matched correctly, resulting in optimized performance. Passive studio monitors, on the other hand, require an external power amplifier to drive the speakers.
Enclosure Design: The design of the monitor’s enclosure can significantly impact the sound quality. Enclosure materials and designs should minimize resonance and vibrations that can color the sound or introduce unwanted artifacts. Sturdy and well-designed enclosures provide a solid foundation for accurate sound reproduction.
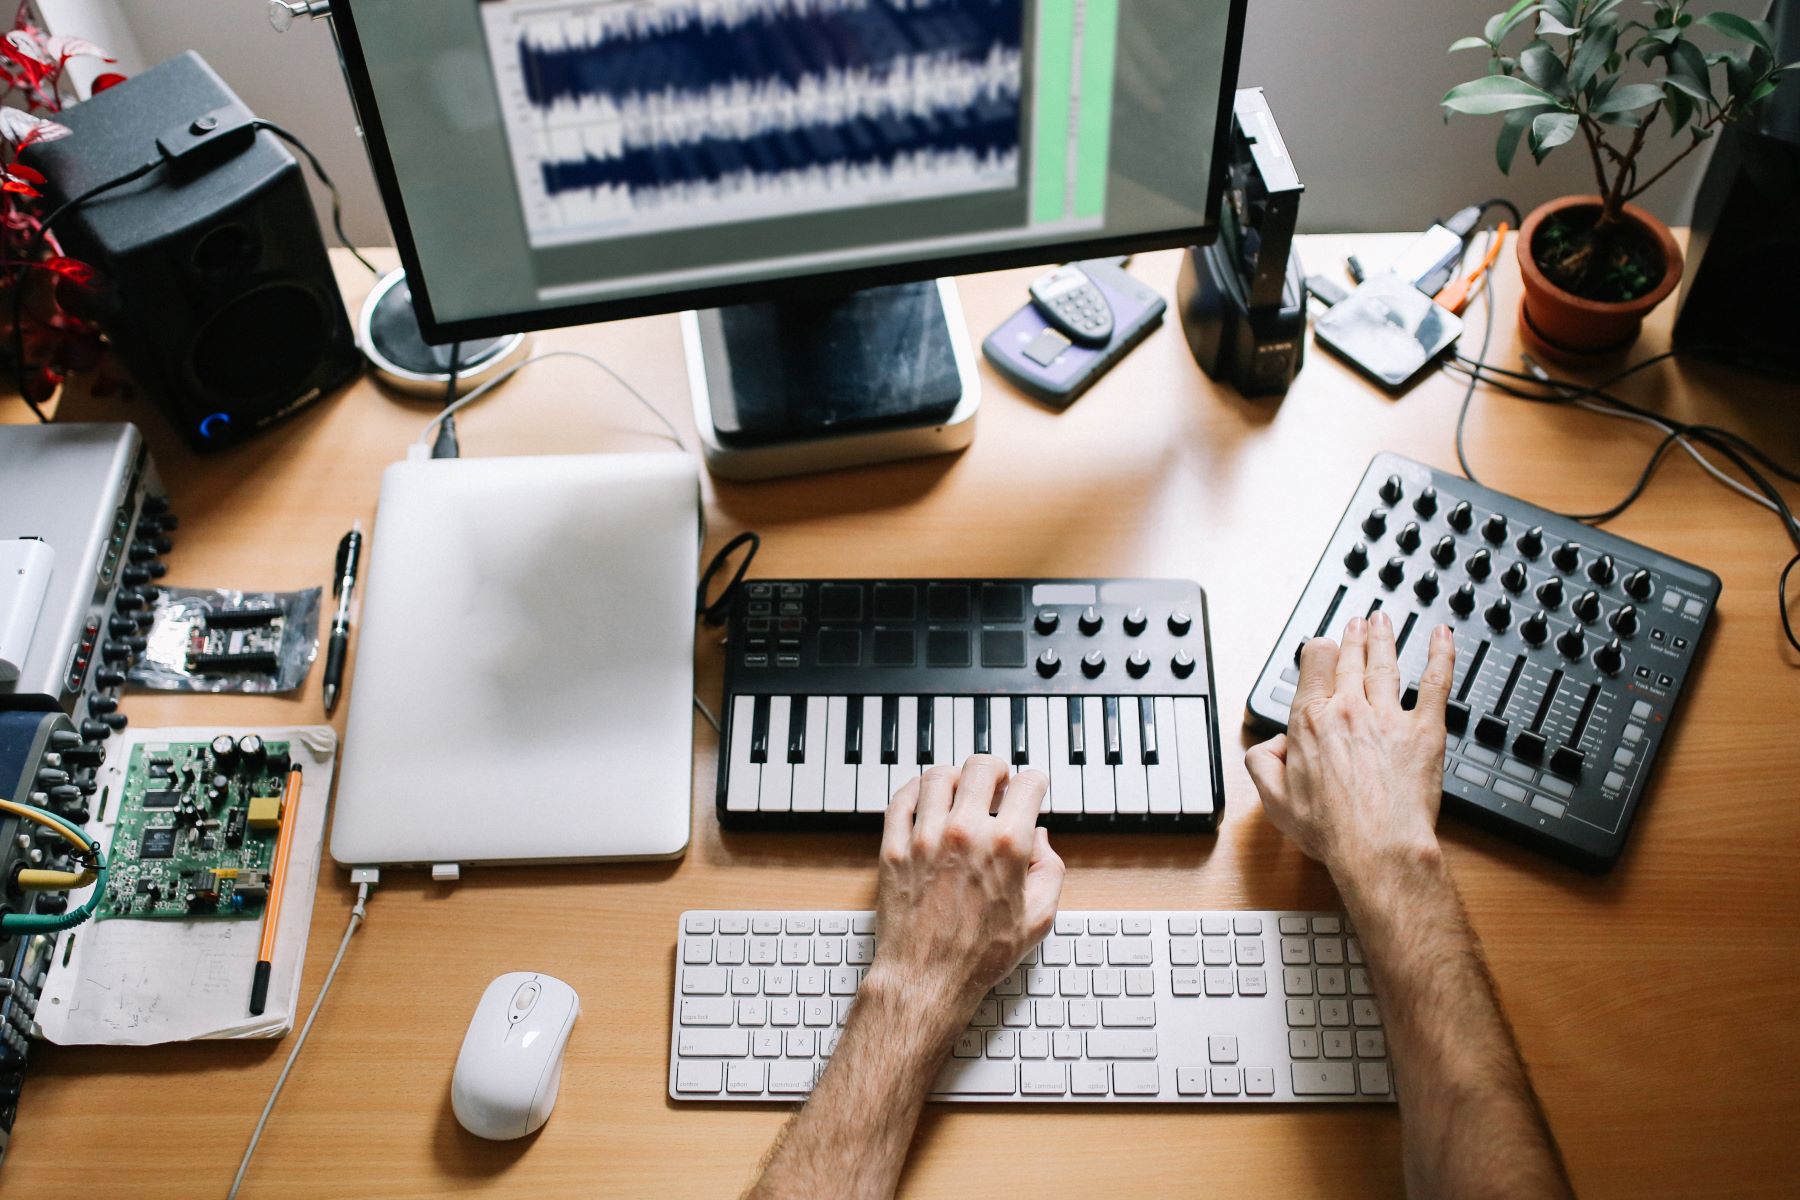
Connectivity Options: Studio monitors typically have various input options, including XLR, TRS, and RCA, to accommodate different audio sources and equipment. Having multiple connectivity options allows for flexibility in setting up a studio monitor system, ensuring compatibility with various audio interfaces, mixers, and other devices.
Controls and Adjustments: Many studio monitors include built-in controls and adjustments that allow users to fine-tune the sound to their preference and room acoustics. These may include volume controls, EQ switches, and high-frequency level adjustments. These features are valuable for achieving a balanced and accurate sound representation in different listening environments.
Room Correction and Calibration: Some studio monitors offer built-in room correction features or compatibility with external calibration systems. These features help compensate for acoustic anomalies in the listening environment, ensuring more accurate monitoring and minimizing the impact of room reflections and resonances.
Stereo Imaging and Soundstage: Studio monitors with good stereo imaging and soundstage capabilities provide a more immersive and accurate listening experience. The ability to place audio elements within the soundstage and perceive their location accurately enhances the mixing and critical listening process.
Size and Placement: Consider the size of the studio monitors and their suitability for your workspace. Larger monitors generally have more extended frequency responses and higher SPL capabilities, but they might not be suitable for smaller rooms. Placement is also crucial, and studio monitors should be positioned correctly to achieve the optimal listening position and minimize acoustic issues.
These are just some of the key features to consider when choosing studio monitors. It’s important to select monitors that match your specific needs, budget, and the characteristics of your listening environment. By understanding the features and their impact on sound reproduction, you can make an informed decision and choose studio monitors that will deliver accurate and high-quality audio monitoring.
Different Types of Studio Monitors
Studio monitors come in various types to cater to different needs and preferences in audio production. Here are some of the common types of studio monitors:
Active Studio Monitors: Active studio monitors, also known as powered monitors, have a built-in amplifier within the speaker enclosure. This design eliminates the need for external amplification and ensures that the amplifier and speaker are properly matched for optimal performance. Active monitors are convenient and often offer more accurate sound reproduction due to the integrated amplifier’s engineering.
Passive Studio Monitors: Passive studio monitors require an external power amplifier to drive the speakers. They often provide a higher degree of customization by allowing users to select amplifiers with specific power and sonic characteristics. Passive monitors can be a good choice for those who prefer more control over their audio setup and are willing to invest in separate amplification.
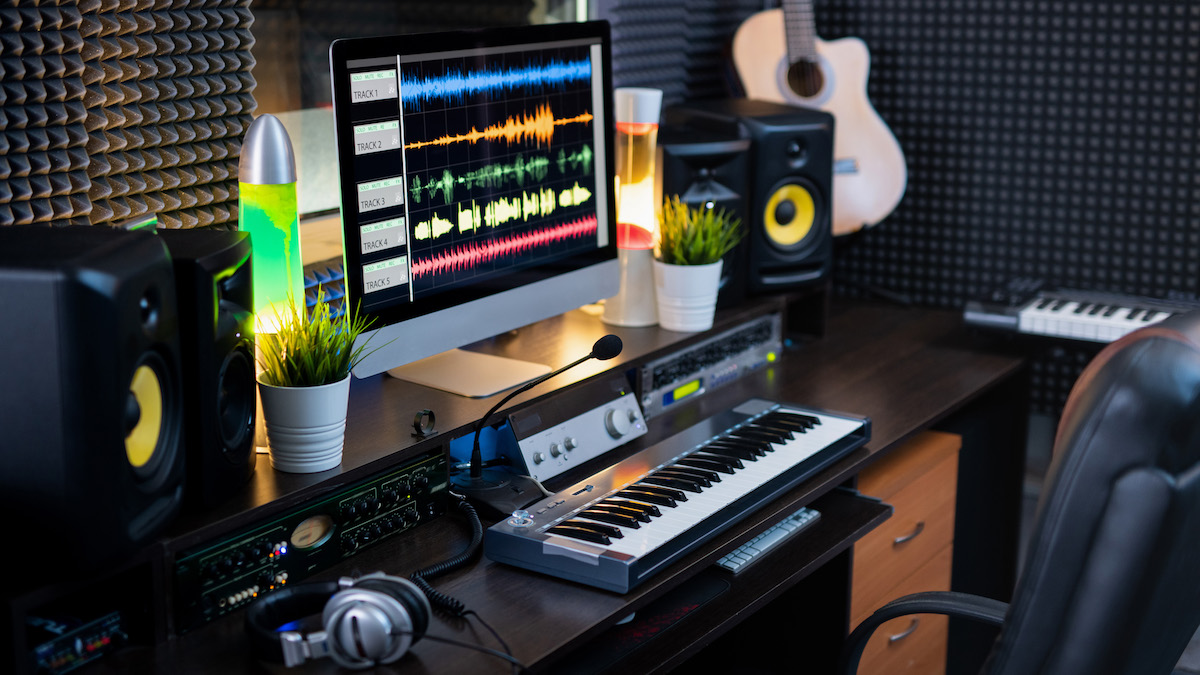
Nearfield Monitors: Nearfield monitors are designed for close-range monitoring, typically positioned within a few feet of the listener. They are the most common type of studio monitors and allow audio professionals to hear precise details and make critical mixing decisions. Nearfield monitors are ideal for small to medium-sized studios where close listening proximity is necessary.
Midfield Monitors: Midfield monitors are larger and more powerful than nearfield monitors, designed for medium-sized to large control rooms. They are positioned at a greater distance from the listener, usually around 6 to 10 feet away. Midfield monitors provide a wider frequency response and higher sound pressure level (SPL) capabilities, delivering a more accurate representation of sound in larger spaces.
Farfield Monitors: Farfield monitors are the largest and most powerful type of studio monitors. They are designed for large control rooms and mastering facilities, where the listening distance can range from 12 to 20 feet or more. Farfield monitors offer extended frequency response, higher SPL capabilities, and optimal stereo imaging for critical listening in spacious environments.
2-Way Monitors: 2-way monitors consist of two drivers, a woofer, and a tweeter, which cover the low and high-frequency ranges respectively. This is the most common configuration, providing a balanced sound representation across the frequency spectrum. 2-way monitors are widely used in various studio setups and can be found in both active and passive designs.
3-Way Monitors: 3-way monitors incorporate three drivers – a woofer, a midrange, and a tweeter – to reproduce the low, mid, and high-frequency ranges. They offer improved frequency response and more accurate sound reproduction, particularly in the midrange. 3-way monitors are often preferred for high-end audio production, where precise sound detail and clarity are paramount.
Subwoofers: Subwoofers are specialized studio monitors designed specifically to handle low-frequency reproduction. They complement main studio monitors by reproducing the deep bass frequencies that smaller speakers may struggle to reproduce accurately. Subwoofers are particularly useful in music genres that heavily rely on low-end, such as electronic music or hip-hop. They are commonly used in combination with nearfield or midfield monitors to create a more accurate and balanced sound representation.
Monitor Systems: Monitor systems consist of multiple studio monitors and are designed for larger and more advanced audio production environments. These systems include main monitors for accurate sound reproduction, surround monitors for immersive sound experience, and additional monitors for specific mixing or monitoring tasks. Monitor systems offer enhanced flexibility and customization options to cater to complex audio production requirements.
It’s essential to consider your specific audio production needs, room size, and budget when selecting the type of studio monitors. Each type offers unique benefits and is suited for different listening environments. The right choice will depend on factors such as the desired level of accuracy, room acoustics, and the type of audio projects you work on.
Choosing the Right Studio Monitor
Choosing the right studio monitor is a crucial decision that can significantly impact your audio production workflow and the quality of your final mix. To make an informed choice, consider the following factors:
Listening Environment: Assess the size and acoustic properties of your listening environment. Larger rooms may benefit from midfield or farfield monitors, while nearfield monitors are suitable for smaller spaces. Additionally, consider any acoustic treatments in the room and how they may impact the sound reproduction.
Frequency Response and Accuracy: Look for studio monitors with a flat frequency response, ensuring accurate sound reproduction. Consider the low-frequency extension and high-frequency detail that the monitors can provide. A wider frequency response allows for a more balanced representation of audio across the entire spectrum.
Transducer Size and Type: Consider the size and type of drivers in the studio monitors. Larger woofers may provide better bass reproduction, while quality tweeters can deliver clearer high-frequency response. Also, check the materials used in the transducers, as they can impact the sound quality and durability.
Amplification and Connectivity: Decide whether you prefer active or passive studio monitors. Active monitors offer convenience with built-in amplification, while passive monitors provide more flexibility in choosing external amplifiers. Consider the connectivity options to ensure compatibility with your audio interfaces and other equipment.
Budget: Set a budget based on your requirements and consider the trade-offs between cost and quality. While it’s tempting to go for the most expensive options, there are excellent studio monitors available at different price points. Prioritize the features and quality that are most important to your specific needs.
Reviews and Recommendations: Research and read reviews from reputable sources, as well as feedback from audio professionals. This can provide valuable insights into the performance, durability, and overall satisfaction of different studio monitor models. Take note of any consistent feedback regarding specific strengths or weaknesses to inform your decision.
Testing and Comparisons: Whenever possible, listen to the studio monitors in person. Visit audio equipment stores or attend trade shows where you can demo different models. Compare the sound quality, imaging, and overall performance to find the monitors that best suit your preferences and needs.
Room Correction Options: Consider whether the studio monitors offer any built-in room correction features or compatibility with external calibration systems. These options can help optimize the sound in your specific listening environment and compensate for any acoustic anomalies.
Professional Recommendations: Seek advice from experienced audio professionals or consult with sound engineers who have expertise in your specific field of audio production. They can provide valuable insights and recommendations based on their knowledge and experience.
Remember that selecting the right studio monitor is a personal choice. What works for others may not work for you, as everyone has different preferences, listening environments, and production requirements. Take the time to evaluate your needs, research available options, and consider your budget to ensure that you choose a studio monitor that provides the accuracy, performance, and longevity you need for your audio production endeavors.
Setting Up Studio Monitors
Setting up your studio monitors properly is crucial to ensure accurate sound reproduction and optimal performance. Here are some key considerations when setting up your studio monitors:
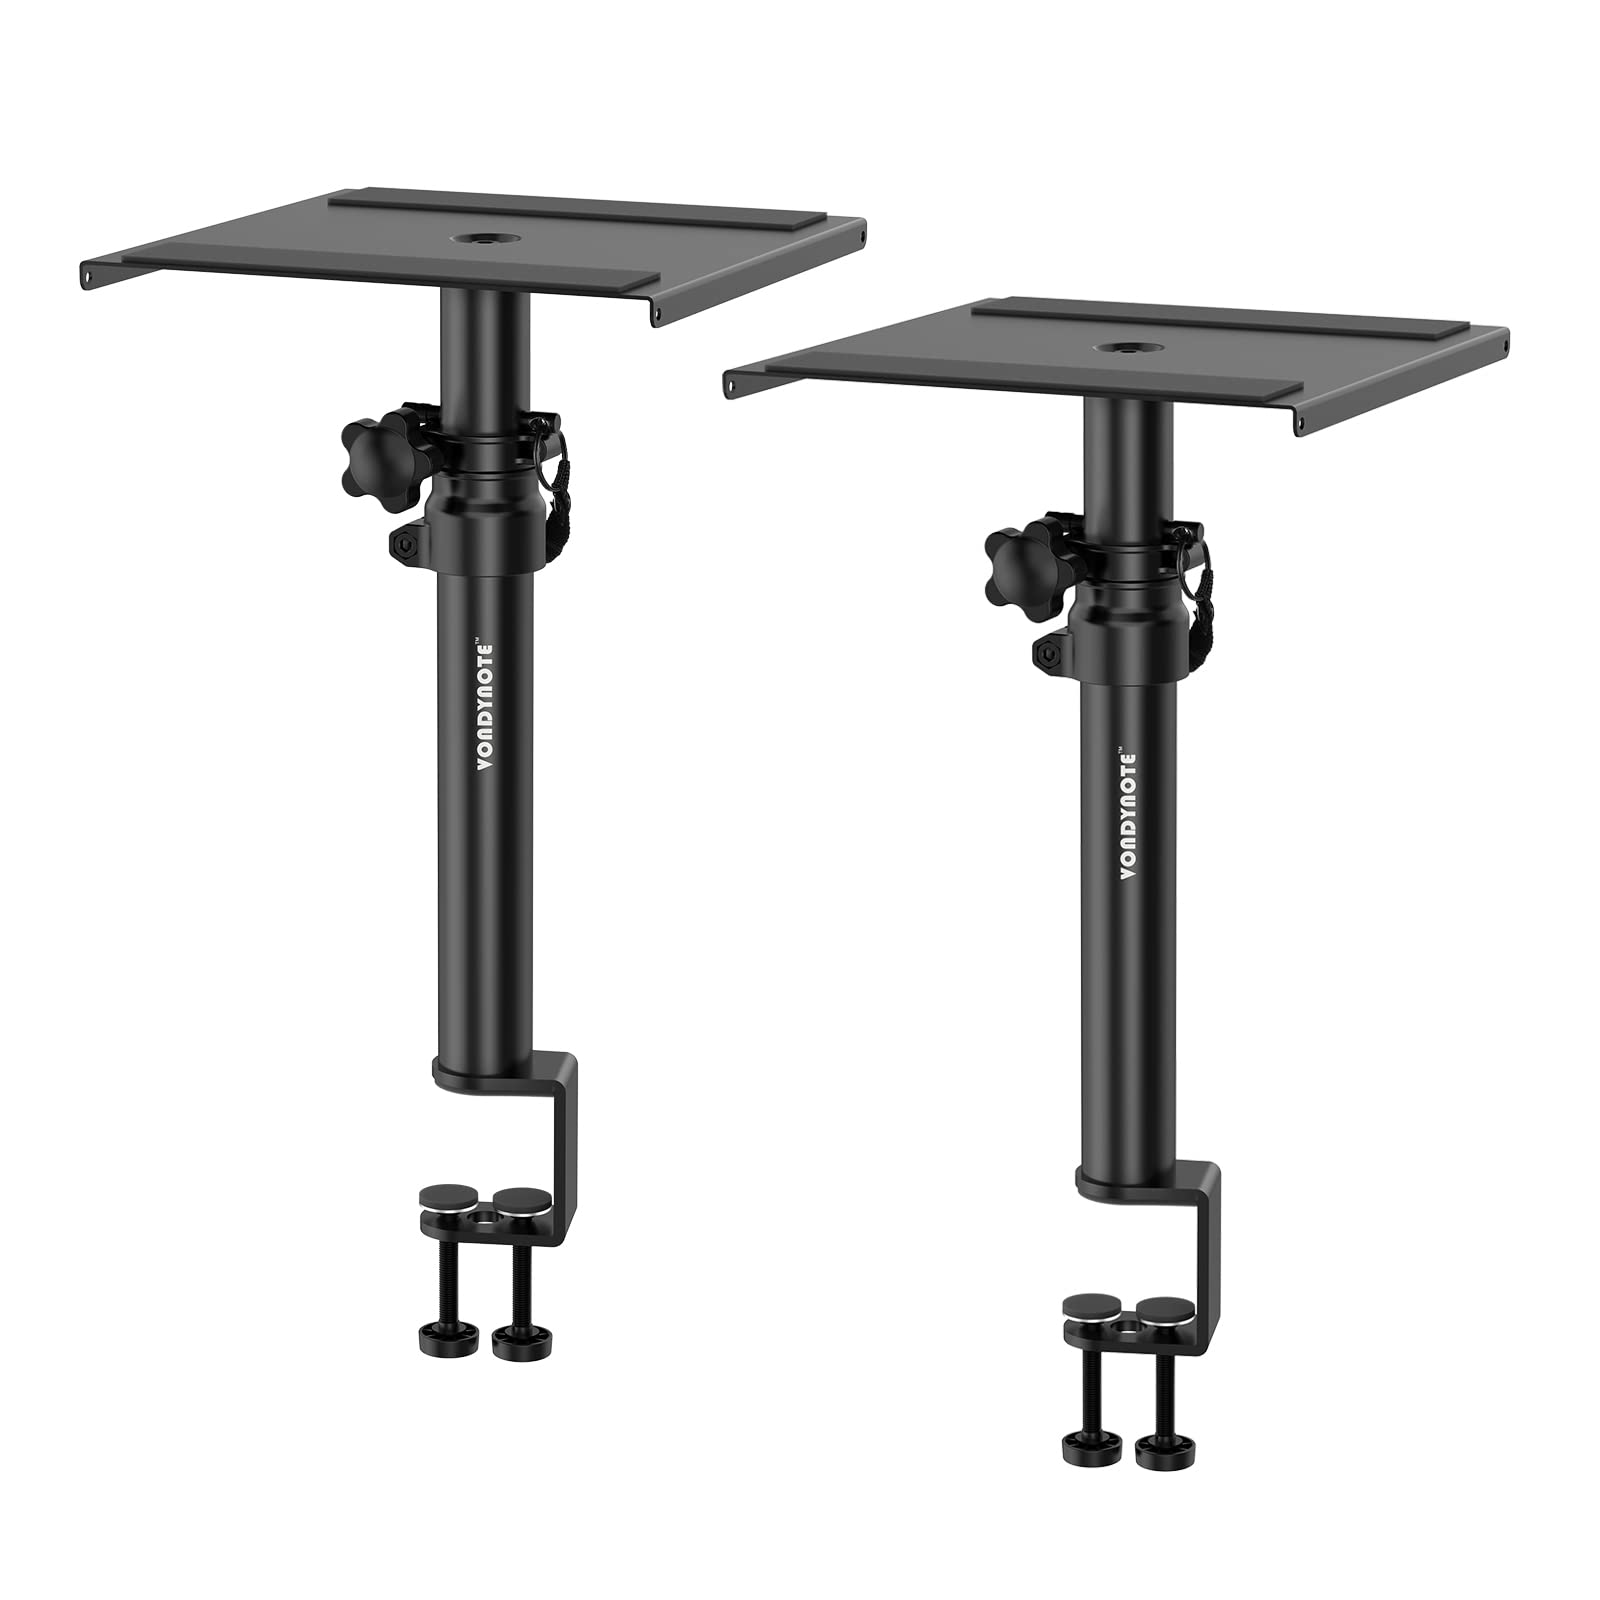
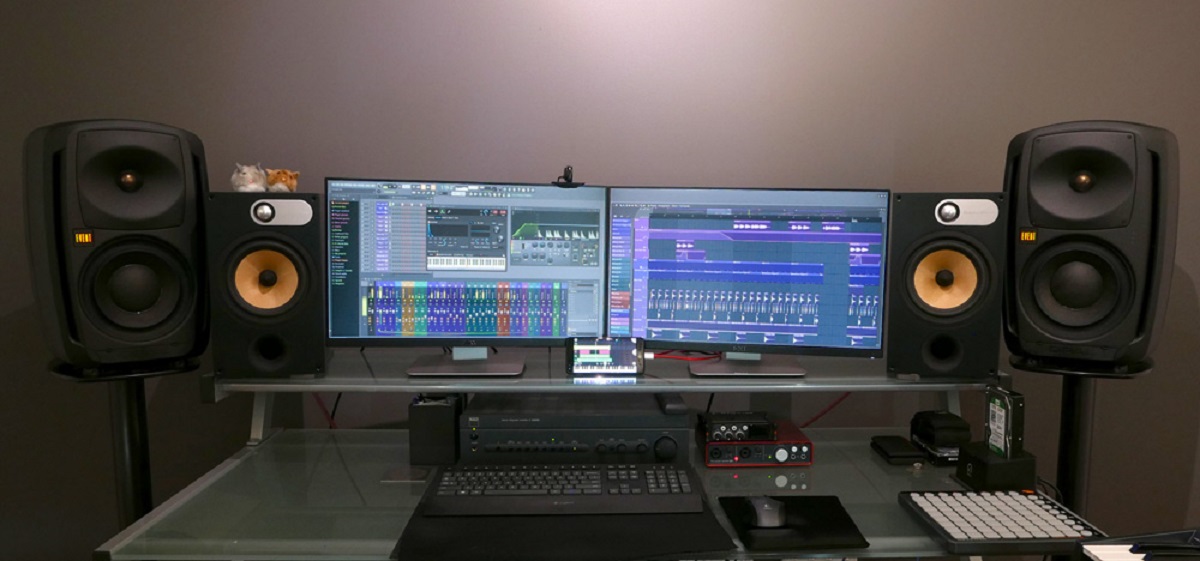
Positioning: Place your studio monitors on proper stands or speaker mounts to achieve the ideal listening position. The monitors should be positioned at ear level and form an equilateral triangle with your listening position. This setup helps create a balanced stereo image and ensures accurate sound localization.
Isolation: Use acoustic foam pads or isolation stands to decouple the studio monitors from the surface they’re placed on. This helps minimize vibrations and resonance that can color the sound and interfere with accurate monitoring. Isolation pads or stands also reduce the transfer of unwanted vibrations to other objects in your studio.
Distance from Walls and Corners: Position your studio monitors a sufficient distance from walls and corners to minimize low-frequency build-up and excessive bass response. Generally, a distance of at least a couple of feet from walls and corners is recommended to allow the low frequencies to develop and disperse properly.
Tilt and Angle: Aim the studio monitors slightly inward to point towards your listening position. This helps improve stereo imaging and ensures that the sound is directed towards your ears rather than reflecting off nearby surfaces. Experiment with the tilt and angle to find the optimal positioning for your setup.
Room Acoustics: Consider the acoustic properties of your room. If your studio has significant acoustic issues, such as excessive reflections or flutter echoes, consider incorporating acoustic treatment solutions. Diffusers, absorbers, and bass traps can help improve the overall sound quality and minimize unwanted resonances and reflections.
Calibration and Room Correction: If your studio monitors offer built-in room calibration features or compatibility with external room correction devices, take advantage of them. Proper calibration can compensate for room anomalies and optimize the sound reproduction to match your specific listening environment.
Volume Level: Set the volume level of your studio monitors to a comfortable listening level. Avoid listening at excessively high volumes, as it can lead to ear fatigue and inaccurate judgments. Strive for a balanced volume that allows you to hear all the details without overwhelming your ears.
Test and Adjust: Take the time to test and adjust your studio monitor setup. Play reference tracks or familiar audio material and listen carefully for any anomalies, imbalances, or inconsistencies in the sound. Make subtle adjustments to the positioning, angle, or calibration settings until you achieve the most accurate and pleasing sound reproduction.
Regular Monitoring: Lastly, make it a habit to regularly monitor your mixes on different speakers and headphones to ensure their compatibility across various playback systems. This helps you identify any issues or discrepancies that might arise from your studio monitor setup and make necessary adjustments to your mixes.
Remember that setting up studio monitors is an iterative process, and it may take time to fine-tune the positioning and settings to achieve the best possible sound. Be patient and use your ears as the ultimate gauge of accuracy, making adjustments as needed to ensure that your studio monitor setup supports your audio production goals.
Tips for Getting the Best Sound Quality from Studio Monitors
To ensure the best possible sound quality from your studio monitors, follow these tips:
1. Calibrate Your Room: Invest in room acoustic treatments to minimize unwanted reflections, resonances, and echoes. Consider adding absorbers, diffusers, and bass traps strategically to optimize the sound within your studio space.
2. Positioning and Placement: Place your studio monitors in an optimal position, ensuring they are at ear level and forming an equilateral triangle with your listening position. Use isolation pads or stands to minimize vibrations and resonance from nearby surfaces.
3. Monitor at Reasonable Volumes: Avoid monitoring at excessively high volumes as it can lead to ear fatigue and compromise your judgment. Strive for a comfortable listening level that allows you to hear all the details without overwhelming your ears.
4. Reference Tracks: Use reference tracks that you are familiar with and trust to evaluate the sound quality of your mixes. Compare your own mixes to professional recordings to identify any areas that need improvement.
5. Test on Different Systems: Regularly test your mixes on different speakers and headphones to ensure their compatibility across various playback systems. This will help you identify any issues or imbalances that may arise from your studio monitor setup.
6. Take Breaks: Give your ears regular breaks during long mixing sessions. This allows your ears to rest and helps prevent ear fatigue, allowing for more accurate and objective monitoring.
7. Trust Your Ears: While technical specifications and measurements are important, ultimately, trust your ears as the final judge of sound quality. Train your listening skills and rely on your perception to make informed mixing decisions.
8. Use Room Correction Software: Consider using room correction software or hardware devices that can help optimize the sound within your specific studio environment. These tools can account for room anomalies and provide more accurate monitoring.
9. Experiment with Positioning: Don’t hesitate to experiment with the positioning and angle of your studio monitors. Small adjustments in placement can sometimes yield significant improvements in sound quality and imaging.
10. Regular Maintenance: Keep your studio monitors clean and dust-free. Regularly inspect and clean the drivers, ensuring they are in good condition. This will help maintain optimal sound reproduction and prolong the lifespan of your monitors.
11. Update Firmware and Software: If your studio monitors have firmware or software updates available, make sure to install them. These updates often include bug fixes, performance improvements, and additional features that can enhance the overall sound quality and usability of your monitors.
12. Consult the Manual: Familiarize yourself with the manufacturer’s recommendations and instructions provided in the user manual for your specific studio monitors. They may offer specific tips or guidelines tailored to optimize the sound quality and performance of your monitors.
By following these tips, you can maximize the sound quality and performance of your studio monitors, allowing for more accurate and enjoyable audio production. Remember that achieving the best sound quality is an ongoing process that requires attention to detail, regular monitoring, and continual improvement.
Maintaining and Caring for Studio Monitors
To ensure optimal performance and longevity, it’s important to maintain and care for your studio monitors. Here are some essential tips for maintaining your studio monitors:
1. Keep Them Clean: Regularly clean your studio monitors to remove dust, dirt, and debris that can accumulate on the surfaces. Wipe them gently with a soft, lint-free cloth or use a specialized cleaning solution recommended by the manufacturer.
2. Protect from Moisture: Avoid exposing your studio monitors to excessive moisture, as it can damage the internal components. Keep them away from liquids and humid environments, and be cautious when cleaning them to prevent any liquid from seeping into the speakers or electronics.
3. Avoid Overdriving: Be mindful of the volume levels you use when monitoring through your studio monitors. Avoid overdriving them with excessively high volume levels, as it can lead to distortion and potentially damage the drivers or amplifiers.
4. Monitor Power Supply: Pay attention to the power supply of your studio monitors. Ensure that they are connected to stable power sources and use appropriate surge protectors or uninterruptible power supplies (UPS) to safeguard against power surges or fluctuations.
5. Check Connections: Regularly inspect the cables and connectors of your studio monitors to ensure they are in good condition. Loose or damaged connections can affect the sound quality and may require repair or replacement.
6. Avoid Extreme Temperatures: Protect your studio monitors from extreme temperatures. Avoid exposing them to direct sunlight, heat sources, or environments with high humidity or excessive cold, as it can affect the performance and lifespan of the components.
7. Regular Speaker Maintenance: Monitor the condition of the speaker drivers, including woofers, tweeters, and other components. If you notice any issues such as distortion, buzzing sounds, or noticeable changes in sound quality, consult the manufacturer or a qualified technician for inspection and potential repair.
8. Firmware and Software Updates: Stay up to date with any firmware or software updates released by the manufacturer for your studio monitors. These updates often include bug fixes, performance optimizations, and new features that can improve the overall functionality and sound quality of your monitors.
9. Professional Inspections: Consider periodic professional inspections and maintenance for your studio monitors, especially if you rely on them for critical audio production. Professional technicians can assess and address any potential issues, ensuring that your monitors are operating at their best.
10. Store Properly: When not in use, store your studio monitors in a clean and controlled environment. Protect them from dust, moisture, and physical damage by covering them or storing them in cases or protective bags specifically designed for studio monitors.
11. Follow Manufacturer’s Guidelines: Adhere to the guidelines and recommendations provided by the manufacturer in the user manual. The manufacturer knows their products best and can provide specific care instructions and maintenance schedules to ensure the optimal performance and longevity of your studio monitors.
By implementing these guidelines and caring for your studio monitors diligently, you can extend their lifespan, maintain their performance, and continue to enjoy accurate and high-quality audio monitoring throughout your work.
Conclusion
Studio monitors are essential tools for achieving accurate and high-quality audio production. With their flat frequency response, wide dynamic range, and detailed sound reproduction, studio monitors provide an honest and transparent representation of audio. They allow audio professionals to make informed decisions during recording, mixing, and mastering processes, ensuring precise adjustments and balanced sound reproduction.
Throughout this article, we have explored the definition and importance of studio monitors. We have discussed their key features, including frequency response, transducers, amplification, and connectivity options. We have also examined different types of studio monitors and provided guidance on how to choose the right monitors for specific needs and setups.
Moreover, we have emphasized the significance of proper studio monitor setup, including room positioning, isolation, and calibration. We have offered tips for obtaining the best sound quality from studio monitors, such as considering room acoustics, referencing tracks, and taking breaks during extended monitoring sessions.
Additionally, we have highlighted the importance of maintaining and caring for studio monitors to ensure optimal performance and longevity. Regular cleaning, protecting from moisture, avoiding overdriving, checking connections, and following manufacturer’s guidelines are essential for maintaining the sound quality and reliability of studio monitors.
In conclusion, studio monitors are indispensable tools for audio professionals and enthusiasts seeking accurate sound representation and precise audio monitoring. By understanding the importance of studio monitors, selecting the right ones for your needs, setting them up correctly, and maintaining them properly, you can achieve exceptional sound quality in your audio productions. Utilize the insights shared in this article to enhance your audio monitoring capabilities and bring your creative vision to life in the most accurate and immersive way possible.