Introduction
If you're a music enthusiast or a fan of talk radio, you may want to enjoy XM Radio's diverse range of programming through your home audio system. Connecting your XM Radio to an audio-video (AV) receiver can elevate your listening experience, allowing you to access a plethora of channels and genres with exceptional sound quality. Whether you're a casual listener or a dedicated audiophile, integrating your XM Radio with an AV receiver can open up a world of entertainment possibilities.
In this guide, we'll walk you through the process of hooking up your XM Radio to an AV receiver, from gathering the necessary equipment to testing the connection. By following these steps, you'll be able to seamlessly integrate your XM Radio with your existing audio setup, creating a comprehensive and immersive listening environment in your home.
By the end of this tutorial, you'll have a clear understanding of how to connect your XM Radio to an AV receiver and enjoy high-quality audio content tailored to your preferences. So, let's dive into the process of setting up your XM Radio with an AV receiver and unlock the full potential of your home audio system.
Step 1: Gather the Necessary Equipment
Before you begin the process of connecting your XM Radio to an AV receiver, it’s essential to gather the required equipment. Ensuring that you have the necessary components will streamline the setup process and help you avoid any potential interruptions. Here’s what you’ll need:
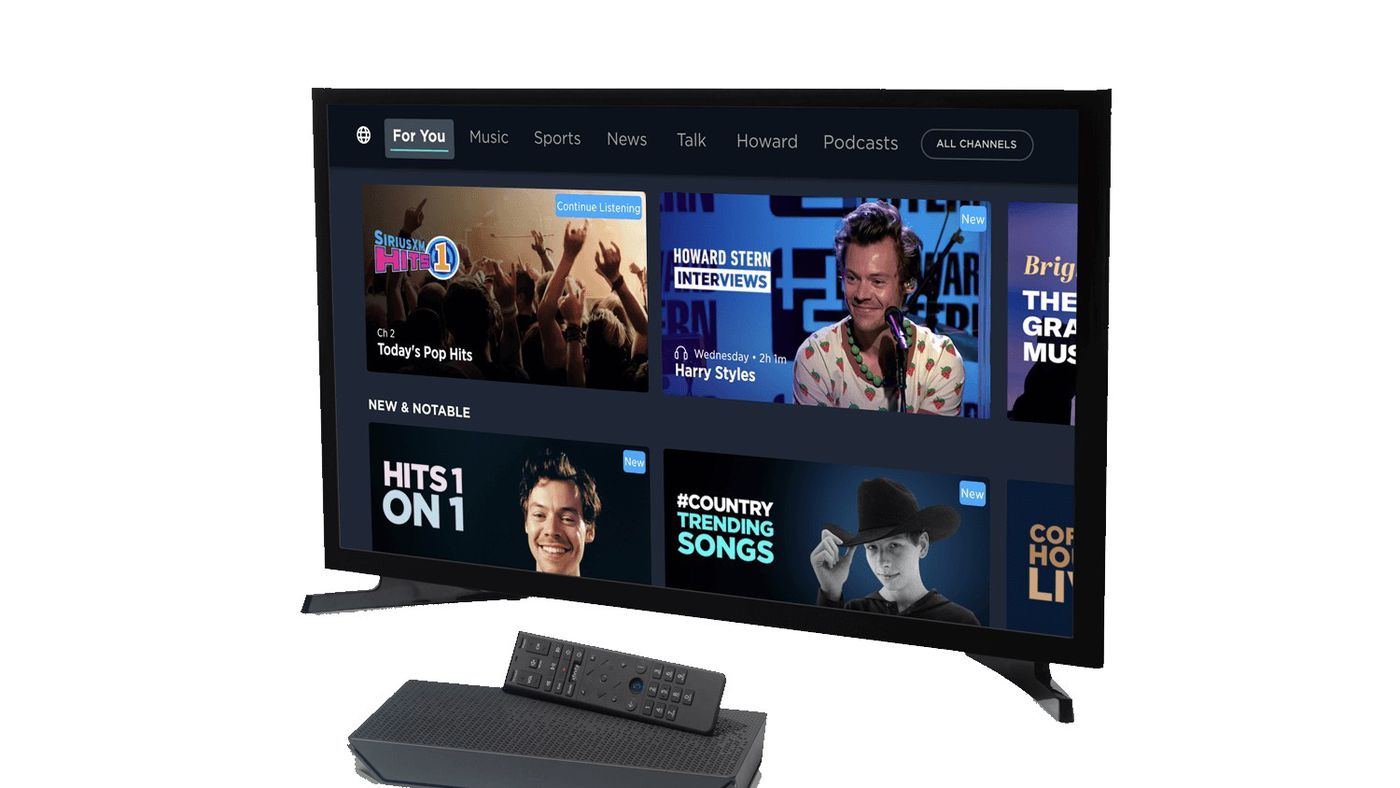
- XM Radio Receiver: This is the core component that receives XM Radio signals and broadcasts audio content. Ensure that your XM Radio receiver is in good working condition and is compatible with your AV receiver.
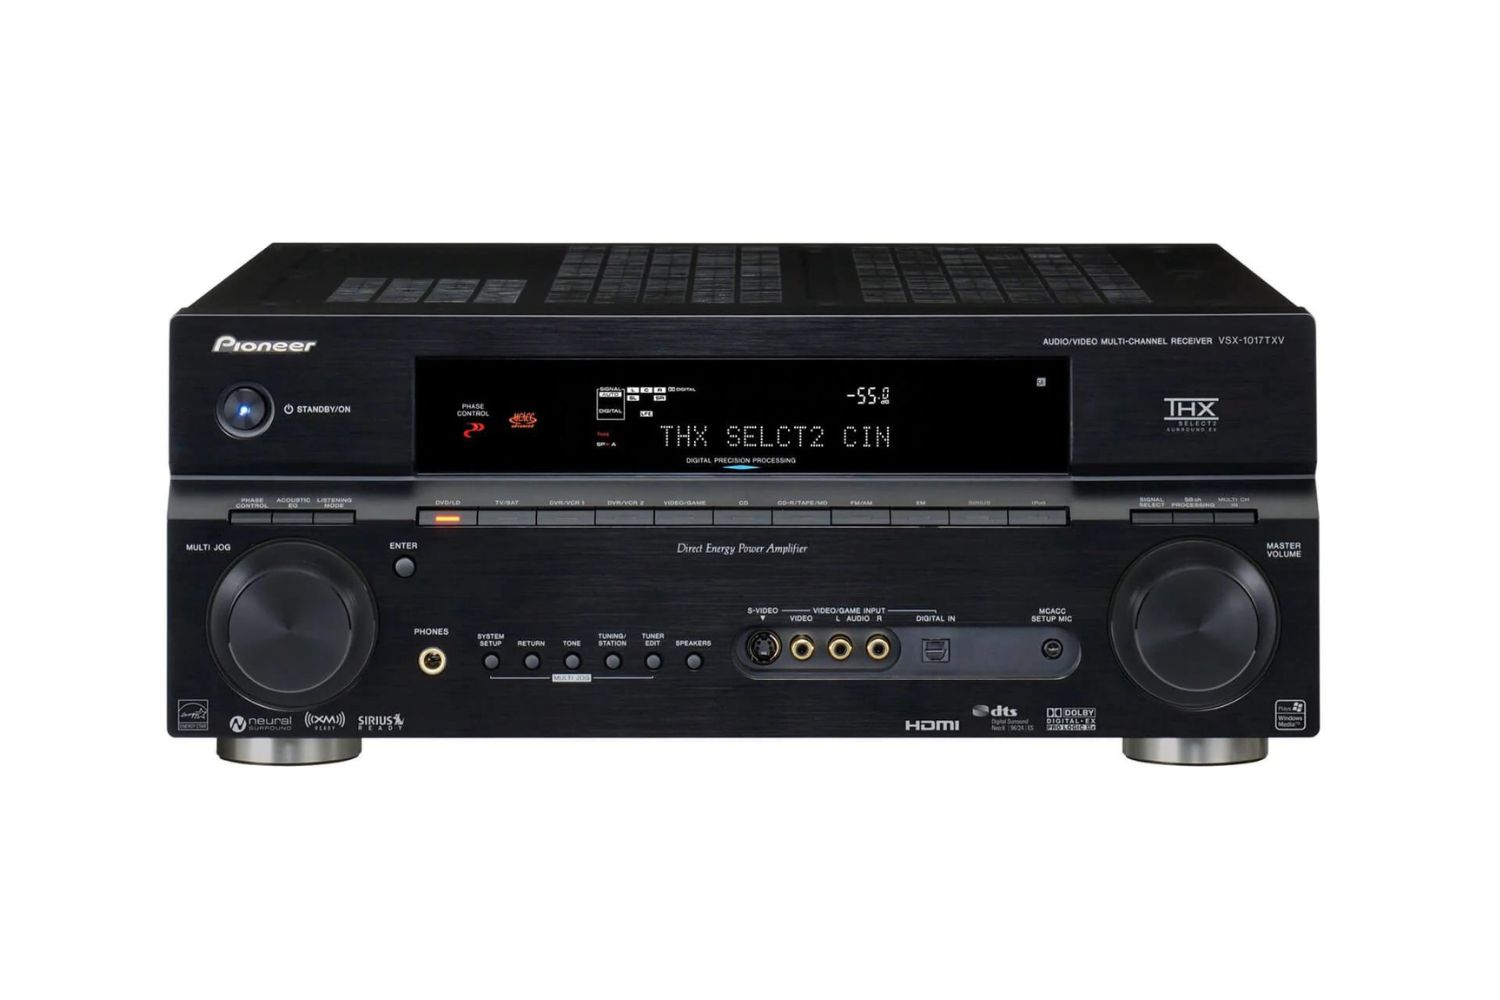
- AV Receiver: Your AV receiver serves as the central hub for audio and video inputs, providing amplification and processing for your home entertainment system. Make sure your AV receiver has available inputs for connecting external audio sources, including the XM Radio receiver.
- Audio Cables: Depending on the type of connections supported by your XM Radio and AV receiver, you may need audio cables such as RCA cables, optical cables, or coaxial cables. Check the input and output options on both devices to determine the appropriate cables needed for the connection.
- Power Cables: Ensure that you have the necessary power cables for both the XM Radio receiver and the AV receiver. Having accessible power outlets near your audio setup will facilitate the connection process.
- Remote Control (Optional): If your XM Radio receiver or AV receiver comes with a remote control, having it readily available can be beneficial for adjusting settings and navigating through the audio sources.
By gathering these essential components, you’ll be well-prepared to proceed with the next steps of connecting your XM Radio to your AV receiver. Having a clear understanding of your equipment and its compatibility will contribute to a smooth and successful setup process.
Step 2: Connect the XM Radio to the AV Receiver
Once you have assembled all the necessary equipment, it’s time to proceed with connecting your XM Radio to the AV receiver. Follow these steps to establish a seamless audio connection:
- Identify Audio Outputs: Begin by identifying the audio output ports on your XM Radio receiver. Common output options include RCA, optical, and coaxial connections. Similarly, locate the corresponding audio input ports on your AV receiver.
- Choose the Connection Type: Based on the available output and input options, select the appropriate audio cable for the connection. For example, if both devices support RCA connections, use RCA cables to establish the audio link. If your AV receiver and XM Radio offer digital audio outputs and inputs, consider utilizing optical or coaxial cables for a digital audio connection, which can deliver high-fidelity sound.
- Establish the Connection: With the selected audio cable, connect the audio output from your XM Radio receiver to the audio input on your AV receiver. Ensure a secure and snug connection to prevent signal interference or audio distortion.
- Power On and Test: Power on both the XM Radio receiver and the AV receiver. Select the appropriate input source on your AV receiver that corresponds to the connected XM Radio. Test the audio output by tuning in to a channel on your XM Radio, and verify that the sound is being routed through the AV receiver’s speakers.
By following these steps, you’ll successfully establish the audio connection between your XM Radio and AV receiver, enabling you to enjoy XM Radio’s diverse programming through your home audio system. A secure and properly configured connection will ensure optimal audio performance and seamless integration with your existing entertainment setup.
Step 3: Set up the XM Radio Subscription
After connecting your XM Radio to the AV receiver, the next step involves setting up your XM Radio subscription to access the full range of channels and content. Follow these essential steps to activate and enjoy your XM Radio subscription:
- Access XM Radio Activation: Visit the XM Radio activation website or call the designated activation phone number provided with your XM Radio receiver. Follow the instructions to activate your XM Radio subscription. You may need to provide the unique radio ID, which can typically be found on the XM Radio receiver or through the device’s menu system.
- Choose a Subscription Plan: Select a subscription plan that aligns with your listening preferences and budget. XM Radio offers various subscription options, including packages tailored to music, sports, news, and entertainment. Choose a plan that best suits your interests and follow the prompts to complete the subscription process.
- Provide Payment Information: If required, enter your payment details to initiate the subscription. Ensure that the payment information provided is accurate and up to date to prevent any service interruptions.
- Activate the Subscription: Once you have selected a subscription plan and provided the necessary information, follow the activation prompts to finalize your XM Radio subscription. This will enable access to the full spectrum of XM Radio channels and content.
By completing these steps, you’ll successfully set up your XM Radio subscription, unlocking a wealth of audio programming and channels to enjoy through your AV receiver. Activating your subscription ensures that you can access a diverse array of music genres, talk shows, live sports coverage, and exclusive content, enhancing your home audio entertainment experience.
Step 4: Test the Connection
After connecting your XM Radio to the AV receiver and setting up the subscription, it’s crucial to test the connection to ensure seamless functionality and optimal audio performance. Follow these steps to verify the successful integration of your XM Radio with the AV receiver:
- Channel Selection: Use the controls on your XM Radio receiver to select different channels across various genres, including music, news, sports, and entertainment. Ensure that the selected channels are transmitting audio through the AV receiver’s speakers.
- Audio Quality Check: Tune in to different channels and pay attention to the audio quality. Verify that the sound output is clear, free from distortion, and consistent across different channels. Adjust the volume and audio settings on the AV receiver to optimize the listening experience.
- Speaker Configuration: If your AV receiver supports multi-channel audio setups, such as surround sound or multi-room audio, test the speaker configuration to confirm that the XM Radio audio is appropriately distributed across the connected speakers. This step is particularly important for users with advanced audio setups.
- Navigation and Control: Use the remote control or interface of your AV receiver to navigate through the XM Radio channels, adjust audio settings, and explore additional features offered by the XM Radio subscription. Verify that you can easily control and manage the XM Radio playback through the AV receiver’s interface.
By conducting these tests, you can ensure that the connection between your XM Radio and AV receiver is functioning as intended, delivering high-quality audio and seamless access to XM Radio’s diverse programming. Address any audio-related issues or discrepancies during the testing phase to optimize the overall listening experience.
Conclusion
Connecting your XM Radio to an AV receiver opens up a world of audio entertainment possibilities, allowing you to enjoy a diverse range of programming through your home audio system. By following the steps outlined in this guide, you have successfully integrated your XM Radio with your AV receiver, creating a comprehensive and immersive listening environment.
By gathering the necessary equipment and establishing the audio connection between your XM Radio and AV receiver, you have laid the foundation for an enhanced audio experience. Setting up your XM Radio subscription further enriches your entertainment options, providing access to a multitude of music genres, talk shows, live sports coverage, and exclusive content.
Testing the connection ensures that the audio integration is seamless and that you can fully leverage the capabilities of your AV receiver to enhance the quality of the XM Radio experience. Whether you’re a music aficionado, a sports enthusiast, or a fan of talk radio, the combined power of XM Radio and your AV receiver delivers a personalized and immersive audio journey.
With your XM Radio successfully connected to your AV receiver and the subscription activated, you can now indulge in a world of audio content, tailored to your preferences and amplified through the capabilities of your home audio system. Embrace the diverse programming, immerse yourself in high-quality sound, and elevate your listening experience with the seamless integration of XM Radio and your AV receiver.