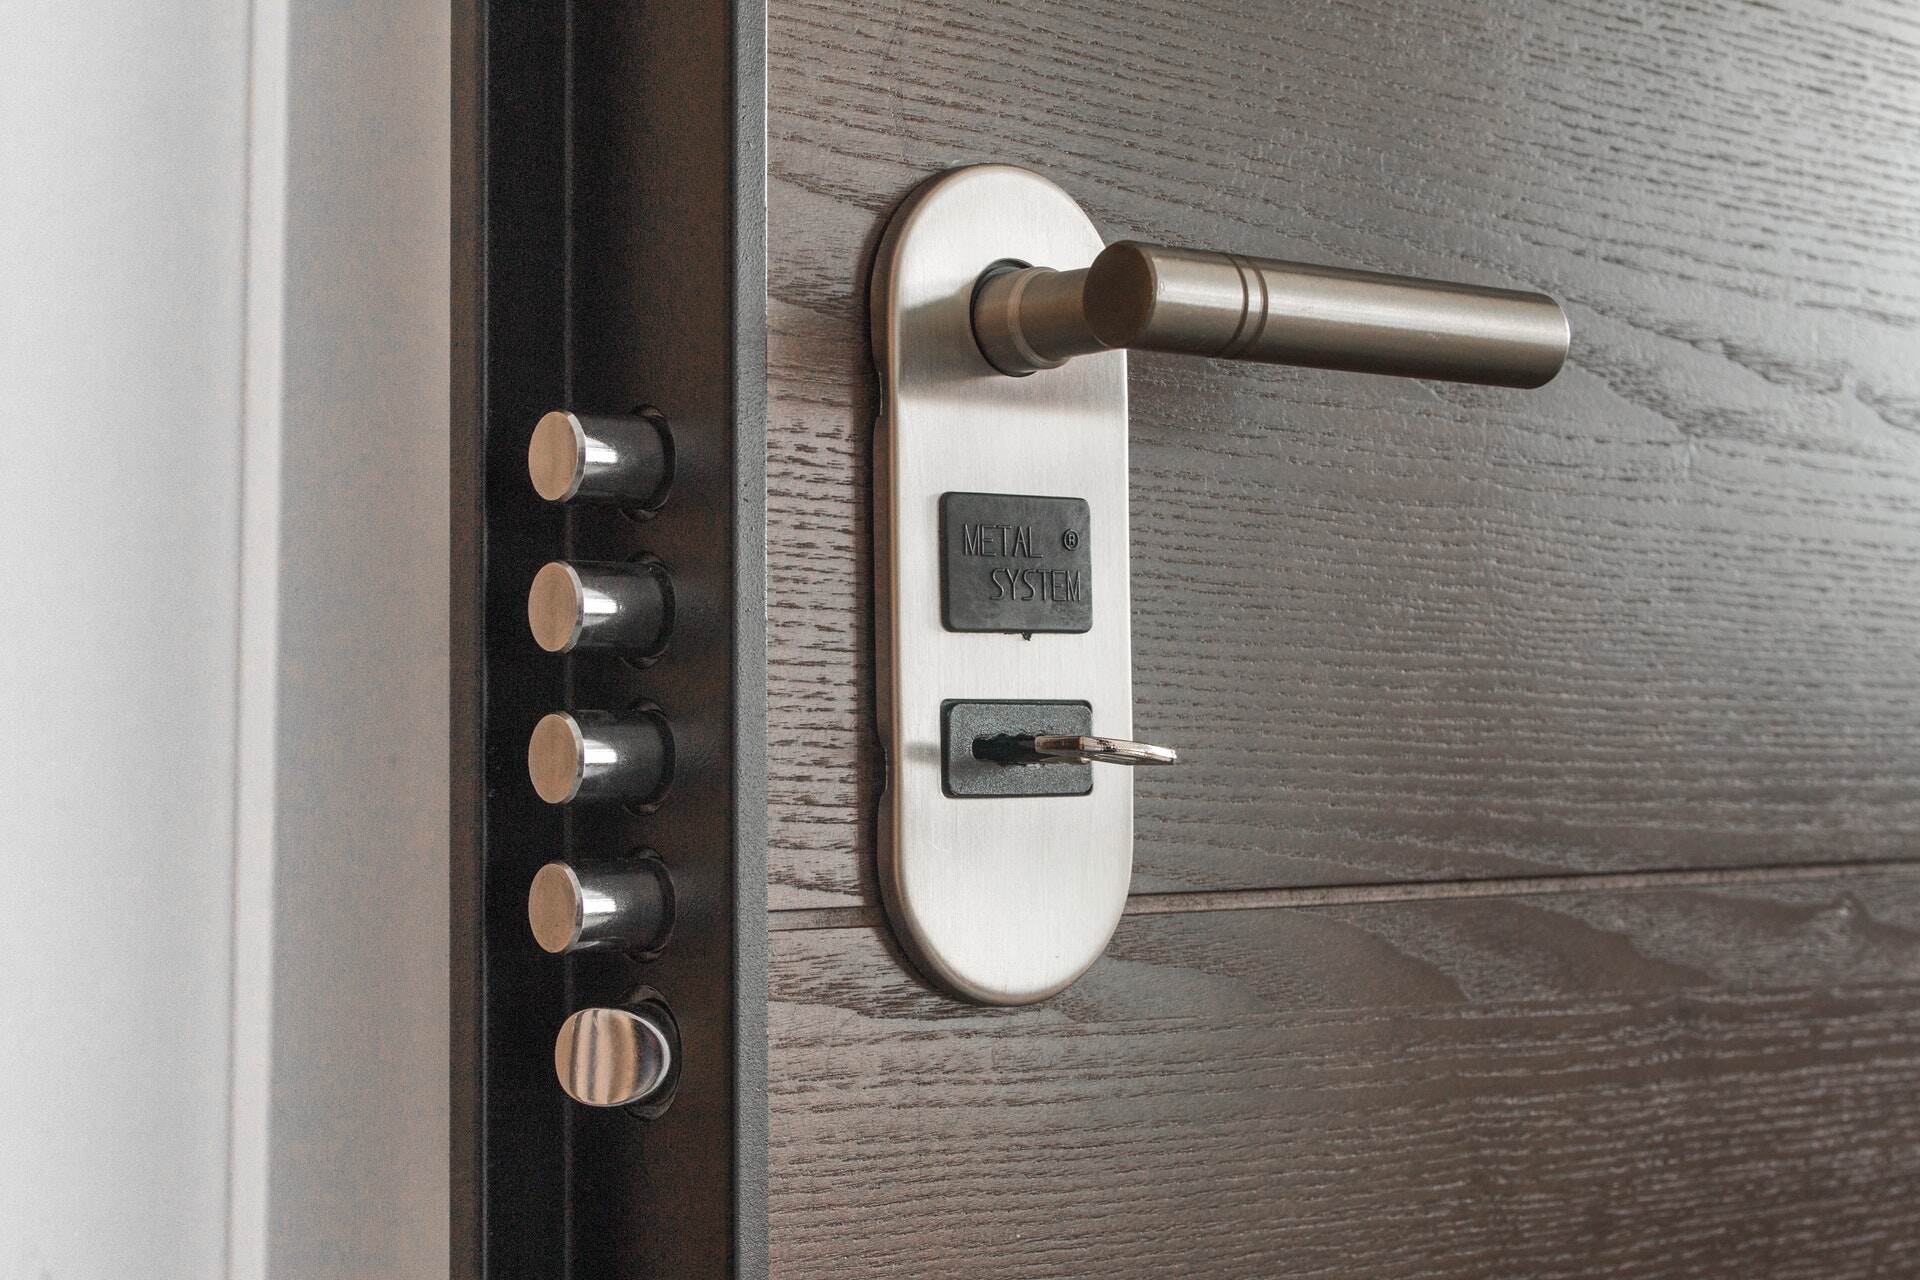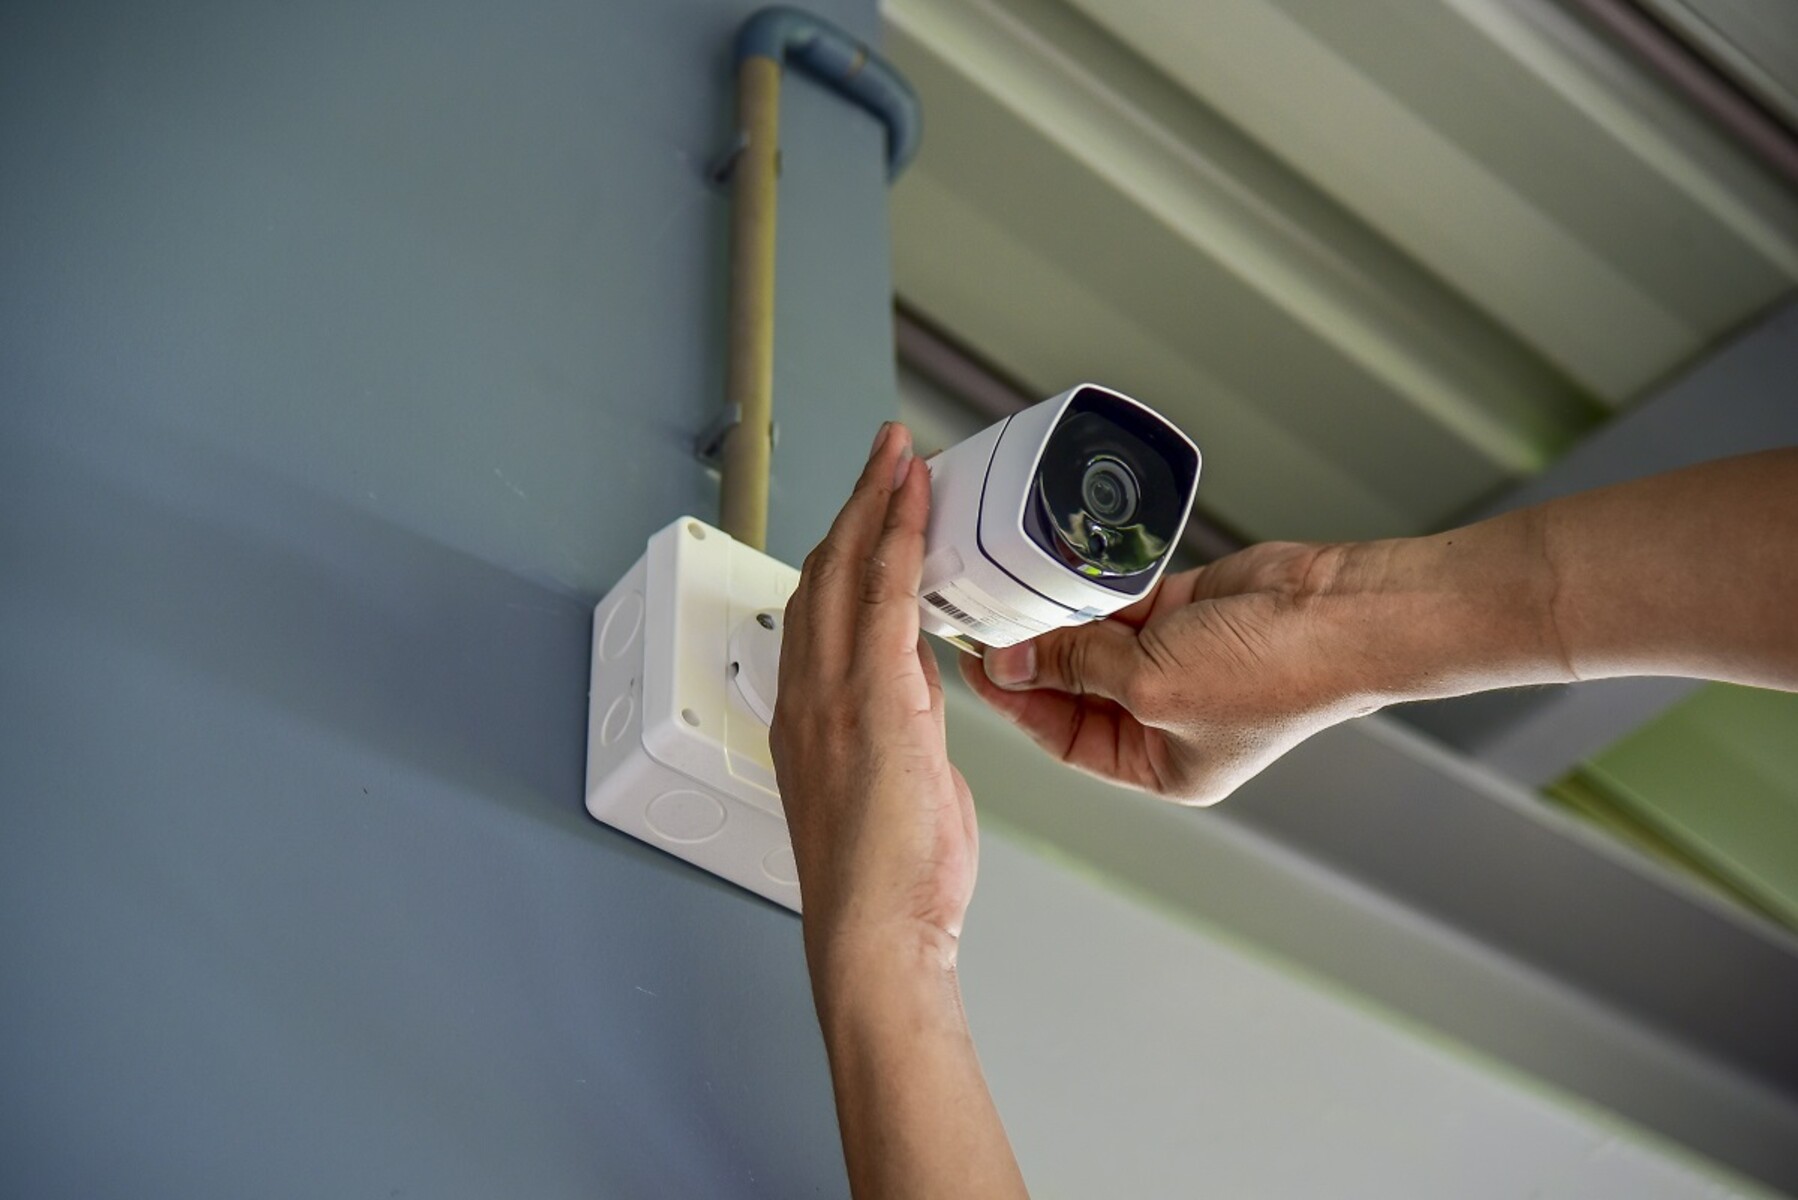
To set up home security cameras, start by unboxing the camera and downloading the manufacturer's app to create an account, then power on the camera to check its status light before mounting anything. If you need to increase home security beyond cameras alone, reinforcing entry points closes the most common break-in paths. This direct approach ensures you avoid the frustration of installing a camera that won't connect, saving you time and effort from the very beginning.
Before you set up home security cameras: preparation steps
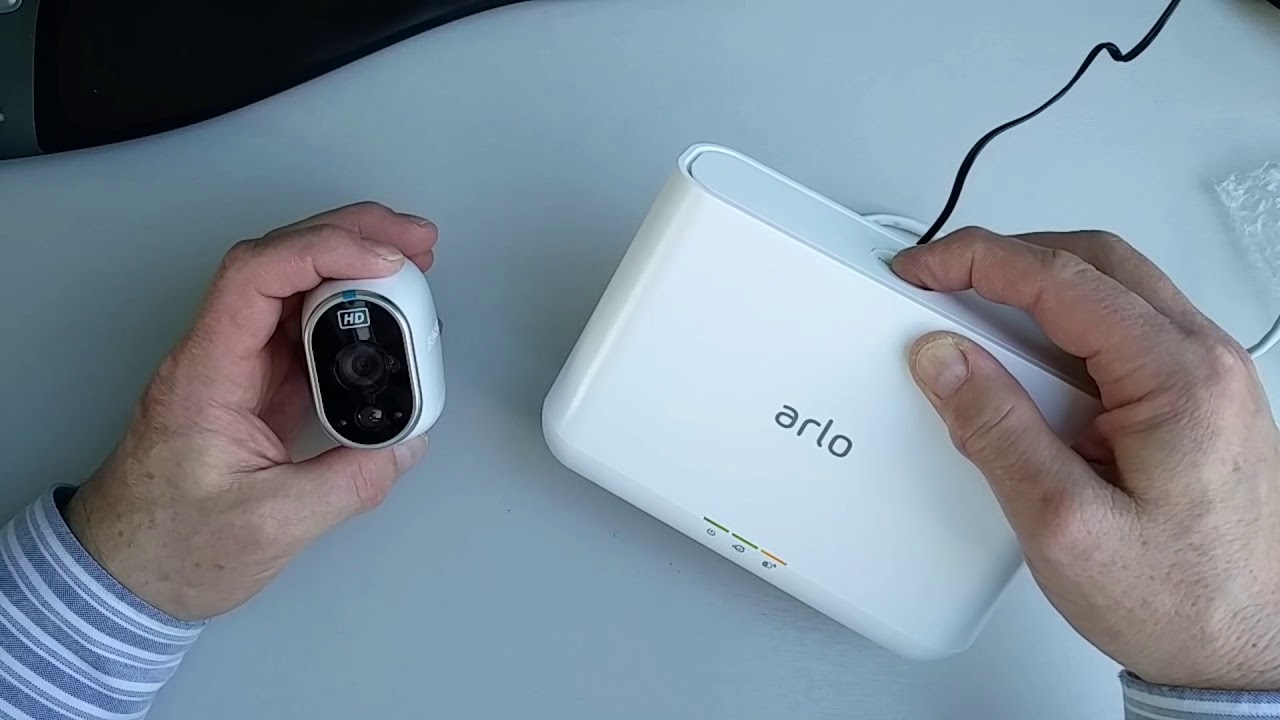
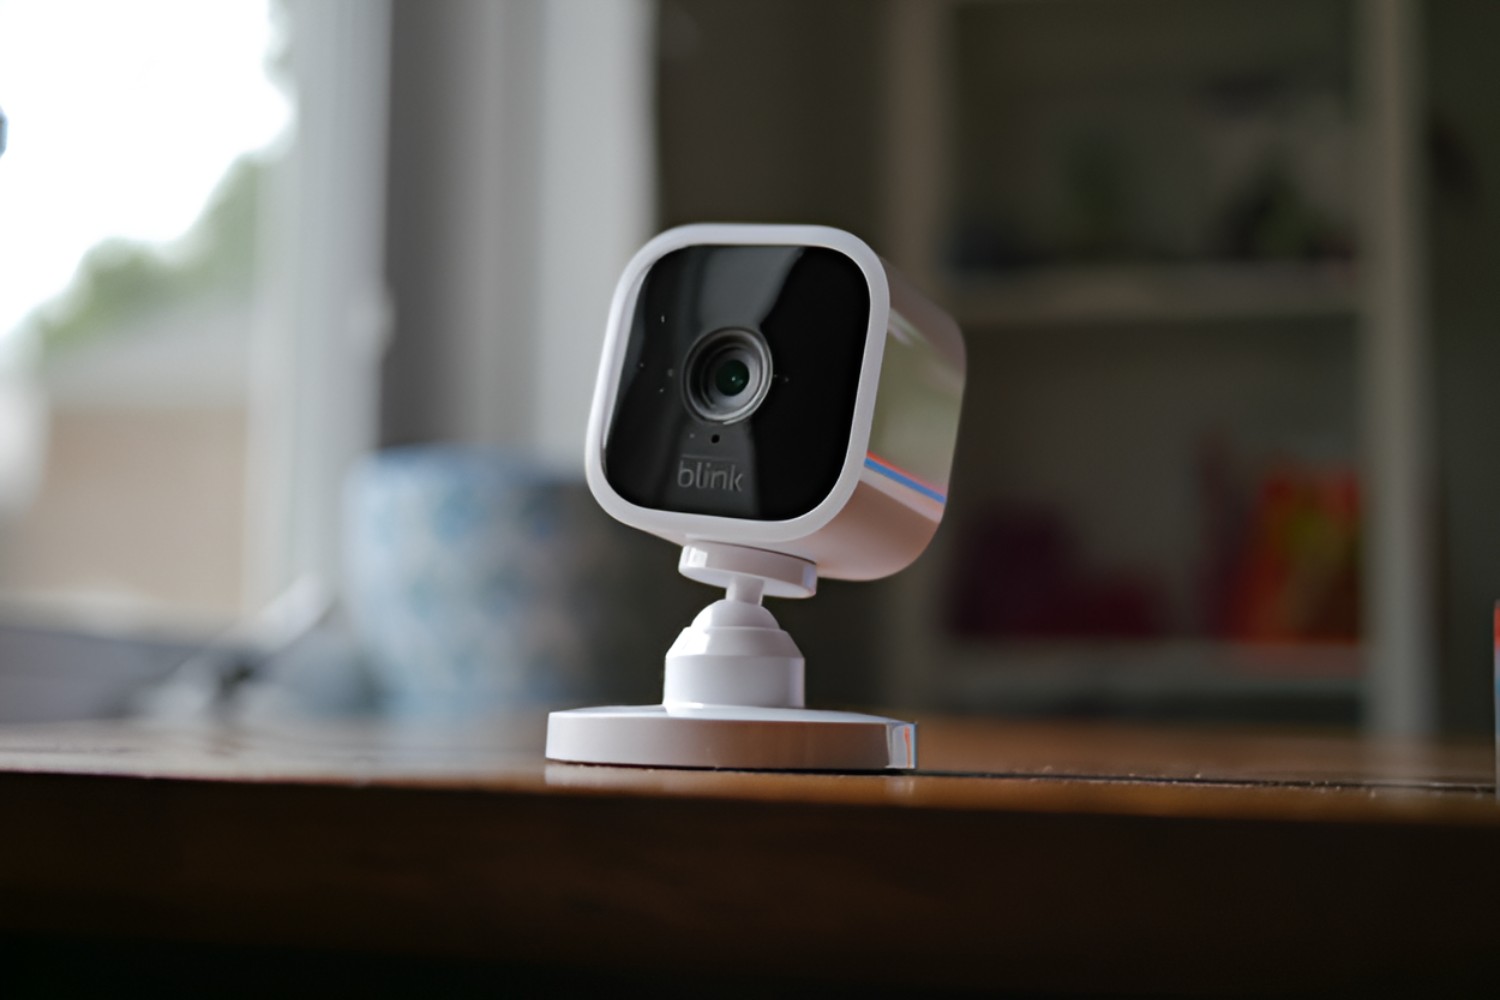
Begin with the unboxing and pre-installation phase. Remove the camera, mounting bracket, screws, and any cables from the box. Download the manufacturer's app, such as Google Home, Wyze, Eufy Security, or Ring, and create an account. Plug the camera into a power source if it is wired, or ensure the battery is fully charged if it is battery-powered. Wait for the status light to indicate the camera is ready; this is often a solid red light that changes to flashing, or a pulsing blue light. This initial power-on check confirms the camera is functional before you commit to drilling holes or running cables.
How to connect the camera to your Wi-Fi network
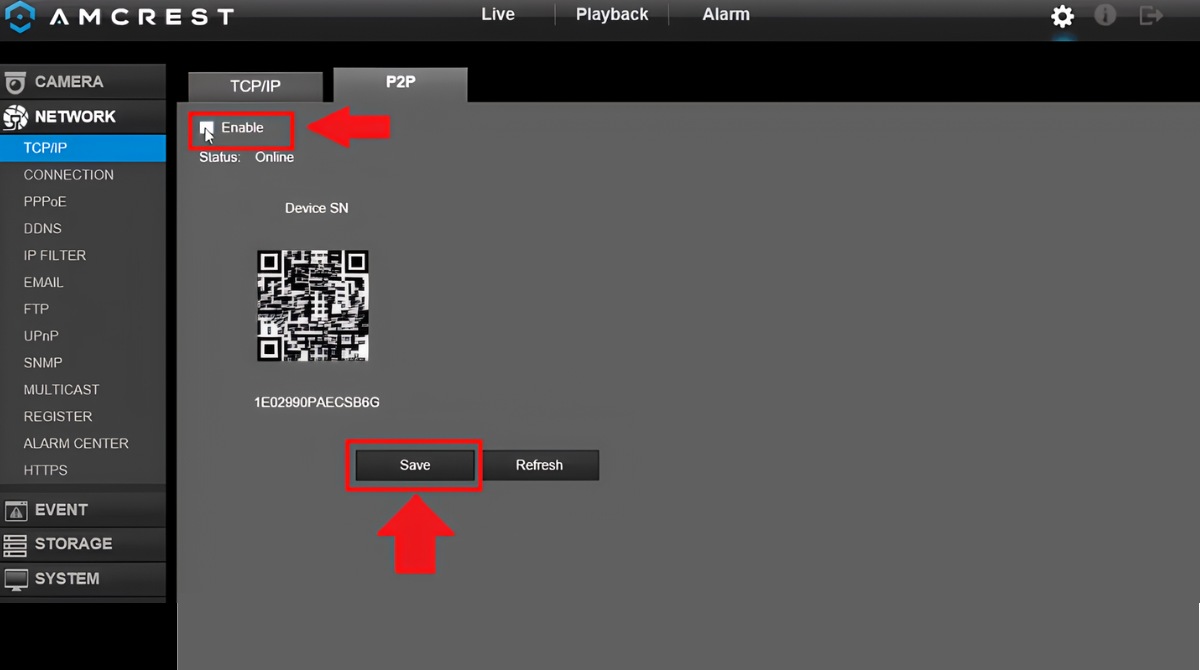
Connect your mobile device to a 2.4 GHz Wi-Fi network and enable Bluetooth. Most cameras require a 2.4 GHz connection, though some newer models support both 2.4 GHz and 5 GHz. Open the app and follow the in-app instructions to add a new device. You will typically need to scan the QR code located on the camera itself or on its packaging. This links the camera to your home network, allowing you to control it and view its feed remotely. Keep the QR code sticker, as it may be required for future setup or troubleshooting if you ever need to reconnect the camera.
Choosing the right spot and mounting the camera
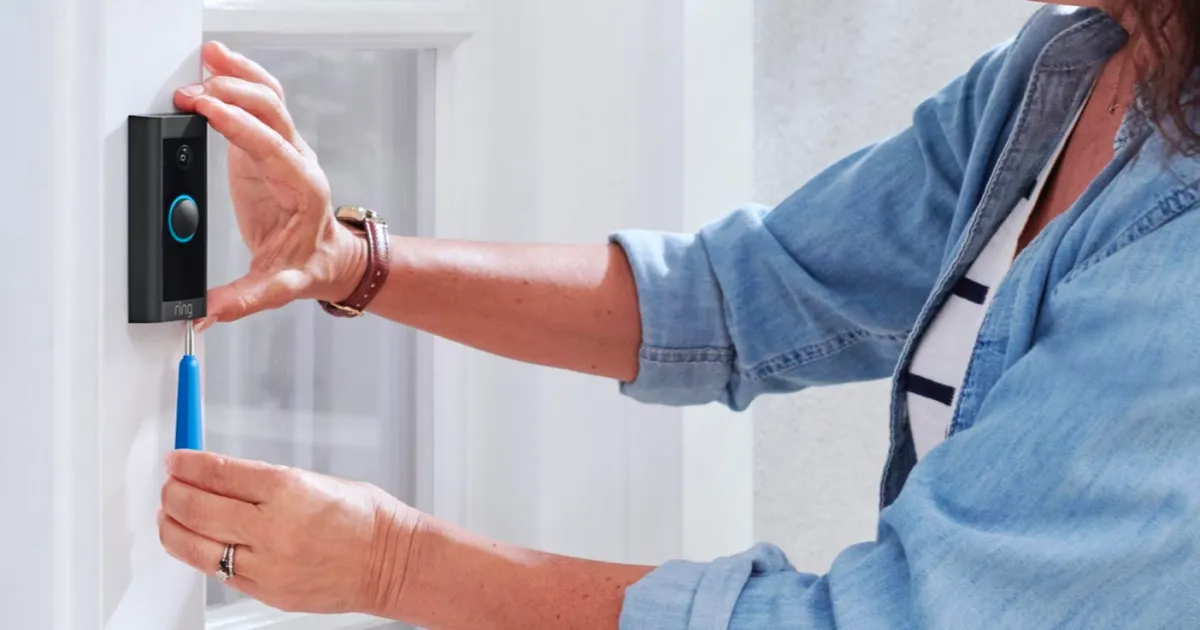
Before drilling, plan the camera's layout to ensure maximum coverage, minimal obstructions, a stable Wi-Fi signal, and access to a power source if the camera is wired. Use the provided mounting bracket and hardware, screws and wall anchors, to secure the camera to a wall or ceiling. A drill and screwdriver are typically needed. For wireless cameras, a strong Wi-Fi signal at the chosen location is essential; test the signal strength with your phone before permanently mounting the camera. This planning phase helps you avoid the need to reposition the camera later.
Adjusting the view and configuring storage
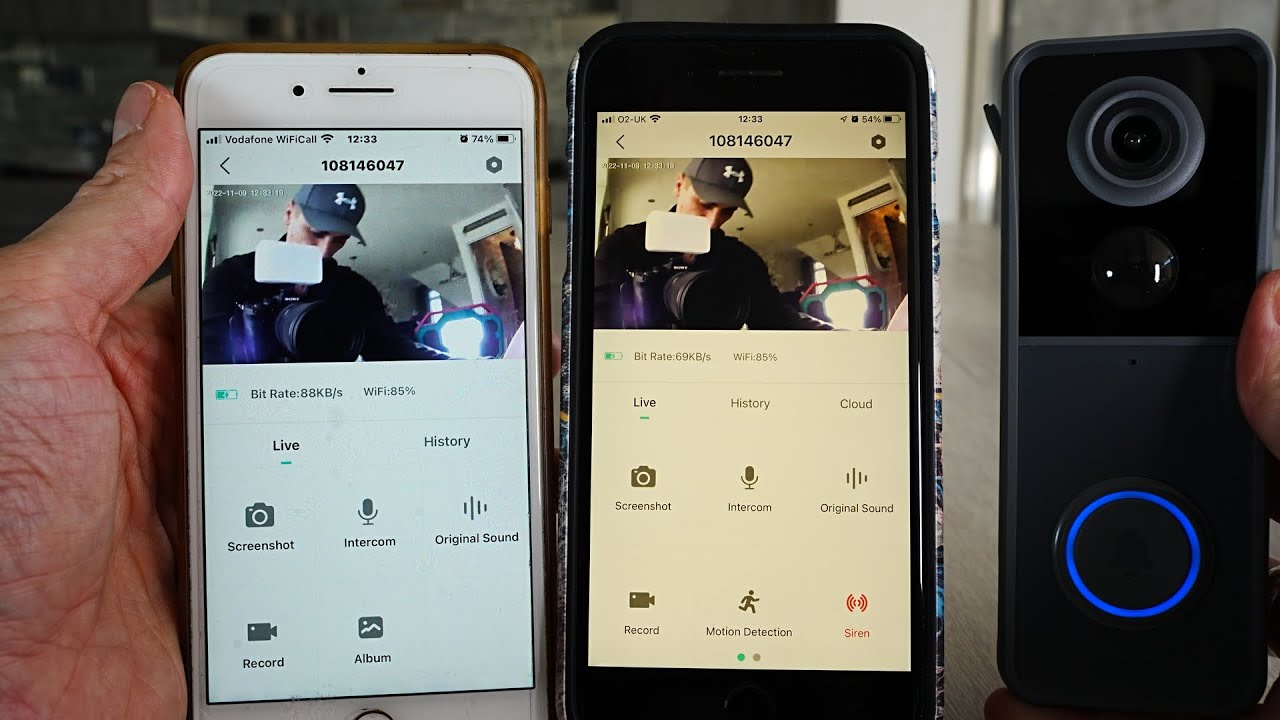
After mounting, use the camera's live view in the app to adjust the angle for the desired monitoring area. Tilt and rotate the camera until the view covers the entryway, driveway, or room you want to watch. Next, decide how to store footage. Local storage options like microSD cards or Network Video Recorders (NVRs) offer data privacy, eliminate monthly cloud fees, and allow recording even if the internet goes down. Alternatively, you can use a cloud subscription service for remote backup. Choose the method that fits your budget and privacy needs.
Testing your camera and final checks
Verify the live feed in the app to ensure the video is clear and the camera is positioned correctly. Walk through the camera's field of view to test motion alerts; adjust the motion sensitivity in the app if needed. Finally, keep the camera's QR code sticker affixed to the camera or the included documentation. You will need it if you ever reset the camera or move it to a new location. This final check confirms your system is working and ready to protect your home.