Introduction
Welcome to the exciting world of surround sound systems! If you’re a movie enthusiast, avid gamer, or a music lover, you probably understand the impact that high-quality audio can have on your overall entertainment experience. A surround sound system allows you to immerse yourself in sound, bringing your favorite movies, games, and music to life.
In this article, we will guide you through the process of testing your surround sound system to ensure optimal performance. Whether you’re setting up a brand-new system or troubleshooting an existing one, these tips will help you evaluate and fine-tune your audio setup.
Understanding the basics of surround sound is essential before diving into the testing process. Surround sound systems are designed to create a more immersive audio experience by replicating the way sound behaves in a natural environment. By utilizing multiple speakers strategically placed around the room, surround sound systems simulate sound coming from different directions, enhancing the depth, dimension, and realism of the audio.
Once you’ve set up your surround sound system, it’s crucial to test the speaker connections. This step ensures that all speakers are properly connected to the receiver, and each channel is wired correctly. Testing the speaker connections will help identify any potential issues, such as loose wires or incorrect polarity, that may affect the sound quality.
Adjusting speaker levels is another crucial step to fine-tune your surround sound system. Each speaker in your setup should be balanced in terms of volume to create a cohesive audio experience. By adjusting the speaker levels, you can ensure that the sound is evenly distributed, enhancing the immersive effect of surround sound.
Calibrating your surround sound system is an essential aspect of optimizing its performance. This process involves using the built-in calibration features provided by the receiver, which help measure the acoustic characteristics of your room and adjust the settings accordingly. By calibrating your system, you can overcome any acoustic challenges and achieve the best possible sound quality.
One of the most critical steps in testing your surround sound system involves using a test tone. The test tone is a specific audio signal sent to each speaker individually, allowing you to verify if they are producing sound correctly. This step confirms that the speakers are connected correctly and are positioned in the right locations within your room.
In addition to testing individual speakers, it’s important to verify that your surround sound sources are delivering the expected audio. Whether you’re playing a Blu-ray disc, streaming content, or playing a video game, ensuring that the audio is being correctly processed and played back in surround sound is essential.
Testing different surround sound modes allows you to explore the various audio configurations that your system offers. These modes, such as Dolby Digital, DTS, or stereo, provide different soundscapes and effects, allowing you to tailor the audio experience to match your preferences and the content you’re consuming.
Aside from different surround sound modes, your system may support various audio formats, such as PCM, Dolby TrueHD, or DTS-HD Master Audio. Testing these formats ensures that your system can handle and reproduce the highest quality audio available, maximizing your enjoyment of high-resolution audio content.
Audio sync issues can detract from your surround sound experience. Testing the audio sync ensures that the sound is perfectly synchronized with the visuals, preventing any delays or discrepancies that may occur. This step is particularly important when watching movies or playing games, where precise audio-video synchronization is crucial for an immersive experience.
If you encounter any issues during the testing process, it’s important to troubleshoot and identify the source of the problem. We will provide troubleshooting tips to help you resolve common surround sound issues and ensure that your system is functioning optimally.
Now that we have a clear roadmap for testing your surround sound system, let’s dive deeper into each step and explore how to get the most out of your audio setup.
Understanding Surround Sound Systems
Before we start testing your surround sound system, it is important to have a basic understanding of how surround sound works. Surround sound systems utilize multiple speakers strategically placed around the room to create a more immersive audio experience. By simulating sound coming from different directions, surround sound enhances the depth, dimension, and realism of the audio.
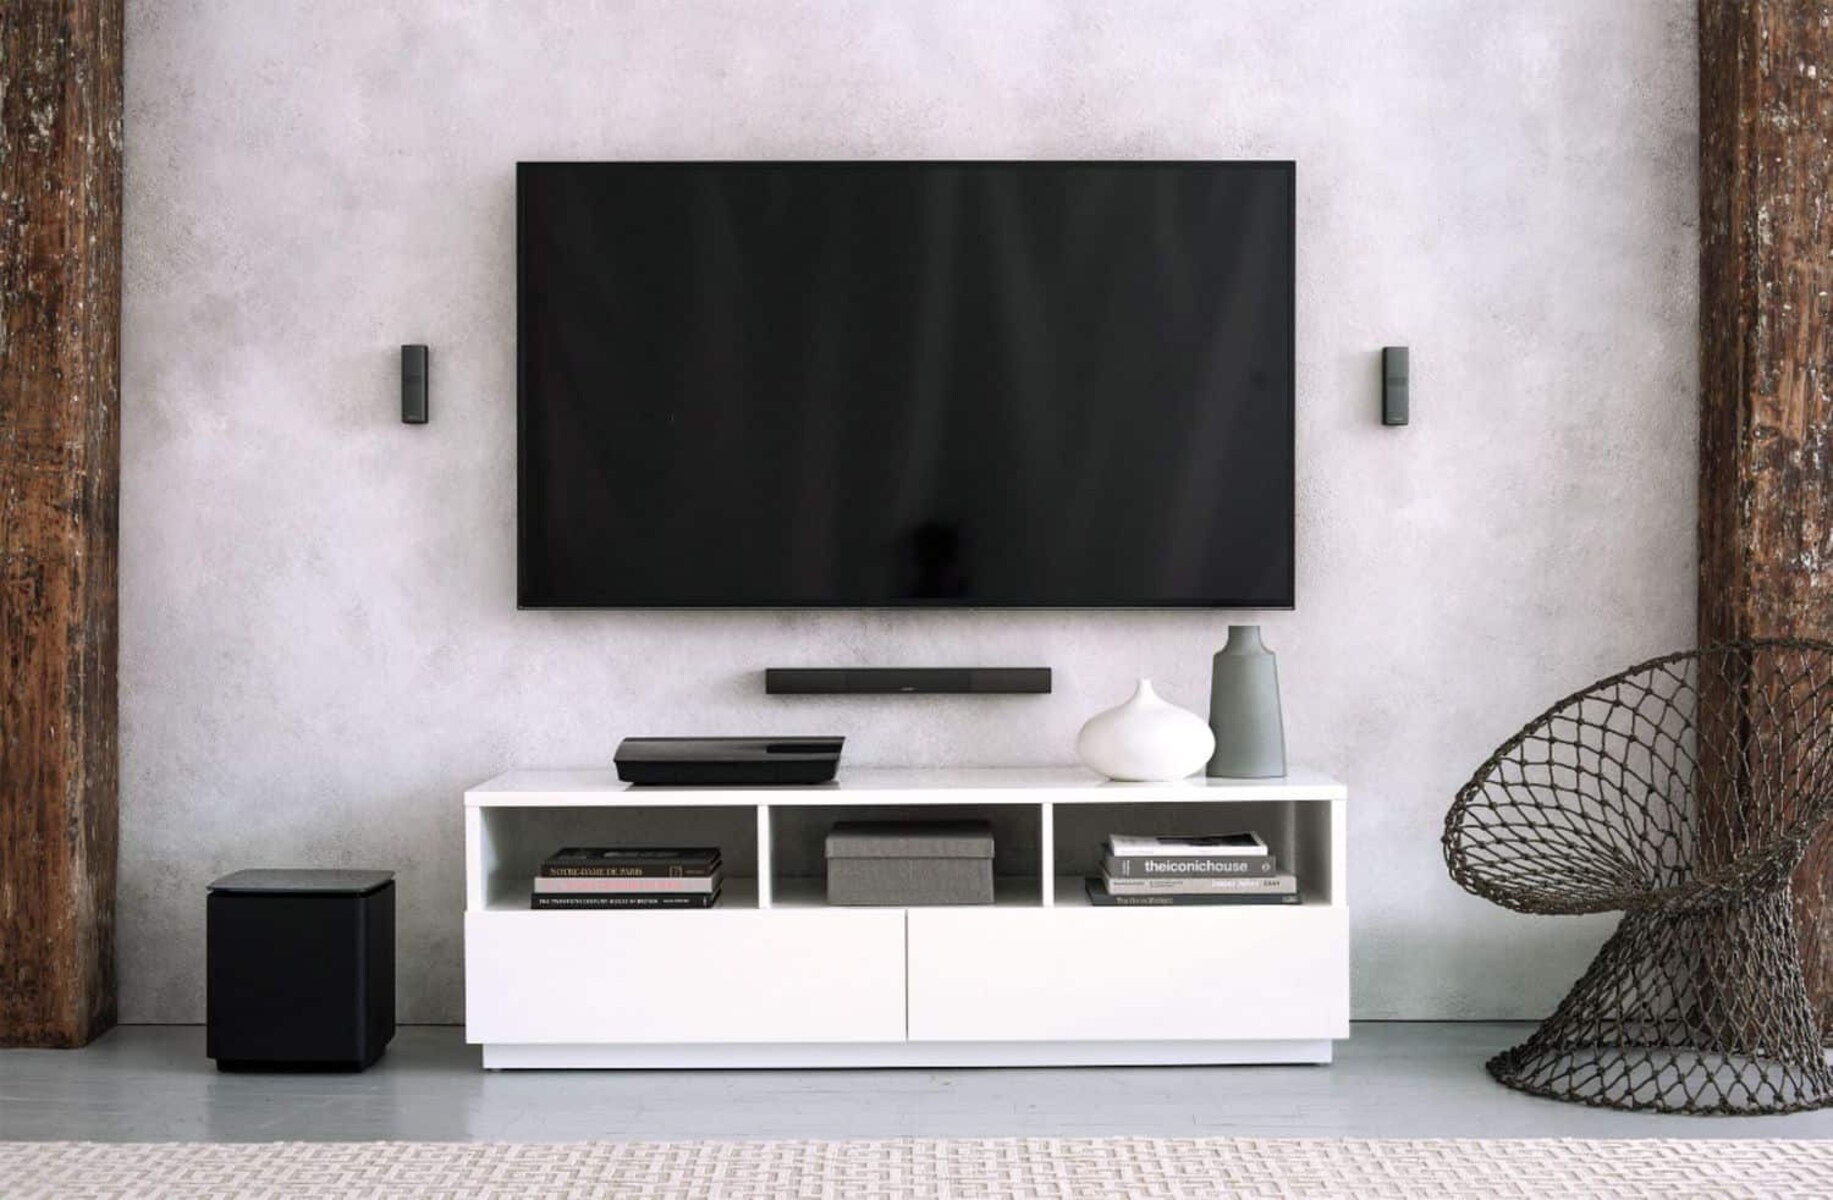
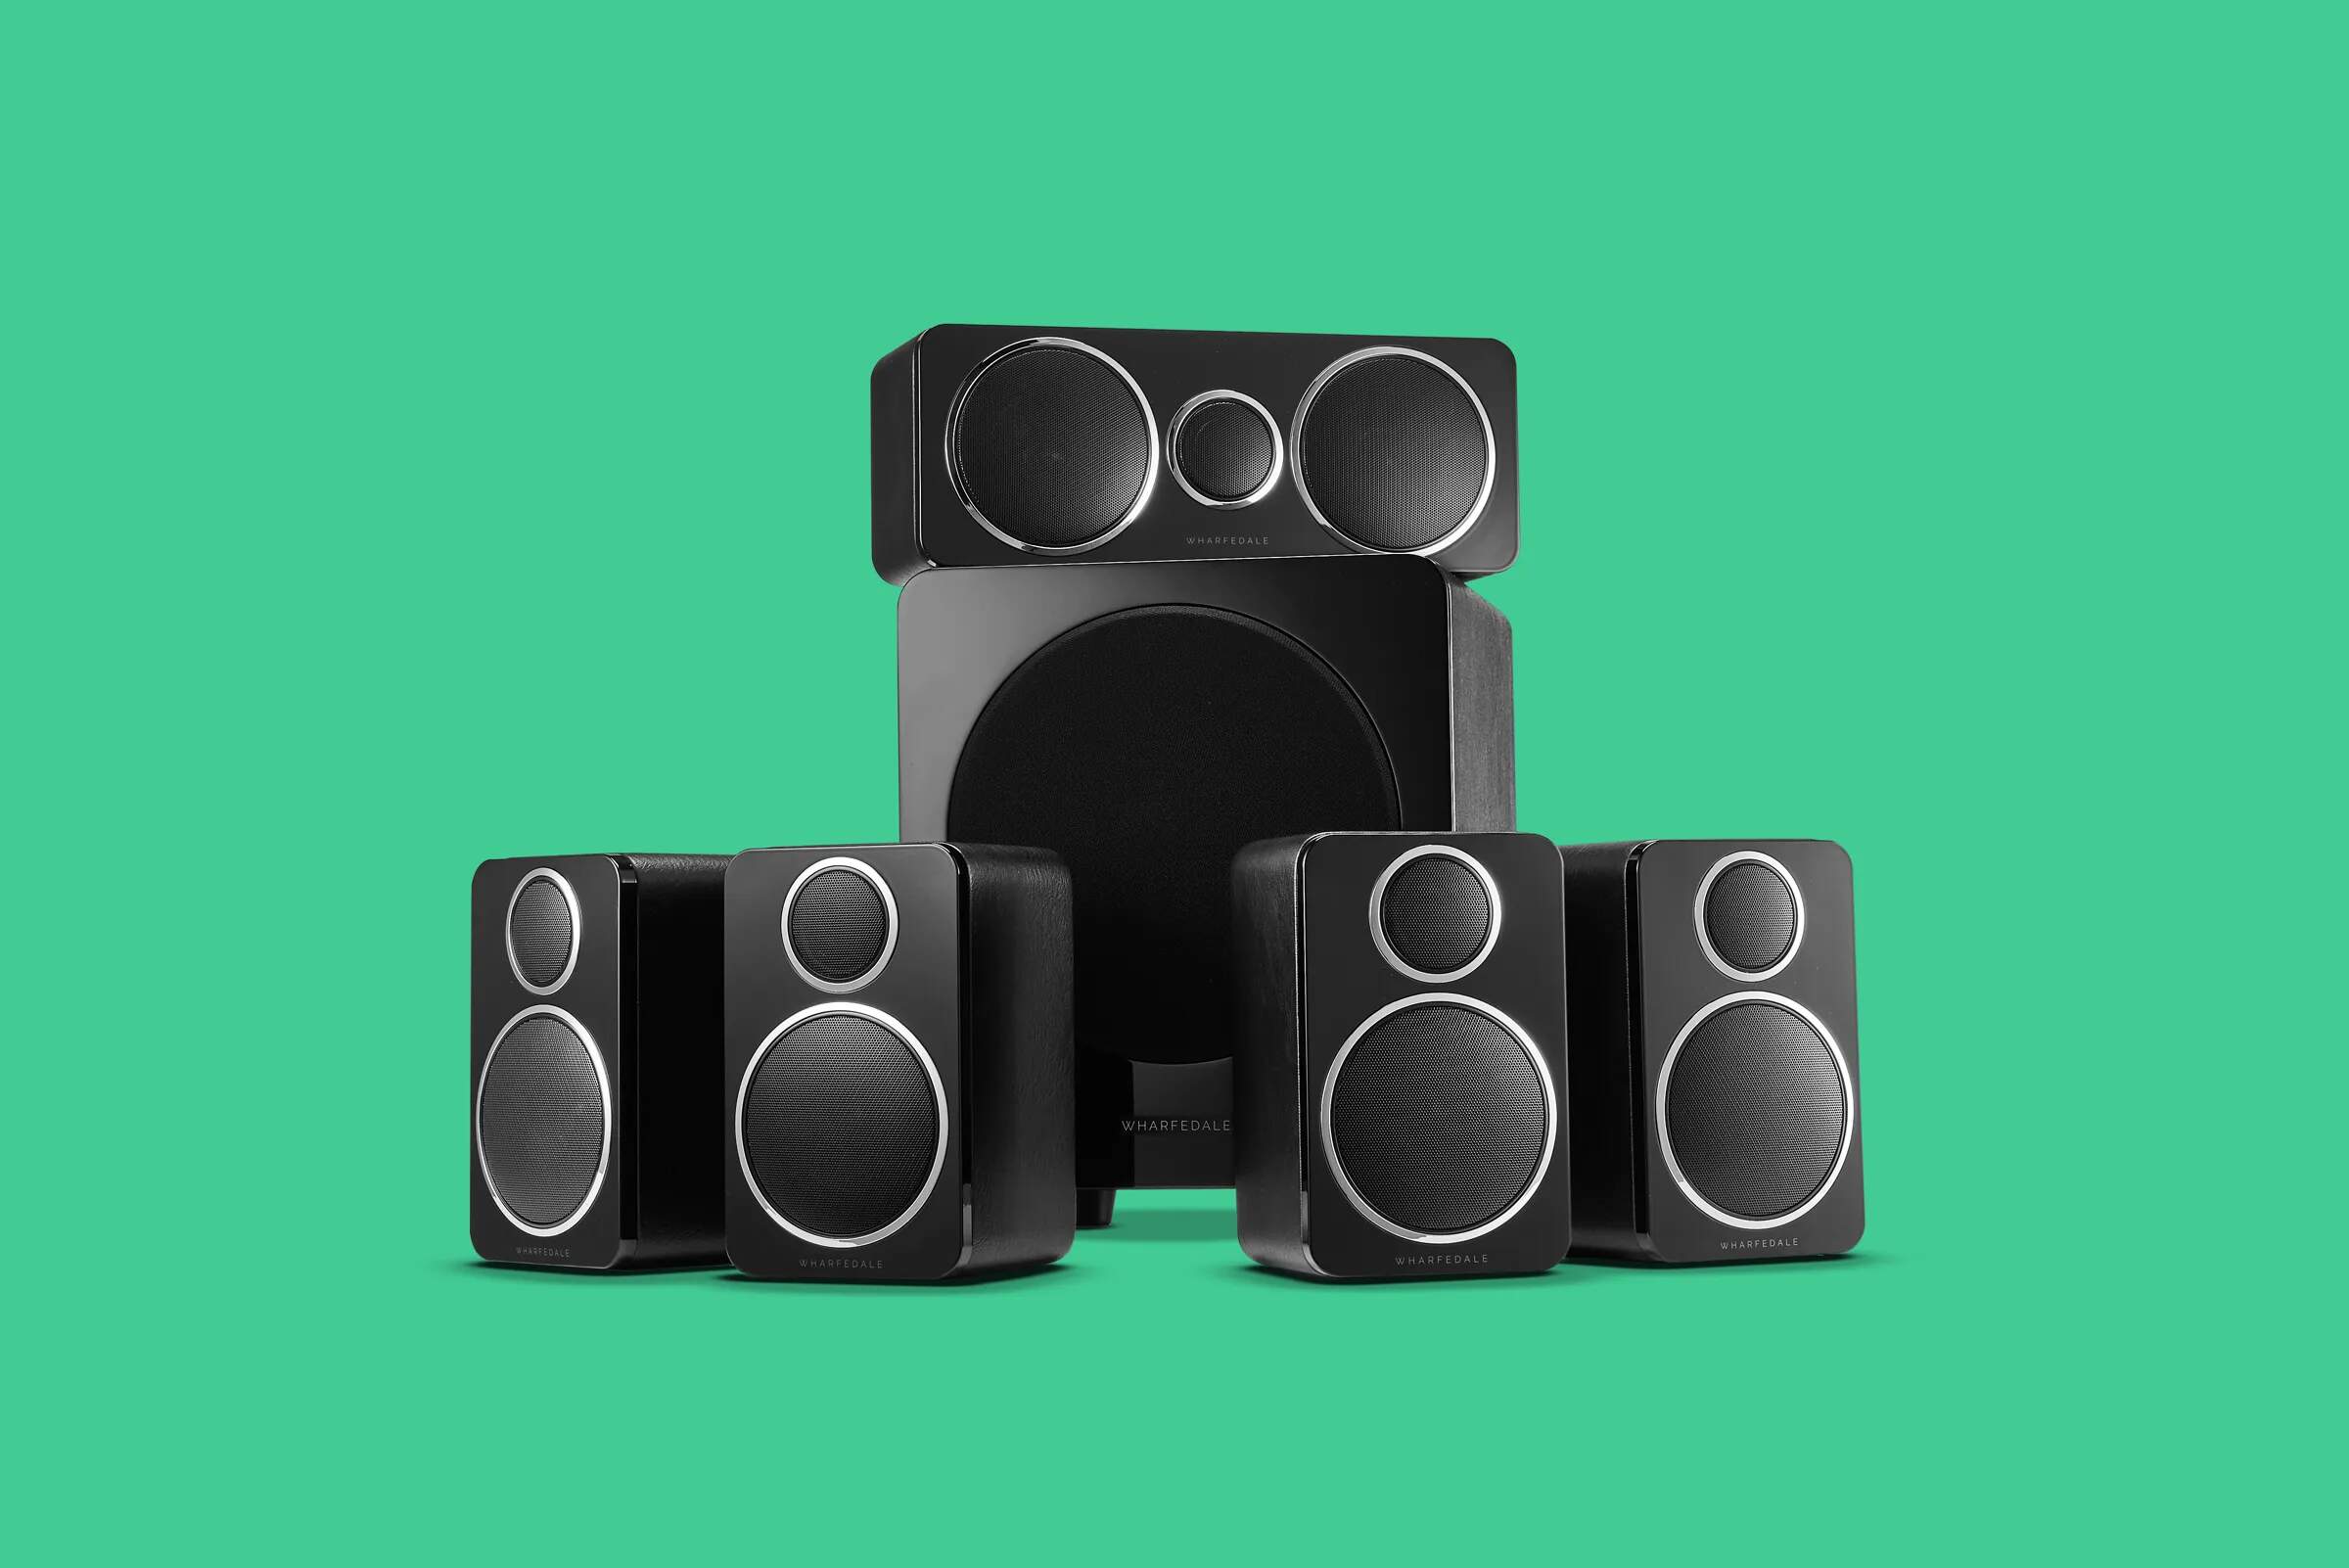
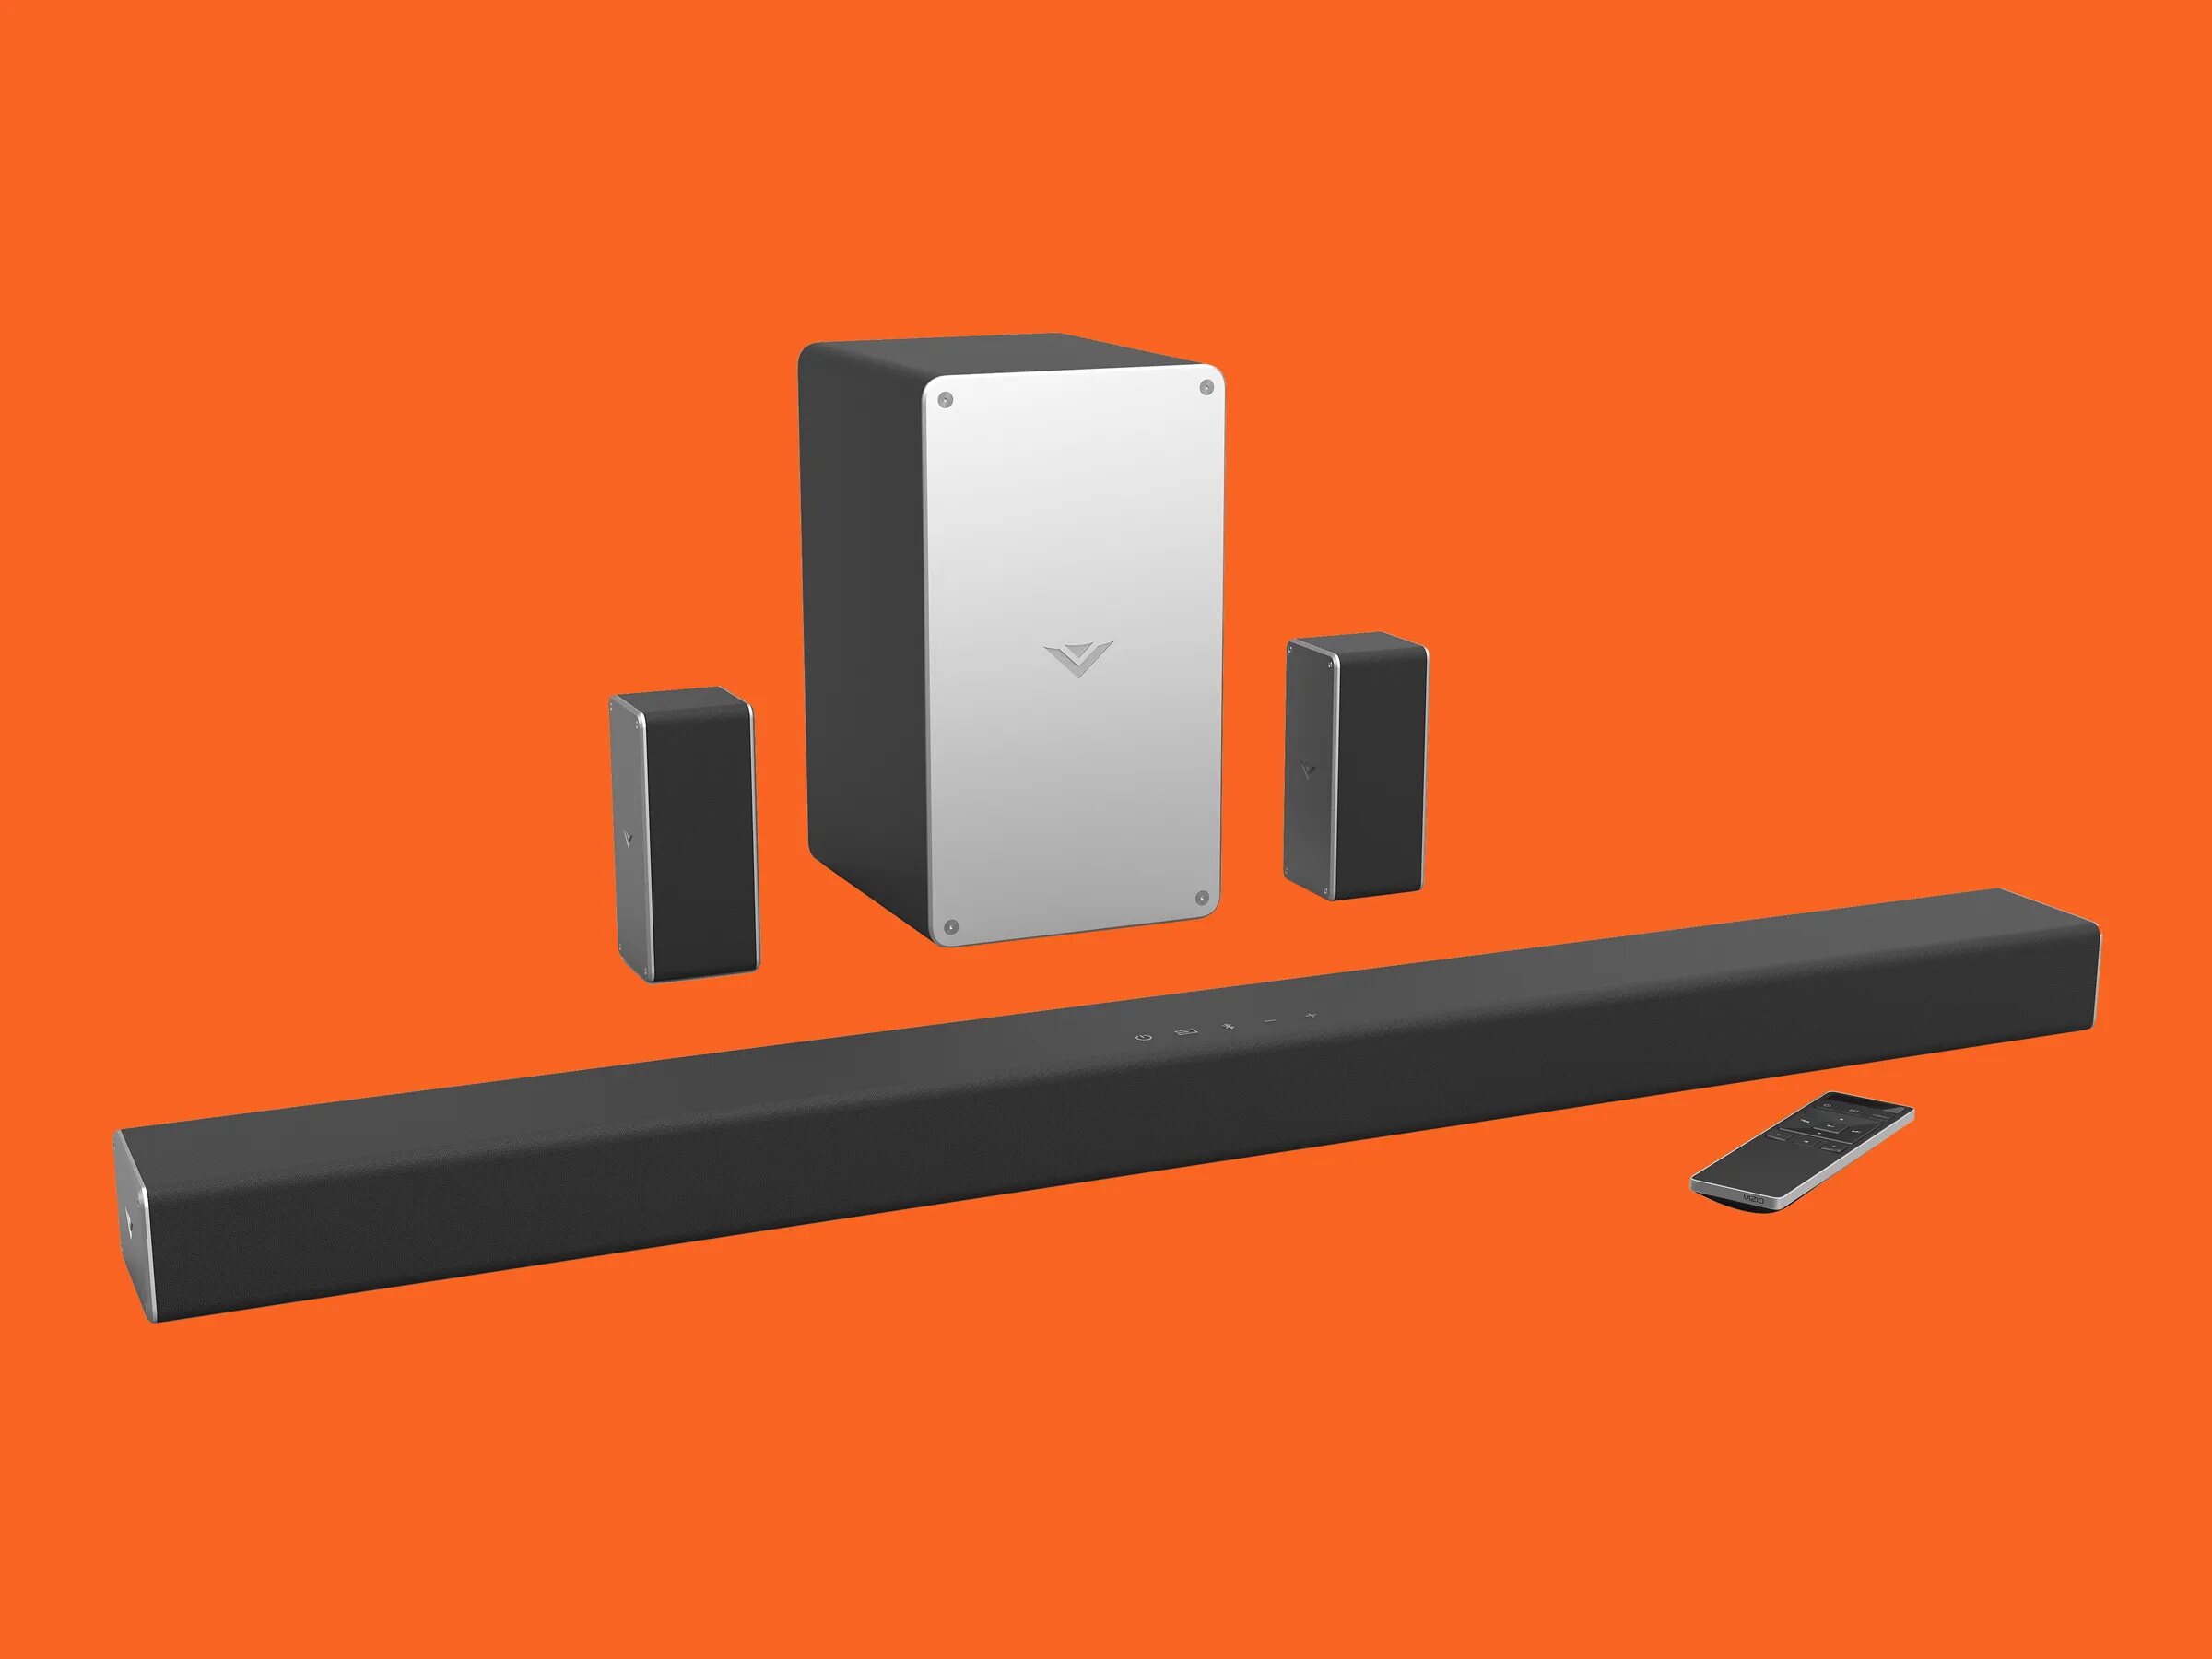
The most common configuration for a surround sound system is the 5.1 setup, which consists of five main speakers and a subwoofer. The main speakers are typically positioned in front of the listener – three speakers in the front (left, center, and right) and two speakers in the rear (left surround and right surround). The subwoofer is responsible for reproducing low-frequency sounds, adding depth and impact to explosions, musical basslines, and other rumbling effects.
In addition to the 5.1 setup, there are more advanced configurations available, including 7.1, 9.1, and even 11.1 systems. These setups introduce additional speakers, such as side or overhead speakers, to further enhance the surround sound experience. These additional speakers provide a more immersive and three-dimensional audio environment, making you feel like you’re right in the middle of the action.
Surround sound systems rely on an AV receiver that acts as the central hub for audio processing and distribution. The receiver receives signals from various audio sources, such as Blu-ray players, game consoles, or streaming devices, and then sends the audio signals to the appropriate speakers. The receiver also handles decoding and processing specific audio formats, ensuring that you can enjoy the highest quality sound possible.
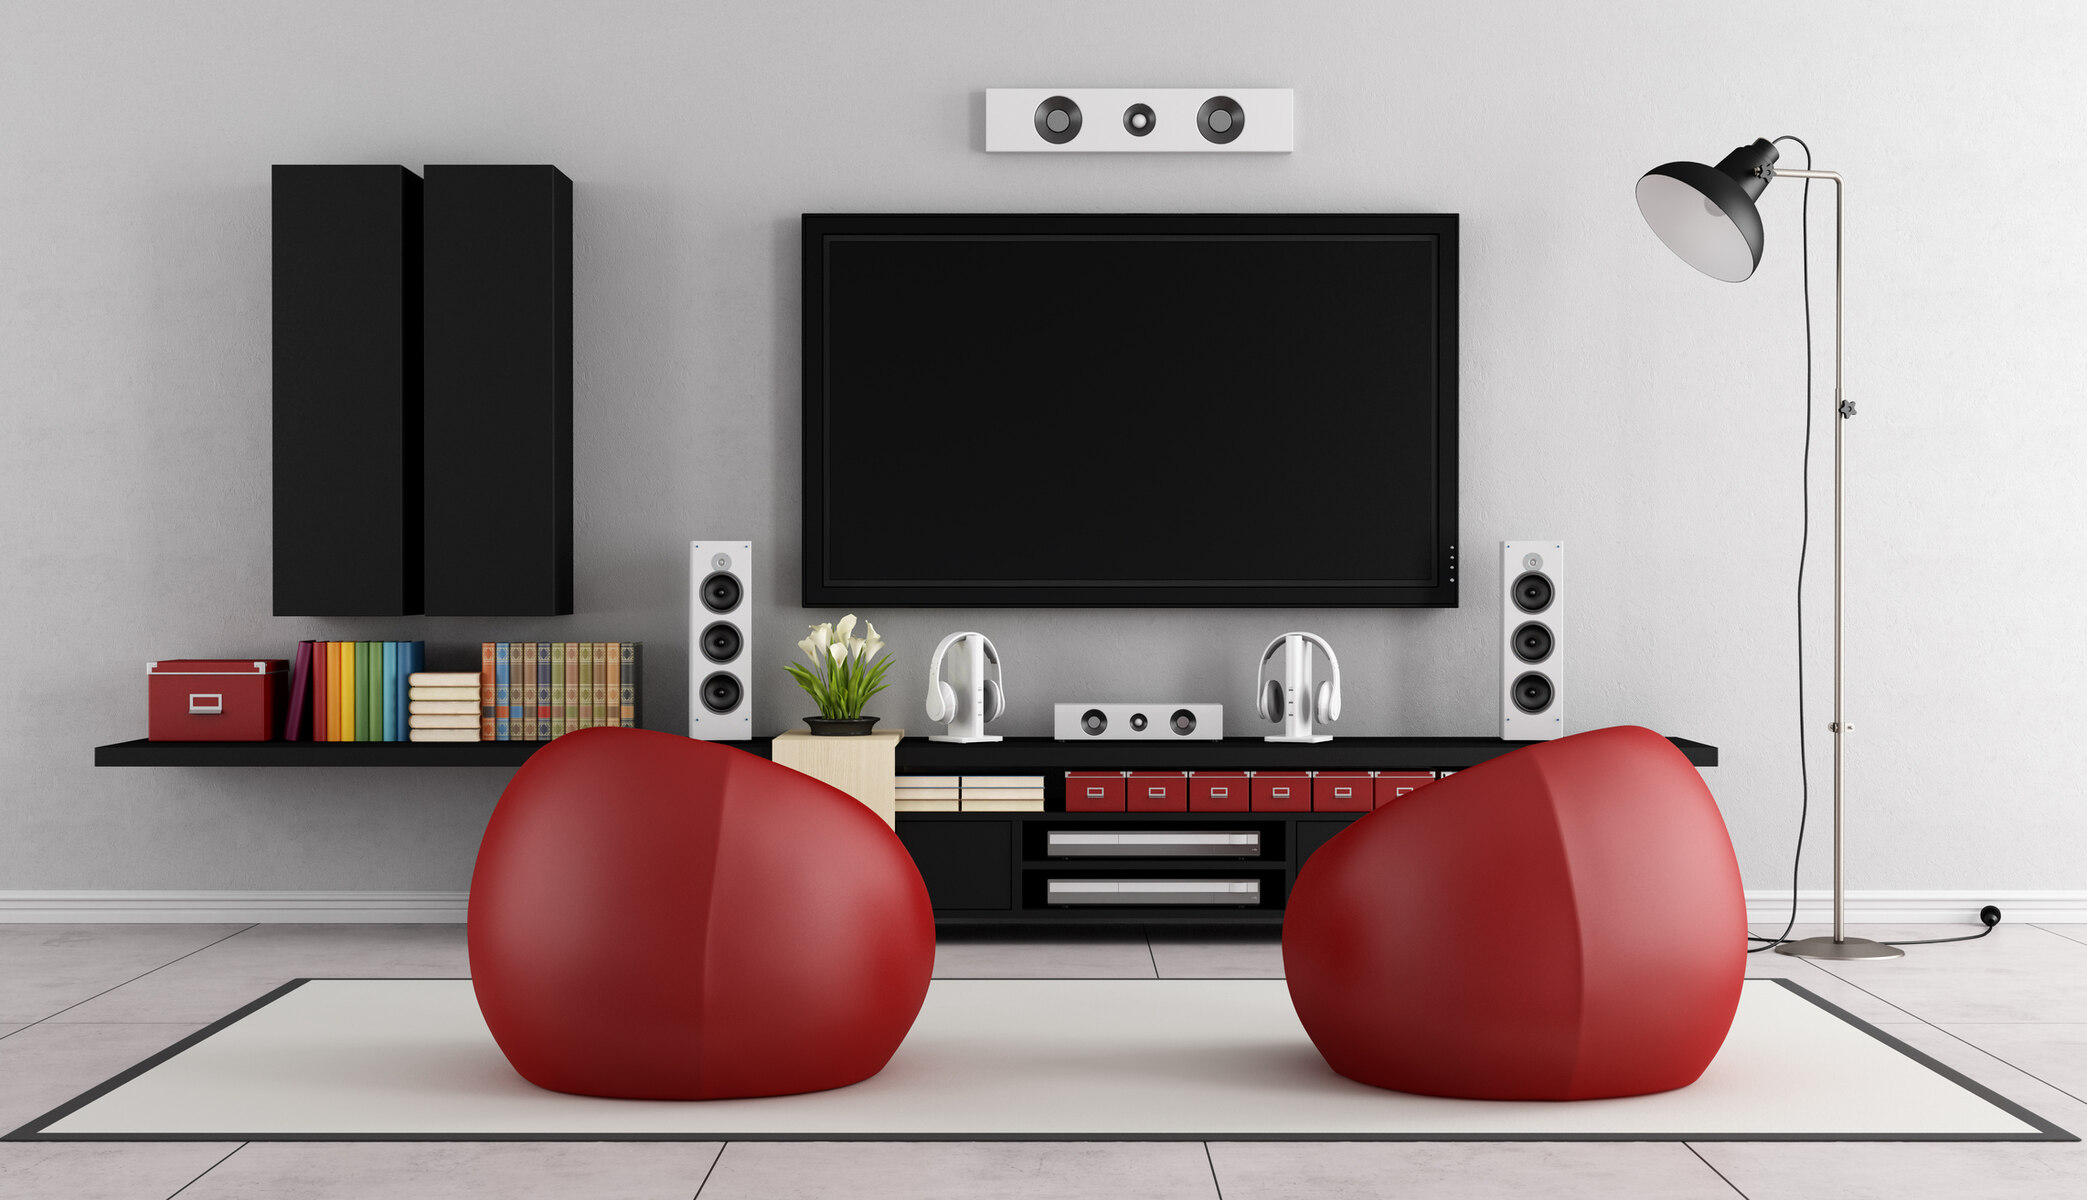
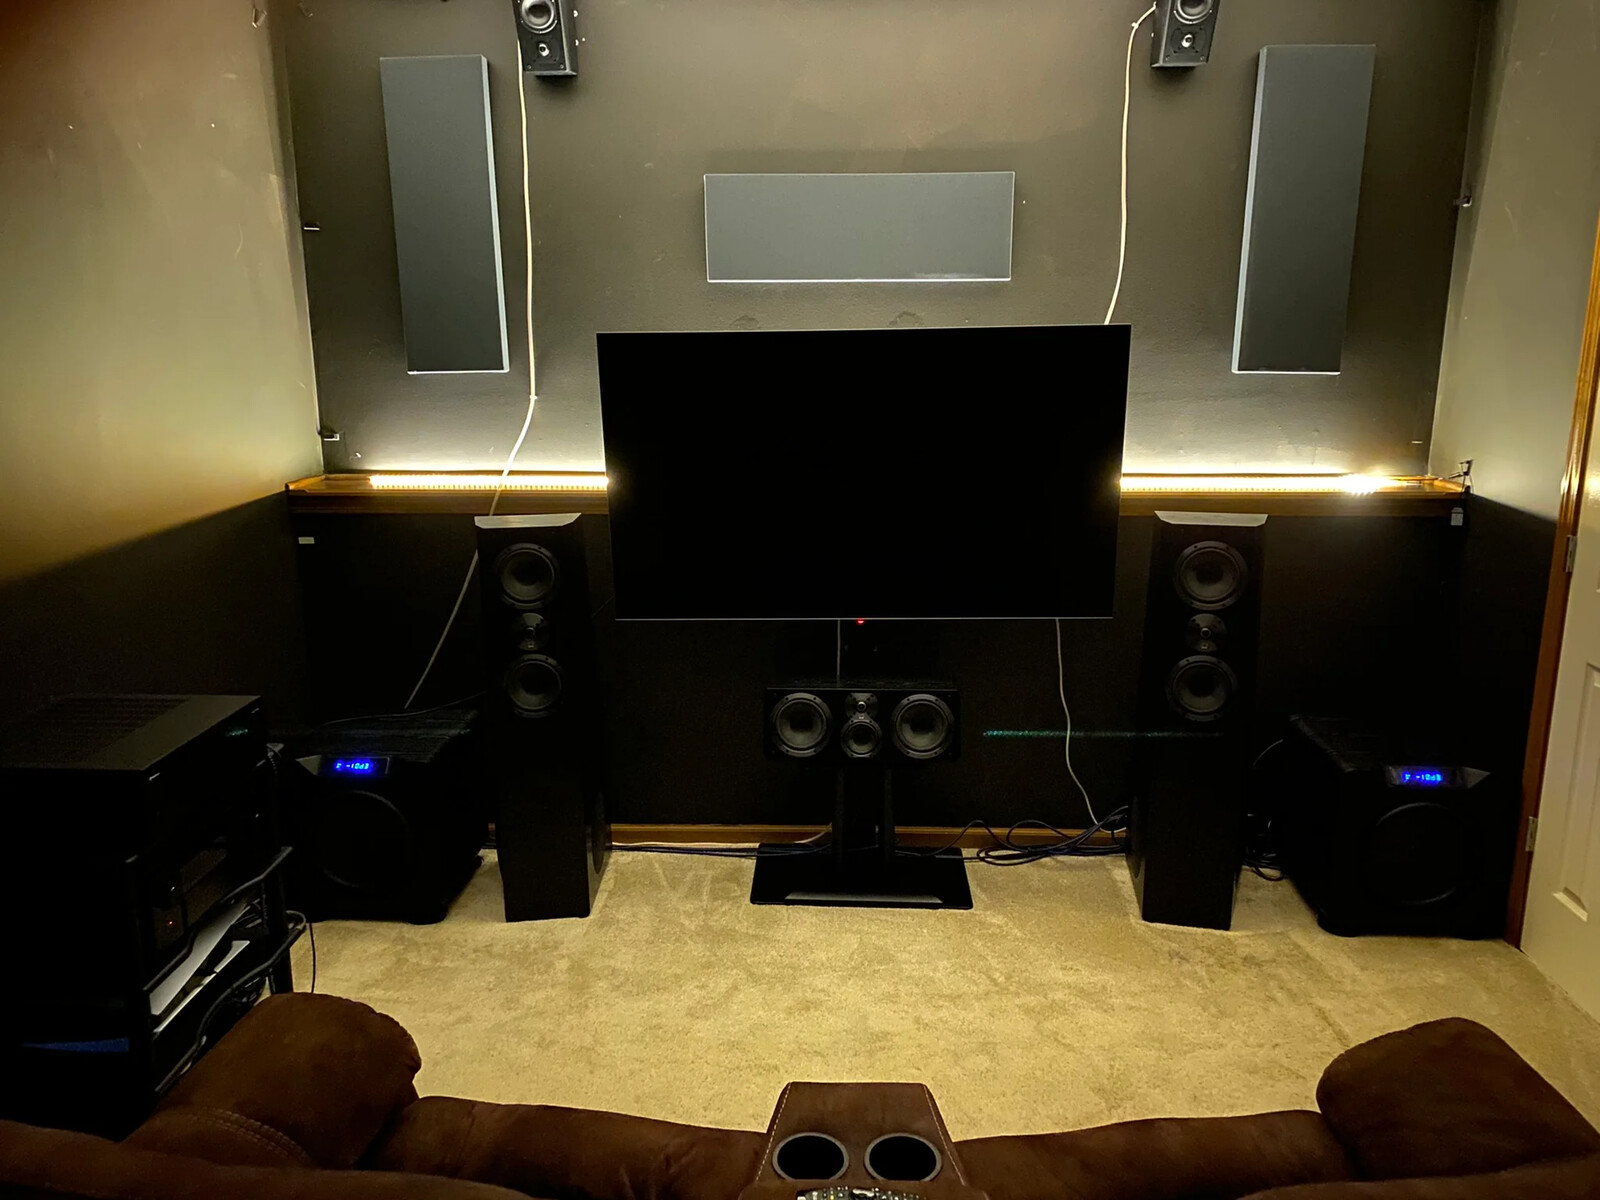
One of the key elements of surround sound systems is the placement of the speakers. Proper speaker placement is crucial for achieving an optimal surround sound experience. The front speakers should be positioned at ear level, with the center speaker aligned with the television or screen. The rear speakers should be placed slightly behind the listener, ideally at ear level or slightly above, to create an enveloping sound field.
In addition to speaker placement, considering the acoustics of your room is essential. Factors such as room size, shape, and the materials used in its construction can affect how the sound travels and is perceived. Different room reflections and obstructions can impact the overall audio quality. To overcome these challenges, room treatment elements such as acoustic panels or bass traps can be used to reduce unwanted echoes or reverberations, resulting in a more accurate and immersive listening experience.
Understanding the different components of a surround sound system, how they work together, and how to optimize their placement is crucial for achieving the best audio performance. Once you have a solid grasp of these concepts, you can move on to the practical steps of testing and fine-tuning your surround sound system, which we will explore in the following sections.
Setting up Your Surround Sound System
Setting up a surround sound system can seem overwhelming at first, but with careful planning and attention to detail, it can be a rewarding experience. Proper setup is crucial to ensure that your system delivers the immersive audio experience it’s designed for. Here are the steps to follow when setting up your surround sound system:
- Choose the right room: Select a room that will accommodate your setup and meet your audio needs. Consider factors such as room size, shape, and acoustics.
- Position your TV or screen: Determine the ideal location for your TV or screen, ensuring that it is at eye level and easily visible from all seating positions.
- Plan speaker placement: Strategically position your speakers to create an immersive sound field. Follow general guidelines such as placing the front speakers at ear level and the rear speakers slightly behind the listener.
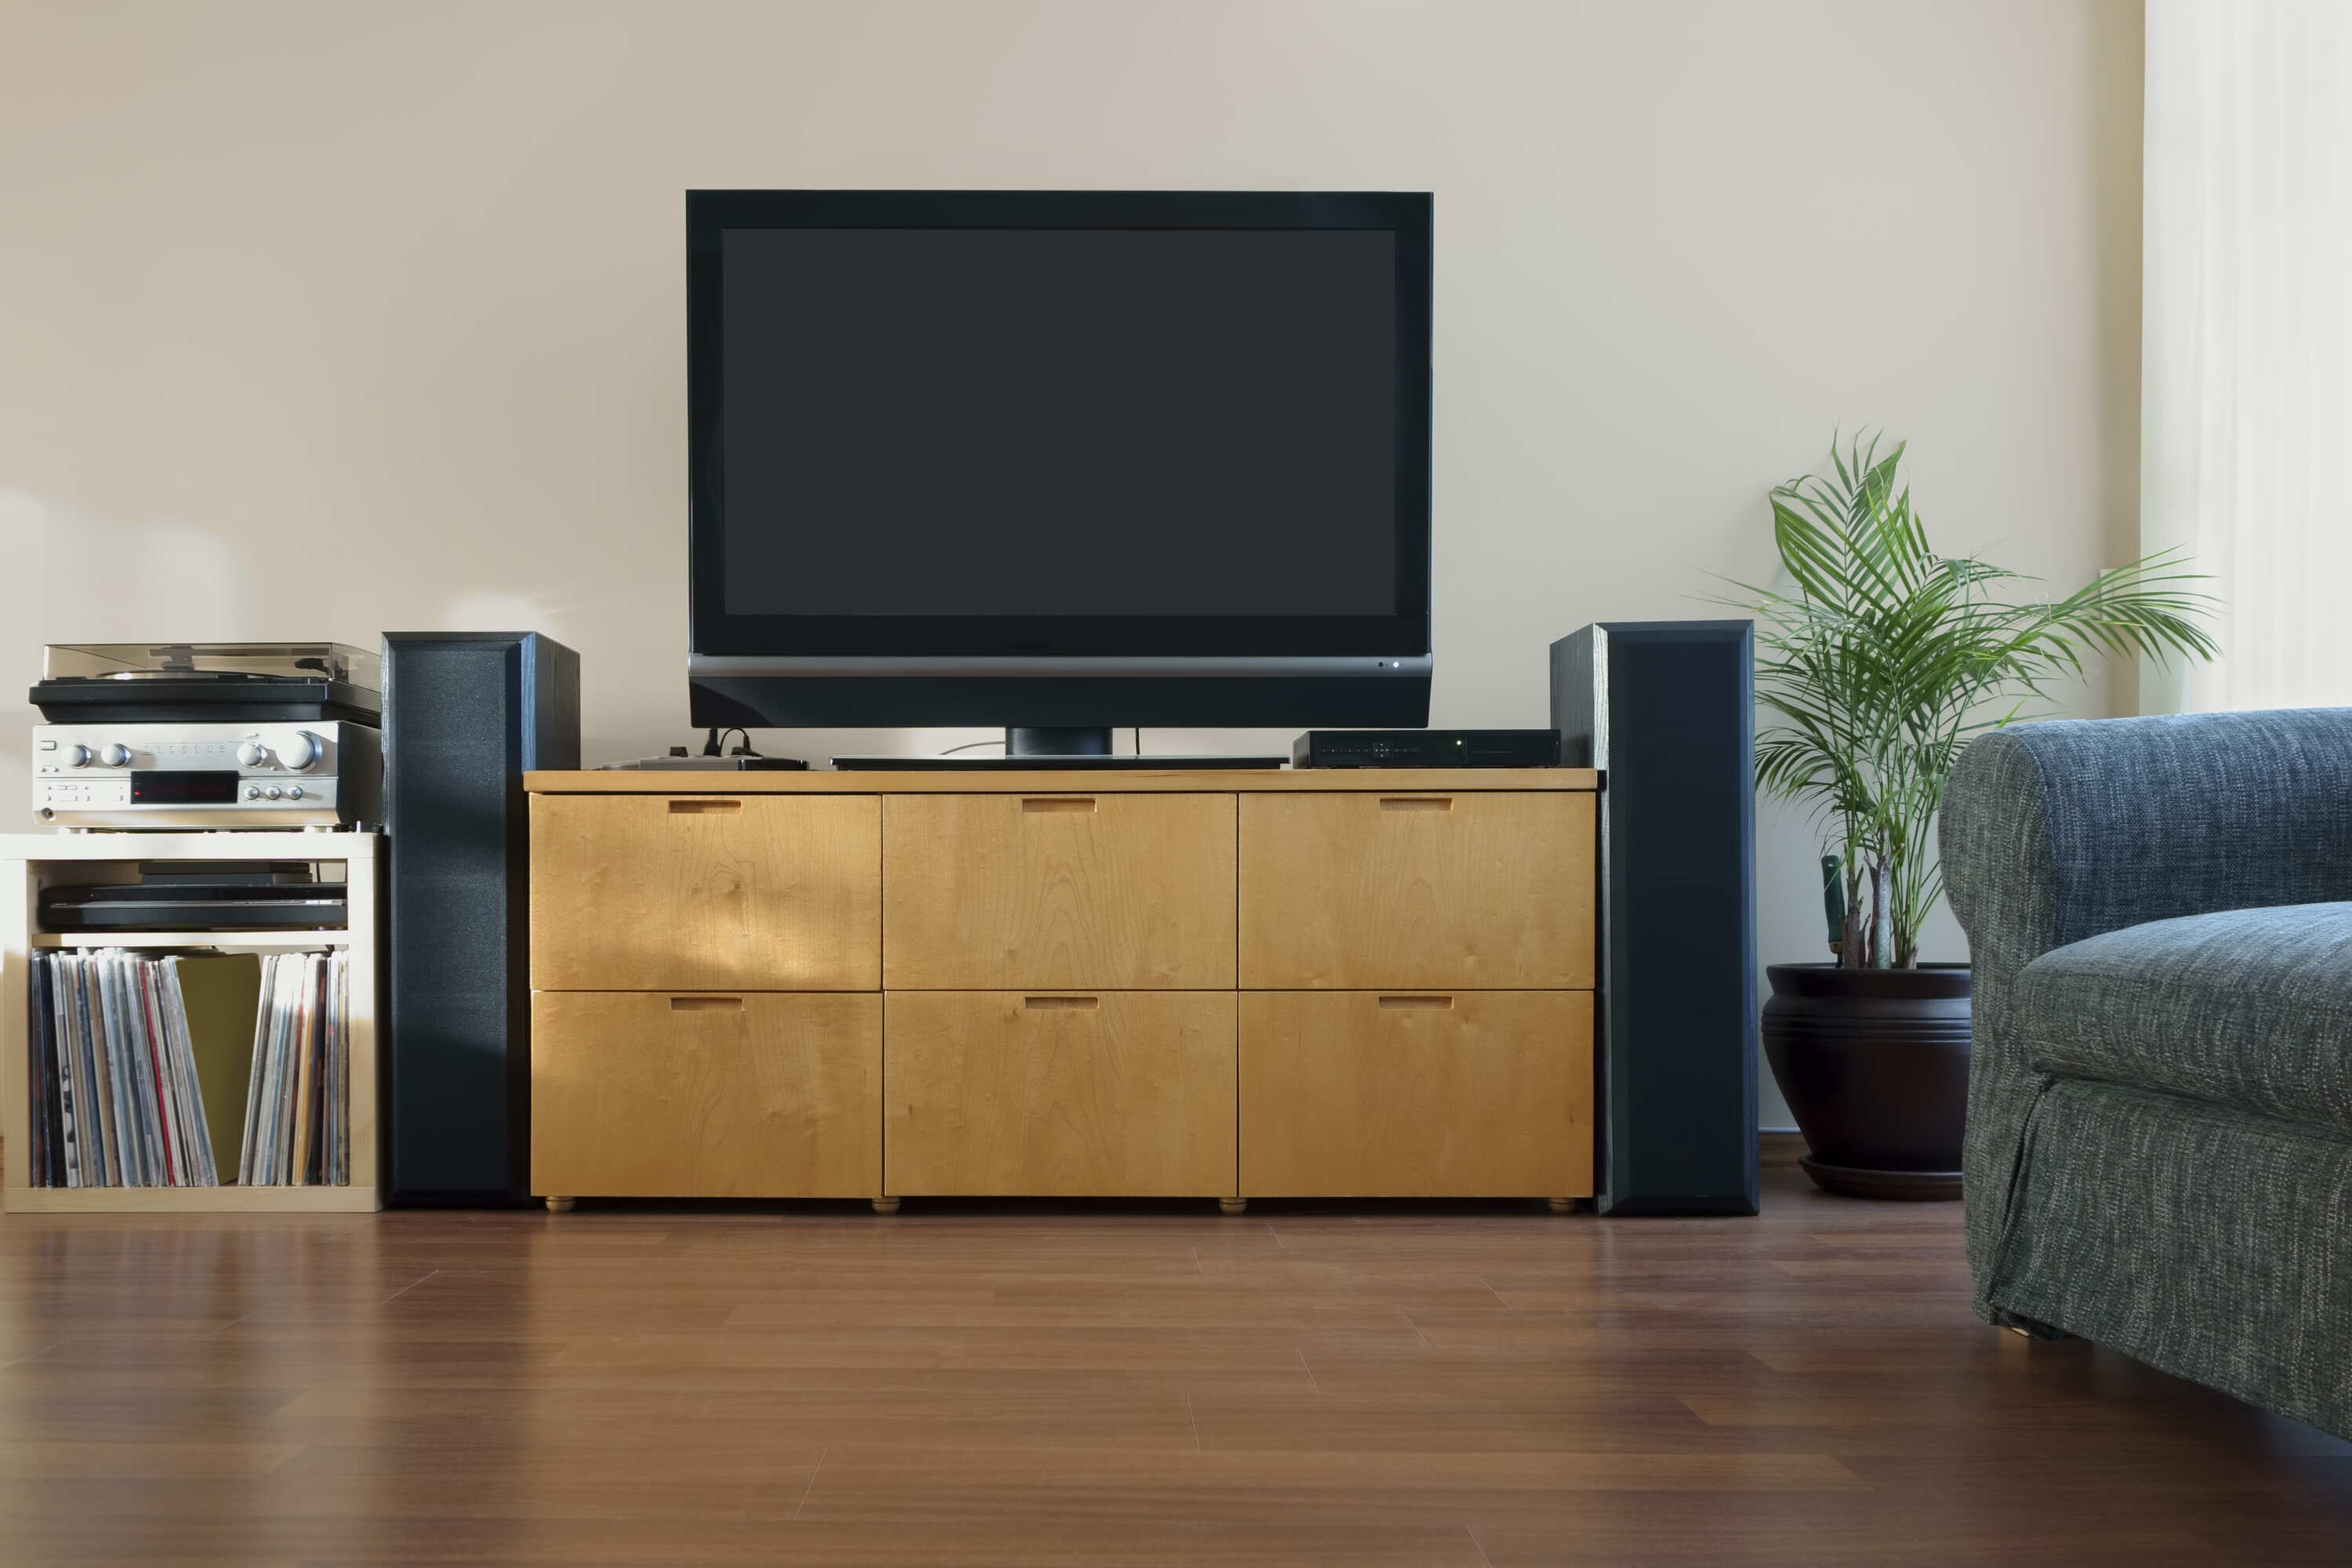
- Mount or place speakers: Depending on your preference and room layout, you can mount the speakers on walls, place them on stands, or use floor-standing speakers. Ensure that the speakers are secured and aligned properly.
- Connect the speakers: Use high-quality speaker cables to connect each speaker to the corresponding terminals on your AV receiver. Make sure to match the positive (+) and negative (-) terminals correctly to avoid phase issues.
- Connect the AV receiver: Connect your audio and video sources, such as Blu-ray players, game consoles, and streaming devices, to the appropriate input ports on your AV receiver. Use HDMI cables for the best audio and video quality.
- Configure the AV receiver: Access the receiver’s setup menu to configure important settings such as speaker size, distance, and crossover frequency. Adjust these settings according to your speaker specifications and room characteristics.
- Set up the subwoofer: Place the subwoofer in a suitable location within the room, preferably near the front speakers. Fine-tune the subwoofer settings, such as volume and crossover, to achieve a balanced low-frequency response.
- Test the connections: Once everything is connected, check the speaker connections to ensure they are secure. Verify that each speaker is successfully playing audio by testing them individually.
Following these steps will set the foundation for a properly configured surround sound system. It’s important to refer to your specific equipment’s user manual for detailed instructions on setup procedures and any additional features or considerations.
Remember, a well-planned and meticulously set up surround sound system can provide you with an immersive audio experience that greatly enhances your entertainment. In the next section, we will explore how to test the speaker connections to ensure everything is functioning correctly.
Testing the Speaker Connections
Once you have set up your surround sound system, it’s essential to test the speaker connections to ensure that all speakers are properly connected and wired correctly. This step is crucial for identifying any potential issues that may affect the sound quality. Here’s how you can test the speaker connections:
- Power on your surround sound system and turn up the volume to a moderate level.
- Play audio through your system from a source such as a movie, music, or a test tone specifically designed for speaker testing.
- Starting with the front left speaker, place your ear close to the speaker and listen for any sound. Ensure that the sound is clear and coming from the correct speaker.
- Repeat this process for each speaker in your system, including the front center, front right, rear left, rear right, and subwoofer.
- If you do not hear any sound from a particular speaker, check the connections at both the speaker and the AV receiver. Ensure that the speaker wire is securely connected to the terminals.
- If the connections are secure but you still don’t hear sound, try swapping the speaker with a known working speaker. This will help determine if the issue lies with the speaker or the wiring.
- If you have a multi-channel speaker calibration feature on your AV receiver, use it to further fine-tune the speaker levels and ensure they are balanced.
By testing the speaker connections, you can verify that each speaker is properly connected and functioning correctly. This step helps ensure that the audio signals are reaching the speakers as intended, allowing for an immersive and accurate sound experience.
If you encounter any issues during the testing process, double-check the polarity of the speaker connections. Ensuring that the positive and negative terminals are correctly matched is crucial for proper sound reproduction and preventing phase cancellation.
Remember to refer to the instruction manuals of your specific speakers and AV receiver for any additional guidance or troubleshooting tips related to testing the speaker connections.
Once you have successfully tested the speaker connections and confirmed that each speaker is producing sound, you can proceed to the next step: adjusting the speaker levels. We will discuss this process in the following section.
Adjusting Speaker Levels
After testing the speaker connections, the next step in optimizing your surround sound system is adjusting the speaker levels. Balancing the volume levels among your speakers ensures a cohesive and immersive audio experience. Here’s how you can adjust the speaker levels:
- Access the setup menu on your AV receiver or use its remote control to navigate to the speaker setup section.
- Locate the speaker level adjustment or channel level adjustment settings.
- Play a reference track or content that showcases a variety of audio elements, such as music with different instruments or a movie scene with dialogue, background music, and effects.
- Start with the front speakers and adjust their volume levels to match your listening preferences. Ideally, the front speakers should provide a front-focused sound while still blending well with the other speakers.
- Move on to the center speaker and adjust its volume level. The center speaker is responsible for dialogue reproduction, so ensure that the dialogue is clear and intelligible without overpowering the other speakers.
- Proceed to adjust the volume levels of the rear speakers, focusing on achieving a balanced sound field that envelops you. Rear speakers provide the ambient and atmospheric elements of the surround sound experience.
- Adjust the volume level of the subwoofer to achieve a proper balance between the low-frequency effects and the rest of the audio. A well-calibrated subwoofer adds depth and impact without overpowering the other speakers.
- Repeat the process as necessary, fine-tuning the speaker levels until you achieve the desired sound balance and immersion.
It’s important to trust your ears and adjust the speaker levels based on your personal preferences. However, keeping the volume levels consistent among the speakers is crucial to maintaining an accurate and immersive soundstage.
Some AV receivers offer automatic speaker calibration features that automate the process of adjusting speaker levels. These systems use built-in microphones to measure the sound and automatically optimize the volume levels for each speaker. If your AV receiver has this feature, consider using it for a more precise and efficient calibration.
Remember to periodically revisit and readjust the speaker levels based on different content or listening preferences. What sounds balanced for movies may differ from what sounds best for music or gaming.
With the speaker levels properly adjusted, your surround sound system is now ready to deliver an enhanced audio experience. Up next, we’ll explore the process of calibrating your system for optimal performance.
Calibrating Your Surround Sound System
Calibrating your surround sound system is a critical step in ensuring optimal audio performance. Through calibration, you can address room-specific acoustic challenges and fine-tune your system to deliver the best possible sound quality. Here’s how you can calibrate your surround sound system:
- Access the setup or calibration menu on your AV receiver. This menu may be labeled as “Speaker Setup,” “Audio Setup,” or similar.
- Locate the room calibration or auto setup feature. Many AV receivers come with built-in calibration systems that analyze your room’s acoustic characteristics and adjust audio settings accordingly.
- Position the provided microphone at the main listening position in the room, ideally at ear level. Make sure there are no obstructions between the microphone and the speakers.
- Initiate the calibration process on your AV receiver. This will typically involve playing a series of test tones through each speaker while the receiver measures the sound response using the microphone.
- Follow the on-screen instructions or prompts that guide you through the calibration process. This may include positioning the microphone at multiple listening positions for a more accurate analysis of the room’s acoustics.
- Once the calibration process is complete, the AV receiver will adjust settings such as speaker size, distance, EQ, and channel levels based on the measured data. This helps compensate for room reflections and other factors that can affect sound quality.
- After calibration, listen to audio content and make note of any improvements in sound quality. You can also manually fine-tune settings such as EQ or speaker levels if desired.
Calibrating your surround sound system is a dynamic process, and it’s recommended to recalibrate periodically or whenever there are changes in your room setup, such as furniture rearrangement or acoustic treatment additions.
If your AV receiver does not have an automatic calibration feature, you can still manually adjust speaker settings. Use a sound meter or your ears to ensure that the volume levels and sound characteristics are balanced and accurate.
Remember that room acoustics can significantly impact the sound quality of your surround sound system. Consider room treatments such as acoustic panels, bass traps, or diffusers to further enhance the audio experience.
Calibration allows your system to compensate for room-specific challenges and delivers a more accurate representation of the audio as intended by the content creators. With your system calibrated, you are now ready to test your surround sound with a test tone, which we will cover in the next section.
Testing Your Surround Sound with a Test Tone
Testing your surround sound system with a test tone is an essential step in ensuring that each speaker is functioning correctly and positioned accurately in your room. A test tone is a specific audio signal that is played through each speaker individually, allowing you to verify its performance. Here’s how you can test your surround sound with a test tone:
- Access the audio settings menu on your AV receiver or source device, such as a Blu-ray player or gaming console.
- Locate the test tone generator or speaker setup section within the menu.
- Select the option to generate or play a test tone through each individual speaker one at a time.
- Start with the front left speaker and listen carefully for the test tone. Confirm that the sound is coming from the correct speaker and that it is clear and balanced.
- Repeat this process for each speaker in your system, including the front center, front right, rear left, rear right, and subwoofer.
- If you notice any issues, such as distorted sound, no sound, or sound coming from the wrong speaker, examine the connections and configuration of that specific speaker.
- If necessary, adjust the speaker placement or wiring to ensure optimal performance.
- During the test tone playback, pay attention to the volume levels of each speaker. Adjust the individual speaker levels as needed to achieve a balanced sound field.
- Consider using a sound meter or a smartphone app with a built-in sound level meter to ensure consistent volume levels across all speakers.
Testing your surround sound system with a test tone allows you to validate the placement and performance of each speaker individually. This step ensures that the speakers are correctly connected, positioned, and reproducing sound as expected.
Make sure to perform the test tone procedure periodically, especially after making changes to your setup or moving speakers. It helps ensure that the audio performance of your surround sound system remains accurate and enjoyable.
In addition to the test tone, you can also utilize audio calibration discs or digital sound apps that provide detailed audio tests, frequency sweeps, and channel identification to further evaluate your surround sound system’s performance.
With the speakers tested and confirmed to be working properly, you can move on to verifying the surround sound sources to ensure you are experiencing the full benefits of surround sound, which we will cover in the next section.
Verifying Surround Sound Sources
Verifying the surround sound sources is an important step in testing your system to ensure that the audio is being correctly processed and played back in surround sound. This step allows you to confirm that you are experiencing the intended immersive audio experience from various sources. Here’s how you can verify your surround sound sources:
- Choose a variety of audio sources that support surround sound, such as Blu-ray discs, streaming services, video games, or digital media files.
- Access the audio settings within each source device or application and confirm that the audio output is set to a surround sound format, such as Dolby Digital or DTS.
- Select a surround sound demo or test content specifically designed to showcase the capabilities of surround sound.
- Play the selected content and listen carefully for the spatial positioning of sound elements, such as voices, music, and effects.
- Ensure that sound elements are coming from the appropriate speakers according to their spatial location in the content.
- If you suspect issues with surround sound playback, examine the audio settings, including the audio output format, audio encoding, and downmix settings, on both the source device and your AV receiver.
- Confirm that any virtual surround sound processing features, such as Dolby Pro Logic II or DTS Neural:X, are enabled if desired.
- Test content that features panning effects, directional sound cues, and surround sound ambiance to fully evaluate the performance of your system.
Verifying surround sound sources ensures that you are utilizing the full potential of your surround sound system. It confirms that the audio is being correctly processed and played back in the intended surround sound format, delivering an immersive audio experience that enhances your entertainment.
Keep in mind that different sources may offer different audio formats and codecs. Some sources may support advanced audio formats, such as Dolby Atmos or DTS:X, which provide even more immersive sound experiences. Make sure your AV receiver is compatible with these formats and properly configured to take advantage of them.
By verifying surround sound sources, you can ensure that you’re enjoying the intended surround sound experience from your chosen content. In the next section, we’ll explore the testing of different surround sound modes available on your system.
Testing Surround Sound Modes
Testing the surround sound modes available on your system is an exciting way to explore and optimize the audio configurations offered by your surround sound setup. Different surround sound modes deliver unique soundscapes and effects, allowing you to tailor the audio experience to match your preferences and the content you’re enjoying. Here’s how you can test the surround sound modes:
- Access the audio settings menu on your AV receiver or source device.
- Locate the surround sound mode or audio mode section within the menu.
- Select the desired surround sound mode, such as Dolby Digital, DTS, or stereo.
- Play content that is suitable for the selected surround sound mode. For example, use a movie with a surround sound mix or a music track that utilizes specific audio effects.
- Listen carefully to the audio and identify the differences between the different surround sound modes.
- Experiment with various surround sound modes to find the one that best suits your preferences and enhances your listening experience for different types of content.
- Take note of any specific audio effects or characteristics that stand out in each surround sound mode.
- Consider testing surround sound modes that simulate different listening environments, such as concert halls, arenas, or movie theaters, to add variety to your sound experience.
- Experiment with advanced surround sound modes, such as Dolby Atmos or DTS:X, if your system supports them. These modes create a more immersive three-dimensional sound experience, utilizing overhead speakers or virtualization techniques.
Testing the surround sound modes offers you the opportunity to tailor the audio output to match your preferences and the content you’re consuming. Whether you prefer a more natural and balanced sound or an enhanced and enveloping audio experience, the surround sound modes allow you to customize the audio output to suit your needs.
Keep in mind that not all content is mixed for surround sound, and the effectiveness of the surround sound modes can vary depending on the source material. Some content may provide a more noticeable surround sound experience, while others may have a more subtle effect.
By exploring and testing the surround sound modes offered by your system, you can unlock new dimensions in your audio experience, amplifying the immersion and enjoyment of the content you love.
Next, we’ll discuss the importance of testing your surround sound system with different audio formats to ensure the highest quality audio reproduction.
Testing Different Audio Formats
Testing different audio formats on your surround sound system is an essential step to ensure that your system can handle and reproduce the highest quality audio available. Various audio formats provide different levels of audio fidelity and immersive sound experiences. By testing different audio formats, you can optimize your system for the specific formats you’ll encounter in your media collection. Here’s how you can test different audio formats:
- Access the audio settings menu on your AV receiver or source device.
- Locate the audio format or audio output section within the menu.
- Select the desired audio format, such as PCM, Dolby TrueHD, DTS-HD Master Audio, or other formats available.
- Play content that is encoded in the selected audio format. Look for media that specifically supports the format you want to test or refer to digital media files with high-quality audio tracks.
- Listen carefully to the audio and evaluate the clarity, detail, and surround sound effect produced by each audio format.
- Take note of any noticeable differences in audio quality, dynamic range, or spatial imaging between different audio formats.
- Experiment with various audio formats to determine which ones deliver the best audio reproduction on your system.
- Consider testing different formats with a variety of content genres, including movies, music, and video games, to analyze the performance across different media types.
- If your AV receiver supports upmixing or sound virtualization technologies, such as Dolby Surround or DTS Neural:X, experiment with these enhancements to see if they improve the listening experience with non-surround sound formats.
Testing different audio formats allows you to explore the full potential of your surround sound system by experiencing the highest quality sound available in various media. It helps you identify the formats that provide the most immersive and accurate audio reproduction for your particular setup.
Remember that not all content is available in every audio format, and the effectiveness of different formats may vary depending on the source material. Some media, especially newer releases, offer advanced audio formats specifically mixed for surround sound systems, providing a more engaging and enveloping audio experience.
By testing different audio formats, you’ll be able to unlock the full potential of your surround sound system and enjoy audio content as it was meant to be heard, maximizing your audio enjoyment and immersion.
Next, we’ll discuss the importance of checking the synchronization between audio and video, known as audio sync, to ensure a seamless entertainment experience.
Checking Audio Sync
Checking audio sync, also known as audio-video sync, is an important step in testing your surround sound system to ensure that the sound remains perfectly synchronized with the visuals. Misaligned audio can be frustrating and greatly detract from your entertainment experience. By checking audio sync, you can ensure that the audio and video are in perfect harmony. Here’s how you can check audio sync:
- Play a video clip or movie scene that features dialogue, music, and sound effects.
- Observe the on-screen actions or movements and listen to the accompanying audio.
- Pay close attention to whether the sound matches the actions you see on the screen. Ensure that there are no noticeable delays or discrepancies between the audio and video.
- If you notice any synchronization issues, such as audio lag or audio leading, it is likely that your system has an audio delay.
- Access the audio settings menu on your source device or AV receiver and locate the audio delay or lip-sync adjustment option.
- Adjust the audio delay settings to match the timing of the audio with the visuals. This can be done by adding or decreasing the delay time until the audio and video are in perfect sync.
- It is recommended to make minor adjustments and test the synchronization repeatedly until you achieve the optimal audio sync.
- If your AV receiver offers an automatic audio sync feature, such as Auto Lip Sync, you can utilize it to automatically adjust the audio delay based on the connected display’s specifications.
- Repeat this process when using different audio sources or content to ensure consistent audio sync across various media types.
Checking audio sync is crucial to ensure a seamless and immersive entertainment experience. Even a slight delay or misalignment can significantly impact your ability to fully engage with the audiovisual content.
Keep in mind that audio sync issues can occur due to various factors, including HDMI handshake, signal processing delays within the source device or AV receiver, or even display-related factors. Therefore, it’s essential to check audio sync regularly, especially when setting up a new system, changing components, or when encountering sync issues.
By checking audio sync and making the necessary adjustments, you can guarantee that the sound and visuals are perfectly aligned, creating a more immersive and enjoyable surround sound experience.
In the next section, we’ll explore common troubleshooting techniques to overcome any surround sound issues you may encounter.
Troubleshooting Surround Sound Issues
While setting up and testing your surround sound system, you may encounter various issues that can affect the audio performance. Troubleshooting these issues is key to resolving them and ensuring that your surround sound system operates optimally. Here are some common troubleshooting techniques to overcome surround sound issues:
- Check the speaker connections: Ensure that all speakers are securely connected to the AV receiver and that the positive (+) and negative (-) terminals are correctly matched.
- Verify the input/output settings: Confirm that the audio input and output settings on your source device and AV receiver are properly configured. Ensure that the correct audio format, channels, and connections are selected.
- Reset your AV receiver: If you’re experiencing unexpected behavior or malfunctioning audio, try performing a reset on your AV receiver. Refer to the instruction manual for the specific steps to reset your device.
- Update firmware and drivers: Keep your AV receiver and source devices up to date with the latest firmware or driver updates. Manufacturers often release updates that address known issues and improve compatibility.
- Check and replace cables: Faulty or low-quality cables can result in audio issues. Inspect the cables and connections, ensuring they are in good condition. If necessary, replace them with high-quality cables to achieve reliable connections.
- Adjust speaker levels and configurations: Fine-tune the speaker levels, channel balance, and crossover settings on your AV receiver to ensure a well-balanced sound mix. Consider exploring different speaker configuration presets if available.
- Eliminate sources of interference: Nearby electronic devices, wireless routers, or other wireless signals can interfere with the performance of your surround sound system. Try relocating or shielding these devices to minimize any potential interference.
- Verify source compatibility: Ensure that your audio sources, such as Blu-ray discs, streaming services, or game consoles, are compatible with your surround sound system’s audio formats and capabilities.
- Check for software settings: Some source devices, such as gaming consoles or media players, may have specific audio settings that need adjustment to maximize surround sound performance. Explore the settings and consult the device’s manual for guidance.
- Monitor temperature and ventilation: Surround sound receivers can generate heat during prolonged use. Make sure your receiver has adequate ventilation and is not overheating, as this can affect its performance.
- Refer to the user manual: If you encounter specific issues that are not resolved by the above troubleshooting techniques, consult the user manual of your surround sound system or contact the manufacturer’s customer support for guidance.
Remember that troubleshooting may require patience and trial and error. It’s important to methodically analyze and address each potential issue to identify and resolve the problem.
By utilizing these troubleshooting techniques, you can overcome common surround sound issues and enjoy a seamless audio experience with your surround sound system.
In the next section, we’ll recap the key steps and emphasize the importance of thorough testing to ensure optimal surround sound performance.
Conclusion
Testing your surround sound system is a crucial process to ensure optimal audio performance and an immersive entertainment experience. By following the steps outlined in this guide, you can fine-tune your system and address any issues that may arise. Here’s a recap of the key steps involved in testing your surround sound system:
- Begin by understanding the basics of surround sound and setting up your surround sound system correctly.
- Test the speaker connections to confirm that all speakers are properly connected and wired.
- Adjust the speaker levels to achieve a balanced sound mix and immersive effect.
- Calibrate your system by using built-in calibration features or manually fine-tuning settings for optimal audio performance.
- Test your system with a test tone to ensure that each speaker is producing sound correctly.
- Verify the surround sound sources to ensure the audio is being processed correctly.
- Explore different surround sound modes and audio formats to customize the audio experience.
- Check audio sync to ensure that the sound remains perfectly synchronized with the visuals.
- Troubleshoot any surround sound issues that may arise using appropriate troubleshooting techniques.
Thoroughly testing your surround sound system allows you to uncover its full potential, delivering high-quality audio that enhances your enjoyment of movies, music, and games. It ensures that your system is functioning optimally and overcomes any challenges that may hinder the audio experience.
Remember to regularly revisit these testing steps as you make changes to your system, install new components, or encounter any issues. Technology and personal preferences evolve over time, and testing allows you to keep your surround sound system finely tuned to your needs.
By investing time and effort in testing your surround sound system, you can ensure that you’re getting the most out of your audio setup and enjoy a captivating and immersive sound experience for all your entertainment endeavors.