Introduction
Welcome to this step-by-step guide on how to set up your Roku HDMI device. Roku is a popular streaming media player that allows you to access a wide range of streaming services and content on your TV. Whether you’re a tech-savvy individual or a beginner, this guide will walk you through the simple process of setting up your Roku HDMI device, so you can start enjoying your favorite shows, movies, and more.
Roku devices are known for their user-friendly interface and convenient setup process. With just a few easy steps, you’ll be able to connect your Roku device to your TV and start streaming your favorite content in no time. Before we jump into the setup process, make sure you have all the necessary equipment and a stable internet connection.
In this guide, we will cover everything from gathering the required equipment to connecting your Roku device to your TV and completing the setup process. By following these steps, you’ll be able to experience the seamless streaming capabilities of your Roku device.
Whether you’re a movie enthusiast, a sports fan, or someone who loves to stay updated with the latest TV shows, Roku offers a wide range of streaming options to cater to your entertainment needs. So, without further ado, let’s dive into the setup process and get your Roku HDMI device up and running.
Step 1: Gather the necessary equipment
Before you begin setting up your Roku HDMI device, ensure that you have all the necessary equipment at hand. Here’s what you’ll need:
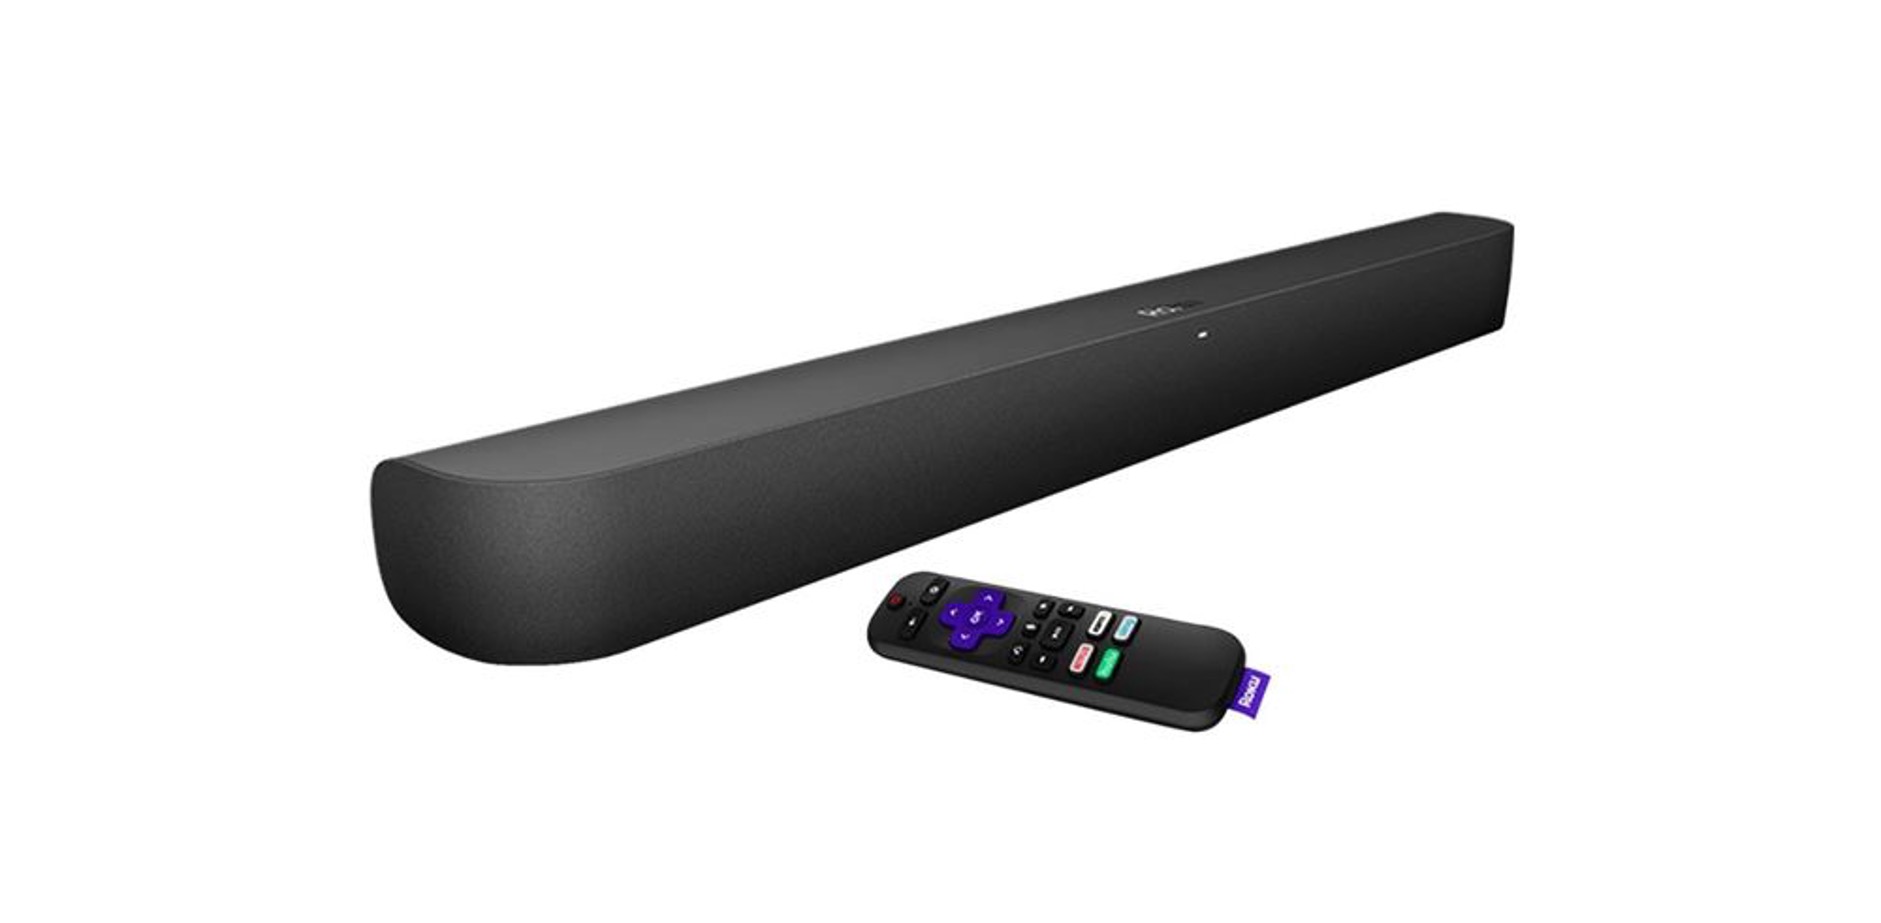
- A compatible Roku HDMI device – This can be a Roku Express, Roku Streaming Stick, or any other Roku streaming device that supports HDMI connectivity.
- A high-definition television (HDTV) with an available HDMI port – Make sure your TV has an HDMI port as this will be used to connect your Roku device.
- A stable internet connection – To stream content on your Roku device, you’ll need a reliable Wi-Fi connection. Ensure that your internet service is up and running.
- A power source – Most Roku devices require a power source. Check if your Roku device comes with a power adapter or if it can be powered directly through your TV’s USB port.
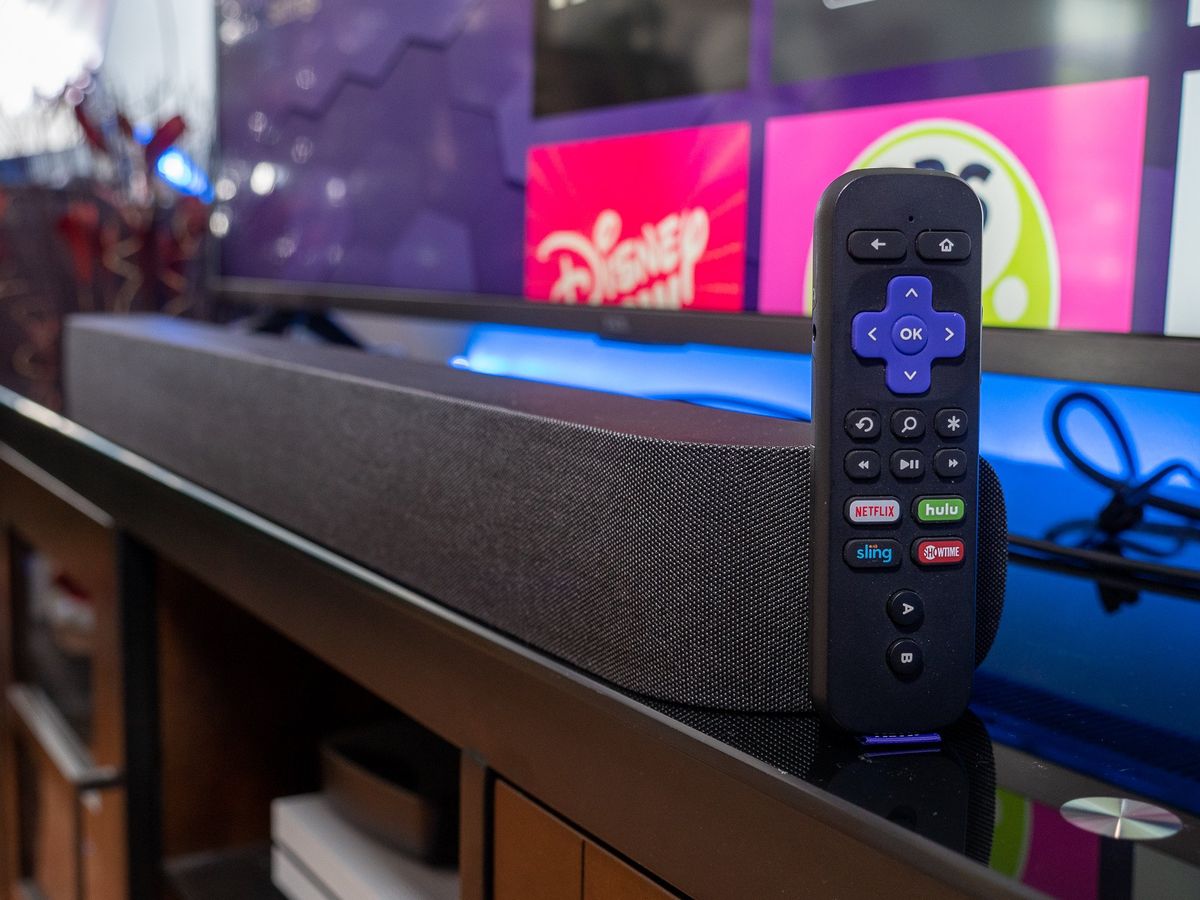
- A remote control – All Roku devices come with a remote control. Ensure that you have the remote control that came with your Roku device.
- Batteries – Check the required battery specifications for your Roku remote control and ensure that you have the necessary batteries.
Once you have gathered all the necessary equipment, you’re ready to move on to the next step, which is connecting your Roku device to power.
Step 2: Connect the Roku device to power
Now that you have all the necessary equipment, it’s time to connect your Roku device to power. Follow these simple steps:
- Locate the power port on your Roku device – This is where you will connect the power cable or adapter.
- Connect the power cable or adapter – Plug one end of the power cable into the power port on your Roku device, and the other end into a power source, such as a wall outlet or a USB port on your TV. If your Roku device is powered by a USB port on your TV, make sure it provides enough power for the device to function properly.
- Power on your Roku device – Once you have connected the power, your Roku device will power on automatically. Look for the power indicator light to confirm that it is on.
Note: If your Roku device comes with an Ethernet port, you also have the option to connect it to your internet router using an Ethernet cable for a wired internet connection. This can be useful if you have a weak Wi-Fi signal or prefer a more stable connection.
Once you have successfully connected your Roku device to power, it’s time to move on to the next step, which is connecting your Roku device to your TV.
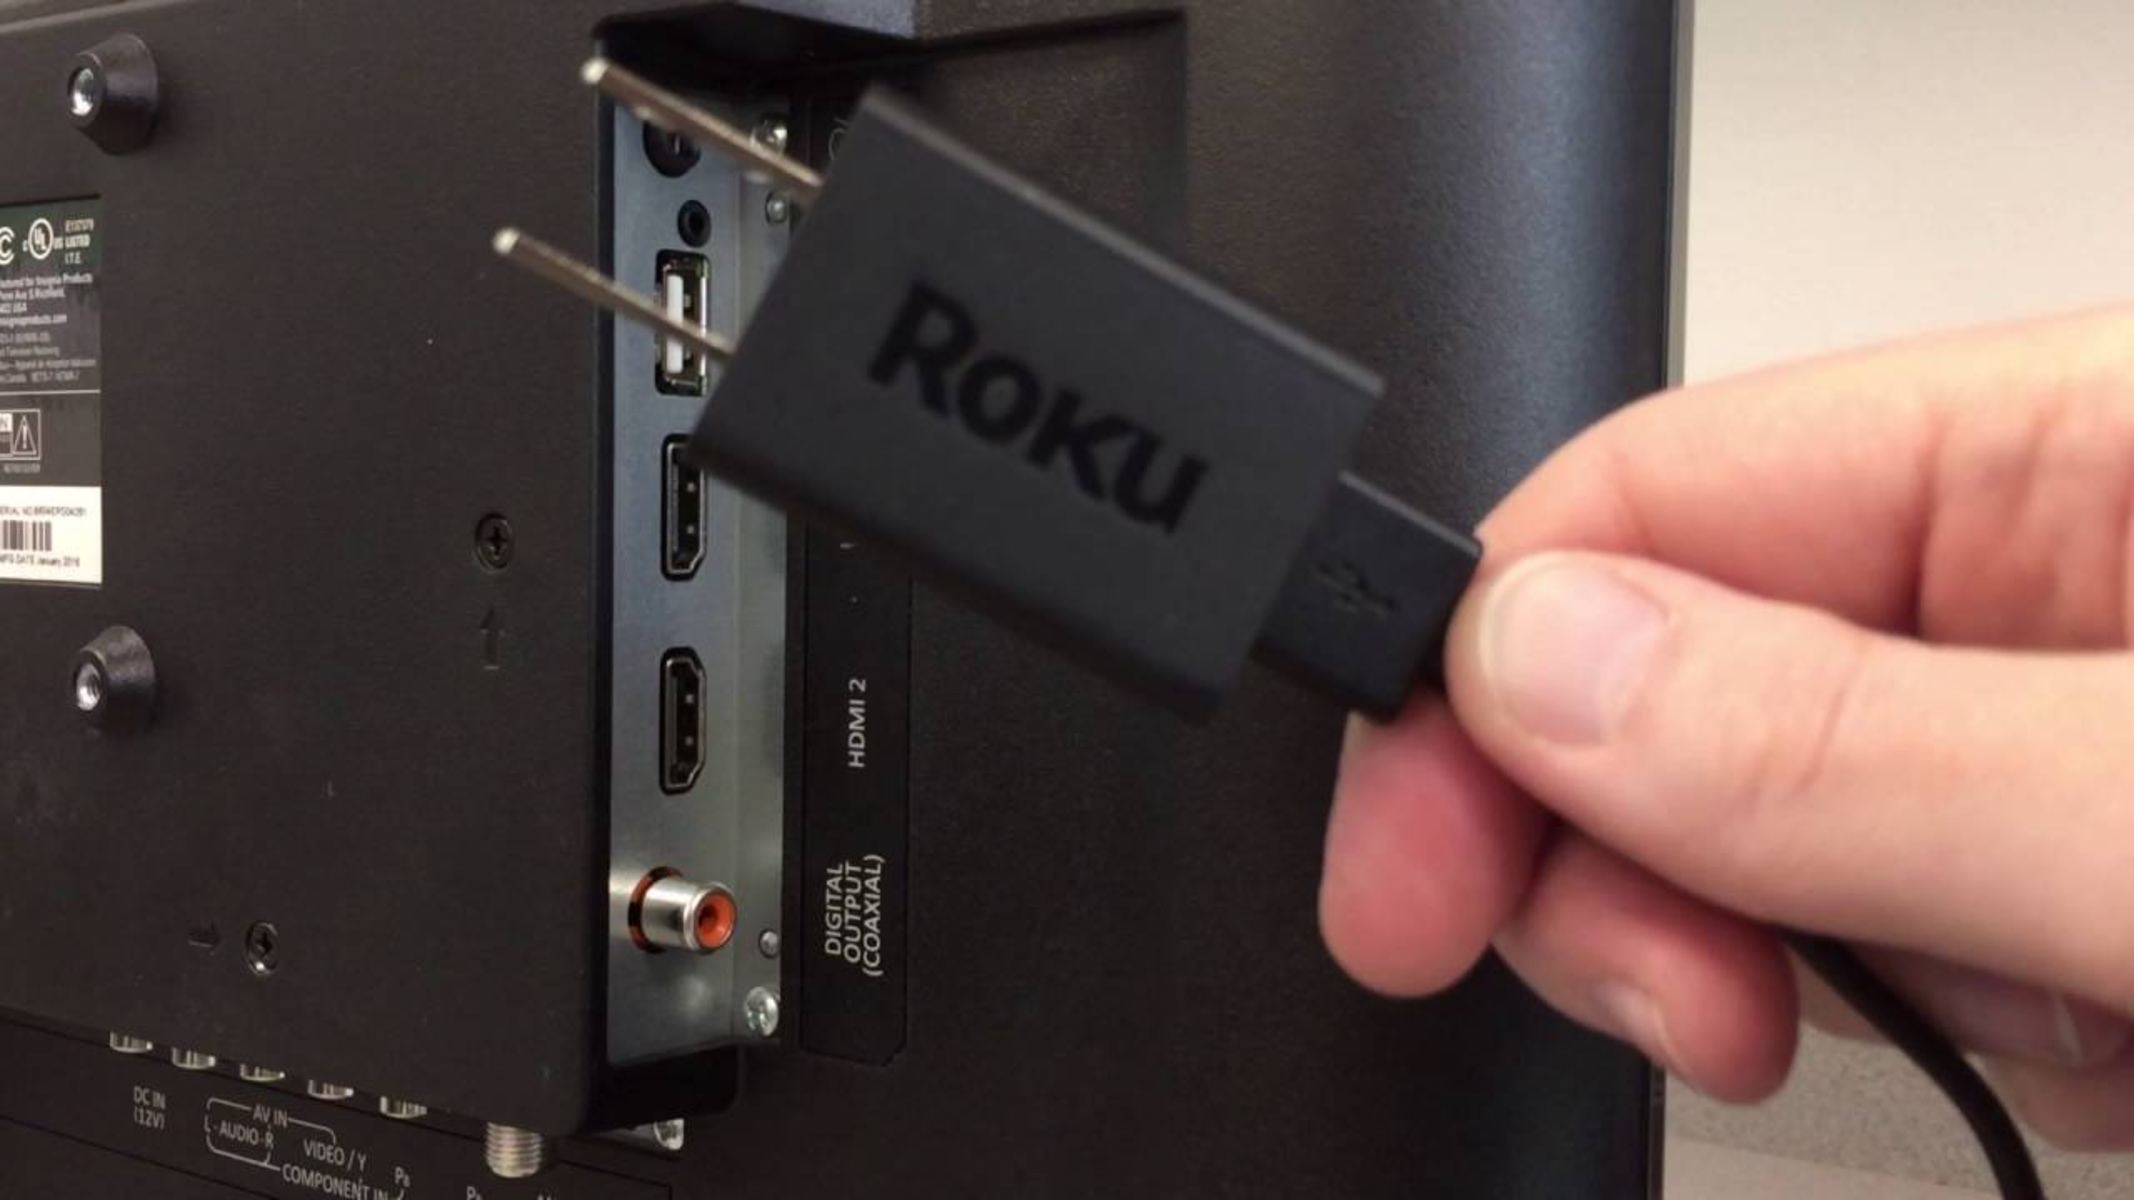
Step 3: Connect the Roku device to your TV
Now that your Roku device is powered on, it’s time to connect it to your TV. Follow these steps to establish the connection:
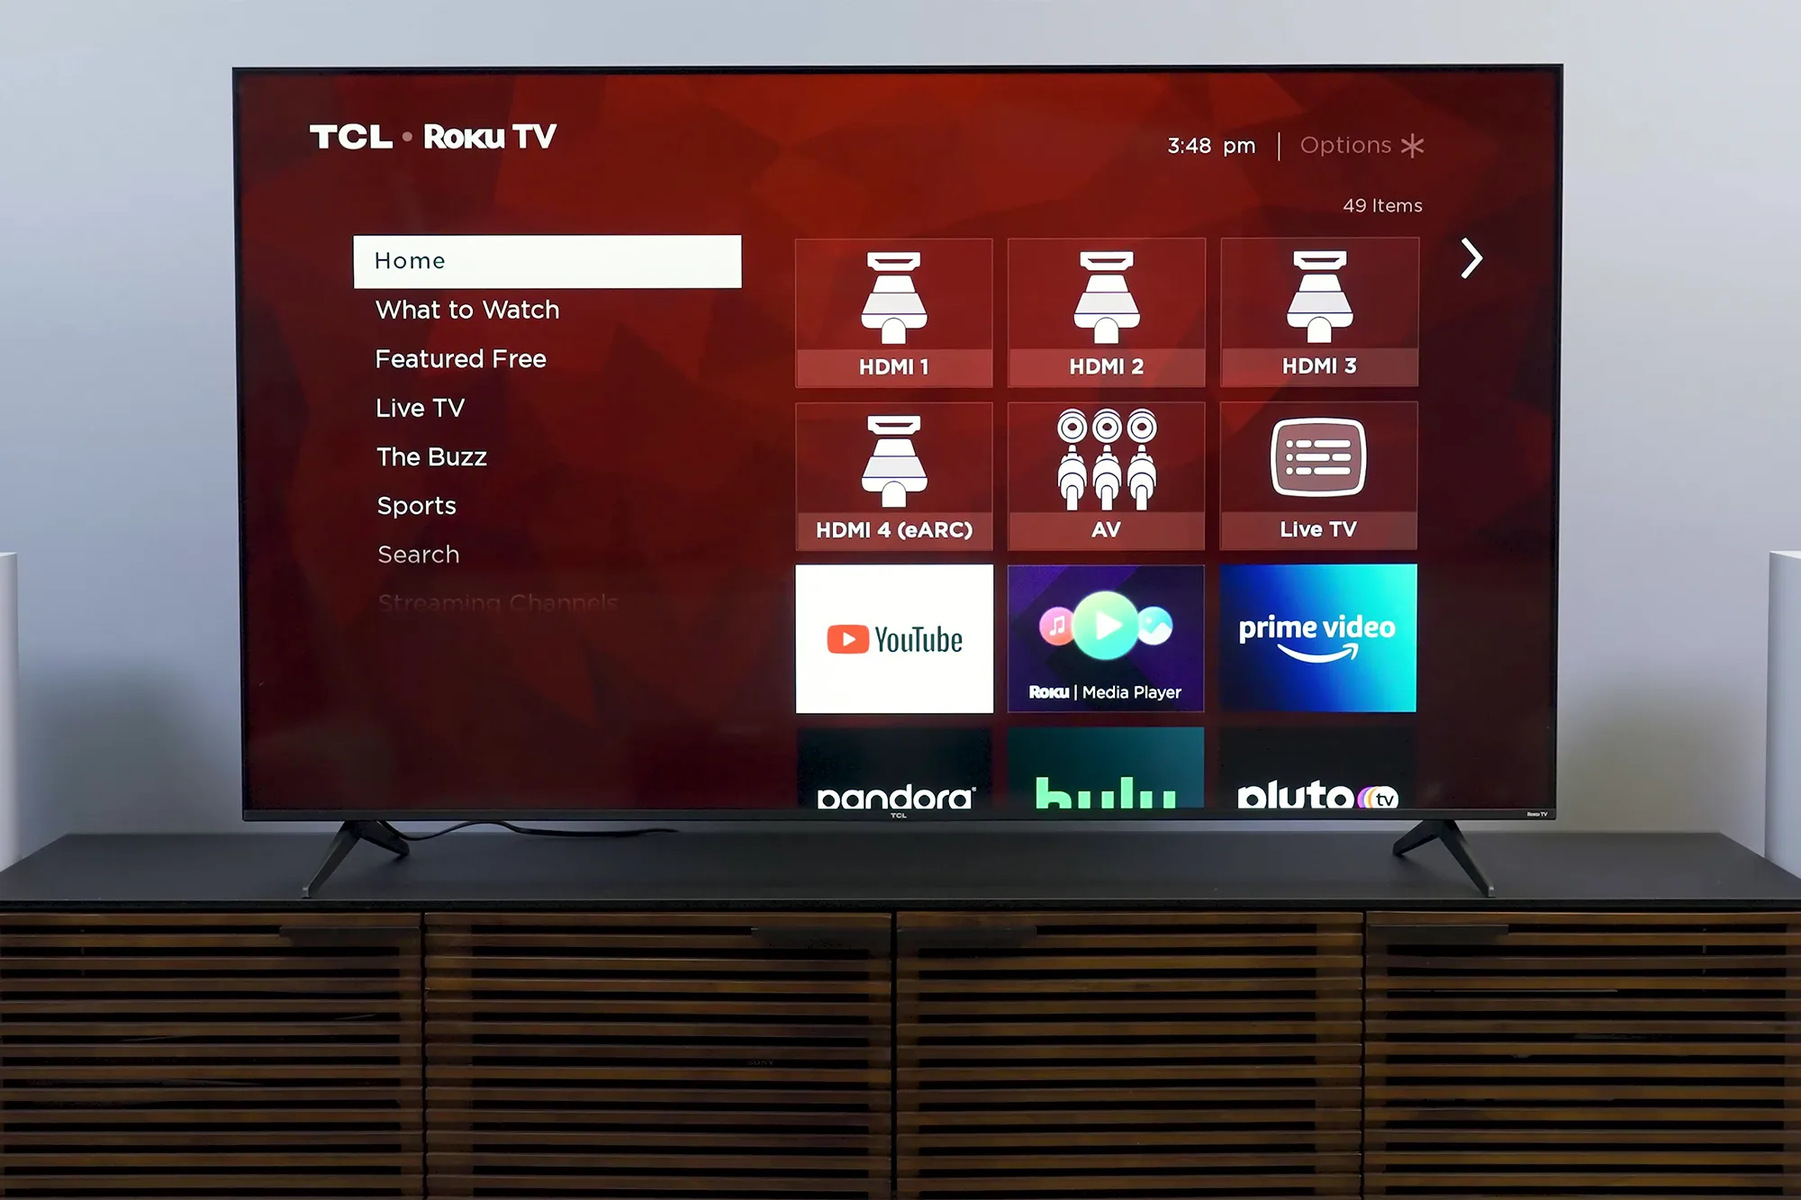
- Locate the HDMI port on your TV – Look for the HDMI ports on the back or side of your TV. These ports are usually labeled as “HDMI”.
- Insert one end of the HDMI cable into the HDMI port on your Roku device – Ensure that it is securely inserted.
- Insert the other end of the HDMI cable into the HDMI port on your TV – Again, make sure it is securely inserted.
- Take note of the HDMI input used – If your TV has multiple HDMI inputs, take note of the specific HDMI input you connected the Roku device to. This will be important for later when you need to switch to the correct input on your TV.
That’s it! You have successfully connected your Roku device to your TV using an HDMI cable. Now, proceed to the next step to set up the HDMI connection.
Note: If your TV does not have an available HDMI port, you may need to use alternative connection methods, such as composite or component cables. Refer to your Roku device’s user manual for instructions on connecting via these methods.
Step 4: Set up the HDMI connection
With your Roku device connected to your TV via HDMI, it’s time to set up the HDMI connection. Follow these steps to ensure a successful setup:
- Turn on your TV – Use your TV’s remote control to power it on.
- Switch to the correct HDMI input – Using your TV’s remote control, navigate to the input settings and select the HDMI input that you connected your Roku device to in the previous step. This will activate the HDMI connection between your Roku device and your TV.
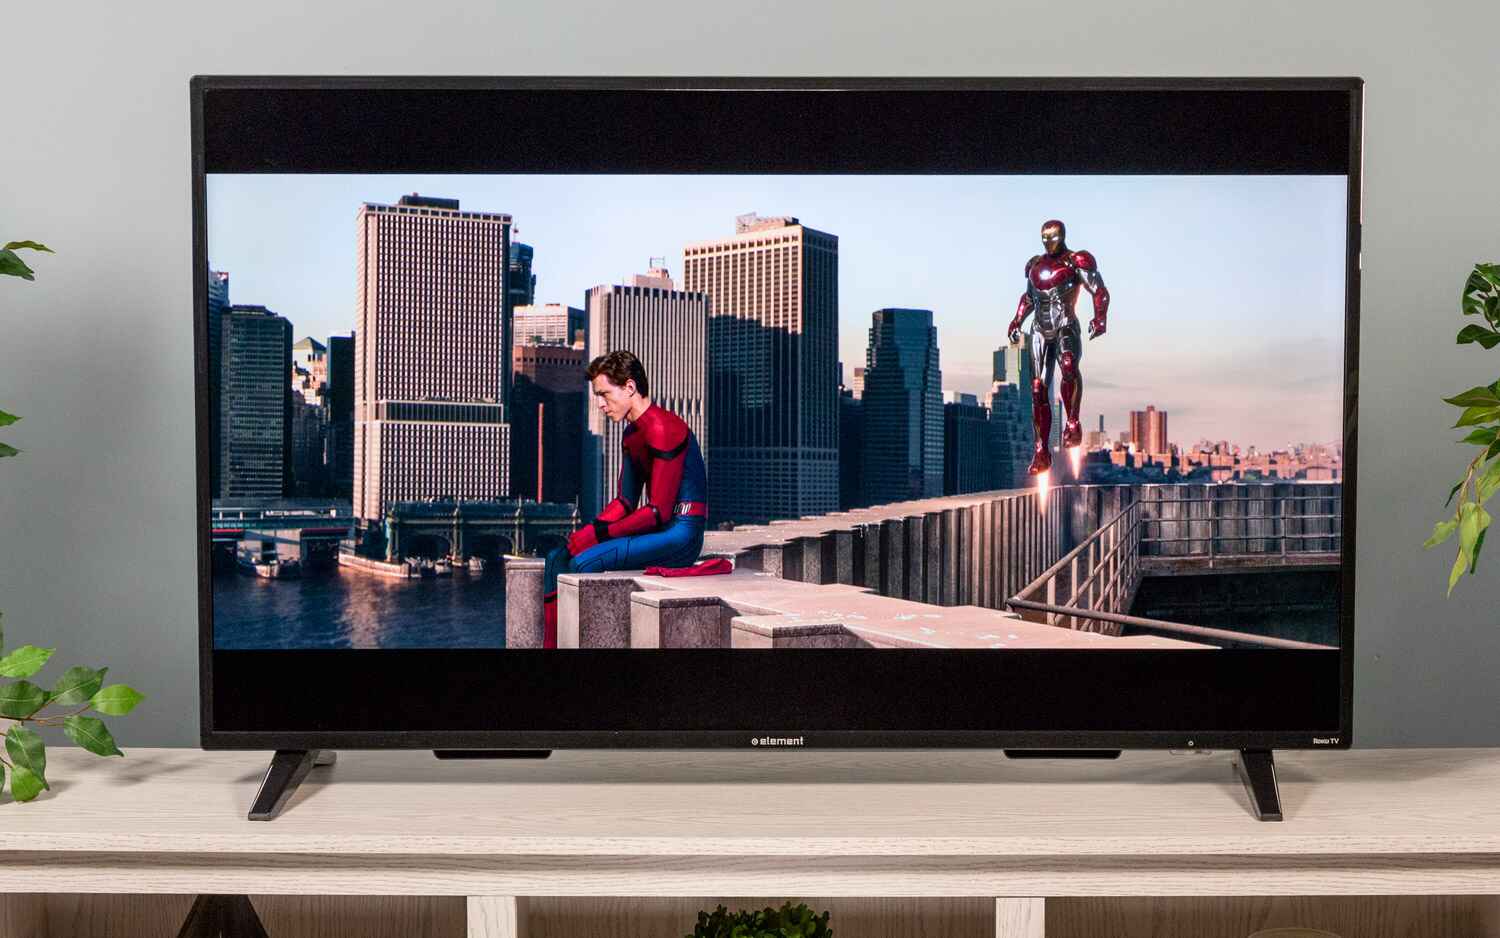
- Wait for the Roku logo to appear – Once the Roku device is connected, you will see the Roku logo appearing on your TV screen. This indicates that the HDMI connection is working properly.
- Configure display settings (if needed) – Depending on your TV and Roku device, you may need to adjust the display settings to optimize the picture quality. Use the Roku remote control to navigate through the on-screen menu and make any necessary adjustments.
Now that the HDMI connection is set up, it’s time to connect your Roku device to a Wi-Fi network. Proceed to the next step to continue with the setup process.
Note: If you encounter any issues with the HDMI connection, ensure that both ends of the HDMI cable are securely plugged in. You may also try using a different HDMI cable or connecting to a different HDMI port on your TV.
Step 5: Connect to a Wi-Fi network
Now that your Roku device is connected to your TV and the HDMI connection is set up, it’s time to connect your Roku device to a Wi-Fi network. Follow these steps to establish the connection:
- On your TV screen, you will see a prompt asking you to select your preferred language. Use the Roku remote control to navigate and select your desired language.
- The next screen will prompt you to connect to a network. Select “Set up connection” or “Wireless” to begin the process of connecting to your Wi-Fi network.
- Your Roku device will scan for available Wi-Fi networks. Once the list is populated, select your Wi-Fi network from the options presented.
- If your Wi-Fi network is password-protected, enter the network password using the on-screen keyboard. Take care to enter the password correctly, as it is case-sensitive.
- After inputting the correct password, your Roku device will attempt to connect to the selected Wi-Fi network. Wait for a few moments as the connection is established.
- If successful, you will see a confirmation message on your TV screen, indicating that your Roku device is now connected to your Wi-Fi network.
Once you have successfully connected to your Wi-Fi network, your Roku device will automatically check for software updates. If any updates are found, it will download and install them.
Now that the Wi-Fi connection is established, you can proceed to the final step of the setup process on your TV screen.
Note: If you encounter any issues with connecting to your Wi-Fi network, make sure your password is correct and double-check that you are selecting the correct network from the list. If the issue persists, try restarting your Roku device and your Wi-Fi router before attempting the connection again.
Step 6: Complete the setup process on your TV screen
Congratulations! You have successfully connected your Roku device to your TV and established a Wi-Fi connection. Now, let’s complete the final step of the setup process on your TV screen:
- After the Wi-Fi connection is established, your Roku device will automatically display a screen prompting you to activate your device. Follow the on-screen instructions to activate your Roku device.
- You will be provided with an activation code. Take note of this code as you will need it to activate your Roku device.
- Using a computer or smartphone, open a web browser and go to the Roku activation website (typically, roku.com/link).
- Enter the activation code displayed on your TV screen into the corresponding field on the Roku activation website.
- Follow the instructions provided on the website to create a Roku account or sign in to an existing account.
- Once you have completed the activation process and signed in to your Roku account, your Roku device will automatically update its channels and software.
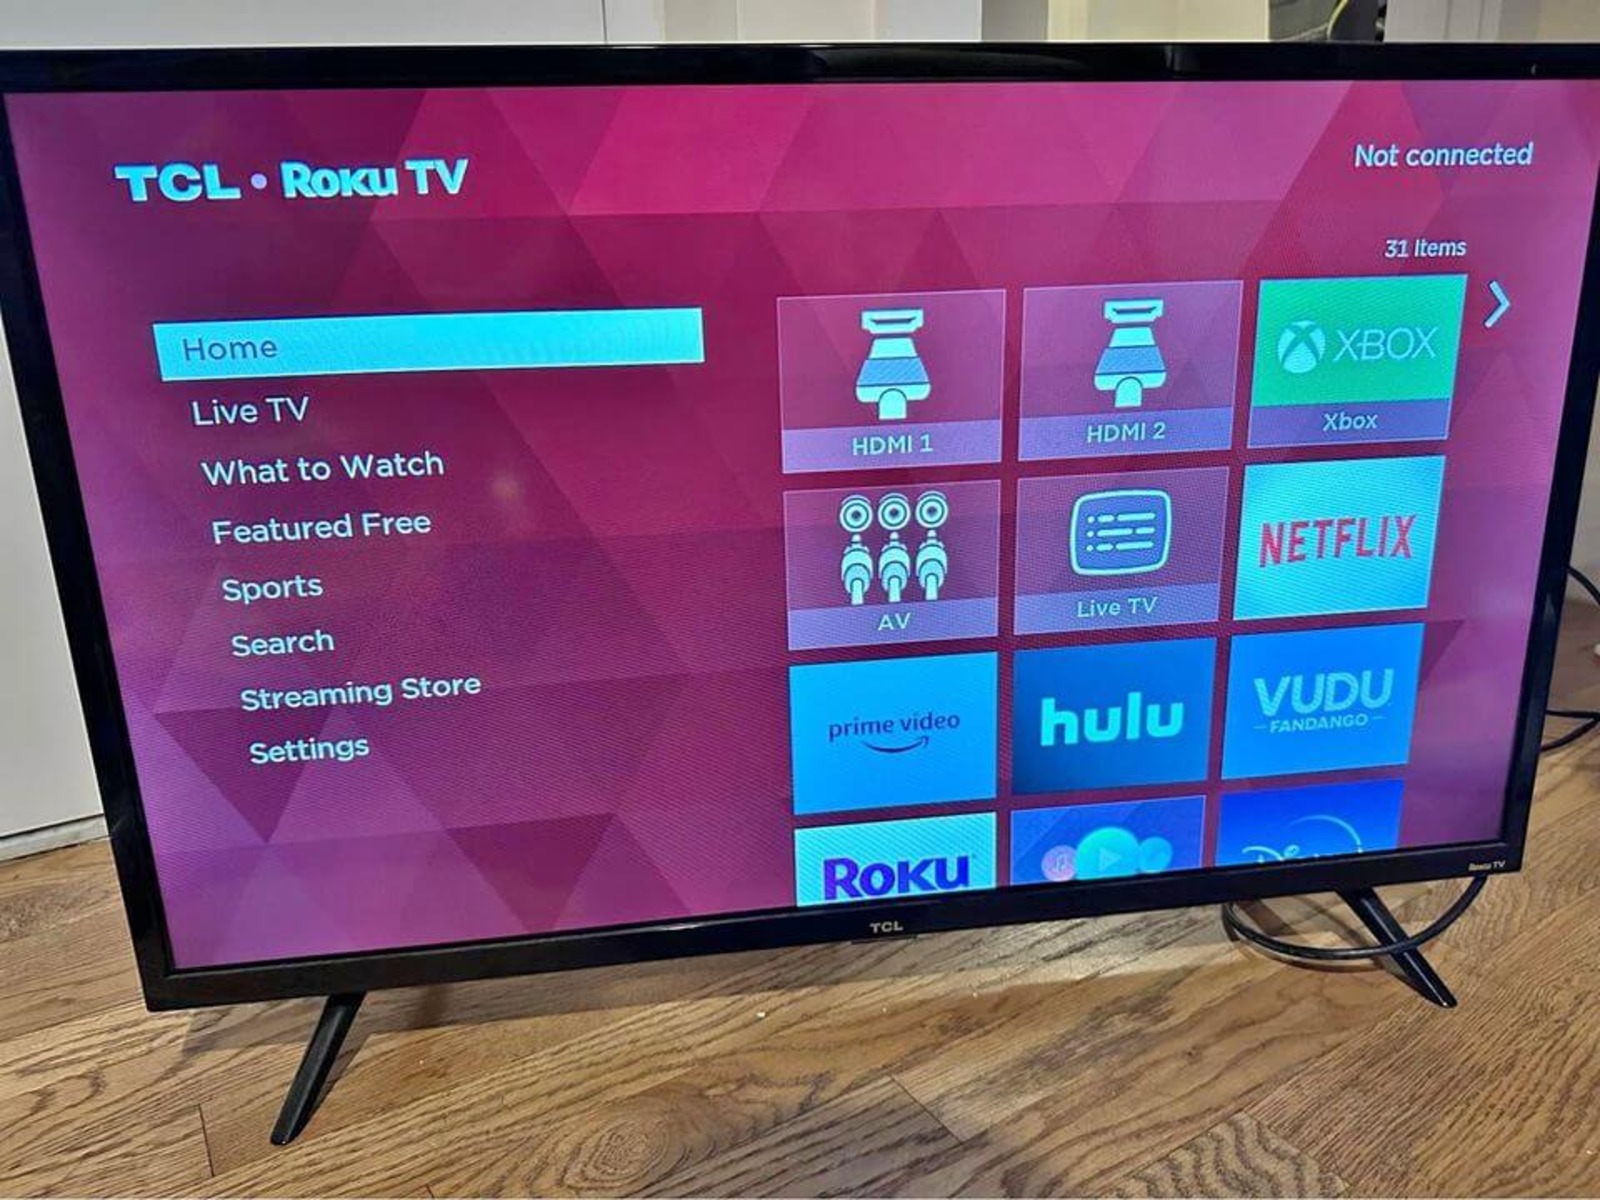
- You will then be prompted to customize your Roku experience by selecting your preferred channels, apps, and settings. You can add and remove channels later as per your preference.
And there you have it! You have completed the setup process on your TV screen. Your Roku device is now ready to use.
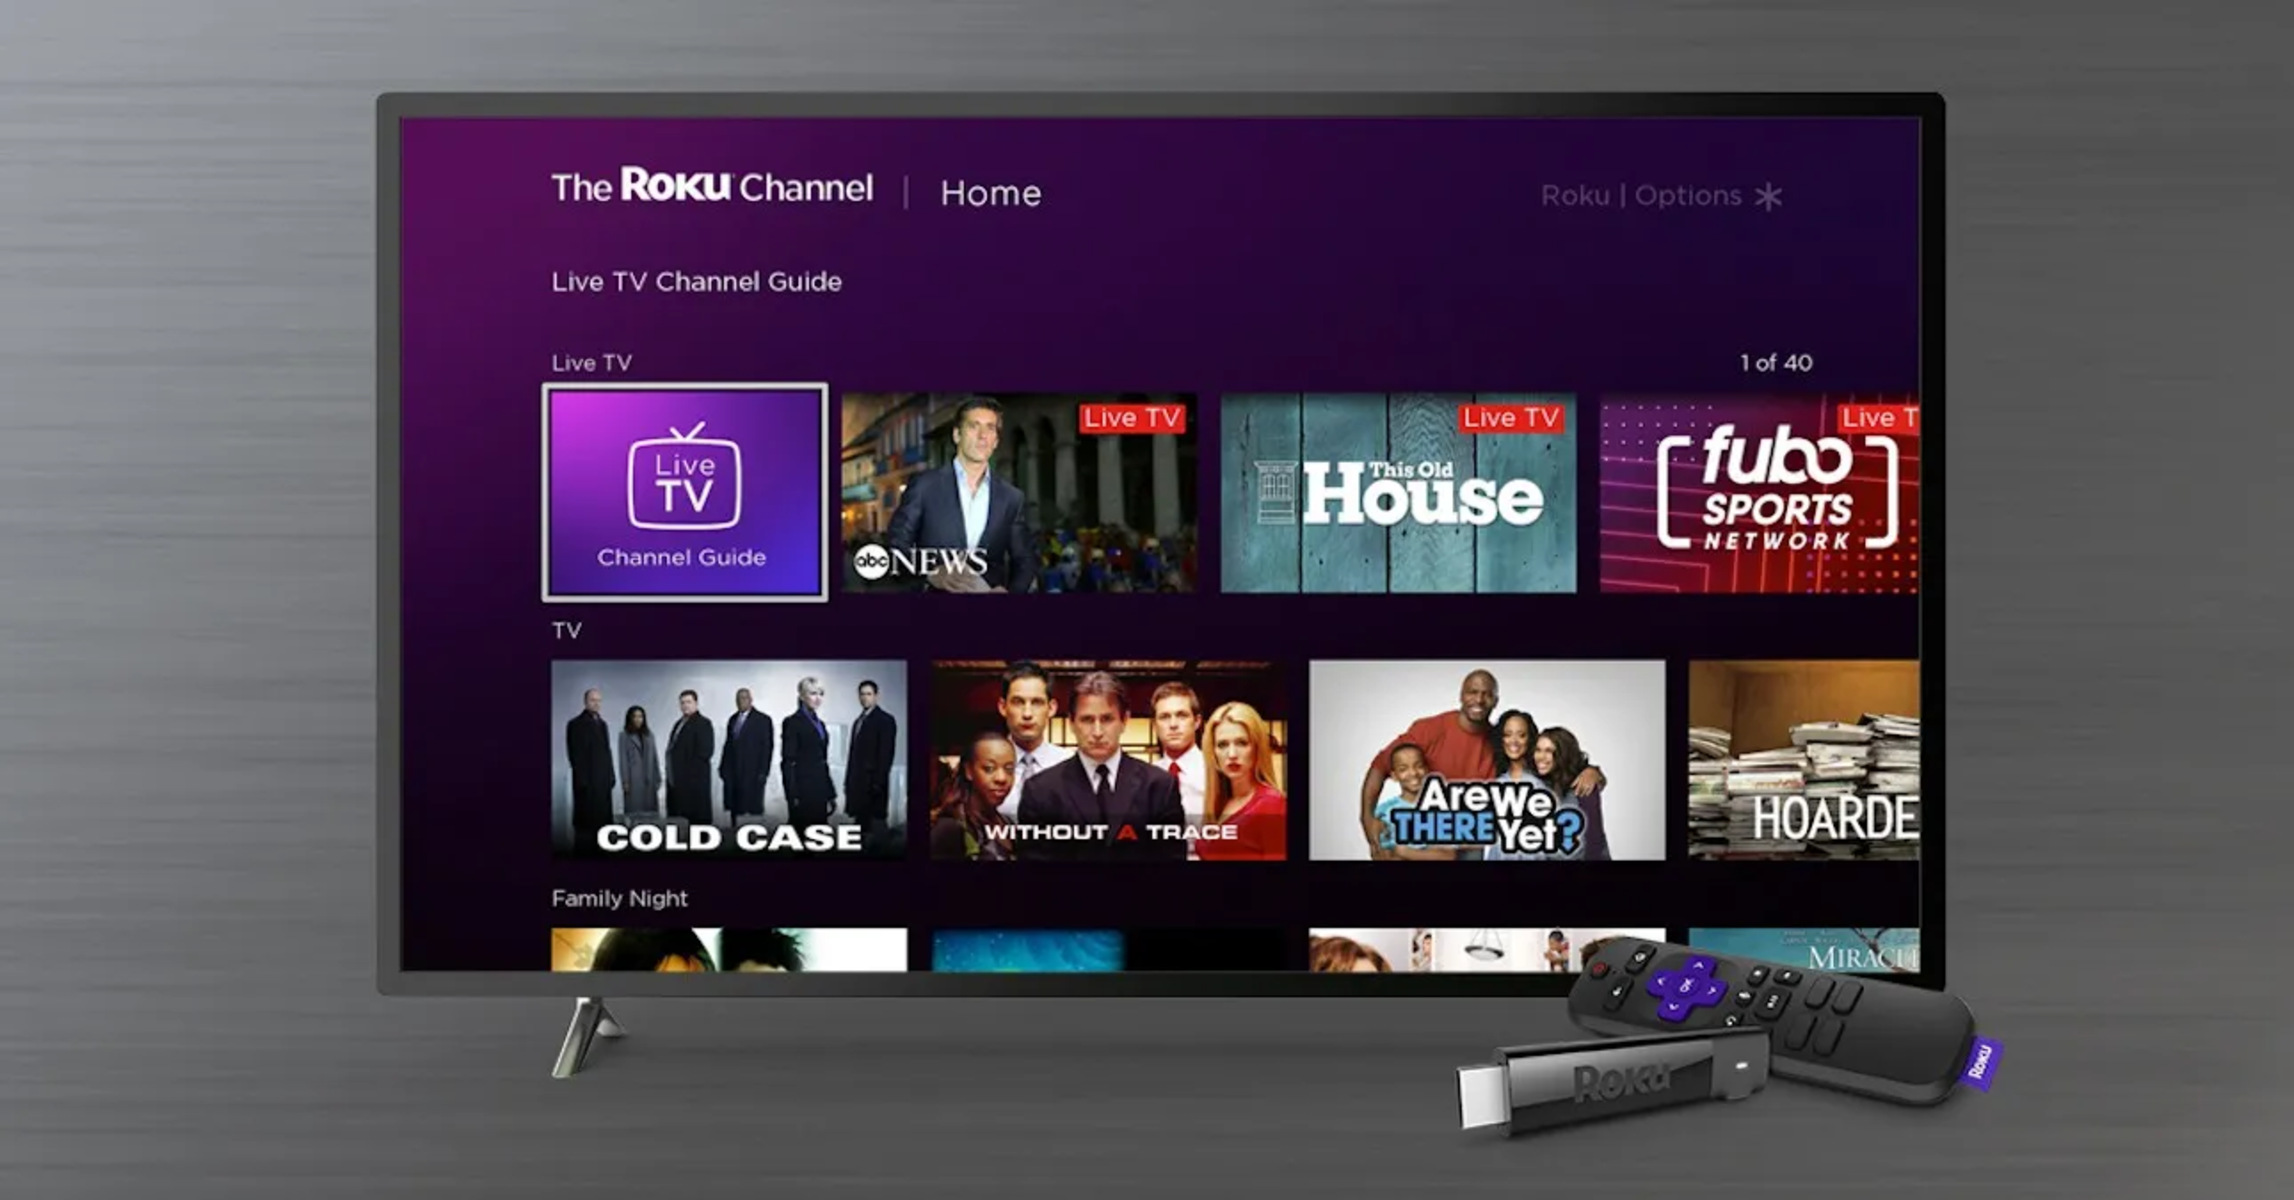
Take some time to explore the Roku interface, browse through the available channels, and enjoy the vast selection of streaming content that Roku has to offer. You can use the Roku remote control to navigate through the menus, search for specific titles, and control playback.
If at any point you want to change the settings, connect additional devices, or perform any other tasks, you can access the Roku settings menu by pressing the Home button on your Roku remote and navigating to the respective options.
Now sit back, relax, and start streaming your favorite shows, movies, and more with your newly set up Roku device!
Conclusion
Setting up your Roku HDMI device is a straightforward process that allows you to transform your regular TV into a smart TV with access to a wide array of streaming content. By following the steps outlined in this guide, you have successfully connected your Roku device to your TV, connected it to your Wi-Fi network, and completed the setup process on your TV screen.
Roku provides a user-friendly and intuitive interface, allowing you to easily navigate through different channels and apps to find the content you love. With the ability to customize your channel lineup and settings, you can personalize your Roku experience to your preferences.
Remember, if you encounter any difficulties during the setup process, refer to the user manual that came with your Roku device or visit the Roku support website for assistance. They have a wealth of resources and a helpful support team ready to assist you.
Now that your Roku device is up and running, you can enjoy a world of streaming content right at your fingertips. From popular streaming services like Netflix, Hulu, and Amazon Prime Video to a wide range of free and paid channels, there’s something for everyone to enjoy.
So grab your Roku remote, sit back, and immerse yourself in a world of entertainment. Whether you’re binge-watching your favorite TV shows or discovering new movies, your Roku device will provide hours of streaming enjoyment.
Thank you for choosing Roku, and happy streaming!