Possible Reasons for No Sound on Roku TV
Having no sound on your Roku TV can be frustrating, especially when you’re trying to enjoy your favorite shows or movies. There are several potential reasons for this issue, ranging from simple settings adjustments to hardware problems. Let’s explore some of the common reasons why you might experience no sound on your Roku TV.
1. Volume Settings: The first thing you should check is the volume level on your Roku TV. It’s possible that the volume has been accidentally muted or turned down too low. Use the volume buttons on your remote or the TV’s built-in controls to increase the volume and check if the sound is restored.
2. Input Source: Make sure you have selected the correct input source on your TV. If you have connected external devices such as a cable box or a game console, ensure that the TV is set to the correct input where the sound is supposed to come from.
3. HDMI Connection: If you’re using an HDMI cable to connect your Roku TV to other devices, check the HDMI cable and the port on both ends. A loose or faulty cable connection can result in no sound. Try unplugging and re-plugging the HDMI cable and see if that resolves the issue.
4. Audio Settings: It’s possible that the audio settings on your Roku TV have been misconfigured. Go to the settings menu, then select “Audio” or “Sound.” Check the settings for things like audio mode, audio output, and volume modes. Make sure they are set to the appropriate options that match your TV and audio setup.
5. Restarting the Roku TV: Sometimes, simply restarting your Roku TV can resolve sound issues. Press the power button to turn off the TV, then wait for a few seconds before turning it back on. This can help reset any temporary glitches or errors that might be affecting the sound output.
6. Updating the Roku TV Software: Outdated software can lead to various problems, including no sound. Check for any available software updates by going to the settings menu and selecting “System.” Look for the “Software Update” option and follow the prompts to update your Roku TV’s software.
7. Resetting the Roku TV to Factory Settings: If all else fails, you can try resetting your Roku TV to its factory settings. Keep in mind that this will erase all your personalized settings and channels, so make sure to backup any important data. To perform a factory reset, go to the settings menu, select “System,” then choose “Advanced System Settings,” and finally, “Factory Reset.”
If none of these troubleshooting steps resolve the no sound issue on your Roku TV, it’s advisable to contact Roku support for further assistance. They have a dedicated support team that can better guide you through more advanced solutions or arrange for repairs or replacements if necessary.
Checking the Volume
When you experience no sound on your Roku TV, the first and most obvious step is to check the volume settings. It may seem like a simple solution, but sometimes the volume might have been accidentally muted, or it might be set too low.
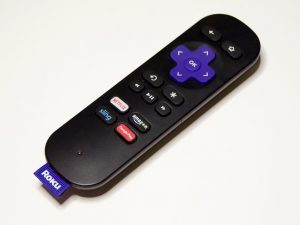
Start by using the volume buttons on your Roku TV remote control to increase the volume. Make sure you’re pressing the correct buttons, as some remotes may have separate volume controls for the TV and other connected devices. Alternatively, you can also use the volume controls on the TV itself if it has built-in controls.
If the volume appears to be turned up but you still don’t hear any sound, check for an on-screen display that shows the current volume level. This display is usually located at the bottom or top of the screen. Adjust the volume level using the remote control until you see the on-screen indicator moving accordingly.
Another thing to check is whether the volume has been muted. Look for a mute button on your remote control or the TV itself. The mute button might be represented by a speaker icon with a line through it. Press the mute button once to unmute the TV and restore the sound.
If you’re using external speakers or a soundbar with your Roku TV, make sure the volume is also turned up on those devices. Check the physical controls on the speakers or use their respective remote controls to increase the volume. It’s possible that the sound is being output to the external speakers instead of the TV’s built-in speakers.
Additionally, some Roku TVs have a separate audio menu where you can adjust specific audio settings. Go to the settings menu, look for “Audio” or “Sound” options, and explore any available settings. You may find options such as sound mode, equalizer settings, or volume leveling. Ensure these settings are appropriately configured for optimal audio output.
If the volume settings on your Roku TV are adjusted correctly, but you’re still not getting any sound, it’s time to move on to the next troubleshooting step. Explore other potential reasons for the sound issue, such as checking the input source or verifying the HDMI connection.
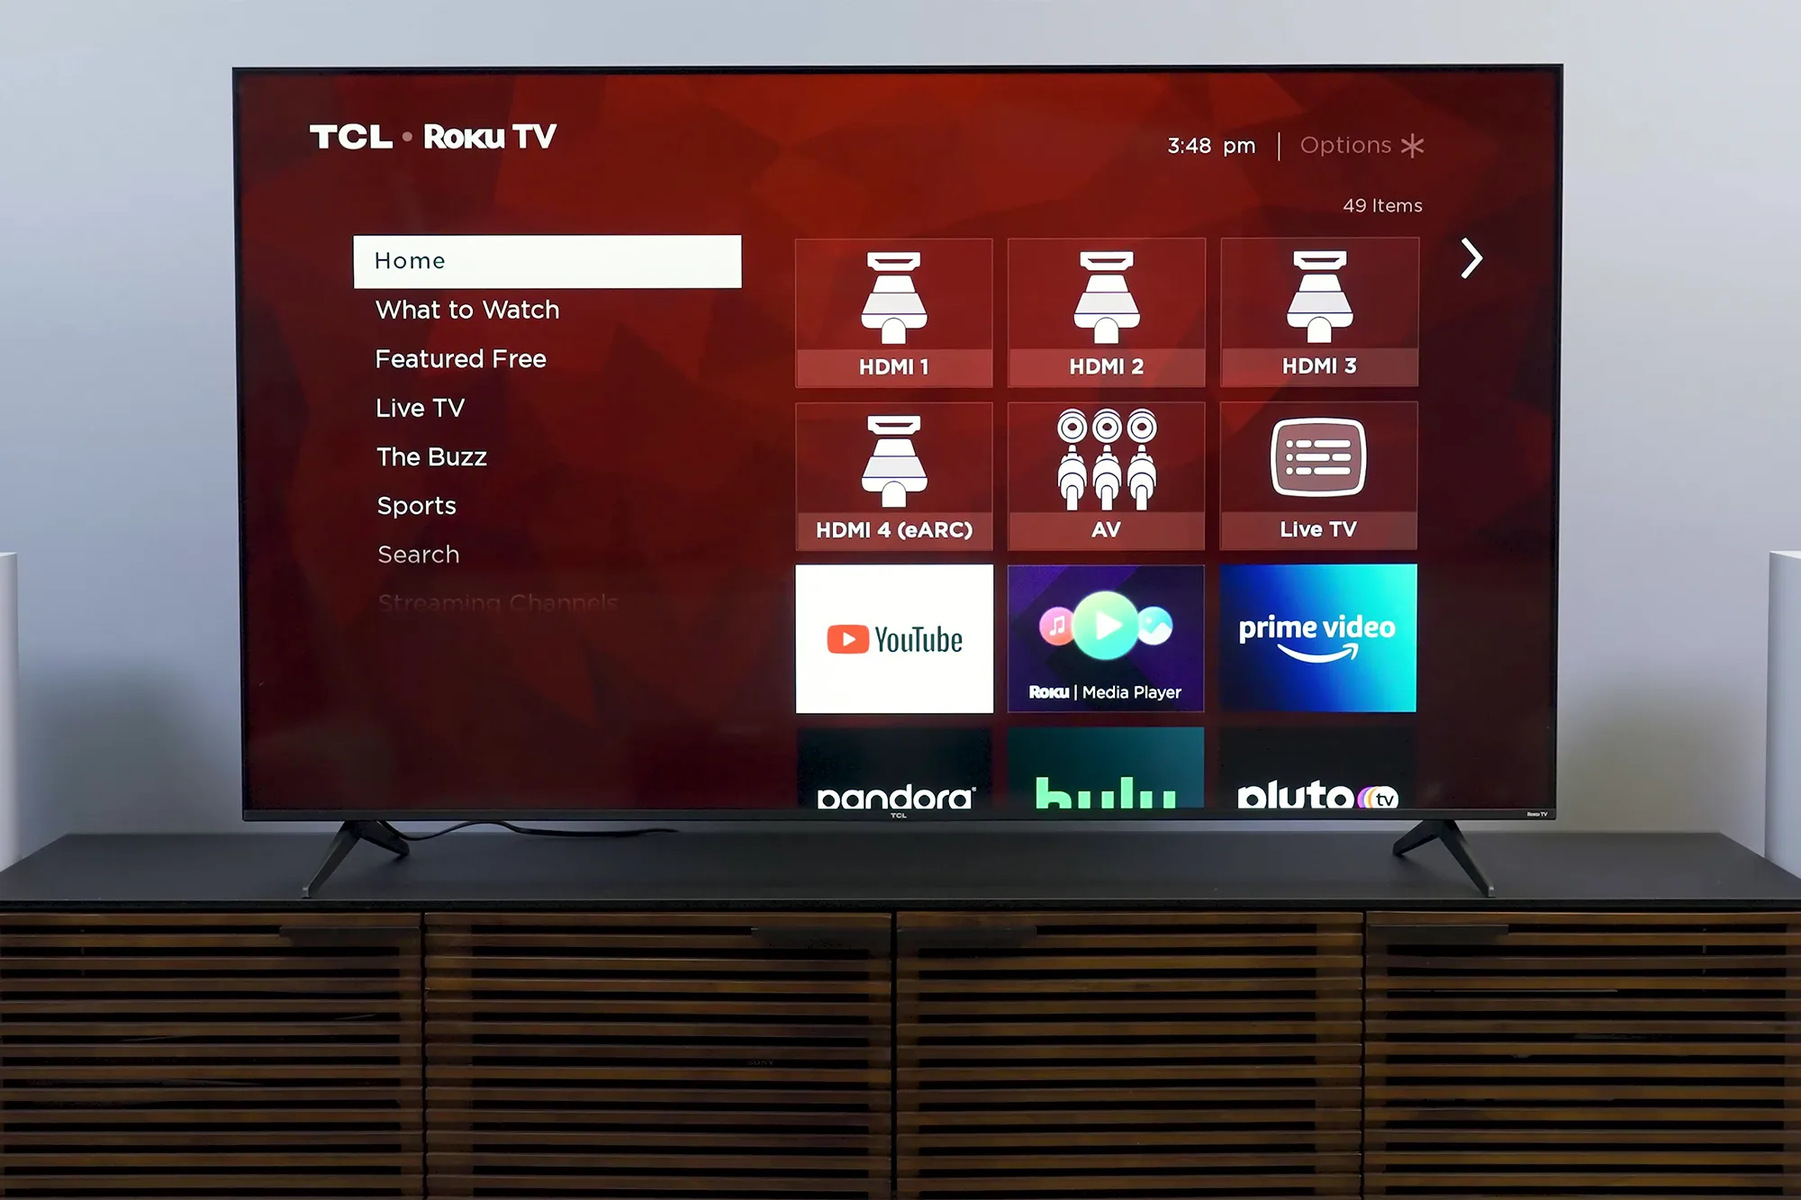
Ensuring the Correct Input Source
One possible reason for no sound on your Roku TV is that the incorrect input source is selected. Your TV might be set to receive audio from a different input, such as a cable box, gaming console, or Blu-ray player, leading to the absence of sound from the Roku TV itself.
Start by locating the input/source button on your Roku TV remote control. This button is usually labeled “Input,” “Source,” or may have icons representing different input options. Press the input/source button repeatedly to cycle through the available input sources until you find the one that corresponds to the Roku TV.
While scrolling through the input sources, keep an eye out for any on-screen indicators or changes in display that signal you have selected the correct input. Some TVs might also display the name of the currently selected input on the screen to confirm your selection.
If you have connected multiple devices to your Roku TV, it’s crucial to ensure that the correct input source is selected for each device. For example, if you have the Roku device connected to HDMI 1 and a cable box connected to HDMI 2, make sure the input source is set to HDMI 1 when you want to use the Roku TV.
In certain cases, you may need to switch to a different input source and then switch back to the Roku TV’s input. This can help refresh the connection and resolve any temporary issues. So, try switching to a different input briefly and then return to the Roku TV input to see if the sound is restored.
It’s also worth mentioning that some Roku TVs have an Auto Input Sensing feature that automatically detects the connected device and switches to the correct input. However, this feature may occasionally malfunction or fail to detect the connected device properly, leading to no sound. In such cases, manually selecting the input source can help resolve the issue.
If you’ve checked and confirmed that the correct input source is selected on your Roku TV but the sound problem persists, it’s time to move on to other troubleshooting steps, like checking the HDMI connection or verifying the audio settings.
Checking the HDMI Connection
Another potential reason for no sound on your Roku TV is a faulty or loose HDMI connection. The HDMI cable carries both audio and video signals between your Roku device and the TV, so any issues with the connection can result in the absence of sound.
Start by inspecting both ends of the HDMI cable. Ensure that the cable is securely plugged into the HDMI port on your Roku device and the corresponding HDMI port on your TV. Give it a gentle wiggle to check for any loose connections. If the cable feels loose, unplug it and plug it back in firmly to establish a secure connection.
It’s also important to examine the HDMI port on your TV. Look for any visible signs of damage, such as bent pins or debris inside the port. If you notice any issues, try using a different HDMI port on your TV to see if that resolves the problem.
In some cases, the HDMI cable itself may be the culprit. If you have a spare HDMI cable, try swapping it out with the current one to determine if the cable is the source of the audio issue. If the sound is restored with the new cable, it indicates that the original cable was faulty, and you should consider replacing it.
Another factor to consider is the length of the HDMI cable. HDMI cables are designed to transmit signals over certain distances, depending on the cable’s quality and specifications. If you are using a long HDMI cable, try using a shorter one, as longer cables can sometimes lead to signal loss or degradation, resulting in no sound.
Occasionally, software glitches can also affect the HDMI connection. To address this, power off your Roku TV and any connected devices, unplug their power cords, and wait for about a minute. Then, plug everything back in and power them on again. This simple reset can help reestablish the HDMI connection and resolve any temporary issues.
If you’ve checked the HDMI connection and everything appears to be in order, but you’re still experiencing no sound on your Roku TV, it’s time to move on to other troubleshooting steps, such as verifying the audio settings or restarting the TV.
Verifying the Audio Settings
When facing no sound on your Roku TV, one important aspect to consider is verifying the audio settings. It is possible that the audio settings have been misconfigured, leading to the absence of sound. Here are a few steps to ensure the audio settings are properly set:
Start by accessing the settings menu on your Roku TV. Look for an option labeled “Audio,” “Sound,” or similar. Once there, check the different audio settings and options available.
First, make sure the audio mode is set correctly. Some Roku TVs offer audio modes such as “Stereo,” “Mono,” “Surround Sound,” or “Dolby Digital.” Choose the appropriate audio mode based on your TV’s capabilities.
Next, check the audio output settings. Ensure that the selected audio output matches the way your Roku TV is connected to external devices or speakers. For example, if you are using an HDMI connection, ensure the audio output is set to HDMI. If you are using the TV’s built-in speakers, select the TV speakers as the audio output.
Some Roku TVs also have additional audio settings, such as volume modes or equalizer settings. Adjust these settings according to your preference or leave them at the default values if you’re unsure.
While verifying the audio settings, it is also useful to check if any audio enhancements or effects are enabled. Some TVs offer features like virtual surround sound or audio leveling. If these features are enabled, try disabling them to see if it restores the sound.
If you have external speakers or a soundbar connected to your Roku TV, ensure that their audio settings are correctly configured as well. You may need to consult the user manual for those devices to ensure the audio settings are optimized for your setup.
Once you have confirmed and adjusted the audio settings on your Roku TV and any connected devices, test the sound by playing a video or audio content. If the sound is still absent, move on to other troubleshooting steps, such as restarting the Roku TV or updating its software.
By verifying and adjusting the audio settings, you can potentially resolve the sound issue on your Roku TV. However, if the problem persists, further investigation or contacting Roku support might be necessary.
Restarting the Roku TV
If you’re experiencing no sound on your Roku TV, a simple yet effective troubleshooting step is to restart the TV. Restarting can help in resolving temporary software glitches or issues that might be affecting the audio output. Here’s how you can restart your Roku TV:
Start by pressing the power button on your Roku TV remote control. This will turn off the TV. Once the TV is turned off, wait for a few seconds to ensure that it completely powers down.
After waiting, press the power button again to turn the Roku TV back on. Allow the TV to boot up, which usually takes a few moments. Once the TV is fully powered on, check if the sound has been restored.
Alternatively, you can also restart the Roku TV by unplugging its power cord from the electrical outlet. Leave it unplugged for about 10-15 seconds before plugging it back in. After plugging it back in, wait for the TV to power up and check if the sound issue has been resolved.
Restarting the Roku TV essentially refreshes the system and can resolve various software-related issues that may be causing the sound problem. It’s a quick and straightforward troubleshooting step that is often effective in solving audio issues.
It’s worth noting that restarting the Roku TV can also help resolve other issues you might be facing, such as freezing or slow performance. It’s a good practice to perform periodic restarts to keep the TV running smoothly.
If after restarting the Roku TV, the sound problem persists, you can consider trying other troubleshooting steps, such as updating the software or resetting the TV to factory settings. These steps can help address more complex issues that may be hindering the audio output.
By restarting your Roku TV, you give the system a fresh start, which can often resolve temporary glitches or errors that may have caused the sound issue. It’s a simple step that should be included in your troubleshooting process.
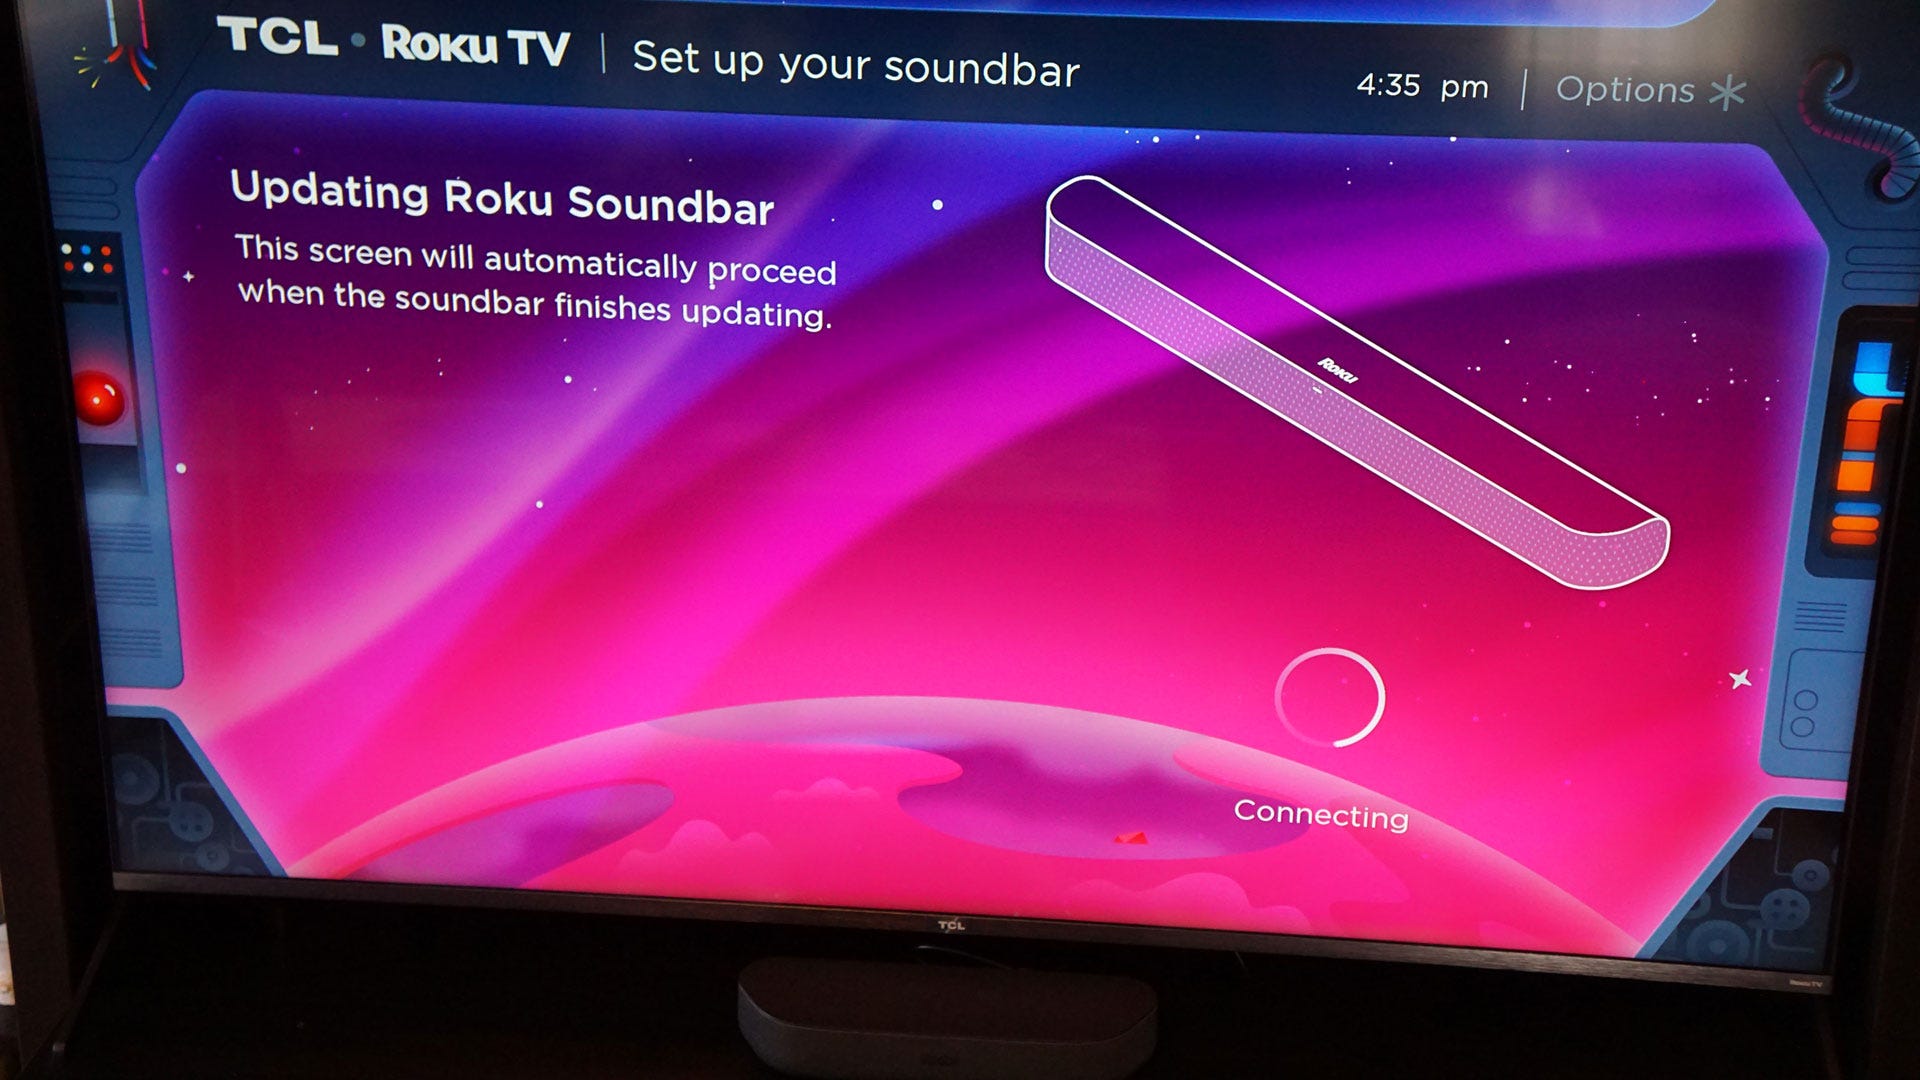
Updating the Roku TV Software
If you’re experiencing no sound on your Roku TV, it may be beneficial to update the software. Outdated software can sometimes lead to various issues, including audio problems. Updating the software can help resolve these issues by installing the latest bug fixes and improvements. Here’s how you can update the software on your Roku TV:
Start by navigating to the settings menu on your Roku TV. Look for an option usually labeled “System” or “Settings.”
Once you’re in the settings menu, select “System” and then choose “Software Update.” If an update is available, you’ll see an option to “Check Now” or “Upgrade.” Selecting this option will prompt your Roku TV to check for any available updates.
If there is an update available, your Roku TV will start the installation process. The TV will display an on-screen message indicating the progress of the update. It’s important not to turn off or unplug your Roku TV during this process as it can cause issues.
Once the update is complete, the Roku TV will restart automatically. After the restart, check if the sound issue has been resolved.
If there were no available updates or if the sound problem persists after updating, you can try resetting the Roku TV to factory settings as a next troubleshooting step.
Keep in mind that updating the software on your Roku TV not only helps fix audio issues but also ensures that you have the latest features and security patches. It’s recommended to enable automatic software updates on your Roku TV to ensure it stays up to date.
If you’re still experiencing no sound on your Roku TV after updating the software, it may be necessary to explore other troubleshooting steps or contact Roku support for further assistance. They can provide more advanced solutions or guide you through specific steps tailored to your situation.
By updating the software on your Roku TV, you give it the necessary updates and improvements to potentially resolve audio issues. It’s an essential step in troubleshooting and keeping your Roku TV in optimal working condition.
Resetting the Roku TV to Factory Settings
If you’ve tried the previous troubleshooting steps and still have no sound on your Roku TV, resetting it to factory settings can be a potential solution. Resetting your Roku TV will erase all your personalized settings, installed apps, and channels, bringing it back to its original state. Here’s how to reset your Roku TV:
Access the settings menu on your Roku TV. Look for an option typically labeled “System,” “Settings,” or a gear icon.
Within the settings menu, navigate to “System.” Inside the System menu, you should find an option for “Advanced System Settings” or “Advanced Settings.” Select this option to access additional settings.
Look for the “Factory Reset” or “Factory Reset TV” option. Selecting this option will begin the process of resetting your Roku TV to its factory settings.
Follow the on-screen prompts to confirm the factory reset. You may need to enter a security code or answer some security questions to proceed with the reset. Make sure to carefully read and understand the instructions before confirming the reset.
Once the reset process is initiated, your Roku TV will automatically restart and begin the reset procedure. This may take a few minutes to complete, so be patient and avoid interrupting the TV during this process.
After the reset is complete, your Roku TV will be back to its original settings. You will need to go through the initial setup process, including connecting to your Wi-Fi network, signing in to your Roku account, and re-installing any desired apps or channels.
Resetting your Roku TV to factory settings can help resolve persistent sound issues that were not resolved by previous troubleshooting steps. It erases any potential software glitches or misconfigurations that might be causing the audio problem.
It’s important to note that resetting to factory settings should be a last resort, as it removes all personalized settings and installed apps. Before proceeding with the reset, consider backing up any important data or settings.
If resetting your Roku TV to factory settings does not fix the no sound issue, it’s recommended to contact Roku support for further assistance. They can provide additional troubleshooting steps or guide you through advanced solutions tailored to your specific situation.
By resetting your Roku TV to factory settings, you give it a fresh start and eliminate any potential software-related problems that may be affecting the sound. It is a step that can potentially resolve persistent audio issues and restore normal functionality to your Roku TV.
Contacting Roku Support
If you’ve tried all the previous troubleshooting steps and still have no sound on your Roku TV, it’s time to reach out to Roku support for further assistance. Roku has a dedicated support team that can provide guidance and solutions to help resolve any complex issues you may be facing. Here’s how to contact Roku support:
1. Visit the Roku Support website: Go to the official Roku website and navigate to the support section. You can find the support section by scrolling to the bottom of the page and clicking on the “Support” or “Contact us” link.
2. Browse the support articles: Roku provides an extensive knowledge base that covers a wide range of potential issues and troubleshooting steps. Browse through the support articles to see if you can find a solution to your specific sound problem. These articles often provide step-by-step instructions and helpful tips.
3. Contact Roku support directly: If you couldn’t find a solution in the support articles, the next step is to reach out to Roku support directly. Look for the “Contact Us” or “Get Support” option on the Roku Support website. This may be in the form of a contact form or a live chat feature.
4. Provide necessary information: When contacting Roku support, be prepared to provide specific details about your Roku TV model, firmware version, and any troubleshooting steps you have already taken. This information will help the support team in understanding and addressing your issue more effectively.
5. Follow the instructions given: Once you’ve contacted Roku support, they will provide you with further instructions and guidance based on your specific issue. They may ask you to perform additional troubleshooting steps or provide a solution tailored to your situation.
Keep in mind that the response time from Roku support may vary based on the volume of inquiries they receive. Be patient and check your email or support messages regularly for updates on your support ticket or chat conversation.
Roku support is well-equipped to handle a wide range of technical issues, including sound problems. They have the expertise and resources to guide you through advanced troubleshooting steps or arrange for repairs or replacements if necessary.
By contacting Roku support, you ensure that your no sound issue on the Roku TV gets the attention it deserves. They can provide you with the necessary assistance to get your audio working again and ensure you can enjoy your Roku TV to the fullest.