Introduction
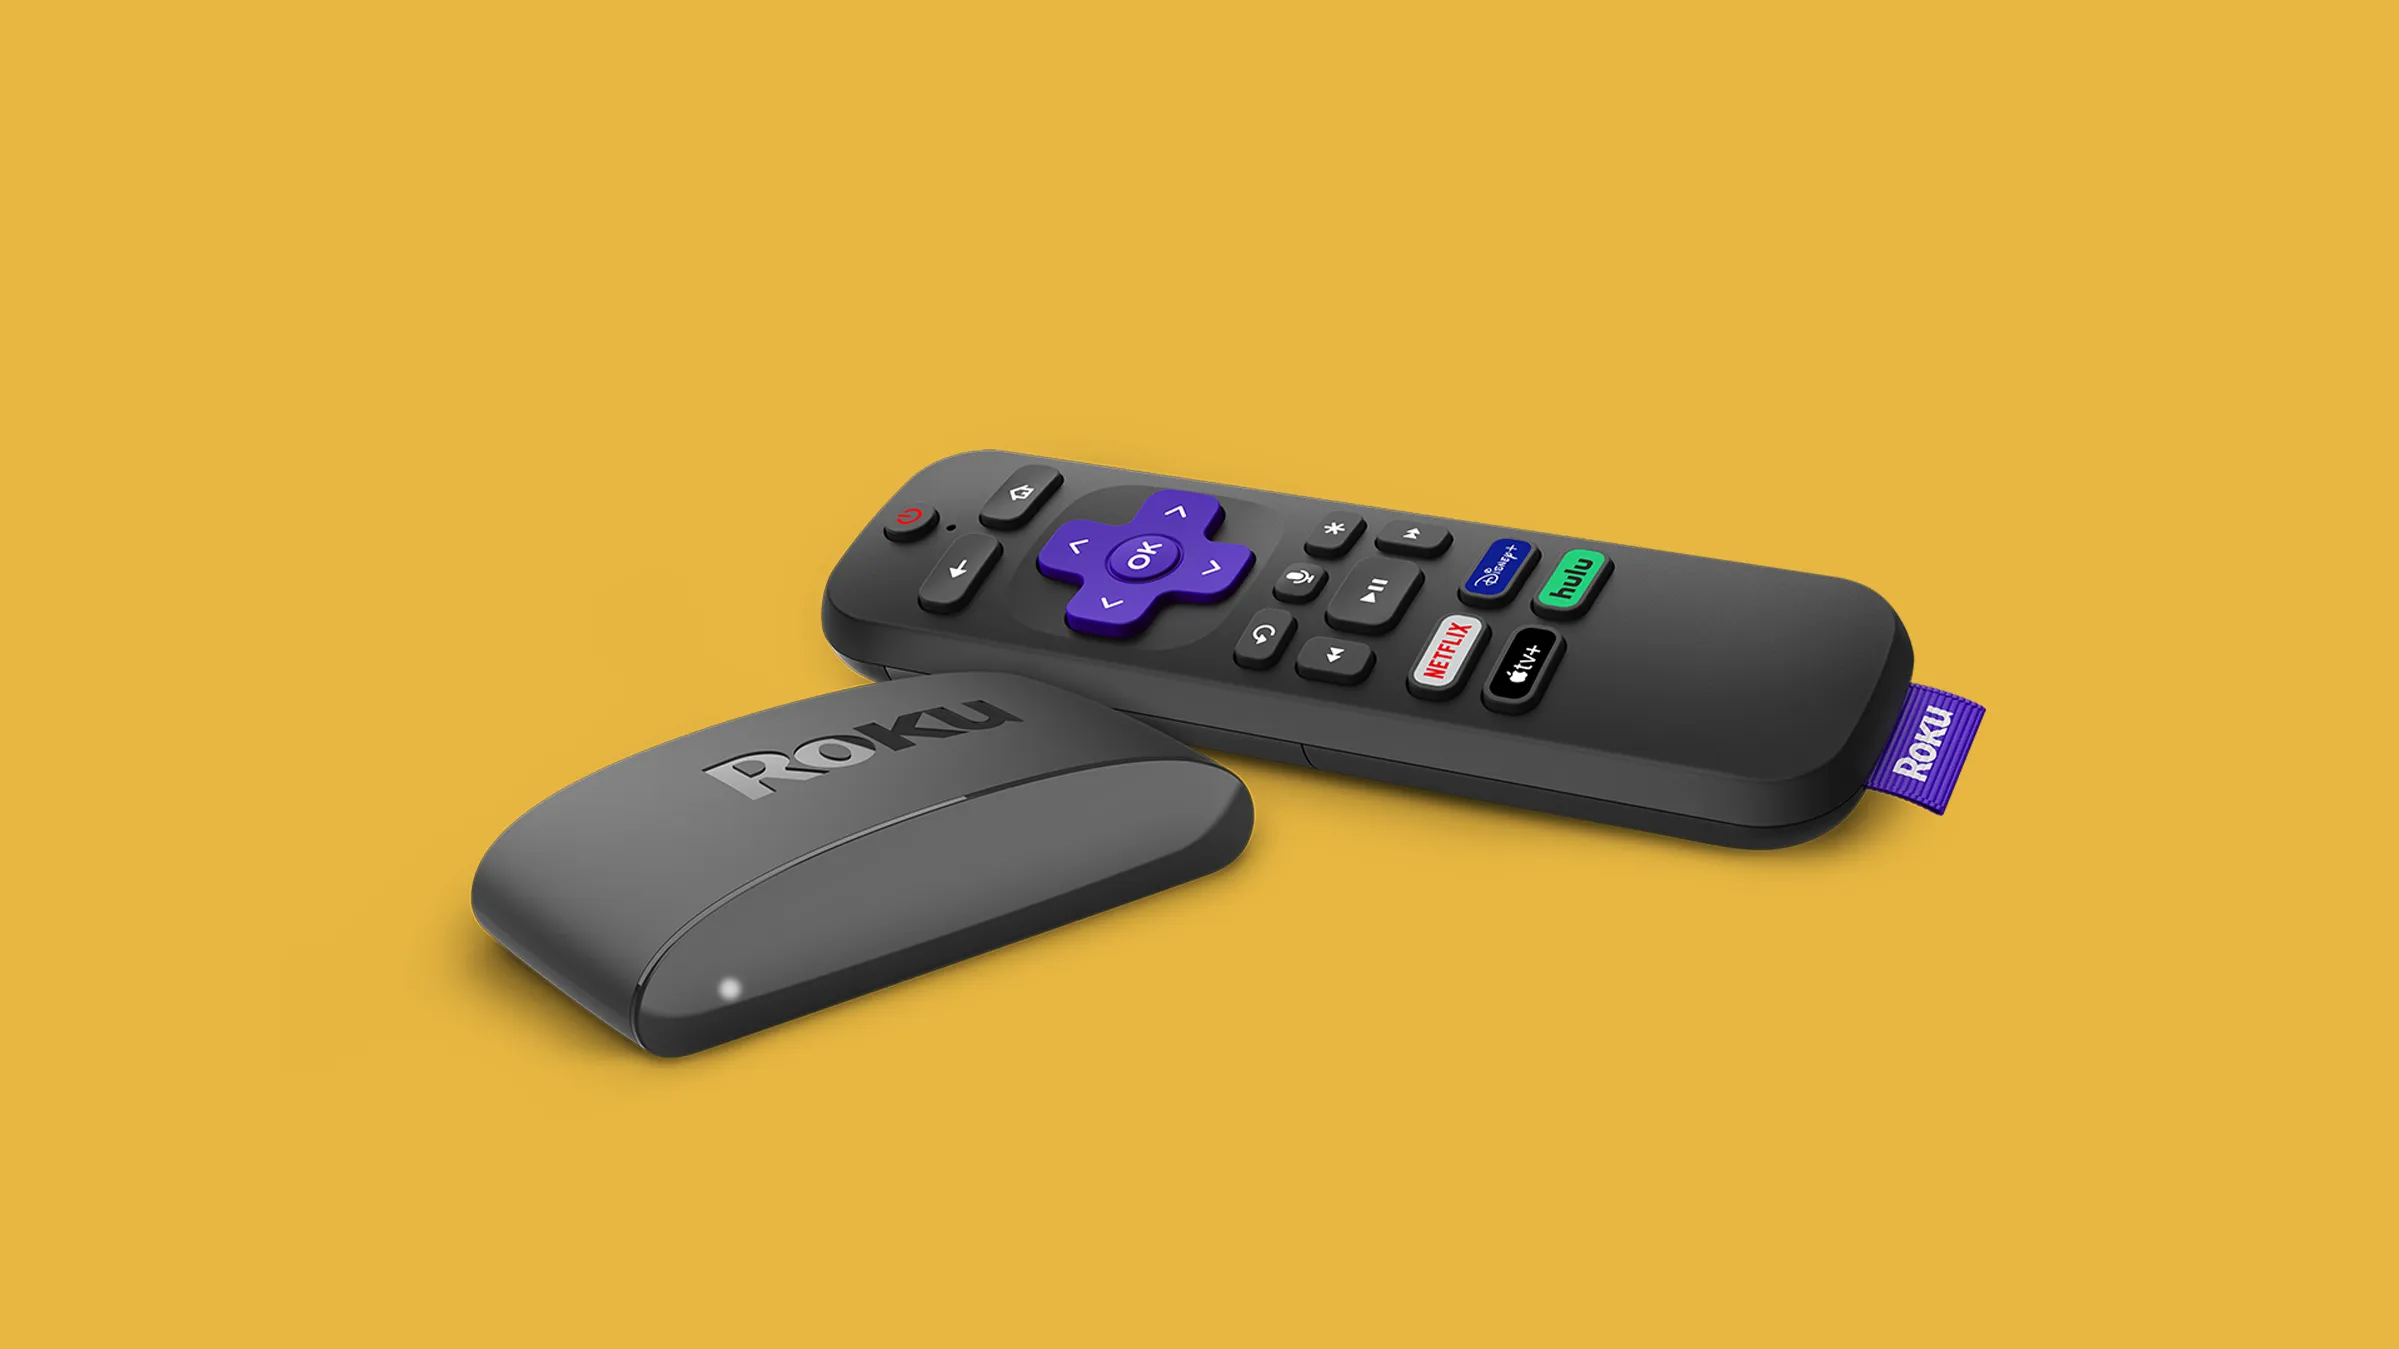
Streaming devices have revolutionized the way we consume media, allowing us to access a vast array of content with just a few clicks. One such popular streaming device is the Roku. While smart TVs come with built-in streaming capabilities, what about those who own non-smart TVs? The good news is that even if you don’t have a smart TV, you can still enjoy the benefits of streaming by connecting a Roku device to your television.
In this article, we will take a closer look at how a Roku works on a non-smart TV and the step-by-step process of setting it up. Whether you’re a Netflix enthusiast, a sports fanatic, or simply enjoy binge-watching your favorite TV shows, a Roku can transform your non-smart TV into a streaming powerhouse.
So, if you’re ready to embark on this streaming adventure, read on to learn how to connect a Roku to a non-smart TV and make the most out of your entertainment experience.
How Does a Roku Work?
Before we dive into connecting a Roku to a non-smart TV, let’s first understand how a Roku device works. Put simply, Roku is a streaming media player that allows you to access a wide range of online content, including movies, TV shows, music, and more, directly on your television.
When you connect a Roku device to your TV, it serves as a gateway to numerous streaming channels and platforms. The Roku device connects to the internet through either a wired or wireless connection, enabling you to stream content from popular streaming services like Netflix, Hulu, Amazon Prime Video, and many others.
Roku devices operate using a user-friendly interface that can be navigated with a remote control. Through the Roku interface, you can search for specific movies or shows, access different streaming channels, and even personalize your content preferences.
One of the key features of Roku devices is their ability to support both free and paid channels or apps. While some channels are free to access, others may require a subscription or one-time payment. With a vast library of channels to choose from, you can tailor your streaming experience to your individual preferences and interests.
Additionally, Roku devices offer extensive compatibility across different TVs. Whether you own an older non-smart TV or a newer model, Roku can be connected to any television with an HDMI port, allowing you to unlock the full potential of your viewing experience.
Overall, Roku devices provide an affordable and convenient way to transform any non-smart TV into a streaming powerhouse, bringing a world of entertainment right into your living room.
Connecting a Roku to a Non-Smart TV
If you have a non-smart TV and want to enjoy the benefits of streaming, connecting a Roku device is a simple and straightforward process. Follow the steps below to set up your Roku on a non-smart TV:
-
Gather the Required Equipment
Before you begin, make sure you have all the necessary equipment. This includes a Roku device, an HDMI cable, and a power source for the Roku device.
-
Connect the Roku to the TV
Start by inserting one end of the HDMI cable into the HDMI port on the Roku device and the other end into an available HDMI port on your non-smart TV. It’s important to note the HDMI port number you used, as you will need to select the corresponding input channel on your TV.
-
Power Up the Roku
Plug the power cord into the Roku device and connect it to a power source. The Roku device should power on automatically.
-
Connecting to the Internet
Using the Roku remote, navigate to the “Settings” menu and select “Network.” From there, choose your preferred network connection, either wired or wireless. Follow the on-screen instructions to connect the Roku device to your home network.
-
Set Up Your Roku Account
If you don’t already have a Roku account, you will need to create one. Visit the Roku website and follow the instructions to set up your account. Once done, you can link your Roku device to your account.
-
Adding Channels to Your Roku
With your Roku device connected and your account set up, you can start adding channels. Browse through the Roku Channel Store to find the channels you want to install. Some channels are free, while others may require a subscription or one-time payment. Simply select the channels you want and follow the on-screen prompts to install them.
-
Enjoying Streaming on a Non-Smart TV
Once you have set up your Roku and installed your desired channels, you are now ready to enjoy streaming on your non-smart TV. Use the Roku remote to navigate through the channels, search for content, and experience the world of entertainment right at your fingertips!
By following these simple steps, you can harness the power of the Roku device and unlock a universe of streaming possibilities on your non-smart TV.
Step 1: Gather the Required Equipment
Before you can set up a Roku device on your non-smart TV, it’s important to ensure that you have all the necessary equipment. Here are the items you’ll need:
-
Roku Device: Choose the Roku model that best suits your needs. There are various Roku devices available, ranging from basic streaming sticks to more advanced streaming players. Consider factors such as resolution, connectivity options, and additional features when selecting your device.
-
HDMI Cable: You’ll need an HDMI cable to connect the Roku device to your non-smart TV. Make sure you have a high-speed HDMI cable capable of transmitting audio and video signals between devices.
-
Power Source: The Roku device requires a power source. Check whether your Roku device comes with a power adapter or USB cable for power. Ensure that you have access to a nearby power outlet or a USB port on your TV for the power source.
Once you have gathered these essential items, you’ll be ready to proceed with the setup process. It’s important to note that some Roku devices may come with additional accessories or components. Refer to the instruction manual or the packaging of your specific Roku model to ensure you have everything you need.
Preparing and gathering the required equipment beforehand will help streamline the setup process and minimize any potential hiccups. So, take a moment to double-check that you have all the necessary equipment before moving on to the next steps.
Step 2: Connect the Roku to the TV
Once you have gathered the required equipment, the next step in setting up your Roku on a non-smart TV is to establish the physical connection between the Roku device and your television. Follow these instructions to connect your Roku device:
-
Locate the HDMI Ports: Identify the HDMI ports on both your Roku device and your non-smart TV. Typically, the HDMI ports are located on the back or side of the TV and may be labeled as “HDMI” or have a numbered designation.
-
Insert the HDMI Cable: Take one end of the HDMI cable and firmly insert it into the HDMI port on your Roku device. Make sure it is securely connected to avoid any loose connections.
-
Connect the Other End: Take the other end of the HDMI cable and insert it into an available HDMI port on your non-smart TV. Remember the HDMI port number you used, as you will select the corresponding input channel later.
-
Ensure a Secure Connection: Check that the HDMI cable is securely plugged into both the Roku and the TV. Wiggle the cable gently to ensure it is not loose. A secure connection will ensure uninterrupted transmission of audio and video signals.
Once you have completed these steps, the Roku device is physically connected to your non-smart TV. However, keep in mind that the Roku device still needs to be powered on and configured before you can start streaming. Proceed to the next steps to set up your Roku device and enjoy a world of entertainment on your non-smart TV.
Step 3: Power Up the Roku
Now that you have successfully connected your Roku device to the non-smart TV, the next step is to power it up. Follow the instructions below to ensure your Roku device is properly powered:
-
Locate the Power Port: Identify the power port on your Roku device. It is usually located on the side or back of the device.
-
Connect the Power Cable: Take the power cable that came with your Roku device and insert it into the power port. Plug the other end into a wall outlet or use the USB port on your TV if it provides power.
-
Power On the Roku Device: Once the power cable is securely connected, the Roku device should power on automatically. Look for the power indicator light to confirm that the device is receiving power.
It’s important to ensure that the power cable is properly inserted and the device is securely powered on. This will prevent any interruptions while setting up your Roku device and ensure a smooth streaming experience.
After powering up the Roku device, you may need to wait for it to go through a startup process, during which it might display the Roku logo or other initialization screens. This is normal and part of the device’s initial setup routine.
With the Roku device powered on, you are now ready to move on to the next step of the setup process – connecting it to the internet. The ability to connect to the internet is crucial for streaming content on your non-smart TV through the Roku device.
Step 4: Connecting to the Internet
After powering up your Roku device, the next step in setting up your non-smart TV for streaming is connecting the Roku device to the internet. Here’s how you can do it:
-
Navigate to the Settings Menu: Using the Roku remote, navigate to the Home screen and select the “Settings” option. The Settings menu typically looks like a gear icon.
-
Select Network: In the Settings menu, locate and select the “Network” option. This will take you to the network settings page.
-
Choose Your Network Connection: On the network settings page, you will be presented with two options: “Wired” or “Wireless”. Select the option that corresponds to your preferred network connection type. If you have an Ethernet cable connected to your Roku device and router, choose “Wired”. If you want to connect wirelessly, choose “Wireless”.
-
Follow the On-Screen Instructions: Depending on your chosen network connection type, you may need to follow specific on-screen instructions to complete the setup. For a wired connection, ensure that the Ethernet cable is securely connected to both the Roku device and your router. For a wireless connection, select your network from the available options and enter your network password if prompted.
-
Test the Connection: Once you have successfully connected to your network, the Roku device will automatically test the connection to ensure it is functioning properly. If the test is successful, you will see a confirmation message indicating that your Roku device is connected to the internet.
Connecting your Roku device to the internet is crucial for accessing streaming content. A stable and reliable internet connection will ensure smooth streaming and a seamless viewing experience. Make sure to choose a network connection type that best suits your setup, whether wired or wireless.
With your Roku device successfully connected to the internet, you are one step closer to enjoying a wide range of streaming channels and content on your non-smart TV. The next step is to set up your Roku account, which will allow you to personalize your streaming experience and access additional features.
Step 5: Set Up Your Roku Account
Setting up a Roku account is an important step in the process of connecting and using a Roku device on your non-smart TV. Here’s how you can create your Roku account:
-
Visit the Roku Website: Using a computer or mobile device, go to the Roku website at www.roku.com.
-
Create Your Account: On the Roku website, locate and click on the “Sign In” or “My Account” option. If you don’t already have a Roku account, click on the “Create account” button to proceed with the account creation process.
-
Provide Your Information: Fill in the required information to create your Roku account. This includes your name, email address, and a password. Make sure to choose a strong and secure password to protect your account.
-
Verify Your Email: After providing the necessary information, Roku will send a verification email to the email address you provided during the account creation process. Check your email inbox and click on the verification link to verify your email address.
-
Link Your Roku Device: Once your account is verified, you can proceed to link your Roku device to your account. On your non-smart TV, follow the on-screen instructions to enter the Roku link code that appears on your TV screen. This will connect your device to your Roku account.
-
Complete the Setup: After linking your Roku device, follow the prompts to complete the setup process. This may include selecting your language preferences, configuring display settings, and agreeing to the terms and conditions.
By setting up a Roku account, you gain access to a range of personalized features and settings. With a Roku account, you can add and manage channels, customize your streaming preferences, and even use the Roku mobile app to control your Roku device. It’s an essential step in maximizing your streaming experience on your non-smart TV.
Once you have successfully set up your Roku account and completed the configuration process, you’re ready to start adding channels to your Roku device and enjoy a vast selection of streaming content.
Step 6: Adding Channels to Your Roku
With your Roku device set up and connected to your non-smart TV, it’s time to start adding channels. Roku offers a wide array of channels that cater to various interests and preferences. Here’s how you can add channels to your Roku:
-
Access the Roku Channel Store: On your Roku device, navigate to the home screen using the remote control. Select “Streaming Channels” to access the Roku Channel Store.
-
Browse the Channel Store: In the Roku Channel Store, you will find an extensive collection of channels available for installation. Browse through the selection or use the search function to find specific channels you want to add.
-
Select and Install Channels: When you find a channel you want to add, highlight it and select “Add Channel” or “Install”. Follow the on-screen prompts to confirm the installation. Some channels may require a subscription or one-time payment, while others are free to access.
-
Manage Your Channels: After installing channels, they will appear on the home screen of your Roku device. You can rearrange the order of channels, remove channels you no longer use, or update channel preferences by accessing the “My Channels” or “Settings” sections of your Roku device.
Adding channels to your Roku device allows you to customize your streaming experience to suit your interests and preferences. Whether you’re into movies, TV shows, sports, news, or niche content, Roku offers a diverse selection of channels to cater to your entertainment needs.
Keep in mind that new channels are constantly being added to the Roku Channel Store, so be sure to check back regularly for updates and explore the ever-growing collection of channels available.
By adding your favorite channels to your Roku device, you can unlock a world of entertainment right on your non-smart TV. Enjoy streaming movies, binge-watching TV shows, listening to music, and much more at your fingertips.
Step 7: Enjoying Streaming on a Non-Smart TV
After completing the setup process and adding channels to your Roku device, you are now ready to enjoy a world of streaming content on your non-smart TV. Here’s how you can make the most out of your streaming experience:
-
Navigate Through Your Channels: Use the Roku remote to navigate through the channels installed on your device. Scroll through the home screen to find the channel you want to explore and press the OK or Select button to open it.
-
Browse and Watch Content: Once you’re in a channel, browse through its content library. You can find movies, TV shows, documentaries, live sports, news, and much more. Select the content you want to watch and enjoy streaming it instantly on your non-smart TV.
-
Use Additional Features: Roku offers additional features to enhance your streaming experience. You can use the search function to find specific movies, shows, or actors across multiple channels. Some channels also allow you to customize your viewing preferences and create watchlists.
-
Take Advantage of Roku Mobile App: Download the Roku mobile app on your smartphone or tablet to further enhance your streaming experience. The app allows you to control your Roku device, browse channels, use voice search, and even stream content directly to your mobile device.
-
Explore New Channels: Don’t limit yourself to just a few channels. The Roku Channel Store offers a wide range of channels catering to various interests. Explore new channels regularly to discover fresh content and expand your streaming options.
With your Roku device and channels set up, you can now immerse yourself in a world of entertainment on your non-smart TV. Stream your favorite movies, catch up on TV shows, discover new content, and enjoy the convenience of accessing a diverse range of channels right at your fingertips.
Remember to keep your Roku device and channels up to date for a seamless streaming experience. Check for software updates periodically and ensure your subscription-based channels have valid login information for uninterrupted access.
Now, sit back, relax, and enjoy the endless streaming possibilities provided by your Roku device on your non-smart TV.
Conclusion
In conclusion, connecting a Roku device to a non-smart TV opens up a world of streaming possibilities. Even if you don’t have a smart TV, you can enjoy the benefits of streaming by following the simple steps outlined in this guide.
We started by understanding how a Roku device works, serving as a gateway to a wide range of online content. We then explored the step-by-step process of setting up a Roku on a non-smart TV, including gathering the required equipment, connecting the device to the TV, powering it up, connecting to the internet, setting up a Roku account, adding channels, and finally, enjoying streaming on your non-smart TV.
The versatility of Roku devices allows for easy connectivity with any non-smart TV, transforming it into a high-quality streaming platform. With access to popular streaming services, a customizable channel lineup, and additional features like voice search and mobile app integration, you can tailor your entertainment experience to suit your preferences.
Whether you’re a fan of binge-watching TV shows, streaming movies, or enjoying live sports, a Roku device on your non-smart TV provides endless entertainment possibilities. Keep exploring the Roku Channel Store, discovering new channels, and staying up to date with software updates for an optimal streaming experience.
Now that you’ve successfully set up your Roku device on your non-smart TV, it’s time to sit back, relax, and immerse yourself in the world of streaming entertainment. Enjoy the convenience, variety, and flexibility that Roku brings to your non-smart TV viewing experience.