Introduction
Welcome to the world of Roku, where you can access a vast array of streaming content right from the comfort of your own living room. From movies and TV shows to music and games, Roku offers a wide range of entertainment options for every taste. However, you may occasionally encounter a frustrating issue: your TV sound is out of sync with the picture.
This synchronization problem can be an annoyance, as it can disrupt your viewing experience and make it challenging to enjoy your favorite shows or movies. Fortunately, there are steps you can take to address this issue and bring harmony back to your home theater setup.
In this article, we’ll examine some of the common causes of sound and picture sync issues on Roku and provide troubleshooting tips to help you resolve them. Whether you’re new to Roku or have been using it for years, this guide will help you get your audio and video perfectly in sync.
So, if you’re tired of seeing characters speak before you hear their voices or experiencing other sync-related problems, read on to find out how to fix the sound and picture sync issue on your Roku device.
What is Roku?
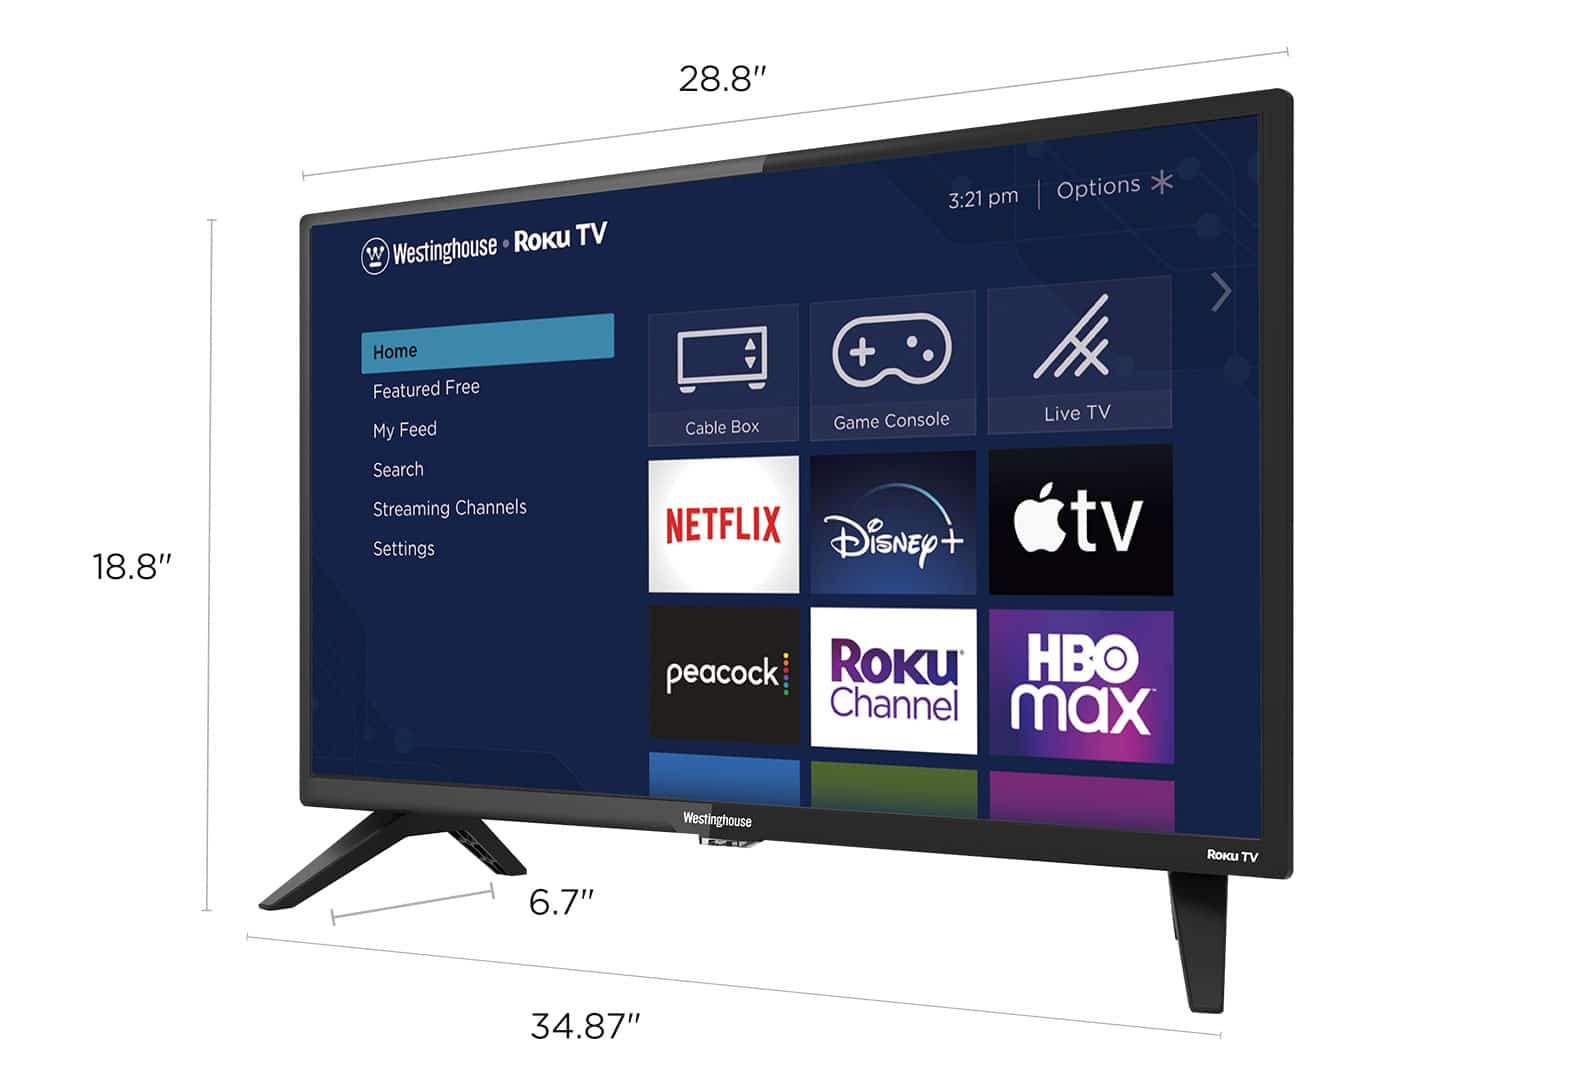
Roku is a popular streaming media player that allows you to access a wide range of content from various streaming services. It offers a simple and user-friendly interface, making it easy to navigate and find the shows, movies, or music you want to enjoy. With Roku, you can transform your regular TV into a smart TV and access streaming platforms like Netflix, Hulu, Amazon Prime Video, and many others.
One of the key features of Roku is its extensive selection of channels. You can choose from over 5,000 channels, both free and paid, covering a broad range of genres and interests. From popular streaming services to niche channels, Roku ensures that there’s something for everyone. It also offers a vast collection of free content, including movies, TV shows, live news channels, and much more.
Roku devices come in different forms, such as streaming sticks, set-top boxes, and smart TVs with Roku built-in. The streaming sticks are small and portable, allowing you to easily plug them into your TV’s HDMI port and start streaming immediately. The set-top boxes offer additional features like voice control and support for 4K HDR content. Smart TVs with Roku built-in eliminate the need for a separate Roku device, as the streaming functionality is already integrated into the television itself.
Setting up a Roku device is a straightforward process. All you need is a stable internet connection and an HDMI port on your TV. Once you’ve connected your Roku device to your TV and signed in or created a Roku account, you can start browsing channels, installing apps, and streaming your favorite content.
Roku is known for its compatibility with different streaming services and its user-friendly interface. It allows you to customize your streaming experience by creating a personalized list of channels and setting up automatic software updates. Additionally, Roku offers a mobile app that serves as a remote control, allowing you to navigate the Roku interface, search for content, and even listen privately using headphones connected to your mobile device.
Overall, Roku is a versatile and convenient streaming media player that provides access to a vast library of content, making it a popular choice for cord-cutters and streaming enthusiasts. Now that you have a better understanding of what Roku is, let’s move on to troubleshooting sound and picture sync issues on your Roku device.
Common Causes of Sound and Picture Sync Issues on Roku
Experiencing sound and picture sync issues while using Roku can be frustrating, but understanding the common causes of these issues can help you troubleshoot and resolve them effectively. Here are some common culprits behind sound and picture sync problems on Roku:
- Playback Buffering: Buffering issues can lead to a delay in both audio and video streams. This can happen due to a slow internet connection or a high network traffic load.
- Audio and Video Encoding: Sometimes, the audio and video streams are encoded differently, causing a mismatch in timing. This can result in the sound playing either ahead or behind the video.
- HDMI Connection: A loose or faulty HDMI cable can disrupt the transmission of audio and video signals, leading to synchronization problems.
- TV Settings: Incorrect settings on your TV, specifically related to audio and video processing, can cause a discrepancy in the sound and picture synchronization.
- Roku Software Issues: Outdated software or glitches in the Roku operating system may impact the synchronization between audio and video.
Now that you have an idea of the common causes behind sound and picture sync issues on Roku, it’s time to explore the troubleshooting steps to resolve these problems. By identifying and addressing the specific cause, you can bring your audio and video back in sync and enjoy your favorite content without any interruptions.
Check Your Roku Settings
When experiencing sound and picture sync issues on your Roku device, the first step is to check your Roku settings. Here are some settings to review:
- Audio Settings: Navigate to the Roku home screen and go to “Settings”. Select “Audio” and ensure that the audio mode is set to “Auto”. This setting allows Roku to detect and adjust the audio output based on the content being played.
- Audio Mode: Within the “Audio” settings, if you encounter sound sync issues, try changing the audio mode to “Stereo”. This will help eliminate any compatibility issues between your Roku device and your TV’s audio capabilities.
- HDMI Audio Mode: If you are using an HDMI connection, go to “Settings”, then “Audio”, and check the “HDMI Audio Mode” setting. Make sure it’s set to “Auto” or “PCM-Stereo” to ensure proper audio synchronization.
- Display Type: Go to “Settings”, then “Display Type”, and confirm that the correct display type is selected for your TV. Selecting the incorrect display type can lead to audio and video synchronization problems.
- Auto-Adjust Display Refresh Rate: In the “Settings” menu, go to “Display” and verify that “Auto-Adjust Display Refresh Rate” is enabled. This feature allows Roku to automatically adjust the refresh rate to match the content, which can help improve synchronization.
After reviewing and adjusting these settings, test your Roku device to see if the sound and picture sync issue has been resolved. If not, proceed to the next troubleshooting steps to further troubleshoot the problem.
Check Your TV Settings
When dealing with sound and picture sync issues on your Roku device, it’s important to also check your TV settings. Here are some TV settings to verify:
- Audio Delay or Lip Sync: Many modern TVs come with an “Audio Delay” or “Lip Sync” feature, which allows you to adjust the timing of the audio to match the video. Check your TV’s settings menu for this option and make any necessary adjustments to eliminate the sync problem.
- Audio Output Format: In your TV’s audio settings, ensure that the correct audio output format is selected. If available, choose options like “PCM” or “Stereo” to minimize audio processing and potential synchronization issues.
- HDMI CEC Settings: If your TV supports HDMI CEC (Consumer Electronics Control), make sure it is enabled. HDMI CEC allows for better communication and synchronization between your Roku device and the TV.
- Game Mode: If your TV has a “Game Mode” option, consider enabling it. Game Mode often reduces input lag and can help improve the synchronization between audio and video.
- Software Updates: Check if your TV has any pending firmware updates and install them. Sometimes, TV software glitches can cause audio and video sync issues, and updating the software can resolve these problems.
After adjusting these TV settings, restart your Roku device and test if the sound and picture sync issue has been resolved. If the problem persists, continue with the next troubleshooting steps.
Check Your Internet Connection
An unstable or slow internet connection can contribute to sound and picture sync issues on your Roku device. To ensure a smooth streaming experience, follow these steps to check your internet connection:
- Signal Strength: Ensure that your Roku device is within range of your Wi-Fi router or connected to a stable Ethernet connection. Weak Wi-Fi signals can result in buffering and synchronization problems.
- Bandwidth: Verify that you have sufficient internet bandwidth. Streaming high-definition content may require faster internet speeds. Contact your internet service provider (ISP) to ensure you have the appropriate plan.
- Restart Router: Sometimes, a simple router restart can resolve internet connectivity issues. Turn off your router, wait for a few seconds, then turn it back on. Give it a few minutes to fully reboot.
- Connectivity Test: Perform a speed test on your internet connection using a reliable online speed testing tool. Compare the results with the minimum requirements for streaming on the Roku website to ensure your connection meets the necessary criteria.
- Moving Devices: If possible, keep devices that may cause wireless interference, such as cordless phones or microwave ovens, away from your Roku device and Wi-Fi router. These devices can disrupt the Wi-Fi signal and impact sync performance.
If you determine that your internet connection is the root cause of the sound and picture sync issues, consider upgrading your internet plan or contacting your ISP for assistance. Alternatively, you might try relocating your Wi-Fi router or using a Wi-Fi extender to improve signal strength.
After addressing any internet connection issues, retest your Roku device to see if the sound and picture sync problem has been resolved. If not, continue with the next troubleshooting steps.
Restart Your Roku Device
One of the most straightforward troubleshooting steps to resolve sound and picture sync issues on your Roku device is to simply restart it. Here’s how you can perform a restart:
- Using the Roku Menu: Navigate to the Roku home screen by pressing the Home button on your remote. Go to “Settings” and select “System”. Choose “System Restart” and confirm the restart. Allow your Roku device to power off completely before turning it back on.
- Using the Power Cable: If you can’t access the Roku menu or remote, you can perform a power cycle by disconnecting the power cable from the back of your Roku device. Leave it unplugged for about 10 seconds, then plug it back in and power on the device.
Restarting your Roku device can help resolve temporary software glitches that may be causing the audio and video sync issue. It clears the device’s memory and starts fresh, potentially restoring proper synchronization. After the restart, check if the problem has been resolved. If not, proceed to the next troubleshooting steps.
Reset Your Roku Device
If restarting your Roku device didn’t resolve the sound and picture sync issue, you may need to perform a reset to restore the device to its factory settings. Here are two types of resets you can try:
- Soft Reset: A soft reset is a simple method that doesn’t require any physical manipulation of the Roku device. Go to the Roku home screen by pressing the Home button on your remote. Navigate to “Settings” and select “System”. Choose “Advanced System Settings” and then “Factory Reset”. Follow the on-screen prompts to reset your Roku device.
- Hard Reset: If a soft reset doesn’t fix the issue, a hard reset may be necessary. Locate the reset button on your Roku device – the location varies depending on the model. Press and hold the reset button for about 20 seconds or until the device’s light starts flashing. Release the button and allow the device to restart. This process will erase all settings and preferences on your Roku and return it to its original state.
Before performing a reset, keep in mind that it will remove all installed channels and personal settings from your Roku device. You will need to set it up again as if it were brand new, including signing in to your Roku account and reinstalling your desired channels.
After resetting your Roku device, test for sound and picture sync issues. If the problem persists, proceed to the next troubleshooting steps to further diagnose and resolve the issue.
Update Your Roku Software
Updating your Roku software can often rectify sound and picture sync issues by resolving any bugs or glitches in the system. The Roku operating system is regularly updated with improvements and fixes, so it’s essential to ensure that you have the latest software version. Here’s how you can update your Roku software:
- Automatic Updates: By default, Roku devices are set to receive automatic software updates. However, to ensure this feature is enabled, go to “Settings” on your Roku home screen and select “System”. Choose “Software Update” and verify that “Automatic” is selected. If not, change the setting to automatic to receive future updates automatically.
- Manual Update: If you want to manually check for software updates, navigate to “Settings” on your Roku home screen and select “System”. Choose “System Update” and then click on “Check Now”. If a software update is available, follow the prompts to download and install it.
During the software update process, it’s crucial to keep your Roku device connected to the internet and powered on. It may take a few minutes for the update to complete, and the device may restart during the process. Once the update is finished, check if the sound and picture sync issue has been resolved.
If the problem persists even after updating the Roku software, there may be other factors contributing to the synchronization issue. It’s recommended to continue troubleshooting using the additional steps provided in the next section.
Other Troubleshooting Steps
If you’ve tried the previous troubleshooting steps and the sound and picture sync issue on your Roku device still persists, here are some additional steps you can take to further diagnose and resolve the problem:
- Change HDMI Port: Try connecting your Roku device to a different HDMI port on your TV. Sometimes, certain HDMI ports may have compatibility issues that can cause synchronization problems.
- Replace HDMI Cable: If you’re using an HDMI connection, try using a different HDMI cable. A faulty or low-quality cable can interfere with the transmission of audio and video signals, resulting in sync issues.
- Audio/Video Receiver Check: If you have an audio/video receiver connected between your Roku device and the TV, ensure that it’s configured correctly and running the latest firmware. Check its audio and video settings to ensure compatibility with your Roku device and TV.
- Contact Roku Support: If you’ve exhausted all troubleshooting methods and the issue persists, it may be beneficial to reach out to Roku’s customer support. They have a dedicated team of experts who can provide specialized troubleshooting guidance or assist with any hardware issues that may be causing the sync problem.
By going through these additional troubleshooting steps, you’ll have a better chance of identifying and resolving the sound and picture sync issue on your Roku device. Keep in mind that every situation is unique, and the solution may vary depending on your specific setup and circumstances.
Remember to maintain patience during the troubleshooting process, as it may take time to pinpoint and resolve the problem. With persistence, thoroughness, and the assistance of Roku customer support if necessary, you’ll be able to restore proper synchronization between the audio and video on your Roku device.
Conclusion
Encountering sound and picture sync issues on your Roku device can be frustrating, but with the right troubleshooting steps, you can restore proper synchronization and get back to enjoying your favorite shows and movies without interruption. Throughout this article, we’ve explored the common causes of sound and picture sync issues on Roku and provided various troubleshooting steps to resolve them.
We started by looking at the importance of checking your Roku settings and ensuring that the audio and video settings are configured correctly. We then moved on to checking your TV settings, as incorrect settings on your TV can also lead to sync problems. Additionally, we discussed the significance of a stable internet connection and provided steps to check and improve your internet connectivity.
If the basic troubleshooting steps didn’t resolve the issue, we recommended restarting and resetting your Roku device, as well as updating the Roku software to the latest version available. We also provided additional troubleshooting steps, such as changing HDMI ports, replacing HDMI cables, checking audio/video receivers, and contacting Roku support if necessary.
It’s important to remember that resolving sound and picture sync issues may require a combination of these troubleshooting steps, as the solution can vary depending on your specific setup and circumstances. Patience and persistence are key to successfully identifying and resolving the problem.
We hope that this article has been helpful in guiding you through the process of troubleshooting sound and picture sync issues on your Roku device. By following the steps outlined and reaching out to Roku support if needed, you’ll be able to resolve the sync problem and enjoy a seamless streaming experience once again.


