Introduction
Welcome to this guide on how to connect speakers to a monitor. If you’re looking to enhance your audio experience while using your monitor, connecting speakers is a great solution. Whether you’re a gamer, a movie enthusiast, or someone who simply enjoys listening to music, having speakers connected to your monitor can significantly improve the overall audio quality.
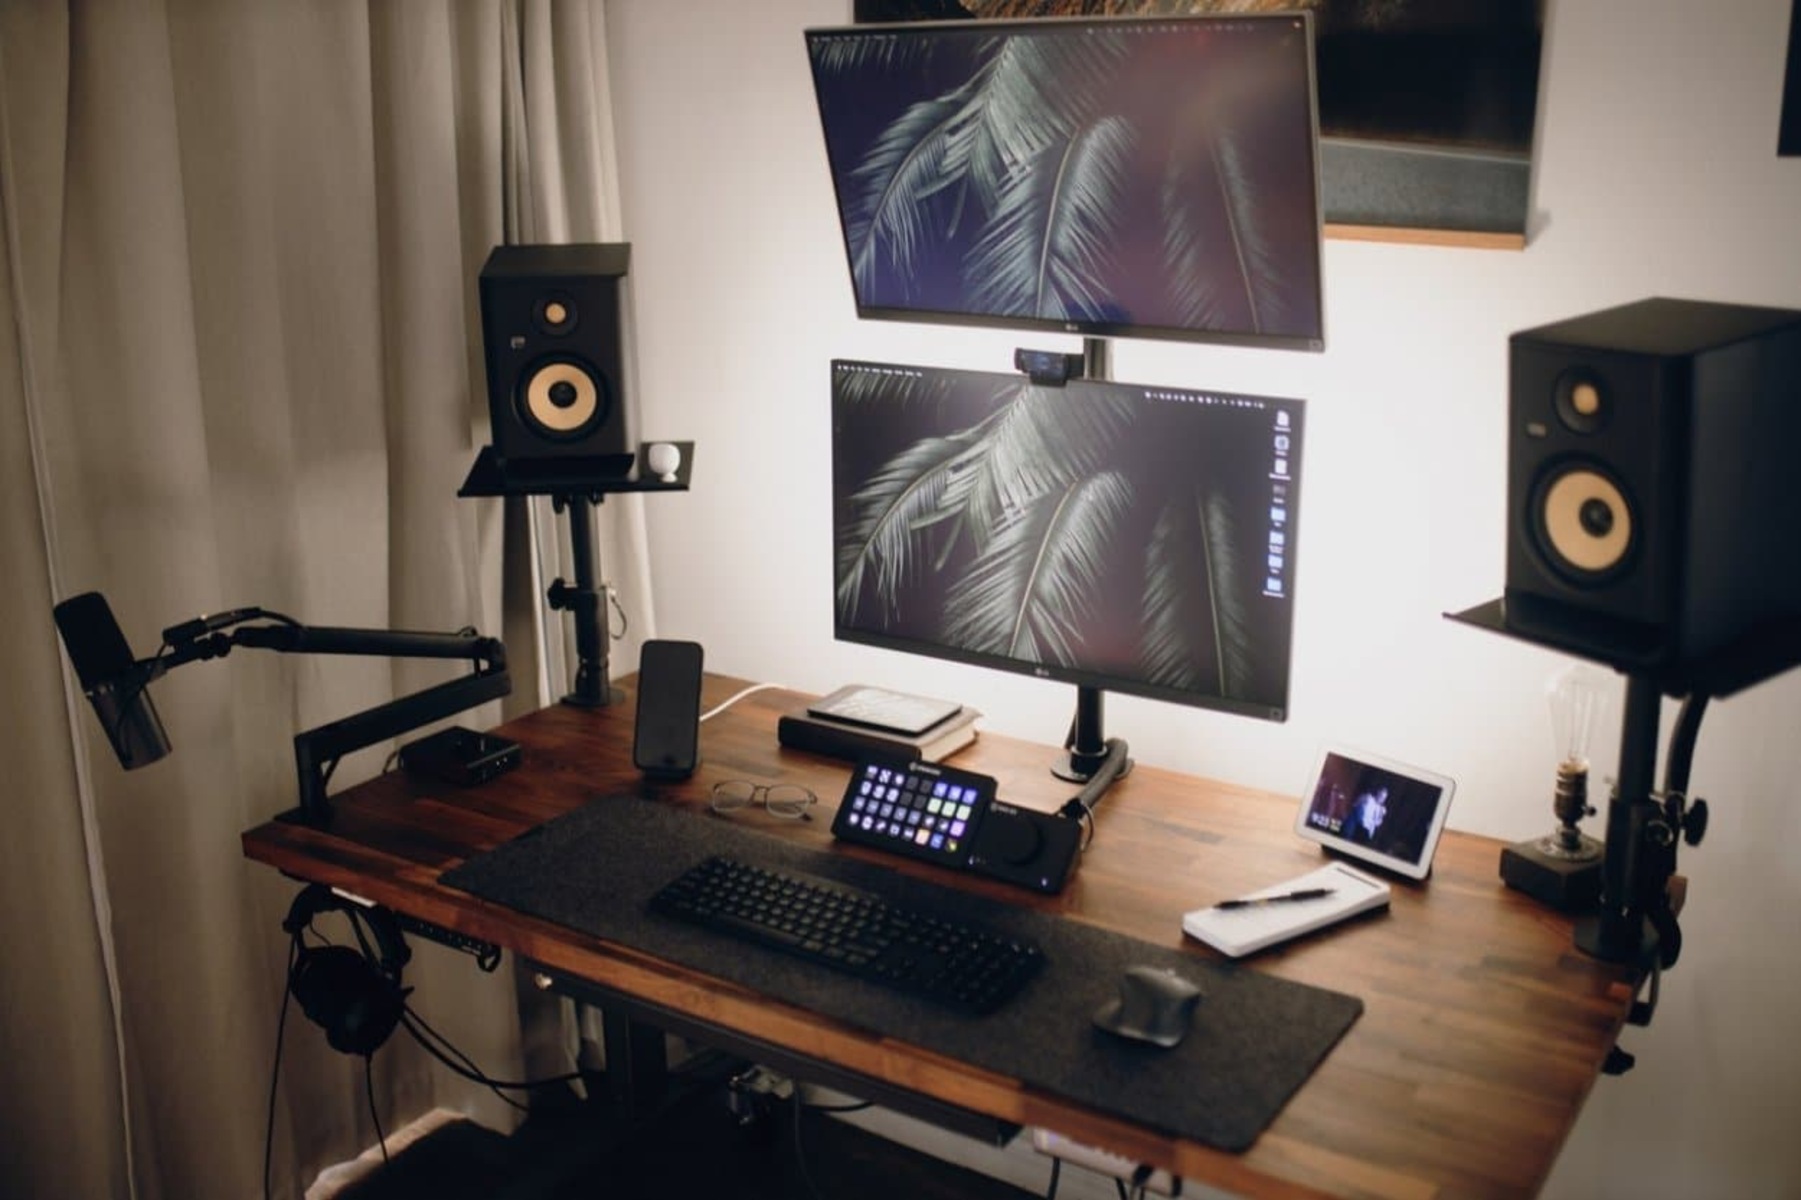
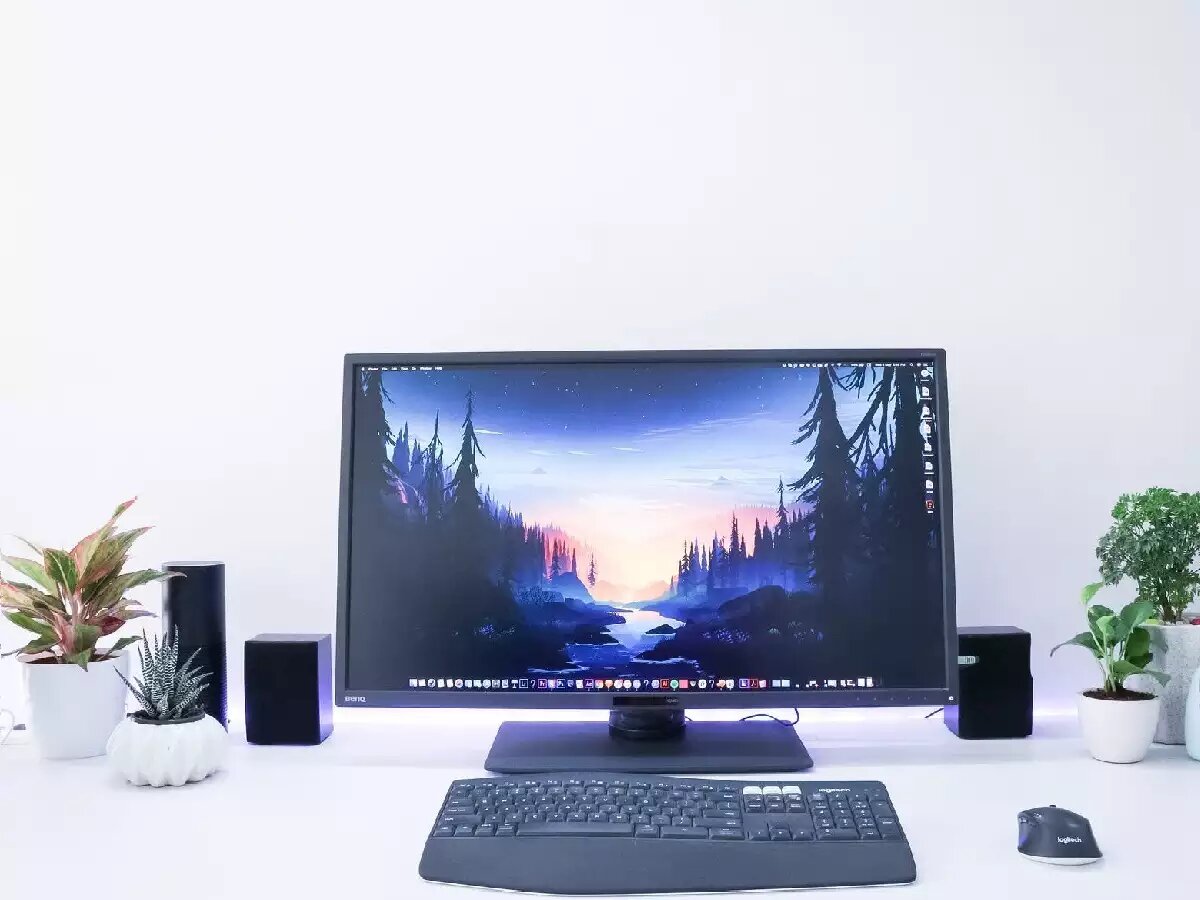
While monitors are primarily designed to display visuals, many models come with built-in speakers that may not always meet your audio expectations. That’s where external speakers come in. By connecting external speakers to your monitor, you can enjoy a more immersive audio experience with better sound clarity and depth.
In this guide, we’ll walk you through the step-by-step process of connecting speakers to your monitor. Whether you’re using a desktop computer or a laptop, we’ll cover all the necessary information to help you get your speakers up and running.
Before we dive into the steps, it’s important to note that the specific process may vary depending on the make and model of your monitor and speakers. It’s always a good idea to consult the user manuals for both your monitor and speakers for any manufacturer-specific instructions. Additionally, ensure that you have the necessary cables and adapters that may be required for the connection.
Now that we have the important details covered, let’s move on to the first step: checking the available ports on your monitor and speakers.
Step 1: Check the available ports on your monitor and speakers
Before connecting your speakers to your monitor, it’s crucial to determine the available ports on both devices. This will help you ensure compatibility and choose the appropriate cables or adapters for the connection.
Start by examining your monitor. Most monitors usually have a variety of connectivity options, such as:
- HDMI port: This port is commonly found on modern monitors and provides high-quality audio and video transmission through a single cable.
- DisplayPort: Another popular port that delivers high-quality audio and video signals. It’s commonly used for connecting to computers and gaming consoles.
- VGA port: While older, this port can still be found on some monitors. It provides analog audio and video signals but may require additional cables for audio output.
Next, inspect your speakers. The available ports on speakers can vary depending on the model. The most commonly used ports include:
- 3.5mm audio jack: This is a universal audio connection that is compatible with various devices, including smartphones, computers, and gaming consoles.
- USB port: Some speakers may have a USB port that can be used for both power and audio connectivity.
- Bluetooth: If your speakers support wireless connectivity, you can pair them with your monitor using Bluetooth for a cable-free setup.
Once you have identified the ports present on both your monitor and speakers, you need to determine the type of cable or adapter required for the connection. For example, if your monitor has an HDMI port and your speakers have a 3.5mm audio jack, you will need an HDMI to 3.5mm audio adapter or cable. If the ports on both devices match, you can directly connect them using the appropriate cable.
Keep in mind that some monitors have multiple audio output options. In such cases, you may need to go into the monitor’s settings and specify the audio source you want to use, such as the HDMI output or the headphone jack.
Once you have gathered all the necessary information about the available ports on your monitor and speakers, you are ready to move on to the next step: connecting the speakers to the monitor.
Step 2: Connect the speakers to the monitor using an audio cable or HDMI cable
Now that you have identified the ports on your monitor and speakers, it’s time to establish the physical connection between the two devices. Depending on the available ports, you can use either an audio cable or an HDMI cable to connect your speakers to the monitor.
If your monitor and speakers both have a 3.5mm audio jack, you can use a standard 3.5mm audio cable. Simply insert one end of the cable into the audio output port of your monitor and the other end into the corresponding audio input on your speakers. Make sure to firmly plug in both ends to ensure a secure connection.
On the other hand, if your monitor and speakers have HDMI ports, you can use an HDMI cable for both audio and video transmission. Plug one end of the HDMI cable into the HDMI output port on your monitor and the other end into the HDMI input port on your speakers. This will allow both audio and video signals to pass through a single cable, providing a convenient setup.
If your speakers are Bluetooth-enabled, you can connect them wirelessly to your monitor. This method requires that both your monitor and speakers have Bluetooth capabilities. Consult the user manuals or online documentation for both devices to learn how to pair them via Bluetooth. Once they are successfully paired, the audio will be transmitted wirelessly from the monitor to the speakers.
Ensure that you have securely connected the audio cable or HDMI cable between your monitor and speakers. If using an audio cable, double-check that you have plugged it into the correct audio output and input ports. If using an HDMI cable, verify that it is plugged into the appropriate HDMI ports on both devices.
Now that you have successfully connected your speakers to the monitor, we can move on to the next step: adjusting the volume and audio settings.
Step 3: Adjust the volume and audio settings on your monitor and speakers
After connecting your speakers to the monitor, it’s important to ensure that the volume and audio settings are configured correctly. This will help you achieve the desired audio output and maximize your listening experience.
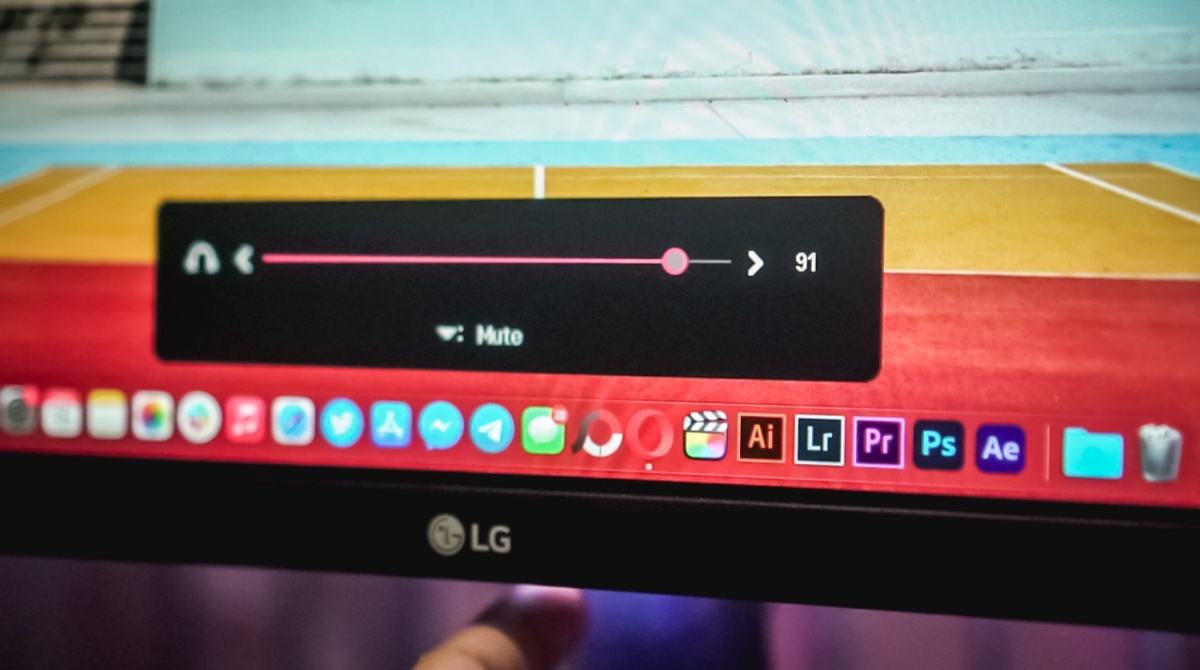
First, check the volume controls on both your monitor and speakers. Most monitors have built-in volume controls that allow you to adjust the audio output directly from the monitor itself. Look for buttons or a knob labeled “Volume” or “Audio” on the monitor and use them to increase or decrease the volume level.
If your speakers have their own volume controls, adjust them to your preferred level as well. These controls are usually located on the front or side of the speakers and can be adjusted using buttons, knobs, or touch controls.
Once you have set the basic volume levels, move on to the audio settings on your monitor. Depending on the model and manufacturer, you may have access to various audio options in the monitor’s settings menu. Common audio settings include equalizer presets, sound modes, balance adjustments, and audio enhancements. Explore these settings and adjust them according to your preferences to improve the audio quality.
It’s also a good idea to check the audio settings on your computer or device that is connected to the monitor. This is particularly relevant when using the monitor as an external display for your laptop or desktop computer. Adjust the audio output settings on your computer to ensure that the audio is directed to the connected speakers rather than the built-in speakers or headphones.
If you’re using a gaming console or media player with your monitor, make sure to configure the audio settings in those devices as well. This will help optimize the audio output specifically for gaming or media playback purposes.
Before moving on, it’s important to test the audio and ensure that it is coming from the connected speakers. Play some audio or video content on your monitor and listen for the sound. If the audio is playing from the speakers, you have successfully adjusted the volume and audio settings.
Now that the volume and audio settings are properly adjusted, we can move on to the next step: testing the connection and adjusting audio quality if necessary.
Step 4: Test the connection and adjust the audio quality if necessary
After connecting and configuring your speakers, it’s essential to test the connection and ensure that everything is working as expected. This will allow you to identify any potential issues and make adjustments to the audio quality if necessary.
Start by playing various types of audio content, such as music, videos, or games, on your monitor. Pay close attention to the audio output and listen for any distortions, imbalance, or lack of clarity. If you notice any issues, consider the following adjustments:
Volume balance: If the audio is louder on one speaker compared to the other, you can adjust the volume balance. Refer to the user manual or online documentation for your speakers to find out how to adjust the individual volume levels for each speaker.
Equalizer settings: Most devices and media players offer equalizer settings that allow you to fine-tune the audio frequency response. Experiment with different equalizer presets or manually adjust the sliders for bass, midrange, and treble to suit your preferences and improve the overall sound quality.
Positioning: Pay attention to the positioning of your speakers. Ensure that they are placed at an appropriate distance from each other and that they are facing towards your listening area. Adjusting the position of your speakers can have a significant impact on sound quality and overall audio experience.
Room acoustics: Consider the acoustics of the room where your monitor and speakers are located. If the room has hard surfaces that reflect sound, such as bare walls or floors, it may result in echo or distortion. Adding soft furnishings like rugs or curtains can help absorb excess sound reflections and improve audio quality.
Audio enhancements: Explore any additional audio enhancement features that may be available. Some speakers or audio devices offer sound-enhancing technologies like surround sound or virtual surround, which can create a more immersive audio experience.
Continuously test the connection and make adjustments as needed until you are satisfied with the audio quality. Remember that personal preferences can vary, so take the time to find the settings that suit your individual taste.
Congratulations! You have successfully connected your speakers to your monitor and optimized the audio quality. Now you can enjoy an enhanced audio experience while using your monitor for various activities, whether it’s gaming, watching movies, or simply listening to music.
Remember, if you ever need to disconnect the speakers or make any changes to the setup, refer back to this guide for a quick refresh. Enjoy your newfound audio experience!
Conclusion
Connecting speakers to your monitor can greatly enhance your audio experience while using your computer. By following the steps outlined in this guide, you can successfully establish a connection between your monitor and speakers, allowing for better sound quality and immersion.
Remember to begin by identifying the available ports on both your monitor and speakers. This will help you determine the type of cable or adapter needed for the connection. Whether it’s a 3.5mm audio cable, HDMI cable, or Bluetooth pairing, ensure that the connection is secure and the cables are plugged into the correct ports.
Once the physical connection is established, adjust the volume and audio settings on both your monitor and speakers. Take advantage of any additional audio options provided by your monitor and optimize the settings to suit your preferences. Pay attention to volume balance, equalizer settings, speaker positioning, and room acoustics to further enhance the audio quality.
After making the necessary adjustments, test the connection by playing various audio content and fine-tune the audio quality as needed. Keep in mind that everyone’s preferences may differ, so experiment with different settings until you find the audio setup that suits your personal taste.
With your speakers successfully connected and optimized, you can now enjoy a more immersive audio experience while using your monitor. Whether you’re gaming, watching movies, or simply listening to music, the enhanced sound quality will add depth and richness to your audio playback.
Remember, if you ever need to disconnect or reconnect your speakers, refer back to this guide for a quick and easy setup. Now, sit back, relax, and enjoy the captivating audio experience that your speakers bring to your monitor.