Introduction
Welcome to our guide on how to connect a Samsung monitor to a PC using an HDMI cable. Samsung monitors are known for their high-quality displays and advanced features, making them a popular choice for both professional and personal use. By connecting your Samsung monitor to your PC, you can enhance your viewing experience and take full advantage of the monitor’s capabilities.
Connecting a Samsung monitor to a PC is a relatively simple process that requires just a few steps. In this guide, we will walk you through each step to ensure a seamless connection. Whether you are a novice or experienced user, you’ll find the instructions easy to follow, allowing you to get your monitor up and running in no time.
Before we dive into the steps, make sure you have all the necessary equipment handy. You will need an HDMI cable, your PC, and of course, your Samsung monitor. With these items ready, you’ll be well-prepared to connect your Samsung monitor to your PC and enjoy a stunning display for work, gaming, or entertainment purposes.
It’s worth noting that HDMI (High-Definition Multimedia Interface) is a widely used standard for transmitting high-quality audio and video signals between devices. Most modern PCs and Samsung monitors come with HDMI ports, making it an ideal choice for connecting the two devices. Now, without further ado, let’s get started!
Step 1: Gather all the necessary equipment
Before you begin connecting your Samsung monitor to your PC, it’s important to gather all the necessary equipment. Having everything ready will streamline the process and ensure a smooth setup. Here’s what you’ll need:
- HDMI cable: Make sure you have an HDMI cable that is compatible with both your PC and Samsung monitor. HDMI cables come in different lengths, so choose one that suits your setup.
- PC: Ensure that your PC is powered on and functioning properly. It should have an HDMI output port, which is usually located on the back of the PC tower or on the side of a laptop.
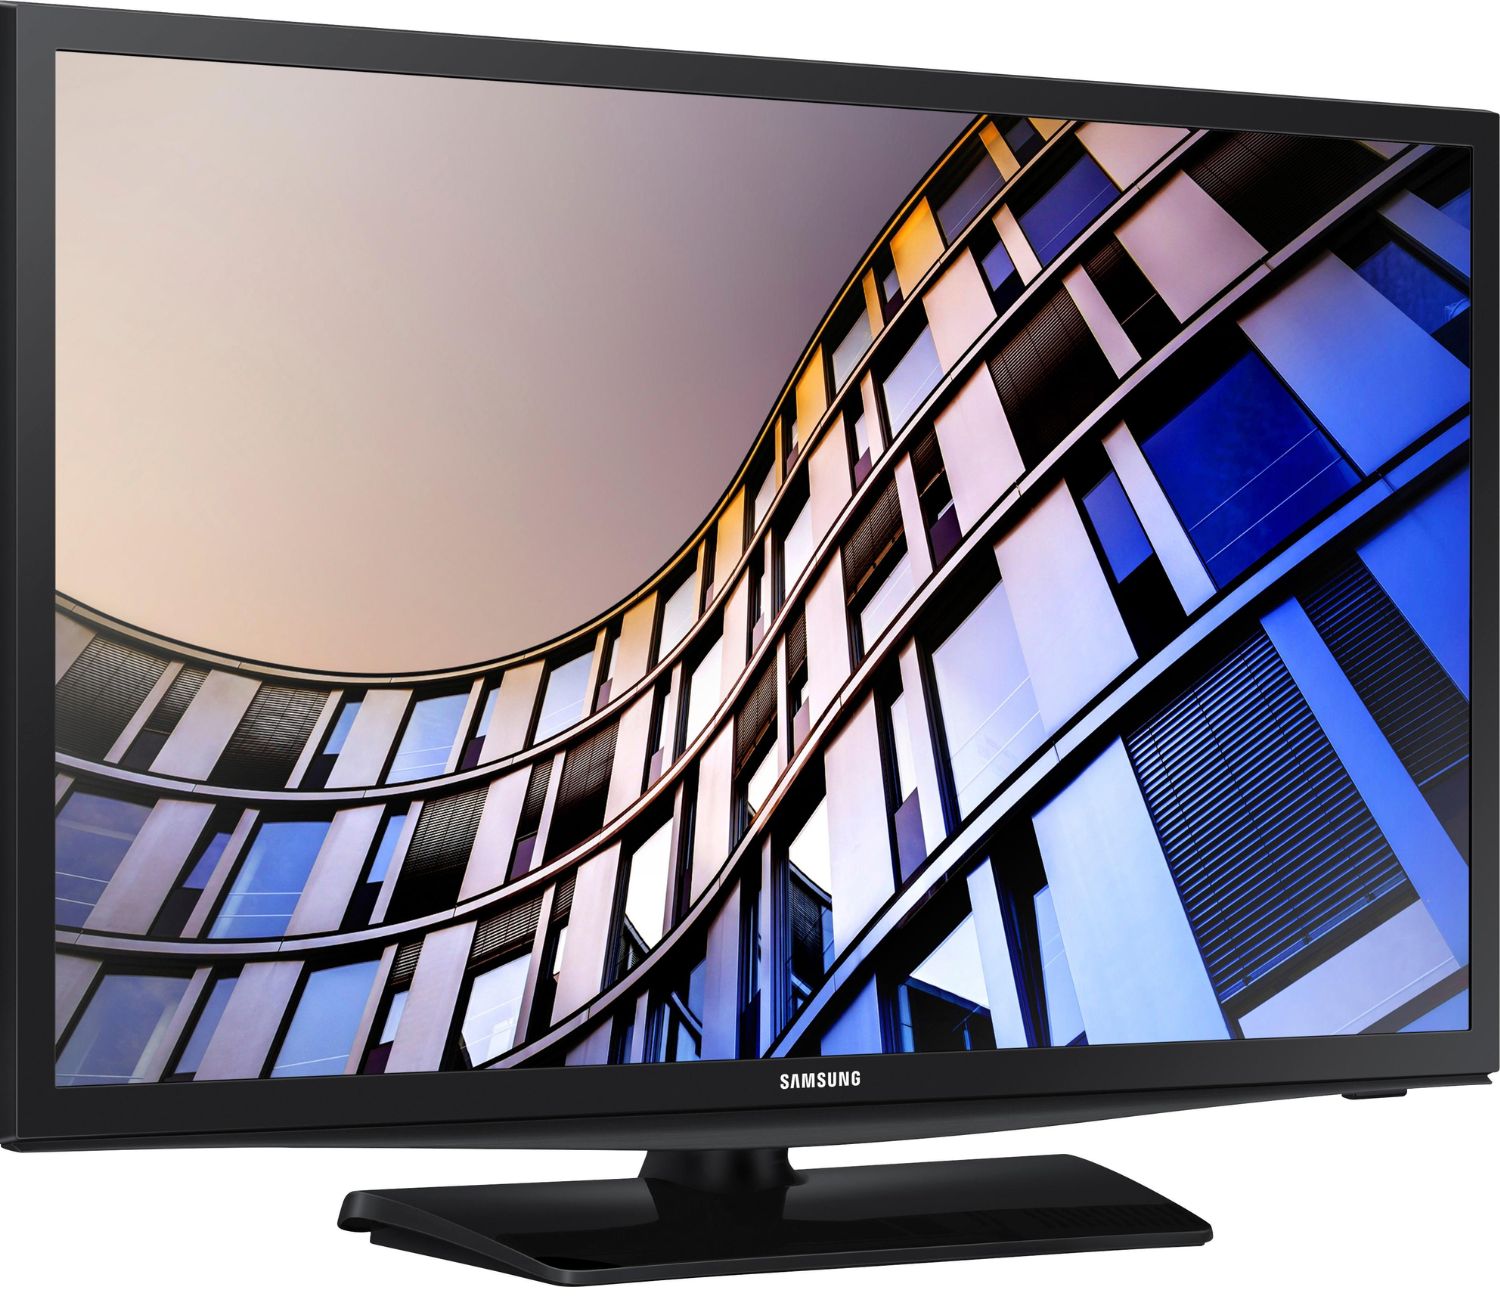
- Samsung monitor: Of course, you’ll need your Samsung monitor. Double-check that it is in good working condition and that it has an HDMI input port, which is typically found on the back or side of the monitor.
Having these three essential items ready will save you from any last-minute scrambling and guarantee a hassle-free setup experience.
It’s also a good idea to have a clean and clutter-free workspace. Clear any obstructions and ensure that there is enough space for your PC and Samsung monitor to be positioned comfortably. This will make it easier to access the necessary ports and minimize the risk of any accidental damage during the connection process.
By gathering all the necessary equipment and preparing your workspace, you’re setting yourself up for success when it comes to connecting your Samsung monitor to your PC. With everything in place, you’re now ready to move on to the next step.
Step 2: Locate the HDMI port on your Samsung monitor
Now that you have gathered all the necessary equipment, the next step is to locate the HDMI port on your Samsung monitor. The HDMI port is where you will connect one end of the HDMI cable.
Here’s how you can find the HDMI port on your Samsung monitor:
- Examine the back or side of your Samsung monitor. Look for a row of ports or connectors.
- Locate the HDMI port. It is usually labeled as “HDMI” and has a distinct shape that matches the HDMI cable. The port might be a small rectangular slot with several metal pins inside.
- If you are having trouble finding the HDMI port, refer to the user manual that came with your Samsung monitor. It will have detailed instructions and diagrams to help you locate the port.
Once you have identified the HDMI port, you are one step closer to connecting your Samsung monitor to your PC. Remember to handle the monitor with care while locating the HDMI port and avoid applying excessive force to prevent any damage.
It’s also a good practice to clean the HDMI port and cable connectors if you notice any dirt or debris. A small amount of compressed air or a soft cloth can be used to wipe away any particles that might obstruct the connection.
Now that you have successfully located the HDMI port on your Samsung monitor, you are ready to move on to the next step and establish the physical connection between your PC and your monitor.
Step 3: Connect one end of the HDMI cable to your PC
With the HDMI port on your Samsung monitor identified, it’s time to connect one end of the HDMI cable to your PC. This will establish the physical connection between your PC and the monitor.
Follow these steps to connect one end of the HDMI cable to your PC:
- Locate the HDMI output port on your PC. Depending on the type of PC you have, it could be located on the back of the tower or on the side of a laptop. The HDMI output port should be labeled as “HDMI” and have a similar shape to the HDMI cable connector.
- Gently plug one end of the HDMI cable into the HDMI output port on your PC. Make sure the connector is inserted firmly and straight into the port. Do not force it as this may cause damage to the port and cable.
- If there is a protective cover on the HDMI output port, remove it before connecting the cable. Some PCs may also have multiple HDMI output ports, so ensure that you are connecting the cable to the correct one.
Once you have connected one end of the HDMI cable to your PC, you have established the first half of the physical connection. The cable will transmit both the audio and video signals from your PC to the Samsung monitor, providing you with a high-quality display experience.
Take a moment to ensure that the HDMI cable is securely plugged into the HDMI output port to avoid any accidental disconnections. Now that the cable is connected to your PC, it’s time to proceed to the next step and complete the connection by connecting the other end of the HDMI cable to your Samsung monitor.
Step 4: Connect the other end of the HDMI cable to your Samsung monitor
With one end of the HDMI cable connected to your PC, it’s time to complete the physical connection by connecting the other end of the cable to your Samsung monitor. This will allow the transmission of audio and video signals from your PC to the monitor.
Follow these steps to connect the other end of the HDMI cable to your Samsung monitor:
- Refer to the HDMI port that you located on your Samsung monitor in Step 2. Ensure that the HDMI cable connector matches the shape of the port.
- Gently insert the other end of the HDMI cable into the HDMI input port on your Samsung monitor. The connector should fit securely into the port without any force. Be careful not to bend the pins inside the port.
- Once the cable is connected, use your hand to tighten the screws on the cable connector (if available) to ensure a secure connection. This will prevent any accidental disconnections during use.
After completing these steps, you have successfully connected both ends of the HDMI cable. The physical connection between your PC and Samsung monitor is now established, allowing the transfer of audio and video data.
Take a moment to verify that the HDMI cable is securely connected to both your PC and Samsung monitor. Make sure that there are no loose connections or cables that could cause any interruptions to the display.
Now that the HDMI cable is connected at both ends, you are ready to proceed to the next step and adjust the display settings on your PC to ensure optimal viewing on your Samsung monitor.
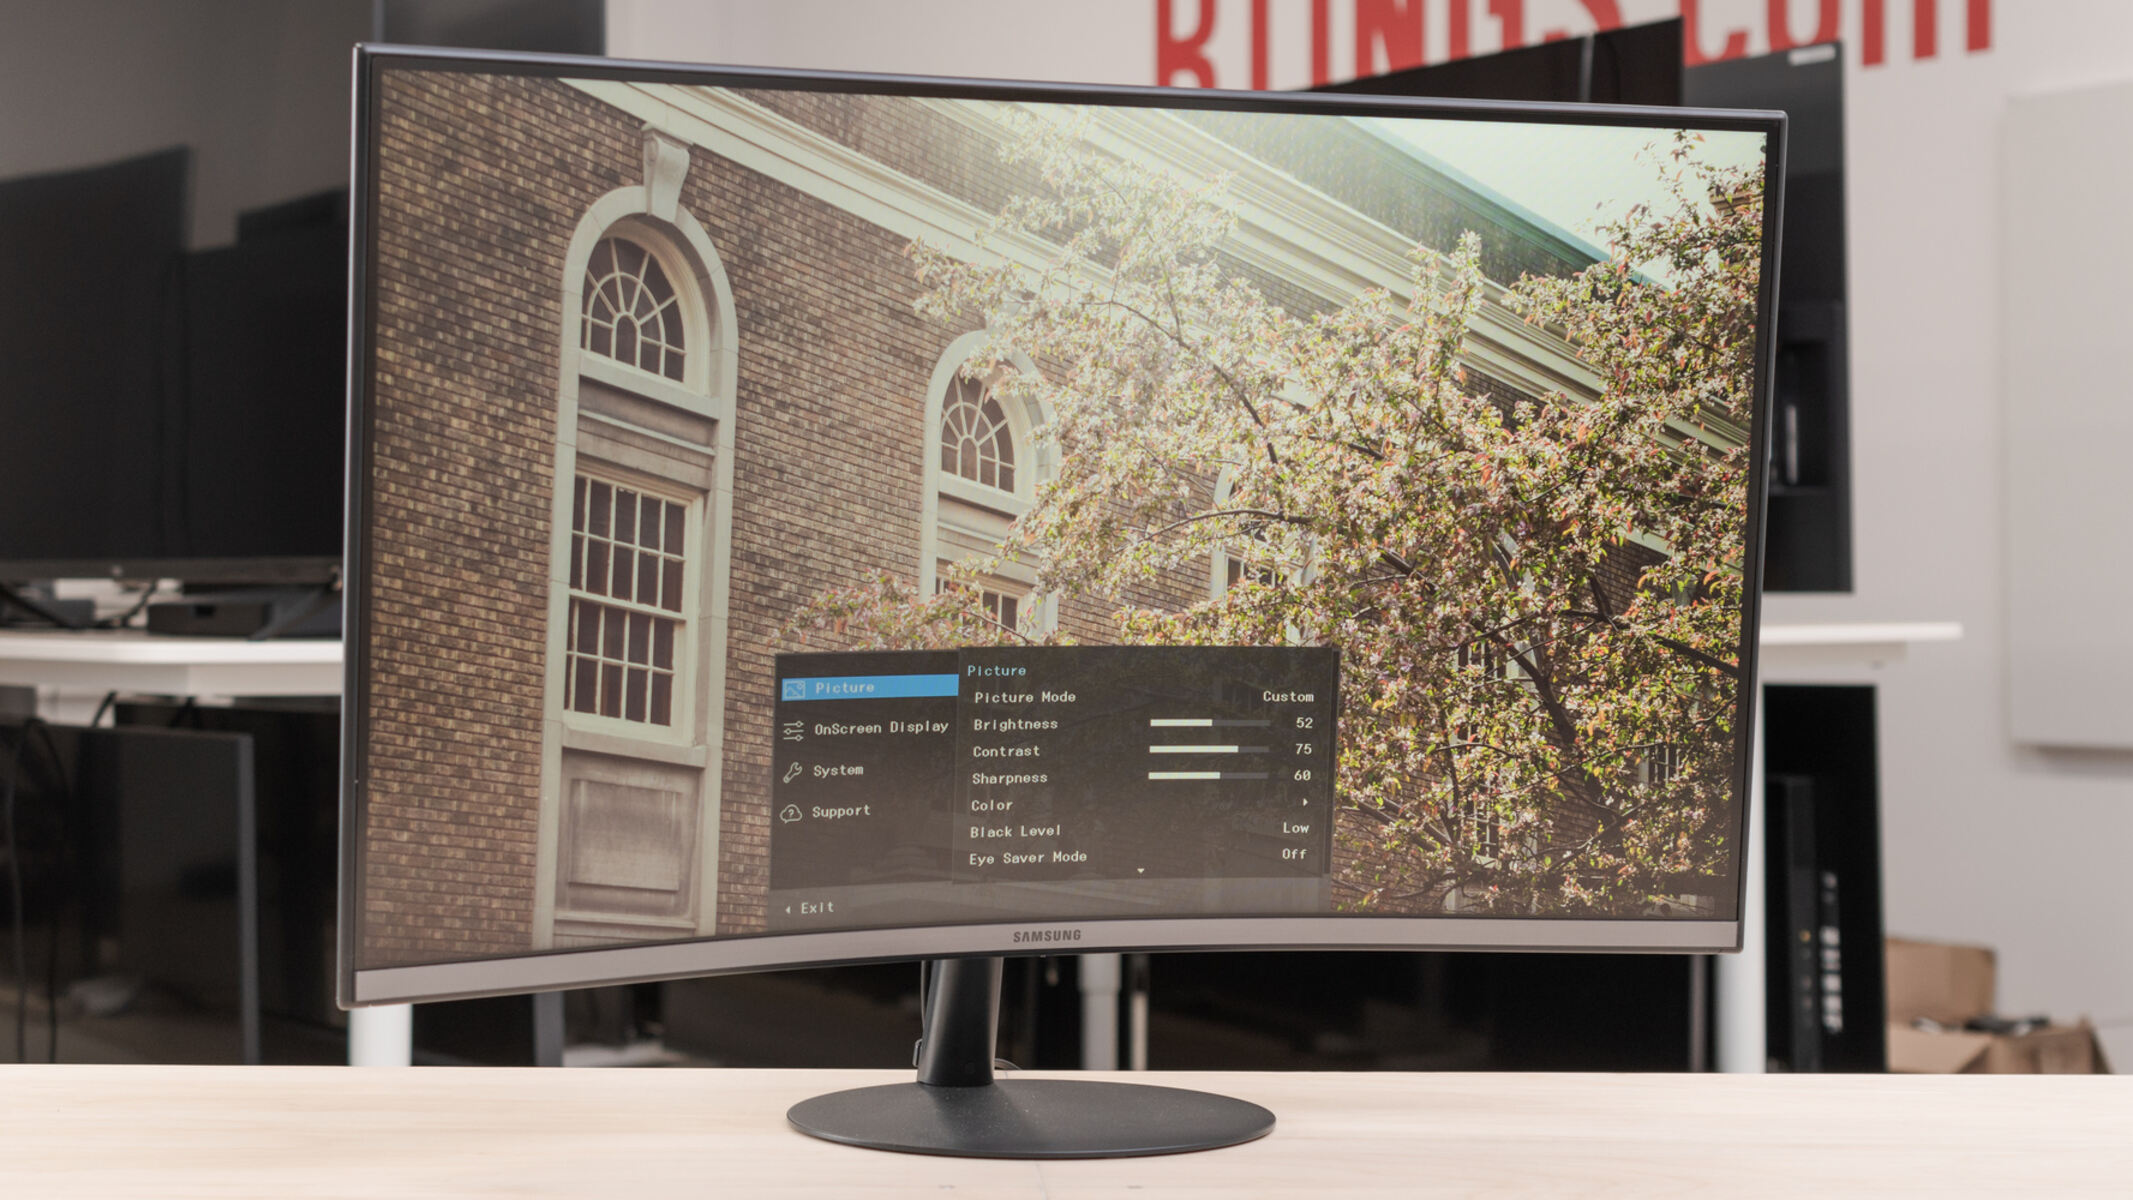
Step 5: Adjust the display settings on your PC
Now that you have successfully connected your Samsung monitor to your PC using the HDMI cable, it’s time to adjust the display settings on your PC. This step will ensure that your monitor is recognized and configured correctly, providing you with the best visual experience.
Follow these steps to adjust the display settings on your PC:
- Right-click on the desktop and select “Display settings” from the drop-down menu. Alternatively, you can access the display settings through the Windows Control Panel.
- In the display settings window, you will see a preview of your PC’s display setup. Locate the section that shows the list of connected displays.
- Identify your Samsung monitor from the list and click on it.
- Select the appropriate resolution for your monitor. This setting determines the clarity and sharpness of the display. Choose the highest resolution that your monitor supports for optimal visual quality.
- If needed, you can also adjust other display settings such as orientation, color calibration, and screen brightness.
- Click “Apply” to save the changes.
- Depending on your system, you may need to restart your PC for the changes to take effect.
By adjusting the display settings on your PC, you are ensuring that your Samsung monitor is correctly recognized and configured. This step allows your PC to output the appropriate display signal, optimizing the image quality on your monitor.
Take some time to explore the various display settings and adjust them according to your preferences. Play around with the resolution, color calibration, and other settings to find the perfect balance that suits your needs and provides the best viewing experience.
With the display settings adjusted, you are now ready to move on to the final step and test the connection between your PC and Samsung monitor.
Step 6: Test the connection and troubleshoot any issues
After connecting your Samsung monitor to your PC and adjusting the display settings, it’s important to test the connection and ensure that everything is functioning correctly. This step will help you identify any issues and troubleshoot them to achieve a seamless display experience.
Here are some steps to test the connection and troubleshoot any potential issues:
- Turn on your PC and Samsung monitor. Make sure both devices are powered up.
- Allow a few moments for your PC to detect and connect to the monitor. You should see the display extending onto your Samsung monitor.
- Check for any abnormalities in the display, such as flickering, blurry images, or incorrect aspect ratio. If you notice any issues, proceed to the next steps.
- Ensure that the HDMI cable is securely connected to both the PC and Samsung monitor. Sometimes, a loose connection can cause display problems. Try disconnecting and reconnecting the cable to ensure a secure connection.
- If the display issues persist, try using a different HDMI cable (if available) to rule out any cable-related problems. Faulty cables can sometimes affect the quality of the signal being transmitted.
- Update your graphics driver on your PC. Outdated or incompatible drivers can cause display issues. Visit the manufacturer’s website for your PC’s graphics card or consult your operating system’s support documentation for instructions on how to update the driver.
- If all else fails, check the user manual for your Samsung monitor or visit the manufacturer’s support website for troubleshooting guidance. They may have specific recommendations or solutions for any display issues related to your model of monitor.
By testing the connection and troubleshooting any issues, you are ensuring that the display between your PC and Samsung monitor is stable and error-free. Taking the time to resolve any problems will lead to a more enjoyable and seamless visual experience.
Remember, every PC and monitor setup can vary, so it’s important to consult the user manuals and support documentation specific to your devices for the most accurate troubleshooting guidance.
With the connection tested and any issues resolved, you’re now ready to start using your Samsung monitor connected to your PC. Sit back, relax, and enjoy the stunning display that your Samsung monitor provides.
Conclusion
Connecting your Samsung monitor to your PC using an HDMI cable is a simple process that can significantly enhance your viewing experience. By following the steps outlined in this guide, you can ensure a seamless and high-quality display for work, gaming, or entertainment purposes.
Throughout this guide, we covered the essential steps to connect your Samsung monitor to your PC:
- Gather all the necessary equipment
- Locate the HDMI port on your Samsung monitor
- Connect one end of the HDMI cable to your PC
- Connect the other end of the HDMI cable to your Samsung monitor
- Adjust the display settings on your PC
- Test the connection and troubleshoot any issues
By carefully following these steps, you can ensure a successful connection and an optimal display performance. Remember to handle your devices with care, use a high-quality HDMI cable, and adjust the display settings to your preference.
If you encounter any difficulties or display issues during the process, refer to the user manuals and support documentation provided by Samsung and your PC manufacturer. They will provide valuable troubleshooting guidance specific to your devices.
Now that you have successfully connected your Samsung monitor to your PC, enjoy the stunning visuals, sharp images, and immersive experience it provides. Whether you’re working on projects, gaming, or enjoying multimedia content, your Samsung monitor will bring your digital world to life.
Thank you for following our guide, and we hope you have an exceptional viewing experience with your Samsung monitor!