Introduction
Welcome to the world of game streaming! Streaming your gameplay has become a popular way to share your gaming experiences with others and connect with a wider audience. If you’re looking to stream your PS4 gameplay, you’ve come to the right place. In this article, we’ll guide you through the process of streaming your PS4 using a capture card.
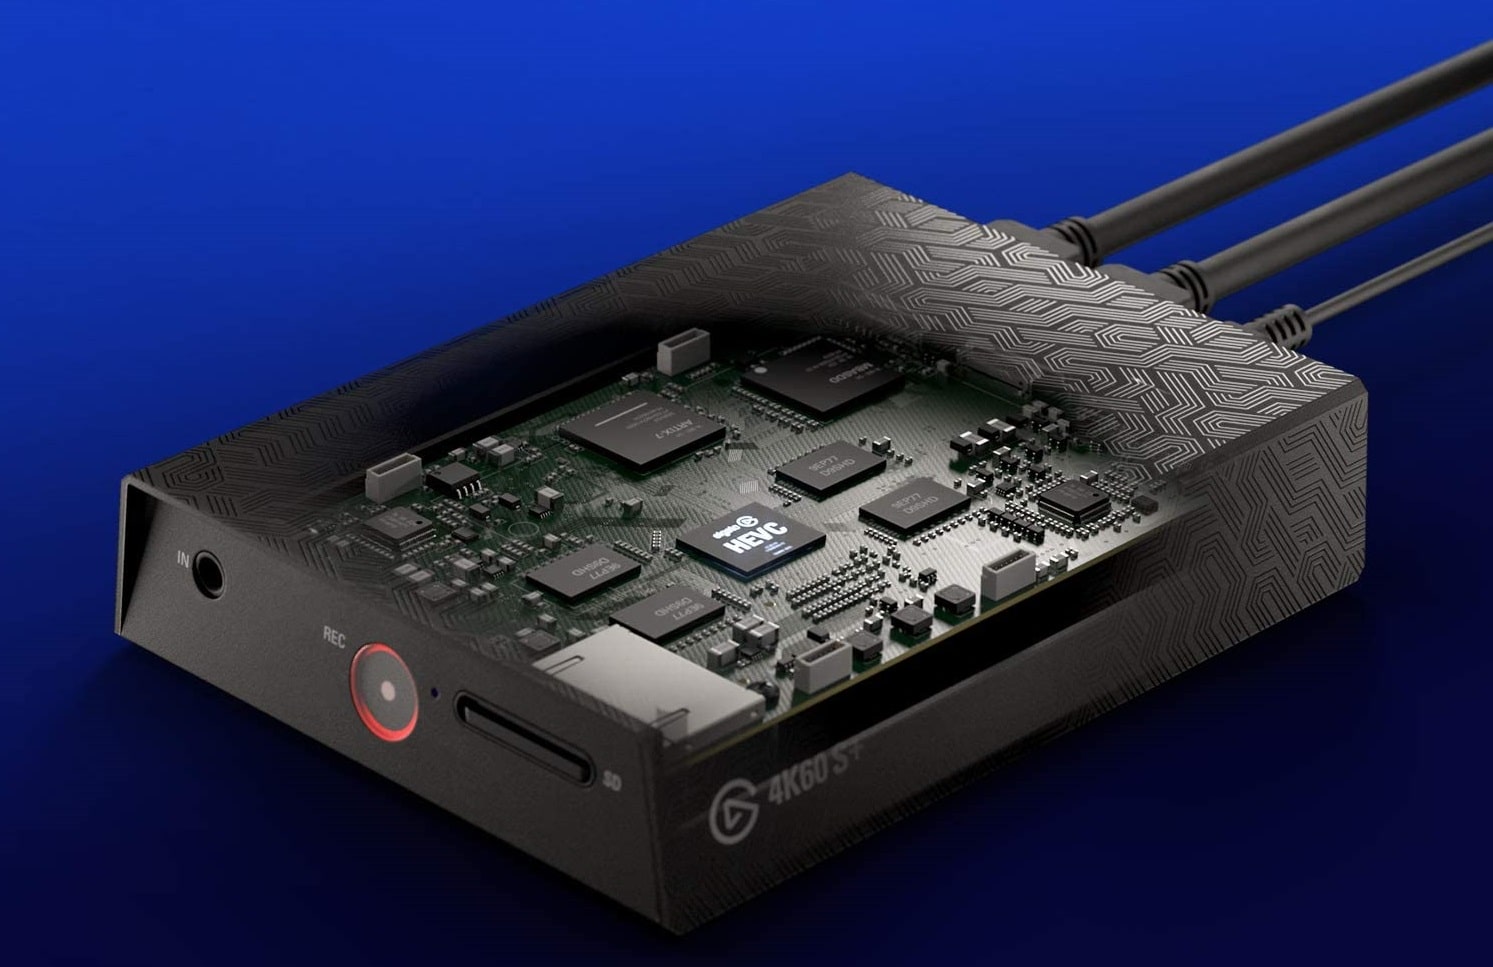
A capture card is an essential device that allows you to capture and record your gameplay footage from your console and transmit it to your computer for streaming. It acts as a bridge between your gaming console and your streaming software, enabling you to share your gaming sessions with friends, fans, or anyone who wants to watch.
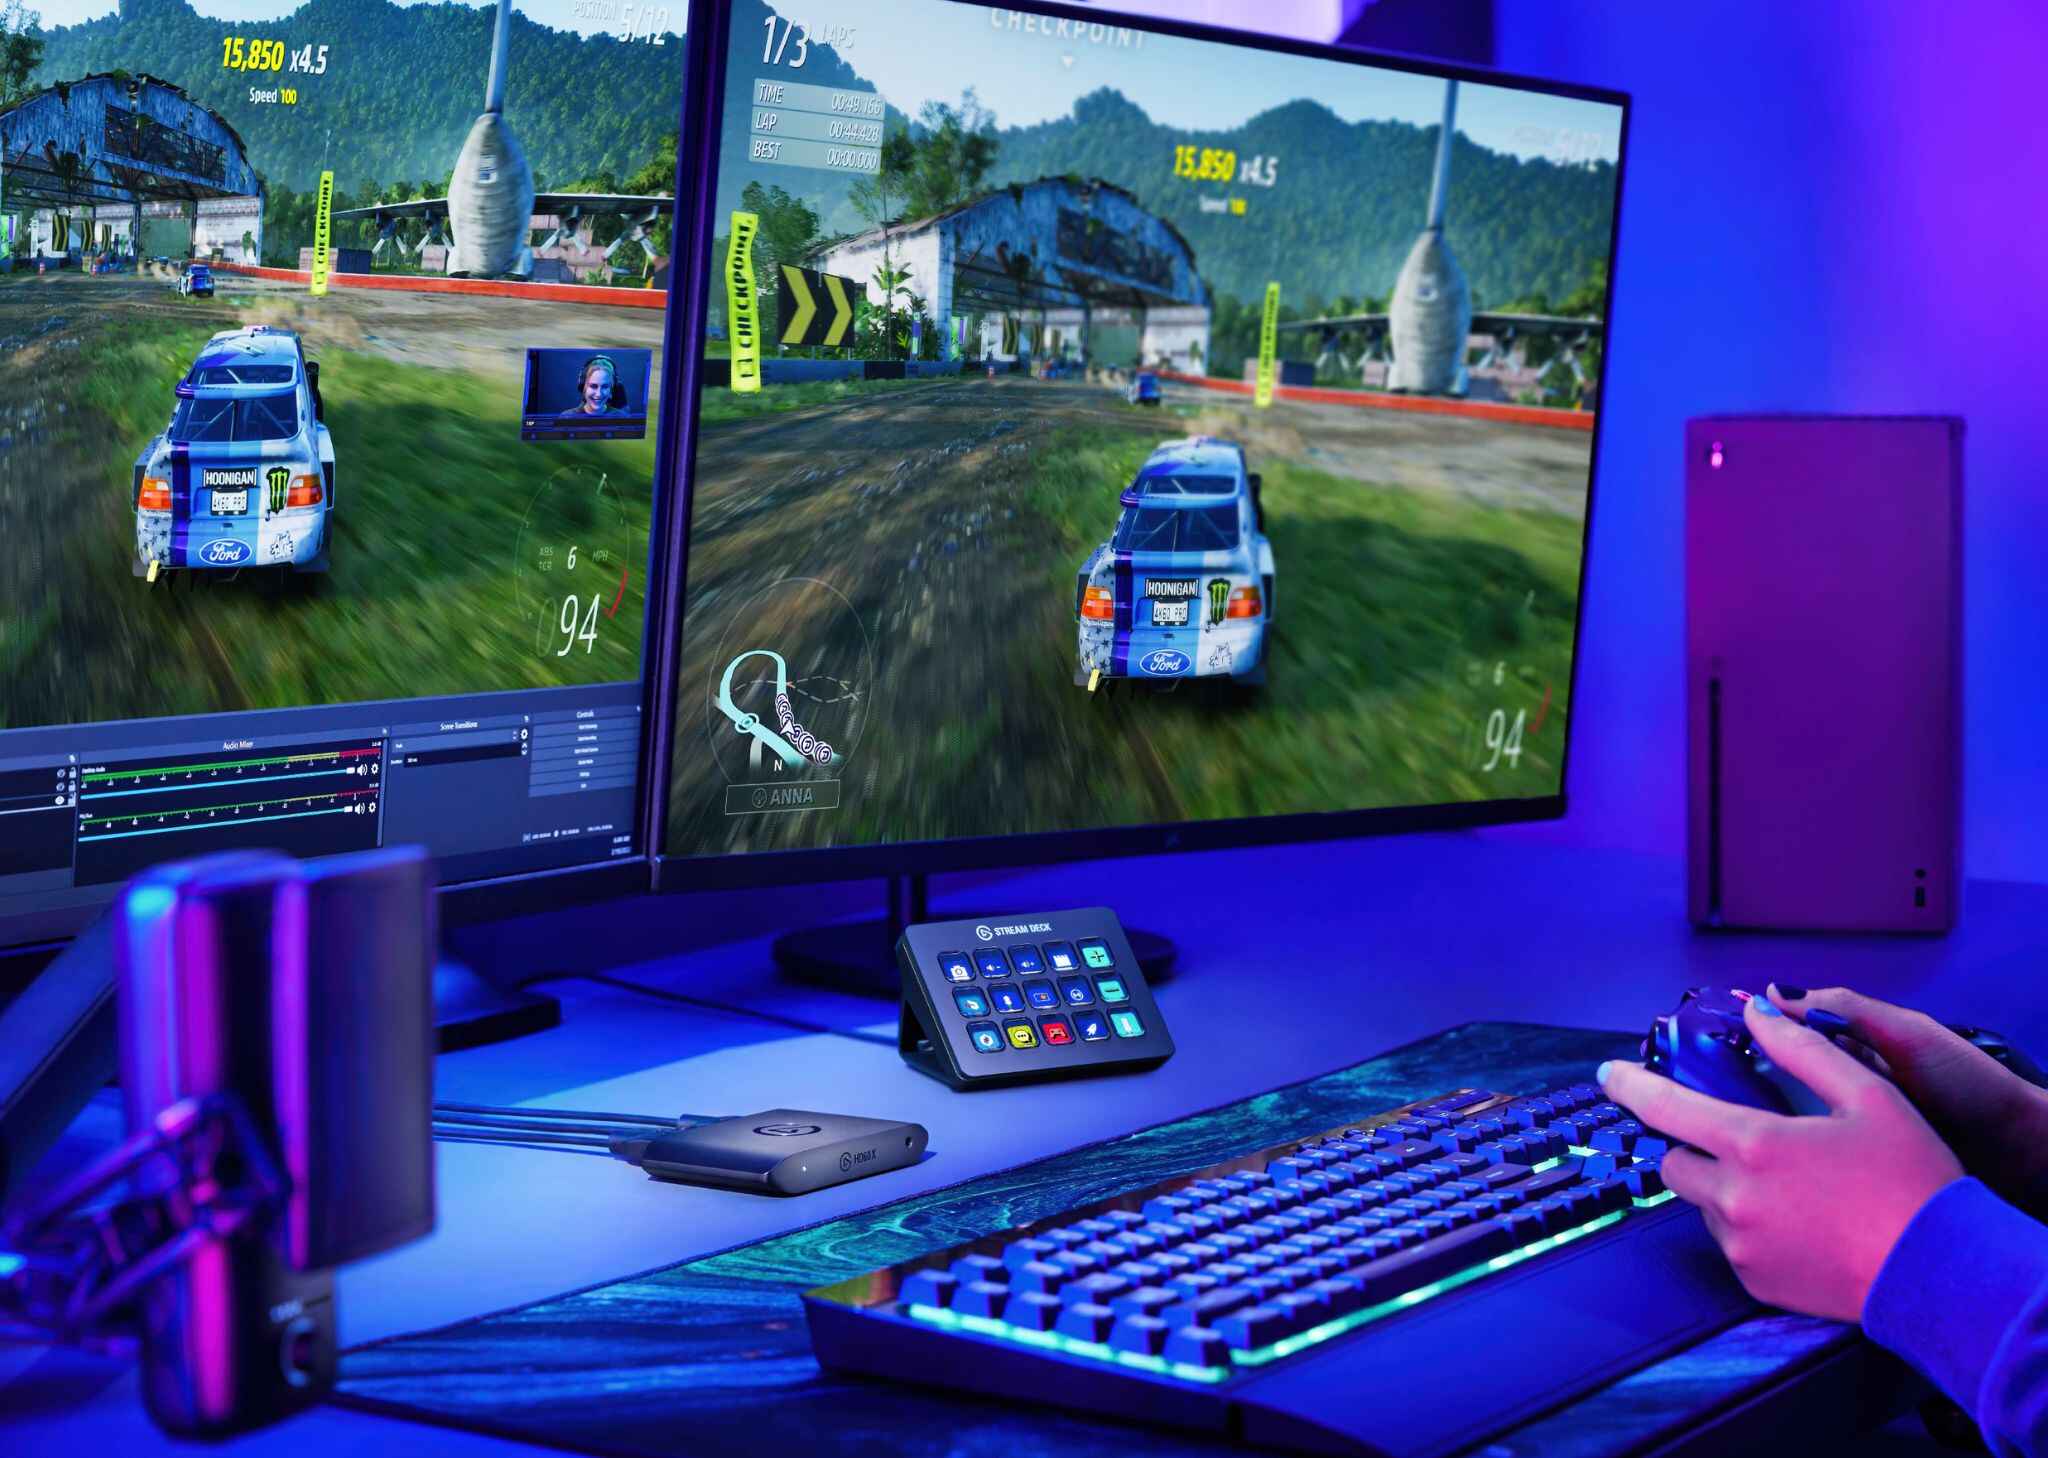
With a capture card, you can enhance your streaming experience by providing high-quality visuals, smooth video playback, and the ability to add overlays, facecams, or other graphics to your streams. Whether you’re an aspiring streamer, a professional gamer, or just someone who wants to share the joy of gaming, a capture card is a valuable tool to have at your disposal.
Before we dive into the specifics of setting up your capture card, it’s important to choose the right one for your needs. There are various capture cards available on the market, each with its own features and compatibility requirements. In the next section, we’ll discuss how to select the perfect capture card for your streaming setup.
What is a capture card and why do you need it?
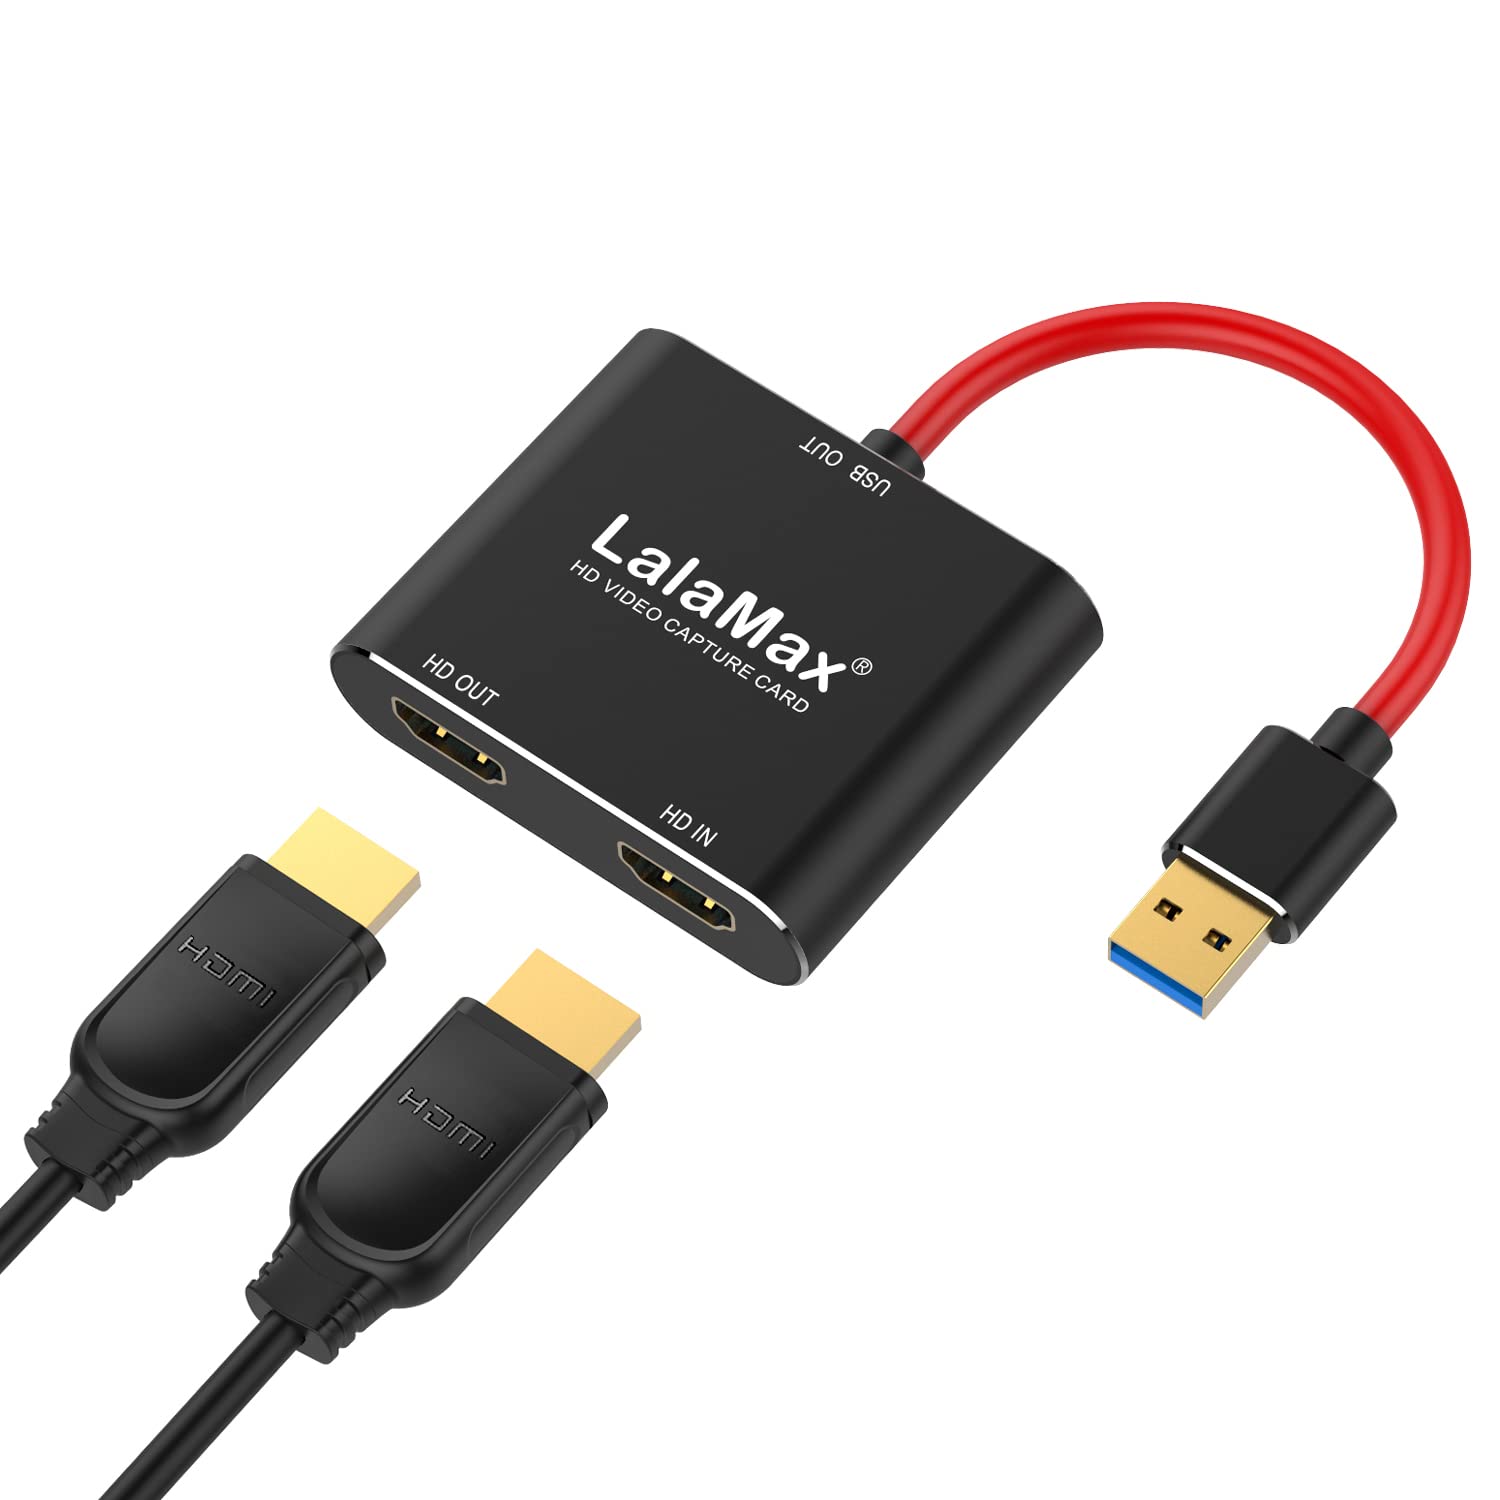
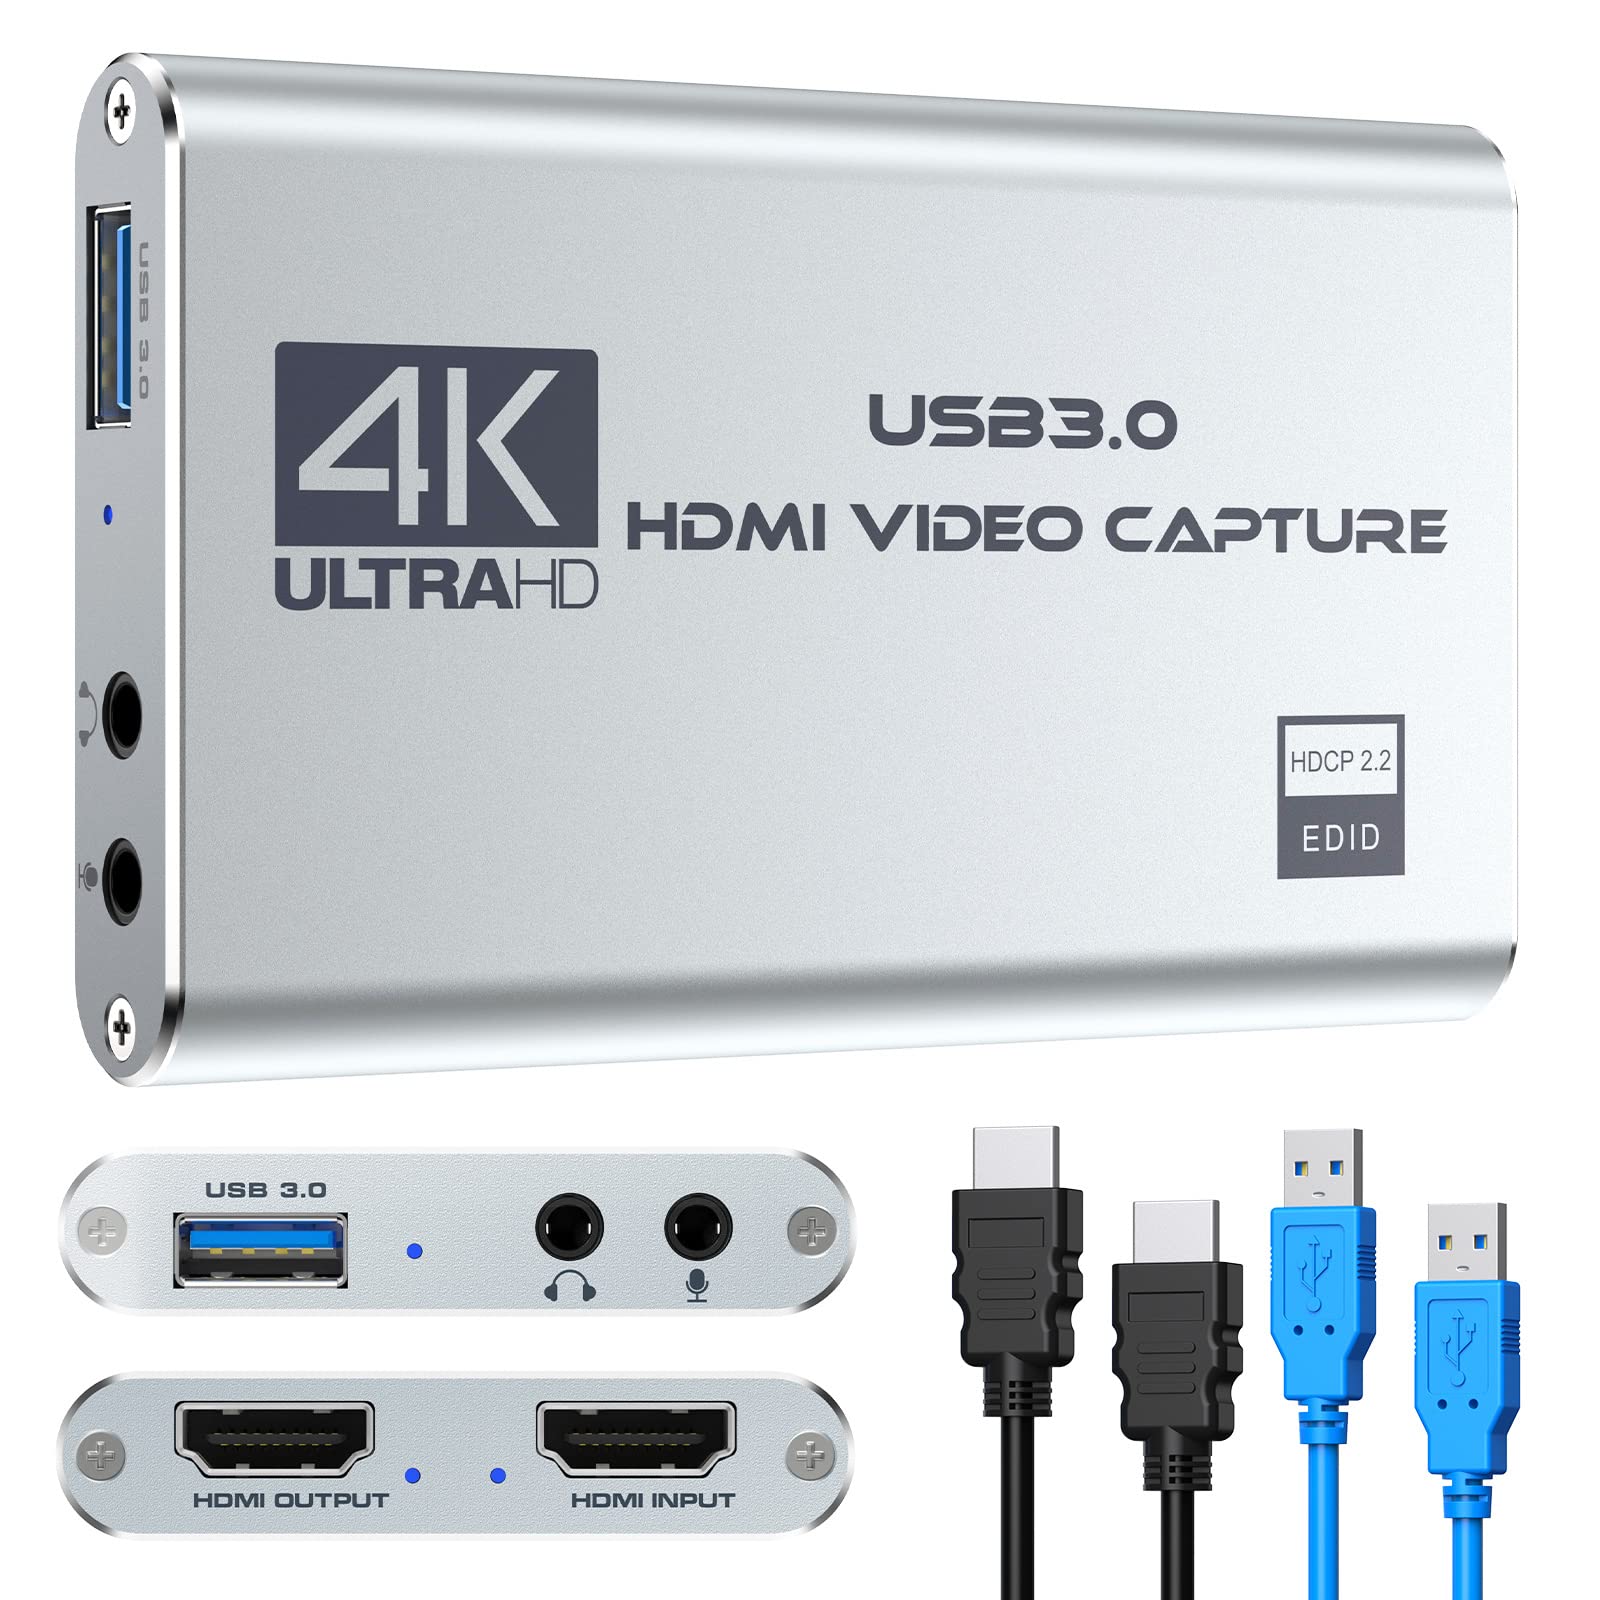
A capture card is a hardware device that allows you to capture, record, and stream gameplay footage from your gaming console, such as the PS4, onto your computer. It works by connecting to your console and computer simultaneously, acting as a middleman to transmit video and audio data from the console to your computer.
But why do you need a capture card? Well, the primary advantage of using a capture card is the ability to produce high-quality streams with minimal impact on your gaming performance. It offloads the processing power required for streaming from your console to your computer, ensuring a seamless gaming experience while broadcasting your gameplay to your audience.
Another key benefit of using a capture card is the flexibility it offers in terms of customization and adding professional-grade production elements to your streams. With a capture card, you can overlay your webcam feed, display on-screen notifications, add graphics or text overlays, and even use green screen effects – all of which enhance the visual appeal and professionalism of your streams.
In addition, a capture card unlocks the potential for multi-platform streaming. By connecting your PS4 to a capture card, you can easily switch between different gaming consoles or even a PC, allowing you to diversify your content and cater to a wider audience with various gaming tastes.
Furthermore, a capture card can be beneficial for streamers who want to record and edit their gameplay footage. With the ability to capture high-quality video and audio from your console, you can create engaging highlight reels, tutorials, or walkthroughs that you can later edit and upload to platforms like YouTube.
Whether you’re a casual gamer looking to share your gaming adventures, a serious streamer aiming to build a community, or a content creator wanting to showcase your gaming skills, a capture card is an essential tool that offers numerous advantages in terms of stream quality, customization options, and content creation.
Getting the right capture card
Now that you understand the importance and benefits of using a capture card, let’s dive into the process of selecting the right one for your streaming needs. With the wide variety of capture cards available in the market, it’s essential to consider a few factors before making your purchase.
First and foremost, compatibility is key. Ensure that the capture card you choose is compatible with your gaming console, in this case, the PS4. Some capture cards are specifically designed for certain consoles, so it’s crucial to check the specifications and compatibility information provided by the manufacturer.
Next, consider the connectivity options and the input and output capabilities of the capture card. Most capture cards offer HDMI inputs and outputs, which is what you’ll need to connect your PS4 and your computer. However, if you plan to connect multiple consoles or additional peripherals, ensure that the capture card has the necessary ports to accommodate your setup.
Another important aspect to consider is the maximum capture resolution and frame rate supported by the capture card. If you want to stream or record gameplay in high definition, make sure that the capture card can handle the resolution and frame rate you desire. Look for capture cards that support 1080p resolution at 60 frames per second (fps) for optimal streaming quality.
Additionally, pay attention to the software compatibility of the capture card. Check if the manufacturer provides dedicated software for configuring and capturing your gameplay. Having user-friendly and feature-rich software can greatly enhance your streaming experience.
Lastly, compare prices and read reviews before making your final decision. While it’s important to consider your budget, don’t compromise on quality and performance. Look for reputable brands and read feedback from other users to ensure that you’re investing in a reliable and efficient capture card.
By carefully considering compatibility, connectivity options, resolution and frame rate support, software compatibility, and price, you’ll be able to choose the right capture card that meets your streaming needs and enhances your gaming content.
Setting up your capture card
Now that you’ve chosen the perfect capture card for your streaming setup, it’s time to set it up and get ready to start streaming your PS4 gameplay. Follow these steps to ensure a smooth and hassle-free setup:
- First, connect your capture card to your computer using the USB or Thunderbolt cable provided by the manufacturer. Ensure that your computer recognizes the capture card and installs any necessary drivers or software.
- Next, connect your PS4 console to the capture card using an HDMI cable. Plug one end of the HDMI cable into the HDMI output port on your PS4 and the other end into the HDMI input port on the capture card. This will transmit the video and audio signals from your PS4 to your computer.
- Once the physical connections are made, open your preferred streaming software on your computer. Most capture cards come with their software, while some are compatible with popular streaming platforms like OBS or XSplit.
- Access the settings or preferences menu in the streaming software and locate the capture card device. Select the capture card as your video source to ensure that the software receives the video feed from your PS4.
- You may need to configure additional settings such as resolution, frame rate, and audio preferences in the streaming software. Experiment with different settings to find the optimal balance between stream quality and performance based on your computer’s capabilities.
- Finally, test your setup by launching a game on your PS4 and checking if the video and audio are properly captured by the capture card and displayed in the streaming software. Make any necessary adjustments to settings or connections if the video or audio is not being captured correctly.
It’s essential to ensure that all connections are secure and properly configured to avoid any interruptions or issues during your streaming sessions. Take the time to familiarize yourself with the settings in your streaming software and explore the additional features provided by your capture card to enhance your streams further.
Now that your capture card is set up and ready to go, it’s time to explore the different software options available and customize your streaming experience. In the next section, we’ll discuss the importance of installing the necessary software to maximize the performance of your capture card.
Connecting the capture card to your PS4
Now that you have set up your capture card and computer, it’s time to establish the connection between your capture card and your PS4 console. Follow these steps to seamlessly connect the two:
- Start by powering off your PS4 and your capture card.
- Locate the HDMI output port on your PS4 console and insert one end of the HDMI cable into it.
- Connect the other end of the HDMI cable to the HDMI input port on your capture card.
- Ensure that the HDMI cable is securely plugged into both the console and the capture card to avoid any signal interruptions.
- Once the HDMI connection is established, power on your capture card and your PS4 console.
- On your computer, open your preferred streaming software and navigate to the video settings.
- Select the capture card as your video source in the streaming software.
- Verify that the video feed from your PS4 console is successfully being transmitted to your computer through the capture card. You can do this by checking the preview window in your streaming software.
- Configure any additional settings, such as resolution, frame rate, or audio preferences, to optimize your streaming setup.
- With the capture card connected and the video feed successfully displayed in your streaming software, you are now ready to start streaming your PS4 gameplay!
It’s important to note that different capture cards may have slight variations in terms of connectivity. Always refer to the user manual provided by the manufacturer for specific instructions on connecting your capture card to your PS4 console.
By establishing a proper connection between your capture card and your PS4 console, you enable the smooth transmission of video and audio data to your computer, allowing you to capture and stream your gameplay effortlessly. In the next section, we’ll discuss the importance of installing the necessary software to optimize your capture card’s performance.
Installing the necessary software
After connecting your capture card to your PS4, the next step is to install the necessary software to fully utilize the capabilities of your capture card. This software will enable you to configure settings, customize your stream, and enhance the overall streaming experience. Here’s how to get started:
- Begin by checking the packaging or manual that came with your capture card. It should contain instructions on where to download the required software. Alternatively, you can visit the manufacturer’s website and search for the software dedicated to your specific capture card model.
- Once you’ve found the correct software, download it onto your computer. Follow the on-screen instructions to complete the installation process.
- Open the software and connect your capture card to your computer using the provided USB or Thunderbolt cable.
- Upon connecting, the software should detect your capture card and display it as a recognized device. Make sure that the software recognizes the capture card before proceeding.
- Next, explore the software’s interface and familiarize yourself with its features. Depending on the capture card you have, the software may offer various settings to adjust video resolution, frame rate, audio preferences, and more. Take the time to experiment with these settings to find the optimal configuration for your streaming needs.
- Additionally, some capture card software provides additional features like screen overlays, text and graphic overlays, and live editing capabilities. Take advantage of these features to add a professional touch to your streams and engage your audience.
- Finally, ensure that the software settings match the settings in your streaming software. This includes resolution, frame rate, and audio settings. Consistency between the capture card software and your streaming software will prevent any conflicts and ensure smooth operation during your streaming sessions.
Installing the necessary software is crucial for maximizing the performance and features of your capture card. It allows you to fine-tune your stream settings, apply overlays, and customize your streaming experience to suit your preferences. With the software properly installed and configured, you are ready to take your PS4 streaming to the next level.
Configuring the settings
Now that you have installed the necessary software for your capture card, it’s time to configure the settings to optimize your streaming experience. By adjusting these settings, you can ensure that your streams are of the highest quality and your viewers have an enjoyable viewing experience. Here’s how to configure the settings:
- Resolution and frame rate: Depending on your capture card and computer capabilities, select the appropriate resolution and frame rate for your stream. It’s recommended to use a resolution of 1080p and a frame rate of 60fps for smooth and high-quality streaming.
- Audio settings: Configure the audio settings in your streaming software to ensure that the game audio and your voice are balanced and clear. Test your audio levels by monitoring your stream or doing a test recording to make any necessary adjustments.
- Bitrate: Set the bitrate according to your internet upload speed. A higher bitrate will result in better video quality, but it requires a stable and fast internet connection. Adjust the bitrate based on your internet capabilities and the requirements of the streaming platform you are using.
- Video encoding: Experiment with different video encoding settings to find the optimal balance between stream quality and system resources. Popular options include x264 and NVENC for encoding, but the choice may vary based on your hardware.
- Overlay and graphic settings: If your capture card software provides overlay and graphic options, take advantage of these features to enhance the visual appeal of your streams. Add your logo, stream alerts, or other personalized elements to make your stream stand out.
- Test and monitor: Before going live, always conduct thorough tests to ensure that your stream is running smoothly. Monitor your streams in real-time, checking for any dropped frames, audio sync issues, or other technical glitches that may impact the quality of your stream.
- Network optimization: Optimize your network settings to minimize latency and improve the stability of your stream. Consider using an Ethernet connection instead of Wi-Fi to ensure a consistent and reliable internet connection.
Keep in mind that the optimal settings may vary based on your specific hardware, software, and streaming platform. It’s important to continuously monitor and fine-tune your settings based on feedback from your viewers and the performance of your streams. Regularly check for software updates from the capture card manufacturer to ensure you have the latest features and optimizations available.
By configuring the settings appropriately, you can ensure that your gameplay streams are smooth, visually appealing, and provide an enjoyable experience for your viewers. Now that your settings are configured, you are ready to troubleshoot any potential issues that may arise during your streaming sessions.
Troubleshooting common issues
While streaming your PS4 gameplay using a capture card can be an exciting experience, you may encounter some common issues along the way. Here are a few troubleshooting steps you can take to address these issues:
- No video or audio signal: If you’re not getting any video or audio signal from your PS4, double-check the connections between your capture card, PS4, and computer. Ensure that all cables are securely plugged in and that the correct input/output settings are selected in both your capture card software and streaming software.
- Laggy or choppy stream: If your stream appears laggy or choppy, it could be due to insufficient computer resources. Check your computer’s CPU and GPU usage while streaming and adjust your stream settings accordingly. Lowering the resolution, frame rate, or bitrate may help improve performance.
- Audio sync issues: If you notice audio is out of sync with the video during your streams, you can adjust the audio delay settings in your streaming software. Incrementally adjust the delay until the audio is synchronized correctly.
- Encoding overload: If your stream suffers from dropped frames or encoding overload errors, your computer may be struggling to handle the encoding process. Lowering the video resolution, bitrate, or switching to a hardware encoder (if available) can help reduce the strain on your system.
- Internet connectivity issues: If your stream frequently buffers or disconnects, it could be due to an unstable internet connection. Ensure that you have a strong and reliable internet connection, preferably using an Ethernet cable instead of Wi-Fi. You can also try lowering the bitrate or switching to a different streaming server to improve stability.
- Compatibility issues: If you encounter compatibility issues between your capture card and streaming software, make sure both are up to date with the latest firmware and software updates. Check for any known issues or troubleshooting guides provided by the capture card manufacturer or the streaming software developer.
- Hardware or driver issues: Sometimes, hardware or driver conflicts can cause issues with your capture card. Ensure that you have the latest drivers installed for your capture card and keep an eye out for any firmware updates or patches released by the manufacturer.
If you continue to experience issues even after troubleshooting, don’t hesitate to reach out to customer support for your capture card or consult online forums and communities dedicated to streaming and capture cards. These resources can provide valuable insights or solutions to specific issues you may encounter.
By troubleshooting common issues, you can maintain a smooth and high-quality streaming experience, ensuring that your viewers enjoy your PS4 gameplay streams without interruptions. With these troubleshooting tips, you’ll be better equipped to handle any challenges that may arise during your streaming sessions.
Conclusion
Streaming your PS4 gameplay using a capture card is a fantastic way to showcase your gaming skills, engage with your audience, and build a community of fellow gamers. By following the steps outlined in this guide, you can set up and optimize your capture card for high-quality streaming.
We began by understanding the importance of a capture card and how it enhances your streaming experience by offloading processing power and providing customization options. We then discussed the process of selecting the right capture card based on compatibility, connectivity options, resolution support, and software compatibility.
Next, we guided you through setting up your capture card by connecting it to your PS4 console and your computer, ensuring the proper detection of video and audio signals. We then moved on to installing the necessary software and configuring the settings to optimize your stream quality, including resolution, frame rate, audio settings, bitrate, and overlays.
Lastly, we addressed troubleshooting common issues that you may encounter during the setup and streaming process, such as signal loss, laggy streams, audio sync issues, and internet connectivity problems.
Remember, streaming with a capture card requires some experimentation and fine-tuning to achieve the desired quality and performance. Regularly test your setup, monitor your streams, and adapt your settings as needed to deliver the best streaming experience possible.
Now that you have a solid understanding of capturing your PS4 gameplay with a capture card, it’s time to unleash your gaming talent and share it with the world. So grab your controller, start streaming, and enjoy the journey of connecting with fellow gamers and showcasing your gaming adventures!


