A laptop has always been a reliable tool for both work and gaming. However, having only a single screen is a significant limiting factor in the number of things a user can do simultaneously. However, with a dual-setup system, that’s no longer the case. In this article, we’ll talk about how to do a dual monitor setup with a Laptop or a PC.
What Is A Dual Monitor Setup With Laptop?
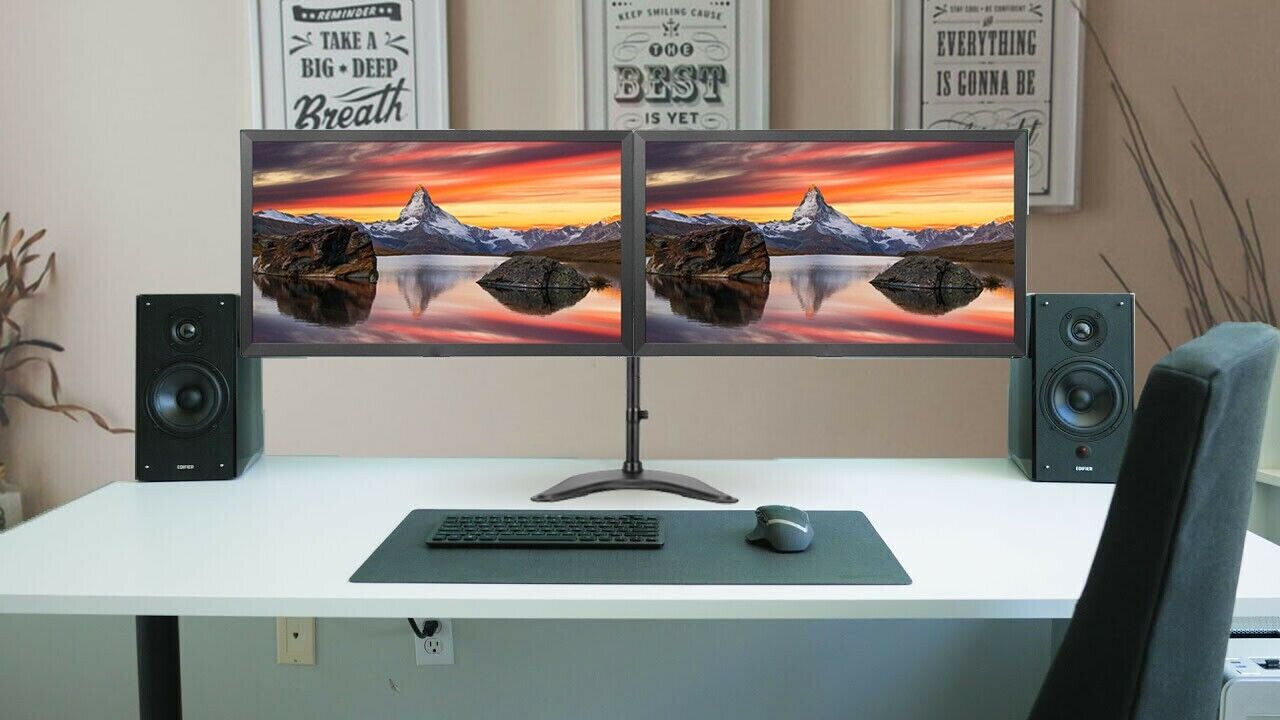
Dual Monitor setups are common with multitaskers using laptops due to how versatile it is. It allows the user to use 2 different monitor screens that all operate from just one laptop. Think of having 2 laptops as having an extension of your visual space. 2 laptops give users more versatility, and increase their ability to multitask various laptop-related tasks effectively. Overall, there’s no disadvantage in having a dual monitor setup other than not having the capability, nor the tools to do so.
What To Check Before Attempting A Dual Monitor Setup
There are a few things that a user needs to check before attempting to do a dual monitor setup for their laptops. These are:
- Check if the graphics card of your laptop supports dual monitors It’s usually a good idea to check if the laptop you’re using has a graphics card that supports dual monitors before buying another monitor. Usually, this is easily done by checking on the sides if there’s a port on the sides of your laptop. Another method is to go to the website of the graphics card manufacturer and manually look for the graphics card there for its information. Usually, they’ll also show if the graphics card can display dual monitors. If that’s the case, then you’re good to go.
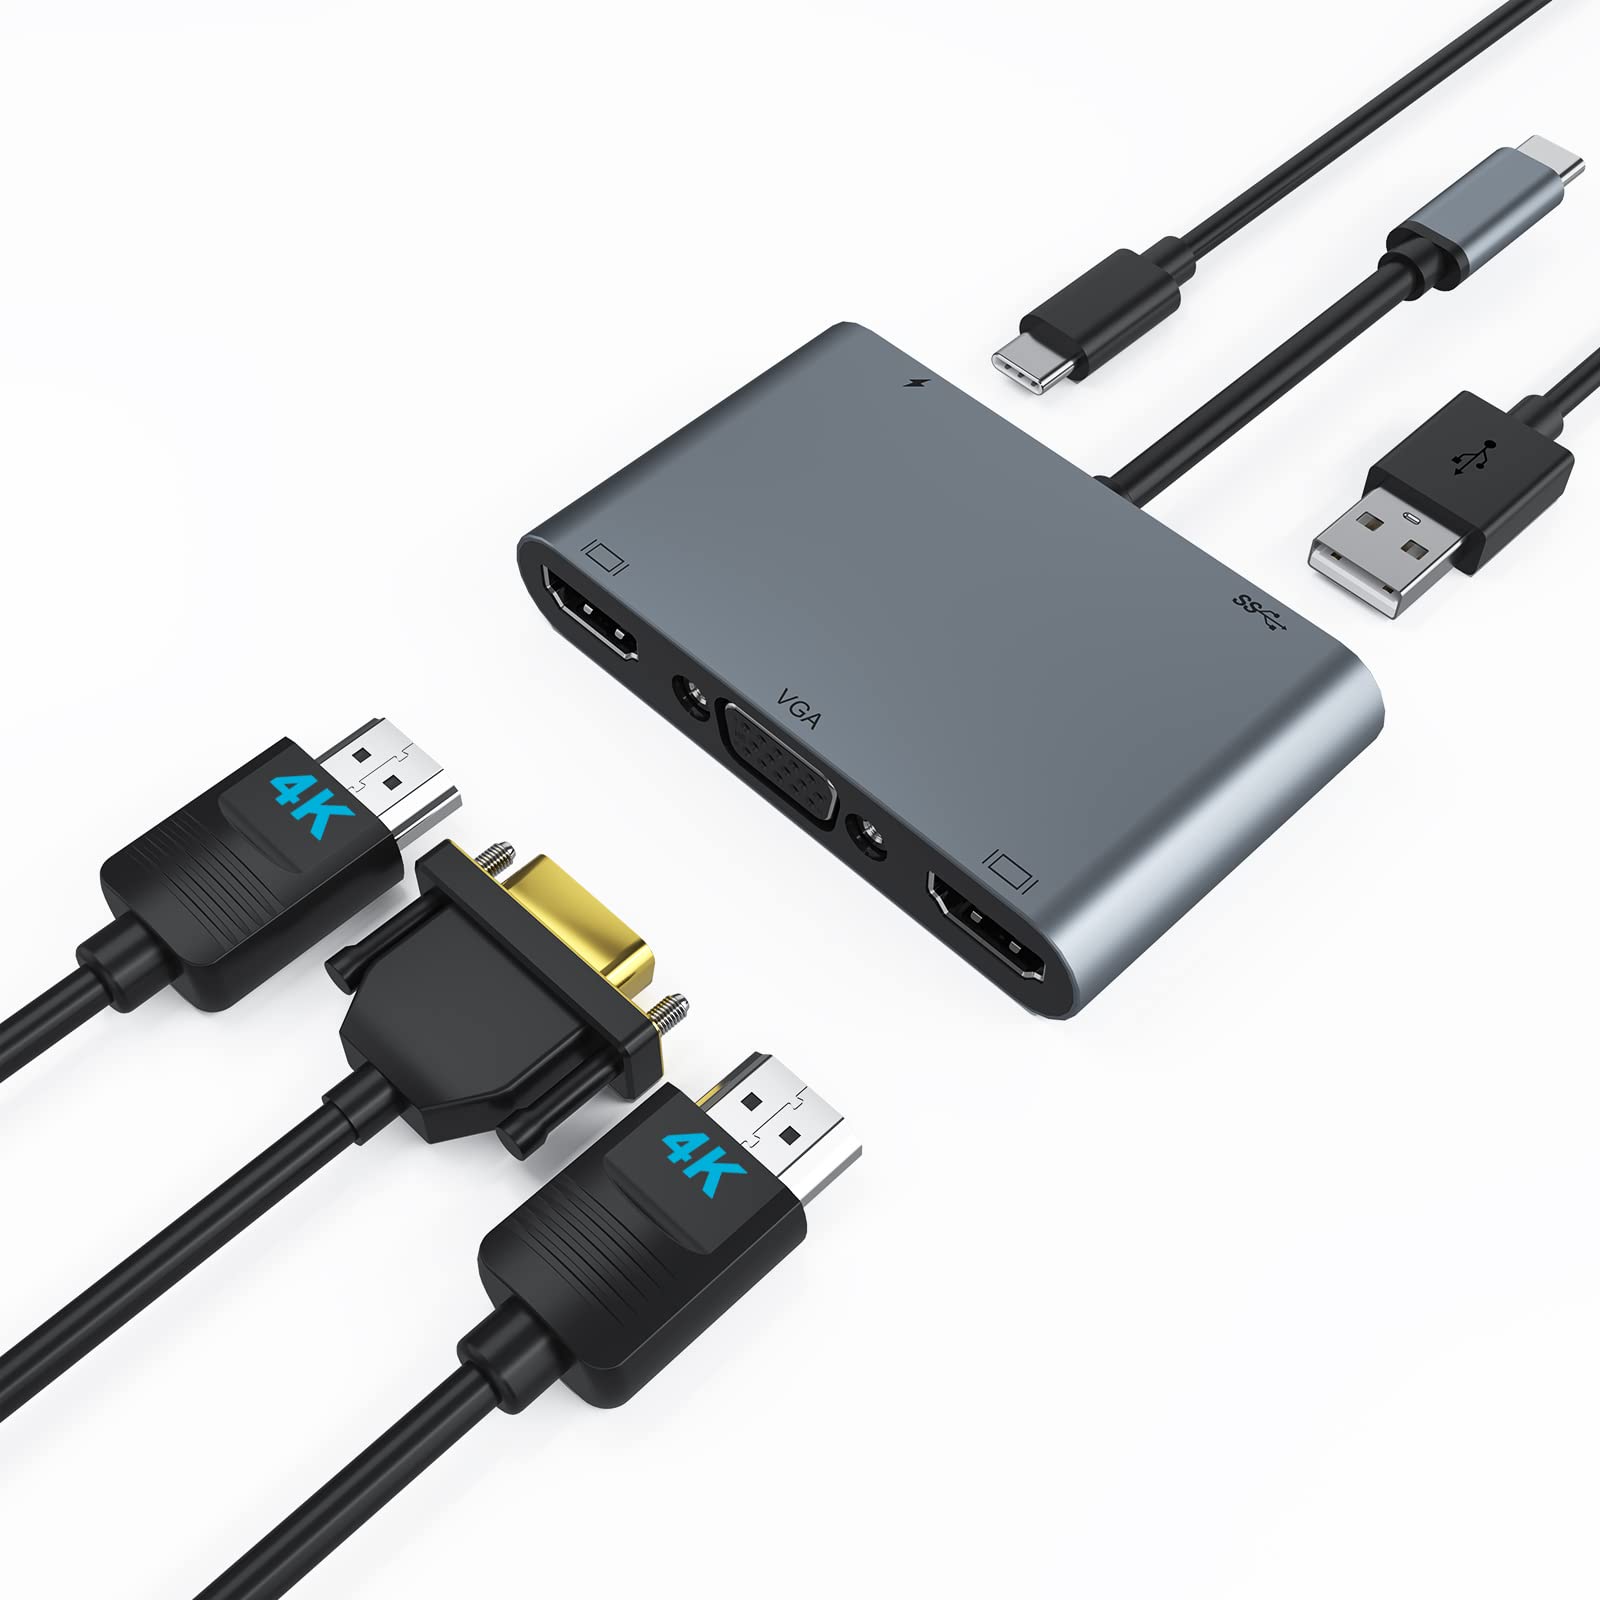
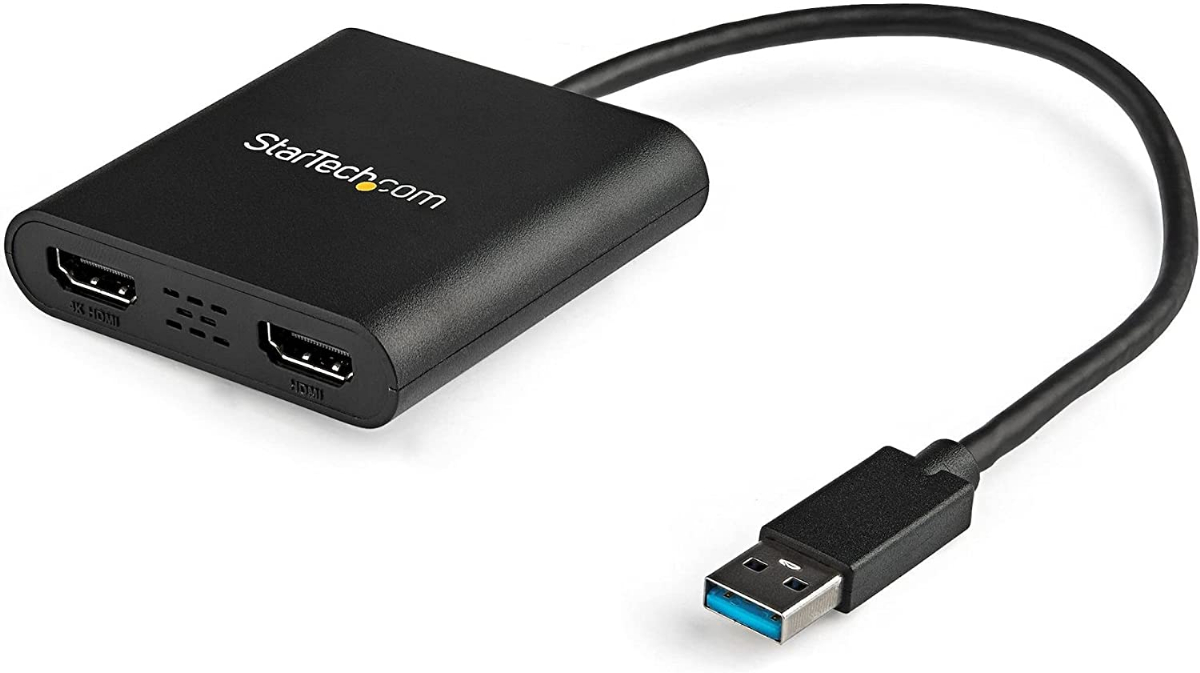
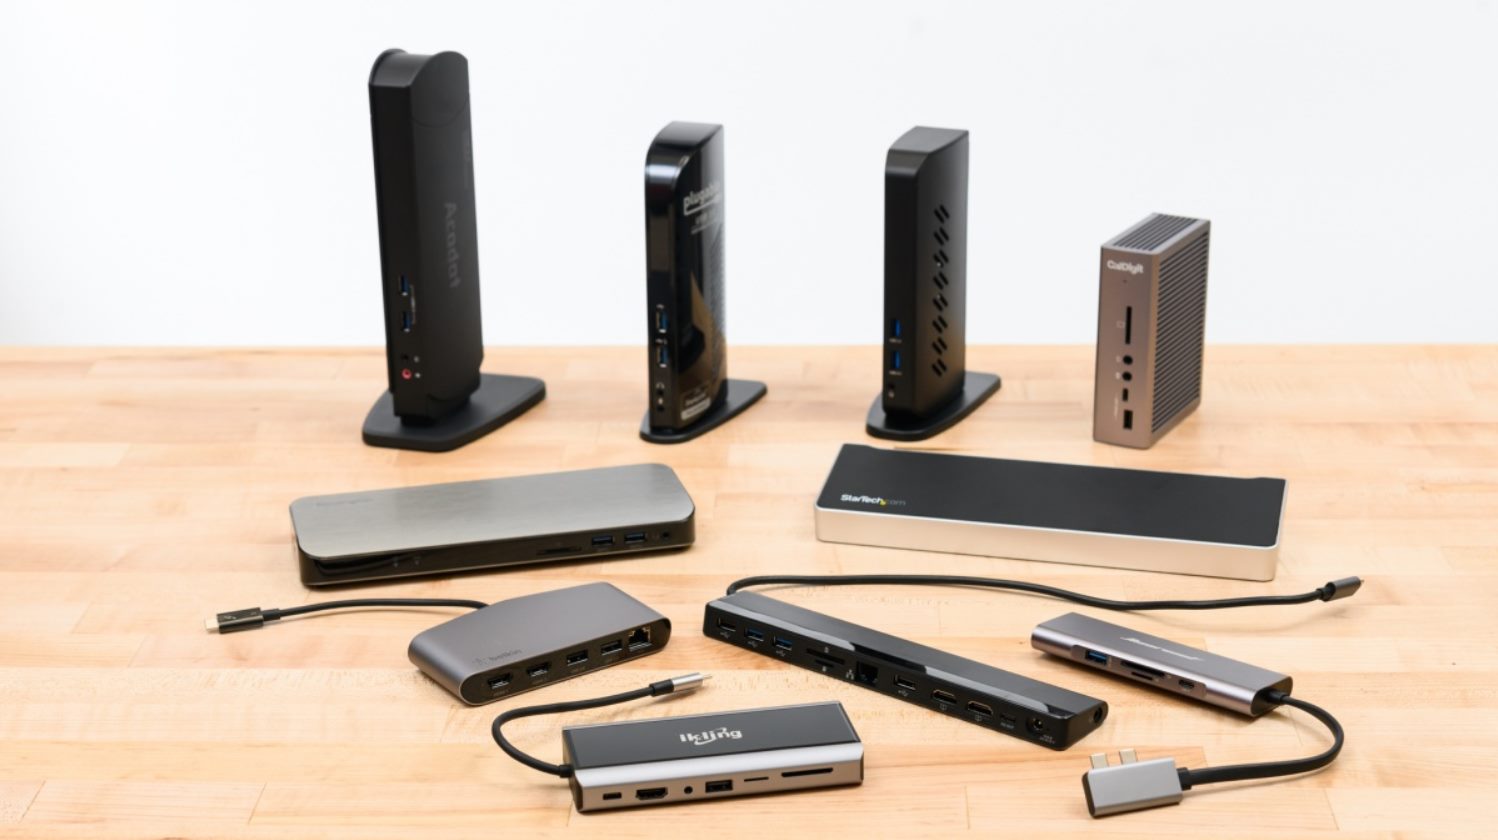
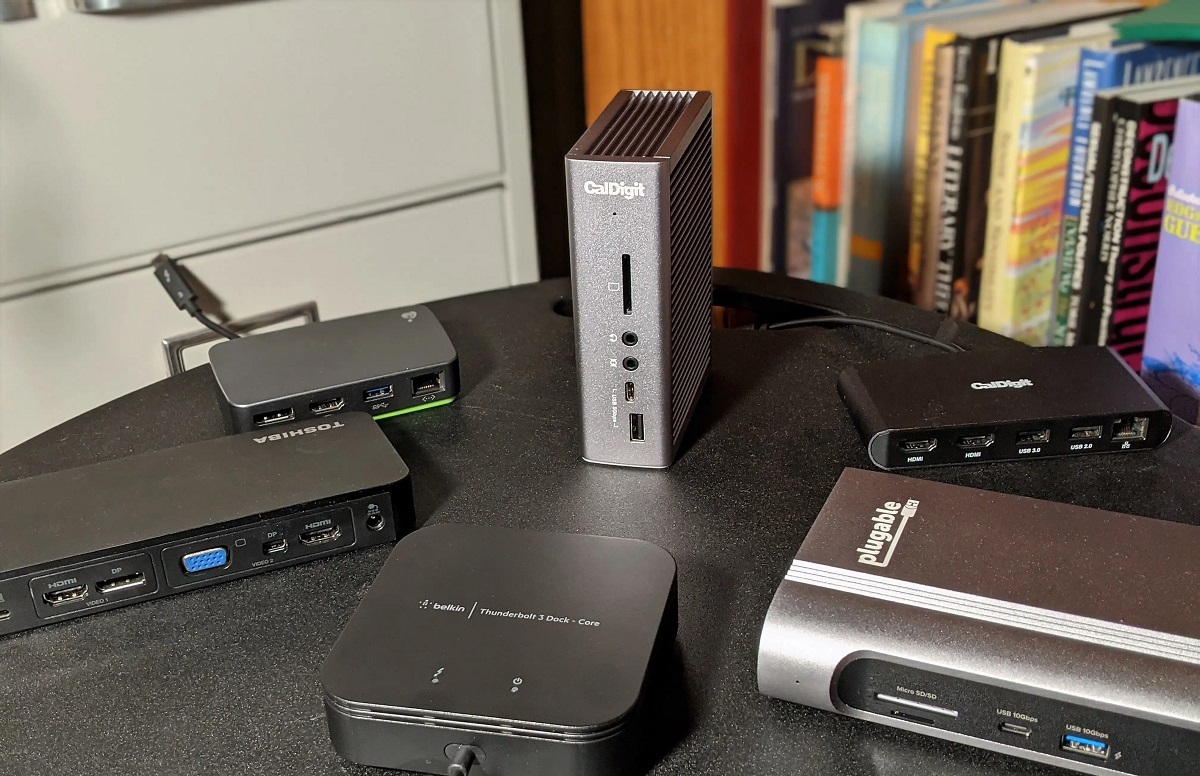
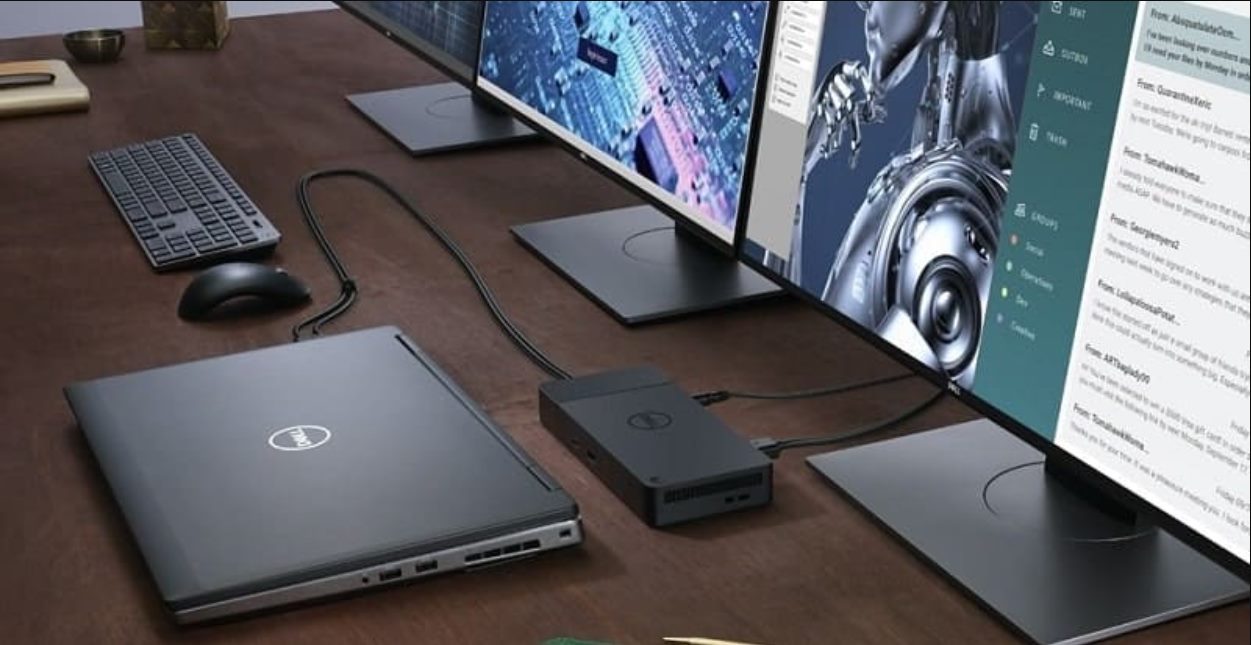
- Check if the laptop has any way to directly connect to another monitor. Some laptops in the market don’t have any ports to connect to another monitor but have a graphics card that can support it. If that happens, users can get either a docking station or a switch splitter. We’ll talk about both of them in the hardware/software section. If there is, check both the laptop and the monitor you’re buying if they have the same port.
- Last but not least is checking if the laptop and monitor have the same ports. If they do, that’s great as the user only needs to plug a cord in. However, if the laptop and monitor don’t have similar ports then the user will need to buy a docking station, a switch splitter, or an adapter.
Requirements (Hardware/Software)
Now that we know what to check to see if the laptop can support dual monitors, let’s talk about what we need to get. First off, is the obvious: Cables and Ports.
Cables come in many shapes and sizes, but they usually support 4 different types of ports. These are DVI, DisplayPort, HDMI, and VGA. HDMI ports are currently the most common types of cables available and are very reliable. It’s practically industry standard at this point as it supports 1080p and above resolutions easily depending on the cable used. This makes them great for both single and dual-monitor setups, especially for laptops that want great resolutions all day, every day.
On the latter end of the spectrum, VGA and DVI ports and cables are the two cables and ports that were industry standards before HDMI. Both have their uses, and they can be found pretty easily. However, VGA and DVI cables and ports are already on the verge of being phased out due to HDMI ports taking the market. Thus, it’s usually a good idea to get a laptop that supports HDMI ports and cables instead.
On the other hand, we have DisplayPort, which is the newest kid in the block other than USB-C. In this case, DisplayPort is usually found on laptops so they’re pretty rare. If you’re going for a laptop or PC that wasn’t made recently, you won’t encounter this kind of port anytime soon. Meanwhile, USB-C ports are usually pretty flexible, as many laptops now use USB-C ports instead of traditional USBs. However, this also comes at the cost of not having space to attach other peripherals, which is a really big no-no.
How To Conduct A Dual Monitor Setup With Laptop
Now that we know what the laptop needs to have and what we need to get to do a dual monitor setup, let’s do it. Let’s start with Windows, followed by Mac, and lastly, the Ubuntu operating system.
Windows 10
We’re going to be dividing the Windows 10 and Windows 11 OS systems because there are some differences between the methods. Thank you for understanding. Anyhow, here’s how to set up a Dual-Monitor system on Windows 10:
- After connecting the Laptop and 2nd monitor, open Windows Settings, select System, then Display. The laptop will automatically detect the monitors connected to the laptop. If there are no monitors detected but you’ve already connected the Laptop to the 2nd Monitor with a cord, select Detect.
- Go to the Multiple Displays section. In there, the user will see several options on what the Dual-Monitor setups will show. There are 4 options to choose from. These are:
- Show only on 1Show only on 2
- Duplicate these Displays
- Extend these Displays
- We want option D between these 4 options. Once this is selected, press Keep Changes.
Pretty simple and direct to the point. Let’s move on to Windows 11.
Windows 11
- After connecting the Laptop and 2nd monitor, Click Start then open Settings.
- Look for the System section, then select Display. Like on Windows 10, the laptop will automatically detect monitors and show the Desktop right after. If this doesn’t happen, go to Multiple Displays, then select Detect.
- In the Multiple Displays section, the same 4 options will be shown. Remember that Extend these Displays is the superior one compared to the rest and you’re good to go.
Mac
In the case of a Mac, the same prerequisites apply. Check if the monitor that you have can be used on Macbookss, you have the right cord and adapters, et cetera. Once everything’s connected, we’ll need to set everything up on the software side. The Mac Laptop/Desktop will automatically detect and start the 2nd monitor. However, there’s a tendency for the display settings to be a bit on the trash side of things the first time around. Thus, the user will need to check and adjust the display settings. Here’s how to do it:
- Select the Apple Menu Icon. Usually, this is located on the top left.
- Select System Preferences.
- Select Displays.
- Once the Displays are shown, select Arrangement.
- There is a tick box that enables Mirror Displays. Make sure this is off. After all, display extensions are king.
- Once this is done, go back and check on the Main Display. There’s going to be a diagram there that shows display positioning. If it’s not to the user’s liking, find the Secondary Monitor Icon, then drag the secondary monitor display to the preferred position.
- Choose a preferred resolution. Do note though that Native Resolution is usually the best choice as it stops any problems that will arise due to choosing an improper/wrong desktop resolution.
All in all, still simple, but a bit complicated. Now though, let’s move on to Ubuntu.
Ubuntu
Same prerequisites as before, connect your Ubuntu laptop to the 2nd monitor. Once that’s done, turn on the Ubuntu laptops for the software part of the whole thing.
- Open Ubuntu’s Activity Overview.
- Type Display on the Search Bar then opens it to go to the Display Settings. The Display Settings allows Ubuntu users to edit how the monitors will interact and what they will display.
- Once Display settings are opened, users can choose between 3 display modes:
- Mirror (Duplicates the resolution, orientation, and content shown on both monitors)
- Join Displays (Basically the ‘Extend these Displays’ option on Windows)
- Single Display (Only a single monitor will display content, the other monitor will be shut down.)
- Once the user has chosen one of the 3 display options, they can set the resolution, orientation, and scale of the screens immediately after.
- Select Apply to save changes.
Why Should You Use A Dual Monitor Setup With Laptop?
There are a lot of good benefits to using 2 monitors on your Desktop PC or laptop. Not only because it expands your area of use, but other things as well. We’ll talk about those benefits and reasons why dual-monitor setups are inherently better below.
They Are Simple to Use
Dual-Monitor setups are very easy to make use of, in addition to being inherently advantageous compared to single-monitor setups. The main thing here is the fact that both Desktop PCs and Laptops inherently have dual-monitor support, so it’s pretty easy to set up. In addition to this, there’s almost no adjustment time on using a PC/Laptop with an extra screen, and it has a ton of useful usage as well.
For example, the user wants to keep an eye on a Youtube video while doing some work. Maybe the video has important information on said work, or something similar. Usually, on single-monitor setups, the user needs to use Alt-Tab and swap from a Word processing application to go to Google Chrome for the video. On Dual-Monitor laptops? That’s not the case. Simply drag Google Chrome to the secondary monitor and use the primary monitor to type away at work. Simple.
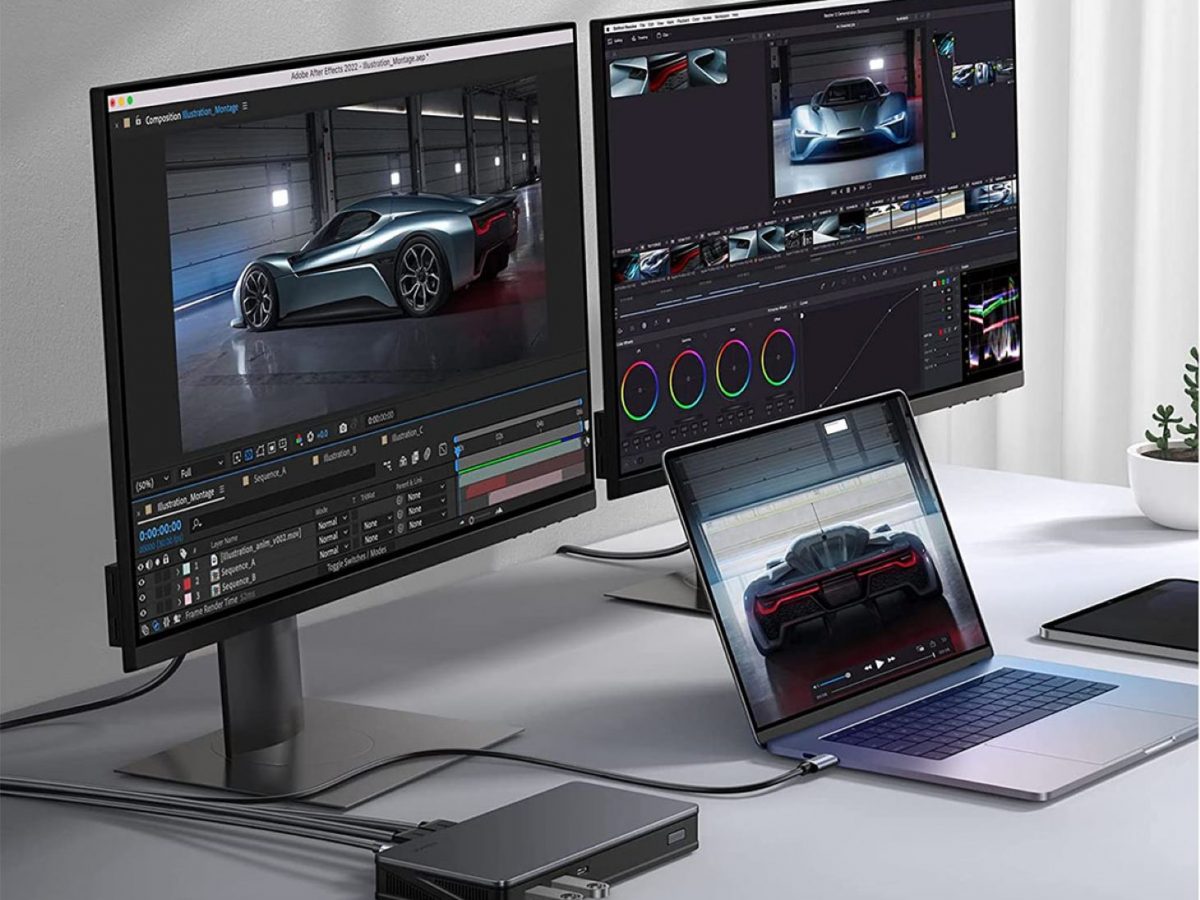
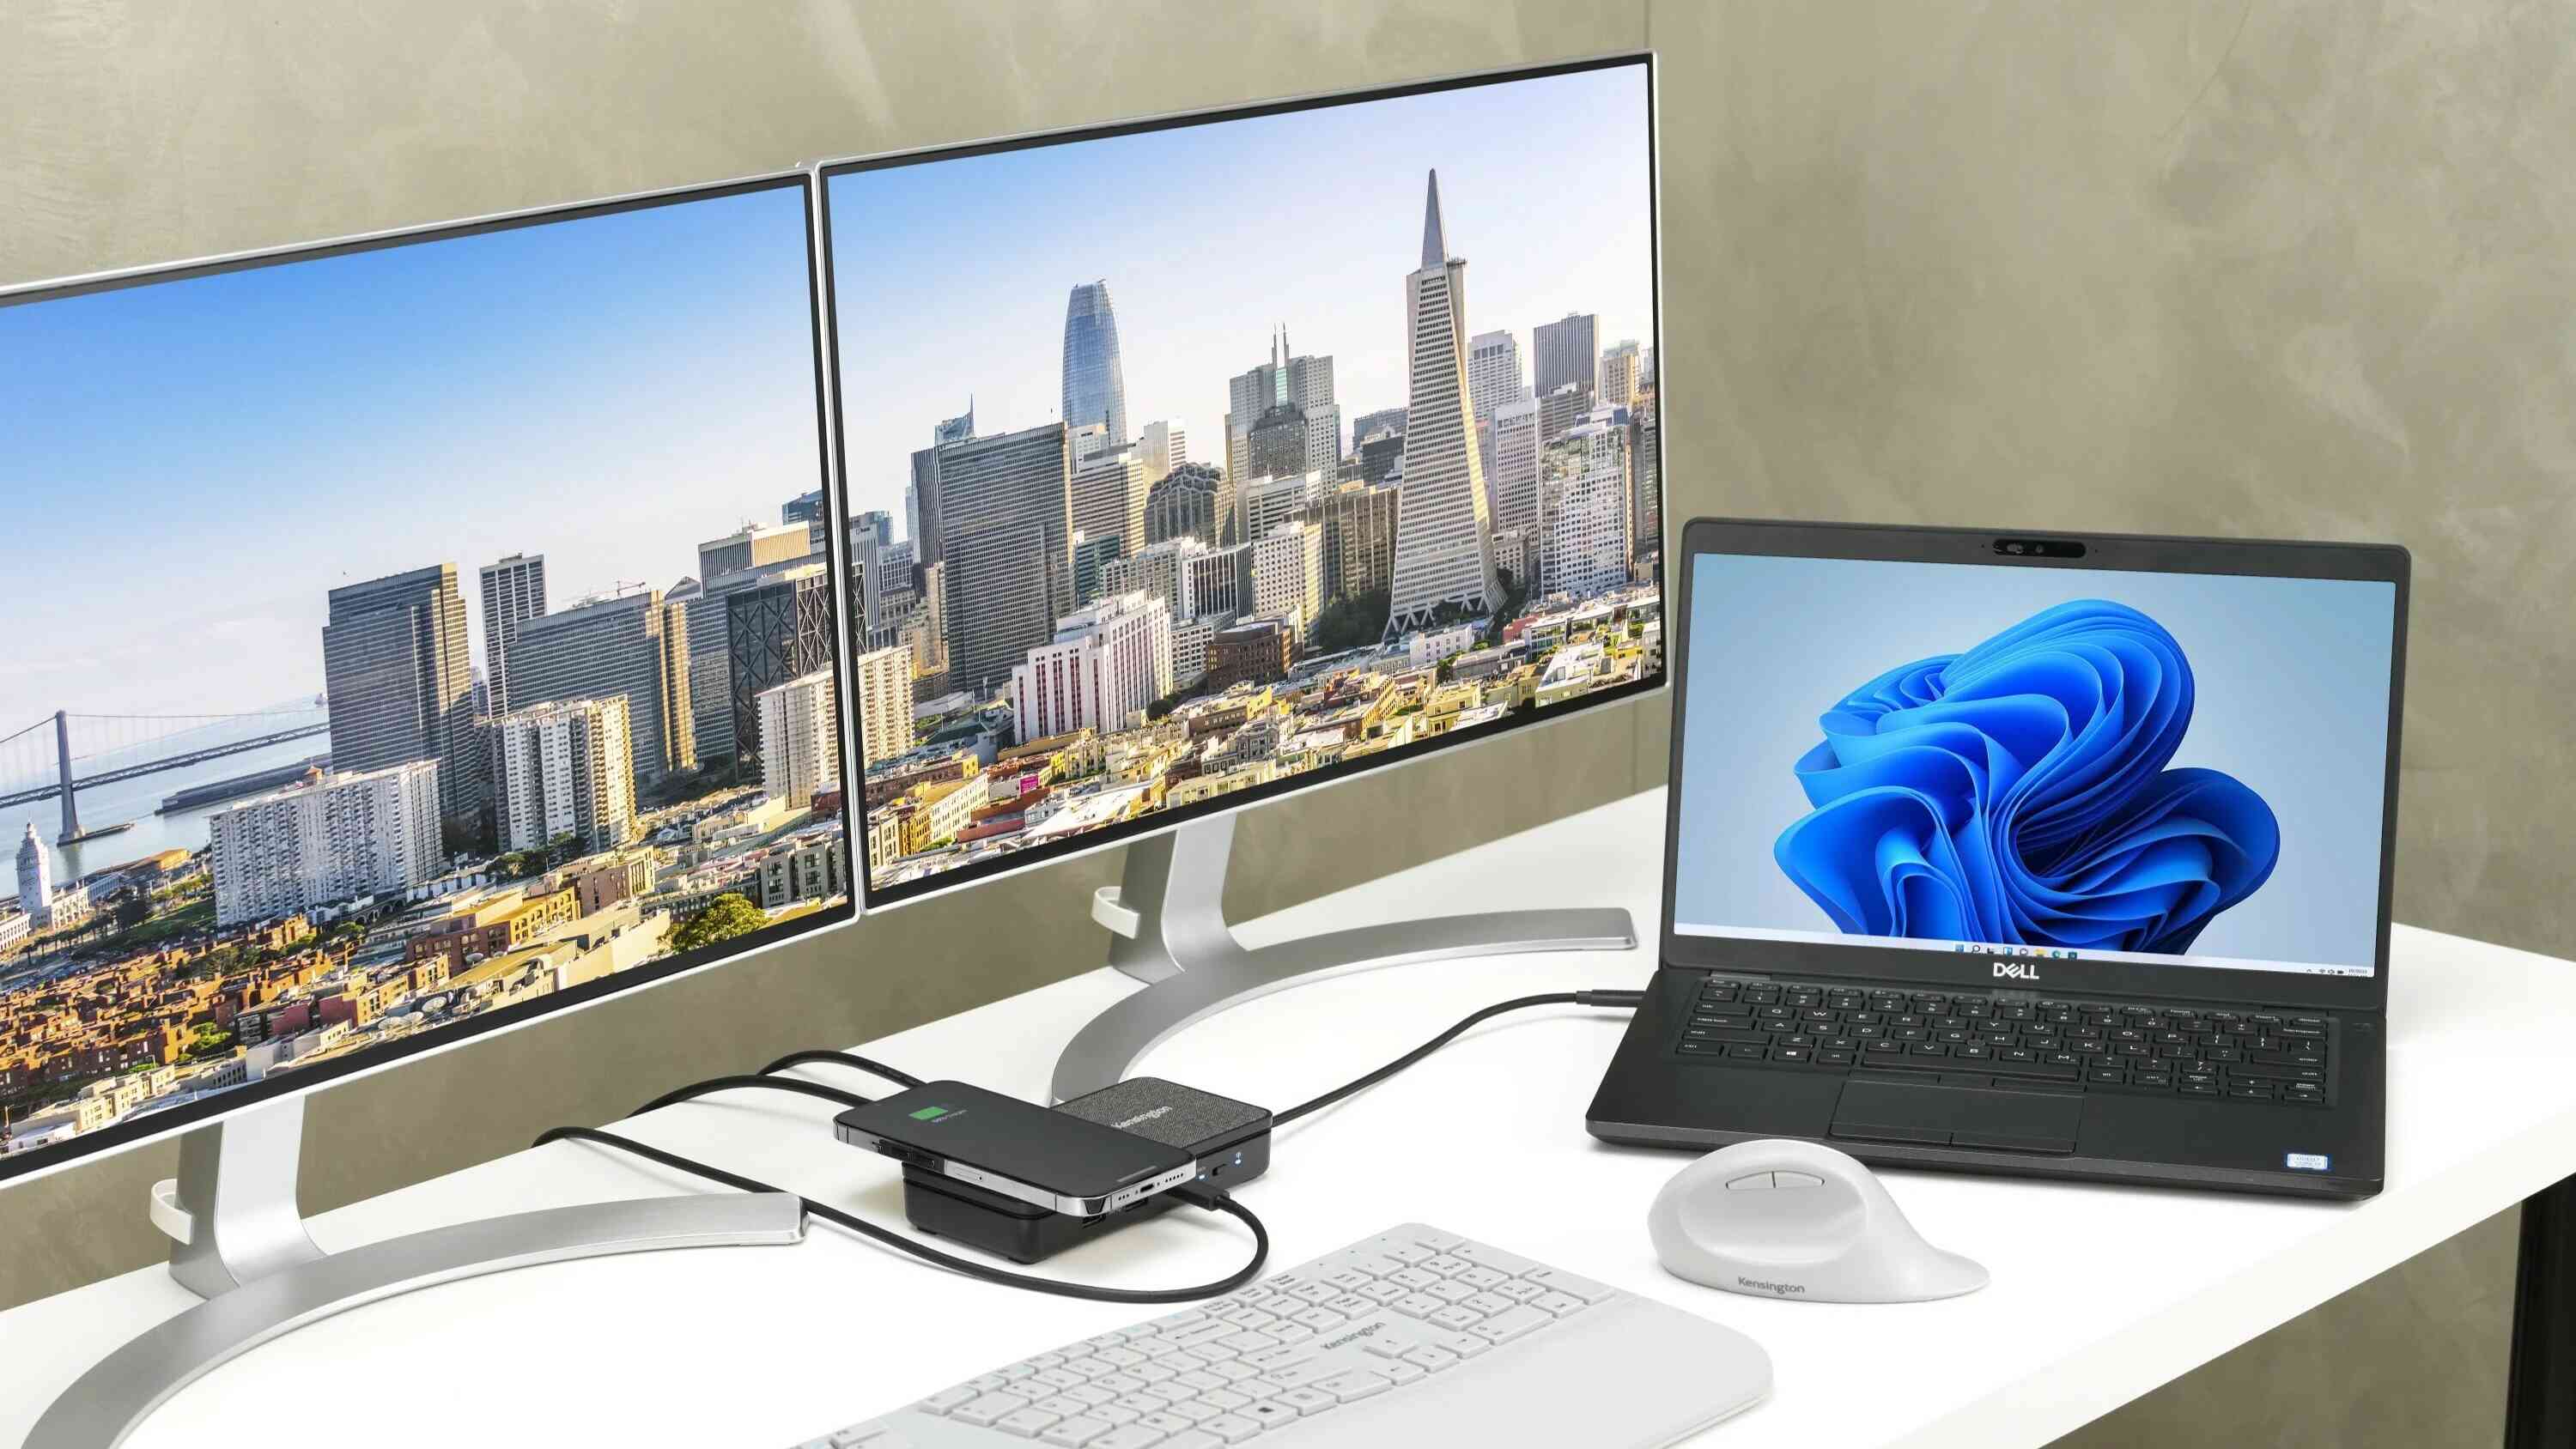
Enables Users to Open Several Things at the Same Time
The greatest benefit that Dual-Monitor setups give users is the fact that they can open 2 applications simultaneously on different screens. This gives users a lot of flexibility in their work and play. Overall, there are just a lot of things a user can do if they have 2 monitors to make use of.
Want to keep an eye on a Zoom/Messenger call while working? You can do that with 2 monitors. How about opening two documents to spot differences and discrepancies? Easily done. Watch a Youtube tutorial while doing the steps in real-time? Dual-Monitors can do that. Gaming while keeping a close eye on Discord notifications? Yes. All the yes.
Reduces Desktop Clutter
Having a Dual-Monitor setup gives the user double desktop space. This gives them more autonomy on what they can place on the desktop. Why? Because dual monitors can act as a natural divider between files, applications, and more. There’s now more premium space on the desktop for the user to organize stuff. Want one monitor to house all of your current work files before you put them in a folder for easy access? Easily done. Want the other monitor to hold all of the games? Not a problem. All in all, the ability to reduce desktop clutter and increase organization is an inherent advantage for dual-monitor setups over single-monitor setups.
Try A Dual Monitor Setup With Your Laptop Today
In conclusion, getting a 2nd or 3rd monitor for your laptop has a lot of benefits and is easy to set up for all operating systems. Thus, it’s a good idea to do this setup if the user has the funds to do so