Common Reasons for HDMI Not Working
When you encounter issues with your TV’s HDMI connection, it can be frustrating. No one wants to miss out on their favorite show or struggle with troubleshooting. Fortunately, there are common reasons why HDMI connections may not work, and troubleshooting them can be relatively straightforward. Let’s explore some of the most prevalent causes:
1. Loose Connections: One of the most common reasons for HDMI not working is loose connections. Ensure that both ends of the HDMI cable are securely plugged into the TV and the device you’re connecting.
2. Wrong Input Source: It’s possible that the TV is not set to the correct input source. Using the TV remote, navigate to the input/source selection menu and choose the HDMI input where the device is connected.
3. Worn or Damaged HDMI Cable: If you’ve been using the same HDMI cable for a while, it’s possible that it’s worn out or damaged. Try using a different HDMI cable to see if the issue persists.
4. Incompatible Resolution or Refresh Rate: Some devices may have resolution or refresh rate settings that are not compatible with the TV. Check the device’s display settings and adjust them to match the capabilities of your TV.
5. Outdated Firmware: Both the TV and the connected device may require firmware updates to ensure compatibility. Check the manufacturer’s website for any available updates and follow the instructions to install them.
6. Faulty HDMI Port: The HDMI port on either the TV or the device may be faulty. Try connecting the device to a different port or, if possible, test the device with a different TV to identify where the issue lies.
7. Issues with HDMI Settings: Some TVs have specific HDMI settings that can affect the connection. Access the TV’s settings menu, navigate to the HDMI settings, and ensure that they are configured correctly.
8. HDMI Handshake Problems: HDMI handshake refers to the communication between the TV and the connected device. Sometimes, there may be a handshake failure, resulting in no audio or video. Try powering off both the TV and the device, then turning them on again to establish a new handshake.
9. HDCP Content Protection Error: High-Bandwidth Digital Content Protection (HDCP) is a security feature used in HDMI connections. If there’s an HDCP error, it could prevent the content from displaying. Check the device settings and ensure HDCP is enabled.
10. Power Supply Problems: Insufficient power supply to the device or the TV can cause HDMI issues. Ensure that both are adequately powered and consider using external power sources if available.
By checking these common reasons for HDMI not working, you’ll be able to troubleshoot and resolve the issue in most cases. However, if the problem persists, it may be advisable to consult a professional or contact the manufacturer for further assistance.
Loose Connections
A common reason for HDMI not working is loose connections. It’s important to ensure that both ends of the HDMI cable are securely plugged into the TV and the device you’re connecting. Loose connections can result in a poor or no signal, leading to a blank screen or intermittent connectivity issues.
To check for loose connections, follow these steps:
- Turn off the TV and the device connected to it.
- Inspect both ends of the HDMI cable for any visible damage or debris.
- Ensure that the HDMI cable is firmly plugged into the HDMI port on the TV and the corresponding port on the device.
- If the connection is not tight, gently push the HDMI cable in until it is securely attached.
- Power on the TV and the device and check if the HDMI connection is working correctly.
If you’re still experiencing issues after checking the connections, try using a different HDMI cable to eliminate the possibility of a faulty cable. Sometimes, the connection may seem secure, but a faulty cable can still cause problems.
It’s worth noting that not all HDMI cables are created equal. Some inexpensive or older cables may not support high-quality audio and video signals. To ensure the best performance, consider using a high-speed HDMI cable that is compatible with the resolution and refresh rate of your setup.
Additionally, if you’re using HDMI extenders, splitters, or switchers, make sure they are also properly connected and functioning correctly. These devices can introduce additional points of failure and may need troubleshooting or replacement if they are causing the HDMI connection to fail.
By checking and securing the HDMI cable connections properly, you can eliminate loose connection issues as a possible cause for HDMI not working. This simple step can often save you from unnecessary frustration and is the first troubleshooting step recommended by experts in resolving HDMI connectivity problems.
Wrong Input Source
Another common reason for HDMI not working is selecting the wrong input source on your TV. If the input source is not set to the HDMI port where your device is connected, you may not get any audio or video signals on your TV.
To ensure you have the correct input source selected, follow these steps:
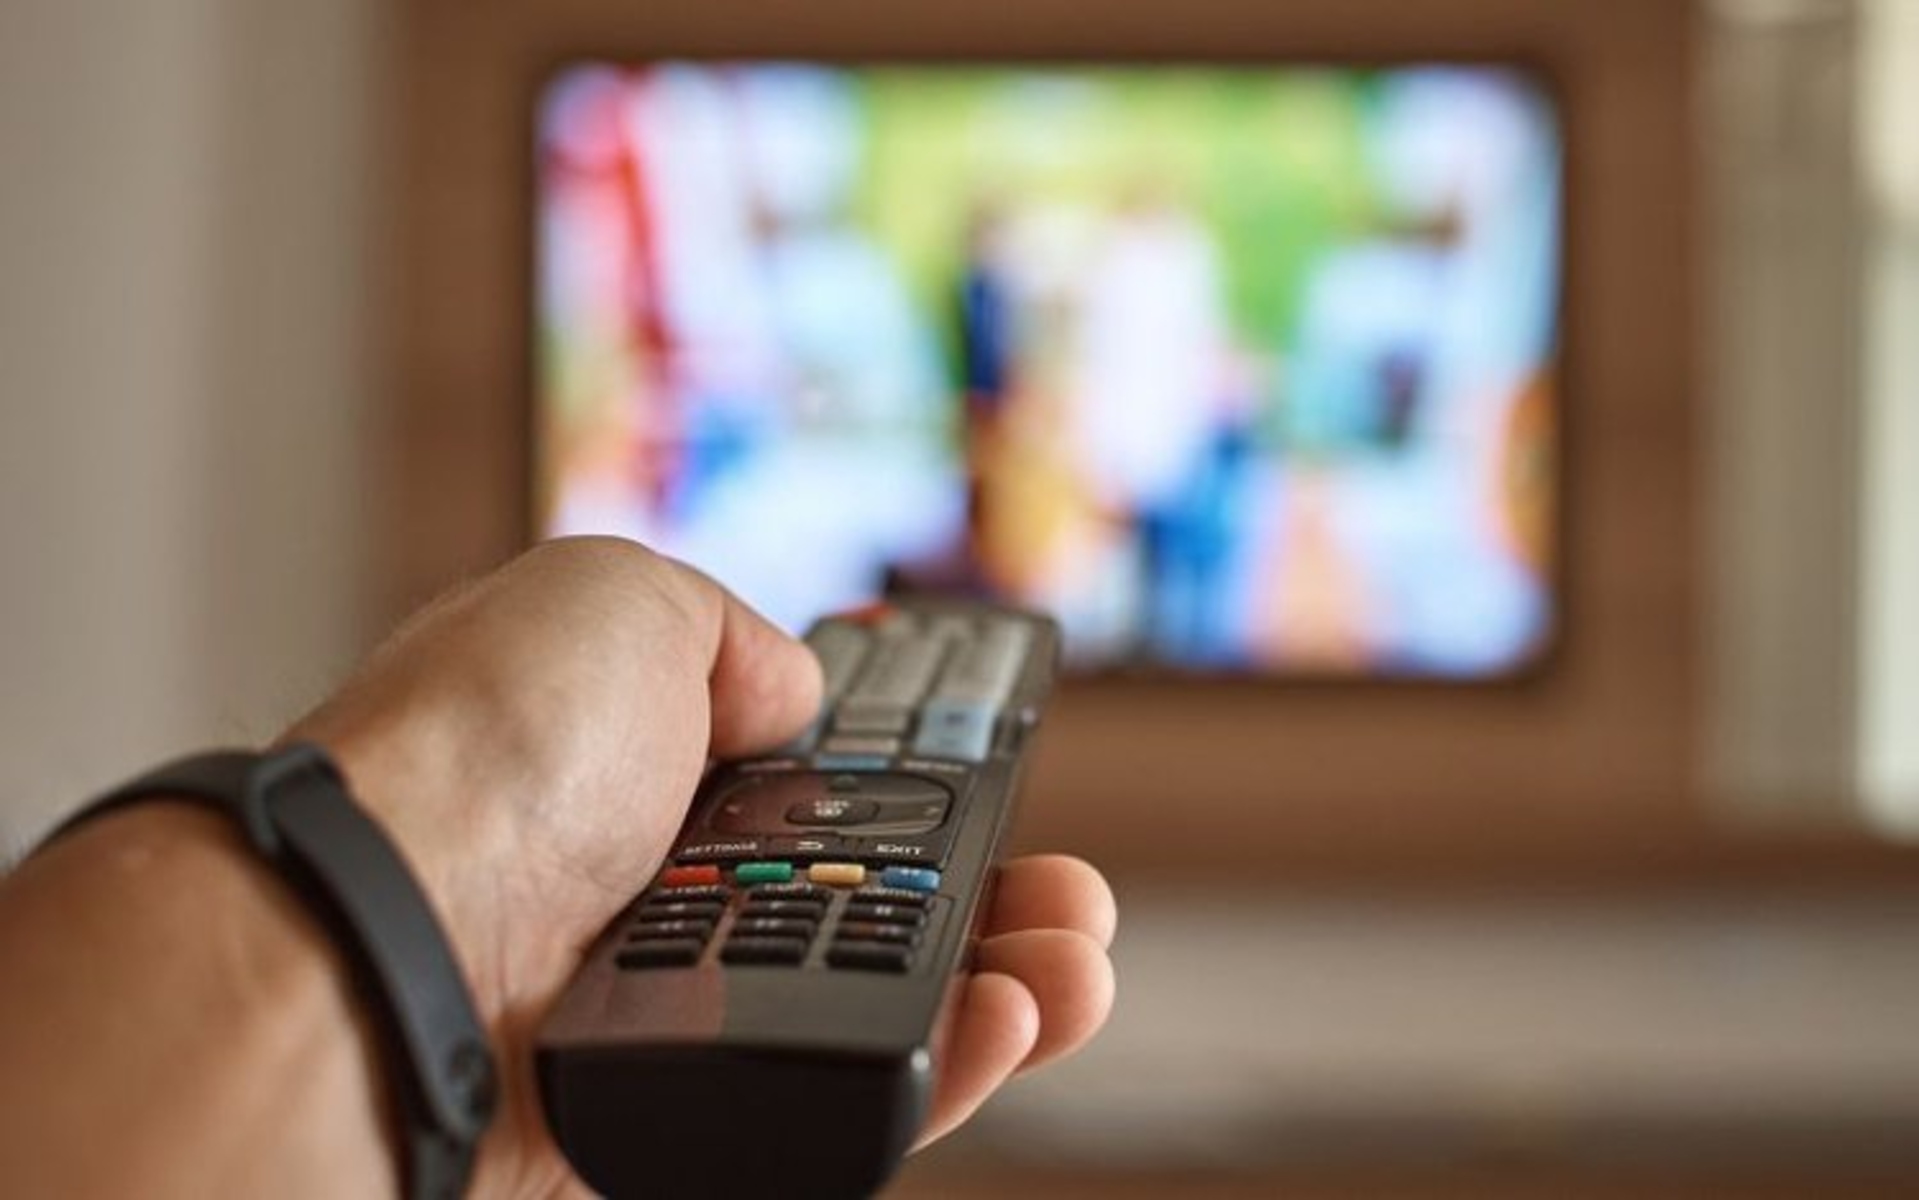
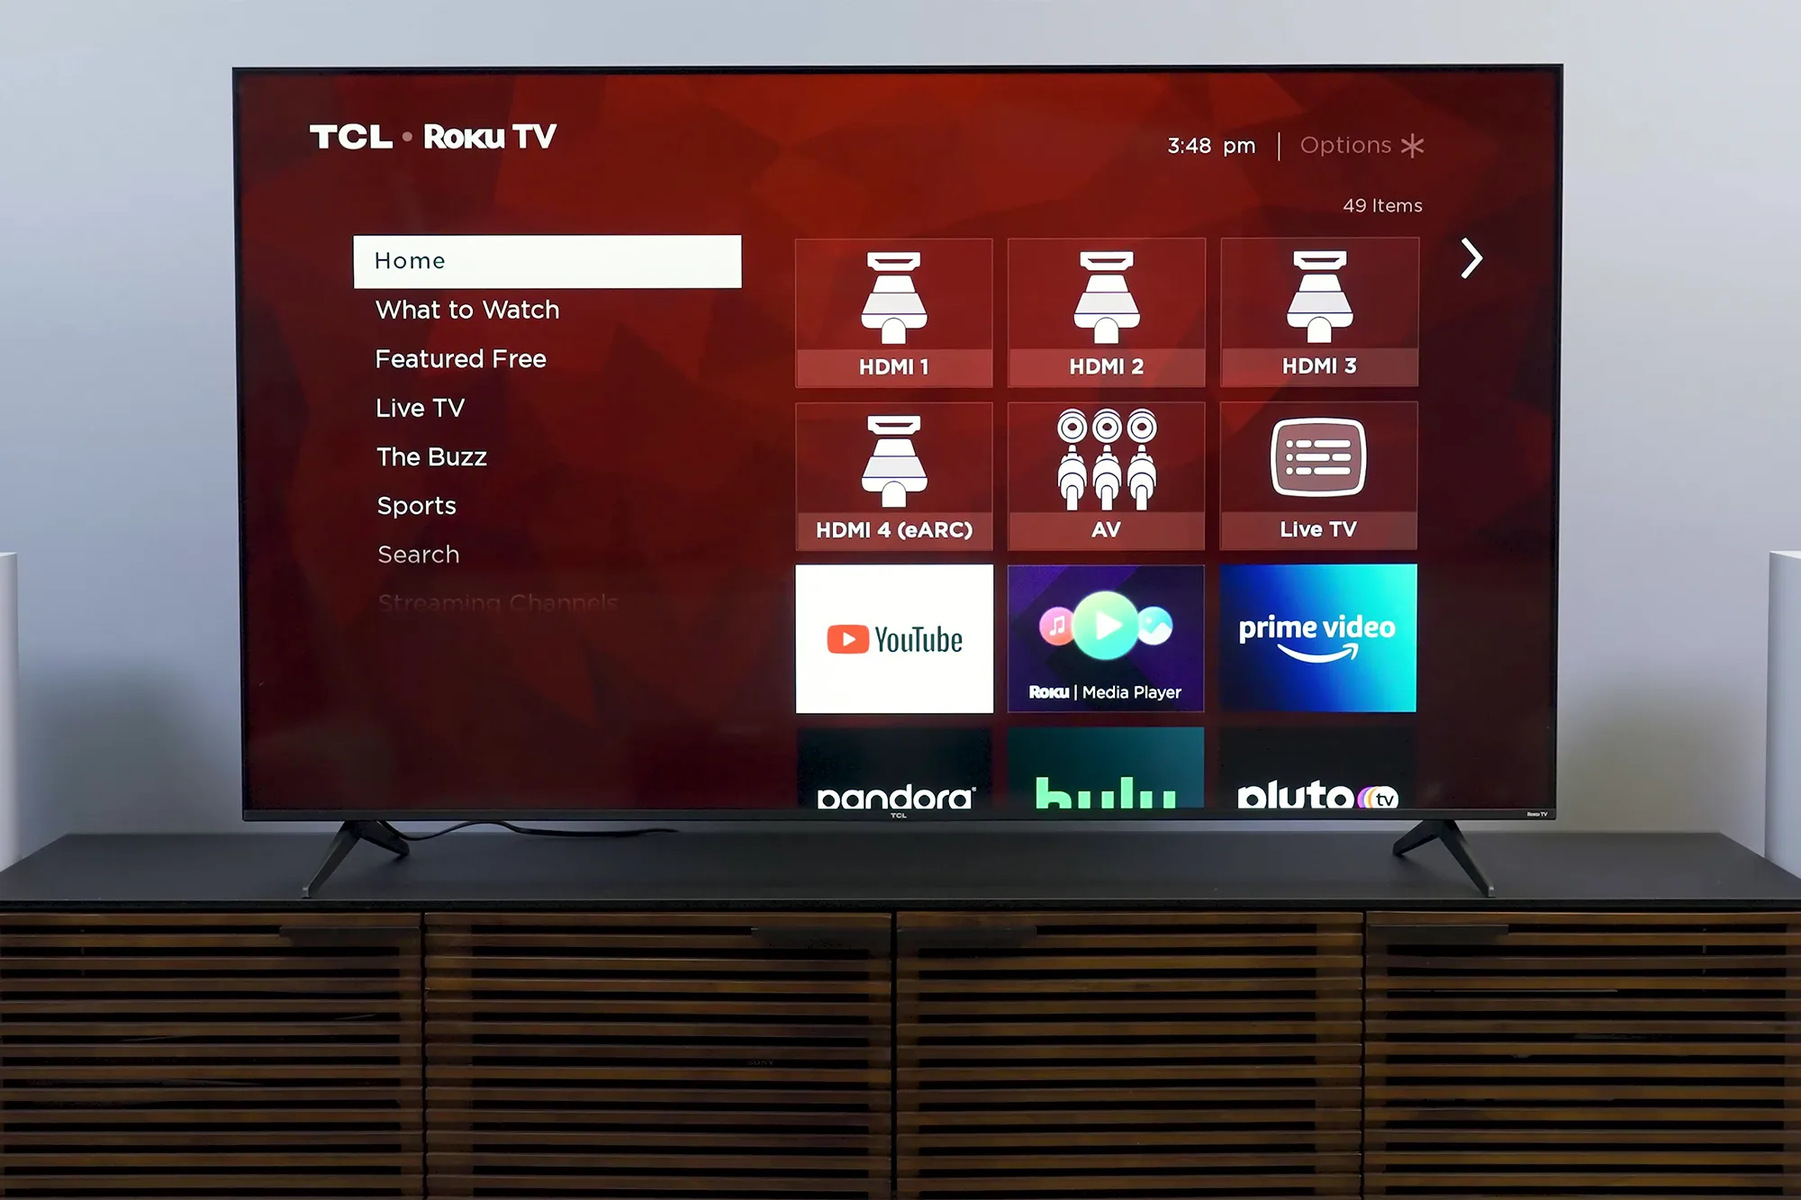
- Using your TV remote, locate the “Input” or “Source” button. The exact name may vary depending on your TV model.
- Press the “Input” or “Source” button to bring up the input source menu on the TV screen.
- Navigate through the menu using the arrow keys or numeric keys on your remote to find the HDMI input where your device is connected.
- Select the correct HDMI input source and press the “Enter” or “OK” button on your remote to confirm the selection.
After selecting the correct input source, check if the HDMI connection is working properly. Sometimes, TVs may automatically switch to the newly detected HDMI input, while others require manual selection.
If you’re still not receiving any audio or video signals, make sure that the connected device is powered on and transmitting a signal. Some devices may have a separate power button that needs to be pressed for the HDMI output to work.
If you have multiple HDMI ports on your TV and are not sure which one your device is connected to, you can try testing each HDMI port until you find the correct one. This can help eliminate the possibility of selecting the wrong input source.
By ensuring you have the correct input source selected on your TV, you can avoid unnecessary frustration and quickly get your HDMI connection working again. It’s a simple troubleshooting step that often resolves the issue without any further troubleshooting or equipment replacements.
Damaged HDMI Cable
A damaged HDMI cable can be a common culprit when experiencing HDMI connectivity issues. Over time, cables can become worn out, bent, or damaged, leading to a poor or no signal between your TV and the connected device.
To determine if a damaged HDMI cable is causing the problem, follow these steps:
- Inspect the HDMI cable for any visible signs of damage, such as frayed ends, bent connectors, or cuts in the cable itself.
- Try using a different HDMI cable to connect your TV and device.
- If the HDMI connection works with the new cable, it confirms that the original HDMI cable is likely the issue.
- If the new cable doesn’t solve the problem, you can rule out a damaged cable as the cause.
In some cases, the damage to the HDMI cable may not be apparent from a visual inspection. Internal wire damage or loose connections within the cable can still cause issues. Therefore, testing with a different cable is often the most effective way to determine if a damaged cable is the problem.
When selecting a new HDMI cable, consider using a high-quality cable that is compatible with the resolution and refresh rate of your setup. Higher-quality cables often provide better signal transmission and can help avoid future connectivity issues.
If you determine that the HDMI cable is indeed damaged and causing the problem, it’s essential to replace it with a new one. You can purchase HDMI cables at electronic stores or online retailers. It’s best to opt for a cable that meets the specifications of your devices and supports the features you need, such as 4K resolution or HDR support.
By taking the time to inspect and replace a damaged HDMI cable, you can restore the audio and video signals between your TV and connected device. This simple solution can save you from unnecessary frustration and troubleshooting efforts.
Incompatible Resolution or Refresh Rate
An incompatible resolution or refresh rate can cause HDMI connection issues between your TV and the connected device. If the resolution or refresh rate set on the device is not supported by the TV, you may experience a blank screen, flickering, or distorted images.
To troubleshoot this issue, follow these steps:
- Access the display settings on the device connected to the TV.
- Check the resolution and refresh rate settings.
- Compare the device’s settings with the supported resolutions and refresh rates of your TV.
- If the settings are not compatible, adjust them to match the TV’s capabilities.
You can usually access the display settings on your device by going to the “Settings” menu and navigating to the “Display” or “Resolution” section. Here, you can choose different resolution and refresh rate options.
If you’re unsure about the supported resolution and refresh rate of your TV, refer to the user manual or the manufacturer’s website for specifications. Another option is to search for your TV model online, as many websites provide detailed information about supported resolutions and refresh rates.
It’s important to note that not all devices automatically detect and adjust to the optimal resolution and refresh rate of your TV. Some devices may default to a higher resolution or refresh rate, which may not be supported by your TV. Manually selecting a compatible resolution and refresh rate can help establish a stable HDMI connection.
It’s also worth mentioning that some TVs have separate HDMI ports labeled for specific resolutions, such as “HDMI 1 – 4K” or “HDMI 2 – 1080p.” Make sure to connect your device to the appropriate HDMI port based on its resolution requirements.
By ensuring the resolution and refresh rate settings of your connected device match the capabilities of your TV, you can avoid compatibility issues and enjoy a seamless HDMI connection with optimal video and audio quality.
Outdated Firmware
Outdated firmware can sometimes be the reason behind HDMI connectivity issues. Both the TV and the connected device rely on firmware to communicate and ensure compatibility. If either the TV or the device has outdated firmware, it may result in a failure to establish a proper HDMI connection.
To address this issue, follow these steps:
- Check the TV manufacturer’s website for firmware updates.
- Search for the model number of your TV and look for available firmware updates.
- If an update is available, download it and follow the instructions provided by the manufacturer to install it on your TV.
- Similarly, check the manufacturer’s website or support page for updates related to your connected device.
- If there are firmware updates available for your device, download and install them according to the manufacturer’s instructions.
Updating the firmware on both the TV and the connected device ensures that you have the latest software with bug fixes and compatibility improvements. These updates may address HDMI-related issues and improve the overall performance of your setup.
Before updating the firmware, it’s crucial to read and understand the instructions provided by the manufacturer. Follow the steps carefully to avoid any potential errors or complications during the update process.
Keep in mind that updating firmware can sometimes reset certain settings on your TV or device, so it’s a good idea to take note of your current settings before proceeding with the updates.
If you have difficulty finding firmware updates on the manufacturer’s website or if the issue persists after updating the firmware, it may be beneficial to contact the manufacturer’s customer support for further assistance. They can provide guidance specific to your TV or device model and address any remaining concerns or questions you may have.
By regularly updating the firmware on your TV and connected devices, you can ensure smooth HDMI connectivity and improve the performance and compatibility of your setup.
Faulty HDMI Port
A faulty HDMI port on either the TV or the connected device can be a common cause of HDMI connectivity issues. If the port is damaged or experiencing hardware malfunctions, it can prevent the proper transmission of audio and video signals.
To determine if a faulty HDMI port is causing the problem, follow these steps:
- Connect the device to a different HDMI port on your TV.
- If you have multiple HDMI ports, try each one to see if any of them work properly.
- If the HDMI connection works on a different port, it indicates that the original HDMI port may be faulty.
- If possible, try connecting the device to a different TV using the same HDMI cable to see if the issue persists.
If you determine that the HDMI port on your TV is indeed faulty, it may require professional repair or replacement. Contact the manufacturer’s customer support or consult a certified technician to discuss your options.
Before concluding that the HDMI port is faulty, it’s essential to ensure that the device and the HDMI cable are functioning correctly. Connect the device to another TV or monitor using a different HDMI cable to rule out any potential issues with the device or cable.
Similarly, if the HDMI port on the connected device is suspected to be faulty, try connecting it to a different TV or monitor using a known working HDMI cable. If the HDMI connection works on a different display, it suggests that the port on the original TV may be the problem.
It’s worth noting that in some cases, a loose or damaged HDMI connector at the port itself can cause intermittent connectivity issues. Inspect the HDMI ports on both the TV and the device for any visible damage or debris. If necessary, gently clean the ports using compressed air or a soft brush.
By testing different HDMI ports and ensuring that the ports are free from damage or debris, you can identify and address any potential issues with faulty HDMI ports. This will help restore the audio and video signals between your TV and connected device.
Issues with HDMI Settings
Sometimes, the settings related to HDMI on your TV can cause connectivity issues. These settings may affect the audio, video, or overall compatibility between your TV and the connected device. In such cases, adjusting the HDMI settings can help resolve the problem.
To address issues with HDMI settings, follow these steps:
- Access the settings menu on your TV using the remote control.
- Look for the “Settings,” “Menu,” or “Options” button on your remote.
- Navigate through the settings menu to find the HDMI-related options.
- Adjust the settings as needed to ensure compatibility with the connected device.
The HDMI settings menu may vary depending on your TV brand and model. Look for options such as “HDMI Control,” “HDMI Mode,” or “HDMI Input Format.” These settings allow you to configure aspects like audio format, color space, or HDMI control functions.
If you’re unsure about which settings to adjust, refer to the TV’s user manual or check the manufacturer’s website for specific instructions or recommendations related to HDMI settings.
In some cases, disabling certain HDMI features, such as HDMI-CEC (Consumer Electronics Control), may resolve compatibility issues. HDMI-CEC allows control of multiple HDMI devices with a single remote, but it can sometimes lead to conflicts. Disable this feature if experiencing HDMI-related problems.
It’s also worth noting that some TVs have separate picture modes or presets for each HDMI input. If the picture mode is set incorrectly, it can affect the quality of the video displayed. Make sure to check and adjust the picture mode for the specific HDMI input you’re using.
Additionally, if your TV has software updates available, make sure to install them. Updating the TV’s firmware can sometimes address HDMI-related issues by providing bug fixes and improved compatibility.
By adjusting the HDMI settings on your TV, you can ensure proper compatibility and enhance the overall HDMI connectivity between your TV and the connected device. These settings often provide customization options that can optimize the audio and video output based on your specific setup and preferences.
HDMI Handshake Problems
HDMI handshake refers to the communication process between the TV and the connected device that establishes a connection and ensures proper transmission of audio and video signals. Sometimes, issues with the HDMI handshake can cause connectivity problems, resulting in no audio or video output.
To address HDMI handshake problems, follow these steps:
- Power off both the TV and the connected device.
- Disconnect the HDMI cable from both ends (TV and device).
- Wait for a few seconds before reconnecting the HDMI cable.
- Ensure that the HDMI cable is securely plugged into both the TV and the device.
- Power on the TV and the device.
Performing this sequence can help establish a new HDMI handshake between the TV and the device, resolving any potential communication issues. Sometimes, a fresh handshake is needed to ensure a successful connection.
If the HDMI handshake problem persists, try the following additional steps:
- Check if there are any firmware updates available for both the TV and the connected device. Updating the firmware can address compatibility issues and improve the HDMI handshake process.
- Disable any unnecessary HDMI-CEC (Consumer Electronics Control) features on both the TV and the device. HDMI-CEC allows devices to control each other over HDMI, but it can sometimes cause handshake failures. Disabling this feature might help establish a stable HDMI connection.
- Try using a different HDMI cable to eliminate the possibility of a faulty cable interfering with the handshake process.
Sometimes, HDMI handshake problems may be intermittent or sporadic, making them difficult to diagnose. If you’re still experiencing issues despite troubleshooting efforts, it may be worthwhile to consult the manufacturer’s support or seek professional assistance for further troubleshooting steps.
It’s important to note that HDMI handshake problems can occur due to the complexity of the interaction between different devices and their software. As technology evolves, manufacturers continue to address handshake issues through firmware updates and improvements in HDMI compatibility.
By following the recommended steps, you can resolve many HDMI handshake problems and enjoy a stable connection between your TV and the connected device, resulting in uninterrupted audio and video transmission.
HDCP Content Protection Error
HDCP (High-bandwidth Digital Content Protection) is a technology designed to protect copyrighted content transmitted over HDMI connections. It ensures that the content is only displayed on authorized devices and prevents unauthorized copying or distribution. However, HDCP-related errors can sometimes occur and prevent the proper display of content on your TV.
If you encounter an HDCP content protection error, follow these steps to troubleshoot the issue:
- Verify that all devices in the HDMI chain, including the TV, source device, and any intermediate devices (such as AV receivers or HDMI switches), support HDCP. Older or non-compliant devices may not properly handle HDCP content.
- Check if there are any available firmware updates for your TV and devices. Updating the firmware can address HDCP-related compatibility issues.
- If you have recently connected a new device or made changes to your setup, unplug and reconnect all HDMI cables to re-establish the HDCP handshake.
- Try using a different HDMI cable to eliminate the possibility of a faulty cable causing the HDCP error.
- Power off all devices in the HDMI chain, including the TV, source device, and any intermediate devices. Then, power them on one by one in sequence, allowing each device to fully start up before powering on the next. This can help ensure a proper HDCP handshake.
- If you’re using an HDMI splitter or switcher, make sure it supports HDCP and is properly connected. Some older or non-compliant models may not handle HDCP content correctly.
- If the HDCP error persists, consult the user manual or the manufacturer’s support for your TV or device. There may be specific troubleshooting steps or settings adjustments recommended to resolve HDCP-related issues.
In some cases, there may be limitations imposed by content providers or compatibility issues between specific devices and content sources. If you continue to encounter HDCP errors despite troubleshooting efforts, it’s advisable to contact the content provider or seek further assistance from the TV or device manufacturer for specific recommendations.
It’s important to note that HDCP compliance is essential for legally playing protected content. While there are workarounds and devices that claim to remove HDCP restrictions, tampering with or circumventing HDCP protection may violate copyright laws. It is recommended to use HDCP-compliant devices and HDMI cables to ensure a secure and legal viewing experience.
Power Supply Problems
Power supply problems can contribute to HDMI connectivity issues between your TV and the connected device. Insufficient or unstable power can result in intermittent or complete HDMI signal loss, leading to audio or video problems.
To address power supply problems, follow these steps:
- Ensure that both the TV and the connected device are receiving adequate power. Check that they are properly plugged into functioning power outlets.
- If possible, try using a different power outlet for the TV and the device to rule out any issues with the current outlet.
- Check the power cable for any visible damage or fraying. If the cable is damaged, replace it with a new one to ensure a secure and reliable power connection.
- Consider using power surge protectors or uninterruptible power supply (UPS) devices to protect your TV and connected devices from power fluctuations or electrical surges.
- Unplug both the TV and the device from the power outlet, wait for a few minutes, and then plug them back in. Sometimes, power cycling can help resolve temporary power-related issues.
- For TVs that have a separate power brick or adapter, check for any visible damage or defects on the power supply unit. If necessary, contact the manufacturer for a replacement.
In addition to power supply issues, it’s important to consider the power requirements of your TV and the connected device. Some devices may require more power than others, and if the power supply is inadequate, it can lead to HDMI connection problems. Verify if the connected device is compatible with the power specifications of your TV.
If you suspect a problem with the power supply of the TV itself, it may require professional repair or service. Contact the manufacturer’s customer support or consult a certified technician for further assistance.
By ensuring a stable and sufficient power supply to both the TV and the connected device, you can minimize HDMI connectivity issues and maintain consistent audio and video signals.