Introduction
A graphics card is an essential component of a computer system that is responsible for rendering images, videos, and graphical effects. It is designed to offload the processing power required for graphics-intensive tasks from the central processing unit (CPU). Whether you are a gamer, a graphic designer, or a video editor, having a good graphics card is crucial for achieving smooth and visually appealing results.
When it comes to installing a graphics card, one of the primary considerations is to identify the appropriate slot where the card will be inserted. Modern motherboards typically support one or more types of expansion slots specifically designed for graphics cards. These slots provide the necessary power and data connections to ensure optimal performance.
In this article, we will explore the various types of slots commonly used for graphics cards, including PCI (Peripheral Component Interconnect), AGP (Accelerated Graphics Port), and PCI Express. We will also discuss how to identify the appropriate slot for your graphics card and provide step-by-step instructions for installing the card.
By understanding the different types of slots and the installation process, you will be equipped with the knowledge to upgrade your system’s graphics capabilities and enhance your overall computing experience.
What is a graphics card?
A graphics card, also known as a video card or a GPU (Graphics Processing Unit), is a specialized component of a computer system that is responsible for rendering visual content. It works in conjunction with the central processing unit (CPU) to process and display images, videos, and graphical effects on a monitor.
The primary function of a graphics card is to handle the complex calculations and processing required for displaying high-quality graphics. It is equipped with its own memory and processing power, allowing it to offload graphics-related tasks from the CPU. This dedicated processing capability enables the graphics card to perform tasks such as rendering 3D graphics, executing complex shaders, and accelerating video decoding and encoding.
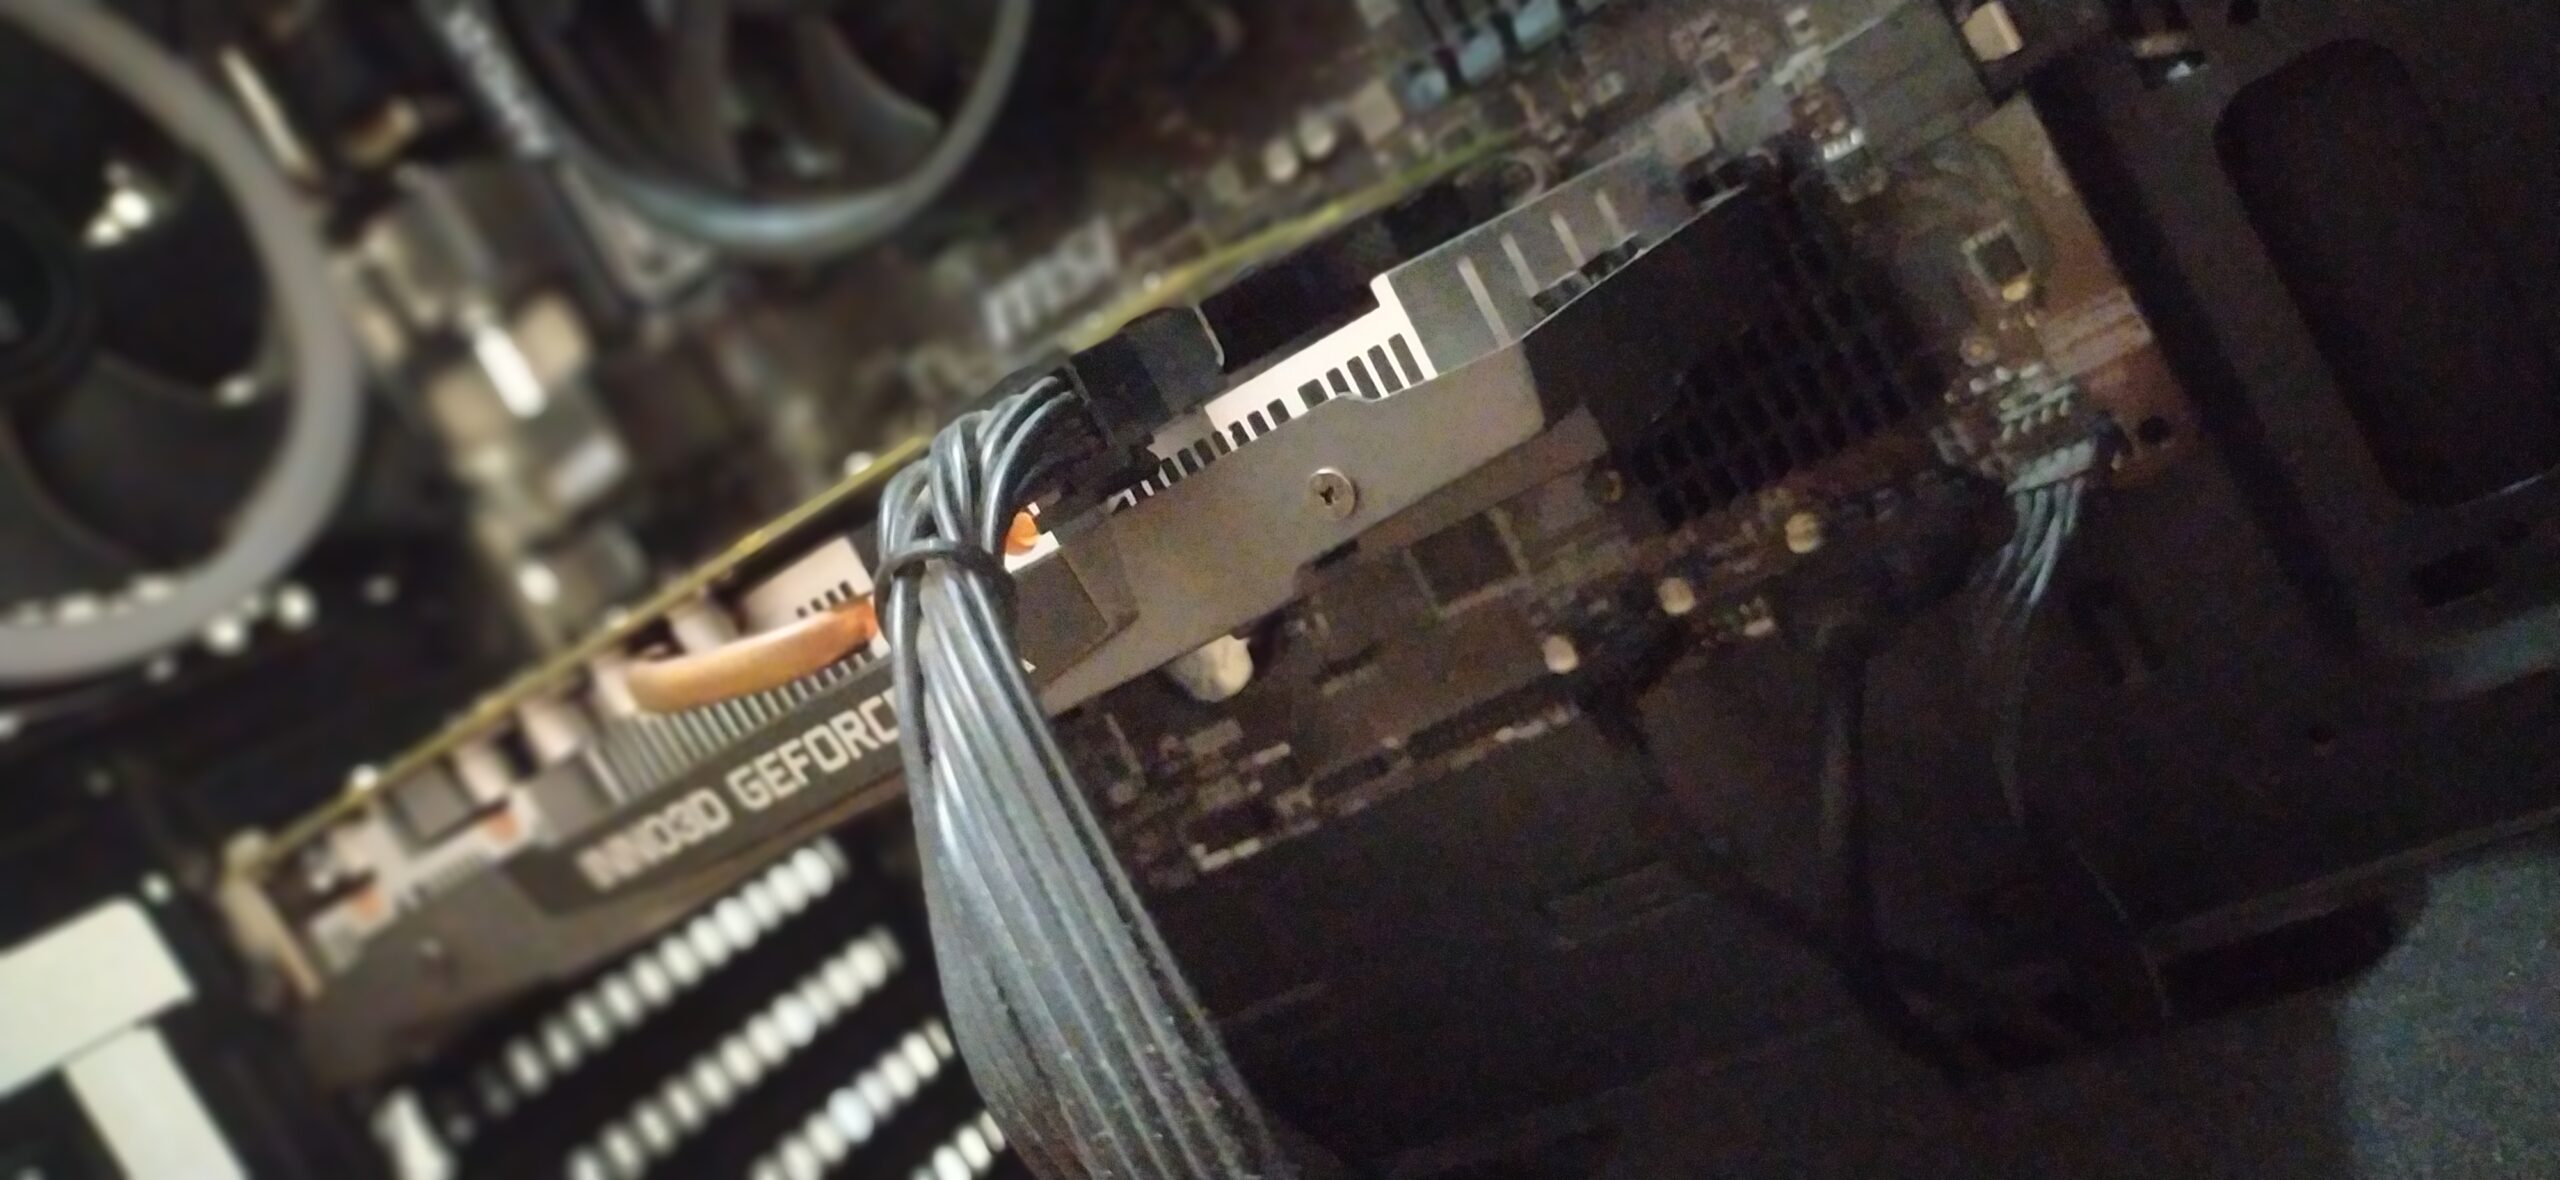
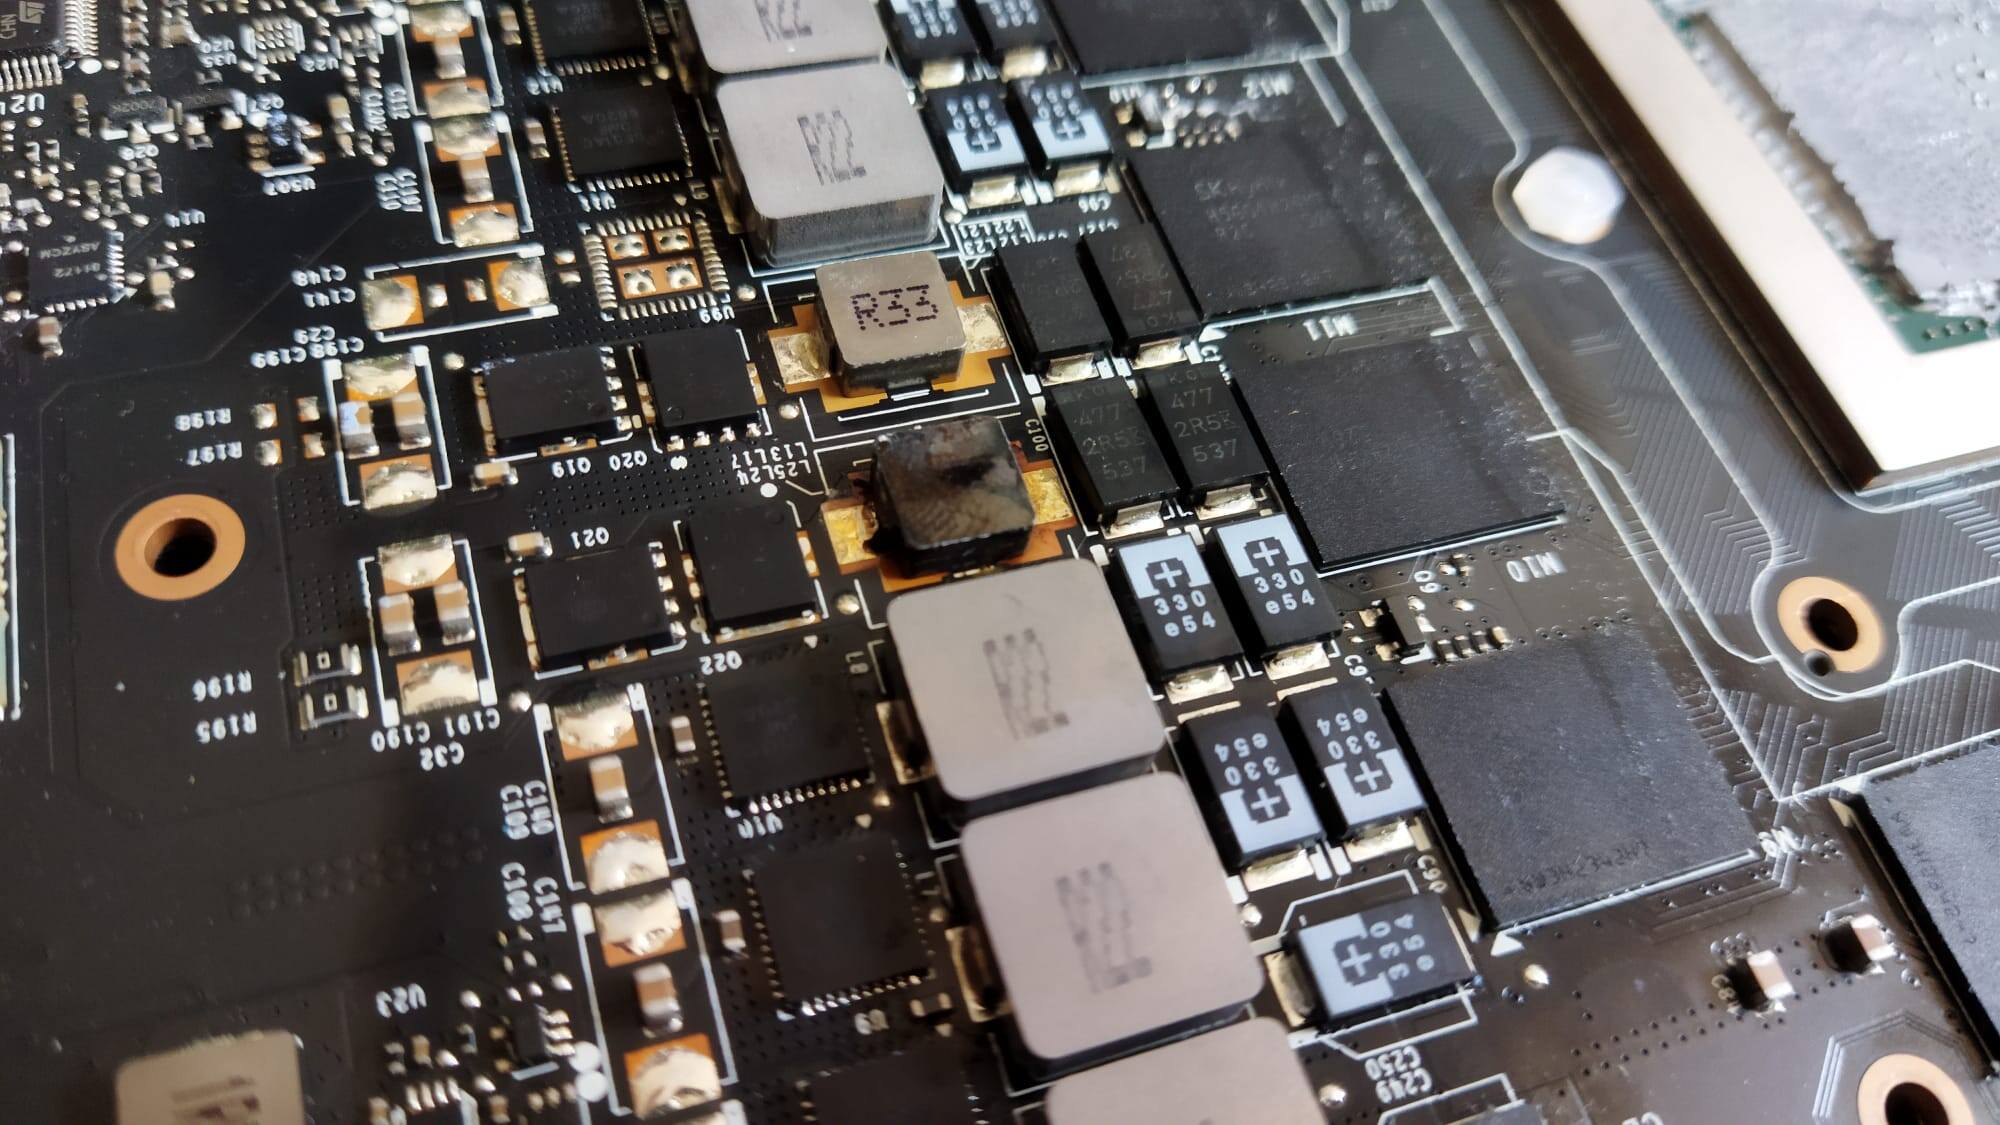
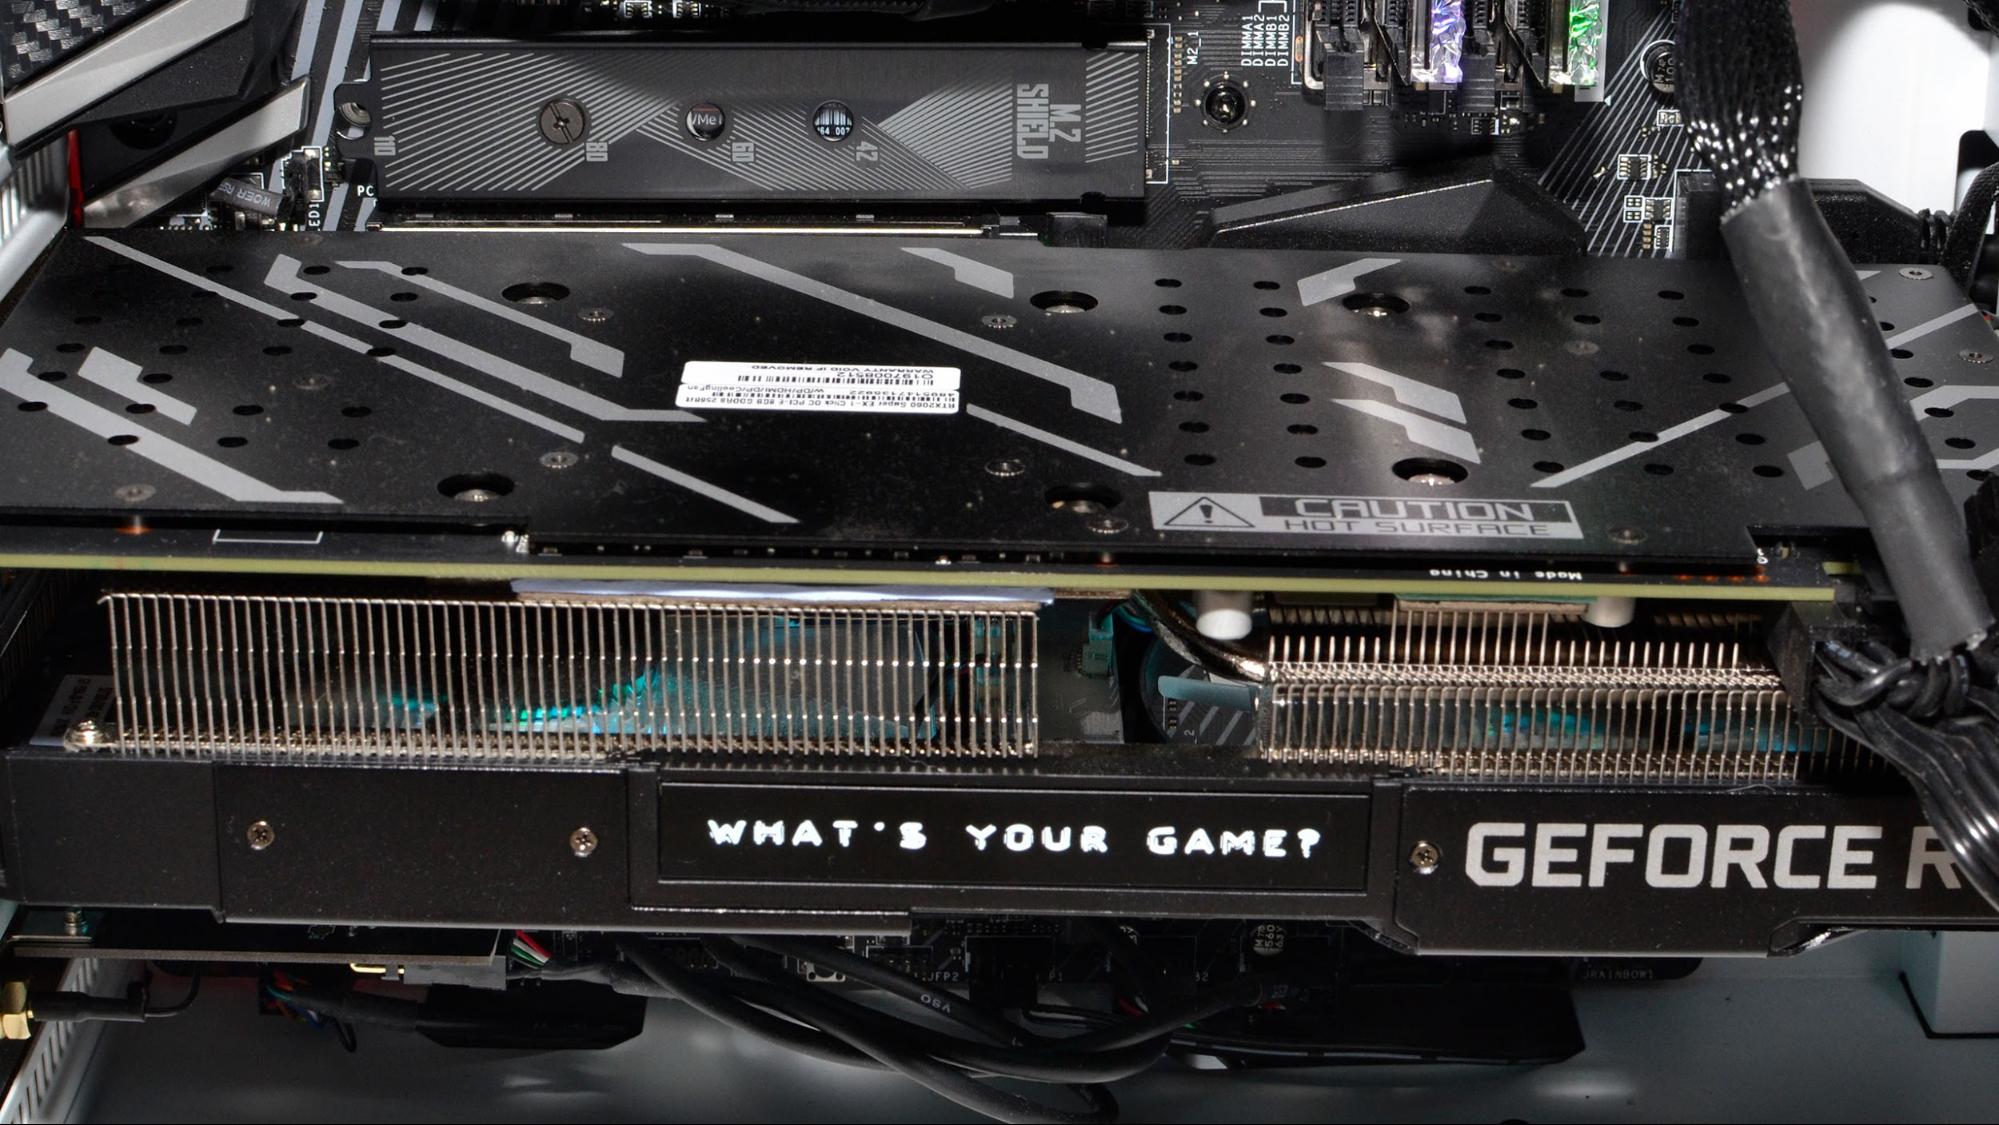
A graphics card consists of various components, including a graphics processing unit (GPU), memory (VRAM), a cooling system, and connectors for monitors and power supply. The GPU is the most critical component as it houses the specialized processors responsible for executing the calculations necessary for generating and manipulating images.
Graphics cards are widely used in applications that demand high graphical performance, such as gaming, video editing, 3D modeling, and animation. They can significantly enhance the visual quality and performance of these applications by enabling real-time rendering and smoother frame rates.
Over the years, graphics cards have undergone significant advancements in terms of performance, power efficiency, and features. Manufacturers consistently release new models with improved capabilities, allowing users to enjoy more realistic graphics and smoother gameplay.
Overall, a graphics card is a vital component for any computer system that requires advanced graphics capabilities. Whether you are a gamer, a content creator, or simply someone who values high-quality visuals, a good graphics card can make a world of difference in your computing experience.
PCI slots
PCI (Peripheral Component Interconnect) slots are a type of expansion slot commonly found on older motherboards. They were introduced in the early 1990s and were widely used for connecting various expansion cards, including graphics cards. Although PCI slots are becoming less common in modern systems, they are still worth mentioning as some older graphics cards may still utilize this interface.
PCI slots come in different versions, including PCI 32-bit and PCI 64-bit. The 32-bit version provides a data transfer rate of up to 133 MB/s, while the 64-bit version can reach speeds of up to 266 MB/s. However, it is important to note that most graphics cards designed for gaming and high-performance applications have moved on to newer interfaces, such as PCI Express (PCIe).
When installing a graphics card in a PCI slot, ensure that the slot is compatible with the card, both in terms of physical size and power requirements. Graphics cards for PCI slots typically require a supplementary power connector since the slot alone may not provide enough power. Additionally, it is essential to refer to the motherboard’s manual to confirm the specific PCI slot that is recommended for graphics cards.
To install a graphics card in a PCI slot, follow these steps:
- Ensure the computer is powered off and unplugged.
- Remove the computer case cover.
- Locate an available PCI slot on the motherboard.
- Remove the metal bracket at the back of the computer case that corresponds to the PCI slot you will be using.
- Align the graphics card with the slot and gently insert it until it is firmly seated.
- Secure the graphics card in place by attaching the screw or latch at the rear of the slot.
- Connect the necessary power cables to the graphics card.
- Replace the computer case cover.
- Power on the computer and install the appropriate drivers for the graphics card.
Keep in mind that PCI slots offer limited bandwidth compared to PCIe slots. Therefore, if you require high-performance graphics for gaming or other demanding applications, it is recommended to opt for a motherboard that supports PCIe slots.
AGP slots
AGP (Accelerated Graphics Port) slots were a significant advancement in graphics card technology and were introduced in the late 1990s. They were specifically designed to provide a dedicated and faster connection between the graphics card and the motherboard compared to the traditional PCI slots.
AGP slots come in different versions, including AGP 1x, AGP 2x, AGP 4x, and AGP 8x. The version number represents the data transfer rate, with higher numbers indicating faster speeds. AGP 8x, the final iteration of AGP, provided a maximum transfer rate of 2.1 GB/s, which significantly improved graphics performance compared to PCI slots.
One advantage of AGP slots is that they offer dedicated bandwidth solely for graphics cards, allowing for faster and more efficient data transfer. This dedicated connection enables the graphics card to have direct access to the system memory, reducing the need for additional onboard memory on the card itself.
AGP slots have a unique design with a slanted key, making it impossible to insert a graphics card that is not compatible with the slot. However, it is important to note that AGP slots are now considered obsolete and are rarely found on modern motherboards.
If you have an older system with an AGP slot and you need to install a graphics card, follow these steps:
- Ensure the computer is powered off and unplugged.
- Remove the computer case cover.
- Locate the AGP slot on the motherboard.
- Align the graphics card with the slot, making sure the slanted key matches the slot’s orientation.
- Gently insert the graphics card into the slot until it is firmly seated.
- Secure the card by fastening the screw or latch at the rear of the slot.
- Connect the necessary power cables to the graphics card.
- Replace the computer case cover.
- Power on the computer and install the appropriate drivers for the graphics card.
While AGP slots were once popular, they have been superseded by the more advanced PCI Express (PCIe) slots. Therefore, if you are building a new system or upgrading an existing one, it is recommended to opt for a motherboard with PCIe slots to ensure compatibility with modern graphics cards.
PCI Express slots
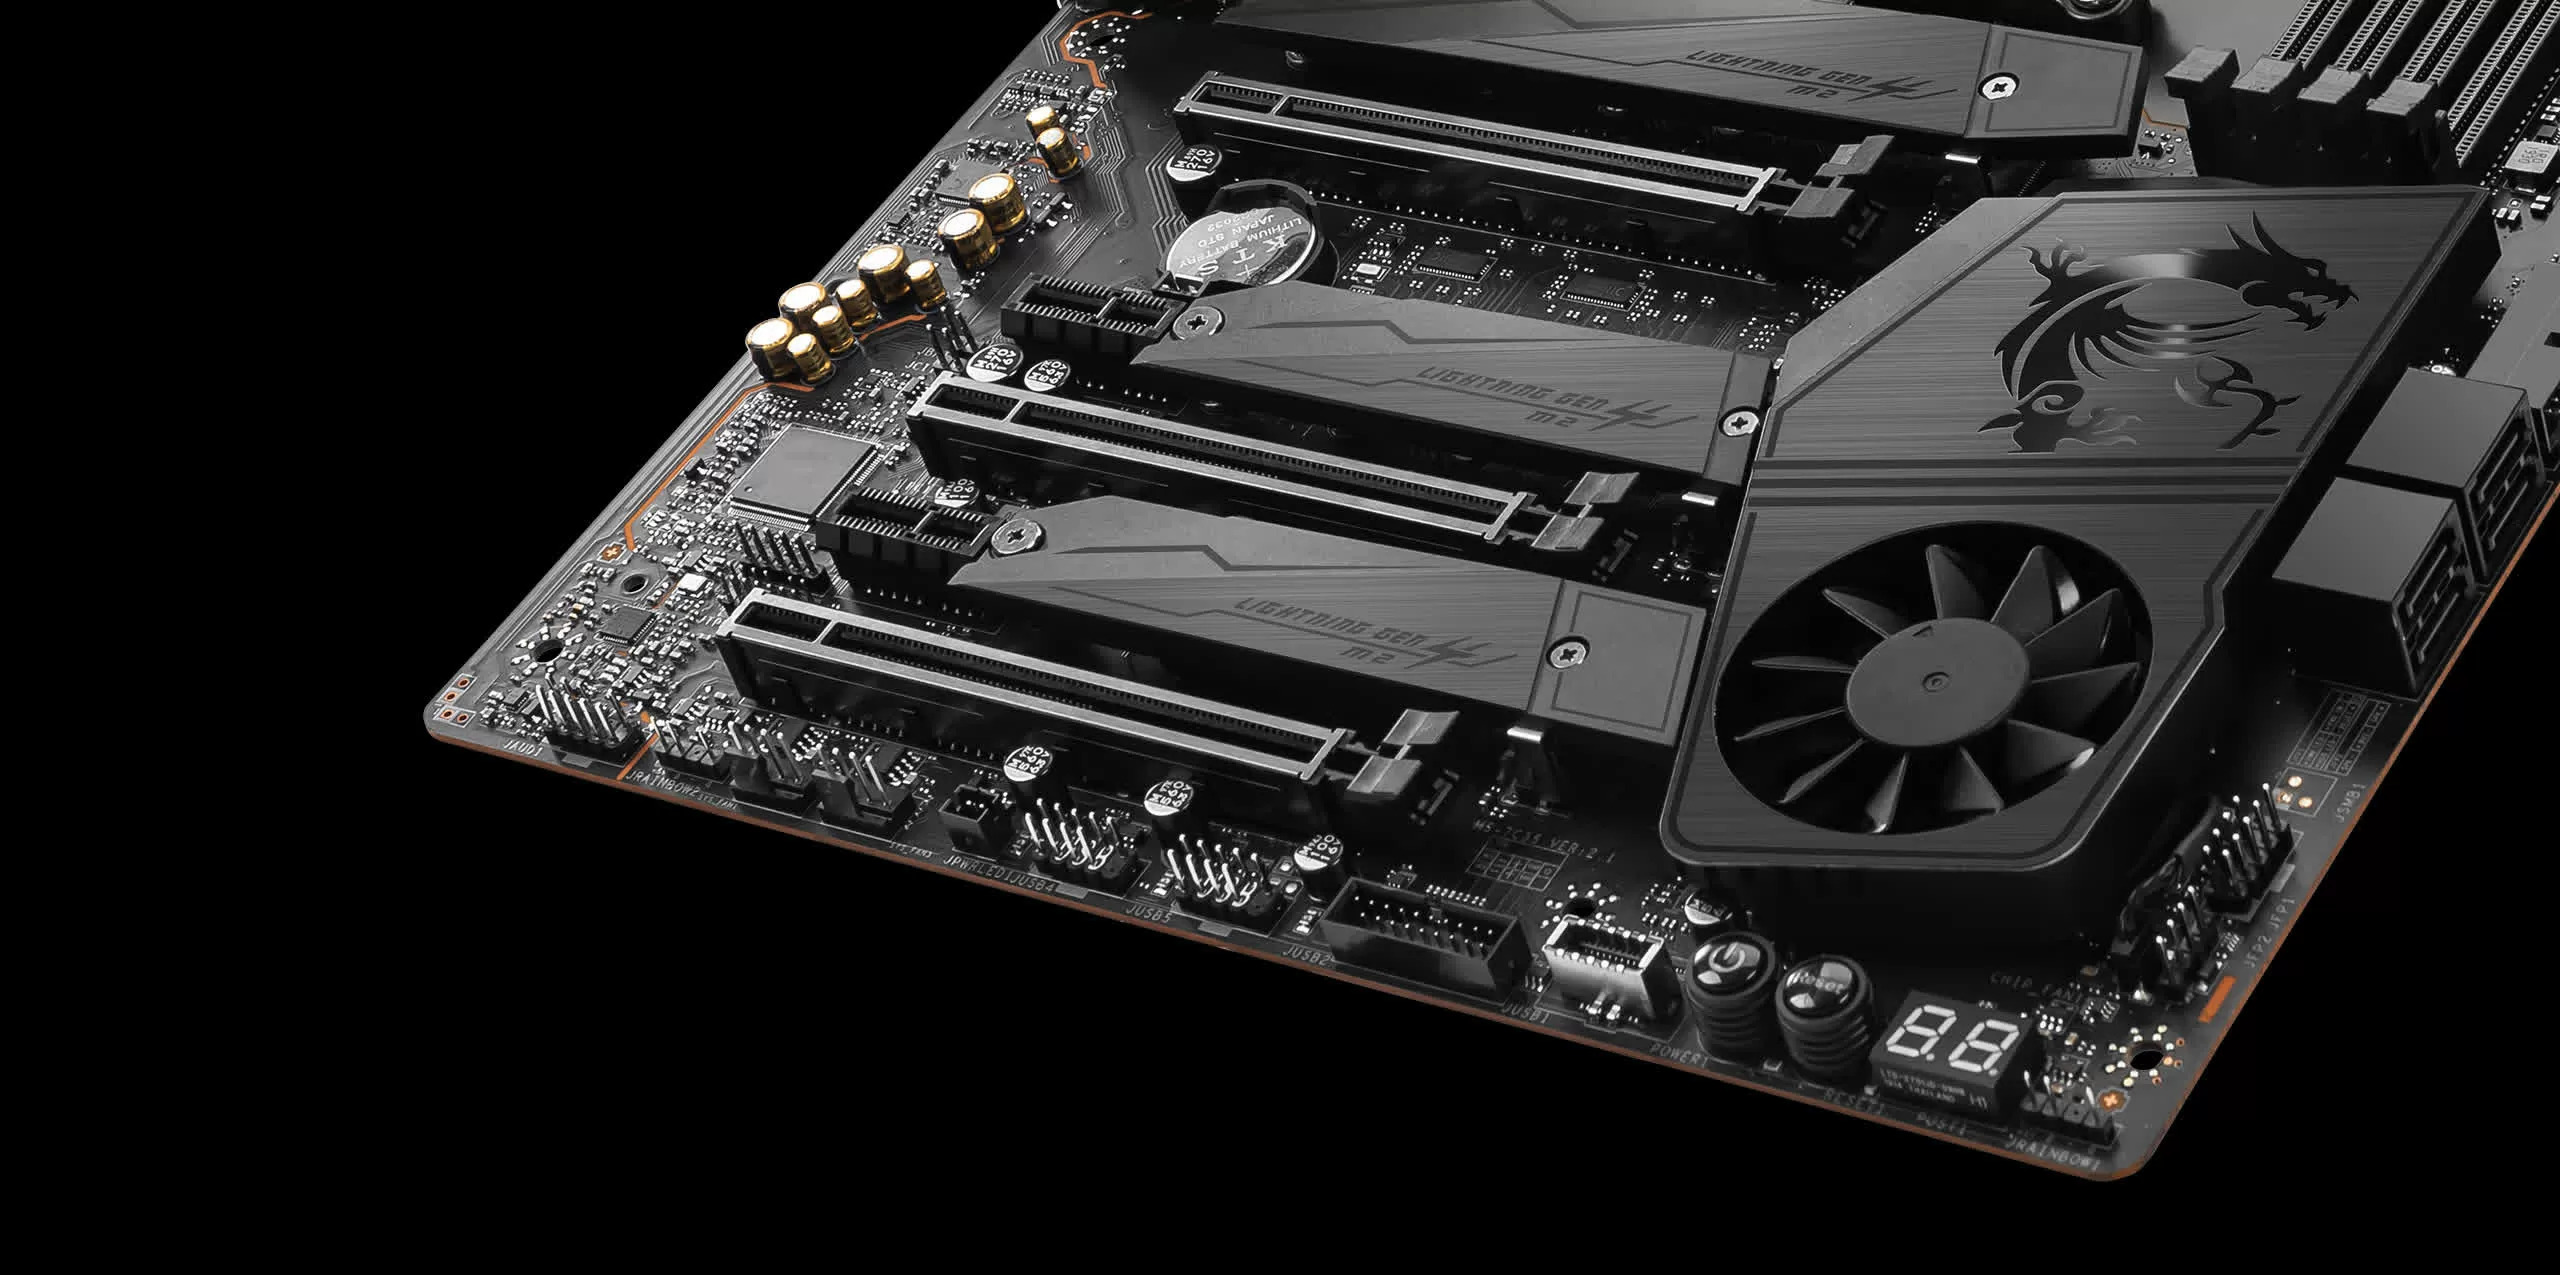
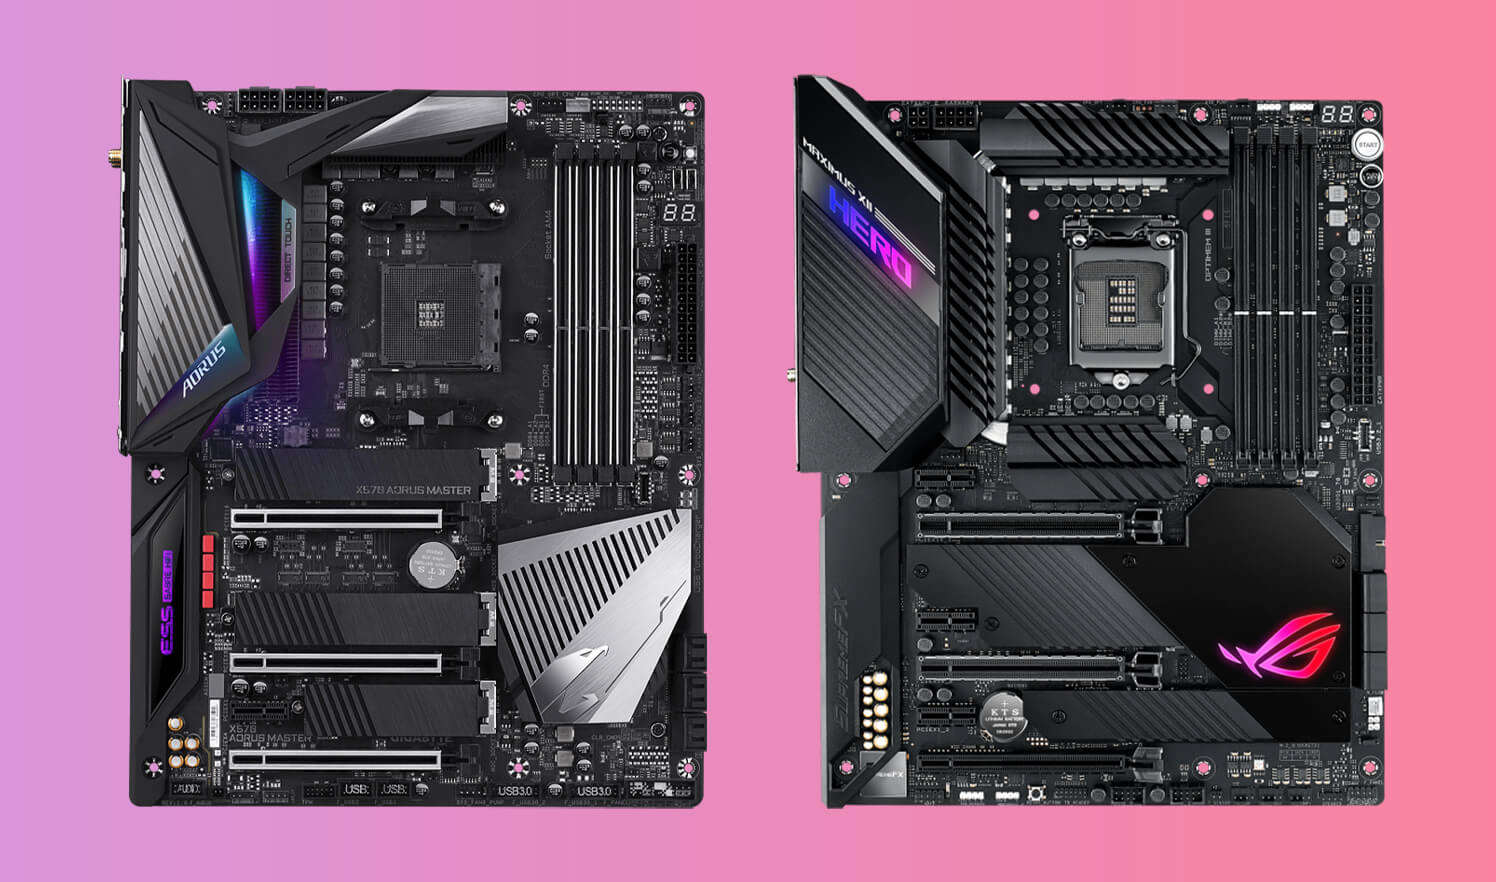
PCI Express (PCIe) slots are the most common and widely used interface for graphics cards in modern computer systems. PCIe offers significant improvements in terms of bandwidth and performance compared to the older PCI and AGP slots. It has become the standard choice for connecting graphics cards and other high-speed peripherals.
The PCIe interface utilizes a point-to-point connection, which means that each PCIe slot has its own dedicated bandwidth to communicate with the CPU. This allows for faster and more efficient data transfer, enabling graphics cards to deliver high-quality visuals and handle demanding applications with ease.
PCIe slots come in various versions, including PCIe 1.0, PCIe 2.0, PCIe 3.0, and the latest PCIe 4.0. Each version offers increased bandwidth, allowing for higher data transfer rates and improved performance. It is important to note that backward compatibility exists, meaning newer graphics cards designed for PCIe 4.0 will work in older PCIe slots, but at a lower performance level.
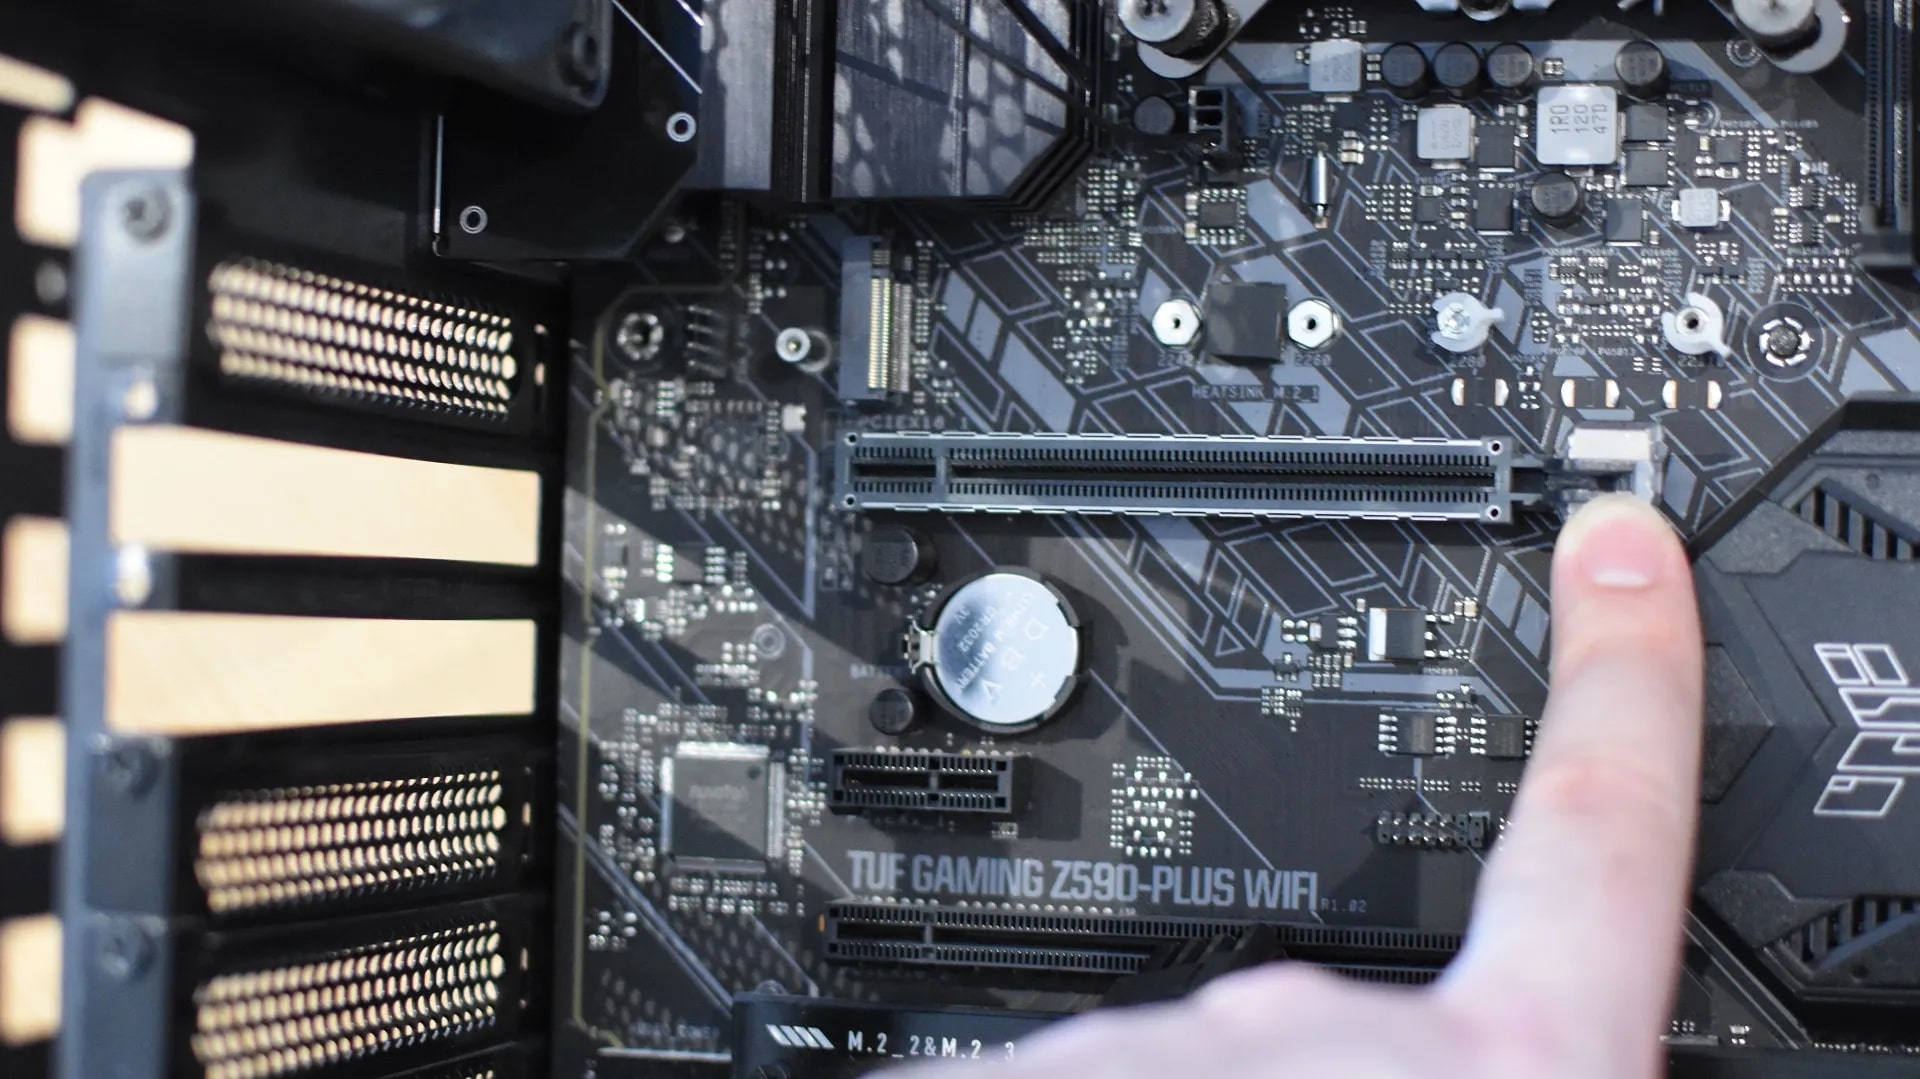
In terms of physical appearance, PCIe slots come in different sizes, including x16, x8, x4, and x1. The “x” refers to the number of data lanes the slot supports, with x16 being the most common and allowing for the highest bandwidth. Graphics cards are usually designed to fit into the x16 slot, but they can also be used in lower lane configurations if needed.
Installing a graphics card in a PCIe slot is relatively straightforward. Here are the general steps:
- Ensure the computer is powered off and unplugged.
- Remove the computer case cover.
- Locate an available PCIe slot that matches the size and version required by your graphics card.
- Remove the cover or bracket at the back of the computer case for the chosen PCIe slot.
- Align the graphics card with the slot and insert it firmly into the PCIe slot.
- Secure the graphics card by fastening the screw or latch on the rear of the slot.
- Connect the necessary power cables to the graphics card.
- Replace the computer case cover.
- Power on the computer and install the appropriate drivers for the graphics card.
PCIe slots provide high-speed connectivity and ample bandwidth for graphics-intensive tasks. They are widely supported by both motherboards and graphics card manufacturers, making it easier to find compatible components for your system. When upgrading or building a new computer, it is highly recommended to choose a motherboard with PCIe slots to take full advantage of the latest graphics card technology.
How to identify the appropriate slot
Identifying the appropriate slot for your graphics card is crucial to ensure compatibility and optimal performance. Here are some steps to help you determine the right slot for your graphics card:
- Check the motherboard manual: The first and most reliable source of information is the motherboard’s manual. It will provide detailed specifications for each slot available on your motherboard, including the recommended slot for graphics cards.
- Examine the physical slots: Take a look at the physical slots on the motherboard. Typically, PCIe slots are longer and have a different shape compared to other slots. They usually have a clip or latch on the rear end to secure the graphics card. AGP slots have a unique design with a slanted key, making them easily distinguishable from other slots. PCI slots are shorter and have a row of metal contacts on the bottom.
- Check the labeling: Some motherboards label each slot, indicating its purpose or compatibility. Look for labels such as “PCIe x16” or “Graphics” near the slots to identify the appropriate one for your graphics card.
- Consider the requirements of your graphics card: Review the specifications and requirements of your graphics card. It will specify the type of slot it is compatible with, such as PCIe x16 or AGP. Ensure that the slot on your motherboard matches the requirements.
- Look for additional power connectors: High-performance graphics cards often require additional power connections to function properly. Check if your graphics card requires any supplementary power connectors and ensure that your power supply has the necessary connectors available.
- Research compatibility: If you are unsure about slot compatibility, do some research online or consult with the manufacturer of your motherboard or graphics card. They can provide guidance on compatibility and recommend the best slot for your graphics card.
By following these steps, you can accurately identify the appropriate slot for your graphics card, ensuring compatibility and optimal performance for your system.
Installing the graphics card
Once you have identified the appropriate slot for your graphics card, you can proceed with the installation process. Here are the general steps to install a graphics card:
- Shut down your computer and unplug it from the power source. This will ensure your safety and prevent any damage to the components.
- Open the computer case by removing the screws or latches holding the side panel in place. Refer to the computer or motherboard manual if you are unsure how to access the internals.
- Locate the appropriate slot for your graphics card. If necessary, remove any covers or brackets from the slot to make it accessible.
- Gently insert the graphics card into the slot, aligning the connectors on the card with the slot. Apply even pressure until the card is fully seated in the slot. Take care not to force it, as this may cause damage.
- If your graphics card requires additional power, connect the appropriate power cables from your power supply to the connectors on the graphics card. Refer to the graphics card manual for the specific power requirements.
- Secure the graphics card by tightening the screw or latch at the rear of the slot. This will ensure that the card is firmly attached to the motherboard.
- Double-check all connections to ensure they are properly seated and secure.
- Replace the computer case side panel and secure it with the screws or latches.
- Plug in and power on your computer.
- Install the necessary drivers for your graphics card. Insert the driver installation disc that came with the card or download the latest drivers from the manufacturer’s website. Follow the on-screen instructions to complete the installation process.
- Restart your computer to allow the new drivers to take effect.
- After the computer restarts, the graphics card should be recognized and ready to use.
Remember to consult your motherboard and graphics card manuals for any specific instructions or precautions that may apply to your particular hardware. If you encounter any difficulties during the installation process, don’t hesitate to seek assistance from a knowledgeable individual or contact the manufacturer’s support team.
By following these steps carefully, you can successfully install a graphics card and enjoy improved graphics performance and functionality on your computer system.
Verifying the installation
After installing a graphics card, it is essential to verify that the installation was successful and that the card is functioning correctly. Here are some steps you can take to ensure the graphics card is properly installed:
- Boot up your computer and log in to the operating system.
- Check for visual confirmation: Look for any signs of the graphics card being recognized by the system. If everything is working correctly, you should see the display on your monitor connected to the graphics card. If there is no display or if it appears distorted or abnormal, there may be an issue with the installation.
- Open the Device Manager: Depending on your operating system, you can access the Device Manager through the Control Panel or by right-clicking on the Start menu and selecting Device Manager. In the Device Manager, expand the “Display adapters” category to see if your graphics card is listed. If it is present and there are no warning signs (like a yellow exclamation mark), it indicates that the card is properly recognized by the system.
- Check driver status: Open the graphics card control panel or utility software, usually accessible through the system tray or the Start menu. Verify that the driver version matches the one specified by the manufacturer. If necessary, update the drivers to the latest version provided by the graphics card manufacturer.
- Perform a benchmark or stress test: Run a graphics benchmark or stress test application to ensure that the graphics card is functioning optimally and can handle demanding tasks. This will help identify any performance issues or potential stability problems.
- Test gaming or graphic-intensive applications: Launch gaming or graphic-intensive applications to see how the graphics card performs. Monitor the frame rates, image quality, and overall performance to ensure that the card is functioning as expected.
- Monitor temperatures and fan speeds: Use monitoring software to keep an eye on the temperatures and fan speeds of the graphics card. Excessive heat or abnormal fan behavior could indicate a potential problem with the installation or cooling system.
- Run a system stability test: Use a system stability test tool to stress-test your computer, including the graphics card, to ensure that it can handle prolonged periods of heavy usage without crashing or encountering stability issues.
If you encounter any issues during the verification process, double-check the connections and ensure that the graphics card is properly seated in the slot. You may also want to consult the troubleshooting section of the graphics card manual or reach out to the manufacturer’s support team for further assistance.
Verifying the installation ensures that your graphics card is functioning correctly and can deliver the expected performance. Take the time to go through these steps to ensure a smooth and successful installation.
Conclusion
Installing a graphics card is an excellent way to enhance the visual performance and capabilities of your computer system. Whether you’re an avid gamer, a content creator, or simply someone who wants smoother graphics and improved video playback, a dedicated graphics card can make a world of difference.
In this article, we explored the different types of slots commonly used for graphics cards, including PCI, AGP, and PCIe. We discussed how to identify the appropriate slot for your graphics card, ensuring compatibility and optimal performance. We also provided step-by-step instructions for installing the graphics card and verifying its successful installation.
When choosing a graphics card, consider the specific requirements of your intended use. Gaming enthusiasts and high-performance users may prefer a graphics card with a PCIe slot to take full advantage of the available bandwidth. However, if you have an older system, there may be a need to consider PCI or AGP slots for compatibility with legacy hardware.
Remember to consult the manuals and guidelines provided by the motherboard and graphics card manufacturers for detailed instructions. If you encounter any difficulties during the installation process, don’t hesitate to seek assistance from knowledgeable individuals or the manufacturer’s support team.
By installing a graphics card of your choice and following the proper installation procedures, you can unlock a whole new level of graphics performance, enabling you to enjoy stunning visuals, smooth gameplay, and improved productivity for your graphic-intensive tasks.
Take the time to research, choose the right graphics card for your needs, and follow the installation steps carefully. With a properly installed graphics card, you can unleash the full potential of your computer system and elevate your visual experience to new heights.


