Introduction
Connecting a monitor to a graphics card is a crucial step in setting up a computer system. Whether you are a gamer, a graphic designer, or simply using your computer for everyday tasks, properly connecting your monitor to your graphics card ensures that you get the best visual experience possible.
In this guide, we will walk you through the step-by-step process of connecting your monitor to your graphics card. We will provide clear instructions and tips to make the setup as easy as possible. So, let’s get started!
Before we begin, it’s important to note that most modern graphics cards utilize either HDMI, DisplayPort, or DVI ports. The type of cable you need will depend on the ports available on your graphics card and monitor. Additionally, some monitors may require adapters to connect to specific ports. Make sure to check your graphics card and monitor’s specifications to determine the appropriate cables and adapters.
Now, let’s dive into the steps required to connect your monitor to your graphics card and get your display up and running smoothly.
Step 1: Gather the Necessary Cables and Adapters
Before you begin connecting your monitor to your graphics card, it’s essential to gather the necessary cables and adapters. The type of cables and adapters you need will depend on the ports available on your graphics card and monitor.
If your graphics card has an HDMI port and your monitor supports HDMI, you will need an HDMI cable. HDMI cables are widely available and provide a high-quality digital connection between your graphics card and monitor. Make sure to choose a cable of appropriate length for your setup.
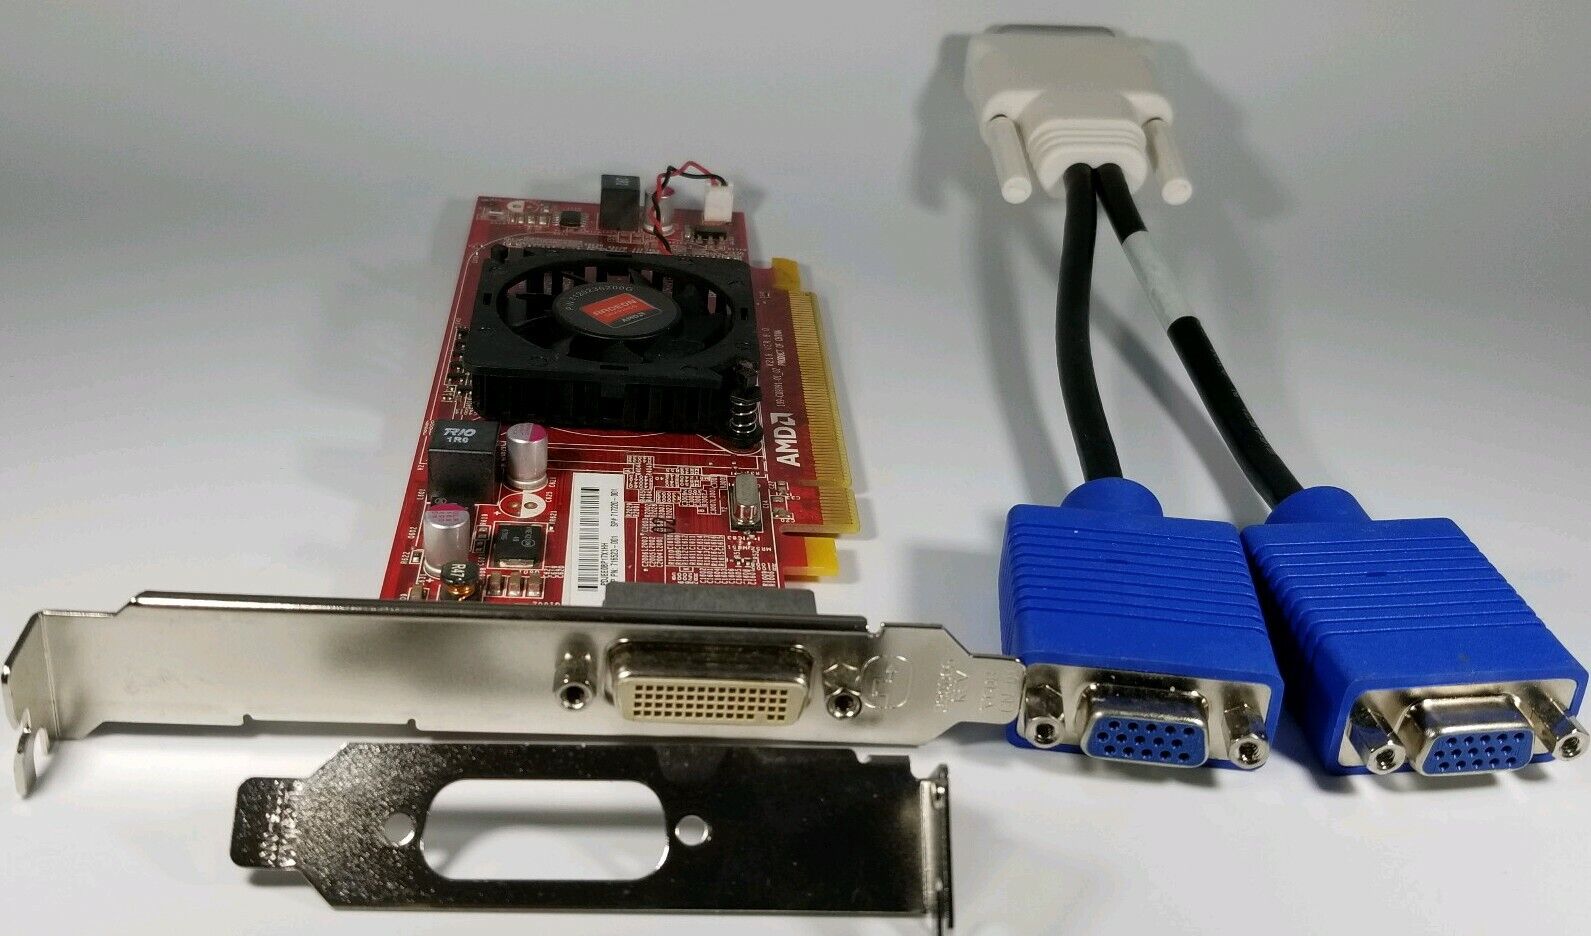
On the other hand, if your graphics card has a DisplayPort or DVI port, you will need a DisplayPort or DVI cable, respectively. These cables are designed to transmit high-quality digital signals and are commonly used for connecting monitors to graphics cards.
In some cases, you may encounter a situation where your graphics card and monitor have different types of ports, or your monitor has outdated VGA ports. In such instances, you will need to use adapters to bridge the connection between the two devices. For example, if your monitor has a VGA port but your graphics card only has HDMI or DisplayPort, you will need a VGA to HDMI or VGA to DisplayPort adapter.
Make sure to research and purchase reputable cables and adapters from trusted brands to ensure a reliable and high-quality connection. It’s always better to invest in good-quality cables to avoid any potential signal degradation or compatibility issues.
By gathering the necessary cables and adapters ahead of time, you’ll be prepared for the next steps in the process of connecting your monitor to your graphics card.
Step 2: Turn Off Your Computer
Before you begin connecting your monitor to your graphics card, it is crucial to turn off your computer completely. This step ensures that you can safely connect the cables without causing any damage to the hardware or risking an electric shock.
To turn off your computer, you can either click on the “Start” button in your operating system and select “Shutdown” or “Power Off,” or you can press and hold the power button on your computer for a few seconds until it shuts down completely.
Once your computer is turned off, it’s also vital to unplug the power cord from the wall outlet. This extra precaution eliminates any possibility of electrical current flowing through your computer system while making the connections.
Turning off your computer and disconnecting the power source not only ensures your safety but also prevents any potential damage to the hardware components. It is always important to prioritize safety when working with computer hardware.
Now that your computer is completely turned off and disconnected from the power source, you can proceed to the next steps. Let’s move on to locating the graphics card ports.
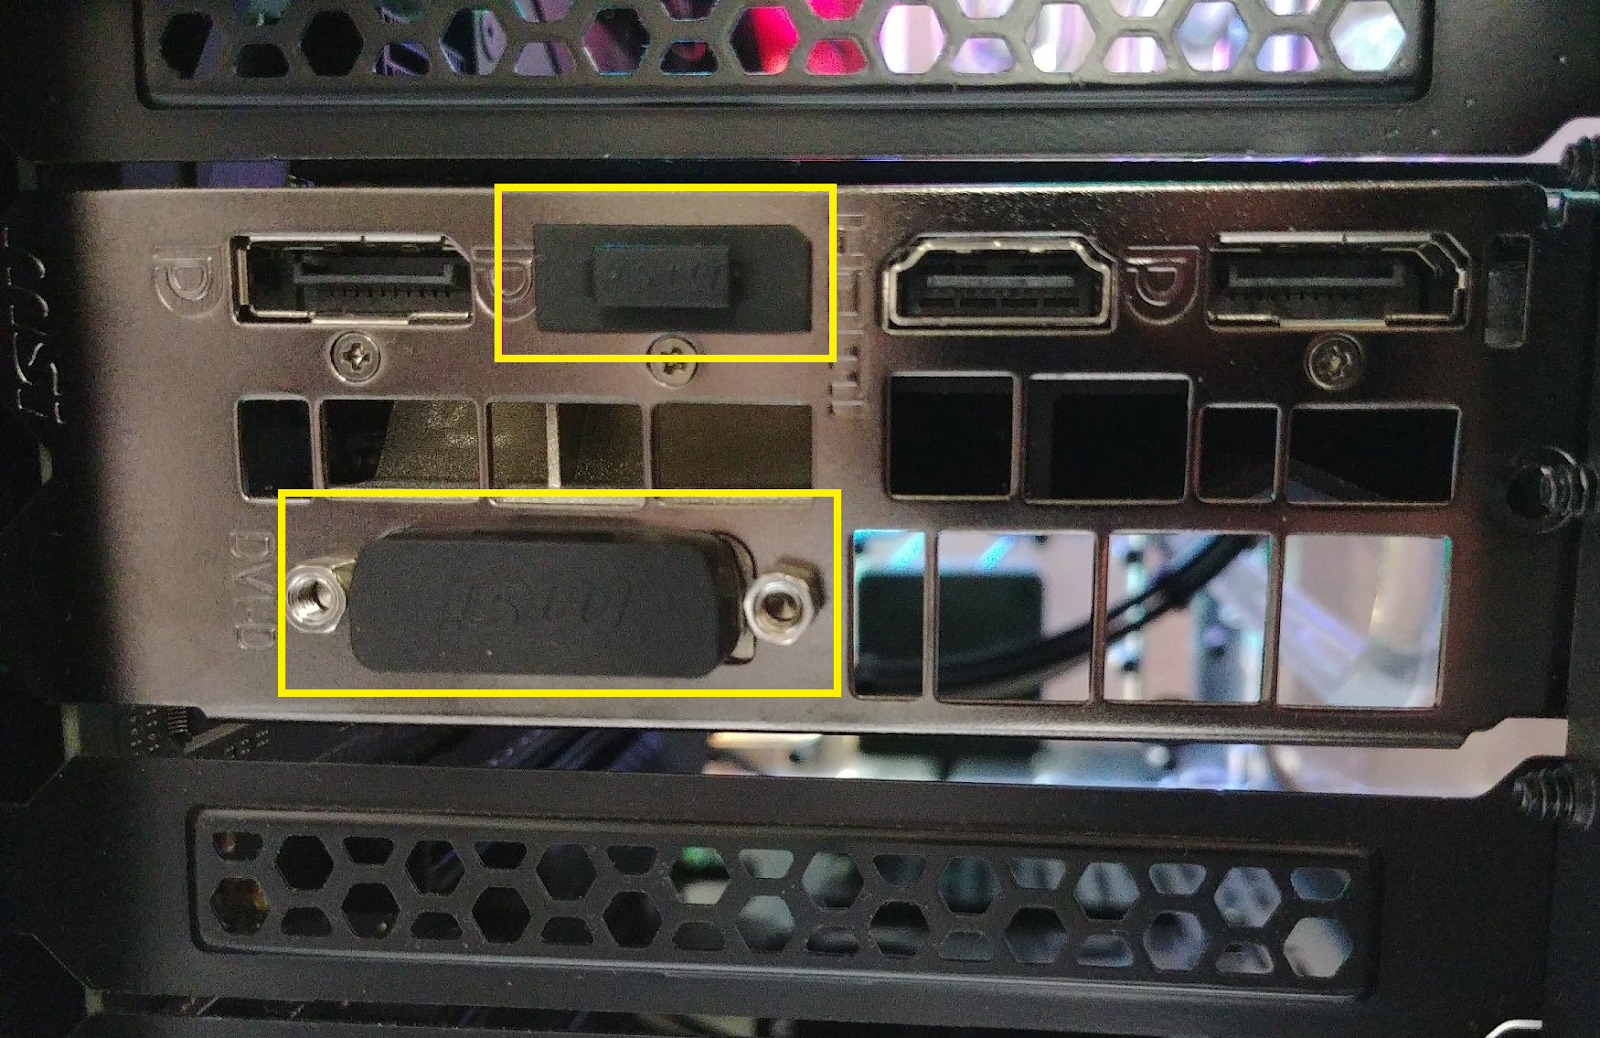
Step 3: Locate the Graphics Card Ports
Now that your computer is turned off, it’s time to locate the ports on your graphics card. The ports on the graphics card are where you will connect the cable that leads to your monitor.
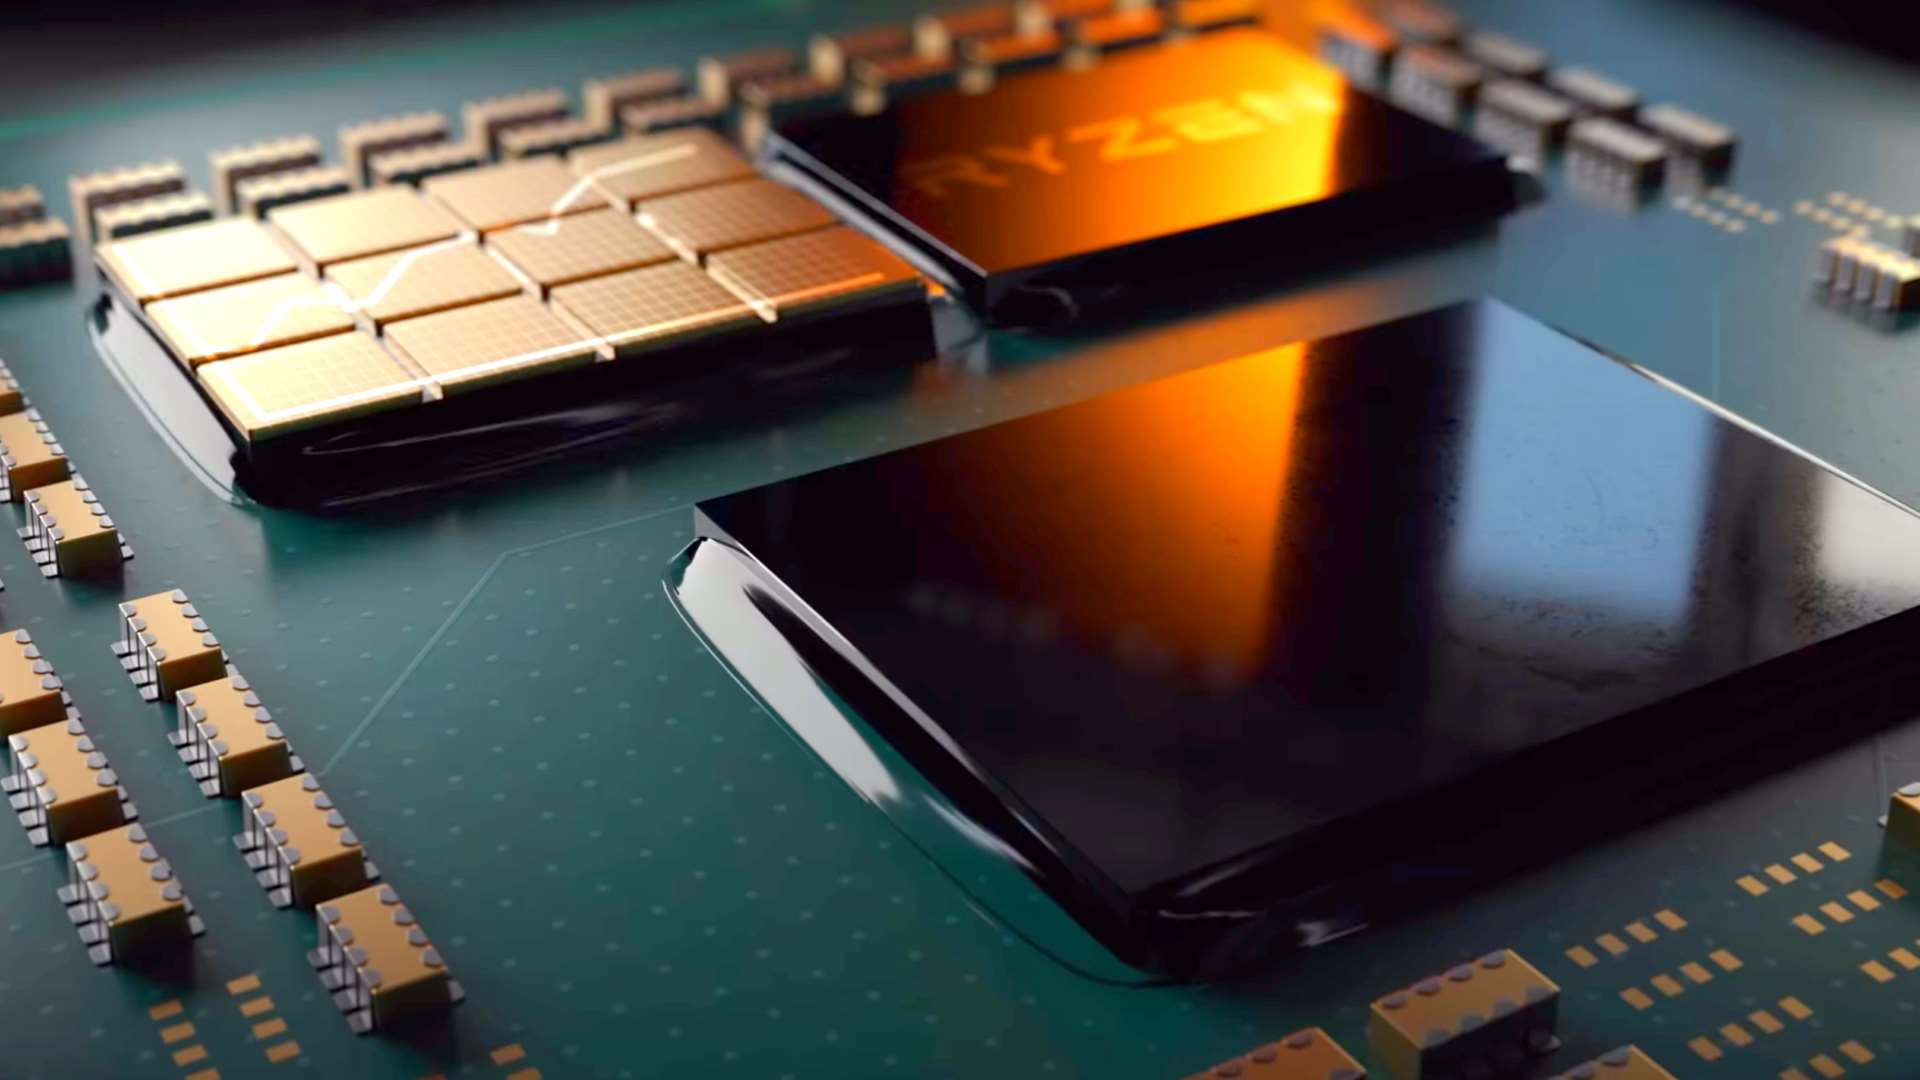
Graphics cards usually have multiple ports to support different types of connections. The most common ports found on graphics cards include HDMI, DisplayPort, and DVI. Some graphics cards may also have VGA ports, although they are becoming less common in modern systems.
To locate the ports on your graphics card, you will need to open your computer case. If you are not familiar with opening the case, it’s important to consult your computer’s manual or seek assistance from a professional to avoid causing any damage to your system.
Once the case is open, you will see the graphics card installed in one of the expansion slots on the motherboard. The ports on the graphics card are usually located on the side facing the back of the computer case. They are easily identifiable with their respective labels, such as “HDMI,” “DisplayPort,” “DVI,” or “VGA”.
Take a moment to familiarize yourself with the ports on your graphics card and identify the appropriate port based on the cable you have available and the specifications of your monitor.
After locating the correct port on your graphics card, you’re ready to move on to the next step, which is connecting the cable to the graphics card.
Step 4: Connect the Cable to the Graphics Card
With the ports on your graphics card identified, it’s time to connect the cable to the graphics card. Ensure that you have the appropriate cable, such as an HDMI, DisplayPort, or DVI cable, depending on the ports available on your graphics card and monitor.
Start by securely inserting one end of the cable into the corresponding port on the graphics card. Pay attention to the shape and orientation of the connectors to ensure they align properly. Avoid applying excessive force and handle the cable with care to prevent any damage to the ports and connectors.
Once the cable is securely connected to the graphics card, give it a gentle tug to ensure that it is firmly seated. A loose connection can result in signal loss or a flickering display, so it’s essential to make sure the cable is snugly inserted.
Double-check that the cable is connected to the correct port, especially if your graphics card has multiple ports of the same type. The proper port will typically have a label or icon indicating its purpose.
Now that the cable is connected to the graphics card, we can move on to connecting the other end of the cable to the monitor. This next step is crucial in establishing a successful connection and getting your display up and running.
Step 5: Connect the Other End of the Cable to the Monitor
After connecting the cable to the graphics card, it’s time to connect the other end of the cable to your monitor. Ensure that you have the appropriate cable, such as an HDMI, DisplayPort, or DVI cable, based on the ports available on your graphics card and the input options of your monitor.
Locate the corresponding input port on your monitor. The input ports on the monitor are commonly located on the back or side panel. They are often labeled with icons or text indicating the type of connection they support, such as “HDMI,” “DisplayPort,” “DVI,” or “VGA”.
Align the cable connector with the input port on your monitor and firmly insert it. Just like when connecting the cable to the graphics card, make sure to handle the cable with care and avoid applying excessive force. Give the cable a gentle tug to ensure a secure connection.
Once the cable is connected to the monitor, you can now power on your computer and monitor to proceed with the next steps. Make sure to follow the manufacturer’s instructions for turning on your devices properly.
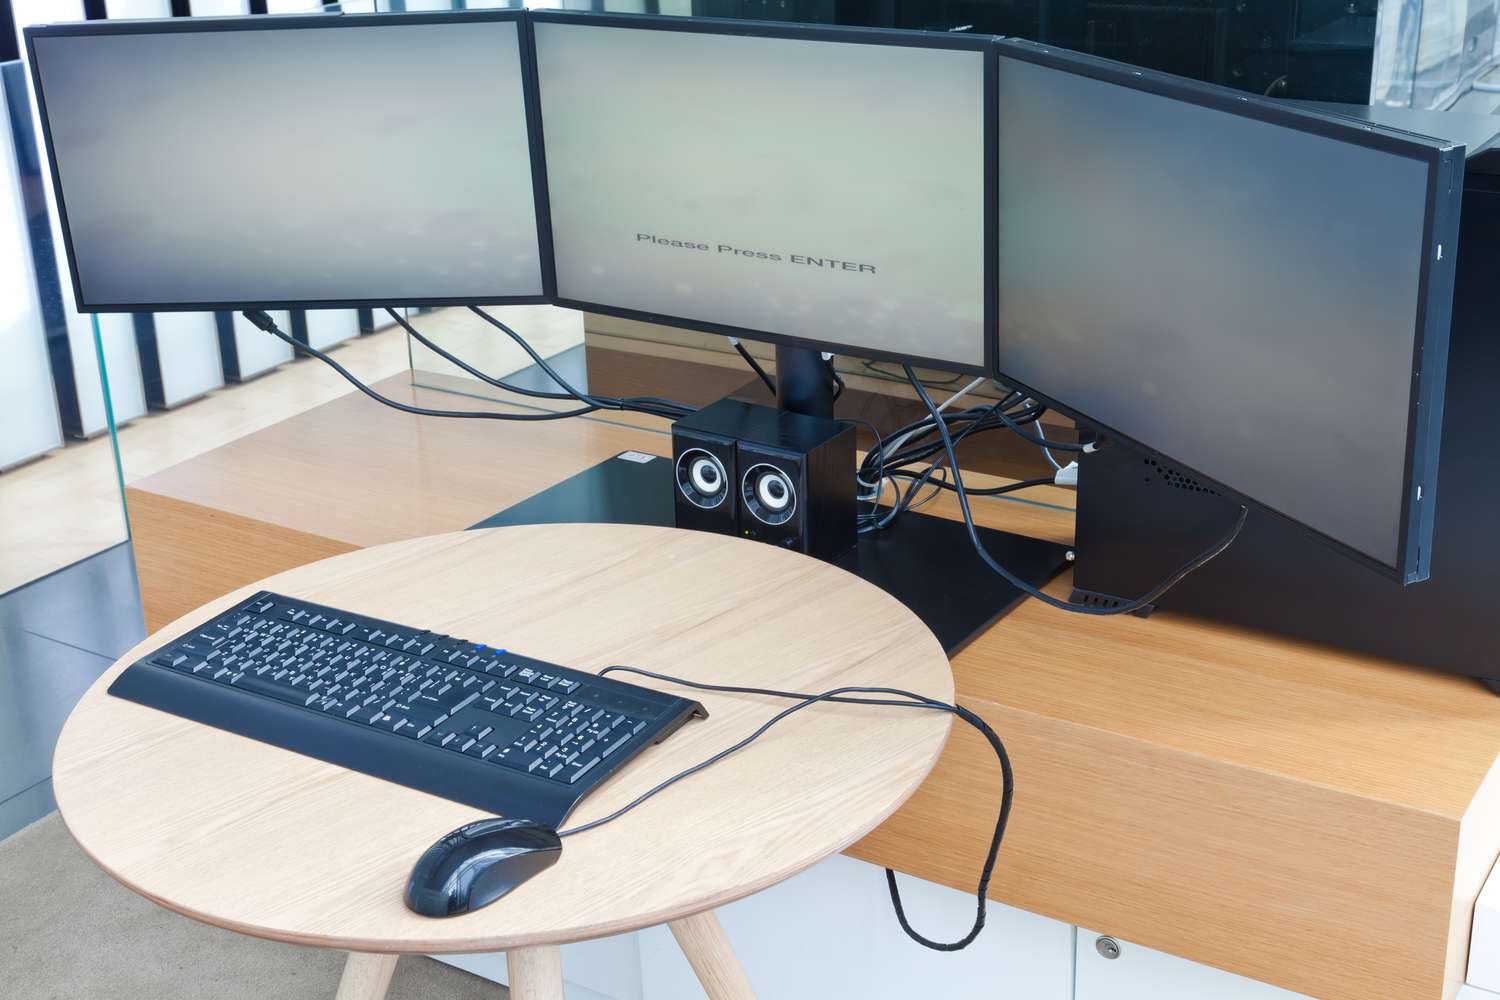
It’s important to note that some monitors have multiple input ports, allowing you to switch between different connections. If your monitor has multiple input options, use the on-screen menu or buttons to select the correct input source that matches the cable you connected.
With the cable securely connected to both the graphics card and the monitor, your computer and monitor are now ready to be powered on to establish a successful connection.
Step 6: Power On Your Computer and Monitor
With the cable connections in place, it’s time to power on your computer and monitor to complete the setup process. Properly powering on your devices ensures that the graphics card and monitor recognize each other and establish a successful connection.
Start by plugging in the power cord of your computer and monitor into a power outlet. Once they are connected to a power source, locate the power buttons on both devices. On the computer, the power button is typically located on the front or top panel, while the monitor’s power button is usually located on the side or bottom bezel.
Press the power button on your computer first to turn it on. You will hear the fans spinning and see the computer’s internal components initializing. Depending on your operating system and computer settings, it may take a few seconds or a minute for the computer to fully boot up.
After your computer has started, press the power button on your monitor to turn it on. You should see the monitor’s power indicator light up, indicating that it is receiving power. The monitor will go through a brief startup sequence before displaying the image from your graphics card.
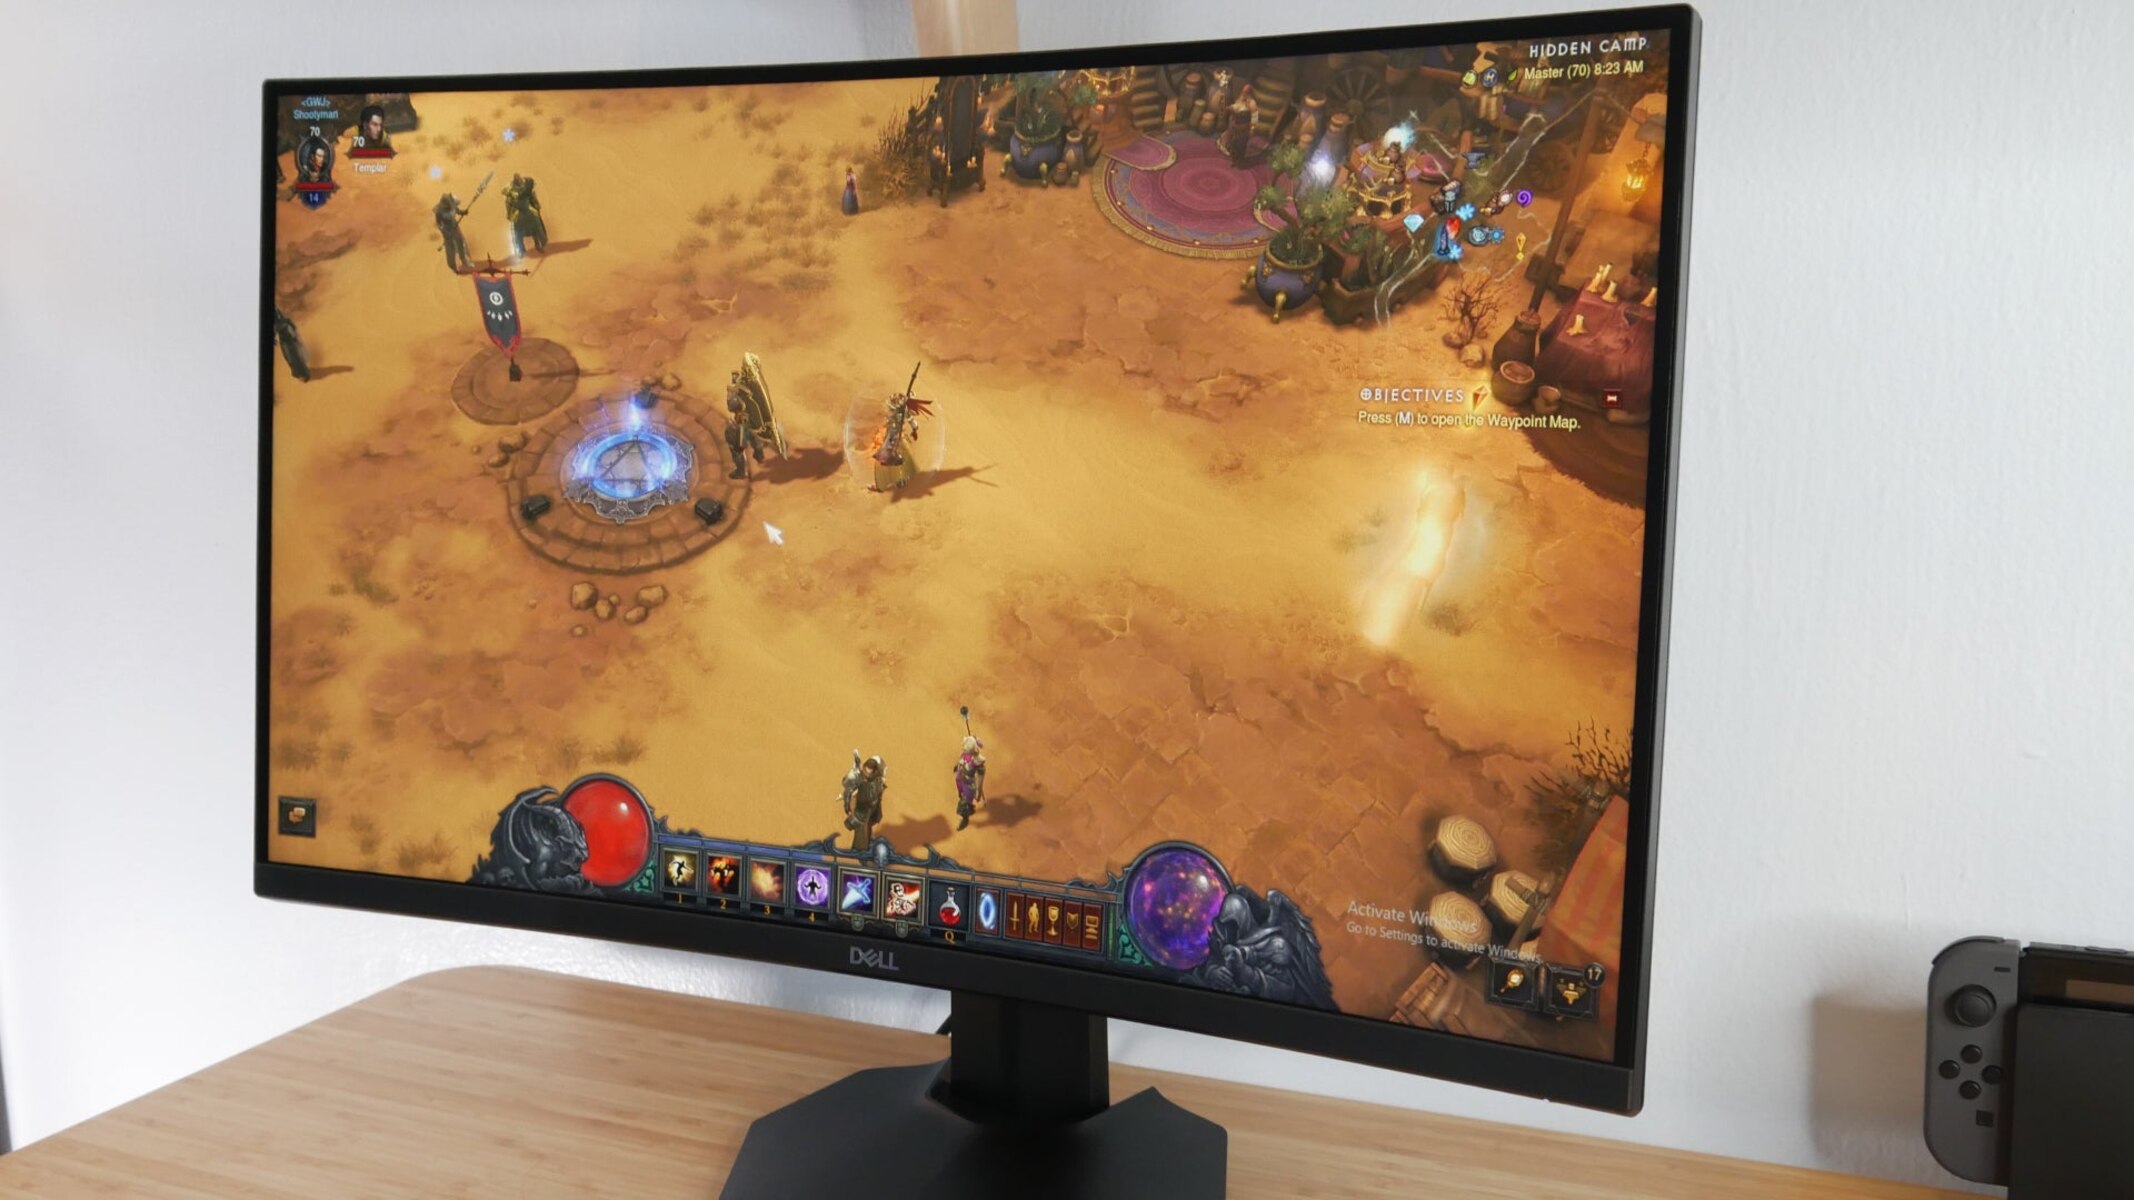
If both your computer and monitor successfully power on, it’s a good sign that the connection between the graphics card and the monitor is functioning properly. You should see the display output on your monitor, and you can proceed to the final step, which is configuring the display settings (if necessary).
However, if you encounter any issues, such as no display or distorted image, double-check the cable connections and ensure that they are securely attached to both the graphics card and the monitor. Additionally, verify that you have selected the correct input source on the monitor.
With your computer and monitor powered on, it’s time to move on to the last step in the process – configuring the display settings, if necessary.
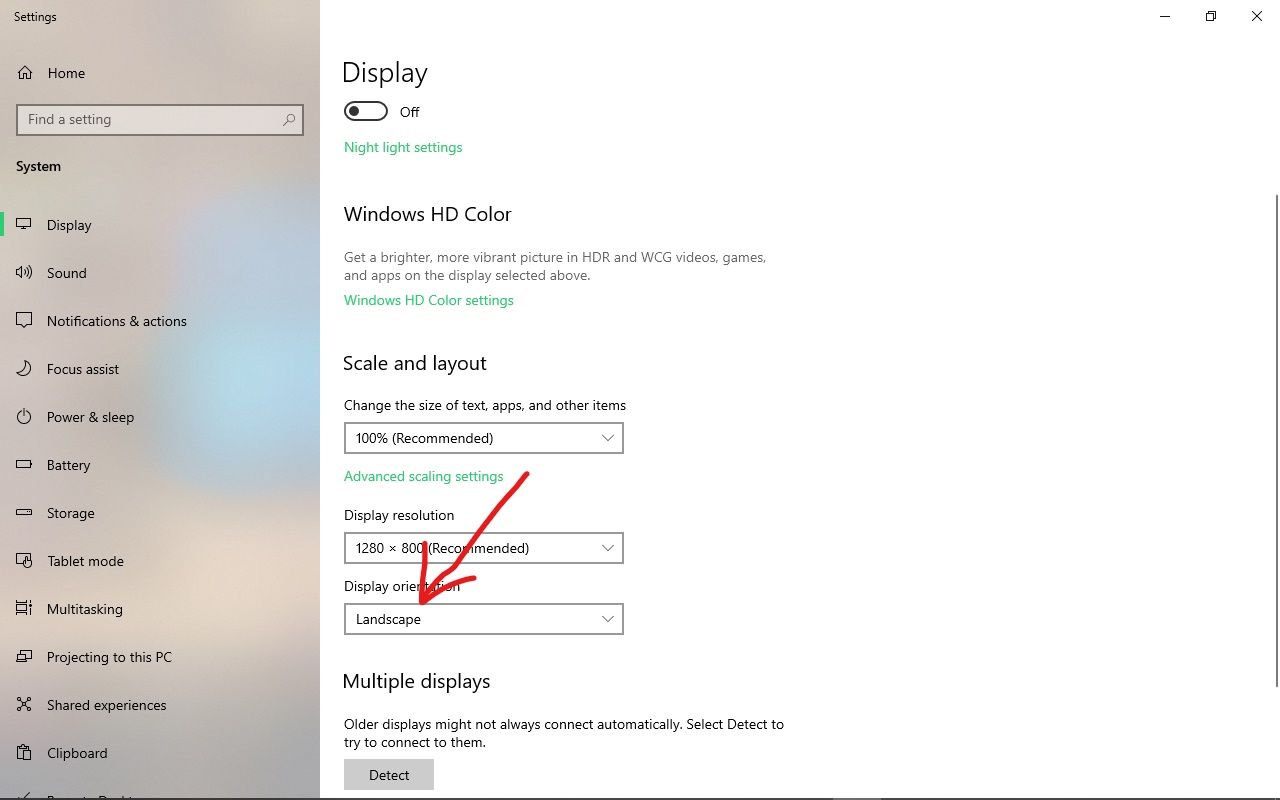
Step 7: Configure Display Settings (if necessary)
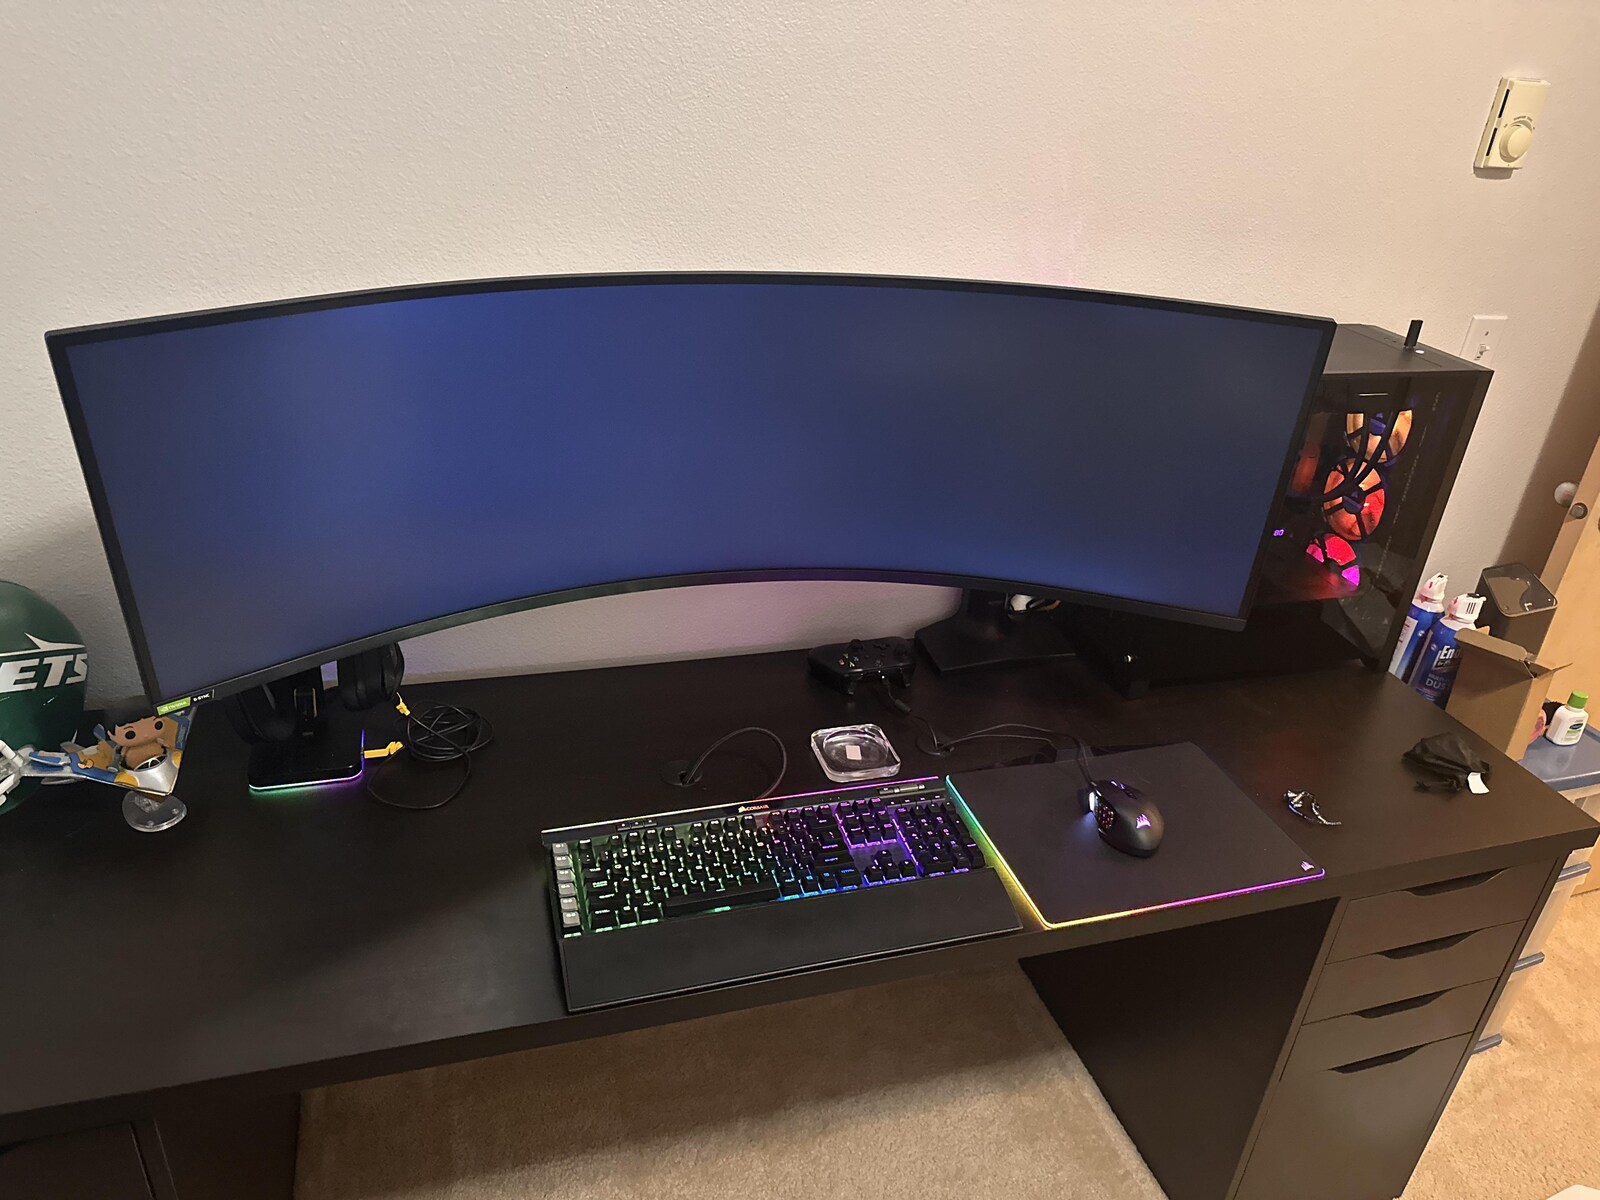
Once your computer and monitor are powered on and displaying the image, you may need to configure the display settings to optimize your viewing experience. Adjusting the display settings can help ensure the best resolution, refresh rate, and color accuracy for your specific setup.
In most cases, your computer’s operating system will automatically detect the connected monitor and set it to the recommended display settings. However, if you are not satisfied with the default settings or if you have specific requirements, you can manually adjust the display settings.
To access the display settings, right-click on the desktop area and select “Display settings” or “Screen resolution” from the context menu. This will open the display settings panel where you can make adjustments.
Within the display settings panel, you can modify various aspects, such as the screen resolution, orientation (landscape or portrait), screen brightness, and color calibration. The available options may vary depending on your operating system.
Start by adjusting the screen resolution, which determines the number of pixels displayed on the monitor. Choose the recommended resolution for your monitor to ensure crisp and clear visuals. If the resolution options are limited, it could be due to an outdated graphics driver. In that case, consider updating the driver to access additional resolution options.
Next, you can fine-tune other display settings, such as adjusting the refresh rate to reduce screen flickering or tweaking the color calibration to enhance color accuracy. You may also have the option to enable or disable features like HDR (High Dynamic Range) or multiple monitor support, depending on your system capabilities.
Remember to apply the changes before exiting the display settings panel. After applying the adjustments, the screen may flicker momentarily as the new settings take effect.
If you encounter any issues or are unsure about certain display settings, consult the user manual or the manufacturer’s website for your specific monitor or graphics card. They often provide detailed instructions and recommendations for optimal display configuration.
By configuring the display settings based on your preferences and requirements, you can ensure that your monitor is set up to deliver the best visual experience.
Conclusion
Connecting your monitor to your graphics card is a necessary step in setting up a computer system. By following the steps outlined in this guide, you can ensure a successful and seamless connection between your monitor and graphics card.
Starting with gathering the necessary cables and adapters, you can ensure that you have the right components to establish a reliable connection. Turning off your computer and locating the graphics card ports are vital steps in ensuring safety and convenience during the setup process.
Once you have identified the ports on your graphics card, connecting the cable to the graphics card and then to the monitor ensures the transmission of high-quality digital signals. Remember to handle the cables with care and confirm that they are securely connected at both ends.
Afterward, powering on your computer and monitor establishes the connection and allows you to see the display output on your monitor. Ensure that your computer and monitor are properly powered on before proceeding to configure the display settings.
If necessary, adjusting the display settings can enhance your viewing experience, providing optimal resolution, refresh rate, color accuracy, and other customizable options.
By following these steps and taking the time to properly connect and configure your monitor to your graphics card, you can enjoy a seamless and visually satisfying computing experience, whether you’re gaming, designing, or simply using your computer for everyday tasks.
Remember, if you encounter any difficulties during the setup process, consult the user manuals or seek assistance from reputable sources to ensure a smooth connection between your monitor and graphics card.
Now that you have successfully connected your monitor to your graphics card, it’s time to enjoy the high-quality visuals and make the most of your computer system!