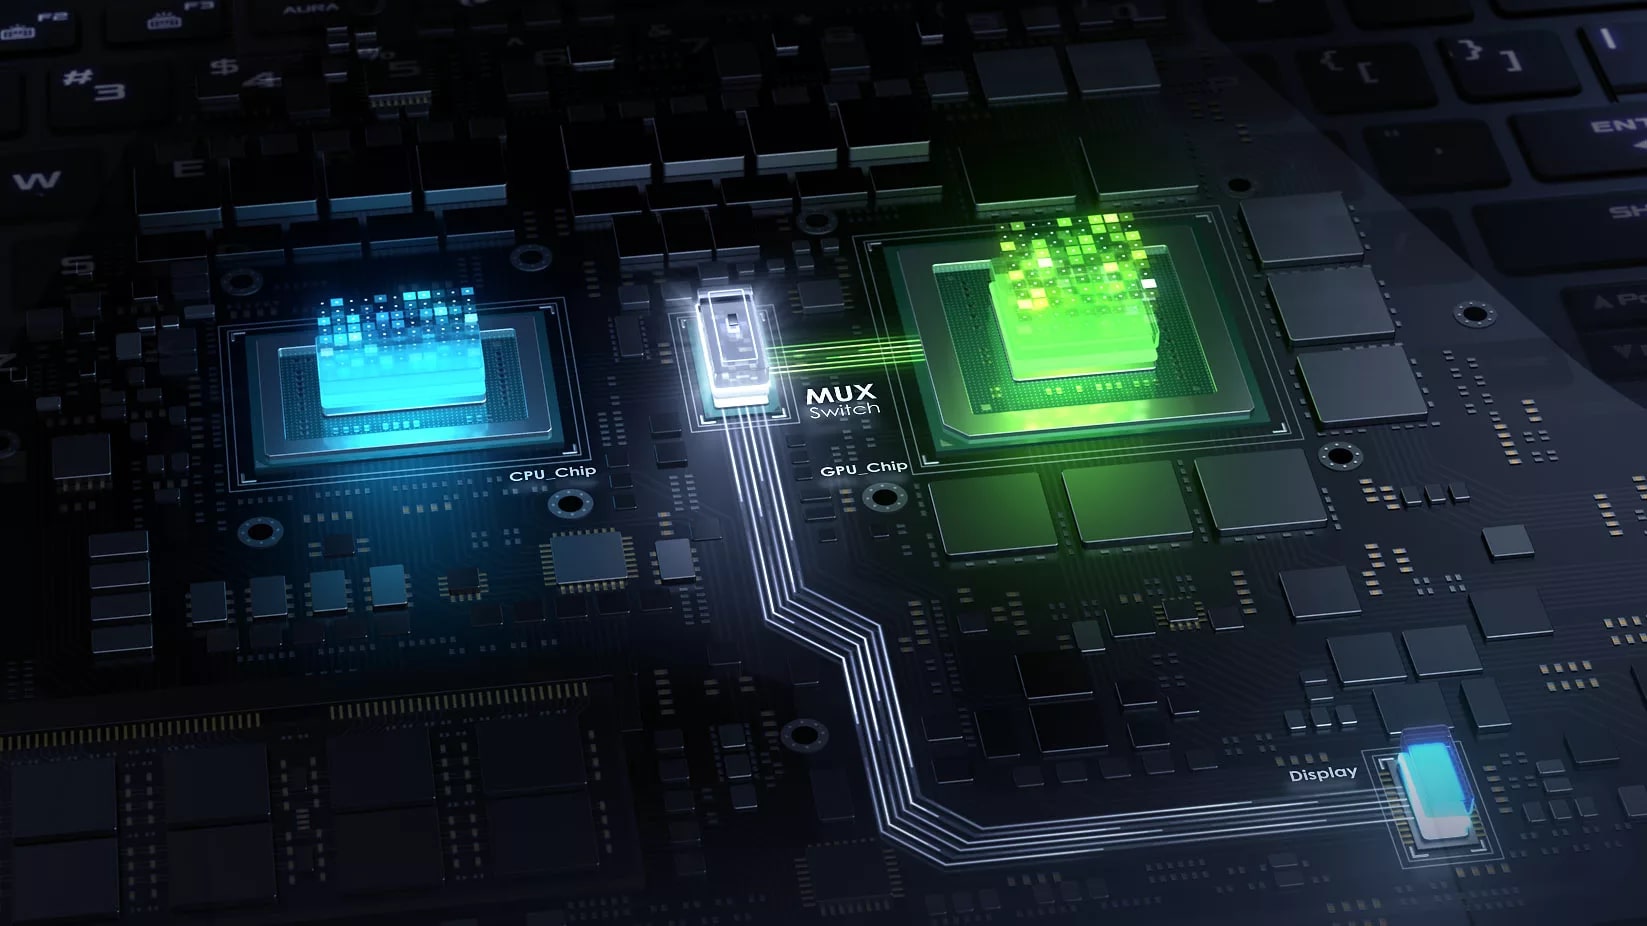
What is an onboard video and graphics card?
An onboard video and graphics card, also known as integrated graphics, refers to the built-in graphics processing unit (GPU) that is embedded on the motherboard of a computer. Unlike dedicated graphics cards, which are separate hardware components that are added to a computer system, onboard video and graphics cards are integrated directly into the motherboard.
These integrated graphics solutions are designed to provide basic visual output capabilities for a computer system, such as displaying images, videos, and graphical user interfaces. They are suitable for everyday tasks like web browsing, document editing, and multimedia playback.
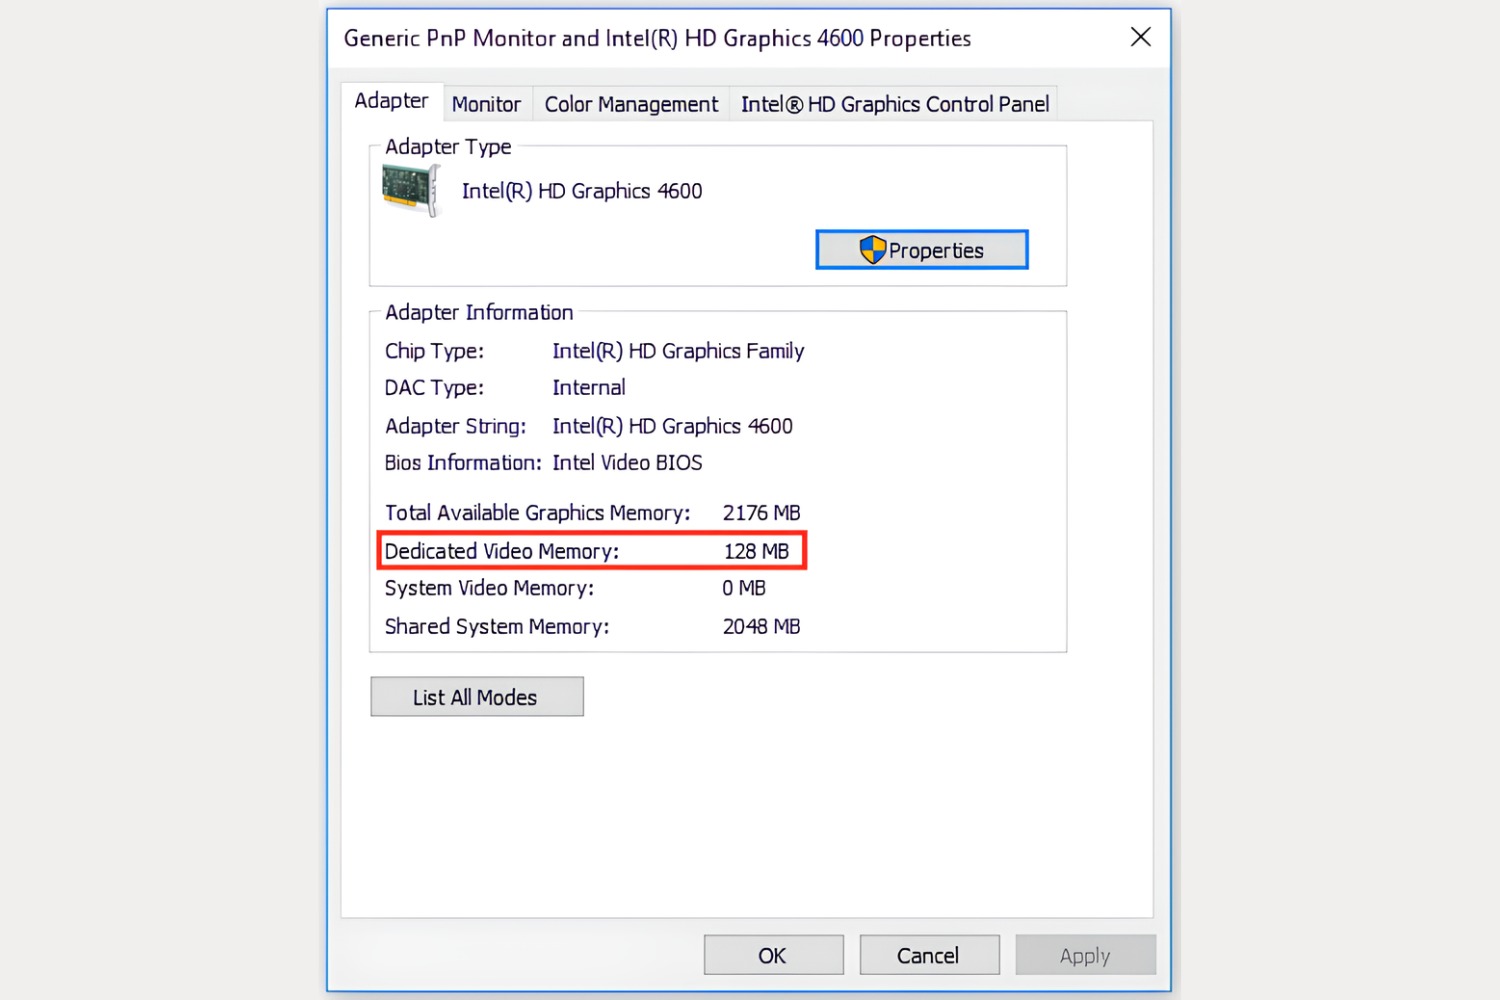
Onboard video and graphics cards utilize a portion of the computer’s system memory (RAM) to process and render graphics. They typically have limited processing power and memory bandwidth compared to dedicated graphics cards. This means they may struggle with demanding applications like modern 3D games or graphics-intensive software.
Modern onboard video and graphics cards have come a long way in terms of performance and features. Some models can support multiple displays, high-definition video playback, and even light gaming. However, they still cannot match the performance and capabilities of dedicated graphics cards for specialized tasks or high-end gaming requirements.
It is worth mentioning that the performance of onboard video and graphics cards varies across different computer models and manufacturers. Some systems may have more capable integrated graphics solutions, while others may have basic or outdated options.
Overall, onboard video and graphics cards provide a convenient and cost-effective solution for users who primarily engage in everyday computing tasks and do not require advanced graphic processing power. However, for users who need high-performance graphics for gaming, video editing, or professional design work, upgrading to a dedicated graphics card is recommended.
Advantages and disadvantages of using onboard video and graphics card
Using an onboard video and graphics card has its own set of advantages and disadvantages. Let’s take a look at some of them:
Advantages:
- Cost-effective: One of the main advantages of onboard video and graphics cards is their cost-effectiveness. Since they are integrated into the motherboard, there is no need to purchase a separate graphics card, thus reducing the overall cost of the computer system.
- Compact and space-saving: Integrated graphics eliminate the need for an additional physical graphics card, saving space inside the computer case. This can be advantageous, especially for smaller form factor systems or laptops where space is limited.
- Power efficiency: Onboard video and graphics cards typically consume less power compared to dedicated graphics cards. This can result in lower energy consumption, reduced heat generation, and longer battery life for laptops and mobile devices.
- Ease of use: Integrated graphics are plug-and-play, meaning they are automatically detected and configured by the operating system without the need for additional drivers or software installations. This makes them user-friendly and hassle-free to set up.
Disadvantages:
- Performance limitations: The main drawback of using onboard video and graphics cards is their limited performance capabilities. They are not suitable for running graphically demanding applications or playing modern 3D games at high settings. Dedicated graphics cards offer more processing power, faster memory, and enhanced visual effects.
- Upgradability constraints: Unlike dedicated graphics cards, onboard video and graphics cards cannot be upgraded. Their performance is tied directly to the motherboard, so if you want to improve graphics performance, you will need to replace the entire motherboard or opt for a dedicated graphics card.
- Memory allocation: Integrated graphics rely on system memory (RAM) for their operations. This means that a portion of the available system memory is reserved for graphics, reducing the memory available for other tasks. This can impact overall system performance, especially if you have limited RAM.
- Limited connectivity options: Integrated graphics may have limited connectivity options compared to dedicated graphics cards. They may not support multiple monitors or advanced display technologies like DisplayPort or HDMI 2.0. This can be a limitation for users requiring multiple displays or high-resolution output.
Considering these advantages and disadvantages, the decision to use onboard video and graphics cards or opt for a dedicated graphics card depends on your specific requirements and budget. If you primarily engage in everyday computing tasks and do not demand high-performance graphics, onboard video and graphics cards can provide a cost-effective solution. However, if you plan to engage in gaming, video editing, or graphics-intensive work, investing in a dedicated graphics card is generally recommended.
How to access and enable onboard video and graphics card
Accessing and enabling the onboard video and graphics card is a straightforward process. Here’s a step-by-step guide to help you:
- Check the BIOS settings: When you start your computer, access the BIOS (Basic Input/Output System) by pressing the designated key, usually indicated on the screen during boot. Once in the BIOS, navigate to the “Integrated Peripherals” or “Onboard Devices” section, where you can find the option to enable or disable the onboard video and graphics card. Make sure the option is enabled.
- Update drivers: Ensure that you have the most up-to-date drivers for the motherboard and integrated graphics card. Visit the official website of the motherboard manufacturer or the computer manufacturer to download and install the drivers specific to your model.
- Operating system settings: Depending on your operating system, you may need to adjust settings to utilize the onboard video and graphics card. In Windows, for example, right-click on the desktop and select “Display settings.” From there, you can identify and configure the displays connected to the onboard graphics card.
- Install necessary software: Some onboard video and graphics cards may require additional software to unlock their full potential. Check the manufacturer’s website for any utilities or software that may enhance the features and performance of the onboard graphics card.
- Connect the display: If you haven’t already, make sure your display is connected to the appropriate ports on the rear panel of your computer. Common connections include VGA, DVI, HDMI, or DisplayPort. Refer to your motherboard’s manual for the specific placement and configuration of these ports.
Once you have followed these steps, your computer should be utilizing the onboard video and graphics card for graphical tasks. If you encounter any issues, double-check the BIOS settings, drivers, and operating system configurations to ensure everything is correctly set up.
It’s worth noting that some modern systems may automatically detect and enable the onboard graphics without any user intervention. However, if you prefer to manually configure or troubleshoot the onboard graphics card, the steps provided above should help you accomplish that.
Configuring settings for onboard video and graphics card
Configuring settings for the onboard video and graphics card allows you to customize the display and performance according to your preferences. Here are some settings you can consider adjusting:
- Screen resolution: You can adjust the screen resolution to control the clarity and size of the display. Right-click on the desktop, select “Display settings” (in Windows) or “System Preferences” (on macOS), and navigate to the display settings. Choose the desired resolution from the list of available options.
- Refresh rate: The refresh rate determines how many times the display refreshes per second. Higher refresh rates can result in smoother motion. Access the display settings, and look for the refresh rate option. Select a higher value if supported by your monitor and graphics card.
- Multiple displays: If you have multiple monitors connected to your computer, you can configure how they are arranged and used. In the display settings, you can arrange the displays in the desired orientation and specify whether you want to extend or duplicate the desktop across multiple monitors.
- Color calibration: Adjusting color settings can help enhance the vibrancy and accuracy of the display. Use the display settings or dedicated software provided by the graphics card manufacturer to calibrate the colors. This can be useful for tasks like photo editing or graphic design.
- Power settings: Depending on your computer’s power management options, you may be able to adjust settings that affect the power consumption of the onboard video and graphics card. Opting for higher performance in the power settings can provide smoother graphics but may consume more energy.
- Enabling/disabling hardware acceleration: Hardware acceleration utilizes the graphics card to offload processor-intensive tasks, resulting in improved performance. You can enable or disable hardware acceleration in specific applications or within the graphics card control panel, depending on your needs and preferences.
Keep in mind that the available settings and configuration options may vary based on the graphics card model, operating system, and drivers. Explore the graphics card control panel or software provided by the manufacturer for additional settings and customization options.
Experimenting with these settings can help optimize the performance and visual experience of the onboard video and graphics card according to your specific requirements. If you encounter any issues or are unsure about modifying certain settings, consult the documentation or online resources provided by the graphics card manufacturer or seek assistance from technical support.
Troubleshooting common issues with onboard video and graphics card
While onboard video and graphics cards are generally reliable, there can be occasional issues that may arise. Here are some common problems and troubleshooting steps you can take:
- No display or black screen: If you encounter a black or blank screen when using onboard graphics, check the following:
- Ensure that the display cable is securely connected to both the computer and the monitor.
- Verify that the monitor is powered on and functioning correctly.
- Check the BIOS settings to confirm that the onboard graphics card is enabled.
If the issue persists, try connecting the display to another output port, such as HDMI or VGA, to determine if the problem is with the specific port.
- Poor performance or graphics artifacts: If you experience lag or graphical glitches, consider the following troubleshooting steps:
- Make sure you have the latest drivers installed for your motherboard and onboard graphics card.
- Check for any software conflicts or outdated software that may be affecting the performance of the onboard graphics.
- Monitor your computer’s temperature to ensure it is not overheating. Excessive heat can cause performance issues with the onboard graphics.
- Adjust the graphics settings in applications or games to lower levels to reduce the strain on the graphics card.
If the problem persists, it may be an indication that the onboard graphics card is not powerful enough for the specific task, in which case upgrading to a dedicated graphics card may be necessary.
- Screen flickering or tearing: If you notice screen flickering or tearing, try the following steps:
- Update your display drivers to the latest version.
- Adjust the refresh rate in the display settings to match the capabilities of your monitor.
- Enable vertical sync (VSYNC) in games or applications to synchronize the graphics card’s output with the display’s refresh rate and reduce screen tearing.
- Check the display cable to ensure it is not damaged or loosely connected.
If the issue persists, it might be worth considering a dedicated graphics card for smoother graphics and better display quality.
- Artifacts or distortions during gaming: If you experience graphical artifacts or distortions specifically during gaming, consider these steps:
- Ensure your graphics card drivers are up to date.
- Lower the graphics settings or resolution in the game settings to reduce the strain on the onboard graphics card.
- Monitor the temperature of your computer during gaming sessions to prevent overheating issues.
- Upgrade the system’s RAM if it is insufficient to handle the demands of the game and graphics.
If the problem persists despite these troubleshooting steps, it may be time to consider upgrading to a dedicated graphics card to meet the requirements of modern gaming.
Remember, if you encounter persistent issues with the onboard video and graphics card, consulting the manufacturer’s support documentation, online forums, or seeking assistance from technical support can help guide you towards a resolution and ensure the best performance for your system.
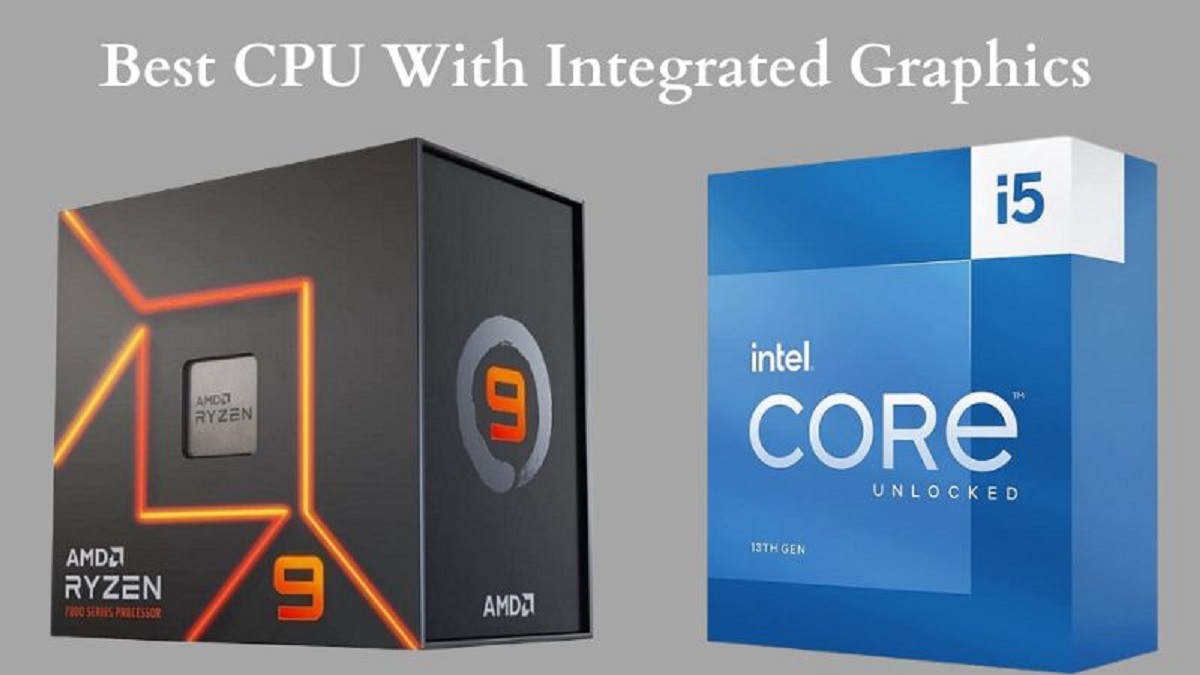
Upgrading to a dedicated graphics card from onboard video
While onboard video and graphics cards can handle everyday computing tasks, there may come a time when you require more power and capabilities for demanding applications or gaming. Upgrading to a dedicated graphics card can provide a significant performance boost. Here’s what you should know:
Assess your needs:
Before diving into the world of dedicated graphics cards, assess your needs and the tasks you want to accomplish. Are you primarily a gamer? Do you work with resource-intensive software? Understanding your requirements will help you determine the level of performance you need from a dedicated graphics card.
Check compatibility:
When considering a dedicated graphics card upgrade, ensure that your motherboard has an available expansion slot that can accommodate the new graphics card. Most modern motherboards feature PCIe slots, which are commonly used for graphics cards. Additionally, check if your power supply has adequate wattage and the necessary power connectors for the graphics card.
Research and choose the right card:
Do your research and compare different dedicated graphics card models based on their specifications, performance benchmarks, and price range. Consider factors such as memory size, memory bandwidth, clock speeds, and the specific requirements of the applications or games you wish to run. Read reviews and customer feedback to ensure you choose a reliable and compatible card.
Install the graphics card:
Once you have obtained your new graphics card, follow these steps to install it:
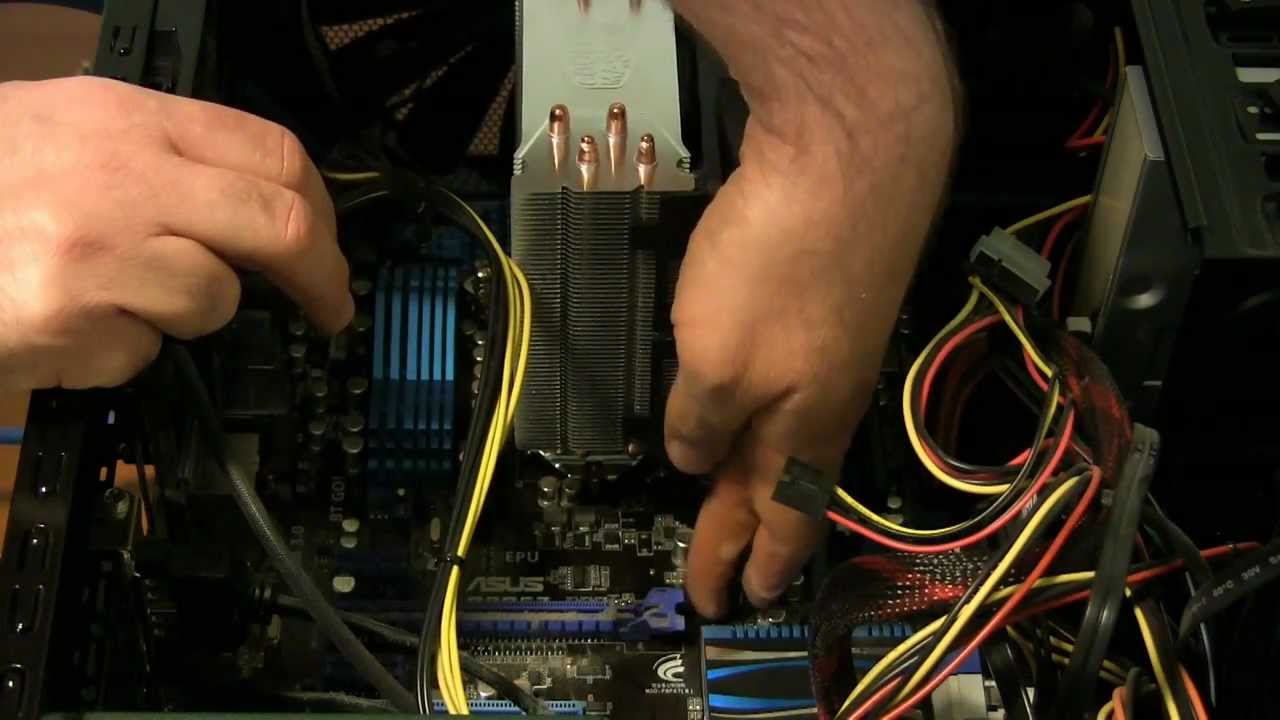
- Power off your computer and disconnect the power cable.
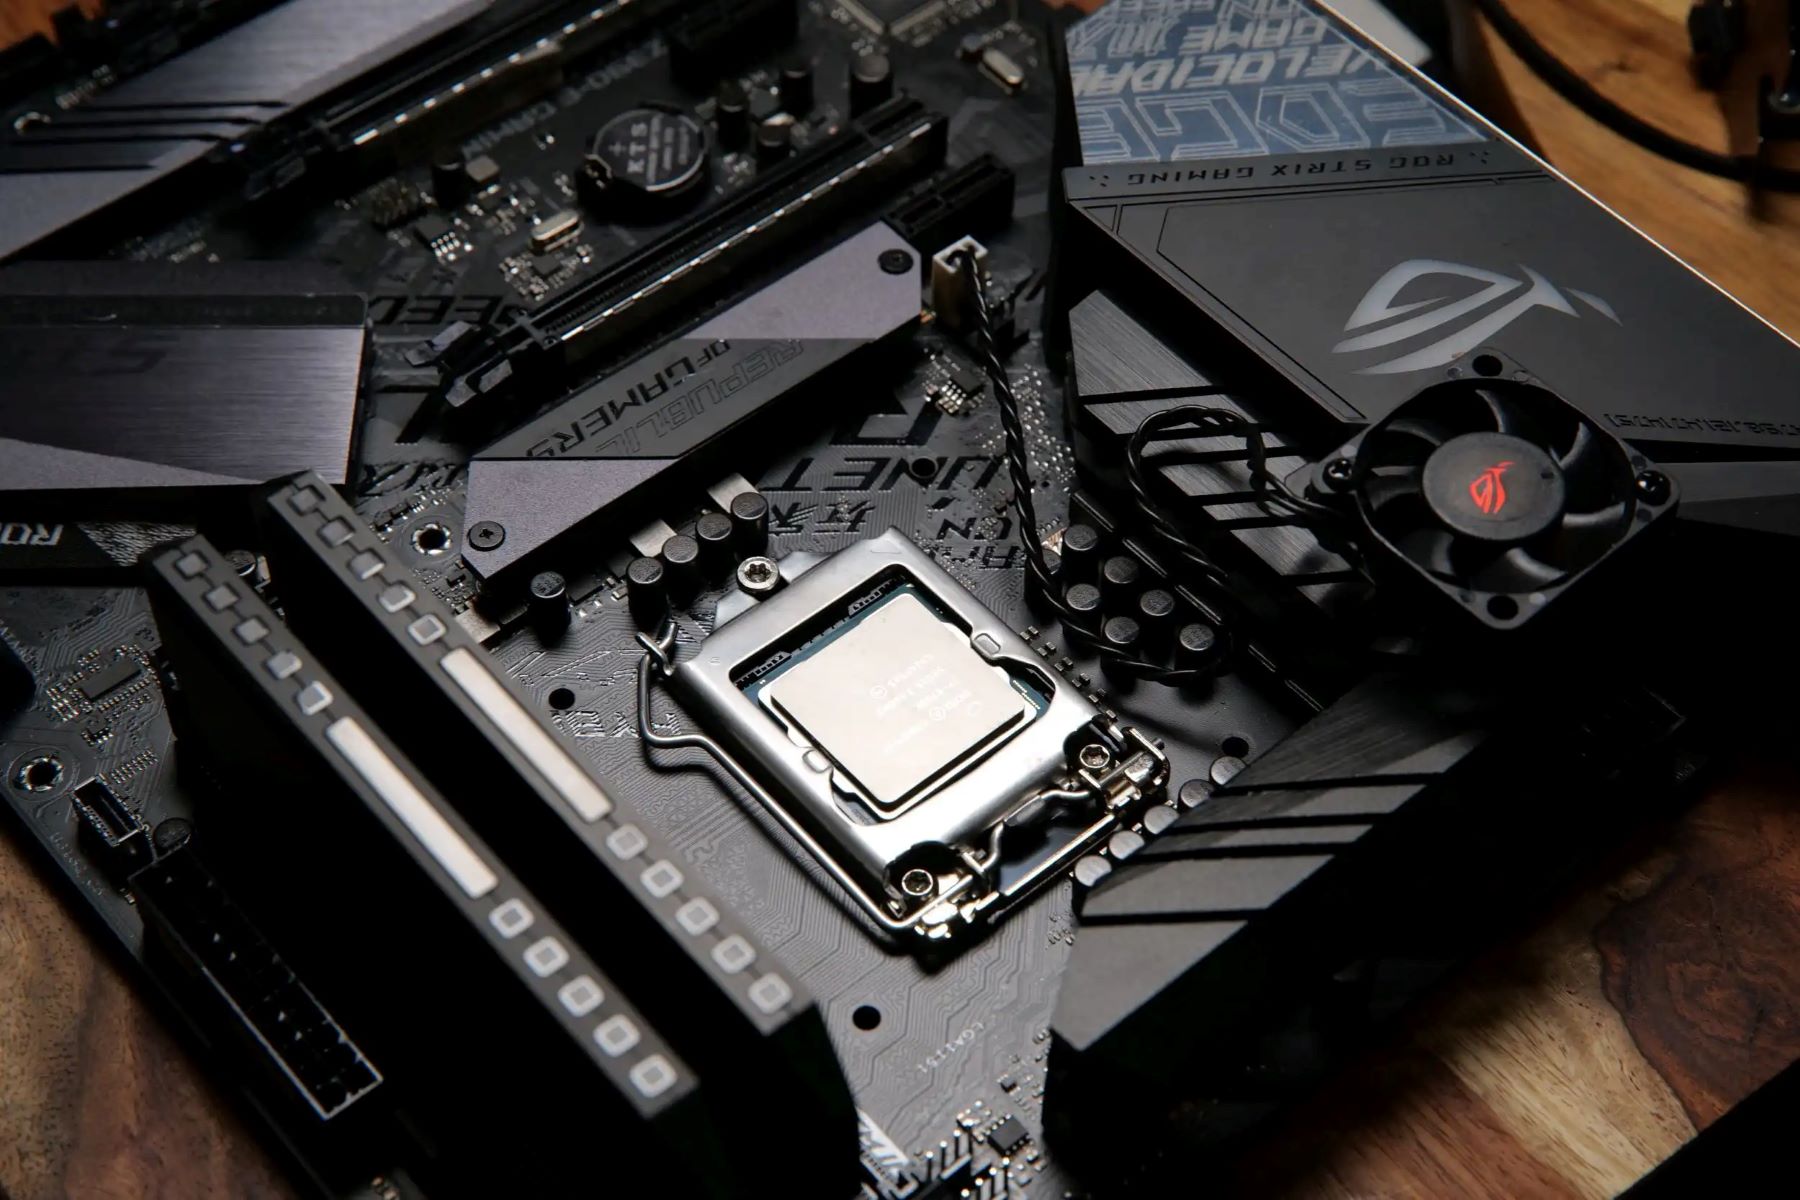
- Locate the PCIe slot on your motherboard.
- Remove the expansion slot cover on the rear of your computer case if necessary.
- Insert the graphics card into the PCIe slot, ensuring it is fully inserted and the locking mechanism clicks into place.
- Connect the necessary power cables from the power supply to the graphics card (if required).
- Reconnect the power cable and power on your computer.
- Install the drivers for the new graphics card by visiting the manufacturer’s website and downloading the latest drivers specific to your card model.
This general procedure may vary slightly depending on your specific motherboard and graphics card.
Configure settings:
After installing the graphics card and drivers, you may need to configure settings related to the dedicated graphics card. This includes adjusting display settings, optimizing performance, and customizing options according to your preferences. Most dedicated graphics cards come with their own control panel software which allows you to access these settings.
Test and troubleshoot:
Once the dedicated graphics card is installed and settings are configured, test it with demanding applications or games to ensure it is functioning properly. Monitor the temperature and performance during usage and address any issues that may arise, such as driver conflicts or compatibility problems, by referring to the manufacturer’s support documentation or seeking assistance from technical support.
Sell or repurpose the onboard graphics card:
After upgrading to a dedicated graphics card, you may choose to remove the onboard video and graphics card from your system. You can repurpose it in another computer system or consider selling it as a used component to recoup some of the costs of the upgrade.
Upgrading to a dedicated graphics card from onboard video can enhance your computer’s graphics capabilities and allow for smoother gameplay, faster video rendering, and better performance in graphics-intensive tasks. However, before investing in a dedicated graphics card, carefully consider your needs, compatibility, and budget to ensure that you choose the right card to meet your requirements.