Introduction
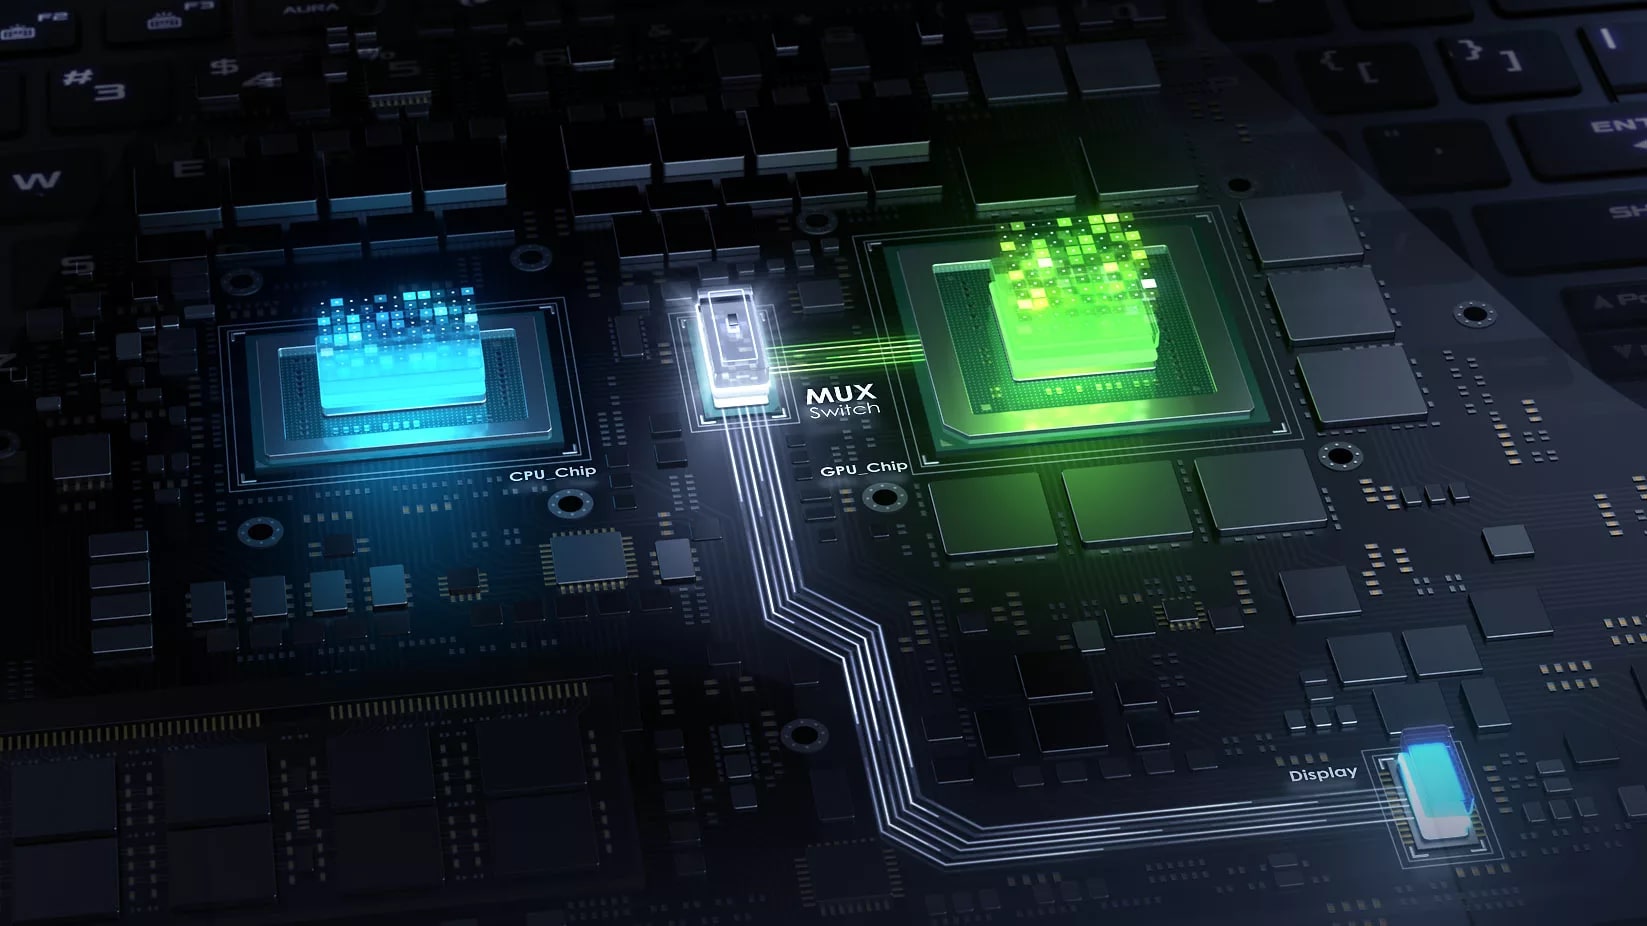
In today’s digital age, graphic-intensive tasks such as gaming, video editing, and graphic design require powerful graphics processing. Most modern computers come equipped with a dedicated graphics card to handle these demanding tasks. However, there may be situations where you want to switch to the onboard graphics card, either to conserve power or troubleshoot issues with the dedicated graphics card. In this article, we will guide you on how to switch to the onboard graphics card.
Before proceeding with the switch, it is important to note that not all computers will have the option to switch to the onboard graphics card. Some systems may have a fixed configuration where the dedicated graphics card is the primary GPU. Therefore, it is necessary to check the compatibility of your computer before attempting to make the switch.
If your computer is compatible, follow the steps outlined in this article to safely and effectively switch to the onboard graphics card. We will cover the process of installing the latest drivers, disabling the dedicated graphics card, connecting the monitor to the onboard graphics, adjusting BIOS settings, and verifying the switch. By the end of this guide, you will have a clear understanding of how to switch to the onboard graphics card and enjoy the benefits it offers.
Switching to the onboard graphics card can be a useful solution in various scenarios. It can help extend the battery life of a laptop when you are performing tasks that do not require high-end graphics capabilities. It can also be beneficial if you are facing issues with the dedicated graphics card and want to troubleshoot to determine if the problem lies with the GPU or other hardware components. Furthermore, switching to the onboard graphics card can be a temporary workaround if you are waiting for a replacement for your dedicated graphics card.
Now that we have covered the introduction, let’s dive deeper into the process of switching to the onboard graphics card. The following sections will walk you through the necessary steps, ensuring a smooth transition and optimal functioning of your computer’s graphics.
Check compatibility
Before you begin the process of switching to the onboard graphics card, it is important to check if your computer supports this feature. Not all computers have the ability to switch between the dedicated graphics card and the onboard graphics. To determine if your computer is compatible, follow these steps:
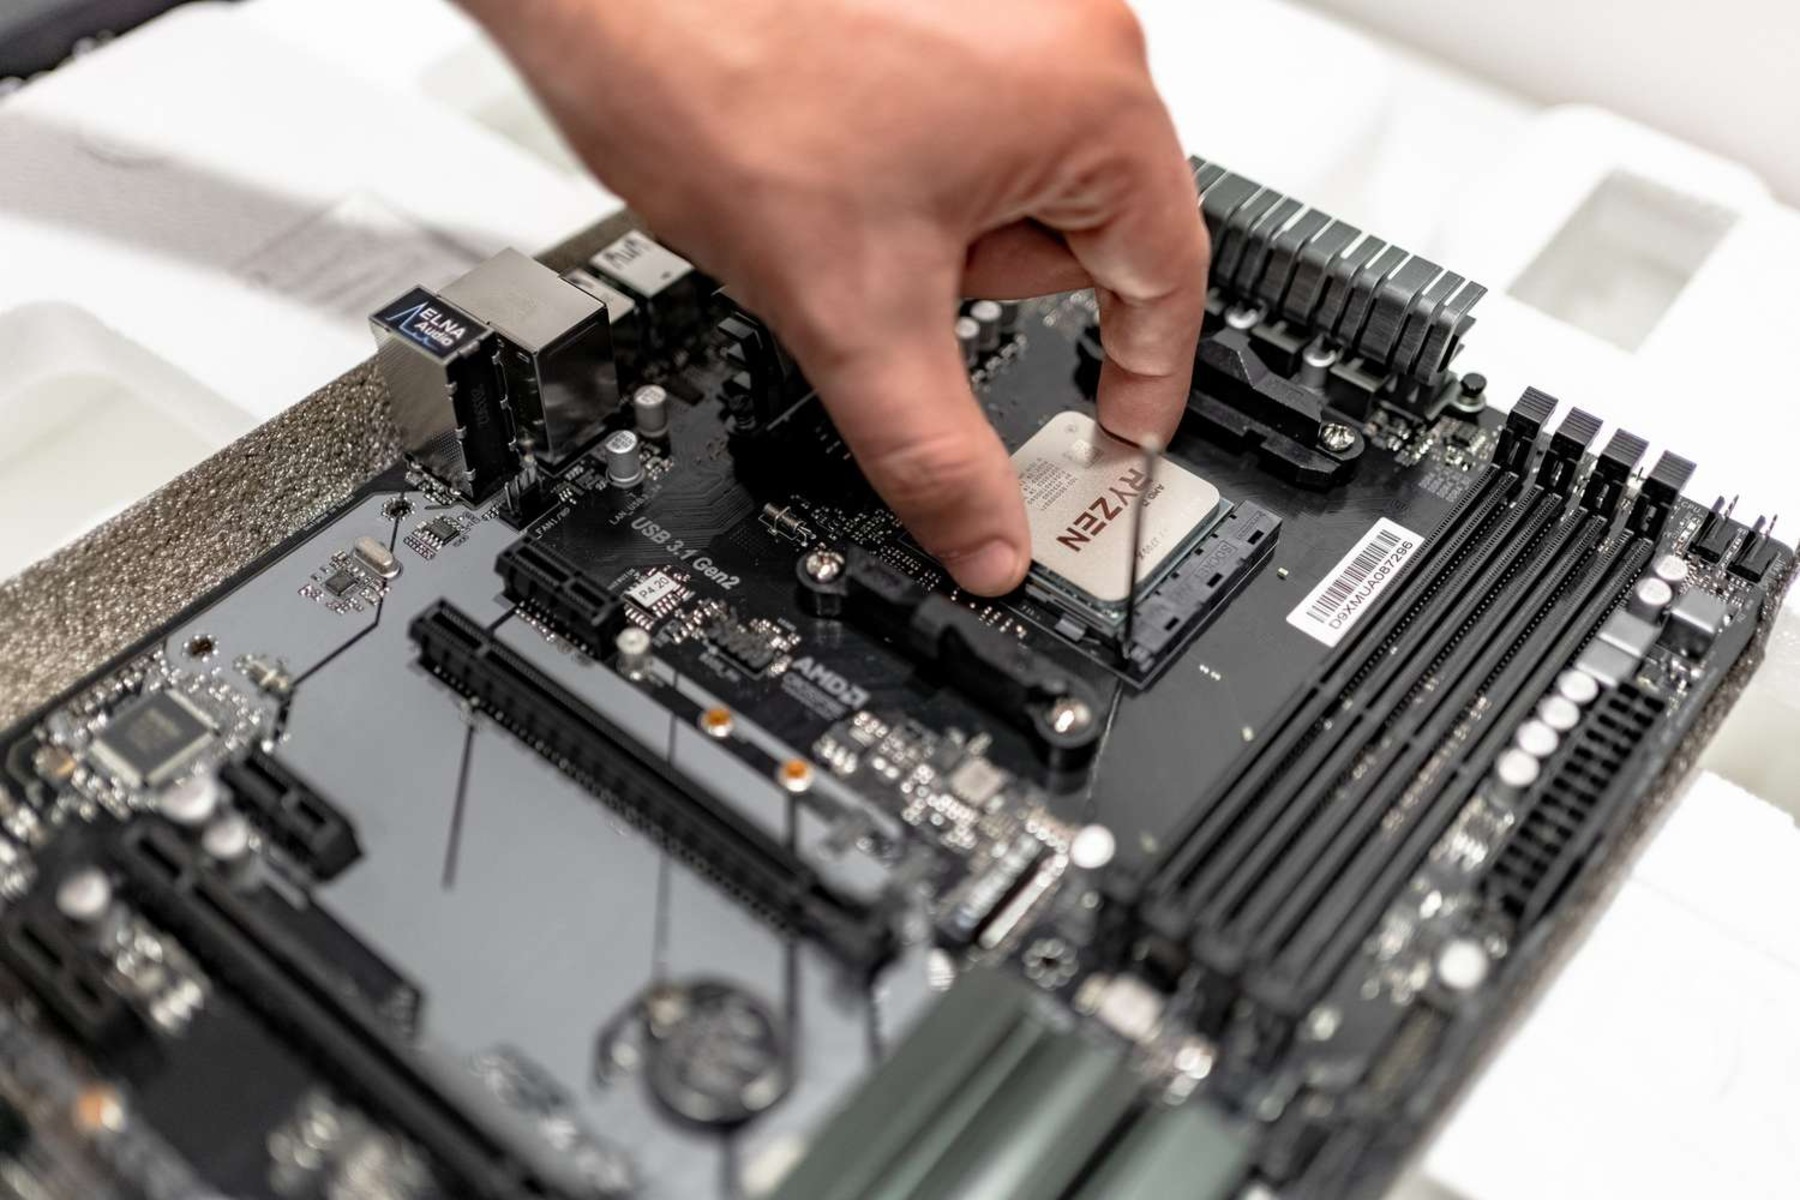
- Check the motherboard specifications: The first step is to check the specifications of your computer’s motherboard. Look for information about the presence of onboard graphics support. You can usually find this information in the user manual or by visiting the manufacturer’s website and searching for your specific model.
- Access the BIOS or UEFI: To check if your computer has the option to switch between graphics cards, you need to access the BIOS (Basic Input/Output System) or UEFI (Unified Extensible Firmware Interface) settings. Restart your computer and press the designated key to enter the BIOS or UEFI. The key to access these settings may vary depending on your computer manufacturer (common keys include Del, F2, Esc, or F10).
- Look for graphics settings: Once you are in the BIOS or UEFI settings, navigate to the section related to graphics or display. This section may be named differently depending on the manufacturer. Look for options such as “Primary Graphics Adapter,” “Initiate Graphics Adapter,” or “Graphics Configuration.”
- Check for “Switchable Graphics” or “Integrated Graphics” option: In the graphics settings, look for an option that allows you to switch between the dedicated graphics card and onboard graphics. This option may be named “Switchable Graphics,” “Primary Display,” “Primary Graphics Adapter,” or something similar. If you find this option, it indicates that your computer supports switching to the onboard graphics card.
If you are unable to find any option related to switching graphics in the BIOS or UEFI settings, it is likely that your computer does not have the ability to switch to the onboard graphics card. In such cases, you will need to rely on the dedicated graphics card for all graphic-intensive tasks and troubleshooting.
Checking the compatibility of your computer is crucial before proceeding with any further steps. It ensures that you can successfully switch to the onboard graphics card and avoid any compatibility issues or unexpected behavior. Once you have verified the compatibility, you can move on to the next steps to switch to the onboard graphics card.
Install the latest drivers
Before switching to the onboard graphics card, it is essential to install the latest drivers to ensure optimal performance and compatibility. The drivers act as a bridge between the operating system and the graphics card, providing instructions on how to utilize the hardware effectively. Follow these steps to install the latest drivers:
- Identify your onboard graphics: Start by identifying the model of your computer’s onboard graphics. This information can usually be found in the documentation or by visiting the manufacturer’s website and searching for your specific model.
- Visit the manufacturer’s website: Once you have identified the model of your onboard graphics, visit the manufacturer’s website. Look for the support or downloads section, where you can find drivers specific to your onboard graphics card.
- Download the latest drivers: Locate the latest drivers for your onboard graphics card and download them to your computer. Make sure to select the appropriate drivers based on your operating system (e.g., Windows 10, macOS, etc.).
- Install the drivers: Once the drivers have been downloaded, run the installation file and follow the on-screen instructions to install the drivers. Some installation processes may require you to restart your computer to complete the installation.
- Verify driver installation: After the drivers have been installed, open the device manager on your computer. Locate the display adapters section and expand it to reveal the installed graphics card(s). Ensure that the onboard graphics card is listed and that it shows as “working properly” without any errors or warnings.
Installing the latest drivers for your onboard graphics card is crucial as it ensures that the card is functioning optimally and that any compatibility issues are addressed. By keeping the drivers up to date, you can take advantage of bug fixes, performance improvements, and enhanced functionality.
Remember to periodically check for driver updates to ensure that your onboard graphics card is always running on the latest software. Outdated drivers can lead to stability issues, reduced performance, and potential compatibility problems with software and games.
Now that you have installed the latest drivers for your onboard graphics card, you are ready to move on to the next steps to switch to the onboard graphics card.
Disable the dedicated graphics card
Before switching to the onboard graphics card, it is necessary to disable the dedicated graphics card to ensure that the system utilizes the onboard graphics as the primary GPU. Follow these steps to disable the dedicated graphics card:
- Open Device Manager: Right-click on the Start button and select “Device Manager” from the context menu. Alternatively, you can press the Windows key + X and choose Device Manager from the menu.
- Locate the dedicated graphics card: In the Device Manager window, expand the “Display adapters” category. You will see the dedicated graphics card listed there, typically with a name such as NVIDIA or AMD.
- Disable the dedicated graphics card: Right-click on the dedicated graphics card and select “Disable device” from the context menu. A confirmation prompt may appear; click “Yes” to proceed with disabling the card.
- Restart your computer: After disabling the dedicated graphics card, it is recommended to restart your computer to ensure that the changes take effect.
Disabling the dedicated graphics card effectively prevents the system from utilizing it as the primary GPU, diverting graphics processing to the onboard graphics card instead. This step is crucial in ensuring that the computer recognizes and utilizes the onboard graphics card for all graphic-related tasks.
Keep in mind that disabling the dedicated graphics card may impact the performance of graphic-intensive applications that heavily rely on the dedicated GPU. However, for tasks that do not require the additional processing power of the dedicated graphics card, such as web browsing or office productivity, the onboard graphics card should suffice.
If you ever need to re-enable the dedicated graphics card in the future, simply return to the Device Manager and follow the same steps, but select “Enable device” instead of “Disable device.”
Now that you have successfully disabled the dedicated graphics card, you can proceed to the next steps to connect the monitor to the onboard graphics and adjust the BIOS settings.
Connect the monitor to the onboard graphics
After disabling the dedicated graphics card, the next step is to connect your monitor to the onboard graphics port. This ensures that the display output is directed to the onboard graphics card rather than the dedicated GPU. Follow these steps to connect the monitor:
- Identify the onboard graphics ports: Locate the onboard graphics ports on the back of your computer. The ports may vary depending on the motherboard, but common ones include VGA, DVI, HDMI, or DisplayPort.
- Choose the appropriate video cable: Select a video cable that matches the ports on both the computer and the monitor. For example, if your computer has an HDMI port and your monitor also has an HDMI port, use an HDMI cable.
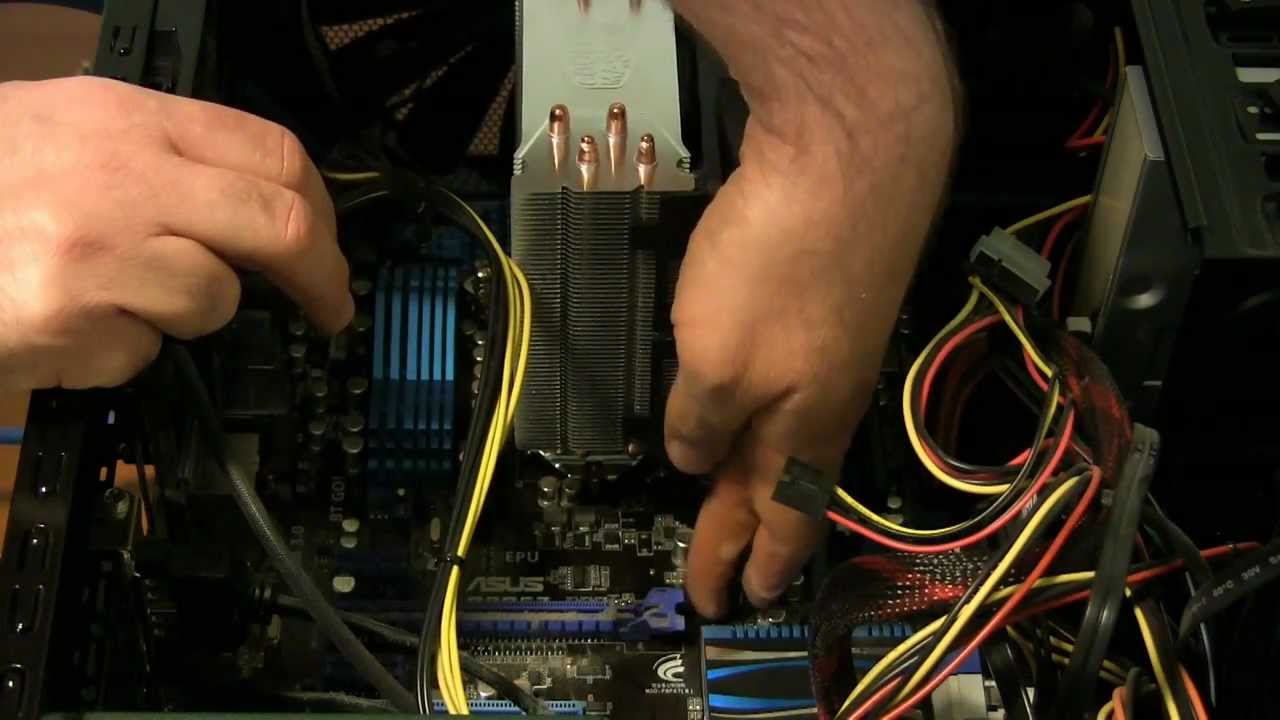
- Disconnect from the dedicated graphics card: If your monitor is currently connected to the dedicated graphics card, disconnect the video cable from that port.
- Connect to the onboard graphics port: Connect the video cable to one of the onboard graphics ports on the back of your computer.
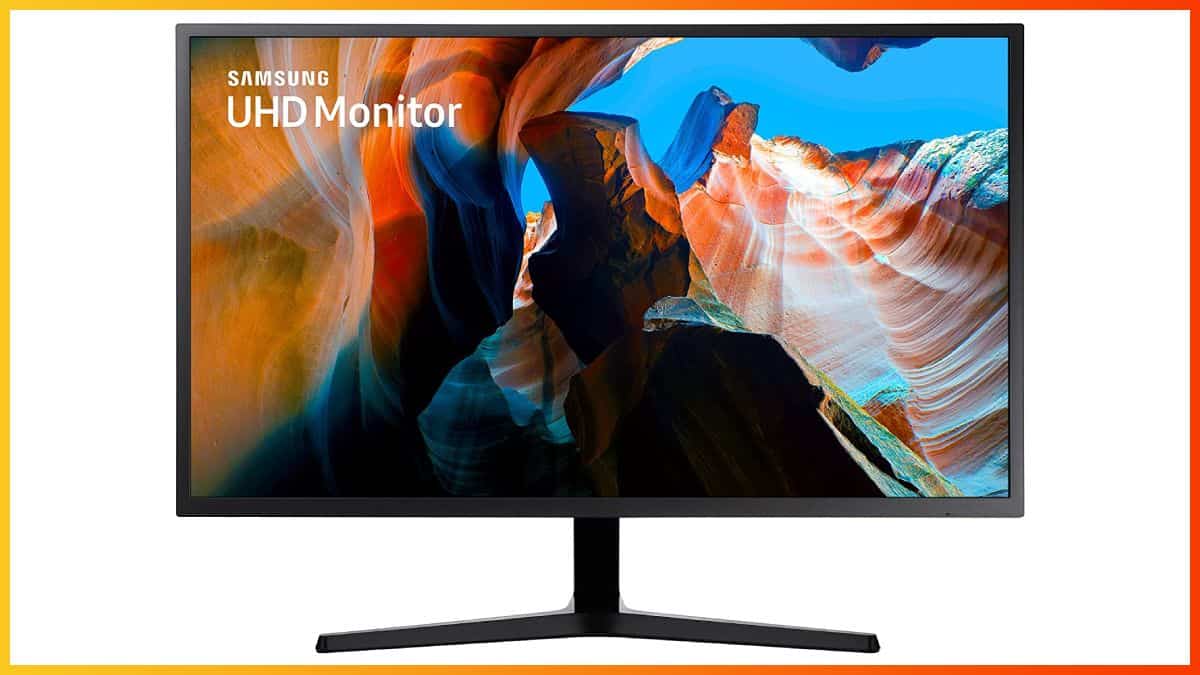
- Power on the computer and monitor: Turn on your computer and monitor. The display output should now be directed to the onboard graphics and visible on the connected monitor.
By connecting the monitor to the onboard graphics port, you ensure that the system uses the integrated graphics card for displaying visuals. This step allows you to utilize the capabilities of the onboard graphics and confirm that the switch has been successful.
It is important to note that if you encounter any issues with display output or the monitor is not detected, you may need to adjust the BIOS settings to ensure the proper recognition of the onboard graphics card. We will cover this in the next section.
Now that you have successfully connected the monitor to the onboard graphics, it’s time to proceed to the next step and adjust the BIOS settings to enable the use of the onboard graphics card.
Adjust BIOS settings
To fully utilize the onboard graphics card, it is often necessary to adjust the BIOS settings. The BIOS (Basic Input/Output System) is a firmware that resides on your computer’s motherboard and allows you to configure various hardware settings. Follow these steps to adjust the BIOS settings:
- Restart your computer: Save any work you have open and restart your computer. As the computer boots up, look for the on-screen message that indicates the key to access the BIOS settings. Common keys include Del, F2, Esc, or F10. Press the designated key to enter the BIOS.
- Navigate to the graphics settings: Once you are in the BIOS settings, navigate to the section related to graphics, display, or integrated devices. The name of this section may vary depending on your motherboard manufacturer and BIOS version.
- Enable the onboard graphics: Look for an option that allows you to enable the onboard graphics card. This option may be named “Internal Graphics,” “Integrated Graphics,” or something similar. Select the option and set it to “Enabled.”
- Save and exit: After enabling the onboard graphics, navigate to the exit tab or section in the BIOS settings. Select the option to save the changes and exit the BIOS. Your computer will restart.
Adjusting the BIOS settings to enable the use of the onboard graphics card is essential for the system to recognize and utilize it as the primary GPU. By enabling the onboard graphics, you ensure that the computer allocates resources to the integrated graphics card and properly utilizes its capabilities.
It’s important to note that the BIOS settings can vary between different computer manufacturers and motherboard models. The exact steps and options may differ, but the overall concept remains the same. If you’re uncertain about the specific settings in your BIOS, consult the motherboard’s documentation or the manufacturer’s website for guidance.
After adjusting the BIOS settings, your computer should now be configured to use the onboard graphics card as the primary GPU. However, it’s always a good idea to double-check the settings and verify if the switch has been successfully made. In the next section, we will discuss how to restart the computer and verify the switch to the onboard graphics.
Restart the computer
After making changes to the BIOS settings and enabling the onboard graphics card, it is important to restart your computer for the changes to take effect. Restarting the computer ensures that the system recognizes and utilizes the onboard graphics as the primary GPU. Follow these steps to restart your computer:
- Save any open work: Before restarting your computer, save any open files or projects to prevent data loss.
- Close all running applications: Close all applications and programs that are currently running on your computer. This ensures a clean restart and allows the system to apply the changes without any interference.
- Click on the “Start” menu: In the lower-left corner of your screen, click on the “Start” menu icon.
- Select “Restart”: From the Start menu, click on the “Power” button and select “Restart” from the options that appear. Alternatively, you can press the Ctrl + Alt + Delete keys together and choose the “Restart” option from the screen that appears.
- Wait for the computer to restart: After selecting the “Restart” option, your computer will begin the restart process. This may take a few moments as the system shuts down and boots back up.
Upon restart, your computer will now utilize the onboard graphics as the primary GPU. The changes you made in the BIOS settings will be in effect, allowing the system to direct the display output to the integrated graphics card for all graphic-related tasks.
Once your computer has restarted, proceed to the next section to verify if the switch to the onboard graphics has been successful.
Verify the switch to onboard graphics
Now that you have restarted your computer with the changes to the BIOS settings and the onboard graphics card enabled, it is important to verify if the switch has been successful. By performing a simple check, you can ensure that the computer is utilizing the onboard graphics as the primary GPU. Follow these steps to verify the switch to the onboard graphics:
- Check the device manager: Right-click on the Start button and select “Device Manager” from the context menu. Alternatively, you can press the Windows key + X and choose Device Manager from the menu.
- Expand the “Display adapters” category: In the Device Manager window, locate the “Display adapters” category and click on the arrow next to it to expand the list.
- Ensure the onboard graphics is listed: Look for the entry that represents your onboard graphics card. It may be listed as “Intel HD Graphics” or a similar name, depending on the specific model of your computer. Verify that the onboard graphics card is displayed and functioning properly without any errors or warnings.
- Confirm the absence of the dedicated graphics card: Verify that the dedicated graphics card, such as NVIDIA or AMD, is no longer listed in the “Display adapters” category. The absence of the dedicated GPU indicates that the switch to the onboard graphics has been successful.
- Test graphics-intensive tasks: To further confirm the switch, perform graphics-intensive tasks such as playing a game or running a demanding application. Monitor the system performance and ensure that the onboard graphics card is handling the graphic processing without any issues.
By following these steps, you can verify that the switch to the onboard graphics has been successfully implemented. It is important to ensure that the onboard graphics card is functioning properly and effectively handling the graphic processing tasks.
If you encounter any issues or notice that the dedicated graphics card is still being utilized instead of the onboard graphics, double-check the BIOS settings and ensure that the integrated graphics are enabled. In some cases, certain applications may override the system settings, so make sure to configure the graphics settings within the respective application if necessary.
With the successful verification of the switch to the onboard graphics, you can now enjoy the benefits of utilizing the integrated GPU for your computer’s graphics needs.
Conclusion
Switching to the onboard graphics card can be a valuable solution in various scenarios, allowing you to conserve power, troubleshoot issues with the dedicated graphics card, or temporarily use the onboard graphics while waiting for a replacement. In this article, we have provided a step-by-step guide on how to switch to the onboard graphics card.
We started by emphasizing the importance of checking the compatibility of your computer to ensure it supports switching to the onboard graphics. We then discussed the crucial step of installing the latest drivers for the onboard graphics card, as well as disabling the dedicated graphics card to divert graphics processing to the integrated GPU.
Connecting the monitor to the onboard graphics port and adjusting the BIOS settings were essential to ensure the proper utilization of the onboard graphics card as the primary GPU. We also highlighted the significance of restarting the computer after making changes and provided instructions on how to verify the switch to the onboard graphics.
By following these steps, you can successfully switch to the onboard graphics card and make use of its capabilities. However, it is important to remember that the performance of the onboard graphics might not match that of a dedicated graphics card, especially for intensive tasks like gaming or video editing. In such cases, it is recommended to use the dedicated graphics card if available.
We hope that this guide has provided you with the knowledge and confidence to switch to the onboard graphics card when the need arises. Remember to consult your computer’s documentation or manufacturer’s website for any specific instructions or if you encounter any difficulties during the process.
Enjoy the benefits of utilizing the onboard graphics card and explore the possibilities it opens up for your computer’s graphics capabilities!