Introduction
Welcome to this step-by-step guide on how to plug in a graphics card. Whether you’re a gaming enthusiast looking to upgrade your PC’s graphics capabilities or a professional who needs enhanced visual performance for design work, installing a graphics card can boost your computer’s graphical power. By following the instructions in this guide, you’ll be able to easily connect a graphics card to your computer, unleashing its full potential.
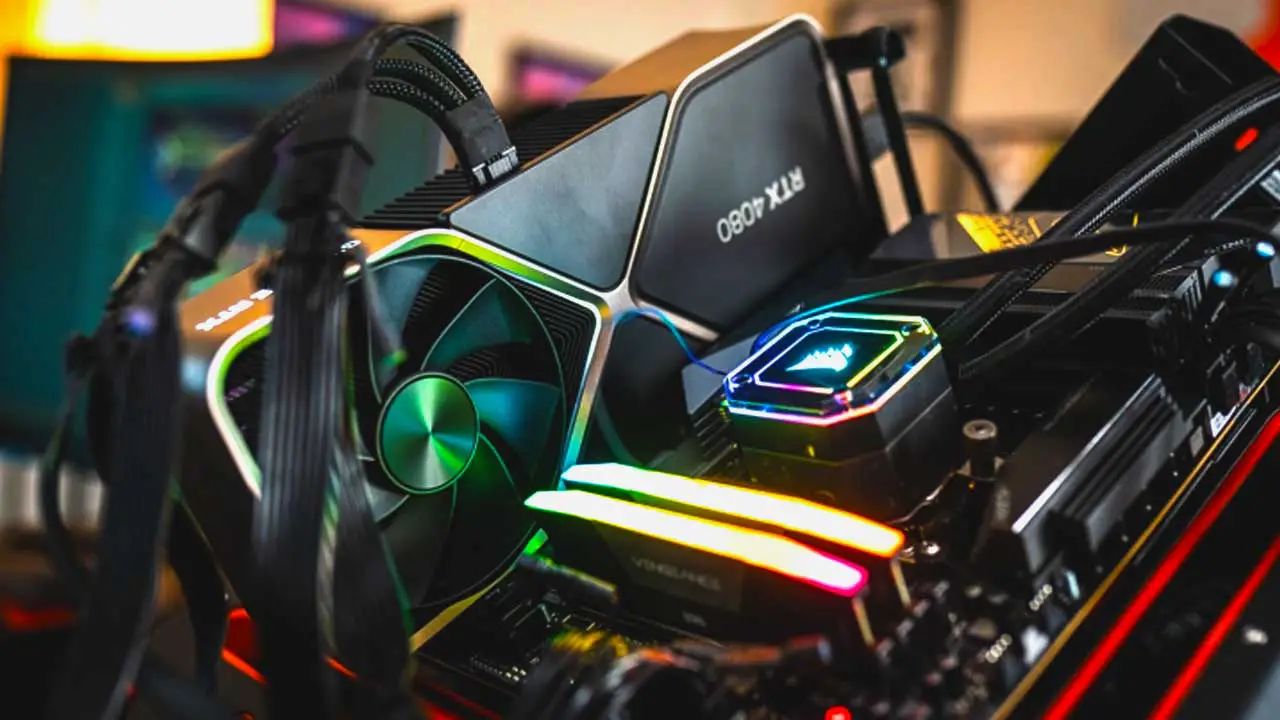
A graphics card, also known as a video card or GPU (Graphics Processing Unit), is an essential component that handles all the visual processing on your computer. It is responsible for rendering images, videos, and games with stunning clarity and smoothness. If you’re using a built-in graphics chip or an outdated graphics card, installing a new, more powerful graphics card can significantly enhance your visual experience.
Before diving into the installation process, it’s important to note that every computer is different, so the steps mentioned here may vary slightly depending on your specific setup. However, this guide will provide you with a general overview of the process, covering the essential steps required to install a graphics card.
In the following sections, we’ll discuss the things you’ll need for installation, how to open your computer case, locate the PCIe slot, prepare the graphics card, insert it into the slot, connect it to the power supply, and finally, install the necessary drivers. By the end of this guide, you’ll have a fully functional graphics card up and running in your computer.
So, without further ado, let’s begin the journey of plugging in your graphics card and unleashing the visual power of your computer.
Things You Will Need
Before you begin the process of installing a graphics card, gather the following items:
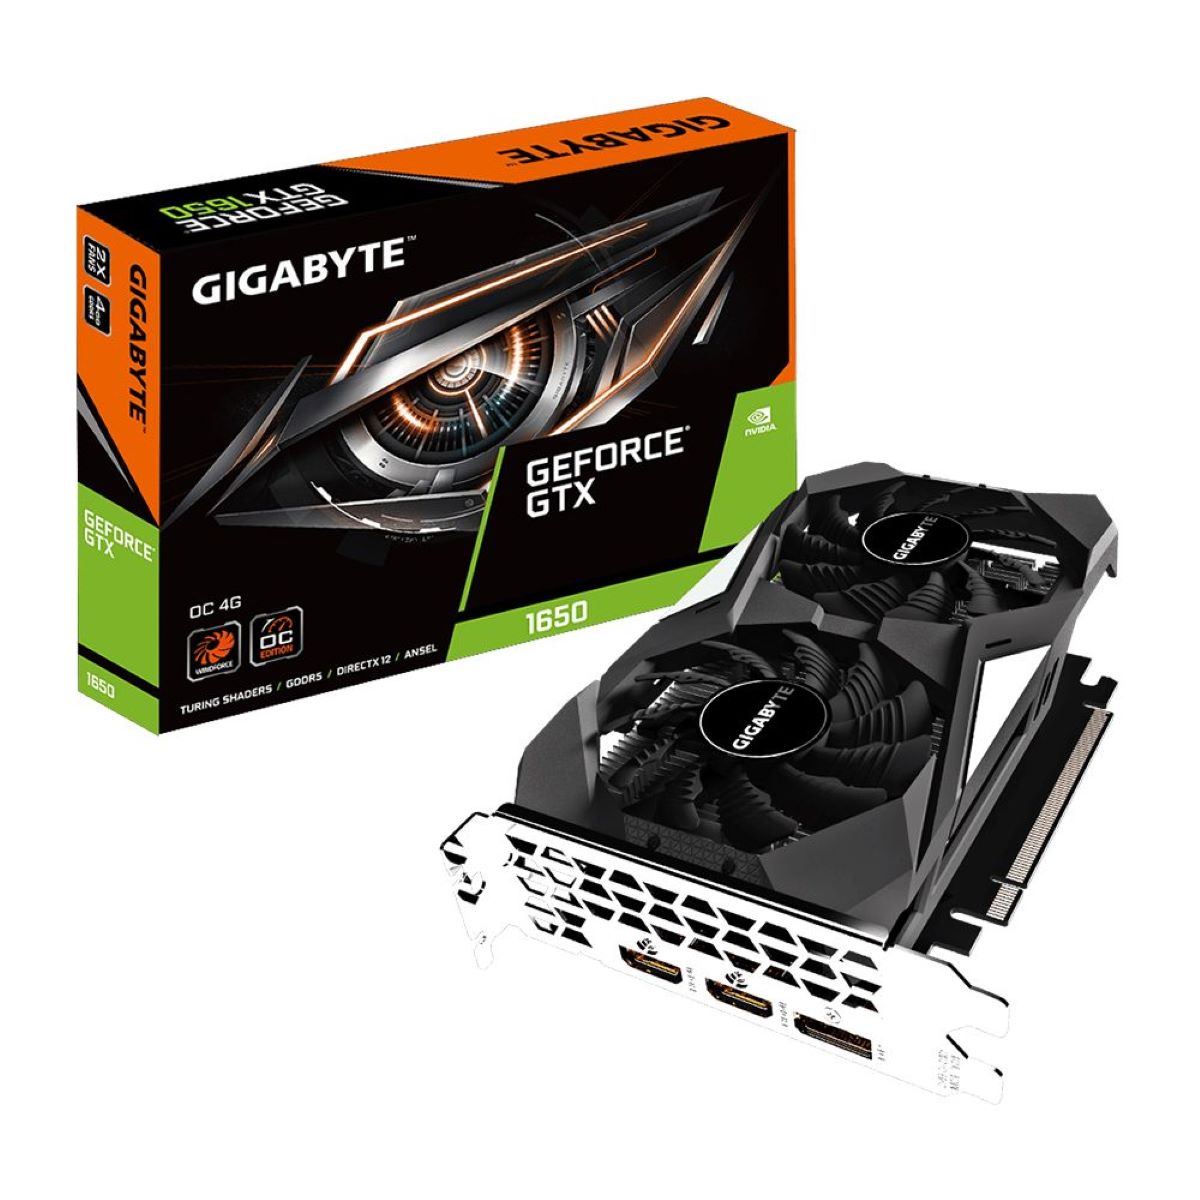
- A compatible graphics card: Make sure you have purchased a graphics card that is compatible with your computer’s specifications. Check the documentation or the manufacturer’s website for specific requirements.
- Screwdriver: Depending on your computer case, you may need a Phillips or a flat-head screwdriver to open the case and secure the graphics card.
- Antistatic wristband (optional): To protect your computer’s components from electrostatic discharge, it’s advisable to wear an antistatic wristband or regularly touch a grounded metal object while working.
- User manual: Every graphics card comes with a user manual that provides step-by-step instructions for installation. Keep it handy throughout the process.
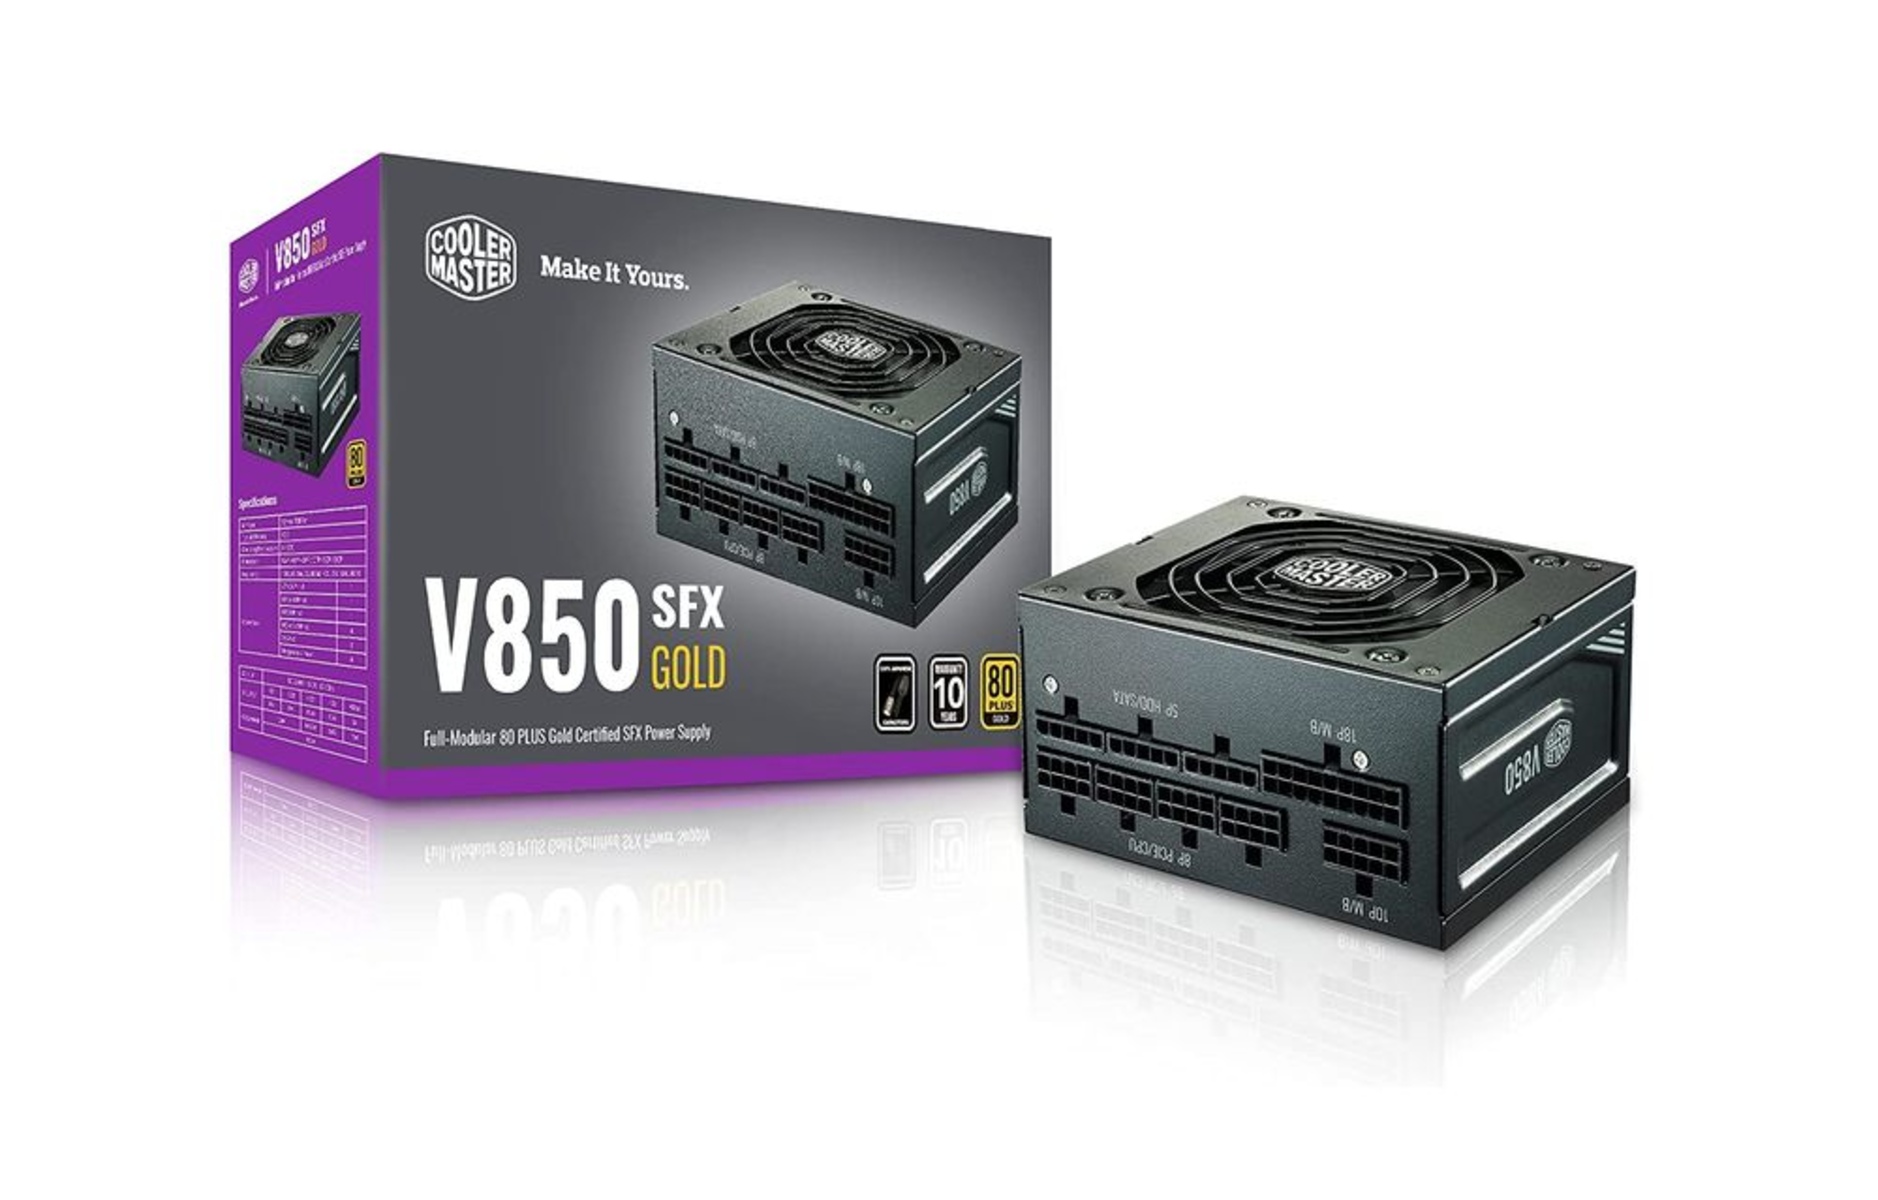
- Power supply unit (PSU) cables: Check if your power supply unit has the necessary cables to connect to your graphics card, such as PCIe power connectors.
It’s essential to ensure that you have all these items before starting the installation process. Having the correct tools and components will make the process smoother and more efficient, saving you time and avoiding any unnecessary complications.
Remember, different computers may require specific tools or additional components, so refer to your computer’s documentation or consult with a professional if you are uncertain about the requirements.
Step 1: Opening the Computer Case
Before you can install the graphics card, you’ll need to open the computer case. Follow these steps:
- Power off your computer: Shut down your computer completely and unplug it from the power source. This will ensure your safety and prevent any damage to the components.
- Remove peripherals and cables: Disconnect all peripherals such as monitors, keyboards, and mice, as well as any cables attached to the computer.
- Place the computer in a suitable workspace: Find a clean and well-lit area to work in. Make sure you have enough space to comfortably access the computer case.
- Ground yourself: To prevent electrostatic discharge, touch a grounded metal object or wear an antistatic wristband. This will help protect your computer components from potential damage.
- Locate the screws: Examine your computer case to identify the screws or latches securing the side panel. Typically, these screws are located at the rear of the case.
- Unscrew the side panel: Use a screwdriver to loosen the screws holding the side panel in place. Once the screws are loose, gently slide or lift off the side panel of the case.
Opening the computer case gives you access to the internal components and allows you to install the graphics card. Remember to handle the case and the internal components with care to avoid any accidental damage. Make sure to keep the screws in a safe place, as you’ll need them later when closing the case.
With the computer case open, you are now ready to proceed to the next step: locating the PCIe slot.
Step 2: Locating the PCIe Slot
After opening the computer case, the next step is to locate the PCIe (Peripheral Component Interconnect Express) slot. This is where the graphics card will be inserted. Follow these steps:
- Identify the motherboard: Take a moment to locate the motherboard inside your computer case. It’s the large circuit board where all the components are connected.
- Look for the PCIe slots: The PCIe slots are long and usually positioned horizontally on the motherboard. They are typically located towards the bottom of the motherboard, below the processor.
- Confirm the PCIe generation: Check the specifications of your graphics card and determine the PCIe generation it supports (e.g., PCIe Gen 3, PCIe Gen 4). Make sure your motherboard has a compatible PCIe slot. The PCIe slots are backward compatible, so a PCIe Gen 3 card can be installed in a PCIe Gen 4 slot, but it may not utilize the full potential of the slot.
- Remove any covers or brackets: Some PCIe slots may have protective covers or brackets. If present, gently remove them by unscrewing or unclipping them from the motherboard.
It’s crucial to locate the correct PCIe slot since inserting the graphics card into an incorrect slot can prevent it from functioning correctly. Refer to your motherboard’s user manual if you are unsure about the location or compatibility of the PCIe slots.
Once you have identified the PCIe slot, you are now ready to move on to the next step: preparing the graphics card for installation.
Step 3: Preparing the Graphics Card
Before inserting the graphics card into the PCIe slot, it’s important to prepare it properly. Follow these steps:
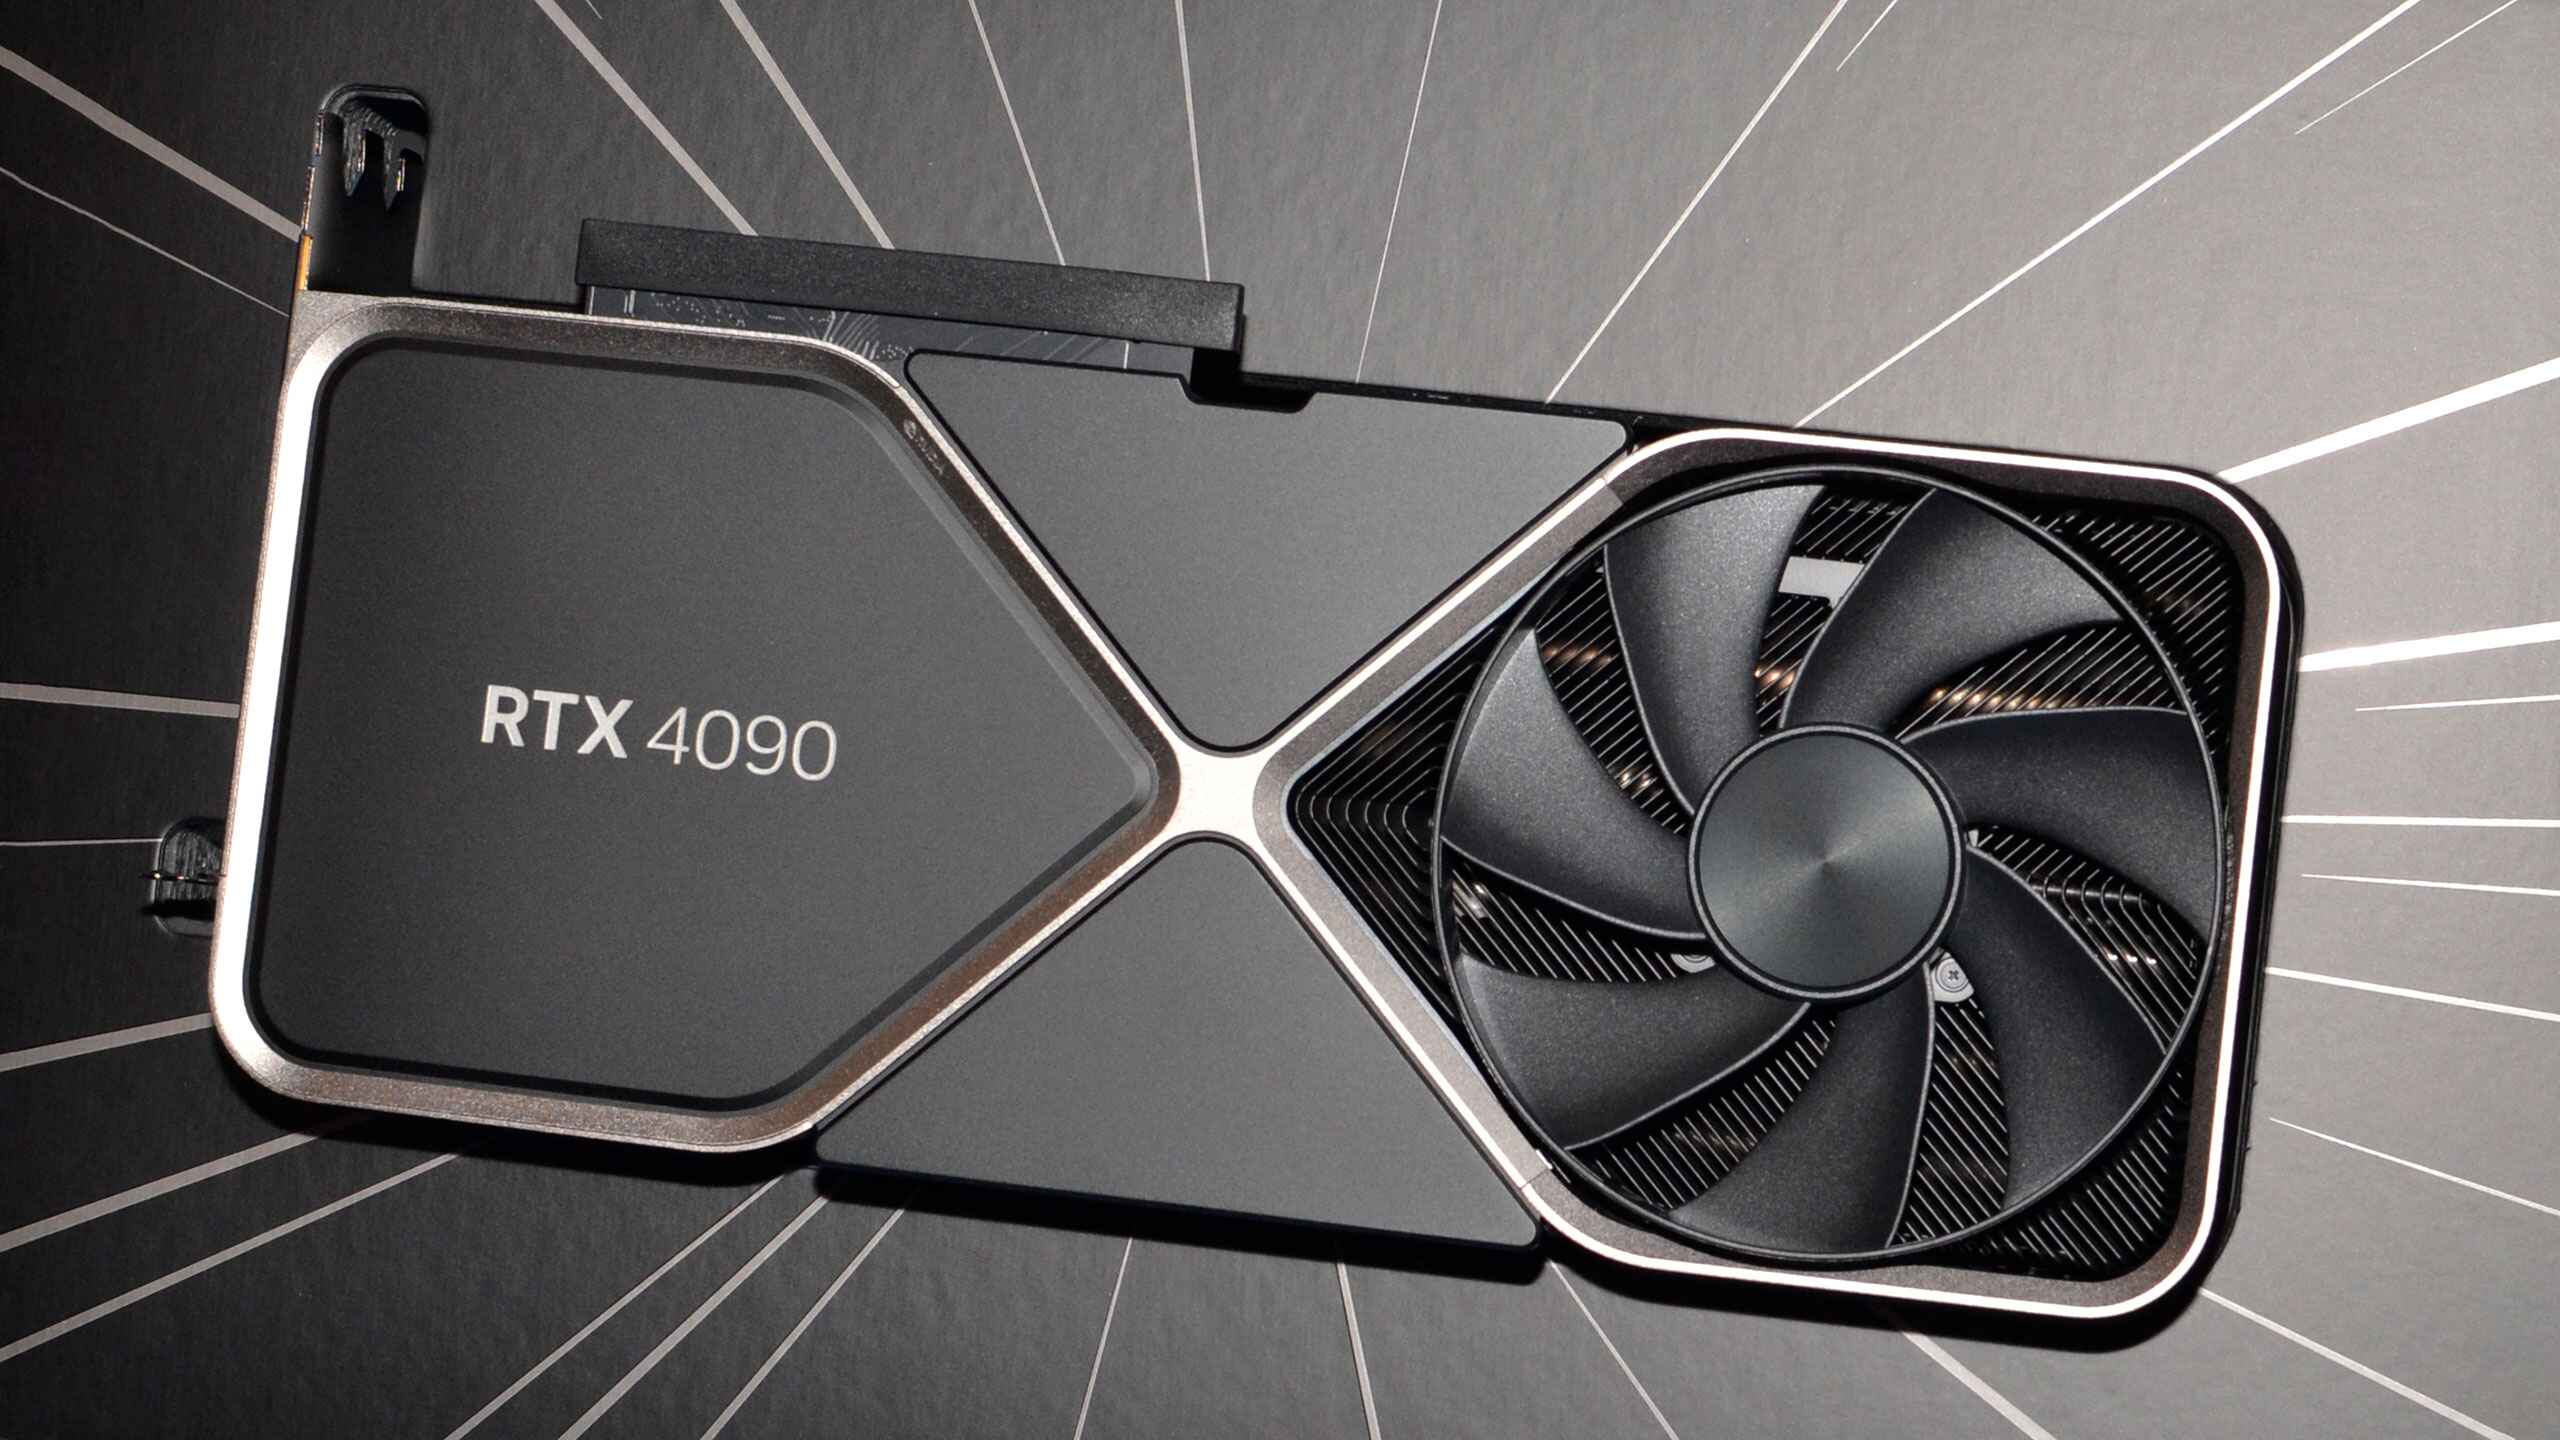
- Remove the graphics card from its packaging: Take the graphics card out of its anti-static bag and carefully handle it by the edges. Avoid touching the gold connectors or any sensitive components.
- Check for protective covers or brackets: Inspect the graphics card for any protective covers or brackets. Remove them if present, just like the ones you may have encountered earlier on the PCIe slot.
- Examine the gold connectors: Take a closer look at the gold connectors (the edge of the graphics card that plugs into the PCIe slot). Make sure they are clean and free from any dust or debris. If necessary, use a can of compressed air or a soft cloth to gently clean them.
- Check the power requirements: Look for the power connectors on the graphics card. Depending on the model, it may require one or more power connections. Ensure your power supply unit has the appropriate cables and connectors to power the graphics card.
- Handle the card carefully: Graphics cards are delicate components, so handle them with care. Avoid bending or applying excessive pressure to any part of the card, as this can cause damage.
Preparing the graphics card ensures that it is ready for installation and minimizes the risk of any issues arising during the process. By taking the time to handle the card properly and ensure its cleanliness, you increase the chances of a successful installation.
With the graphics card prepared, you’re now ready to move on to the next step: inserting the card into the PCIe slot.
Step 4: Inserting the Graphics Card into the PCIe Slot
Now that you have prepared the graphics card, it’s time to insert it into the PCIe slot. Follow these steps:
- Hold the graphics card correctly: Ensure that you are holding the graphics card by its edges, avoiding contact with the gold connectors or any sensitive components.
- Align the card with the slot: Locate the PCIe slot you identified earlier on the motherboard. Align the graphics card’s gold connectors with the slot, ensuring that they match up correctly.
- Gently insert the card: Carefully insert the graphics card into the PCIe slot, applying even and gentle pressure. Make sure the card is properly seated in the slot, and the gold connectors are fully inserted.
- Secure the card with screws: Once the card is inserted, use the screws you removed earlier to secure it in place. Align the screw holes on the graphics card with those on the computer case, and tighten the screws just enough to hold the card securely. Be careful not to overtighten, as this could damage the graphics card or the motherboard.
It’s important to note that different computer cases and graphics cards may have slight variations in the process of inserting and securing the graphics card. Refer to the graphics card’s user manual or the computer case manufacturer’s instructions if you encounter any specific guidelines or requirements.
With the graphics card successfully inserted into the PCIe slot and securely fastened, you are now ready to move on to the next step: connecting the power supply to the graphics card.
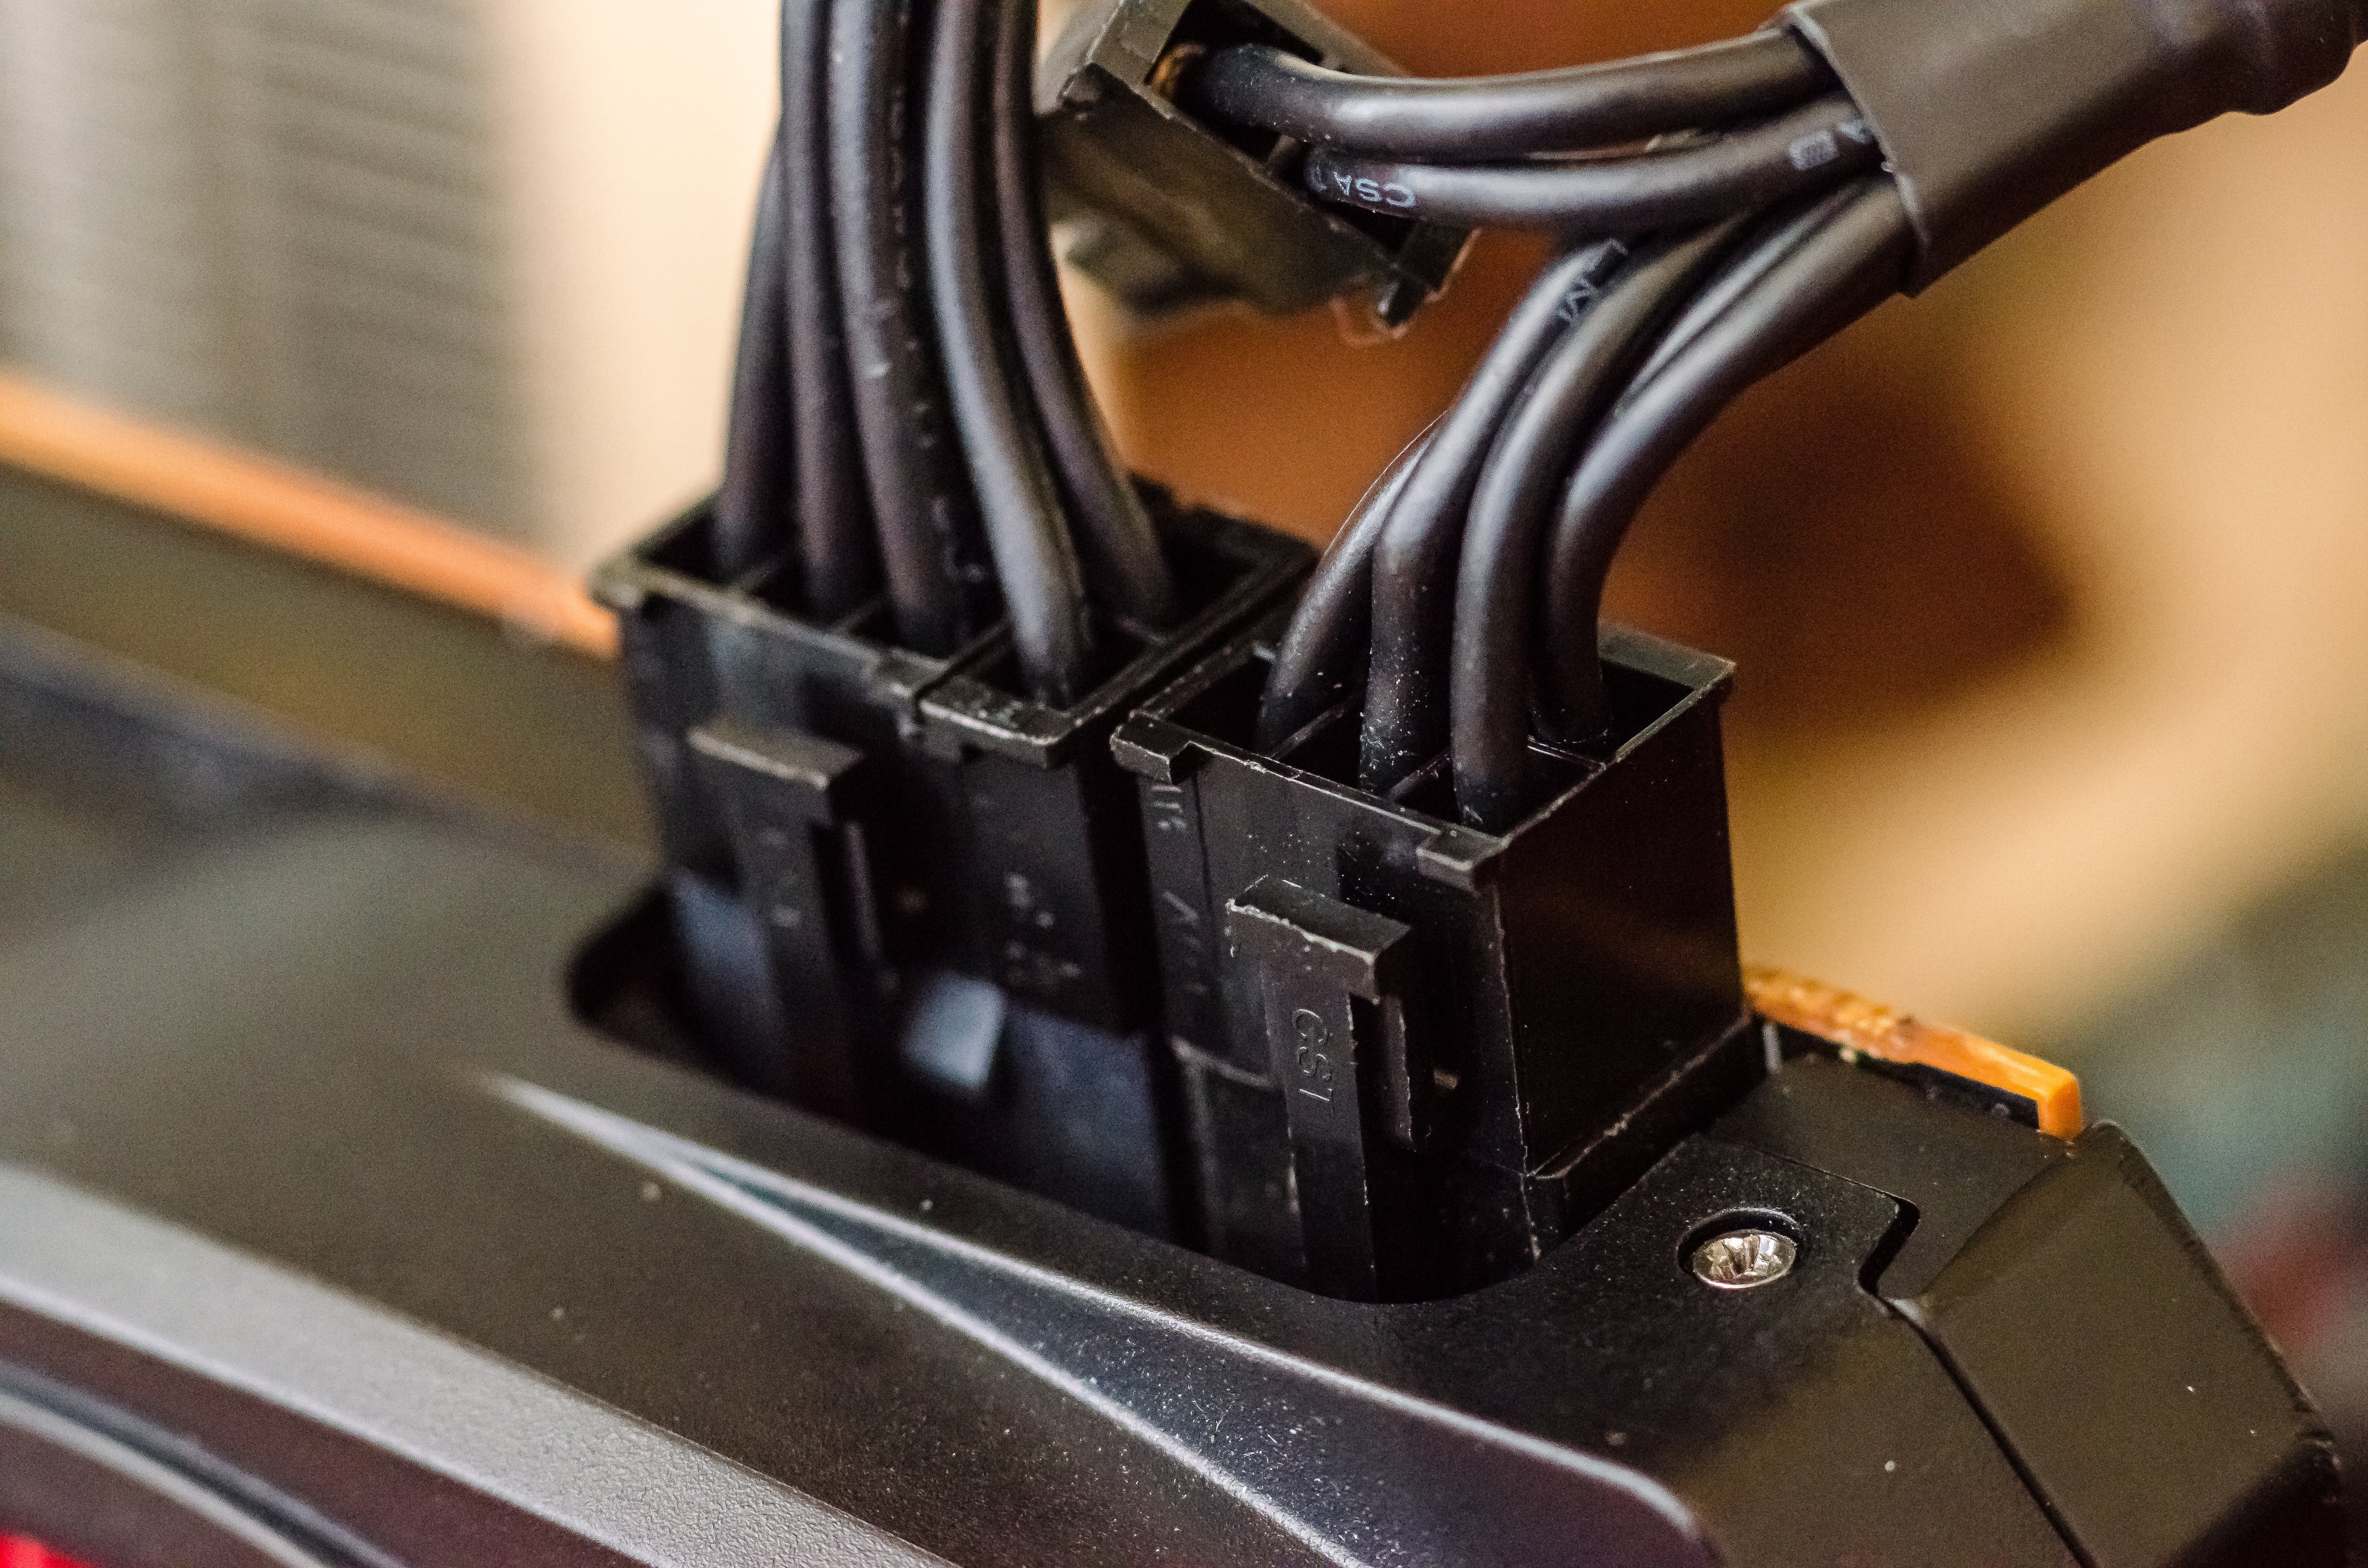
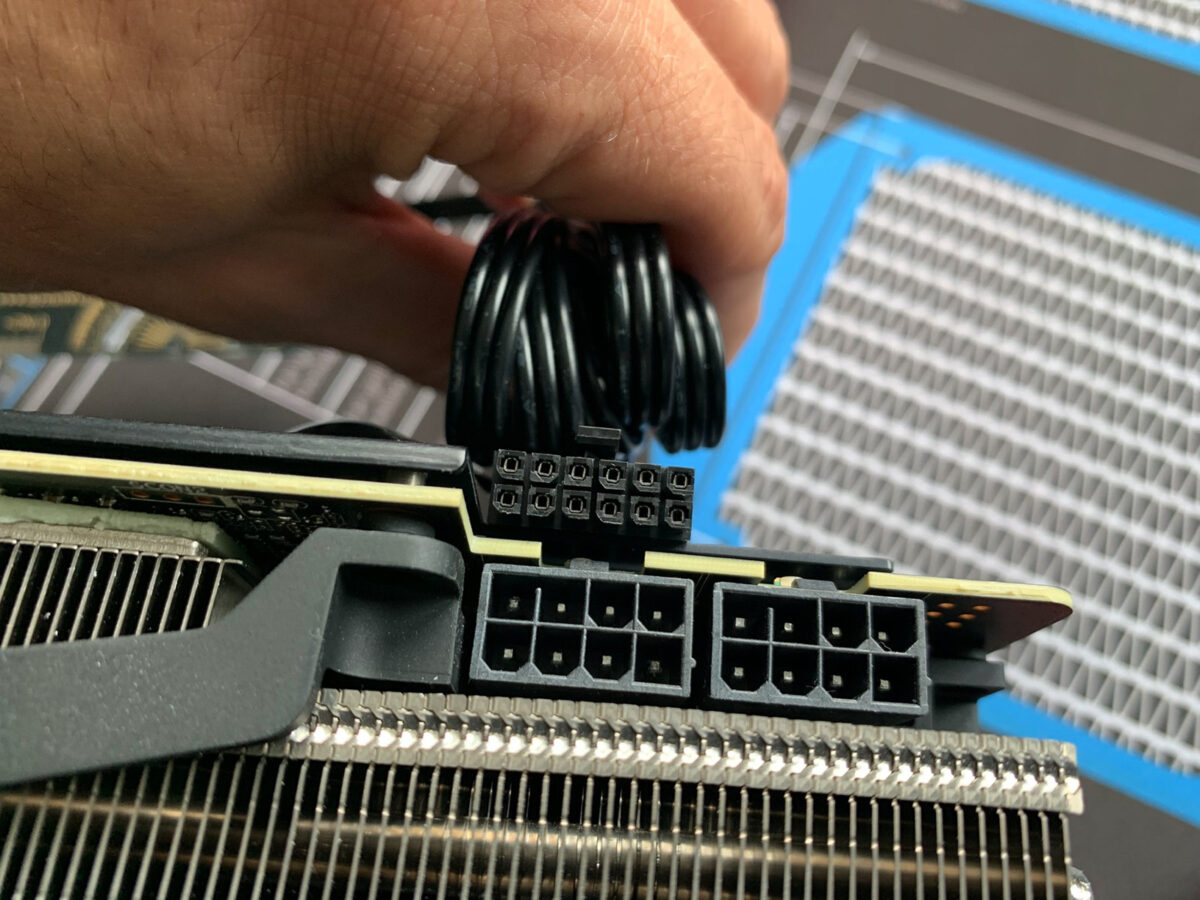
Step 5: Connecting the Power Supply to the Graphics Card
Once the graphics card is properly inserted into the PCIe slot, the next step is to connect it to the power supply. Follow these steps:
- Locate the necessary power connectors: Depending on the model and power requirements of your graphics card, it may require one or more power connections. These connectors are usually located on the side or top edge of the graphics card.
- Check the power supply cables: Make sure your power supply unit (PSU) has the necessary cables with compatible connectors. Most modern graphics cards require PCIe power connectors. If your power supply doesn’t have the required cables, you may need to upgrade to a PSU that supports the graphics card’s power needs.
- Connect the power cables to the graphics card: Take the appropriate power cables from your power supply and connect them to the corresponding power connectors on the graphics card. Ensure a secure connection by aligning the notch on the connector with the tab on the graphics card and gently pushing until it clicks into place.
- Verify the power connections: Double-check that all power connections are secure and properly connected. Loose or improperly connected power cables can cause issues or prevent the graphics card from functioning correctly.
Properly connecting the power supply cables to the graphics card ensures that it receives the necessary power to function optimally. Different graphics cards and power supply units may have different power requirements and connectors, so it’s important to refer to the graphics card’s manual and the power supply unit’s documentation for specific instructions.
Once you have successfully connected the power supply to the graphics card, you are now ready to move on to the next step: closing the computer case.
Step 6: Closing the Computer Case
After completing the installation of the graphics card and connecting the power supply, it’s time to close the computer case. Follow these steps:
- Ensure all cables are properly connected: Before closing the case, double-check that all cables, including the power supply cables and any peripheral connectors, are securely plugged in. This will help prevent any loose connections or potential issues.
- Place the side panel back onto the case: Carefully align the side panel with the case and slide it into position. Make sure it fits securely and the screw holes line up correctly.
- Tighten the screws: Use the screws you removed earlier to secure the side panel back onto the case. Start by loosely tightening each screw, then go back and tighten them firmly but avoid overtightening, as it may cause damage to the case or components.
- Power on your computer: Once the side panel is securely fastened, connect the peripherals and cables you had previously disconnected, and plug the computer back into a power source. Power on your computer to test if the graphics card is functioning correctly.
By closing the computer case, you ensure that the internal components are protected and secure. The side panel acts as a barrier, preventing dust and external elements from entering the case and potentially causing damage to the components.
With the computer case closed and the graphics card installation completed, you’re now ready to move on to the next step: installing the necessary graphics card drivers.
Step 7: Installing Graphics Card Drivers
After physically installing the graphics card, it’s crucial to install the necessary drivers to ensure optimal performance. Follow these steps:
- Access the manufacturer’s website: Visit the website of the graphics card manufacturer (e.g., NVIDIA, AMD) to download the latest drivers for your specific graphics card model. Look for the support or drivers section on their website.
- Locate the correct drivers: Find the appropriate drivers for your operating system and graphics card model. Download the drivers to your computer.
- Run the driver installation package: Once the drivers are downloaded, locate the file and run the installation package. Follow the on-screen instructions to install the drivers. It’s usually a straightforward process that involves accepting the license agreement, selecting the installation location, and letting the software do the rest.
- Restart your computer: After the driver installation is complete, it’s recommended to restart your computer. This ensures that the changes take effect properly.
- Check for updates: It’s a good practice to periodically check for driver updates. Graphics card manufacturers often release updated drivers to improve performance, fix bugs, and provide compatibility with new software releases. Visit the manufacturer’s website or use their software, if available, to check for updates and install them accordingly.
Installing the graphics card drivers is essential to unlock the full potential of your graphics card and ensure it works seamlessly with your operating system. These drivers contain optimizations and advancements that enable the card to deliver top-notch performance in handling graphics-intensive tasks, including gaming, video editing, and more.
With the graphics card drivers installed, you’ve successfully completed the installation process. Take a moment to test your computer’s performance and enjoy the enhanced graphics capabilities brought by the new graphics card.
Conclusion
Congratulations! You have successfully learned how to plug in a graphics card. By following the step-by-step guide provided in this article, you were able to open your computer case, locate the PCIe slot, prepare the graphics card, insert it into the slot, connect the power supply, and install the necessary drivers. The process may have seemed overwhelming at first, but with careful attention to detail and following the instructions closely, you have now unlocked the power of a new graphics card.
Installing a graphics card can bring a significant improvement in visual performance, whether you’re a gamer seeking enhanced gaming experiences, a content creator working with graphics-intensive applications, or simply wanting smoother, more immersive visuals on your computer.
Remember, the specific steps and requirements may vary depending on your computer’s configuration, so always refer to the user manuals and documentation provided by the graphics card manufacturer and your computer’s manufacturer.
Now that your graphics card is up and running, make sure to keep an eye out for driver updates to maintain optimal performance. Regularly checking for updates and installing them will ensure that you have the latest improvements and bug fixes from the manufacturer.
Now it’s time to enjoy the enhanced graphics capabilities of your computer. Whether you’re diving into the latest games, working on graphic-intensive projects, or simply enjoying crisp and vibrant visuals, your newly installed graphics card will take your computing experience to the next level.