Introduction
Welcome to the world of gaming laptops, where the pursuit of the ultimate gaming experience is a constant quest. If you’re a passionate gamer looking to upgrade your gaming laptop, changing the graphics card can be a game-changer. Upgrading your graphics card can significantly boost your laptop’s performance, allowing you to enjoy the latest games with improved graphics, smoother gameplay, and faster frame rates.
In this article, we will guide you through the process of changing the graphics card in your gaming laptop. While it may sound like a daunting task, with the right tools, materials, and precautions, it can be a straightforward process that anyone with basic technical skills can accomplish.
Before we dive into the step-by-step guide, it’s important to note that not all gaming laptops are designed to have a replaceable graphics card. Many laptops have integrated (soldered) graphics chips that cannot be upgraded. However, if your laptop has a dedicated graphics card with a removable MXM module or a replaceable card, this guide is for you.
Changing the graphics card in your gaming laptop offers several benefits. First and foremost, you can upgrade to a more powerful GPU, allowing you to play the latest games at higher settings and resolutions. It can also improve your laptop’s overall performance in other graphics-intensive tasks, such as video editing and 3D rendering.
Before we get started, ensure that you have a good understanding of your laptop’s specifications, such as the type of slot and compatible graphics cards. It’s always a good idea to check the manufacturer’s documentation or consult their website to confirm compatibility.
Step 1: Check Your Laptop’s Compatibility
Before diving into the process of changing the graphics card in your gaming laptop, it is crucial to ensure that your laptop is compatible with the upgrade. Here are a few steps to help you determine compatibility:
- Check the documentation: Start by referring to your laptop’s user manual or documentation. Look for information regarding the upgradability of the graphics card. Some manufacturers explicitly state whether the graphics card can be replaced or upgraded.
- Research your laptop model: Utilize the power of the internet to research your specific laptop model. Search for forums, user experiences, or articles that discuss upgrading the graphics card in your laptop. Look for success stories or similar laptop models that have undergone successful graphics card upgrades.
- Identify the graphics card: Find out the exact model and type of graphics card currently installed in your laptop. This information can usually be found in your laptop’s device manager or by using specialized software that provides system information. Compare the specifications of your current graphics card with the one you intend to upgrade to, ensuring compatibility in terms of form factor and power requirements.
- Consider the heat and power requirements: Upgrading your graphics card may require additional power or generate more heat. Ensure that your laptop’s power supply can handle the upgraded graphics card’s power demands. Also, verify that your laptop’s cooling system can effectively dissipate the heat generated by the new graphics card to prevent overheating.
- Check the manufacturer’s website: Visit the official website of your laptop’s manufacturer and search for support or compatibility information. Manufacturers often provide a list of compatible graphics cards for their laptop models. Cross-reference this information with the graphics card you plan to upgrade to.
By following these steps, you can determine whether your gaming laptop can accommodate a graphics card upgrade. It’s crucial to ensure compatibility to avoid wasting time and money on a graphics card that will not work with your laptop. Keep in mind that opening your laptop to upgrade the graphics card may void any existing warranties, so proceed with caution and make an informed decision.
Step 2: Gather Necessary Tools and Materials
To successfully change the graphics card in your gaming laptop, you’ll need to gather the necessary tools and materials. Having everything prepared beforehand will make the process smoother and more efficient. Here’s a list of essential items you’ll need:
- Screwdriver: Depending on your laptop model, you may need a Phillips screwdriver or a specific size of Torx screwdriver to remove the back panel and access the internal components.
- Antistatic wrist strap: An antistatic wrist strap is essential to prevent static electricity from damaging sensitive electronic components. This strap will help you discharge any static electricity from your body before working on the laptop.
- Clean cloth and isopropyl alcohol: It’s important to have a clean cloth and some isopropyl alcohol to clean the contacts on the new graphics card and the slot before installation. This will remove any dirt, dust, or residue that could affect the connection.
- Thermal paste: If your new graphics card doesn’t come pre-applied with thermal paste, you’ll need to apply a small amount on the GPU chip. This helps to transfer heat efficiently from the GPU to the cooling system.
- Static-free work surface: Find a clean and static-free surface to work on. This could be an antistatic mat, a wooden table, or any non-electrostatic surface that will protect your laptop and components from static electricity.
- Patience and a steady hand: Changing the graphics card may require precise handling and delicate maneuvering. Patience and a steady hand are necessary to avoid damaging any components or connectors during the process.
Make sure to gather all the tools and materials before you start working on your laptop. Having everything ready will prevent unnecessary delays and ensure you have what you need to complete the graphics card replacement smoothly.
Step 3: Preparation and Safety Measures
Before you begin changing the graphics card in your gaming laptop, it’s essential to take some preparation and safety measures to ensure a smooth and safe process. Here are some important steps to follow:
- Power off the laptop: Before you start, make sure to power off your laptop and unplug it from the power source. This will prevent any electrical accidents and ensure that the laptop is in a safe state for handling.
- Ground yourself: Static electricity can cause damage to sensitive electronic components. To avoid this, wear an antistatic wrist strap and connect it to a grounded object. This will discharge any static electricity from your body and protect the delicate internal components of your laptop.
- Remove the battery: If possible, remove the laptop’s battery. This will further enhance safety by eliminating the risk of electrical shock during the process. Consult your laptop’s manual for instructions on how to properly remove the battery.
- Organize screws and components: As you start disassembling the laptop, it’s crucial to keep track of the screws and components you remove. Use a small container or a magnetic tray to store the screws, making it easier to reassemble the laptop later.
- Take pictures or notes: Before removing any components, it’s a good idea to take pictures or make notes of the connections and their positions. This will help you remember the proper placement and orientation when reassembling the laptop.
- Work in a clean and well-lit area: Find a clean, well-lit workspace that provides ample room for you to work comfortably. Ensure that the area is free from any obstructions or hazards that could potentially damage the laptop or its components.
- Read the manufacturer’s instructions: Consult the manufacturer’s documentation or support website for any specific instructions or recommendations related to changing the graphics card in your particular laptop model. Following their guidelines will help you avoid any unnecessary mistakes or complications.
By taking these preparation and safety measures, you are setting yourself up for a successful graphics card replacement process. Safety should always be a priority when working with delicate electronic components, so take the time to prepare and follow the necessary precautions.
Step 4: Removing the Old GPU
Now that you’ve completed the necessary preparations, it’s time to remove the old graphics card from your gaming laptop. Follow these steps carefully:
- Remove the back panel: Using the appropriate screwdriver, unscrew and remove the back panel of your laptop to gain access to the internal components. Keep track of the screws and set them aside in a safe place.
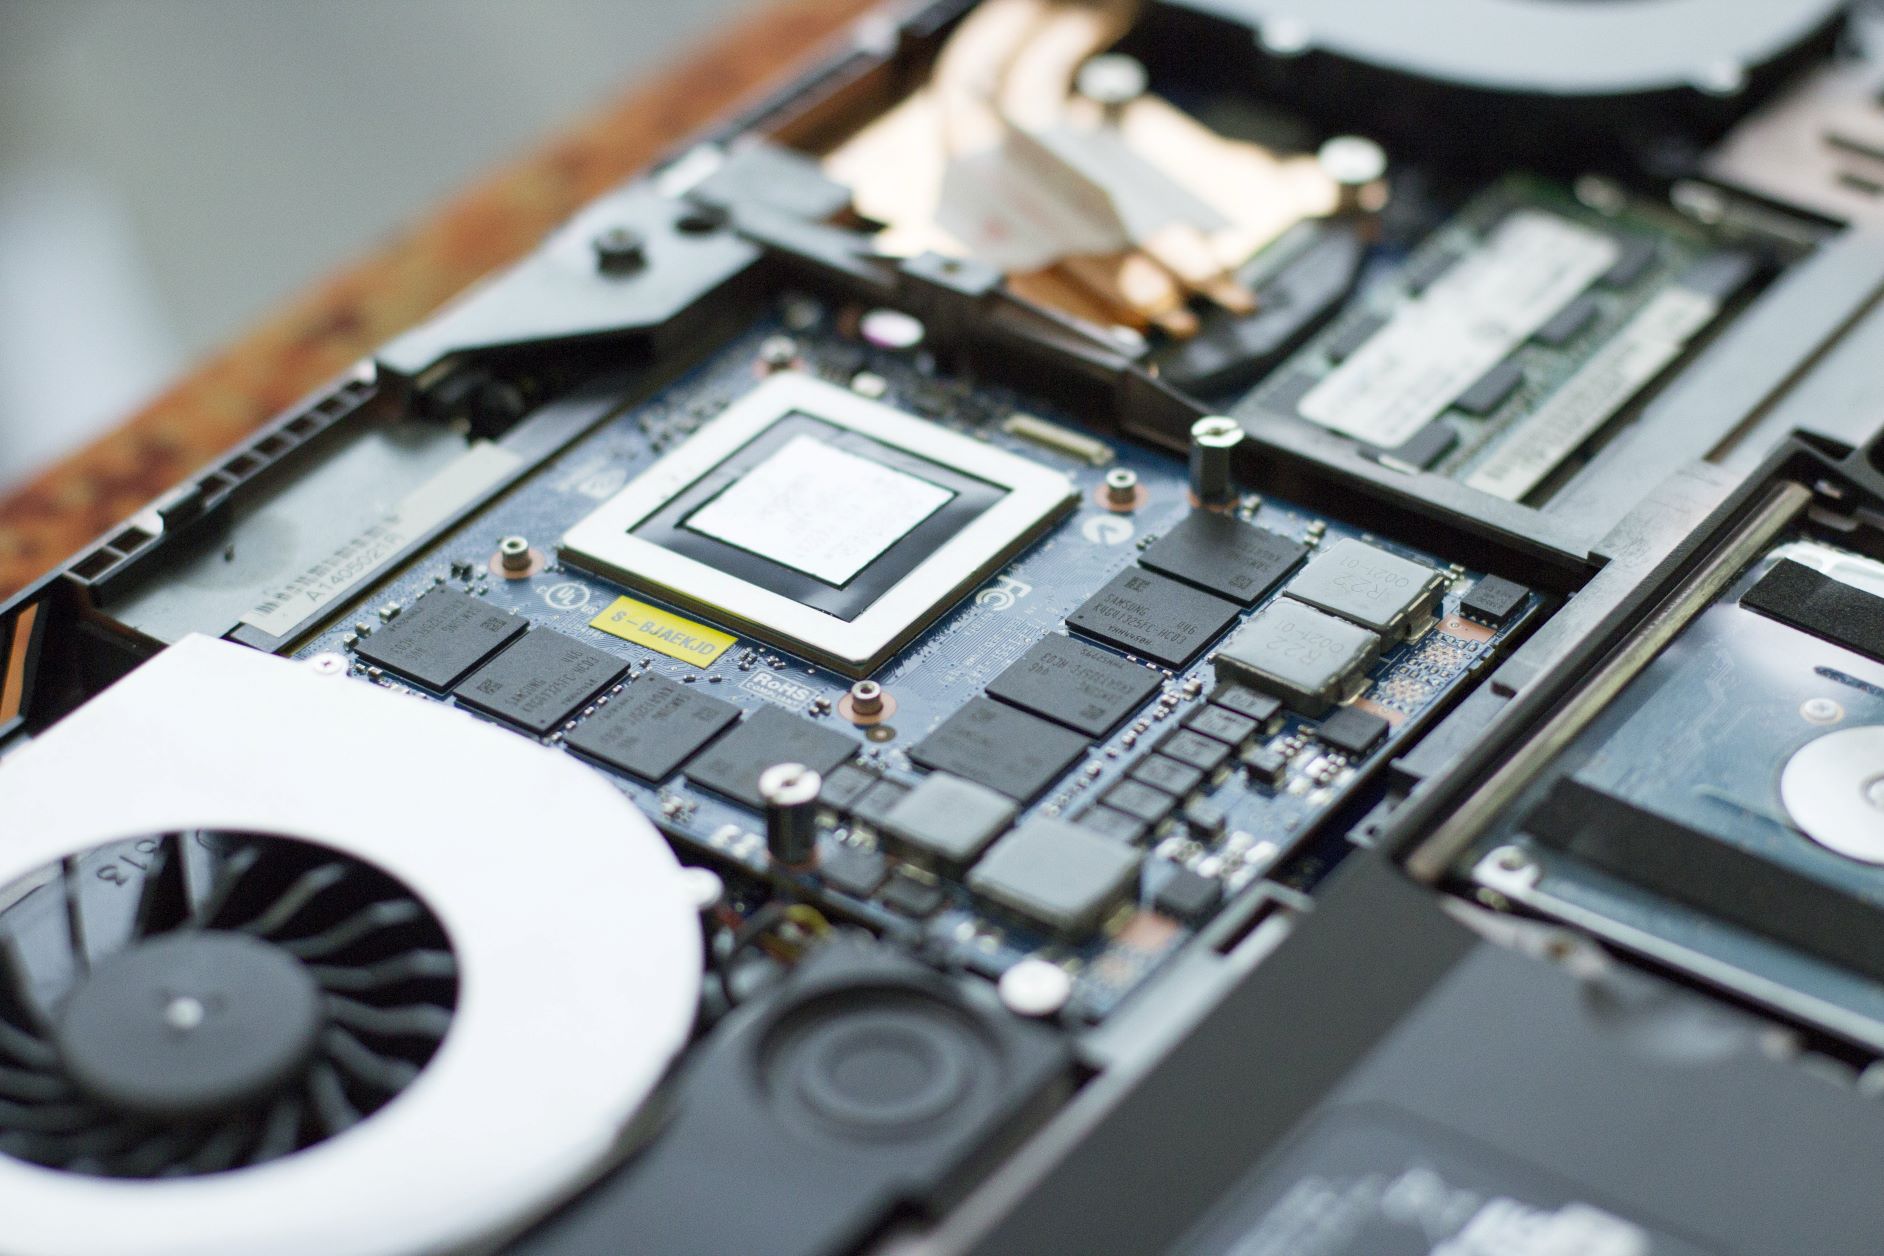
- Locate the graphics card: Identify the graphics card inside your laptop. It is usually located in the motherboard’s expansion slot, which can be identified by its size and shape. In most cases, it will have a cooling system attached to it.
- Disconnect cooling system: Carefully disconnect any cooling system components attached to the graphics card. This may include screws, brackets, or connectors. Take note of how these components are attached for reassembly later.
- Unplug power connections: Locate any power connectors or cables connected to the graphics card. Gently unplug them from the card, taking care not to damage the connectors or cables.
- Release the securing mechanism: Depending on your laptop model, there may be a securing mechanism holding the graphics card in place. This can be a latch, screws, or a lock. Follow the manufacturer’s instructions to release the securing mechanism and carefully remove the old graphics card.
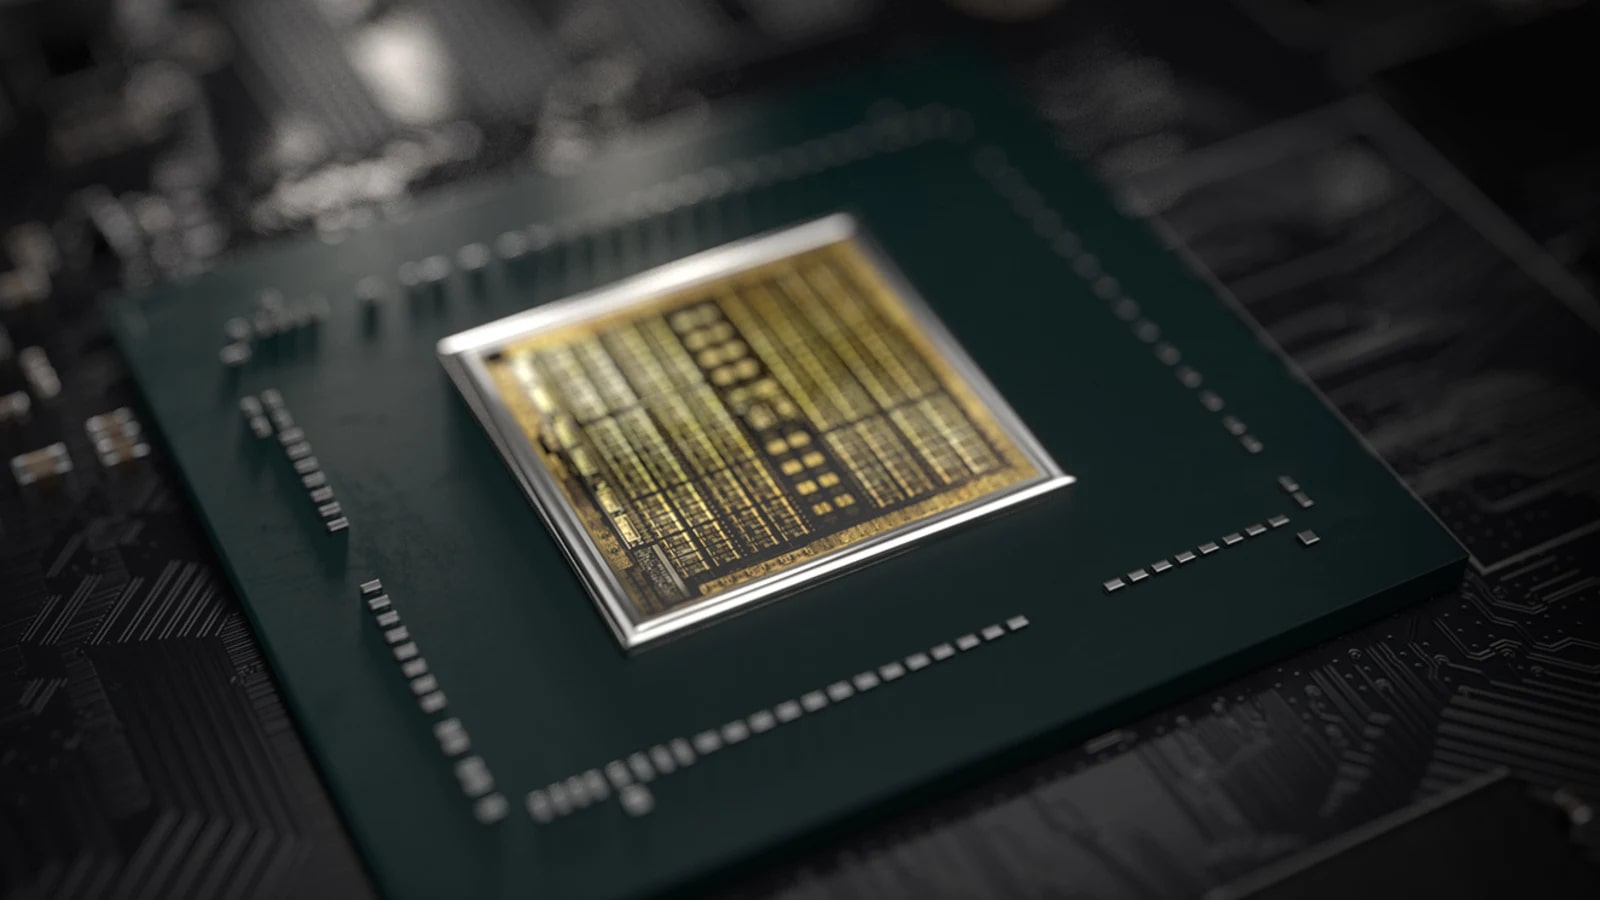
- Handle with care: When removing the old graphics card, handle it with care to avoid any physical damage. Hold it by the edges and avoid touching the gold contacts or sensitive components.
- Inspect the slot: After removing the old graphics card, take a moment to inspect the slot from which it was removed. Make sure there is no dust, debris, or other obstructions that could affect the connection of the new graphics card.
By following these steps, you can safely remove the old graphics card from your gaming laptop. Take your time and exercise caution to avoid any damage to the laptop or its internal components during this process.
Step 5: Cleaning and Preparing the Slot
With the old graphics card removed, it’s time to clean and prepare the slot in your gaming laptop for the installation of the new graphics card. Follow these steps to ensure a proper connection:
- Clean the slot: Use a can of compressed air or a soft brush to remove any dust or debris from the expansion slot. This will help ensure a clean and reliable connection for the new graphics card.
- Inspect for damage: Take a close look at the slot for any signs of damage or bent pins. If you notice any issues, it’s advisable to consult a professional for repair or consider a different upgrade option.
- Apply thermal paste (if required): If your new graphics card requires thermal paste to facilitate heat transfer, apply a small, pea-sized amount to the GPU chip. Be sure to spread it evenly using a plastic spatula or a clean finger, but avoid using too much paste as it can cause excess heat buildup.
- Align the new graphics card: Carefully align the new graphics card with the slot. Ensure that it is facing the correct way and matches the alignment of the slot. Gently press the card into the slot, making sure it is fully inserted and seated properly.
- Secure the graphics card: Depending on your laptop model, there may be a securing mechanism to keep the graphics card in place. Follow the manufacturer’s instructions to secure the graphics card, such as using screws or latches.
- Reconnect power and cooling: Reconnect the power connectors and cables to the new graphics card, following any instructions provided by the manufacturer. Also, reattach the cooling system components that were previously disconnected.
- Double-check the connection: Once everything is in place, make sure that all connections are secure and properly aligned. Take a moment to ensure that there are no loose cables or components that could interfere with the functioning of the new graphics card.
By following these steps, you can clean and prepare the slot in your gaming laptop for the new graphics card. Taking the time to ensure a clean and secure connection will optimize the performance of your upgraded graphics card.
Step 6: Installing the New Graphics Card
Now that the slot is clean and prepared, it’s time to install the new graphics card into your gaming laptop. Follow these steps carefully to ensure a successful installation:
- Align the new graphics card: Carefully align the new graphics card with the slot, making sure it faces the correct direction. Ensure that the graphics card lines up with the slot’s alignment notches.
- Gently insert the card: Hold the new graphics card by its edges and gently insert it into the slot, exerting even pressure. Avoid using excessive force, as this can cause damage to the components. The card should slide in smoothly and without resistance.
- Push the card firmly: Once the new graphics card is fully inserted, apply firm and even pressure to ensure that it is properly seated in the slot. Use your thumb or finger to push down on the edges of the card, ensuring it is securely in place.
- Secure the graphics card: Depending on your laptop model, there may be a securing mechanism to keep the graphics card in place. Follow the manufacturer’s instructions to secure the graphics card, such as using screws or latches.
- Reconnect power and cooling: Reconnect the power connectors and cables to the new graphics card, ensuring they are securely attached. Also, reattach any cooling system components that were previously disconnected to ensure proper heat dissipation.
- Double-check connections: Take a moment to double-check all connections to ensure they are secure and properly aligned. Ensure that there are no loose cables or components that could interfere with the functioning of the new graphics card.
By following these steps, you can successfully install the new graphics card into your gaming laptop. Take your time and handle the components with care to avoid any damage during the installation process.
Step 7: Securing and Connecting the New GPU
With the new graphics card installed in your gaming laptop, it’s time to secure and connect it properly. Follow these steps to ensure a stable and functional connection:
- Secure the graphics card: Use the appropriate method specified by your laptop’s manufacturer to secure the new graphics card in place. This may involve using screws, latches, or other securing mechanisms.
- Reconnect power connectors: Reconnect any power connectors or cables that provide power to the new graphics card. Ensure they are fully plugged in and securely attached, following the manufacturer’s instructions.
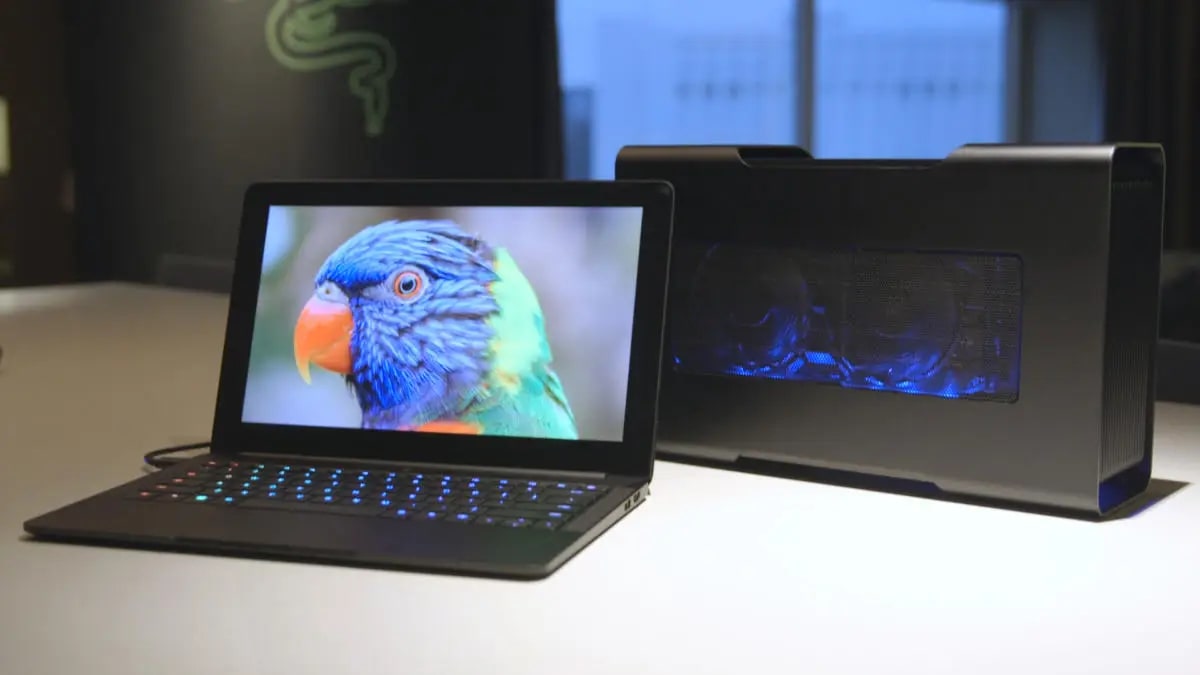
- Connect display output: Depending on your laptop’s configuration, you may need to connect your display output to the new graphics card. This could be an HDMI, DisplayPort, or other appropriate cable. Consult your laptop’s user manual for the specific instructions on connecting the display output to the graphics card.
- Reattach cooling system components: Reattach any cooling system components that were previously disconnected from the graphics card. This may include screws, brackets, or connectors. Ensure they are secured tightly and properly aligned for effective heat dissipation.
- Double-check connections: Before proceeding further, double-check all connections to ensure they are secure and properly aligned. Make sure there are no loose cables or components that could interfere with the functioning of the new graphics card.
By following these steps, you can secure and connect the new graphics card in your gaming laptop effectively. Pay attention to the manufacturer’s instructions and ensure a stable and reliable connection for optimal performance.
Step 8: Reassembling the Laptop
After securing and connecting the new graphics card in your gaming laptop, it’s time to reassemble the laptop and put everything back together. Follow these steps to ensure a successful reassembly:
- Organize the screws: Retrieve the screws you set aside earlier and organize them according to their respective locations. This will make it easier to reinsert them in the correct places.
- Replace the back panel: Carefully align the back panel of the laptop and secure it using the appropriate screws. Be sure to tighten the screws adequately, but avoid overtightening as it may cause damage to the laptop’s casing.
- Insert the battery: If you removed the laptop’s battery earlier, carefully reinsert it according to the instructions provided by the manufacturer. Ensure that it is properly seated and connected.
- Verify all connections: Double-check all connections, including power, display output, and any other cables or peripherals that were disconnected during the process. Ensure that they are securely attached and properly aligned.
- Power on the laptop: Once everything is reassembled, plug in your laptop and power it on. You should see your operating system loading, and if everything is connected correctly, the new graphics card should be recognized.
- Install updated drivers (if necessary): Depending on your operating system and the new graphics card, you may need to install updated drivers. Visit the manufacturer’s website or use automatic driver update tools to ensure your graphics card is utilizing the latest drivers.
- Test the graphics card: Run some graphic-intensive applications or games to test the performance of the new graphics card. Monitor the temperature and ensure it stays within safe ranges. If everything is working properly, enjoy your upgraded gaming experience!
By following these steps, you can successfully reassemble your gaming laptop after changing the graphics card. Take your time and ensure all connections are secure and components are aligned properly for optimal performance.
Step 9: Installing Drivers and Testing
After reassembling your gaming laptop, the final step is to install the necessary drivers for your new graphics card and test its performance. Follow these steps to ensure a smooth installation and optimal functionality:
- Download the latest drivers: Visit the manufacturer’s website of your new graphics card and download the latest drivers for your operating system. Ensure that you download the correct drivers specific to your model.
- Uninstall previous graphics card drivers: If you had a different graphics card installed before, it’s important to uninstall its drivers to avoid conflicts. Use a driver removal tool or the Device Manager in your operating system to uninstall the previous graphics card drivers.
- Install the new drivers: Once the previous drivers are uninstalled, run the installer for the new graphics card drivers. Follow the on-screen instructions to install the drivers and any additional software or utilities provided by the manufacturer.
- Restart your laptop: After the driver installation is complete, restart your laptop to apply the changes and ensure the drivers are properly loaded.
- Test your graphics card: Launch graphic-intensive applications or games to test the performance of your new graphics card. Pay attention to frame rates, overall graphics quality, and any improvements compared to the previous graphics card.
- Monitor temperatures: During testing, keep an eye on the temperatures of your new graphics card using monitoring software or utilities. Ensure that temperatures are within acceptable limits to prevent overheating.
- Troubleshoot any issues: If you encounter any issues or performance problems, consult the manufacturer’s support resources, forums, or online communities for troubleshooting advice. They can provide guidance on optimizing settings or resolving any compatibility issues.
- Enjoy your upgraded gaming experience: With the new graphics card drivers installed and tested, you can now enjoy your upgraded gaming experience with improved graphics, smoother gameplay, and enhanced performance.
By following these steps, you can successfully install the necessary drivers for your new graphics card and ensure it is functioning optimally. Take your time to troubleshoot any issues and make any necessary adjustments to achieve the best performance and gaming experience.
Conclusion
Congratulations! You have successfully learned how to change the graphics card in your gaming laptop. By following the step-by-step guide and taking the necessary precautions, you now have the ability to upgrade your laptop’s graphics card and enhance your gaming experience.
We started by checking the compatibility of your laptop and gathering the necessary tools and materials. Then we proceeded with the preparation and safety measures to ensure a smooth and safe process. We walked through the process of removing the old graphics card, cleaning and preparing the slot, and installing the new graphics card with care. You learned how to secure and connect the new GPU properly and reassemble your laptop. Finally, we discussed the importance of installing drivers and testing the performance of the new graphics card for a satisfying gaming experience.
Remember, it’s crucial to research and ensure compatibility before proceeding with a graphics card upgrade. Every laptop model is different, and some may not support the replacement of graphics cards. Additionally, take the necessary precautions to prevent static electricity damage and handle the components with care.
Changing the graphics card in your gaming laptop can significantly improve its performance and allow you to enjoy the latest games with stunning graphics and smoother gameplay. Whether you’re a casual gamer or a professional, upgrading your graphics card can give you an edge and unlock new possibilities.
Now that you have the knowledge and know-how, feel confident in exploring and upgrading your gaming laptop’s graphics card. Take your gaming experience to the next level and immerse yourself in incredible visuals and performance. Happy gaming!