Introduction
Welcome to the world of Windows 11! This new operating system from Microsoft brings a plethora of exciting features and enhancements, including a visually stunning user interface. If you’ve recently installed Windows 11 and want to take full advantage of its capabilities, you may be wondering how to change your default graphics card.
Your default graphics card plays a crucial role in rendering graphics, providing smoother gaming experiences, and accelerating video rendering. By switching to a more powerful graphics card, you can elevate your computing experience to new heights. In this article, we’ll guide you through the process of changing the default graphics card in Windows 11, allowing you to harness the full potential of your hardware.
Before we dive into the steps, it’s important to note that changing the default graphics card requires proper installation of the desired graphics card and its drivers. You’ll also need administrative access to your computer to make the necessary changes. Now, let’s get started!
Determine Current Default Graphics Card
Before we can make any changes, let’s first determine which graphics card is currently set as the default on your Windows 11 system. This step will help us ensure that we’re changing the correct settings. To determine your current default graphics card, follow these steps:
- Right-click on the Start button and select “Device Manager” from the context menu. This will open the Device Manager window.
- In the Device Manager window, expand the “Display adapters” category. This will display a list of installed graphics cards on your computer.
- The graphics card that is currently set as the default will have a checkmark or will be listed as “Default” or “Active” in the properties.
By following these steps, you’ll be able to identify the current default graphics card on your Windows 11 system. Make a note of the name of the graphics card for future reference.
It’s important to note that if you have multiple graphics cards installed on your system, you’ll need to ensure that the desired graphics card is installed and functioning properly before proceeding with the changes. If your desired graphics card is not detected or not functioning correctly, make sure it is properly connected to your computer and that you have installed the latest drivers from the manufacturer’s website.
Now that we’ve identified the current default graphics card, we can move on to the next steps of installing the graphics card drivers and accessing the graphics card settings.
Install Graphics Card Drivers
Before you can change the default graphics card in Windows 11, it’s essential to ensure that the necessary drivers for your desired graphics card are installed on your system. Graphics card drivers are software that enable your operating system to communicate with and utilize the features of your graphics card. Follow these steps to install the graphics card drivers:
- Visit the website of your graphics card manufacturer. NVIDIA, AMD, and Intel are some of the popular graphics card manufacturers.
- Navigate to the “Drivers” or “Support” section of the website.
- Enter the details of your graphics card model or search for it in the provided list.
- Download the latest drivers for your specific graphics card model and the corresponding operating system (Windows 11).
- Once the drivers are downloaded, locate the installation file and run it.
- Follow the on-screen instructions to complete the installation of the graphics card drivers.
- Restart your computer to ensure that the drivers are properly installed and functioning.
After the restart, your computer should recognize the newly installed graphics card and automatically set it as the default. However, if it doesn’t, don’t worry. We will show you how to manually change the default graphics card in the next section.
Installing the correct drivers ensures that your graphics card is functioning optimally and provides the best performance and compatibility with Windows 11. It’s always recommended to keep your graphics card drivers up to date to take advantage of the latest improvements and bug fixes.
Now that you have installed the graphics card drivers, let’s proceed to the next section, where we will learn how to access the graphics card settings.
Access Graphics Card Settings
Now that you have installed the necessary graphics card drivers, it’s time to access the graphics card settings in Windows 11. These settings allow you to configure various options related to your graphics card, including the default graphics card. To access the graphics card settings, follow these steps:
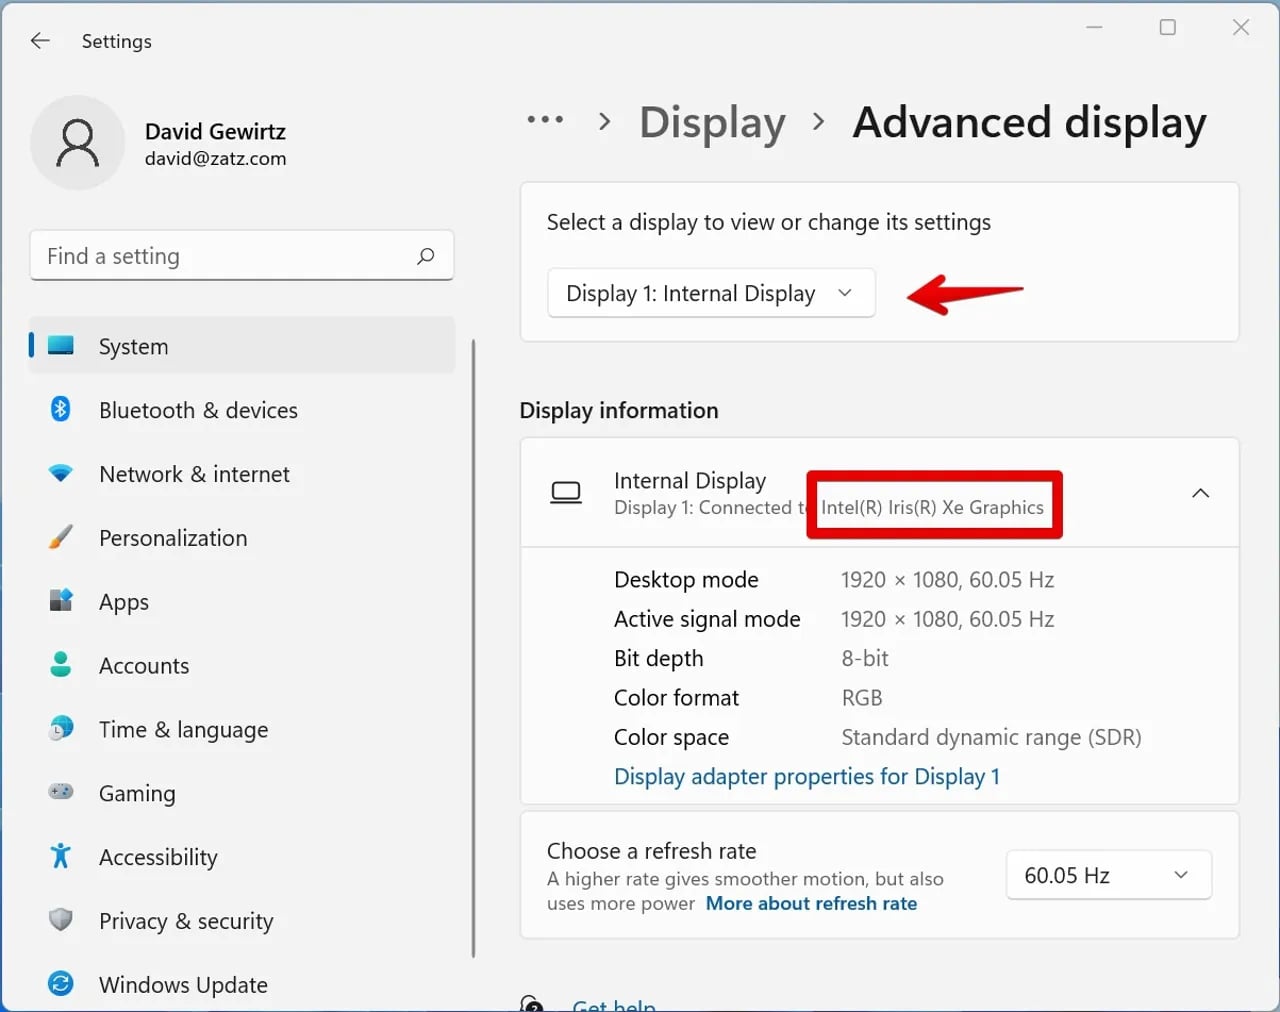
- Right-click on the desktop and select “Display settings” from the context menu. This will open the Display settings window.
- In the Display settings window, scroll down and click on the “Advanced display settings” link.
- In the Advanced display settings window, click on the “Display adapter properties” link.
- A new window will open, displaying the properties of your graphics card. This window is specific to your graphics card and may vary depending on the manufacturer and model.
- Look for an option or tab related to “Graphics” or “Adapter”. This is where you will find the settings to change the default graphics card.
Once you have accessed the graphics card settings, you’re ready to proceed with changing the default graphics card. The next section will guide you through the steps to accomplish this.
Keep in mind that the steps to access the graphics card settings may vary slightly depending on the manufacturer and model of your graphics card. If you’re having trouble finding the settings, refer to the user manual or support documentation provided by the graphics card manufacturer.
Now that you know how to access the graphics card settings, let’s move on to the next section, where we will learn how to change the default graphics card in Windows 11.
Change Default Graphics Card
Now that you have accessed the graphics card settings in Windows 11, it’s time to change the default graphics card. Follow these steps to make the necessary changes:
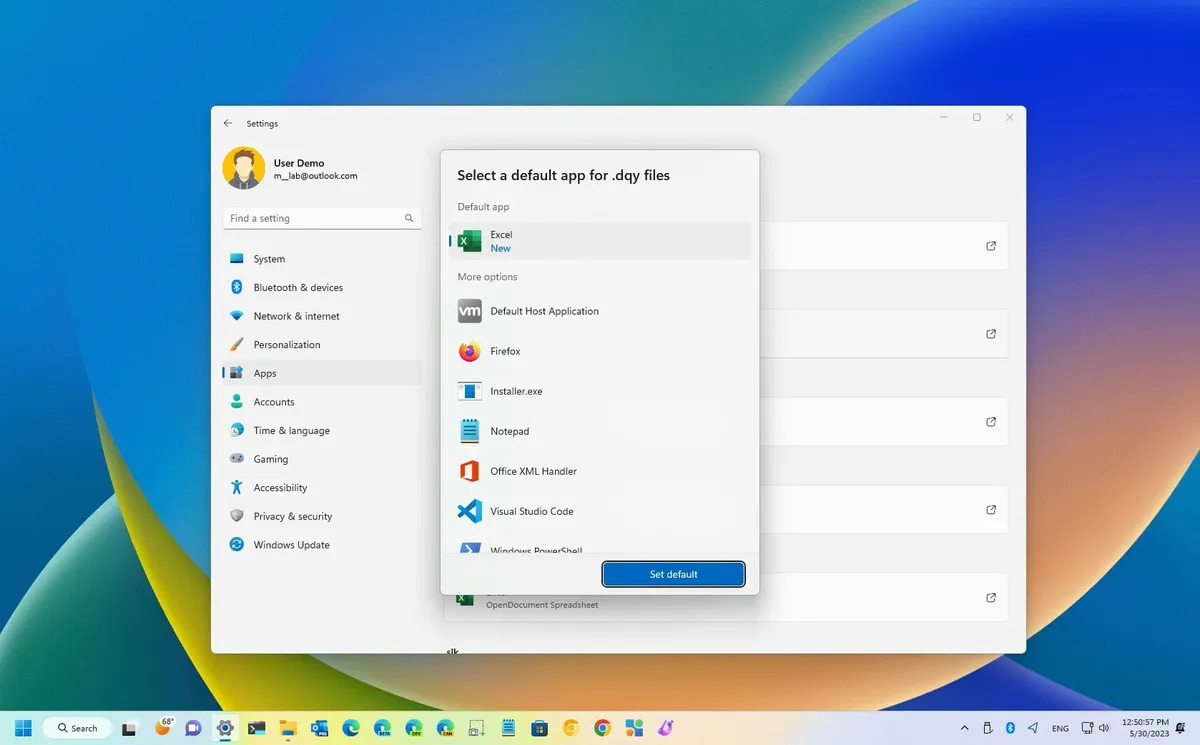
- In the graphics card settings window, navigate to the “Graphics” or “Adapter” tab. This is where the option to change the default graphics card is usually located.
- Look for an option such as “Primary graphics adapter” or “Preferred graphics processor”.
- Select the desired graphics card from the available options. If you have multiple graphics cards installed, you will see a list of options to choose from.
- Once you have selected the desired graphics card, save the changes by clicking on the “Apply” or “OK” button.
By following these steps, you have successfully changed the default graphics card in Windows 11. The system will now use the selected graphics card as the default for rendering graphics, gaming, and other graphical tasks.
Remember that changing the default graphics card may require administrative privileges. If prompted, provide the necessary credentials to make the changes.
Now that you have changed the default graphics card, it’s important to confirm the changes to ensure they have been applied correctly. Let’s move on to the next section to learn how to do that.
Confirm Default Graphics Card Change
After changing the default graphics card in Windows 11, it’s essential to confirm that the changes have been applied successfully. Here’s how you can verify the default graphics card:
- Right-click on the desktop and select “Display settings” from the context menu.
- In the Display settings window, scroll down and click on the “Advanced display settings” link.
- In the Advanced display settings window, click on the “Display adapter properties” link.
- The properties window that opens will display the details of your graphics card.
- Confirm that the name of the updated/default graphics card is listed under the “Adapter information” or “Adapter” section.
If the name of the desired graphics card is displayed, congratulations! You have successfully changed the default graphics card. It will now be used for all graphics-intensive tasks on your Windows 11 system.
If the name of the intended graphics card is not listed or if the previous default graphics card is still displayed, double-check the steps you followed to ensure that the changes were applied correctly. Repeat the steps if necessary, making sure to save the changes before closing the graphics card settings window.
If you encounter any issues or if the changes are not reflected, you may need to consult the support documentation provided by the graphics card manufacturer or seek assistance from their technical support team.
After confirming the default graphics card change, it’s recommended to restart your computer to ensure that all configurations are properly applied. Now you can enjoy the enhanced performance and visual experience provided by your new default graphics card.
Restart Your Computer
After changing the default graphics card in Windows 11 and confirming the changes, it is important to restart your computer. Restarting your computer ensures that all the changes made to the graphics card settings are fully applied and take effect. Here’s how you can restart your computer:
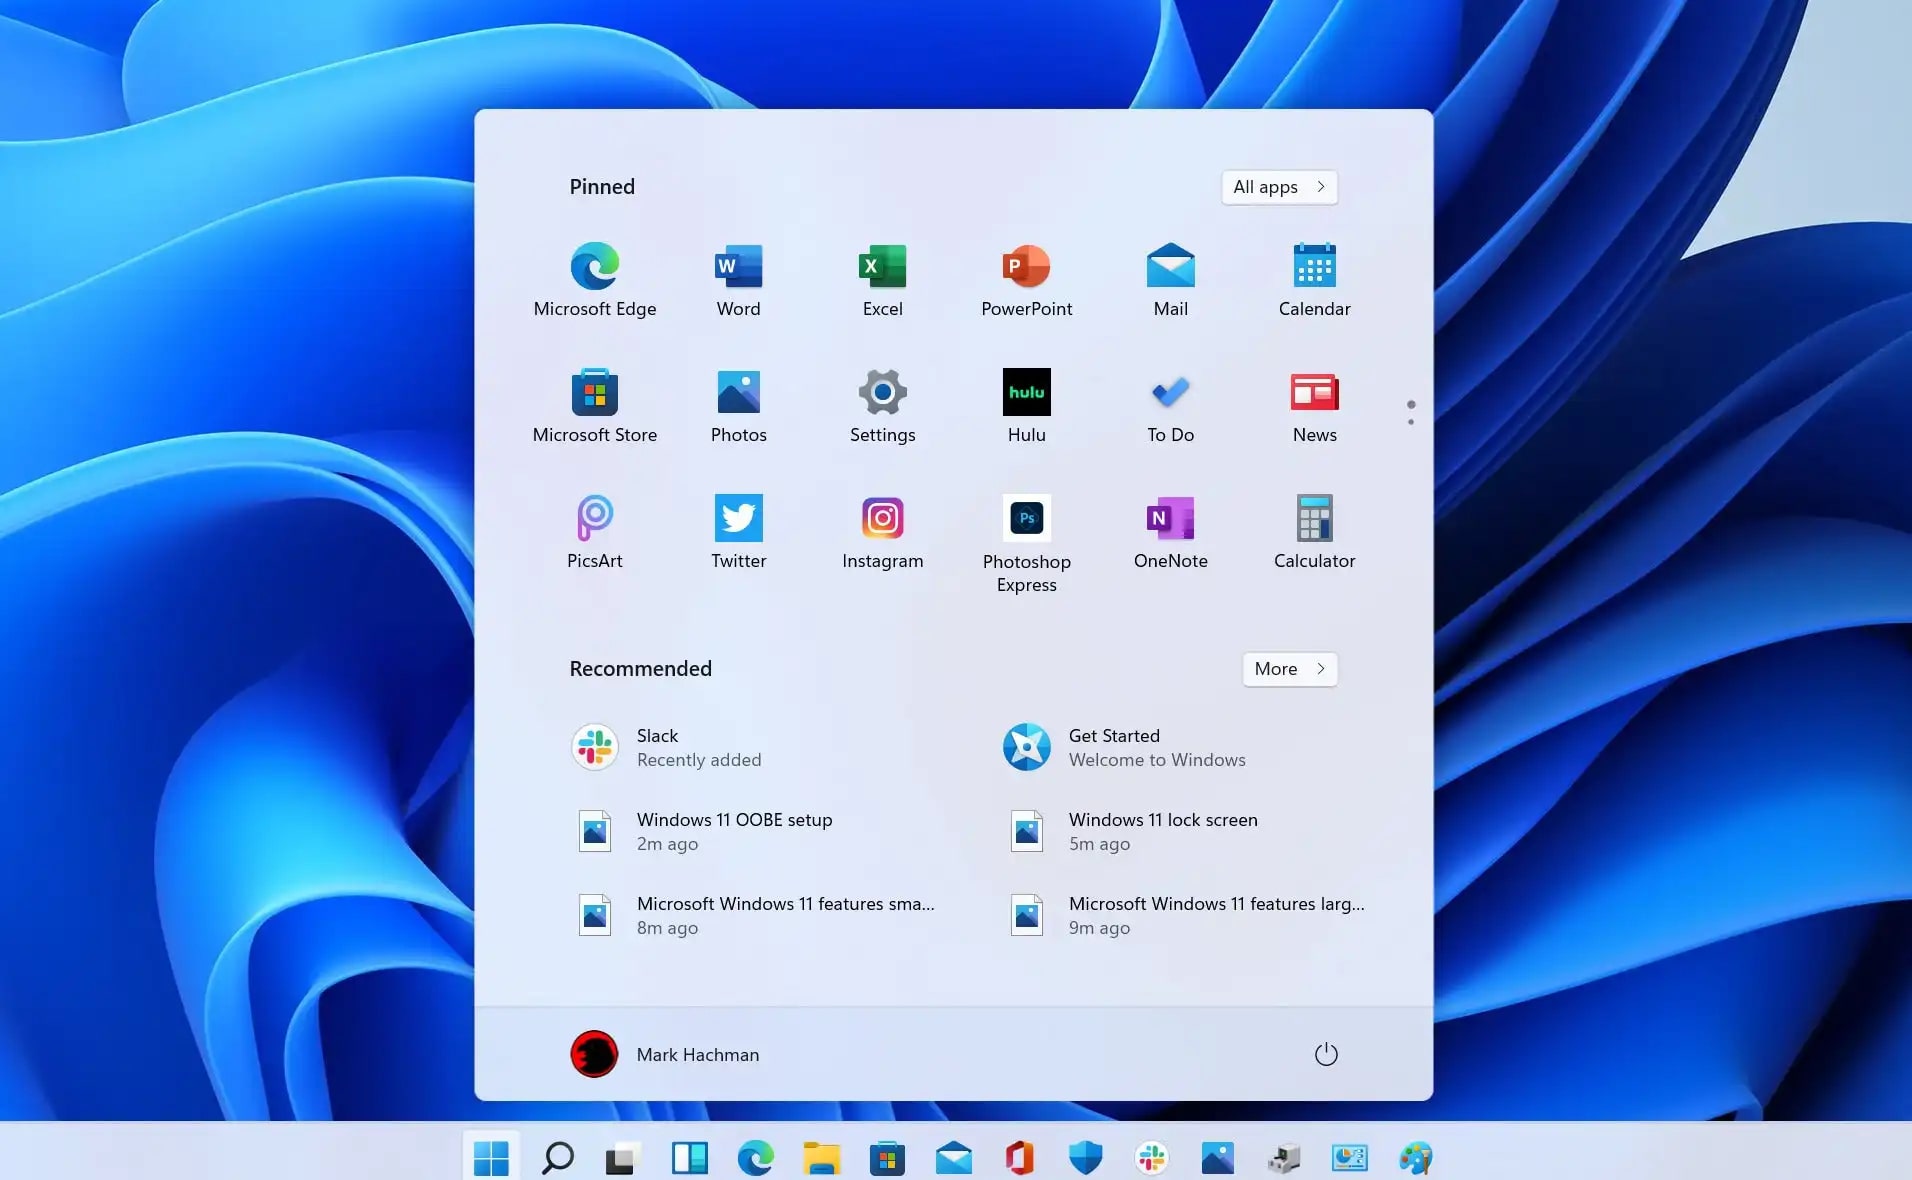
- Click on the Start button in the taskbar.
- From the Start menu, click on the Power icon.
- Select the “Restart” option from the power menu.
Windows will initiate the restart process, and your computer will shut down and boot up again. This may take a few moments, so be patient.
Once your computer has restarted, the changes made to the default graphics card will be fully implemented. You can now experience the improved performance and visual quality offered by the new default graphics card on your Windows 11 system.
Remember that after restarting your computer, it’s always a good idea to test your new default graphics card in various applications, especially graphics-intensive tasks such as gaming or multimedia editing. This will allow you to ensure that the changes have been applied successfully and that the new graphics card is functioning as expected.
If you encounter any issues or if the desired graphics card is still not set as the default after restarting, you may need to revisit the graphics card settings and ensure that the correct options have been selected. If problems persist, it’s recommended to check for the latest drivers and updates for your graphics card or seek assistance from the graphics card manufacturer’s support team.
Now that your computer has been restarted, you are ready to enjoy the enhanced graphics performance and capabilities provided by your new default graphics card in Windows 11.
Conclusion
Changing the default graphics card in Windows 11 allows you to harness the full potential of your hardware and improve the performance of graphics-intensive tasks such as gaming and video rendering. By following the steps outlined in this article, you can confidently switch to a more powerful graphics card and enjoy an enhanced computing experience.
Remember, before changing the default graphics card, it is crucial to install the necessary drivers for your desired graphics card. This ensures optimal functionality and compatibility with Windows 11. Additionally, accessing the graphics card settings and making the necessary changes requires administrative privileges.
After changing the default graphics card, be sure to confirm the changes by checking the graphics card properties in the display settings. If the new graphics card is listed as the default, you have successfully made the switch.
Lastly, restart your computer to ensure that all configurations are fully applied. This allows the changes to take effect and ensures a seamless transition to the new default graphics card.
By following these steps and taking the time to install the correct drivers, access the graphics card settings, and change the default graphics card, you can unlock the full potential of your hardware and enjoy a superior visual experience on your Windows 11 system.
Now that you have successfully changed the default graphics card, take some time to explore the capabilities of your new graphics card and indulge in high-quality gaming, video editing, and other graphics-intensive tasks. Embrace the enhanced performance and immerse yourself in the stunning visuals that Windows 11, combined with your new default graphics card, has to offer.