Introduction
Welcome to this comprehensive guide on how to download PCSX2, one of the most popular and powerful PlayStation 2 emulators available today. With PCSX2, you can relive the nostalgic gaming experiences of your favorite PS2 games on your computer. Whether you want to play classic titles like “Final Fantasy X,” “Metal Gear Solid 3,” or “Shadow of the Colossus,” PCSX2 offers a seamless and immersive gaming experience.
Emulators like PCSX2 have revolutionized the gaming scene by allowing us to play console games on different platforms. With the flexibility and convenience offered by the emulator, you no longer need to invest in an actual PS2 console or search for rare game copies. Instead, you can simply download PCSX2 and start enjoying your favorite PS2 games without any hassle.
Before we delve into the step-by-step process of downloading and installing PCSX2, it’s essential to ensure that your system meets the required specifications. This will ensure smooth performance and optimal gameplay. Once you’ve confirmed that your system is compatible, you can proceed with the next steps, from downloading and configuring the emulator to adding game ISOs and optimizing the graphics settings.
Whether you’re a seasoned gamer or new to the world of emulators, this guide will provide you with everything you need to know to get started with PCSX2. So let’s dive in and embark on a journey to relive the magic of PlayStation 2 gaming on your computer!
System Requirements
Before downloading PCSX2, it’s crucial to ensure that your system meets the necessary requirements for optimal performance. While PCSX2 is a lightweight emulator, running PS2 games smoothly requires a decently powerful computer. Here are the minimum and recommended system requirements:
- Operating System: PCSX2 is compatible with Windows, Linux, and macOS.
- Processor: A decent multi-core processor is necessary to handle the emulation process. Intel Core i3 or AMD Ryzen 3 is the minimum requirement, while Intel Core i5 or AMD Ryzen 5 is recommended.
- RAM: The emulator requires at least 2GB of RAM, but 4GB or more is recommended for smoother performance.
- Graphics Card: A dedicated graphics card with DirectX 11 support is necessary for optimal graphics performance. Nvidia GeForce 8000 series or AMD Radeon HD 3000 series or better is recommended.
- Storage: You will need around 50-100GB of free disk space for storing game ISOs and emulator files.
- Controllers: While PCSX2 supports keyboard and mouse input, using a game controller is highly recommended for an authentic gaming experience. Popular options include Xbox 360 or Xbox One controllers.
Keep in mind that these are the general requirements, and the performance may vary depending on the games you intend to play. Some more demanding games may require a more powerful system to run smoothly.
It’s also worth noting that PCSX2 relies heavily on the processor’s performance, so the better your processor, the smoother your gaming experience will be. Additionally, having an SSD (Solid State Drive) instead of a regular hard drive will significantly improve loading times in PCSX2.
Now that you have an understanding of the system requirements, let’s proceed to the next section, where we’ll guide you through the process of downloading and installing PCSX2 in detail.
Step 1: Downloading PCSX2
The first step to get started with PCSX2 is to download the emulator from the official website. Here’s a detailed walkthrough:
- Open your preferred web browser and go to the official PCSX2 website at pcsx2.net.
- Click on the “Download” tab located in the site’s navigation menu.
- On the downloads page, you will see a list of available PCSX2 versions. It’s recommended to download the latest stable release, as it includes the most recent bug fixes and improvements.
- Choose the appropriate installation package based on your operating system. There are separate packages available for Windows, Linux, and macOS.
- Click on the download link to start the download process. Depending on your internet speed, the download may take a few minutes.
- Once the download is complete, locate the downloaded file on your computer. It should be in the “Downloads” folder or the folder you specified for downloads.
- Double-click on the downloaded file to start the installation process.
- Follow the on-screen instructions to install PCSX2 on your system. Make sure to read and accept the license agreement when prompted.
- Choose the destination folder where you want to install PCSX2 or leave the default settings as they are.
- Once the installation is complete, you can launch PCSX2 by double-clicking on its icon on the desktop or locating it in the Start menu or Applications folder.
Congratulations! You have successfully downloaded and installed PCSX2 on your computer. In the next section, we will guide you through the process of configuring the emulator to ensure optimal performance and compatibility.
Step 2: Installing PCSX2
Now that you have successfully downloaded PCSX2 onto your computer, it’s time to proceed with the installation process. Follow these steps:
- Locate the downloaded PCSX2 installation file on your computer. It is usually found in the “Downloads” folder or the folder designated for downloads.
- Double-click on the installation file to start the installation wizard.
- Read and review the software license agreement. If you agree with the terms and conditions, click on the “I Agree” button to continue.
- Choose the destination folder where you want to install PCSX2 or leave the default settings as they are.
- Next, you’ll be prompted to select the components that you want to install. Typically, you should leave all the components selected for a complete installation. However, you can customize the installation by selecting or deselecting specific components based on your preferences.
- Once you’ve made your selections, click on the “Install” button to begin the installation process.
- Wait for the installation to complete. This may take a few minutes, depending on your system’s performance.
- Once the installation is finished, you’ll see a confirmation message indicating that PCSX2 has been successfully installed on your computer.
- You can now launch PCSX2 by either double-clicking on the desktop icon or locating it in the Start menu or Applications folder.
That’s it! You have now successfully installed PCSX2 on your computer. In the next section, we will guide you through the process of configuring PCSX2 to ensure optimal performance and compatibility with your system.
Step 3: Configuring PCSX2
Now that you have installed PCSX2, it’s important to configure the emulator properly to ensure optimal performance and compatibility with your system. Follow these steps to configure PCSX2:
- Launch PCSX2 by double-clicking on its icon on the desktop or locating it in the Start menu or Applications folder.
- Upon launching PCSX2, you will be prompted to select a language. Choose your preferred language from the drop-down menu and click “OK” to proceed.
- Next, you will see the “First Time Configuration” window. Click “Next” to continue.
- The next screen will prompt you to select a BIOS. Since PCSX2 is an emulator, you will need a PS2 BIOS file to run games. If you already have a PS2 BIOS file, click on the “Browse” button and locate the file on your computer. If you don’t have a BIOS file, proceed to step 6.
- If you don’t have a PS2 BIOS file, click on the “Open Dev9” button and follow the on-screen instructions to download and install the necessary files. Once you have successfully installed the files, return to the “First Time Configuration” window and click “Refresh List” to select the BIOS file you downloaded.
- Once you have selected or installed the BIOS file, click “Next”.
- In the following screen, you will be prompted to configure your plugins. Plugins are software components that handle different aspects of the emulation process. By default, the recommended plugins will be selected. It is recommended to leave the default settings as they are for now. Click “Next” to continue.
- The next screen will ask if you want to enable the “MTVU Hack”. Enabling this option can improve performance in some games, but it may cause issues in others. It is recommended to leave this option unchecked for now. Click “Next” to proceed.
- Now, you will be asked to configure your memory cards. Memory cards allow you to save your progress in games. You can either select an existing memory card or create a new one. Click “Finish” to save your configuration settings.
You have now successfully configured PCSX2. In the next sections, we will guide you through the steps of obtaining a PS2 BIOS file and configuring the BIOS in PCSX2.
Step 4: Obtaining PS2 BIOS
In order to run PS2 games on PCSX2, you will need a PS2 BIOS file. The BIOS contains the firmware required to emulate the PlayStation 2 system. Obtaining a PS2 BIOS is essential for the proper functioning of the emulator. Follow these steps to obtain a PS2 BIOS file:
- First, it’s important to note that obtaining a PS2 BIOS file is considered legal if you own a PlayStation 2 console. You can extract the BIOS from your console using specialized tools.
- If you do not own a PlayStation 2 console or cannot obtain the BIOS legally, it is advised not to download it from unofficial sources. Distributing or downloading copyrighted BIOS files is illegal.
- A popular alternative is to ask a friend who owns a PS2 console to extract the BIOS for you.
- Once you have obtained the BIOS file, you need to place it in the appropriate directory in your PCSX2 installation folder.
- Open the PCSX2 emulator and go to the “Config” menu.
- Select “Plugin/BIOS Selector” from the drop-down menu.
- In the BIOS tab, click on the “Browse” button and navigate to the folder where you placed the BIOS file.
- Select the BIOS file and click “OK” to save the changes.
Make sure you follow the legal guidelines for obtaining the PS2 BIOS file. It’s essential to respect copyright laws and only use the BIOS file if you own a PlayStation 2 console. With the PS2 BIOS properly configured in PCSX2, you can now proceed to the next step, which is configuring the BIOS settings.
Step 5: Configuring the BIOS
Configuring the BIOS is an important step in setting up PCSX2 and ensuring proper emulation of PlayStation 2 games. Here’s how you can configure the BIOS settings:
- Launch PCSX2 and go to the “Config” menu.
- Select “Plugin/BIOS Selector” from the drop-down menu.
- In the BIOS tab, ensure that the correct PS2 BIOS is selected. If not, click on the “Browse” button and navigate to the folder where you have placed the BIOS file. Select the BIOS file and click “OK”.
- Now, click on the “Boot” tab in the “Plugin/BIOS Selector” window.
- Here, you can configure various settings related to the PS2 system boot.
- The first setting you’ll encounter is the “First-Boot Device” option. It determines which device the BIOS will attempt to boot from first. The default option is usually “CDROM”.
- Next, you’ll find the “CDVD” option, which allows you to choose the type of ISO image you want to boot from. You can select between “Image”/”Iso” or “Plugin” options. Choose the one that suits your preference.
- Further down, you’ll notice the “Enable Console” option. Enabling this option will display the PlayStation 2 system console. It’s recommended to keep this option enabled for troubleshooting purposes.
- Once you have configured all the necessary BIOS settings, click on the “Apply” button to save the changes.
- Close the “Plugin/BIOS Selector” window.
By properly configuring the BIOS settings, you ensure that PCSX2 can emulate the PlayStation 2 system accurately. In the next section, we will guide you through the process of adding game ISOs to PCSX2 and setting up controllers for a seamless gaming experience.
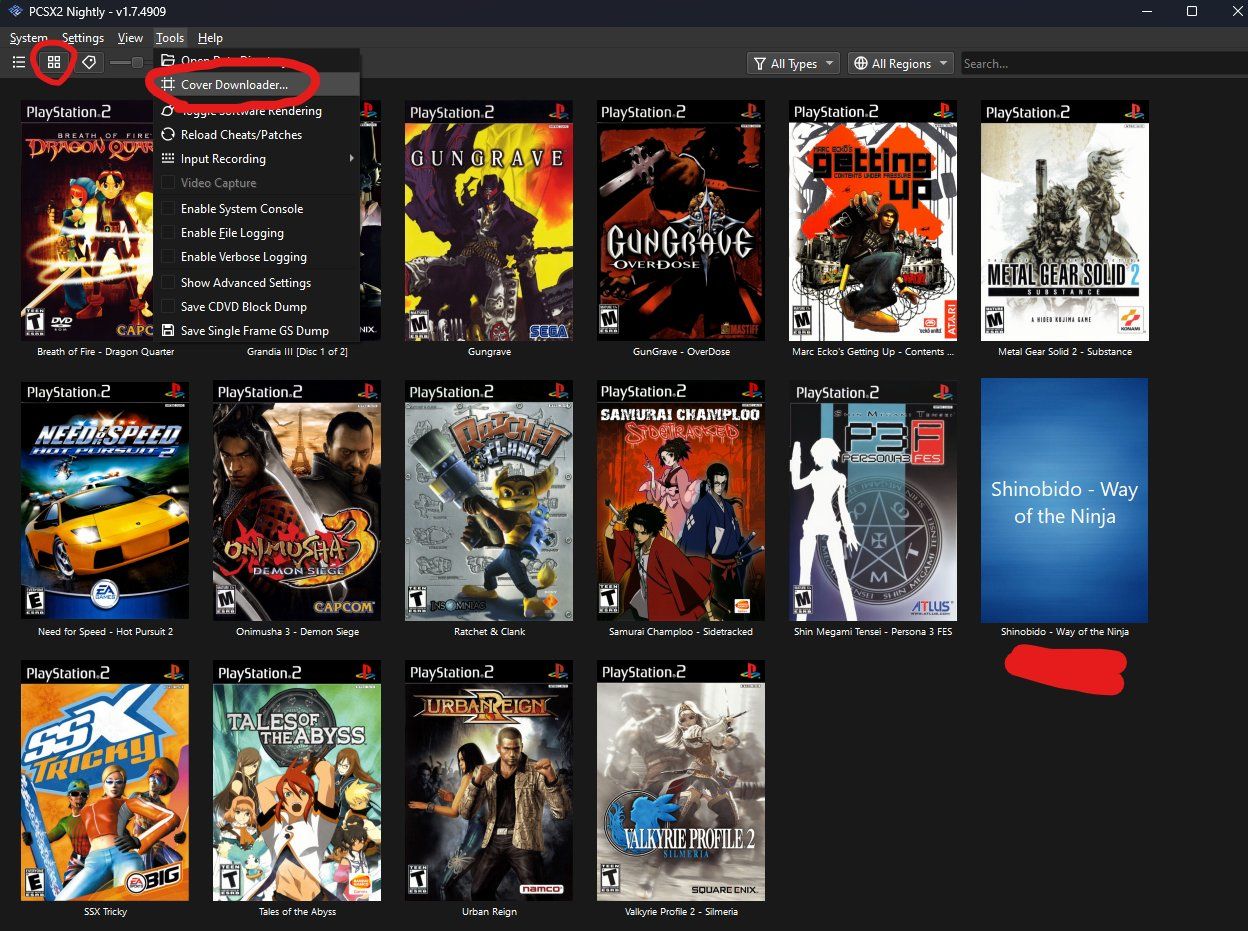
Step 6: Adding Game ISOs
Now that you have configured the BIOS settings, it’s time to add game ISOs to PCSX2 so that you can start playing your favorite PS2 games. Here’s how you can add game ISOs:
- Open PCSX2 and go to the “CDVD” menu.
- Select “ISO Selector” and then click on “Browse”.
- Navigate to the folder where your PS2 game ISOs are located.
- Select the game ISO file you want to add and click “Open”.
- PCSX2 will now recognize the game ISO and display the name in the “ISO Selector” window.
- You can repeat this process to add multiple game ISOs to PCSX2.
- Once you’ve added the game ISOs, go back to the “System” menu and select “Boot CDVD (Fast)”.
- PCSX2 will now load the game from the selected ISO file, and you can start playing by following the on-screen prompts.
Ensure that you have legally obtained game ISOs for the games you wish to play. Sharing or downloading copyrighted games from unauthorized sources is illegal.
By adding game ISOs to PCSX2, you can experience the excitement and nostalgia of your favorite PlayStation 2 games on your computer. In the next step, we will guide you through the process of configuring controllers to play games using your preferred input devices.
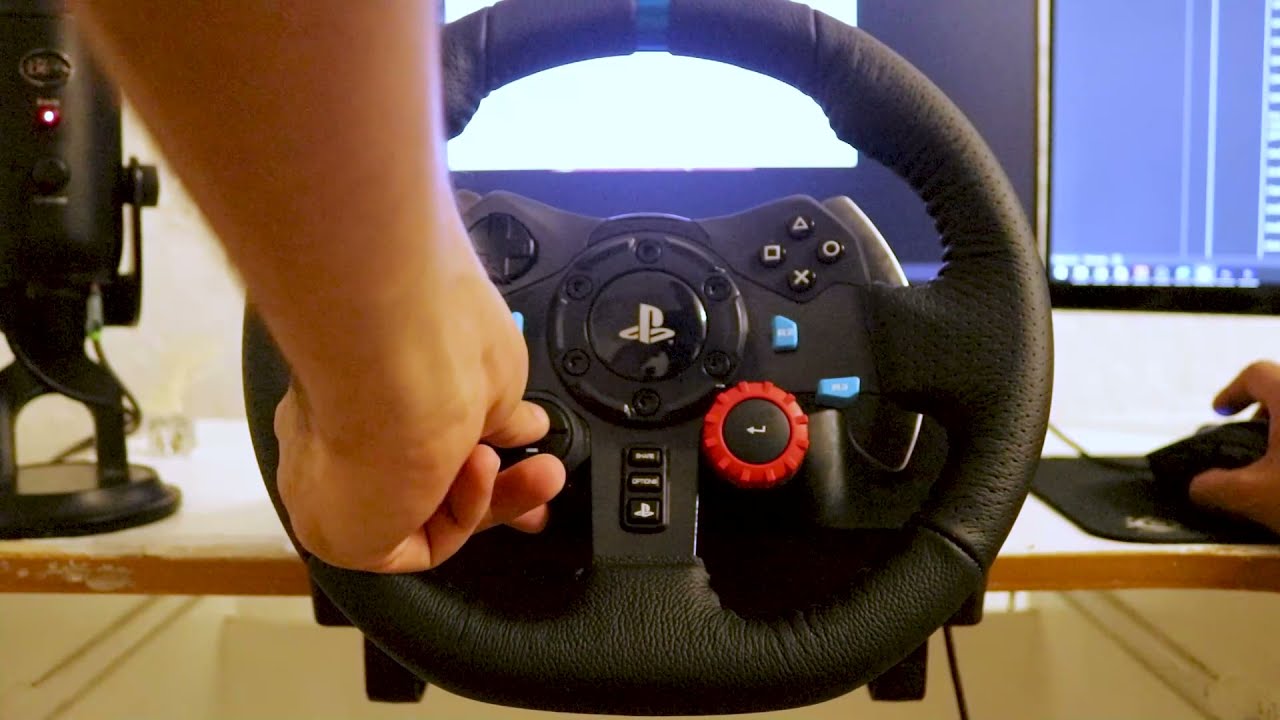
Step 7: Configuring Controllers
Configuring controllers is an essential step to ensure a smooth and enjoyable gaming experience with PCSX2. Here’s how you can configure controllers:
- Connect your preferred game controller to your computer.
- Open PCSX2 and go to the “Config” menu.
- Select “Controllers (PAD)” from the drop-down menu.
- In the “Device Diagnostics” tab, your connected controller should be detected.
- Click on the drop-down menu under “Device” to select your connected controller.
- Now, you can configure the controller buttons and analog sticks.
- Click on a button or analog stick box, and then press the corresponding button on your controller to assign it.
- Repeat this process for all the buttons and analog sticks.
- Adjust the analog sensitivity settings as per your preference.
- Once you have finished configuring the controller, click on the “Apply” button to save the changes.
- Close the configuration window.
You can configure multiple controllers if you want to play games with friends in multiplayer mode. Simply repeat the steps above for each connected controller.
By properly configuring your controllers, you can enjoy a seamless and responsive gaming experience with PCSX2. In the next step, we will guide you through adjusting graphics settings to enhance your gameplay visuals.
Step 8: Adjusting Graphics Settings
To enhance your gameplay visuals and ensure smooth performance, it’s important to adjust the graphics settings in PCSX2. Here’s how you can do it:
- Open PCSX2 and go to the “Config” menu.
- Select “Emulation Settings” from the drop-down menu.
- In the “Graphics” tab, you will find various options to adjust the graphics settings.
- The first option is the “Renderer” setting, which determines how the graphics are rendered. The recommended renderer is “Direct3D 11 (Hardware)”.
- Beneath the “Renderer” setting, you can adjust the internal resolution. Increasing the resolution will result in better visuals but may require a more powerful system. It’s recommended to start with the native resolution and adjust it as per your preferences.
- Next, you will find the “Texture Filtering” option. Enabling it will enhance the texture details in games, but it may slightly impact performance. It’s recommended to enable this option for better visuals.
- The “Shader Configuration” setting allows you to apply different visual shaders to enhance the graphics. Experiment with different shaders to find the one that suits your preferences.
- Further down, you will find options such as “Enable HW Hacks” and “Enable FXAA”. These settings can be used to further enhance the graphics, but they may have an impact on performance. It’s recommended to enable them selectively and test the performance impact.
- Once you have adjusted the graphics settings as per your preference, click on the “Apply” button to save the changes.
By adjusting the graphics settings in PCSX2, you can improve the visual quality of your gameplay. However, keep in mind that increasing the graphics settings may require a more powerful system to maintain smooth performance.
Now that you have adjusted the graphics settings, let’s move on to the next step, where we will explore ways to enhance the performance of PCSX2 for smoother gameplay.
Step 9: Enhancing Performance
To ensure optimal performance and smoother gameplay with PCSX2, there are several techniques you can employ to enhance its performance. Here are some tips:
- Ensure that you have the latest version of PCSX2 installed. Newer versions often come with performance optimizations and bug fixes.
- Make sure that your computer’s drivers, including graphics and audio drivers, are up to date. Outdated drivers can cause performance issues.
- Close any unnecessary background applications and processes that may be consuming system resources.
- Experiment with different graphics settings in PCSX2, such as the internal resolution. Lowering the resolution can significantly boost performance.
- Disable unnecessary graphical enhancements, such as anti-aliasing or anisotropic filtering, if they are causing performance issues.
- Enable the “MTVU” speedhack option in the PCSX2 settings. This option can improve multi-threaded performance in some games.
- Consider overclocking your CPU and GPU, but do so cautiously and at your own risk. Overclocking can provide a noticeable performance boost, but it may also increase system heat and potentially cause stability issues.
- Ensure that your system has sufficient cooling to prevent overheating. Excessive heat can impact system performance.
- If you still experience performance issues, try using game patches or alternative settings specific to the game you are playing. These can often be found on PCSX2 forums or community websites.
Remember that not all games will perform optimally on every system due to variations in hardware and emulation compatibility. However, with these performance-enhancing techniques, you can mitigate most performance issues and improve your overall gaming experience with PCSX2.
Now that you have learned various tips to enhance performance, you are ready to embark on your PlayStation 2 gaming adventure!
Conclusion
Congratulations! You have reached the end of this comprehensive guide on how to download and configure PCSX2, the powerful PlayStation 2 emulator. By following the nine steps outlined in this guide, you are now equipped to relive the nostalgia and enjoy your favorite PS2 games on your computer.
We began by discussing the system requirements to ensure smooth performance. Then, we explored the step-by-step process of downloading and installing PCSX2. We covered configuring the emulator, obtaining the PS2 BIOS, and setting up the BIOS settings. We also learned how to add game ISOs, configure controllers, adjust graphics settings, and enhance performance for an optimal gaming experience.
Playing PS2 games on PCSX2 allows you to indulge in classic titles, experience improved graphics, and enjoy the convenience of playing on your computer. Whether you want to embark on epic adventures, experience thrilling action, or immerse yourself in captivating stories, PCSX2 opens up a world of possibilities.
Remember, it’s essential to ensure that you obtain PS2 BIOS files legally and respect copyright laws. Sharing or downloading copyrighted games from unauthorized sources is illegal and disrespectful to game developers and publishers.
We hope that this guide has provided you with the necessary knowledge and confidence to start your PCSX2 journey. If you encounter any issues or have any questions, you can always visit the official PCSX2 website or seek help from the supportive PCSX2 community.
Now it’s time to dust off those PS2 game discs or download game ISOs, configure your controllers, adjust the graphics settings, and immerse yourself in the nostalgic world of PlayStation 2 gaming.
Happy gaming!