Introduction
Welcome to the world of PCSX2, a powerful emulator that allows you to play your favorite PlayStation 2 games on your computer. One of the key aspects of enjoying a seamless gaming experience on PCSX2 is setting up a game controller. By configuring your controller properly, you can relive the nostalgia of classic PS2 titles with the convenience of modern hardware.
In this guide, we will walk you through the process of setting up a game controller on PCSX2. Whether you prefer the precision of a gamepad or the familiarity of a joystick, we will help you configure your preferred controller to work seamlessly with the emulator. By the end of this tutorial, you will be ready to dive into the world of PS2 gaming on your PC with your chosen controller at the helm.
Let's embark on this journey together, ensuring that you have all the necessary tools to fully enjoy the immersive and nostalgic experience of playing PS2 games on your computer. So, grab your controller of choice, and let's get started on this exciting setup process.
Downloading and Installing PCSX2
Before you can configure your game controller for use with PCSX2, you need to have the emulator installed on your system. The first step is to download the latest version of PCSX2 from the official website. Ensure that you select the appropriate version for your operating system, whether it’s Windows, macOS, or Linux.
Once the download is complete, proceed to install PCSX2 by following the on-screen instructions. During the installation process, you may be prompted to specify the installation directory and make additional configuration choices. It’s important to pay attention to these options to ensure that PCSX2 is installed according to your preferences.
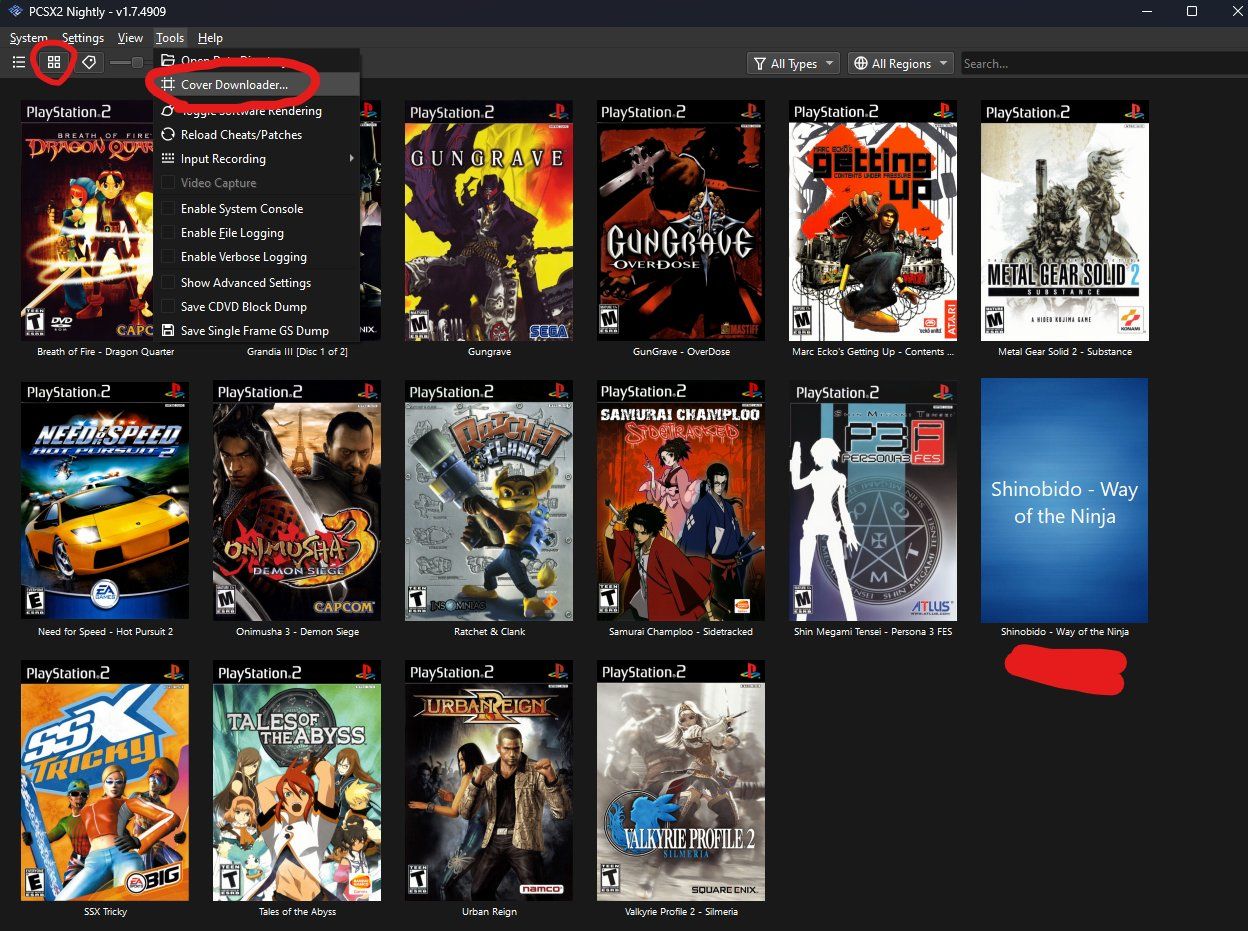
After the installation is complete, launch PCSX2 to verify that it is running properly on your system. Familiarize yourself with the emulator’s interface and settings, as this will be essential when configuring your game controller in the subsequent steps.
With PCSX2 successfully installed on your computer, you are now ready to move on to the next phase of the setup process: configuring your game controller to work seamlessly with the emulator. This step is critical in ensuring that you can fully immerse yourself in the world of PlayStation 2 gaming on your PC.
Configuring the Game Controller
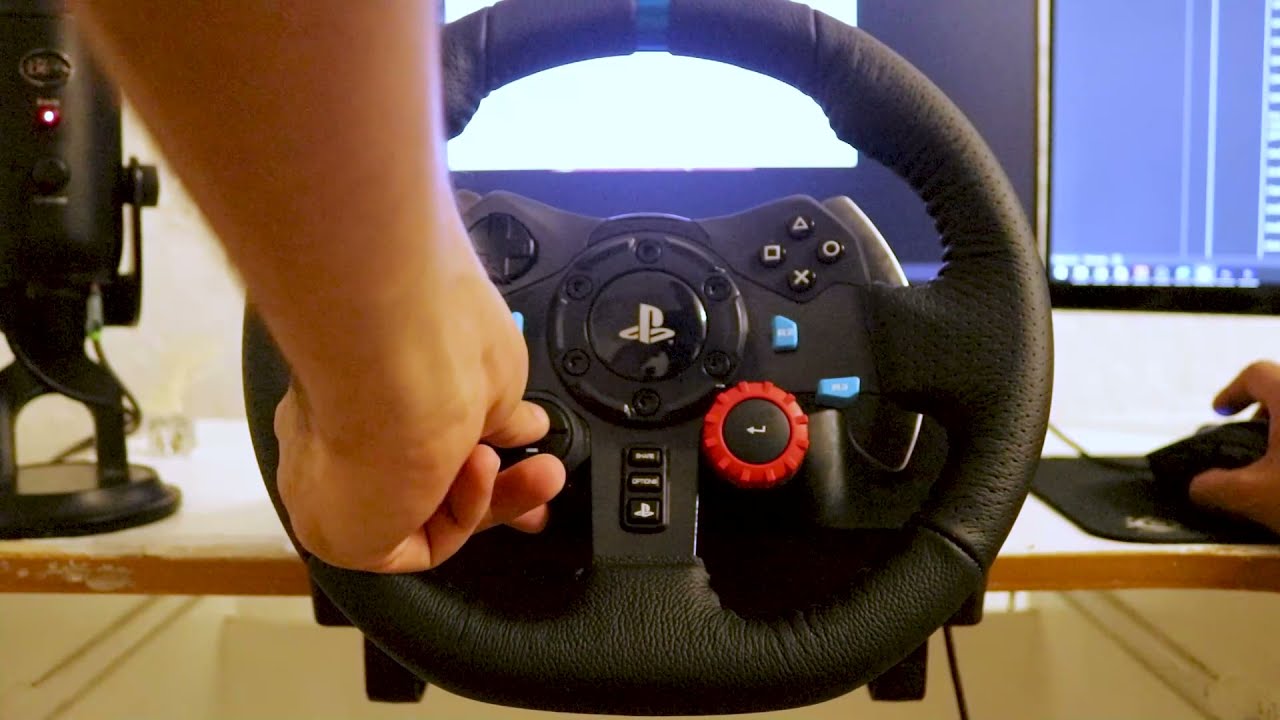
Configuring your game controller to work with PCSX2 involves a few essential steps to ensure optimal performance and seamless gameplay. Before delving into the emulator’s settings, it’s crucial to have your game controller connected to your computer via USB or a wireless connection, depending on the type of controller you are using.
Once your controller is connected, open PCSX2 and navigate to the “Config” menu. From there, select “Controllers (PAD)” to access the controller configuration settings. Here, you will have the option to map the buttons and axes of your game controller to the corresponding inputs recognized by PCSX2.
When configuring the controller, you can either manually map each button and axis or utilize pre-configured profiles for popular gamepads, such as the DualShock 4 or Xbox controller. If you opt for manual mapping, simply click on the button or axis in the PCSX2 interface and then press the corresponding button or move the analog stick on your game controller.
It’s important to ensure that each button and axis is mapped correctly to avoid any input errors during gameplay. Additionally, you can customize the sensitivity and dead zones for analog sticks to suit your preferences, providing a tailored gaming experience that aligns with your playstyle.
Once you have completed the button and axis mapping, save the configuration settings to apply the changes to your game controller. At this point, your controller should be fully configured to work with PCSX2, allowing you to enjoy a seamless gaming experience as you delve into the world of PlayStation 2 classics.
Setting Up the Controller in PCSX2
After configuring the game controller settings in PCSX2, it’s essential to ensure that the emulator recognizes and properly interfaces with the connected controller. To verify this, navigate to the “Config” menu once again and select “Controllers (PAD).” Here, you can confirm that the configured controller is recognized by PCSX2 and that the button and axis mappings are accurately reflected in the emulator’s settings.
It’s advisable to test the controller’s functionality within PCSX2 by accessing the “Pad 1” tab under the “Controllers (PAD)” settings. Here, you can perform a quick test to verify that each button and axis on the controller corresponds to the expected inputs displayed in the emulator’s interface. This step is crucial in identifying any potential issues with the controller configuration and addressing them before diving into gameplay.
Furthermore, if you are using multiple controllers or wish to configure additional controllers for multiplayer gaming, PCSX2 allows you to set up and customize input mappings for each connected controller individually. This feature is particularly useful for enjoying multiplayer experiences in PS2 games that support multiple players.
Once you have confirmed that the controller is properly set up and recognized by PCSX2, you are ready to embark on your gaming journey. Whether you’re revisiting beloved classics or exploring new titles, having your controller seamlessly integrated with the emulator enhances the overall gaming experience, allowing you to fully immerse yourself in the world of PlayStation 2 gaming on your computer.
Testing the Controller
Before delving into your favorite PlayStation 2 titles on PCSX2, it’s crucial to conduct a thorough test of the configured controller to ensure its responsiveness and accuracy within the emulator. To begin the testing process, launch a compatible PS2 game within PCSX2 and navigate to the game’s settings or options menu. Here, you can access the controller configuration settings specific to the game you intend to play.
Verify that the button and axis mappings align with your preferences and match the intended controls of the game. This step is essential in guaranteeing a seamless gameplay experience, as it allows you to fine-tune the controller settings based on the specific requirements of each game.
Once you have confirmed the controller settings within the game, proceed to test the controller’s functionality by engaging in gameplay. Pay close attention to the responsiveness of the buttons and analog sticks, ensuring that the controller accurately translates your inputs into the game. This step is particularly important for games that rely on precise and nuanced controls, such as racing or action-adventure titles.
During the testing phase, take note of any inconsistencies or unexpected behavior exhibited by the controller. If you encounter issues such as input lag, unresponsive buttons, or erratic analog stick movements, it may be necessary to revisit the controller configuration settings in PCSX2 to refine the mappings and ensure optimal performance.
Additionally, if you are utilizing multiple controllers for multiplayer gaming, enlist the assistance of friends or family members to partake in the testing process. This collaborative approach allows you to verify the functionality of each controller in a multiplayer environment, ensuring that all players can fully enjoy the gaming experience without encountering technical hindrances.
By thoroughly testing the controller within PCSX2 and the specific games you intend to play, you can fine-tune the controller settings to deliver a seamless and immersive gaming experience. With the controller performing optimally, you are now equipped to relive the magic of PlayStation 2 gaming on your computer, with the added convenience and flexibility of a customized controller setup.
Conclusion
Setting up a game controller on PCSX2 opens the door to a world of immersive and nostalgic gaming experiences, allowing you to relive the magic of PlayStation 2 titles on your computer. By following the steps outlined in this guide, you have successfully configured your preferred game controller to seamlessly interface with the PCSX2 emulator, ensuring optimal performance and responsiveness during gameplay.
Throughout the setup process, you have downloaded and installed PCSX2, familiarized yourself with the emulator’s interface, and meticulously configured the game controller to align with your gaming preferences. This comprehensive approach has equipped you with the tools necessary to fully immerse yourself in the captivating worlds of classic PS2 games, all while enjoying the familiarity and comfort of your chosen controller.
With the controller set up and tested within PCSX2, you are now prepared to embark on your gaming journey, whether it involves revisiting beloved titles, discovering hidden gems, or engaging in multiplayer experiences with friends and family. The seamless integration of your controller with the emulator enhances the overall gaming experience, providing a level of convenience and customization that elevates your enjoyment of PlayStation 2 classics on your PC.
As you venture into the realm of PCSX2 gaming, remember that the controller configuration settings can be further refined based on the specific requirements of each game, ensuring that you can tailor the controls to suit the nuances of different titles. By maintaining an attentive approach to controller setup and testing, you can optimize the gaming experience and fully immerse yourself in the captivating narratives and thrilling gameplay offered by PlayStation 2 classics.
Embrace the nostalgia, engage in epic adventures, and savor the joy of revisiting timeless classics – all made possible through the seamless integration of your game controller with PCSX2. Your journey into the world of PlayStation 2 gaming awaits, and with a meticulously configured controller at your disposal, you are primed to rediscover the magic of these beloved titles on your computer.