Introduction
Having an up-to-date graphics driver is crucial for optimal performance and compatibility on your Windows 11 system. The graphics driver serves as a link between your computer’s operating system and the graphical hardware, ensuring that your games, applications, and visual content run smoothly.
Regularly updating your graphics driver helps fix bugs, improves stability, enhances graphics rendering, and unlocks new features. It can also boost performance, allowing you to enjoy your favorite games and multimedia content with improved frame rates and image quality.
In this article, we will guide you through the process of updating your graphics driver on Windows 11. We will cover various methods, including using Windows Update, Device Manager, and downloading the driver from the GPU manufacturer’s website.
Before delving into the update process, it is essential to check your current graphics driver version to determine if an update is necessary.
Note: Updating the graphics driver involves making changes to your computer’s system files. Please proceed with caution and ensure you have a backup of your important files before proceeding.
Why should you update your graphics driver?
Updating your graphics driver is vital for several reasons:
- Performance improvements: New driver updates often come with optimizations that can significantly enhance the performance of your graphics card. This means you can expect smoother gameplay, quicker loading times, and improved overall system responsiveness.
- Bug fixes: Graphics driver updates usually address known bugs and issues present in previous versions. Updating to the latest driver can help resolve graphical glitches, crashes, and other compatibility issues you might encounter.
- Compatibility: As new games, software, and applications are released, they are designed to take advantage of the latest hardware capabilities. By keeping your graphics driver up to date, you ensure that your system is compatible with the latest software releases, ensuring optimal performance and minimizing compatibility problems.
- Security: Outdated graphics drivers can be susceptible to security vulnerabilities. By regularly updating your driver, you mitigate potential security risks and protect your system from potential exploits.
- New features and improvements: Driver updates often introduce new features and enhancements that can enhance your overall computing experience. These may include improved graphics rendering techniques, expanded monitor support, and advanced settings options.
Overall, staying up to date with your graphics driver ensures that you can take full advantage of your graphics hardware’s capabilities and enjoy the latest advancements in graphics technology.
Now that we understand the importance of updating the graphics driver, let’s move on to checking the current graphics driver version on your Windows 11 system.
Checking the current graphics driver version
Before proceeding with the update, it is essential to check the current version of your graphics driver. This information will help you determine if an update is necessary and identify the correct driver to download.
Here’s how you can check the current graphics driver version on Windows 11:
- Open the Start menu and type “Device Manager”. Click on it to open the Device Manager window.
- In the Device Manager window, expand the “Display adapters” category by clicking on the arrow next to it.
- You will see the graphics card listed. Right-click on it and select “Properties”.
- In the Properties window, navigate to the “Driver” tab.
- Here, you will find the Driver Version, which indicates the current version of your graphics driver.
Make a note of the driver version for reference. If you decide to update the driver, it is essential to know the current version in order to compare it with the latest available version.
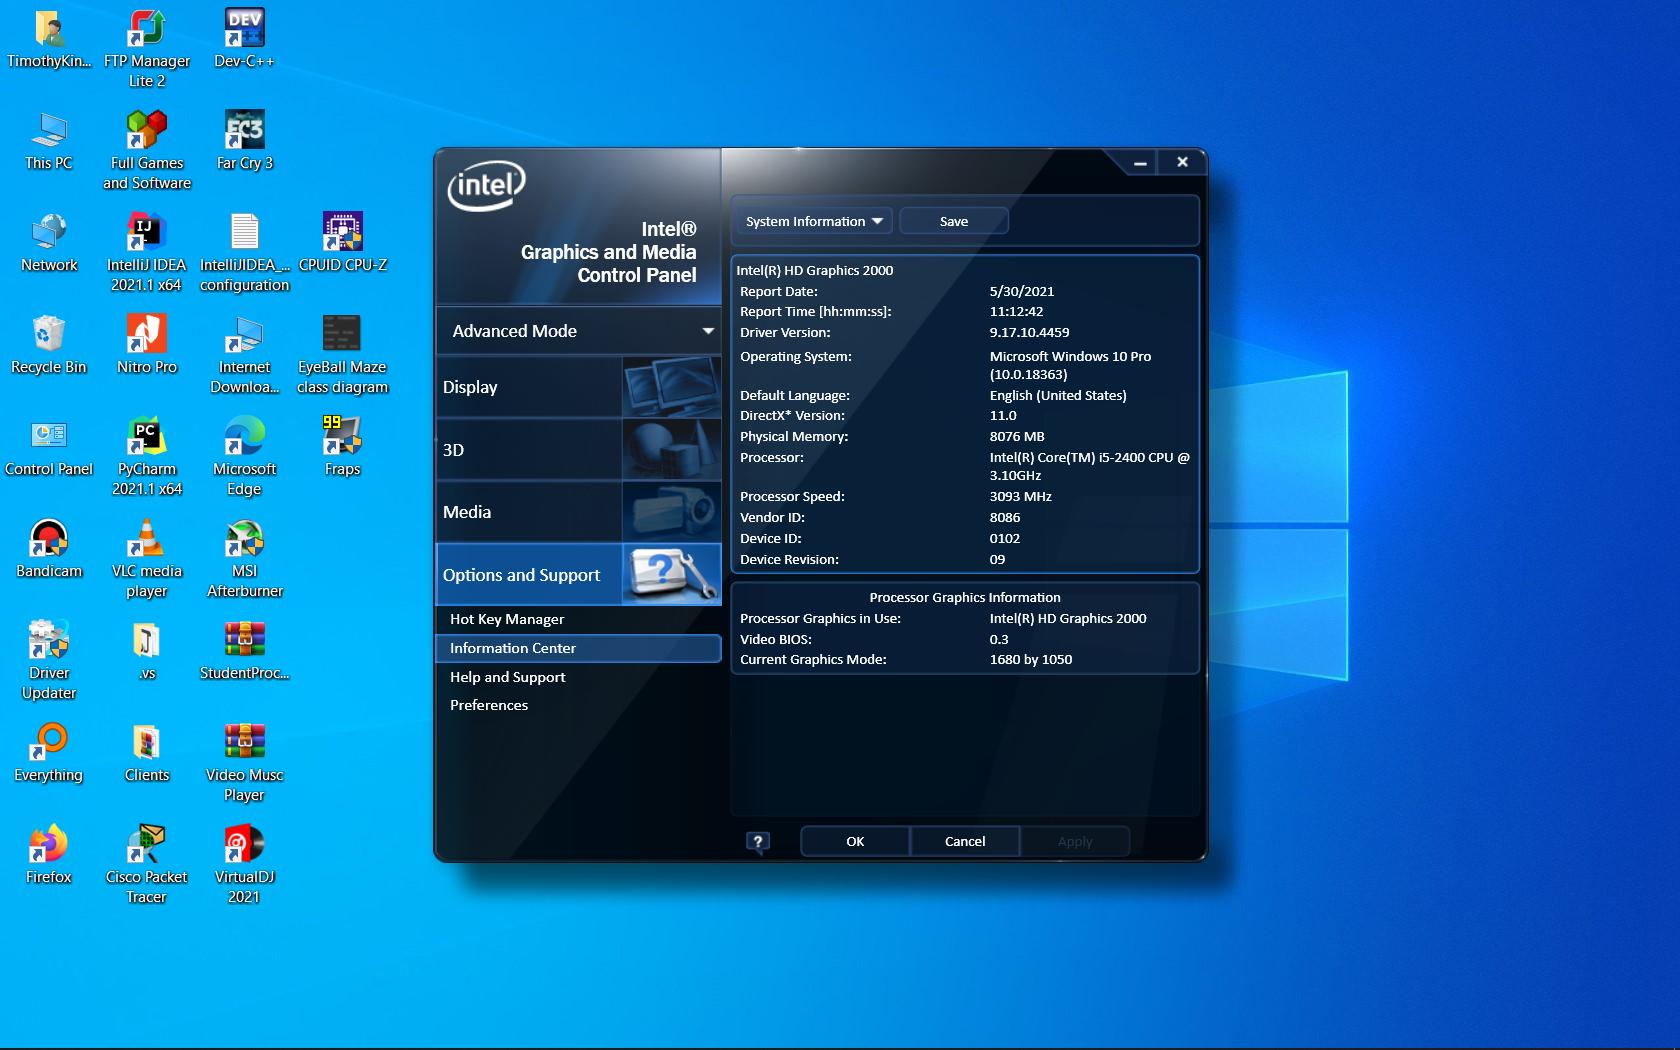
Alternatively, you can also use specialized software like GPU-Z or CPU-Z to check the graphics card model and driver version. These programs provide detailed information about your system’s hardware and drivers, including the graphics driver.
Now that you are aware of the current graphics driver version on your Windows 11 system, let’s move on to the methods for updating the driver to the latest version.
How to update the graphics driver on Windows 11
Updating the graphics driver on your Windows 11 system can be done using different methods. In this section, we will cover three common and straightforward methods:
Method 1: Via Windows Update
Windows Update is the easiest and most convenient way to update your graphics driver. Here’s how:
- Open the Start menu and click on the “Settings” icon (gear icon).
- In the Settings window, click on “Windows Update” from the left-hand side menu.
- Click on “Check for updates” to search for available updates. Windows will automatically detect and install the latest graphics driver if one is available.
- Follow the on-screen instructions, if any, to complete the installation process.
- Restart your computer to ensure that the changes take effect.
Method 2: Using Device Manager
Another method to update your graphics driver is through the Device Manager. Here’s how:
- Open the Start menu and type “Device Manager”. Click on it to open the Device Manager window.
- In the Device Manager window, expand the “Display adapters” category by clicking on the arrow next to it.
- Right-click on your graphics card and select “Update driver”.
- Choose the “Search automatically for drivers” option.
- Windows will search for the latest driver online and install it automatically.
- Once the installation is complete, restart your computer to apply the changes.
Method 3: Downloading from the GPU manufacturer’s website
If the above methods do not provide the latest driver for your graphics card, you can visit the website of the GPU manufacturer and download the driver manually. Here’s how:
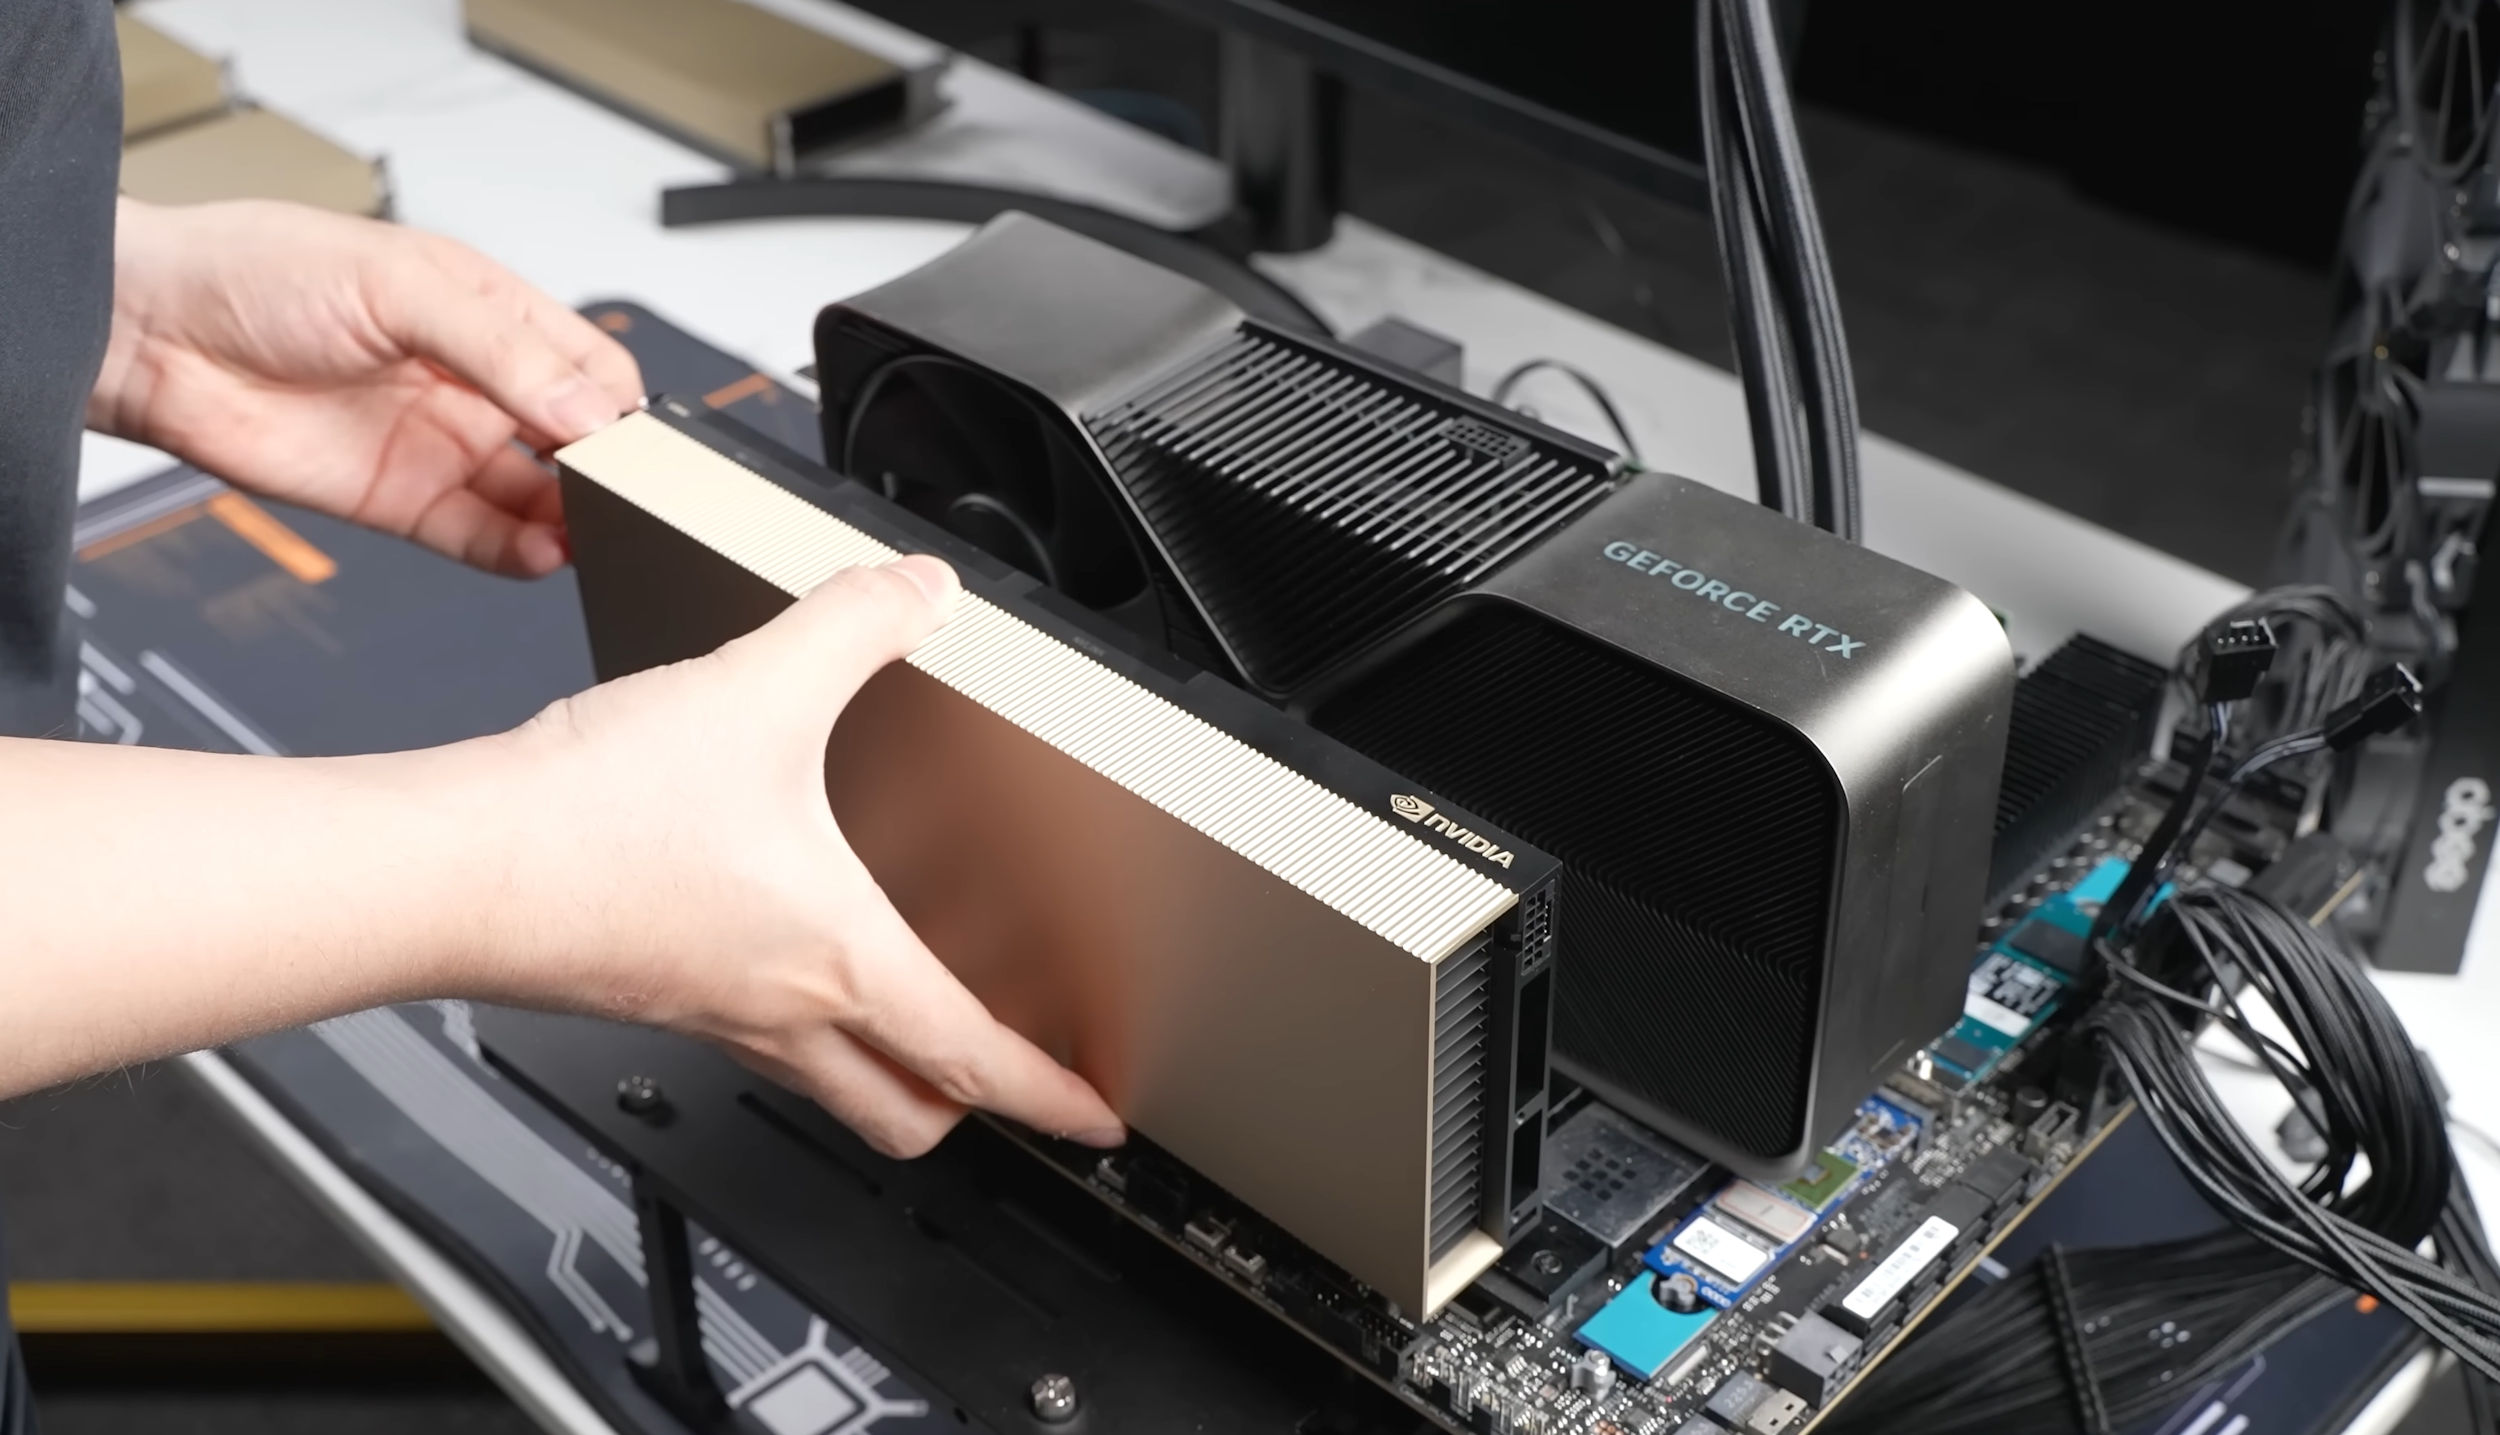
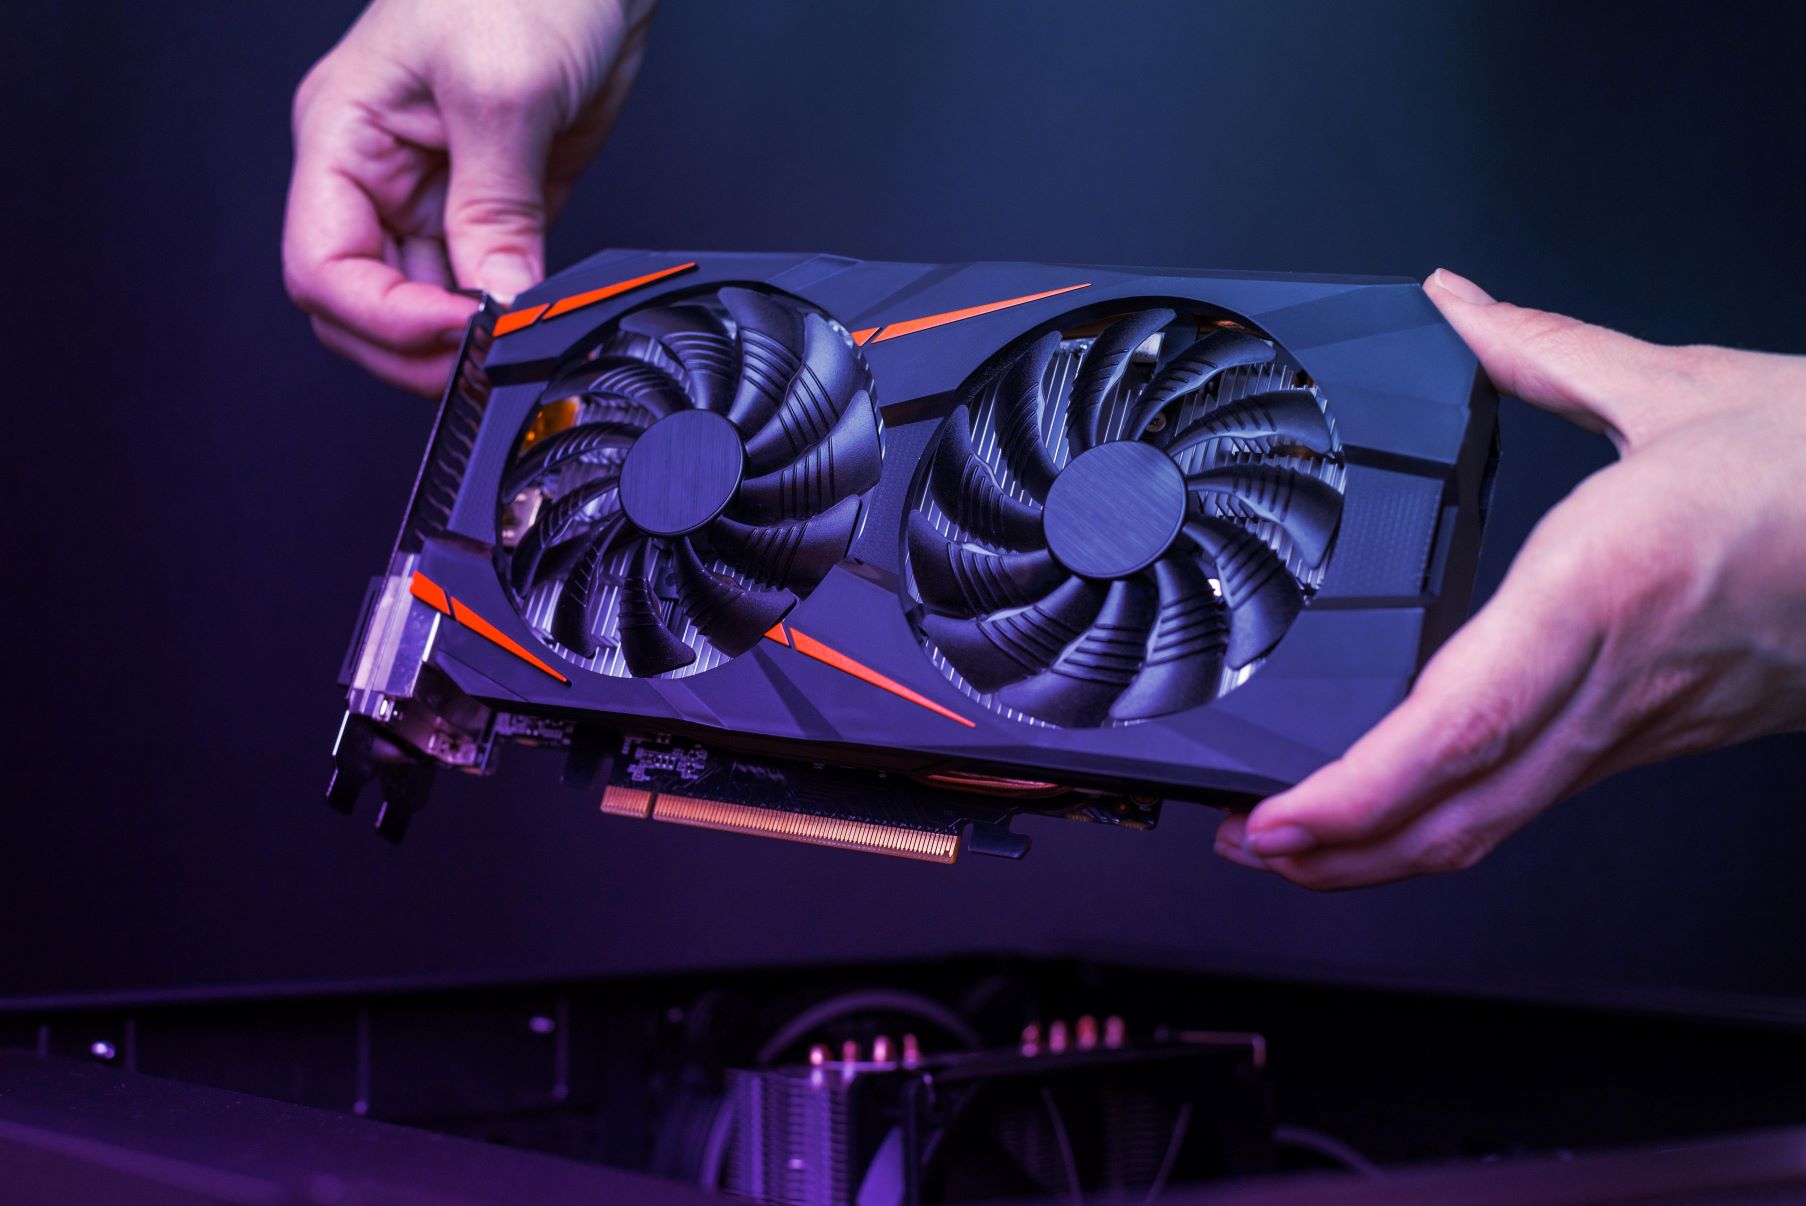
- Identify the make and model of your graphics card by checking the Device Manager or using specialized software like GPU-Z or CPU-Z.
- Visit the official website of the GPU manufacturer (such as Nvidia, AMD, or Intel).
- Search for the driver download section and locate the appropriate driver for your graphics card model and Windows 11.
- Download the driver and follow the instructions provided by the manufacturer for installation.
- Restart your computer after the installation is complete.
After updating the graphics driver using any of the methods mentioned above, you should notice an improvement in performance, compatibility, and overall graphics experience on your Windows 11 system.
Method 1: Via Windows Update
Updating your graphics driver through Windows Update is the simplest and most convenient method. Windows Update automatically detects and installs the latest driver available for your graphics card.
Here’s how to update your graphics driver via Windows Update:
- Open the Start menu and click on the “Settings” icon (gear icon).
- In the Settings window, click on “Windows Update” from the left-hand side menu.
- Click on “Check for updates”. Windows will now search for available updates, including graphics driver updates.
- If a new graphics driver is found, it will be listed under the “Optional updates” section.
- Select the graphics driver update and click on “Download and install”.
- Follow the on-screen instructions to complete the installation process.
- Once the installation is complete, restart your computer to apply the changes.
Windows Update will install the latest graphics driver for your system, ensuring compatibility and optimal performance. It is recommended to regularly check for updates to keep your graphics driver up to date.
Note that Windows Update may not always have the most up-to-date graphics driver available, especially if you have a specialized or older graphics card. In such cases, you may need to consider alternative methods, such as updating through Device Manager or downloading the driver from the GPU manufacturer’s website.
Now that you know how to update your graphics driver via Windows Update, let’s explore the second method using Device Manager.
Method 2: Using Device Manager
If Windows Update doesn’t provide the latest graphics driver, you can update it through Device Manager. Here’s how:
- Open the Start menu and type “Device Manager”. Click on it to open the Device Manager window.
- In the Device Manager window, expand the “Display adapters” category by clicking on the arrow next to it.
- Right-click on your graphics card and select “Update driver”.
- Choose the “Search automatically for drivers” option.
- Windows will search for the latest driver online and install it automatically.
- Once the installation is complete, restart your computer to apply the changes.
Device Manager will search for the appropriate driver for your graphics card and install it. This method is particularly useful if you already know the specific model of your graphics card and want to update its driver directly.
If Windows cannot find a suitable driver through Device Manager, you may need to consider downloading the driver from the official website of the GPU manufacturer, which we will discuss in the next method.
It is worth mentioning that occasionally, manufacturers release updated drivers on their websites that are not yet available through Windows Update. Checking the manufacturer’s website for the latest driver can ensure you are using the most up-to-date version.
Now that you know how to update your graphics driver using Device Manager, let’s move on to the third method of downloading the driver from the GPU manufacturer’s website.
Method 3: Downloading from the GPU manufacturer’s website
If Windows Update and Device Manager do not provide the latest graphics driver for your GPU, you can manually download and install it from the official website of the GPU manufacturer. Here’s how:
- Identify the make and model of your graphics card by checking the Device Manager or using specialized software like GPU-Z or CPU-Z.
- Visit the official website of the GPU manufacturer (such as Nvidia, AMD, or Intel).
- Navigate to the support or driver section of the website.
- Locate the driver download page and enter the details of your graphics card model and Windows 11.
- Download the latest driver for your graphics card.
- Once the driver is downloaded, run the installer and follow the on-screen instructions to complete the installation.
- Restart your computer to allow the changes to take effect.
Downloading the driver from the GPU manufacturer’s website ensures that you have the most up-to-date and compatible driver for your graphics card. As manufacturers frequently release driver updates to improve performance and address issues, this method can provide you with the latest enhancements.
Note that during the installation process, you may have the option to perform a clean installation, which removes any previous driver files. This can be beneficial if you have encountered issues with your current driver version.
It is important to always download drivers directly from the manufacturer’s website to avoid counterfeit or malicious software. Beware of third-party sources that may offer outdated or modified drivers.
Now that you are familiar with all three methods of updating your graphics driver on Windows 11, you can choose the one that best suits your needs and ensure that your system is up to date and optimized for the best performance.
Important considerations before updating the graphics driver
Before updating your graphics driver on Windows 11, it is essential to consider a few important factors to ensure a smooth and successful update process:
1. Create a system restore point:
Before making any changes to your system, it is always a good practice to create a system restore point. This allows you to revert back to the previous state in case any issues arise during the driver update process.
2. Backup important files:
Updating the graphics driver involves modifying system files, which can occasionally lead to unexpected errors or crashes. It is therefore recommended to back up important files and documents to prevent any potential data loss.
3. Check system requirements:
Ensure that the new graphics driver is compatible with your Windows 11 system. Verify the system requirements specified by the driver manufacturer to avoid any conflicts or compatibility issues.
4. Uninstall previous driver (if necessary):
In some cases, it may be necessary to uninstall the previous graphics driver before installing the new one. Follow the instructions provided by the driver manufacturer for a clean installation, if applicable.
5. Disable antivirus software:
Some antivirus programs may interfere with the driver installation process. To avoid any potential conflicts, temporarily disable your antivirus software or add an exception for the driver installation process.
6. Download from reputable sources:
Ensure that you download the graphics driver from the official website of the GPU manufacturer or a trusted source. Avoid downloading drivers from third-party websites to minimize the risk of malware or incompatible drivers.
By taking these considerations into account, you can prevent potential issues and ensure a successful update to your graphics driver on Windows 11. Now that you are prepared, you can proceed with confidence to update your graphics driver and enjoy improved performance, stability, and compatibility.
Troubleshooting common issues during the update process
While updating the graphics driver on Windows 11 is generally a straightforward process, it is not uncommon to encounter issues along the way. Here are some common problems you may face during the update process and their possible solutions:
1. Driver installation failure:
If the driver installation fails, try the following steps:
- Restart your computer and attempt the installation again.
- Temporarily disable any antivirus software or third-party firewalls before the installation.
- Ensure that you have administrative privileges to install drivers on your system.
2. Incompatible driver:
If the installed driver is incompatible with your hardware or Windows 11, you may experience system instability or graphical issues. To resolve this, revert to the previous driver version or reinstall the correct driver that is compatible with your system.
3. Unstable system or crashes:
If you start experiencing system instability or frequent crashes after updating the graphics driver, consider these possible solutions:
- Roll back to the previous driver version that was stable for your system.
- Perform a clean installation of the graphics driver by first uninstalling the current driver and then reinstalling the latest version.
- Check for additional driver updates for other hardware components, such as motherboard or chipset drivers, as they can sometimes interfere with the graphics driver.
4. Black screen or display issues:
If you encounter a black screen or other display problems after updating the graphics driver, try the following troubleshooting steps:
- Restart your computer and check if the issue persists.
- Boot your system into Safe Mode and uninstall the graphics driver. Then, download and install the appropriate driver from the manufacturer’s website.
- Verify that your display connections are secure and properly connected.
- Reset your display settings to default or try adjusting the resolution and refresh rate.
If you are unable to resolve the issues on your own, consider seeking assistance from the GPU manufacturer’s support team or a professional technician who can provide further guidance specific to your system and hardware configuration.
By being aware of these potential issues and their solutions, you can effectively troubleshoot and overcome them, ensuring a successful update of your graphics driver on Windows 11.
Conclusion
Updating your graphics driver on Windows 11 is essential for optimal performance, compatibility, and the latest features. Whether you choose to update through Windows Update, Device Manager, or by downloading the driver from the GPU manufacturer’s website, keeping your graphics driver up to date ensures a smooth experience while gaming, working with graphic-intensive applications, and enjoying multimedia content.
In this article, we discussed three methods for updating your graphics driver: via Windows Update, using Device Manager, or downloading from the GPU manufacturer’s website. Each method has its advantages, and you can choose the one that best suits your needs and preferences.
Before updating, it is crucial to consider important factors such as creating a system restore point, backing up important files, checking system requirements, and uninstalling previous drivers if necessary. Taking these precautions helps ensure a seamless update process and minimizes the risks of encountering issues along the way.
However, if you do encounter problems during the update process, such as driver installation failures, incompatible drivers, system instability, or display issues, there are troubleshooting steps you can take to resolve them. These may include restarting your computer, performing a clean installation, or seeking assistance from the manufacturer’s support team.
By keeping your graphics driver up to date and troubleshooting issues effectively, you can enjoy improved performance, stability, compatibility, and access to the latest features offered by your GPU. Remember to regularly check for driver updates as they become available to ensure your system remains optimized and ready to deliver the best graphics experience.
Now that you have the knowledge and tools necessary to update your graphics driver on Windows 11, you can proceed with confidence and enjoy a seamless and enhanced visual experience on your system.