Introduction
When it comes to optimizing your computer’s performance, one crucial component to consider is your graphics card. Whether you’re a gamer, a graphic designer, or simply someone who enjoys high-quality visuals, knowing the details of your graphics card is essential.
In the latest Windows 11 operating system, there are several methods to check your graphics card and gather the necessary information. In this article, we will explore various ways to uncover the details of your graphics card.
Understanding your graphics card information can assist you in multiple ways. Firstly, it allows you to ensure that your hardware is up to date and compatible with the latest software and games. Secondly, it helps you troubleshoot any issues related to graphics performance or compatibility. Finally, knowing your graphics card details can aid in finding the right drivers and optimizing settings for the best visual experience.
Throughout this article, we will explore multiple options for checking your graphics card in Windows 11. We will start by using the built-in tools such as Device Manager and System Settings. Then, we will discuss how to obtain accurate and comprehensive information using the DirectX Diagnostic Tool. Lastly, we will look into third-party software options for those who prefer a more advanced and detailed analysis of their graphics card.
By the end of this article, you will have a clear understanding of how to check your graphics card on Windows 11, enabling you to make informed decisions when it comes to improving your computer’s visual performance. So, let’s dive in and explore the various methods at our disposal.
Checking Graphics Card through Device Manager
Device Manager is a powerful tool built into Windows 11 that allows you to view and manage the hardware devices installed on your computer, including your graphics card. By following a few simple steps, you can easily check the details of your graphics card using this tool.
To access Device Manager, press the Windows key + X on your keyboard and select “Device Manager” from the pop-up menu that appears. Alternatively, you can right-click on the Start button and choose “Device Manager” from the context menu.
Once Device Manager is open, look for the “Display adapters” category and click on the arrow next to it to expand the list. You should now see your graphics card listed here. Right-click on the name of your graphics card and select “Properties” from the drop-down menu.
A new window will open, displaying detailed information about your graphics card. Here, you can view important specifications such as the manufacturer, model, driver version, and more. Take note of these details as they can be useful for troubleshooting or updating purposes.
Device Manager also provides options to update the driver, disable the device, or uninstall it if necessary. However, it is recommended to proceed with caution while making any changes to your graphics card settings.
Checking your graphics card through Device Manager is a quick and straightforward method to gather basic information about your hardware. However, it may not provide the most in-depth details or advanced analytics. If you require more comprehensive information about your graphics card, you may want to explore other methods we will discuss next.
Checking Graphics Card through Settings
Another convenient way to check your graphics card details in Windows 11 is through the system settings. This method allows you to access essential information about your graphics card without relying on external tools or software.
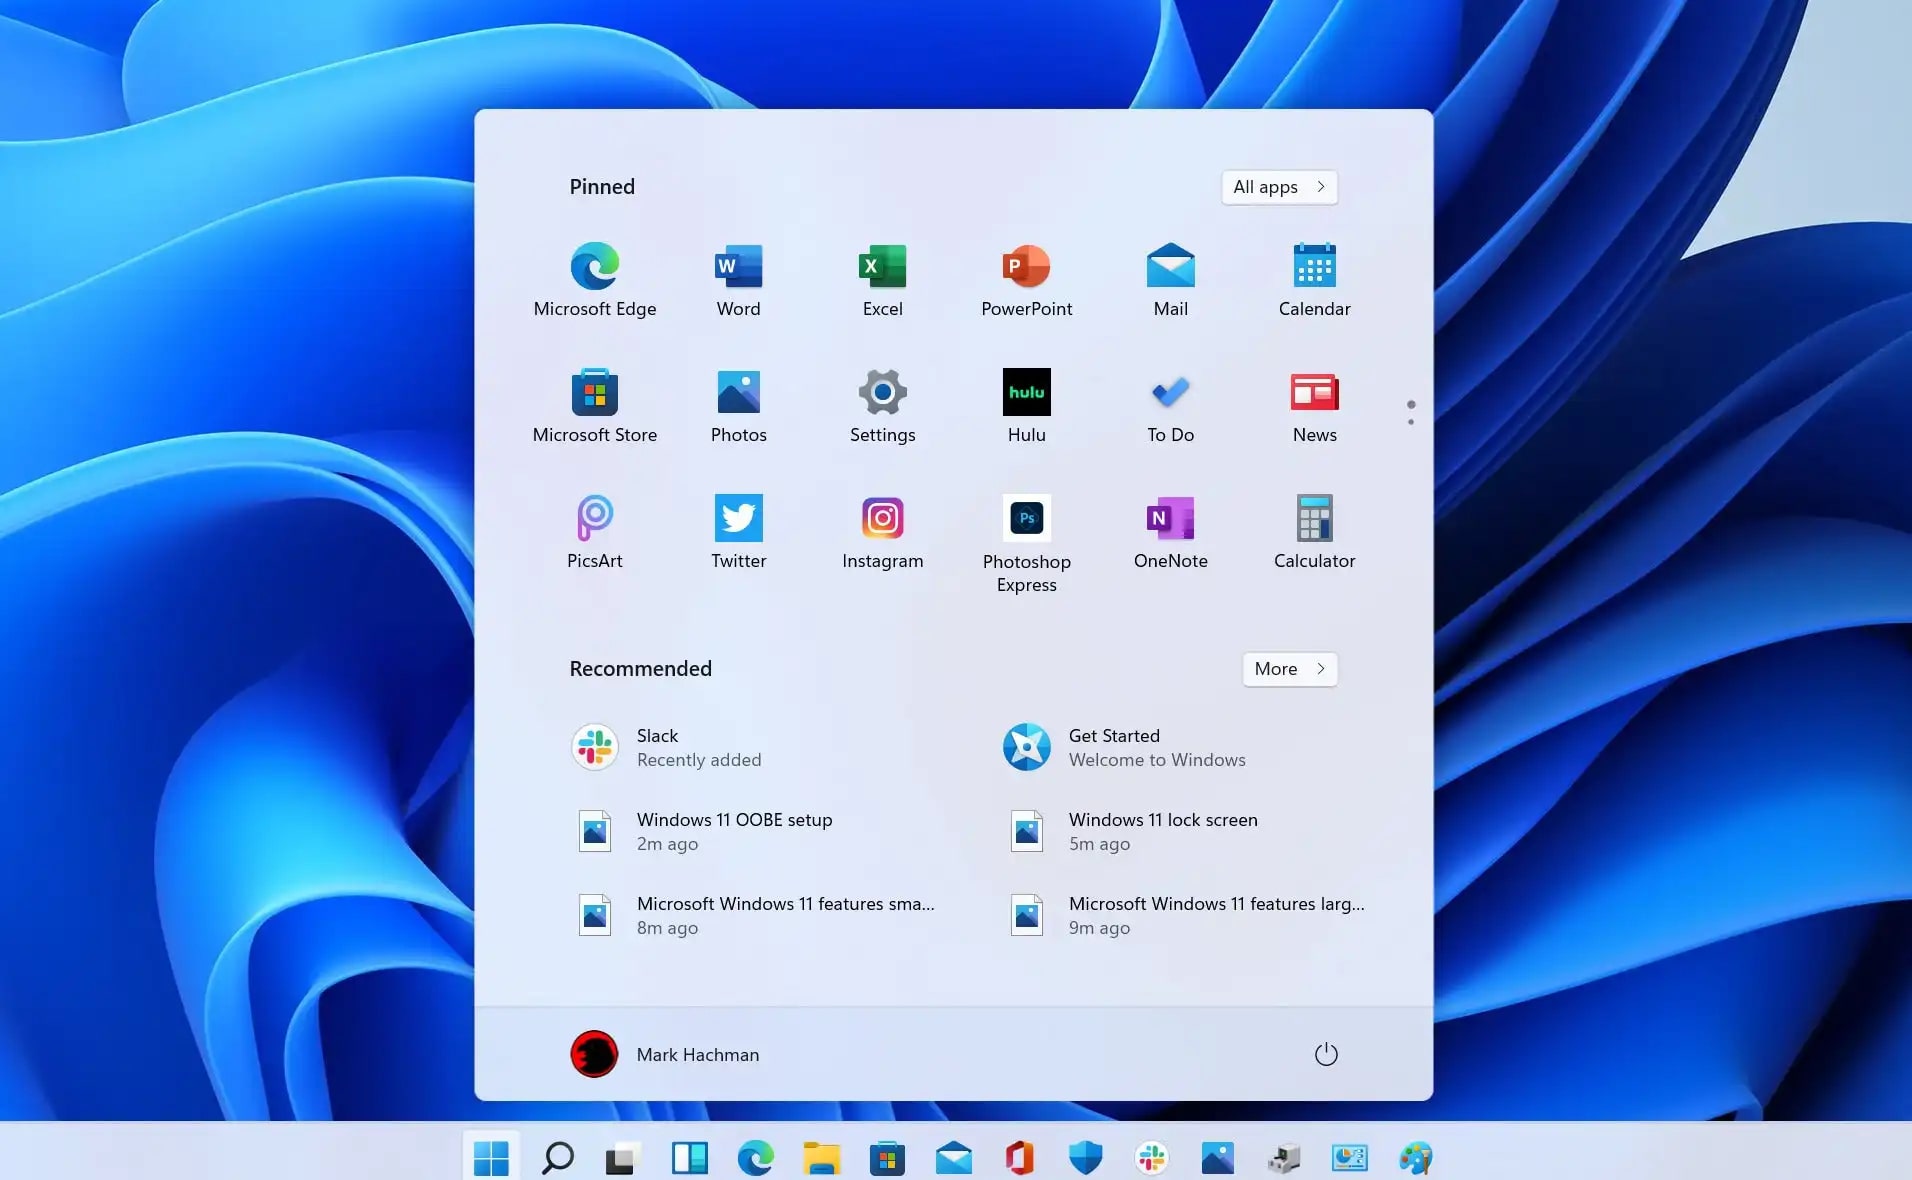
To begin, click on the Start button and select the gear icon to open the Settings menu. Alternatively, you can press the Windows key + I on your keyboard to directly access the Settings menu.
Once the Settings menu is open, click on the “System” category. In the left-hand sidebar, click on the “Display” tab.
On the Display settings page, scroll down until you find the “Advanced display settings” link. Click on it to open the advanced display settings.
Under the advanced display settings, you will see your primary display listed. Click on the “Display adapter properties” link located below your primary display.
A new window will open, displaying detailed information about your graphics card. Here, you can see the name of your graphics card, the manufacturer, and the driver version. Additionally, you can access features such as the Color Management settings and troubleshoot display-related issues.
The Settings method provides a straightforward way to gather basic information about your graphics card without the need for additional tools or software. However, keep in mind that the level of detail provided might be limited compared to other methods we will explore.
If you need more comprehensive information or want to analyze your graphics card further, we recommend exploring the next method using the DirectX Diagnostic Tool.
Using DirectX Diagnostic Tool
The DirectX Diagnostic Tool, also known as dxdiag, is a built-in Windows utility that provides detailed information about your computer’s DirectX components and hardware, including your graphics card.
To open the DirectX Diagnostic Tool, press the Windows key + R on your keyboard to open the Run dialog box. Type “dxdiag” in the text field and hit enter.
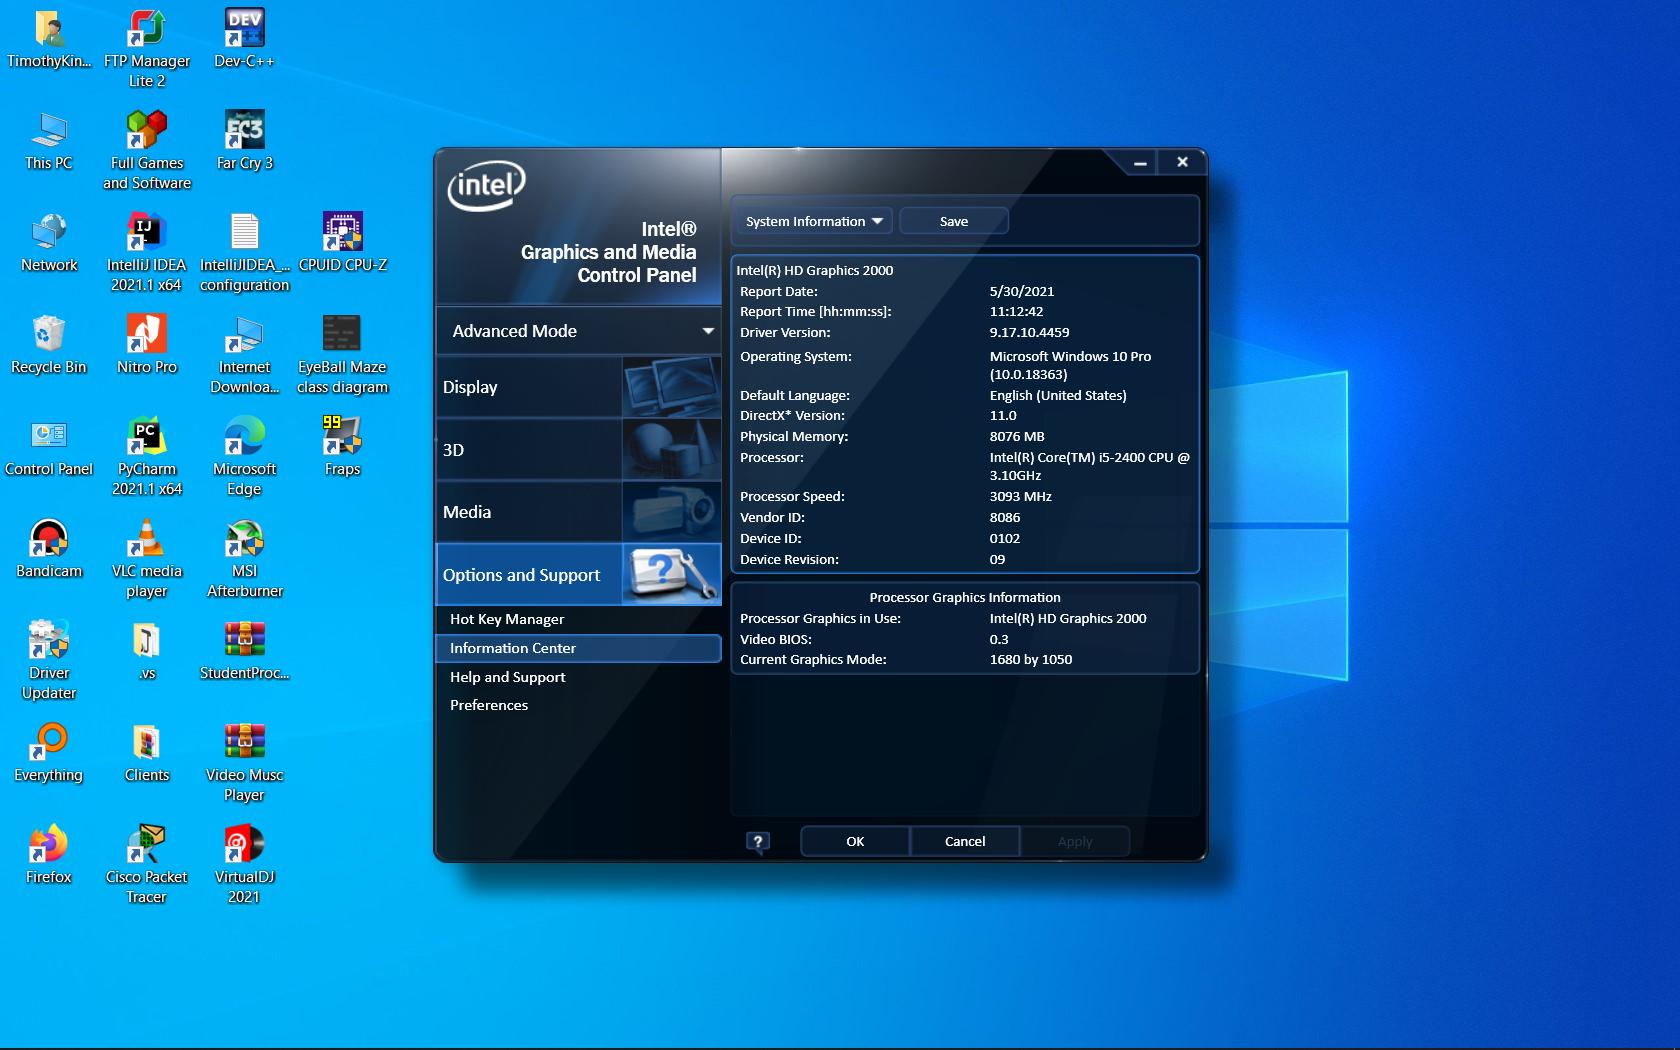
After a brief loading screen, the DirectX Diagnostic Tool window will appear. Here, you can find several tabs with different categories of information. One of the tabs is labeled “Display.” Click on this tab to view detailed information about your graphics card.
On the Display tab, you will find important information such as the name, manufacturer, chip type, driver version, and more. Additionally, you can explore other features of DirectX, test DirectDraw, Direct3D, and DirectSound, and diagnose any potential issues related to DirectX components and your graphics card.
The DirectX Diagnostic Tool offers a more comprehensive analysis of your graphics card and provides detailed information about DirectX components. This can be particularly helpful for troubleshooting graphics-related issues and optimizing your system for gaming or other graphic-intensive tasks.
However, keep in mind that the DirectX Diagnostic Tool primarily focuses on DirectX components and may not provide certain advanced information or analytics that other dedicated third-party software can offer.
Speaking of third-party software, let’s explore the last method in our list – using dedicated software to check your graphics card.
Using Third-Party Software
If you’re looking for advanced features, in-depth analysis, and comprehensive information about your graphics card, using third-party software is a viable option.
There are various third-party software available that specialize in providing detailed insights into your hardware, including your graphics card. Some popular options include GPU-Z, HWiNFO, and Speccy.
These tools not only display basic information such as the graphics card model, manufacturer, and driver version but also provide real-time monitoring of temperatures, clock speeds, and fan speeds. They also offer advanced features like benchmarking, overclocking, and customization options.
To use third-party software, you need to download and install the software of your choice from a trusted source. Once installed, launch the software, and it should automatically detect and display detailed information about your graphics card.
Each software has a unique user interface, so familiarize yourself with the options and menus available. Explore the different tabs and sections to access various aspects of your graphics card’s information and features.
Overall, using third-party software gives you more control and detailed analysis of your graphics card. It is particularly useful for enthusiasts, gamers, and professionals who require advanced monitoring and customization options.
However, it is essential to download third-party software from trusted sources and be cautious while using advanced features to avoid any unwanted changes or damage to your system.
Now that we have explored different methods to check your graphics card in Windows 11, you have a range of options to obtain the necessary information about your hardware. Whether you use Device Manager, Settings, DirectX Diagnostic Tool, or third-party software, being aware of your graphics card details will empower you to optimize your system’s performance and ensure compatibility with the latest software and games.
Conclusion
Checking and understanding your graphics card details in Windows 11 is crucial for optimizing your computer’s performance, troubleshooting graphics-related issues, and ensuring compatibility with the latest software and games.
In this article, we explored various methods to check your graphics card. We started with the built-in tools like Device Manager and the Settings menu, which provide basic information about your graphics card without the need for additional software. These methods are simple, accessible, and suitable for most users.
For those who require more in-depth analysis and advanced features, we discussed using the DirectX Diagnostic Tool (dxdiag). This tool offers comprehensive information about your graphics card, as well as the ability to test DirectX components and diagnose any related issues.
Lastly, we explored the option of using third-party software such as GPU-Z, HWiNFO, and Speccy. These tools provide advanced monitoring, customization, and benchmarking options, ideal for enthusiasts, gamers, and professionals seeking fine-tuned control over their graphics card.
Regardless of the method you choose, having knowledge of your graphics card details empowers you to make informed decisions when it comes to optimizing your system’s performance and ensuring compatibility with the latest software and games.
Remember, it is always recommended to download software from trusted sources and proceed with caution while making changes to your graphics card settings to avoid any unwanted consequences or system damage.
Now that you are equipped with the knowledge of various methods to check your graphics card in Windows 11, go ahead and explore the method that best suits your needs. Enjoy your enhanced visual experience and make the most of your computer’s capabilities!