Introduction
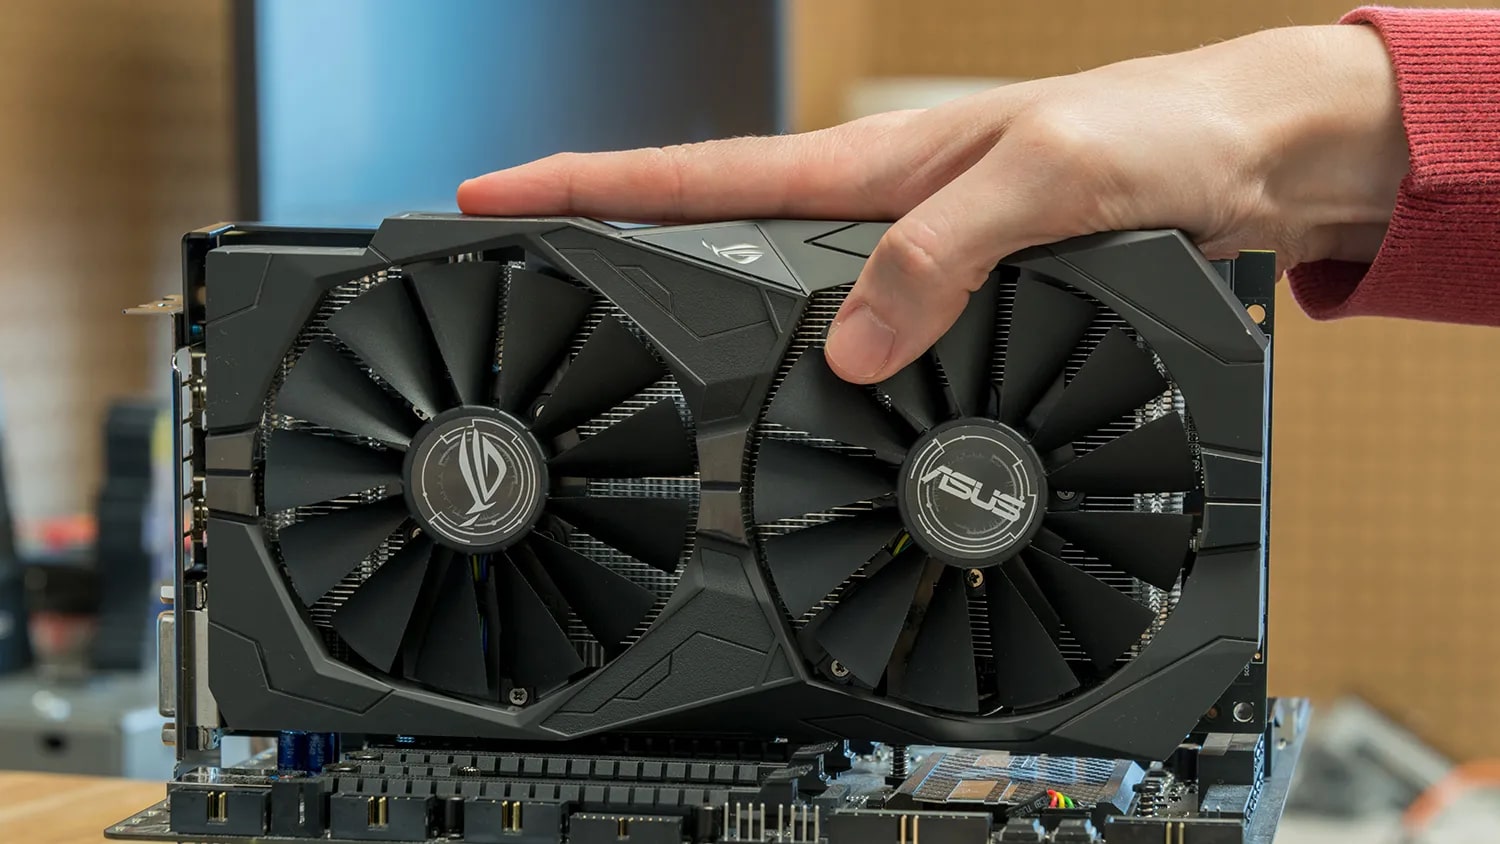
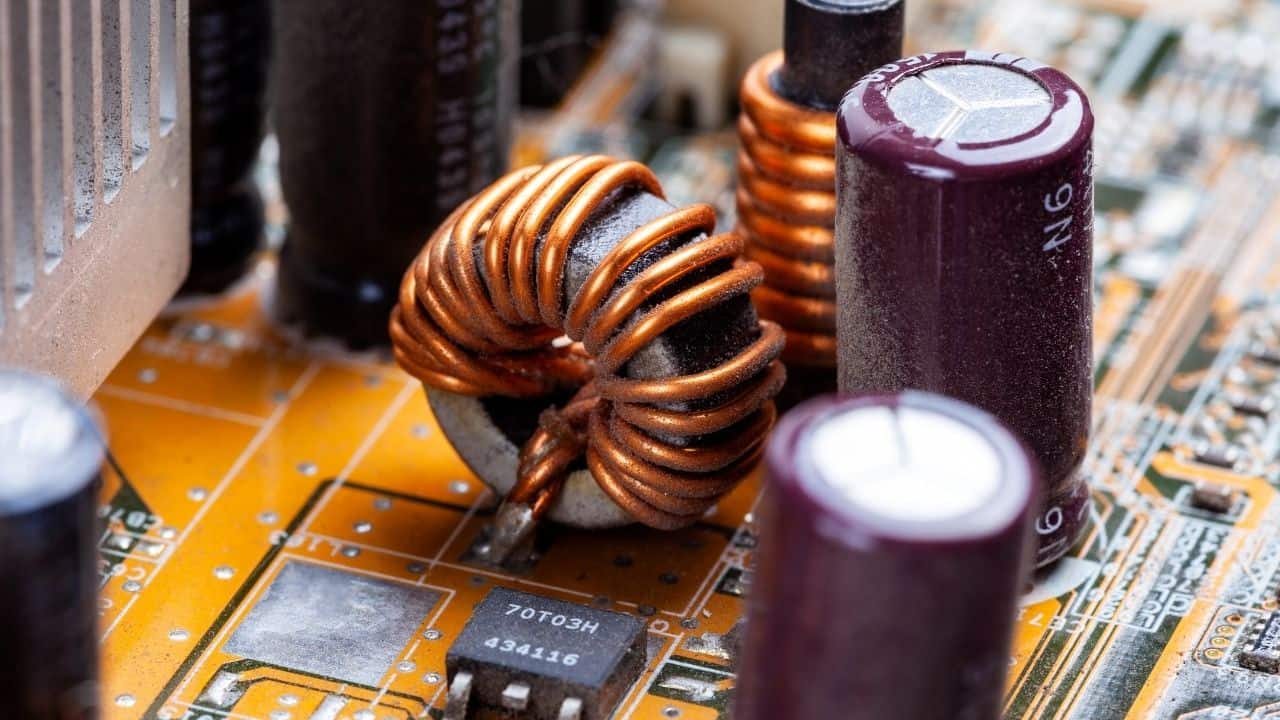
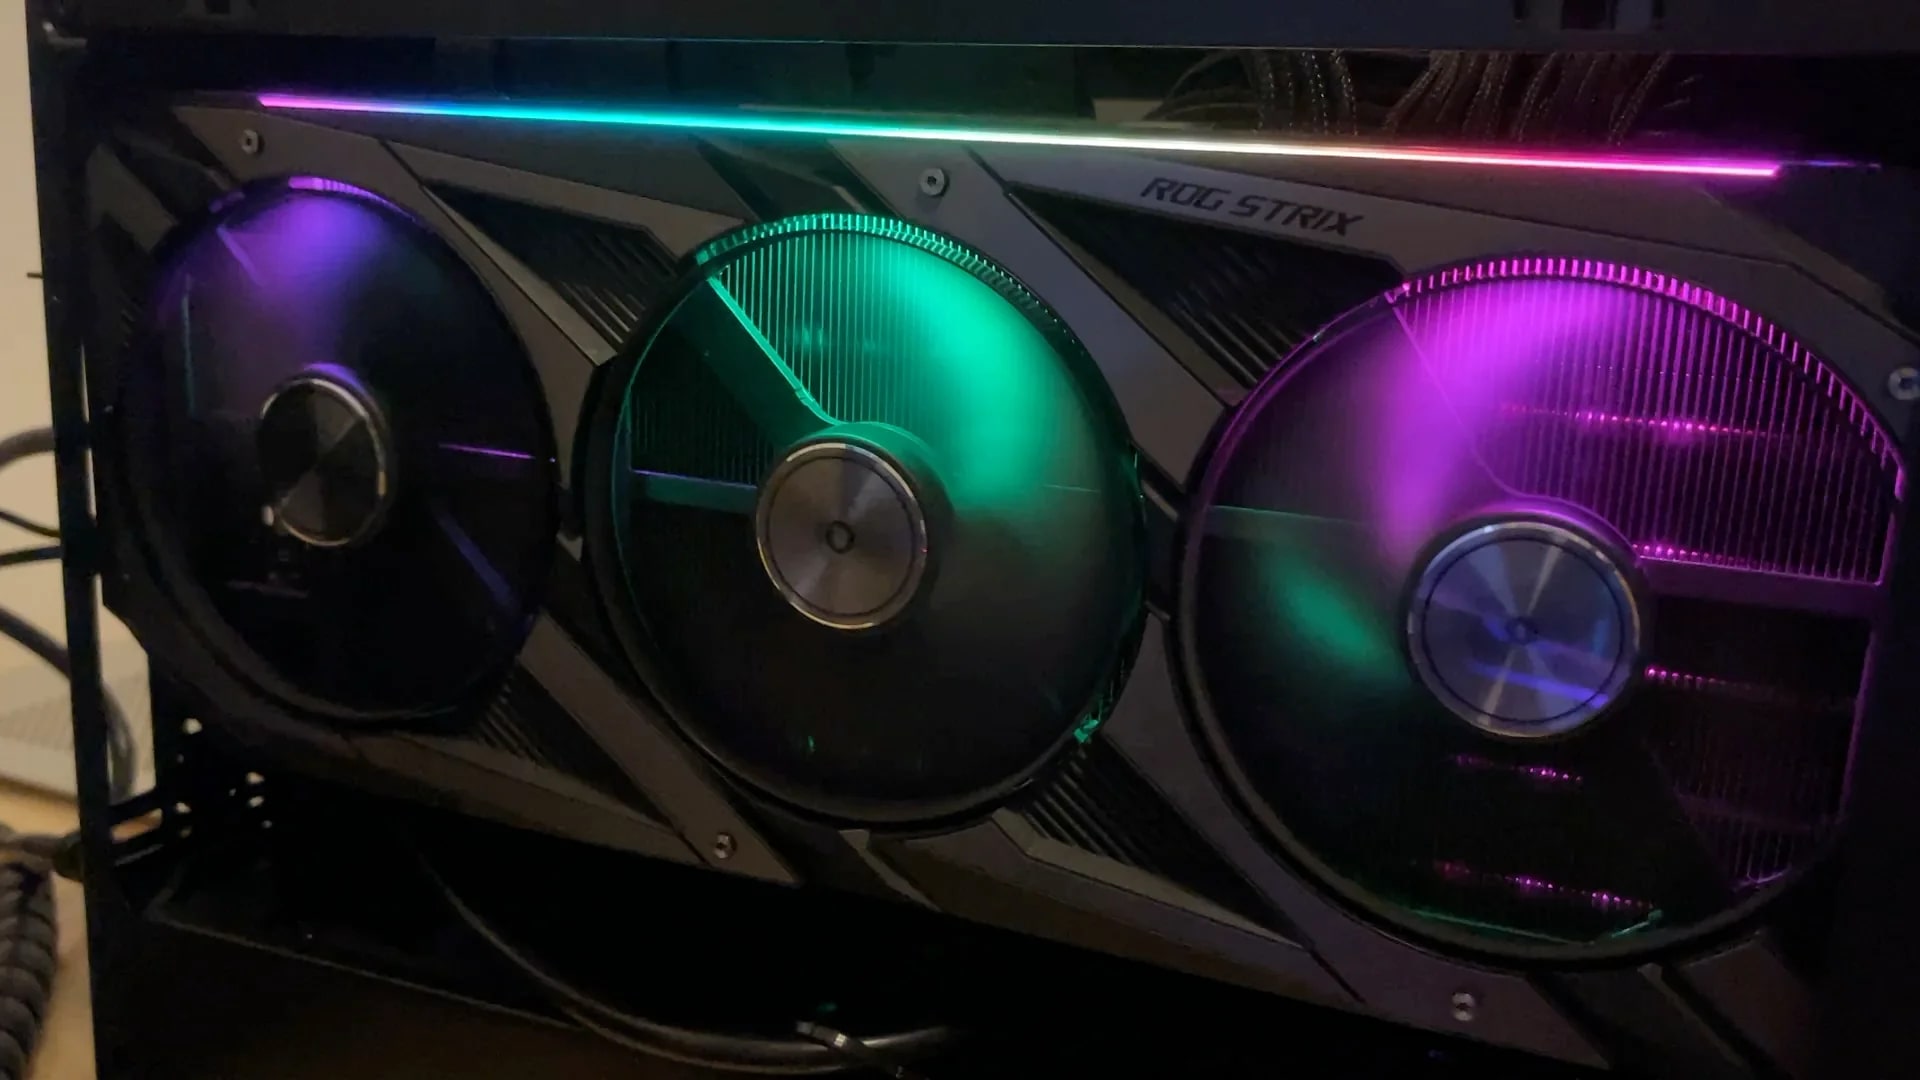
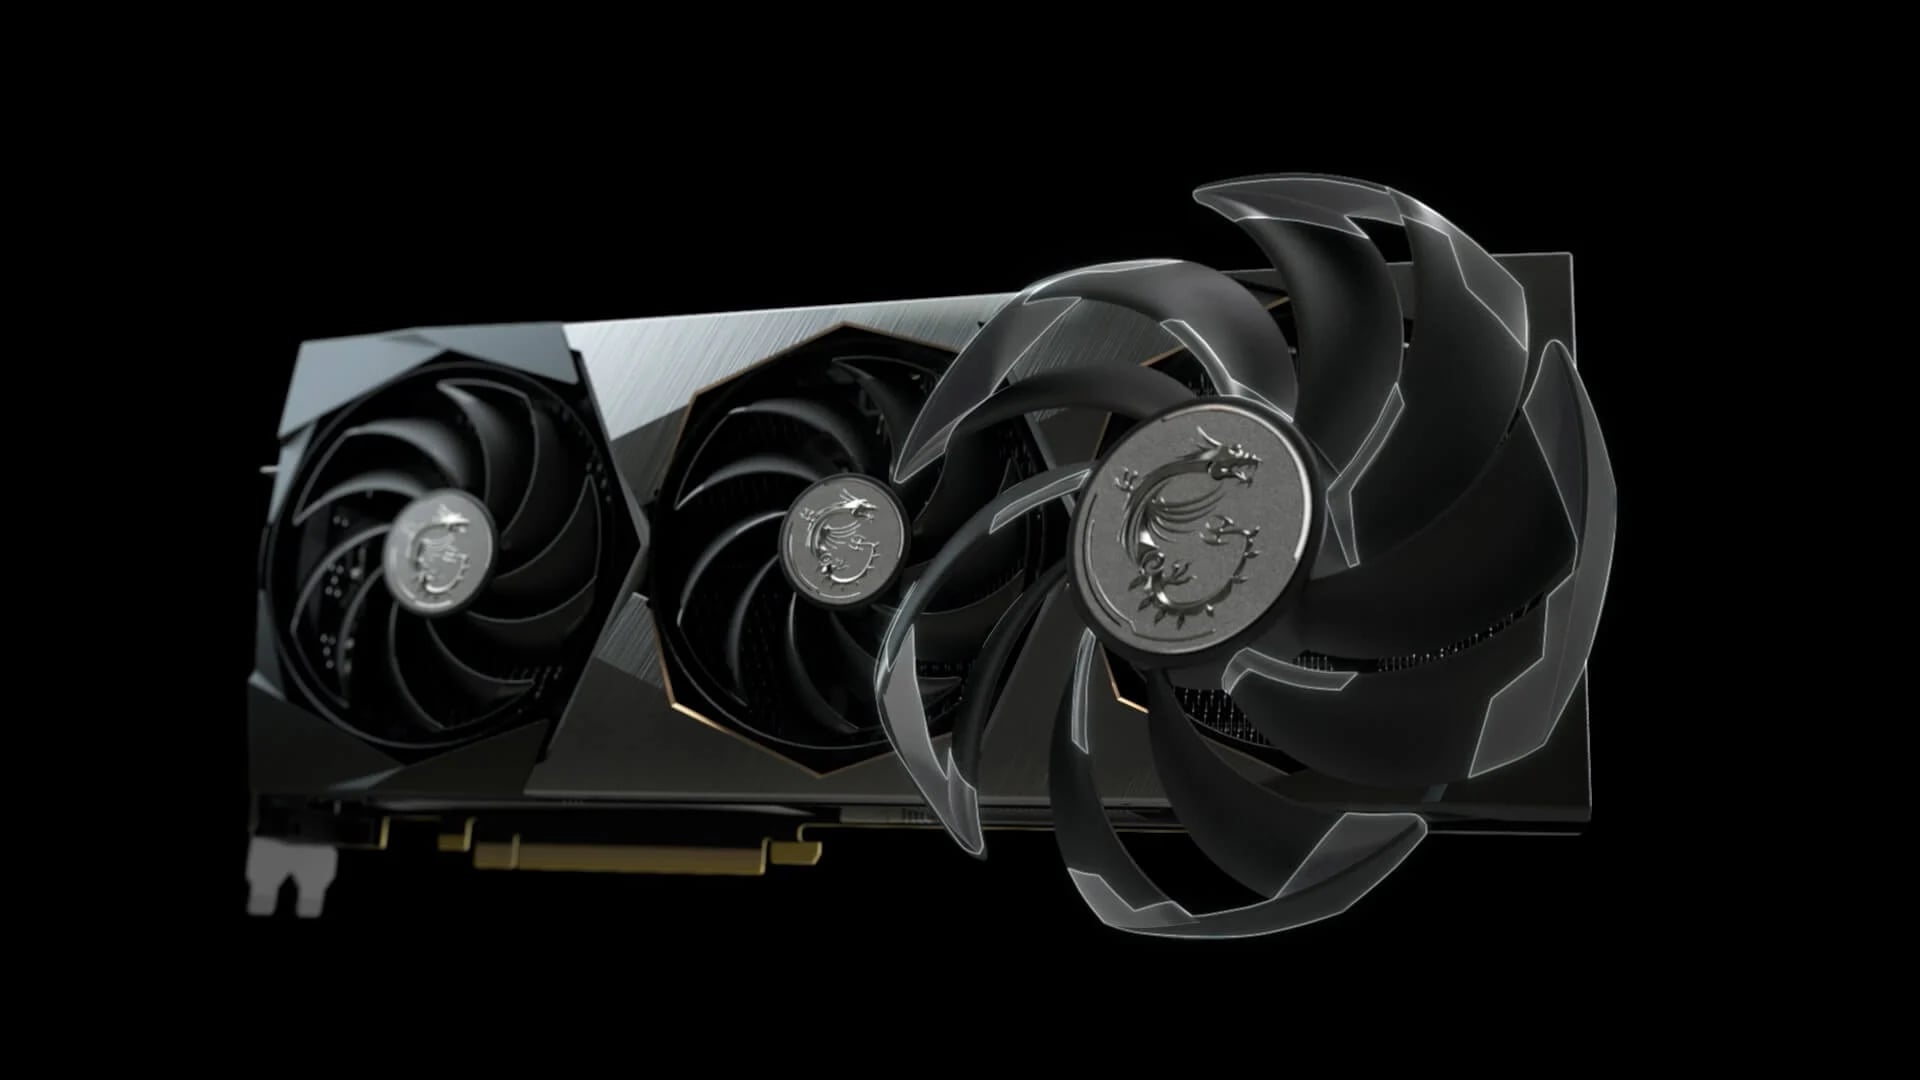
Graphics cards are an essential component in any computer setup, especially for gaming enthusiasts and professionals requiring powerful graphics processing capabilities. While these cards are designed to handle demanding tasks, they can generate heat, which can potentially lead to performance issues or even hardware damage. To combat this, most modern graphics cards come equipped with a cooling fan.
The fan’s primary function is to dissipate the heat generated by the graphics card, allowing it to run at optimal temperatures. However, depending on factors such as ambient temperature, workload, and personal preference, you may find yourself needing to adjust the fan speed. In this article, we will explore how to change the fan speed on your graphics card.
Before we proceed, it is essential to note that manually adjusting the fan speed is not recommended for all users. Many graphics cards have built-in mechanisms to automatically control fan speed based on temperature, ensuring optimal performance and longevity. However, there may be situations where accessing and adjusting the fan speed is necessary or desired.
In the following sections, we will guide you through the process of changing the fan speed on your graphics card. We will cover topics such as compatibility, software installation, accessing fan control settings, adjusting fan speed, and monitoring temperatures. By the end of this guide, you will have a comprehensive understanding of how to manage your graphics card’s fan speed effectively.
Why Change Fan Speed?
Changing the fan speed on your graphics card can have several advantages and benefits. Let’s explore a few reasons why you might want to adjust the fan speed:
- Improved Cooling: By increasing the fan speed, you can enhance the cooling performance of your graphics card. This is particularly useful during intensive gaming or other demanding tasks that generate substantial heat. Effective cooling helps maintain stable performance and prevents overheating, which can lead to performance throttling or system instability.
- Noise Reduction: Graphics card fans can sometimes produce a noticeable amount of noise, especially when running at higher speeds. Lowering the fan speed can help reduce this noise, creating a more peaceful and distraction-free gaming or working environment. This is particularly beneficial for users who value a quiet computing experience.
- Customization and Experimentation: Adjusting the fan speed allows you to personalize your graphics card’s cooling behavior to match your specific needs and preferences. Some users prefer to have more aggressive cooling, while others may prioritize a quieter operation. Finding the right balance between performance, temperatures, and noise can be an exciting process of experimentation and customization.
- Overclocking Potential: Overclocking is the process of increasing the clock speed and performance of your graphics card beyond its factory settings. When overclocking, it is crucial to keep temperatures under control to avoid potential damage. Adjusting the fan speed can help dissipate the additional heat generated during overclocking, allowing you to push your graphics card’s limits while maintaining stability.
- Adapting to Environmental Conditions: In some cases, the ambient temperature of your computing environment can vary. If you find yourself in a particularly hot or cold environment, adjusting the fan speed can help regulate temperatures more effectively. This adaptability ensures that your graphics card operates optimally regardless of external conditions.
Being able to change the fan speed on your graphics card provides you with greater control over its performance, cooling, and acoustics. However, it is essential to approach fan speed adjustments with caution, as improper settings can lead to overheating or increased wear on the fan. We will cover the necessary steps and considerations to ensure a safe and effective adjustment process in the upcoming sections.
Check Compatibility
Before proceeding with changing the fan speed on your graphics card, it’s crucial to ensure compatibility between your graphics card model and the software or tools you plan to use. Here are some steps to help you check compatibility:
- Graphics Card Model: Identify the exact model of your graphics card. This information can typically be found on the physical card itself or through system diagnostics tools. Knowing the model is essential as software or tools may have specific requirements or limitations for different card models.
- Manufacturer Resources: Visit the official website of your graphics card’s manufacturer. Look for product support or documentation sections that provide information about software compatibility and recommended tools for controlling fan speed. Manufacturers often provide their own software utilities, which are designed specifically for their graphics cards.
- Third-Party Software: If the manufacturer doesn’t offer software for changing the fan speed, you may explore third-party options. Conduct thorough research on reputable software tools that are compatible with your graphics card model. Check for user reviews and recommendations to ensure reliability and compatibility.
- System Requirements: Ensure your computer meets the minimum system requirements for the software or tool you plan to use. Some software may have specific operating system requirements or other hardware dependencies that need to be met for optimal functionality.
- Driver Updates: Ensure that you have the latest drivers installed for your graphics card. Manufacturers regularly release driver updates that improve compatibility, performance, and functionality. Visit the manufacturer’s website or use their official driver update utility to ensure you have the most up-to-date drivers installed.
By conducting these compatibility checks, you can ensure a smooth and successful process when changing the fan speed on your graphics card. Following compatibility guidelines will minimize the risk of errors or incompatible software interfering with your graphics card’s functionality.
Download and Install Software
Once you have confirmed the compatibility of the software or tool you plan to use, it’s time to download and install it on your computer. Here are the general steps to follow:
1. Visit the Official Website: Go to the official website of the software or tool you have chosen. Look for a download section or page where you can find the appropriate version for your operating system.
2. Choose the Correct Version: Select the version that matches your operating system (e.g., Windows, macOS, Linux). Make sure to download the software from the official website to ensure that you are getting a legitimate and safe copy.
3. Download the Installer: Click on the download link to initiate the download process. Depending on the size of the software, it may take a few minutes to complete. Save the installer file to a location on your computer where you can easily access it later.
4. Run the Installer: Once the download is complete, double-click the installer file to run it. Follow the on-screen instructions to start the installation process. You may be prompted to agree to the software’s terms and conditions before proceeding.
5. Customize Installation Settings (if available): Some software installers offer customization options. Pay attention to any additional software or toolbars that may be bundled with the installation. Uncheck or decline any extras that you do not want or need to avoid potentially unwanted programs being installed on your system.
6. Complete the Installation: Once you have reviewed and adjusted any customization settings, proceed with the installation by clicking the “Install” or “Next” button. The software will then be installed on your computer. The installer may show a progress indicator or provide status updates during the process.
7. Launch the Software: After the installation is complete, you may be given the option to launch the software immediately. If not, locate the newly installed software in your applications or programs list and open it.
8. Check for Updates: Once the software is open, check for any available updates. Many applications have a built-in mechanism to automatically check for updates, or you may need to manually search for updates within the application settings or preferences.
Following these steps will ensure that you have the necessary software or tools installed on your computer to change the fan speed on your graphics card. With the software in place, we can proceed to the next section, where we will explore how to access the fan control settings.
Open Fan Control Settings
Once you have downloaded and installed the appropriate software or tool for controlling your graphics card’s fan speed, the next step is to access the fan control settings. The process may vary slightly depending on the software you are using, but here are the general steps to follow:
1. Launch the Software: Open the software or tool that you installed in the previous step. Look for the icon in your applications or programs list and double-click to open it. If the software has a system tray icon, you may also be able to right-click on it and select “Open” or a similar option.
2. Graphics Card Detection: The software should automatically detect and display information about your graphics card, such as the model and current fan speed. If the software doesn’t automatically recognize your graphics card, check the software documentation or settings for a manual detection option.
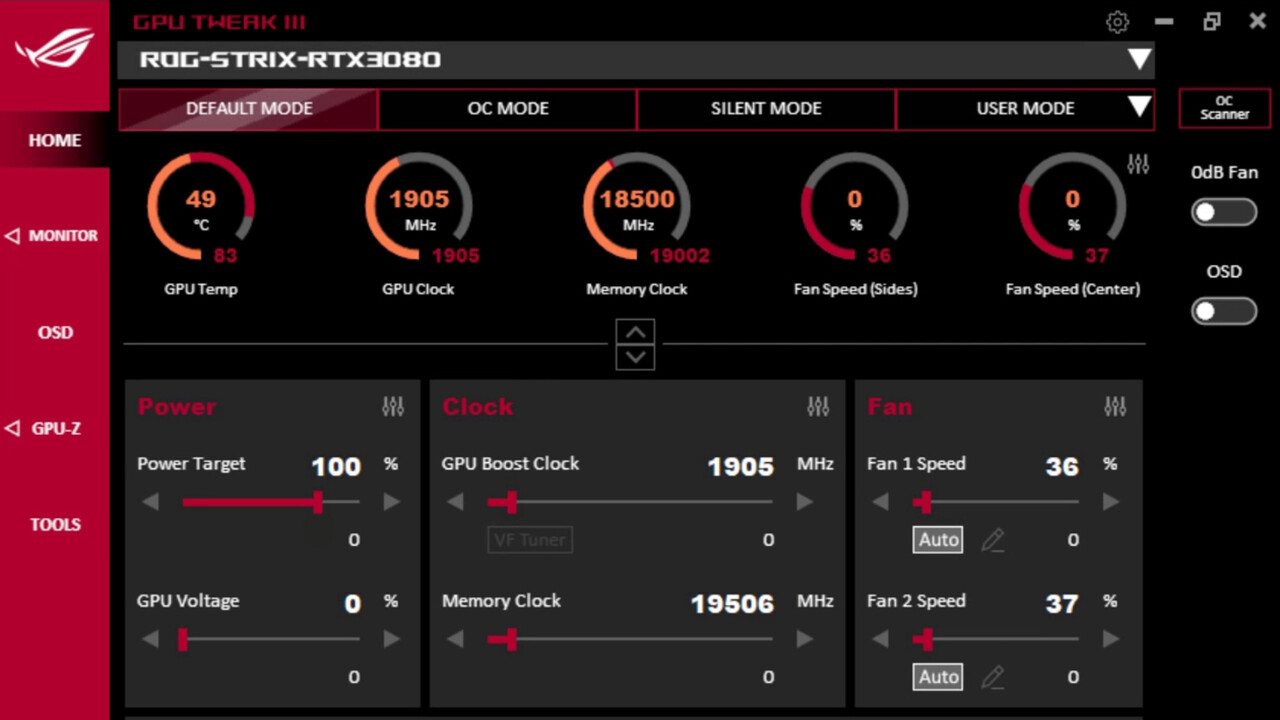
3. Navigation: Explore the software’s interface and navigate to the fan control settings. Depending on the software, this may be done through tabs, menus, or dedicated sections. Look for options related to fan control, cooling, or overclocking.
4. Fan Speed Adjustment: Once you have accessed the fan control settings, you should be presented with options to adjust the fan speed. This could be in the form of sliders, percentage values, or predefined profiles. To increase or decrease the fan speed, adjust the settings accordingly. Some software may also provide options for automatic fan speed control based on temperature thresholds.
5. Apply Changes: After adjusting the fan speed settings, ensure that you apply the changes for them to take effect. Look for a “Apply” button, “OK” button, or similar option within the software’s interface. The software may prompt you to confirm the changes before applying them.
6. Monitor Fan Speed: Once the changes are applied, monitor the fan speed to ensure that it is adjusted according to your desired settings. Most software will provide real-time fan speed monitoring, allowing you to verify that the changes are being implemented correctly.
It’s important to note that the user interface and steps may vary depending on the software or tool you are using. Refer to the software documentation or online guides for specific instructions related to your chosen software. In the next section, we will delve into adjusting the fan speed to find the optimal balance between cooling performance and noise levels.
Adjust Fan Speed
Once you have accessed the fan control settings in your chosen software or tool, you can adjust the fan speed to achieve the desired balance between cooling performance and noise levels. Here are the steps to help you adjust the fan speed:
1. Determine Optimal Fan Speed: Consider your requirements and priorities. If you want maximum cooling performance, you may opt for a higher fan speed. On the other hand, if noise reduction is a priority, you may choose a lower fan speed. Finding the optimal fan speed for your specific needs will depend on factors such as your graphics card’s thermal characteristics, workload, and personal preferences.
2. Modify Fan Speed Setting: Depending on the software or tool you are using, you will have different ways to adjust the fan speed. Common options include sliders, percentage values, or predefined profiles. Increase or decrease the fan speed setting to the desired level. Many software programs also provide the option for automatic fan speed control based on temperature thresholds.
3. Gradually Test and Observe: After adjusting the fan speed, monitor the temperatures and observe the performance of your graphics card during various tasks, such as gaming or running demanding applications. Gradually increase or decrease the fan speed if necessary until you achieve the desired balance between performance, temperatures, and noise levels.
4. Consider Manual vs. Automatic Control: Some software or tools provide the option for manual fan speed control, where you set a fixed value. Others offer automatic control based on temperature sensors, dynamically adjusting the fan speed as needed. Evaluate which option suits your preferences and usage patterns. Automatic control can be convenient, while manual control allows for more precise adjustments.
5. Make Incremental Changes: It is generally recommended to make incremental changes to the fan speed rather than making drastic adjustments. This allows for better fine-tuning and avoids sudden shifts in cooling performance or noise levels. After each adjustment, monitor the temperatures and performance to ensure stability and prevent overheating.
6. Take Note of Software Limitations: Some software or graphics cards may have limitations on the fan speed adjustment range. Check the software documentation or manufacturer’s website for any specific limits or recommendations. Operating your graphics card’s fan outside the recommended range could potentially affect performance or cause damage.
By following these steps and carefully adjusting the fan speed, you can find the right balance for your graphics card’s cooling needs while minimizing noise levels. However, it’s vital to continuously monitor temperatures and performance to ensure that the adjustments are providing the desired results without compromising stability or hardware integrity.
Monitor Temperatures
When adjusting the fan speed on your graphics card, it is essential to monitor the temperatures to ensure optimal performance and prevent overheating. Here are the steps to effectively monitor temperatures:
1. Temperature Monitoring Software: Install and use temperature monitoring software to keep track of your graphics card’s temperature. There are various software options available, both from graphics card manufacturers and third-party developers. Choose a reliable and compatible software program that provides accurate temperature readings.
2. Real-Time Temperature Display: Most temperature monitoring software will display real-time temperature readings for your graphics card. Launch the software and locate the temperature monitoring section. You should see the current temperature displayed, typically in Celsius or Fahrenheit.
3. Observe Idle Temperature: Take note of the idle temperature of your graphics card. This refers to the temperature when the card is not under heavy load or performing any intensive tasks. It serves as a baseline for comparison when adjusting the fan speed and monitoring temperature changes.
4. Load Temperature Monitoring: Perform tasks that put your graphics card under heavy load, such as gaming or running resource-intensive applications. Monitor the temperature readings in real-time as the workload increases. This will help you assess how effectively the adjusted fan speed maintains temperatures within safe limits.
5. Set Temperature Thresholds: Many temperature monitoring software programs allow you to set temperature thresholds. You can configure the software to alert you or take action when temperatures exceed a certain level. This can help ensure that your graphics card remains within safe temperature ranges and prevents potential damage due to overheating.
6. Continuously Monitor: Keep the temperature monitoring software running in the background while using your graphics card. Regularly check the temperature readings and ensure they remain within acceptable levels. If you notice temperatures rising excessively or reaching unsafe levels, consider adjusting the fan speed settings accordingly.
7. Consider External Monitoring Tools: In addition to software-based temperature monitoring, you may also consider using external temperature monitoring tools. These can include hardware devices that connect to your graphics card and provide real-time temperature data. External tools can offer an extra layer of monitoring and potentially more accurate readings.
Monitoring temperatures during and after adjusting the fan speed allows you to determine the effectiveness of your cooling setup and ensure stable performance. By keeping temperatures within optimal ranges, you can extend the lifespan of your graphics card and maintain it in peak operating condition.
Additional Tips and Considerations
When changing the fan speed on your graphics card, there are a few additional tips and considerations to keep in mind. These will help ensure a safe and effective adjustment process:
- Use Official Software: Whenever possible, use the official software provided by the graphics card manufacturer for adjusting fan speed. Official software tends to offer better compatibility, reliability, and support for your specific graphics card model.
- Avoid Extreme Fan Speeds: While it may be tempting to set the fan speed to the maximum to achieve the lowest temperatures, running the fan at excessively high speeds for an extended period can escalate wear and tear on the fan and increase noise levels. Aim for a balance between cooling performance and noise reduction.
- Regular Cleaning: Dust accumulation on the graphics card’s fan and heat sink can hinder cooling performance. Regularly clean your graphics card to remove dust and debris, ensuring optimal airflow and heat dissipation. Follow manufacturer guidelines for safe cleaning procedures.
- Consider Aftermarket Cooling Solutions: If you find that the default cooling solution on your graphics card is inadequate for your needs, you may consider investing in aftermarket cooling solutions such as custom cooling fans or liquid cooling systems. These solutions can provide better cooling performance and noise reduction.
- Keep Monitoring Software Up to Date: Update your temperature monitoring software regularly to ensure compatibility with new graphics card models and software updates. Updated software will provide accurate temperature readings and may offer additional features to improve monitoring and control.
- Experiment and Find Your Optimal Setup: Changing the fan speed is not a one-size-fits-all solution. Experimentation is key to finding the optimal fan speed settings that meet your specific needs. Adjust the fan speed gradually, monitor temperatures, and assess the impact on performance to find the best balance for your system.
By following these additional tips and considerations, you can enhance the effectiveness of adjusting your graphics card’s fan speed. Remember that maintaining a stable temperature range and preventing overheating is crucial for the longevity and performance of your graphics card.
Conclusion
Adjusting the fan speed on your graphics card can be a valuable way to optimize cooling performance, reduce noise levels, and customize your computing experience. By following the steps outlined in this guide, you can successfully change the fan speed to achieve the desired balance between performance and temperatures.
Before diving into the process, remember to check the compatibility between your graphics card model and the software or tools you plan to use. Ensure that you download and install the appropriate software from official sources to guarantee compatibility and safety.
Once you have accessed the fan control settings, take your time to adjust the fan speed gradually, monitoring temperatures and observing the impact on performance. Keep in mind that extreme fan speeds should be avoided, as they can increase wear on the fan and contribute to higher noise levels.
Regularly monitor temperature using reliable software, and consider setting temperature thresholds to receive alerts when temperatures exceed safe levels. Additionally, maintain a clean system by periodically cleaning your graphics card to ensure optimal cooling performance.
Remember to use official software whenever possible and keep your monitoring software up to date for accurate temperature readings and improved functionality.
Lastly, experimenting with different fan speed settings will help you find the optimal balance for your specific needs and preferences. Every system is different, and finding the right configuration may involve trial and error.
By following the guidelines and considering the additional tips provided in this guide, you can effectively change the fan speed on your graphics card, ensuring efficient cooling, stable performance, and a comfortable computing experience.