Introduction
Have you noticed a strange noise coming from your computer recently? If you have, there’s a good chance that it’s your graphics card making the racket. While it’s normal for a graphics card to produce some noise when it’s under heavy load, excessive or unusual noise can be a cause for concern. But why exactly is your graphics card making noise?
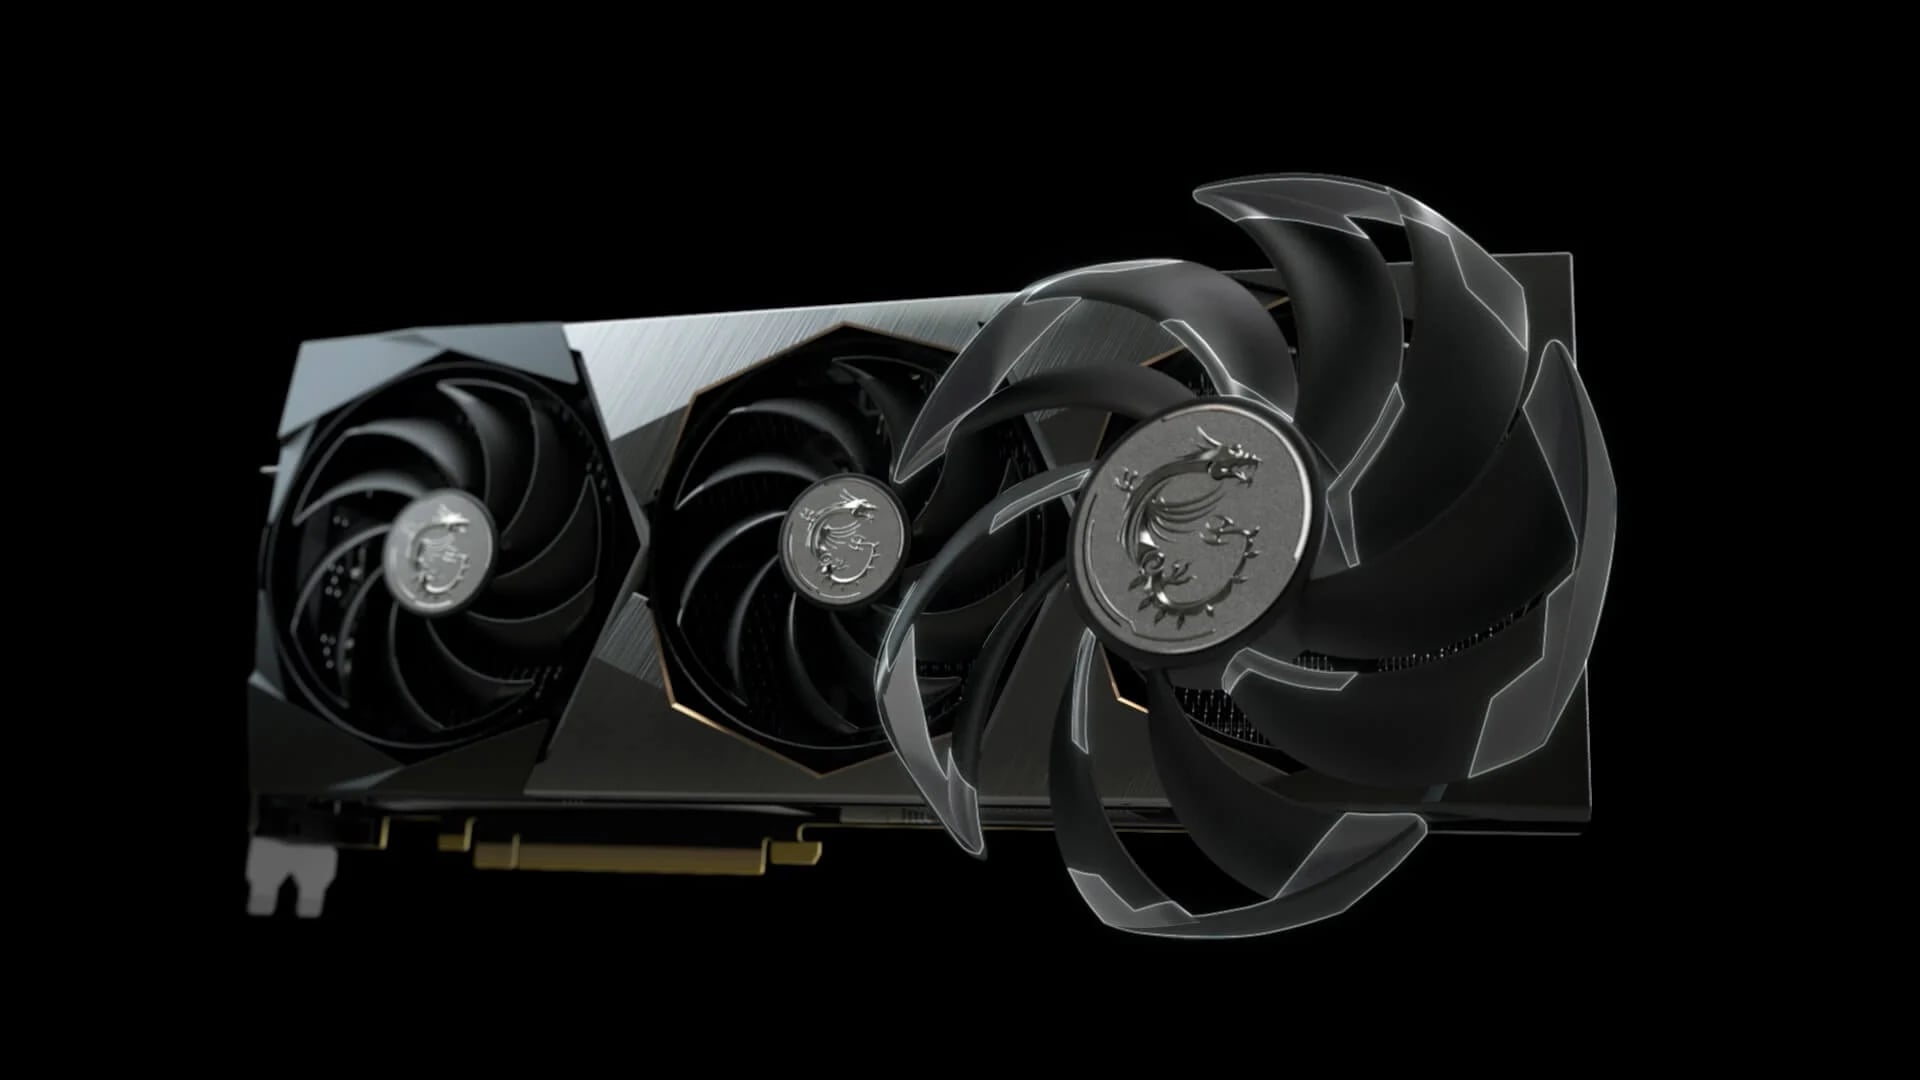
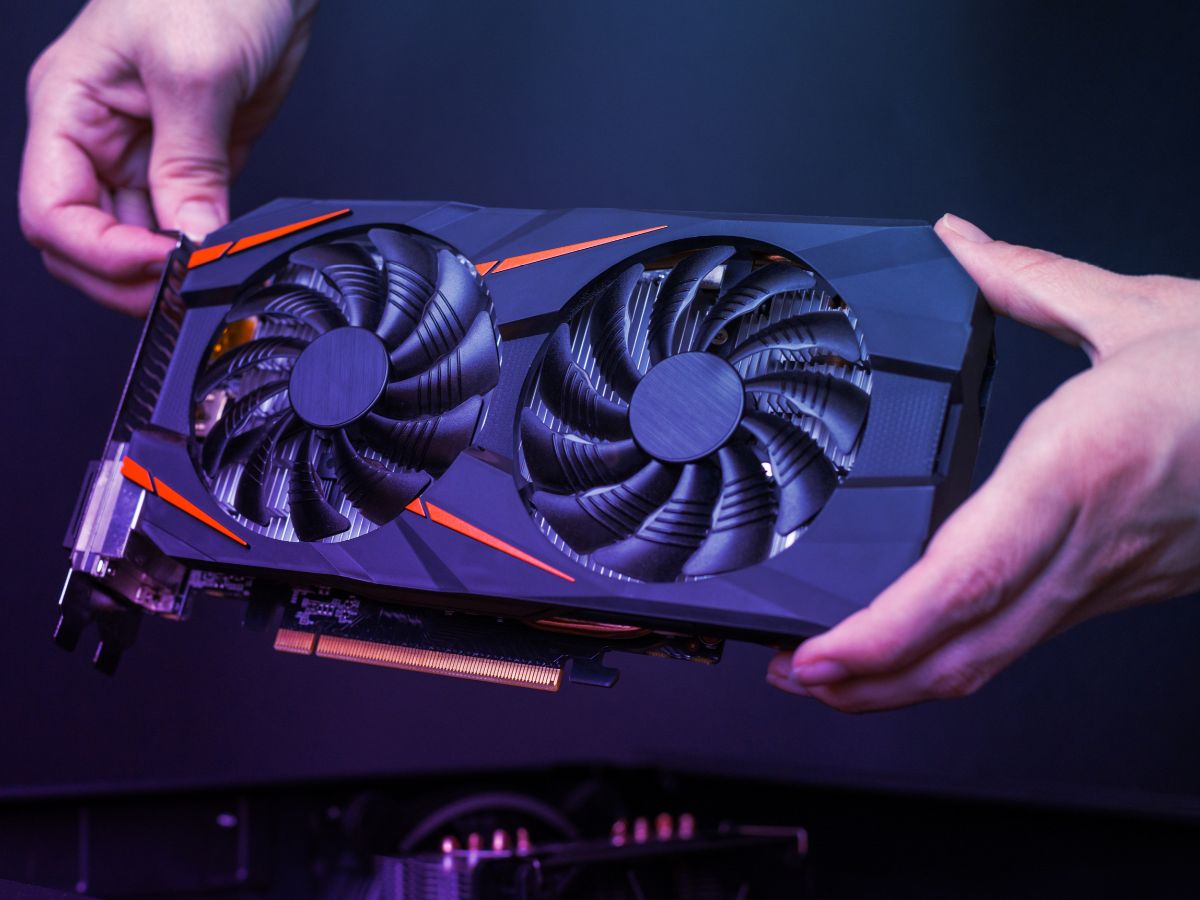
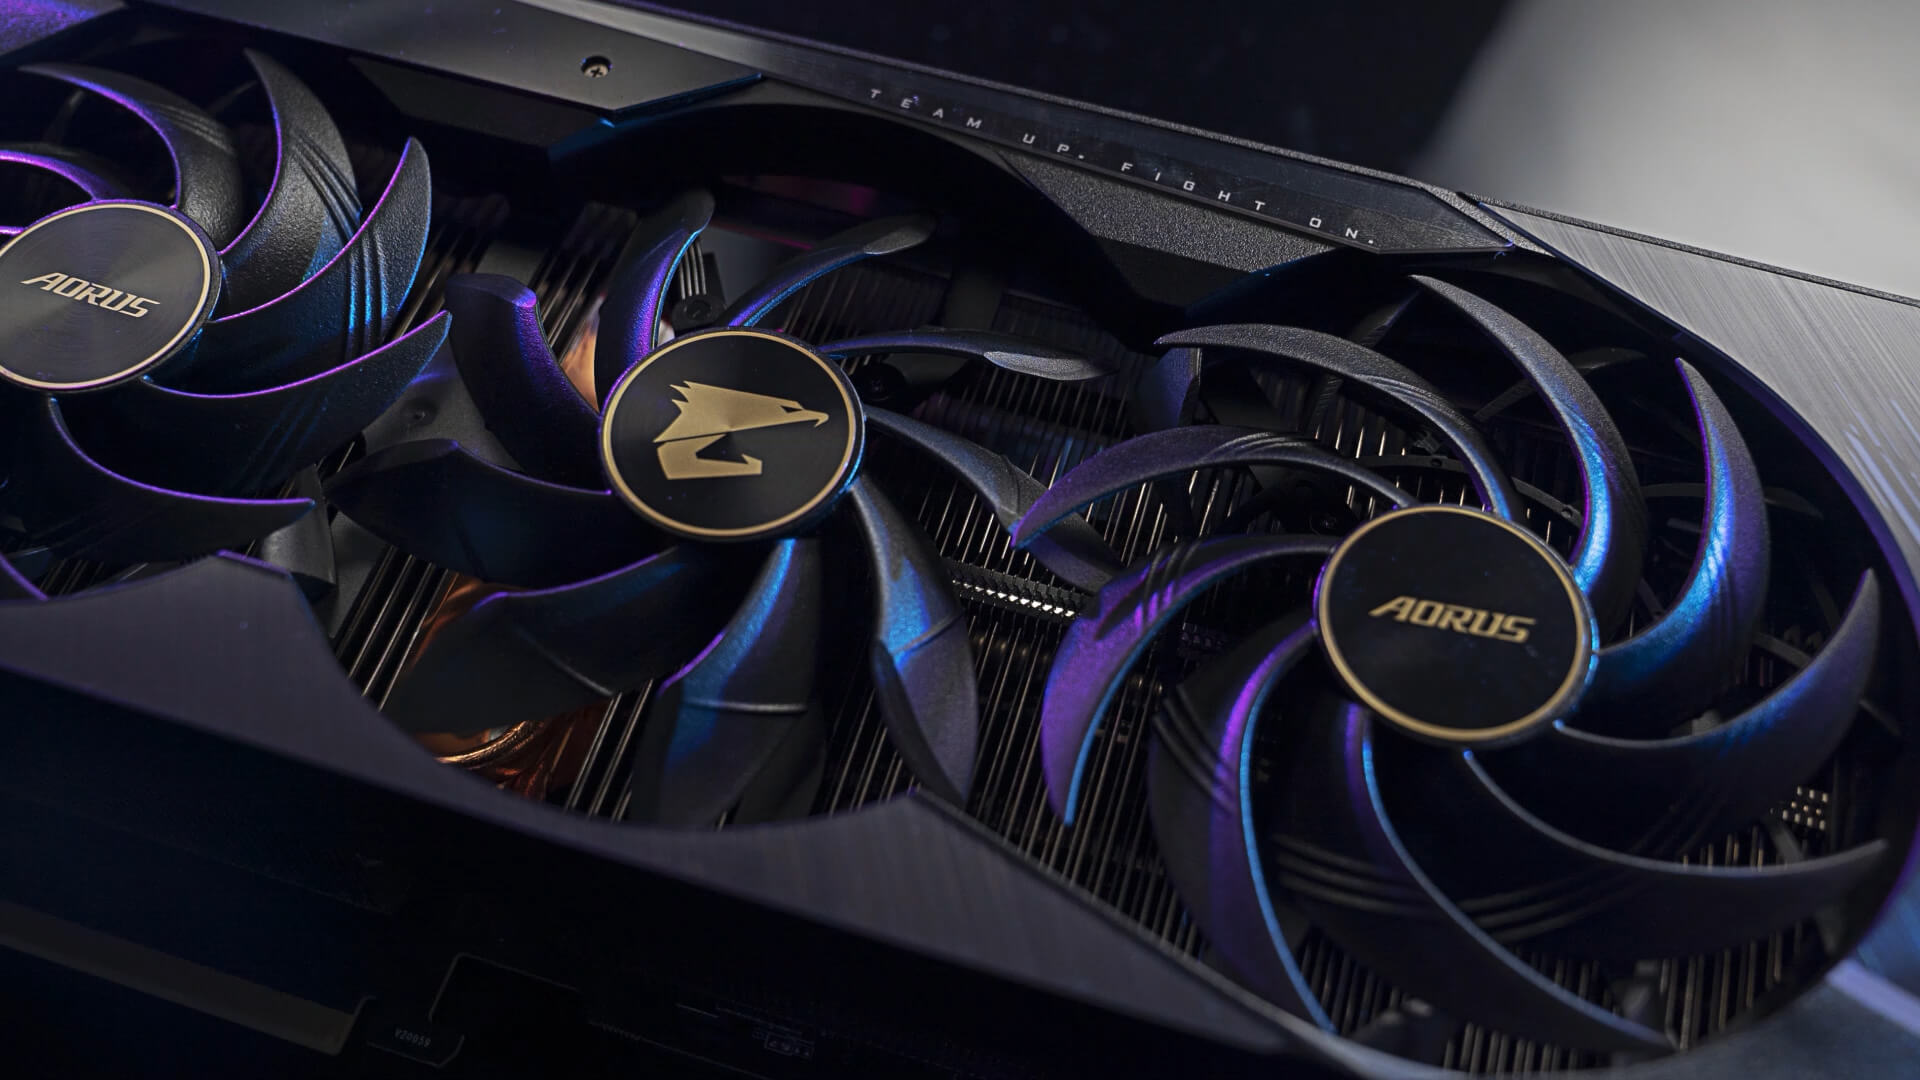
Before we delve into the causes of graphics card noise, it’s important to understand the role of a graphics card in your computer. The graphics card, also known as a GPU (Graphics Processing Unit), is responsible for rendering images, videos, and games on your computer monitor. As it performs these intensive tasks, it generates heat, which needs to be dissipated to prevent overheating. In order to cool itself down, a graphics card often includes fans and other cooling mechanisms, and it’s these components that can sometimes be the source of the noise.
In this article, we will explore the most common causes of graphics card noise and provide some troubleshooting solutions. Whether you’re a gamer looking for a quiet gaming experience or a professional user aiming for a silent workstation, understanding and addressing graphics card noise can greatly improve the overall performance and user experience of your computer.
Causes of Graphics Card Noise
There are several factors that can contribute to the noise generated by a graphics card. Understanding these causes is crucial in identifying the underlying issue and implementing the appropriate solution. Let’s take a look at some of the most common causes of graphics card noise:
- Dust and debris accumulation: Over time, dust and debris can accumulate on the fans and heatsinks of your graphics card, impeding airflow and causing the fans to work harder. This increased workload can result in a louder noise output.
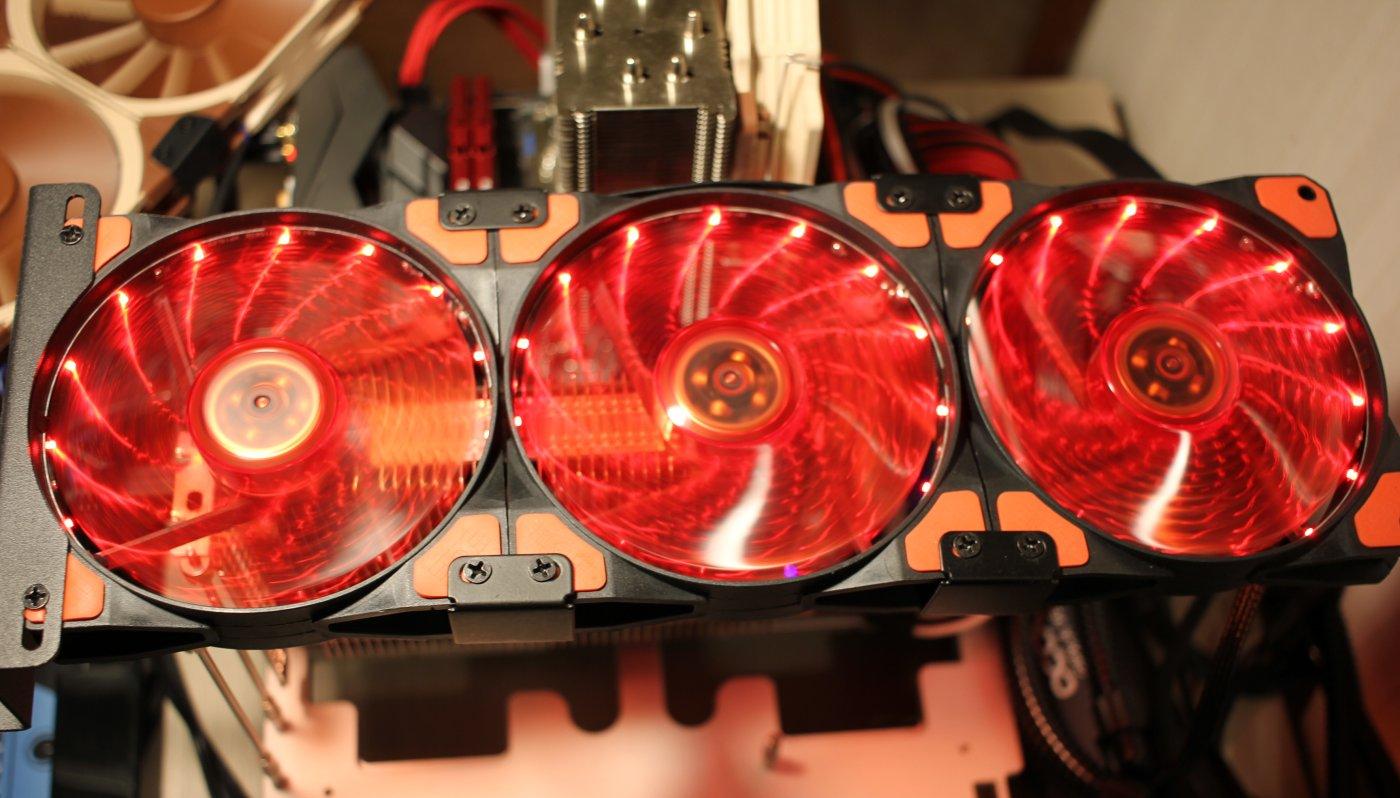
- Fan malfunction: Graphics cards rely on fans to cool down the components. If one or more of these fans start to malfunction, it can result in irregular and noisy operation. Common issues include loose bearings, misalignment, or worn-out fan blades.
- Coil whine: Coil whine is a high-pitched noise that can be produced by the graphics card’s electrical components, particularly the coils. This noise is often more noticeable during intense graphics processing or high frame rates.
- Overheating: When a graphics card becomes overheated, it may increase the speed of the fans to cool itself down. This elevated fan speed can lead to a noticeable increase in noise output. Overheating can be caused by factors such as inadequate cooling, improper airflow, or heavy usage for extended periods.
- Electrical issues: Certain electrical issues, such as a faulty power supply or unstable voltage, can cause abnormal noise from the graphics card. These issues can interfere with the smooth operation of the card’s electronic components, resulting in increased noise levels.
Identifying the specific cause of the noise can help pinpoint the appropriate solution and prevent further damage to your graphics card. In the next section, we will delve into troubleshooting techniques and solutions to address these noise-related issues.
Dust and Debris Accumulation
One of the most common causes of noise in a graphics card is the accumulation of dust and debris. As your computer operates, air circulates through the components, carrying particles that can settle on the fans and heatsinks of the graphics card. Over time, this buildup can obstruct airflow and cause the fans to work harder, resulting in increased noise levels.
To address this issue, regular cleaning of your graphics card is essential. Here are some steps to help you clean out the dust and debris:
- Power down your computer: Before you start cleaning, make sure to shut down your computer and unplug it from the power source. This is important for your safety and to avoid any potential damage to the components.
- Gather the necessary tools: You will need a can of compressed air, a soft brush or cotton swabs, and a microfiber cloth. These tools will help you effectively remove the dust and debris without causing any damage to the components.
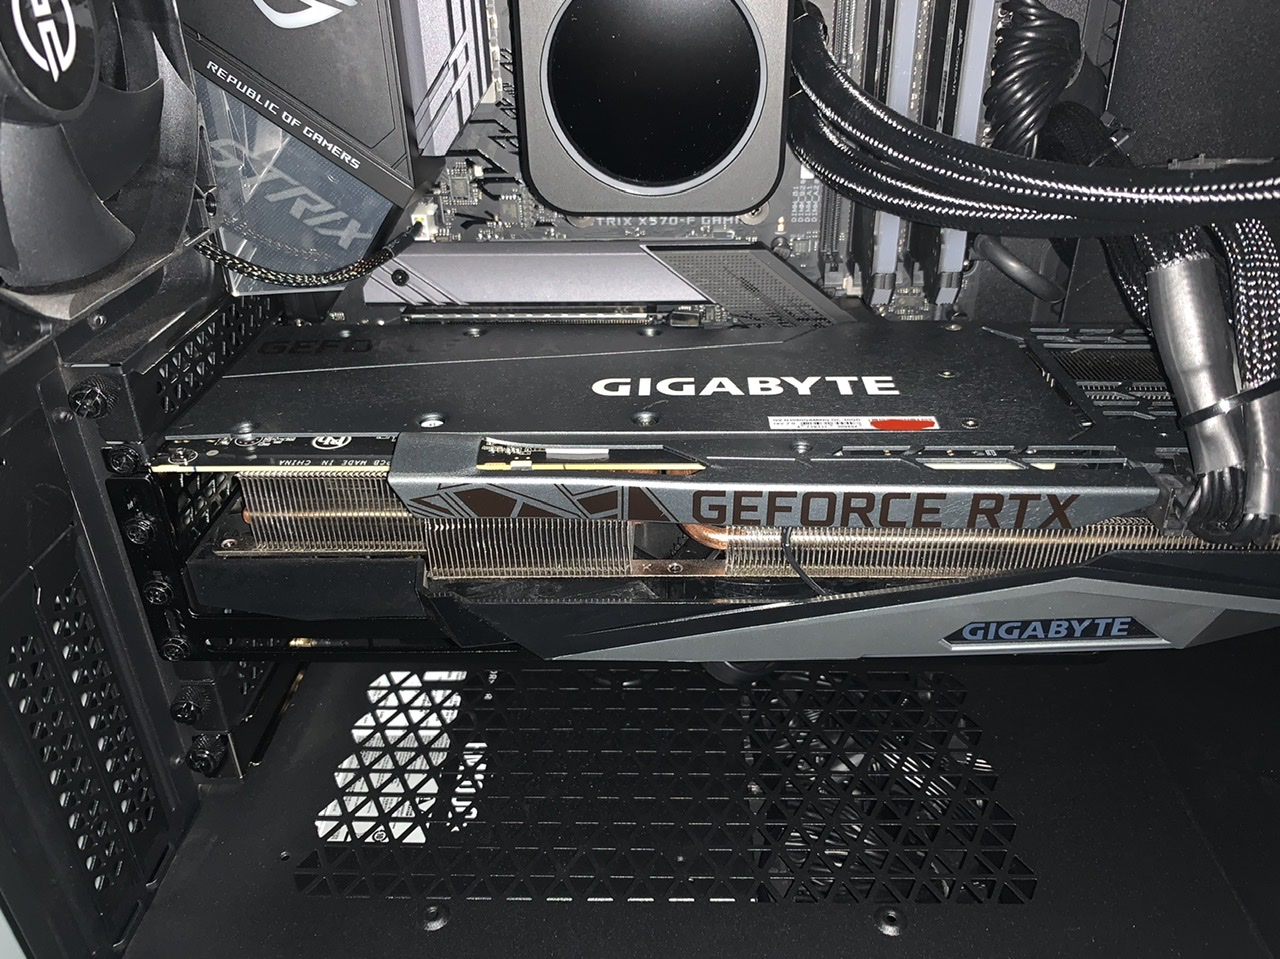
- Open your computer case: Carefully open your computer case and locate the graphics card. It is usually inserted in a PCIe slot and connected to the motherboard via cables or connectors.
- Remove the graphics card: If necessary, remove the graphics card from the slot following the manufacturer’s instructions. Be gentle and avoid applying excessive force.
- Clean the fans and heatsinks: Use the compressed air to blow away the dust from the fans and heatsinks. Hold the can upright and use short bursts to prevent any moisture from contaminating the components. Additionally, you can use the soft brush or cotton swabs to gently remove any stubborn debris.
- Wipe down the graphics card: Use a microfiber cloth to wipe down the graphics card and remove any remaining dust or smudges. Be careful not to apply excessive pressure or use any harsh chemicals that could damage the card.
- Reassemble the components: Once you have finished cleaning, carefully reinsert the graphics card into the PCIe slot and ensure it is securely connected to the motherboard. Close your computer case and plug in the power source.
Regularly cleaning your graphics card will not only reduce noise but also improve its overall performance and lifespan. Additionally, maintaining a clean and dust-free computer environment will help prevent future buildup and potential issues.
Fan Malfunction
A malfunctioning fan can be a common cause of noise in a graphics card. Over time, the fans may experience wear and tear or encounter issues that hinder their smooth operation. This can result in irregular spinning or excessive vibrations, leading to noticeable noise output.
If you suspect that a malfunctioning fan is the source of the noise, here are some troubleshooting steps you can follow:
- Inspect the fans: Start by visually inspecting the fans on your graphics card. Look for any signs of physical damage, such as bent blades or loose parts. If you notice any issues, it may be necessary to replace the fan entirely. Consult the manufacturer’s guidelines or seek professional assistance for fan replacement.
- Clean the fans: Dust and debris can also affect the performance of the fans. Follow the cleaning steps mentioned in the previous section to remove any buildup on the fan blades and housing. Sometimes, a thorough cleaning can help resolve minor issues and improve the fan’s operation.
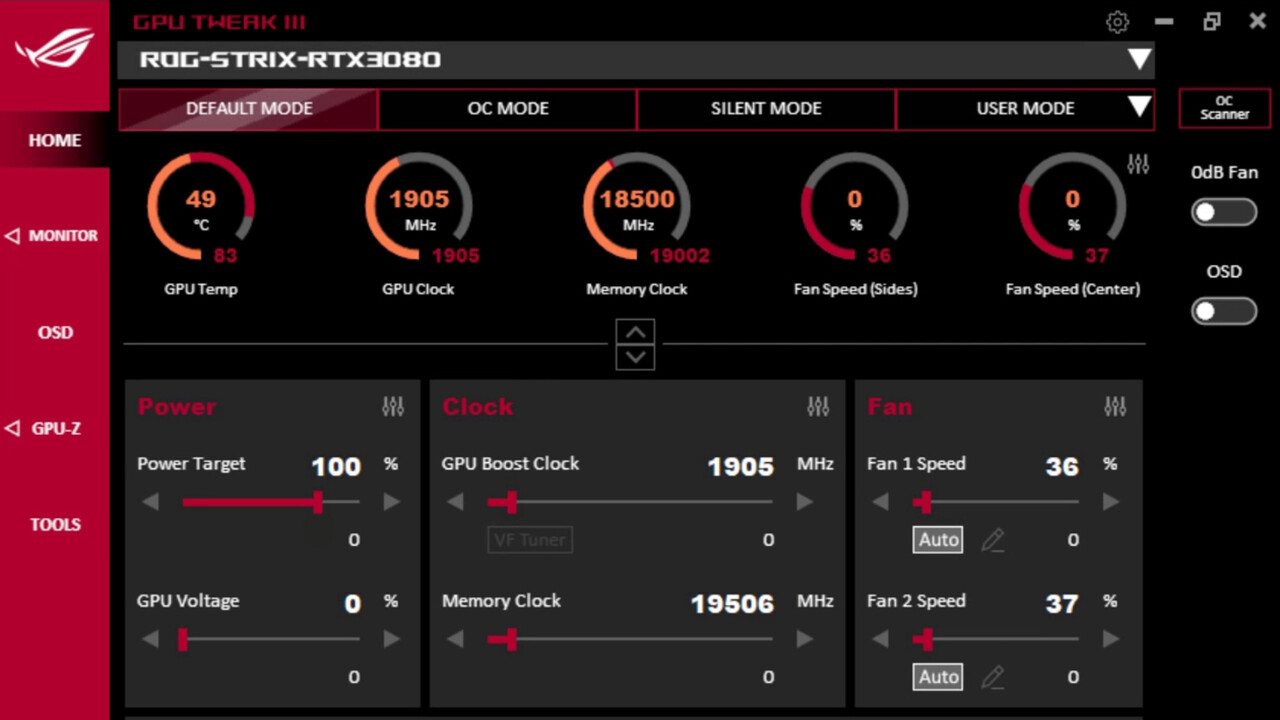
- Check the fan speed: Software utilities like MSI Afterburner or GPU-Z allow you to monitor and control the fan speed of your graphics card. Ensure that the fans are running at an appropriate speed. If the fans are spinning too fast even when the card is not under heavy load, it may indicate a faulty fan controller or driver issue.
- Replace the fan: If the fan is beyond repair or cleaning doesn’t improve its performance, you may need to replace it. Contact the manufacturer or seek professional assistance to obtain a compatible replacement fan. Be sure to follow the installation instructions carefully to ensure proper functioning.
- Consider a cooling solution: Upgrading your graphics card’s cooling system can help reduce noise and improve overall temperature management. Aftermarket cooling solutions such as liquid cooling or aftermarket heatsinks may provide more efficient and quieter cooling, especially if you’re running a high-performance graphics card.
Remember, if you’re not confident in performing these tasks yourself, it’s always best to seek professional help. They can diagnose the fan issue accurately and provide the necessary repairs or replacements.
Coil Whine
Coil whine is a high-pitched noise that can emanate from a graphics card and is often associated with electrical components, particularly the coils. It is more noticeable during intense graphics processing or high frame rates. While coil whine doesn’t necessarily indicate a faulty or defective graphics card, it can be a nuisance for users who desire a quiet computing experience.
Here are some potential solutions to reduce or eliminate coil whine:
- Update graphics card drivers: Ensure that you have the latest graphics card drivers installed. Manufacturers often release driver updates that can help optimize performance and reduce issues such as coil whine.
- Adjust graphics card settings: Some users have reported success in reducing coil whine by adjusting specific settings in their graphics card control panel. These settings may include power management options or frame rate limits. Experiment with different settings to find the configuration that minimizes the noise.
- Modify system power settings: Changing the power settings in your computer’s operating system can sometimes have an impact on coil whine. Try adjusting the power management settings to see if it makes a difference.
- Install a power conditioner: A power conditioner can help regulate the electrical supply to your graphics card, reducing potential fluctuations that may contribute to coil whine. Consider installing a reliable power conditioning device to stabilize the power going to your computer.
- Isolate the noise: In some cases, the coil whine may be more audible due to the case or other components vibrating. Try to identify the exact source of the noise and use vibration-dampening materials or rubber grommets to isolate the affected area. This can help reduce the noise transmitted through the case.
It’s important to note that while these solutions may help reduce coil whine, complete elimination of the noise may not always be possible. In most cases, coil whine is a normal characteristic of certain graphics cards and does not impact performance or longevity.
Overheating
Overheating is a common issue that can cause your graphics card to generate excessive noise. When a graphics card becomes overheated, it activates its cooling mechanisms, such as increasing the fan speed, to dissipate the heat. This elevated fan speed can result in louder noise output. Additionally, prolonged overheating can lead to performance issues and potentially damage your graphics card.
To address the issue of overheating, here are some troubleshooting steps you can take:
- Check the fan operation: Ensure that the fans on your graphics card are working properly and spinning at an appropriate speed. If the fans are not functioning correctly, follow the steps mentioned earlier to address the fan malfunction.
- Improve airflow: Proper airflow is vital for cooling your graphics card effectively. Make sure that your computer case has adequate ventilation and that the airflow inside the case is unobstructed. Consider adding additional case fans or repositioning existing fans to optimize airflow.
- Clean the cooling components: Dust and debris accumulation can impede the cooling efficiency of your graphics card. Regularly clean the fans and heatsinks, as mentioned in the previous sections, to ensure unrestricted airflow and prevent overheating.
- Monitor temperature levels: Install software utilities that allow you to monitor the temperature of your graphics card. Keep an eye on the temperatures during normal usage and heavy load scenarios. If the temperatures consistently reach unsafe levels, it may indicate a more severe cooling problem that requires professional attention.
- Utilize custom fan curves: Some graphics card control software allows you to create custom fan curves. By adjusting these curves, you can control the fan speed based on temperature thresholds, ensuring that the fans ramp up when needed to prevent overheating.
- Consider additional cooling solutions: If your graphics card continues to run hot despite optimizing airflow and cleaning, you may need to explore additional cooling options. This could involve using aftermarket cooling solutions like liquid cooling or installing high-performance GPU coolers specifically designed for your graphics card.
By taking these steps, you can effectively manage and prevent overheating issues, leading to a quieter and more reliable graphics card performance.
Electrical Issues
Electrical issues can also contribute to increased noise levels in a graphics card. Fluctuations in power supply or unstable voltage can interfere with the smooth operation of the card’s electronic components, leading to abnormal noise output. Addressing these electrical issues can help reduce unwanted noise and ensure optimal performance of your graphics card.
Here are some steps to troubleshoot and resolve electrical issues:
- Check power connections: Ensure that all power connections to your graphics card are secure and properly seated. Loose connections can cause electrical instability, resulting in noise and potential performance issues. Reconnect the power cables if necessary, making sure they are firmly in place.
- Use a different power supply: Sometimes, a faulty power supply can cause electrical problems that affect the functionality of your graphics card. If you suspect the power supply is the culprit, try using a different, reliable power supply. Note that changing the power supply requires technical knowledge, so it’s advisable to seek professional assistance if you’re unsure.
- Stabilize voltage levels: Voltage fluctuations can impact the operation of your graphics card. Consider using an uninterruptible power supply (UPS) or voltage regulator to provide stable power to your computer. These devices can help protect against power surges and provide a consistent voltage output.
- Update motherboard BIOS: Occasionally, outdated motherboard BIOS firmware can cause compatibility issues and electrical instability. Check for BIOS updates from your motherboard manufacturer’s website and follow their instructions to update the firmware if necessary.
- Consult a professional: If you’ve tried these troubleshooting steps and are still experiencing electrical issues and loud noise from your graphics card, it’s advisable to consult with a computer technician. They can analyze the specific electrical problems and provide appropriate solutions or repairs.
By addressing electrical issues, you can ensure a stable and reliable power supply to your graphics card, minimizing noise and potential performance issues or damage.
Troubleshooting & Solutions
When your graphics card is making noise, it’s important to identify the underlying cause and implement the appropriate solution. Here are some troubleshooting techniques and solutions to help you address the noise-related issues:
- Cleaning the graphics card: Regularly clean the fans and heatsinks of your graphics card to remove dust and debris. This can improve airflow and reduce noise caused by fan overload.
- Replacing or repairing the fan: If the fan on your graphics card is malfunctioning, it may need to be replaced or repaired. Consult the manufacturer’s guidelines or seek professional assistance for fan replacement.
- Reducing coil whine: While coil whine may be difficult to eliminate completely, updating graphics card drivers, adjusting settings, and using a power conditioner can help reduce the high-pitched noise.
- Monitoring and managing temperature: Ensure that your graphics card is not overheating by optimizing airflow, cleaning the cooling components, and monitoring temperature levels. Consider using software utilities or custom fan curves to control fan speed based on temperature.
- Checking power connections and supply: Loose or faulty power connections can cause noise issues. Make sure all power connections to the graphics card are secure and consider using a stable power supply or voltage regulator.
It’s important to keep in mind that if you’re not comfortable performing these troubleshooting steps or the issue persists after attempting them, it’s best to seek professional assistance. They can diagnose the problem accurately and provide the necessary repairs or replacements to ensure optimal performance of your graphics card.
Cleaning the Graphics Card
One of the most effective ways to address noise issues with your graphics card is by properly cleaning it. Over time, dust and debris can accumulate on the fans and heatsinks, obstructing airflow and causing the fans to work harder, resulting in increased noise levels. Regularly cleaning your graphics card can help improve its overall performance and reduce noise. Here’s how to clean your graphics card:
- Power down your computer: Before starting the cleaning process, be sure to shut down your computer and unplug it from the power source. This is vital for your safety and to avoid any potential damage to the components.
- Gather the necessary tools: You will need a can of compressed air, a soft brush or cotton swabs, and a microfiber cloth. These tools will help you effectively remove the dust and debris without causing any damage to the components.
- Open your computer case: Carefully open your computer case and locate the graphics card. It is usually inserted in a PCIe slot and connected to the motherboard via cables or connectors.
- Remove the graphics card: If necessary, remove the graphics card from the slot following the manufacturer’s instructions. Be sure to handle it with care and avoid applying excessive force.
- Clean the fans and heatsinks: Use the can of compressed air to blow away the dust from the fans and heatsinks. Hold the can upright and use short bursts to prevent any moisture from contaminating the components. Additionally, you can use the soft brush or cotton swabs to gently remove any stubborn debris.
- Wipe down the graphics card: Use a microfiber cloth to wipe down the graphics card and remove any remaining dust or smudges. Be careful not to apply excessive pressure or use any harsh chemicals that could damage the card.
- Reassemble the components: Once you have finished cleaning, carefully reinsert the graphics card into the PCIe slot and ensure it is securely connected to the motherboard. Close your computer case and plug in the power source.
By regularly cleaning your graphics card, you can improve airflow, prevent overheating, and reduce noise caused by fan overload. Remember to follow proper safety precautions and consult the manufacturer’s instructions if you have any doubts about the cleaning process.
Replacing or Repairing the Fan
If you notice that the fan on your graphics card is malfunctioning or making excessive noise, it may be necessary to replace or repair the fan. The fan plays a crucial role in cooling the graphics card and maintaining optimal performance. Here are some steps to help you in replacing or repairing the fan:
- Identify the type of fan: Before proceeding, determine the type of fan used in your graphics card. Different graphics cards may have different fan designs, so it’s essential to ensure compatibility when purchasing a replacement fan.
- Obtain a compatible replacement fan: Contact the manufacturer or search online for a compatible replacement fan for your specific graphics card model. Alternatively, check if your graphics card is still under warranty, as the manufacturer may provide a replacement fan free of charge.
- Prepare for the replacement: Power down your computer and unplug it from the power source. Open your computer case according to the manufacturer’s instructions. Locate the graphics card and carefully remove it from the PCIe slot, disconnecting any necessary cables or connectors.
- Remove the faulty fan: Depending on the fan design, you may need to remove screws or clips that hold the fan in place. Take caution and gently detach the fan from the heat sink or fan shroud. If the fan is connected via a cable, unplug it from the graphics card circuit board.
- Install the replacement fan: Align the replacement fan with the mounting holes or clips on the graphics card. Secure it in place using screws or clips, ensuring a proper fit. If there is a connector cable, plug it into the appropriate port on the graphics card circuit board.
- Reassemble and test: Carefully reinsert the graphics card into the PCIe slot, reconnect any cables or connectors, and close your computer case. Plug in the power source and power on your computer to test the new fan.
- Professional repair: If you are not comfortable replacing the fan yourself or if the fan is not replaceable, consider seeking professional repair services. They have the expertise and equipment necessary to diagnose and repair the fan issues effectively.
Replacing or repairing the fan can help restore proper cooling to your graphics card and reduce noise levels. It is important to follow the manufacturer’s guidelines and exercise caution during the replacement or repair process to avoid causing further damage to the graphics card.
Reducing Coil Whine
Coil whine is a high-pitched noise that can be generated by the electrical components of your graphics card, particularly the coils. Although it is generally not indicative of a defect or malfunction, coil whine can be an irritating noise that users want to minimize. While it may not be possible to completely eliminate coil whine, there are steps you can take to reduce its occurrence:
- Update graphics card drivers: Ensure that you have the latest graphics card drivers installed. Manufacturers often release driver updates that can help optimize performance and reduce issues such as coil whine.
- Adjust graphics card settings: Some users have reported success in reducing coil whine by adjusting specific settings in their graphics card control panel. These settings may include power management options, frame rate limits, or other performance-related toggles. Experiment with different settings to find the configuration that minimizes the noise.
- Use a power conditioner: A power conditioner can help regulate the electrical supply to your graphics card, reducing potential fluctuations that may contribute to coil whine. Consider installing a reliable power conditioning device to stabilize the power going to your computer and peripherals.
- Modify system power settings: Changing power settings in your computer’s operating system can sometimes have an impact on coil whine. Try adjusting the power management settings to see if it makes a difference. This may involve lowering performance settings or enabling power-saving modes.
- Isolate the noise: In some cases, the coil whine may be more audible due to vibrations caused by the case or other components. Try to identify the exact source of the noise and use vibration-dampening materials or rubber grommets to isolate the affected area. This can help reduce the noise transmitted through the case.
It’s important to note that while these solutions may help reduce coil whine, complete elimination of the noise may not always be possible. Coil whine is often a normal characteristic of certain graphics cards and does not typically impact performance or longevity. If the noise becomes excessively loud or there are other accompanying issues, it may be best to contact the manufacturer or seek professional assistance for further evaluation.
Monitoring and Managing Temperature
Monitoring and managing the temperature of your graphics card is crucial for maintaining its optimal performance and preventing excessive noise caused by overheating. When a graphics card becomes too hot, it can activate its cooling mechanisms, such as increasing fan speed, which can result in noticeable noise output. Here are some steps to help you monitor and manage the temperature of your graphics card:
- Install temperature monitoring software: There are various software utilities available that allow you to monitor the temperature of your graphics card in real-time. Popular options include MSI Afterburner, GPU-Z, and HWMonitor. Install one of these programs to keep an eye on the temperature readings.
- Monitor during normal usage: Pay attention to the temperature readings of your graphics card during regular usage. This will help you establish baseline temperature levels and identify any potential issues if the temperatures are abnormally high in typical scenarios.
- Monitor during heavy load: Run demanding applications or games that push your graphics card to its limits. Monitor the temperature readings during these instances, as sustained high temperatures can cause increased noise levels and reduced performance. If your graphics card consistently reaches unsafe temperatures, it may be necessary to take further action.
- Optimize airflow: Ensuring proper airflow within your computer case is crucial for managing the temperature of your graphics card. Clean the fans and heatsinks regularly to remove dust and debris that can hinder airflow. Additionally, make sure your case has adequate ventilation and consider positioning case fans strategically to direct cool air towards the graphics card.
- Manage fan speed: Many graphics cards allow you to manually control fan speed through software utilities like MSI Afterburner. Create custom fan curves that adjust fan speed based on temperature thresholds. This can help maintain optimal temperatures while keeping noise levels in check.
- Consider additional cooling solutions: If your graphics card consistently runs hot even with optimized airflow and fan control, you may need to explore additional cooling options. This could involve installing aftermarket cooling solutions like liquid cooling or high-performance GPU coolers specifically designed for your graphics card.
By monitoring temperature levels and managing airflow and fan speed, you can maintain optimal temperatures in your graphics card and reduce noise caused by overheating. However, if you notice persistent high temperatures or excessive noise, it may be a sign of a more significant issue that should be addressed by a professional.
Checking Power Connections and Supply
When your graphics card is making noise, it is essential to ensure that the power connections and supply are stable and reliable. Loose or faulty power connections can cause electrical instability, leading to noise issues and potential performance problems. Here are some steps to check your power connections and supply:
- Power down your computer: Before you start checking the power connections, make sure to shut down your computer and unplug it from the power source. This is crucial for safety and to prevent any potential damage to the components.
- Inspect the power connections: Carefully examine the power connections to your graphics card. Ensure that all the cables are properly seated and securely connected. Wiggle the cables gently to check for any loose connections. If you find any loose cables, disconnect and reconnect them firmly.
- Check the power supply cables: Examine the power supply cables that are connected to your graphics card. Make sure that the cables are connected to the appropriate ports on both the power supply unit and the graphics card. If you have multiple power supply cables, ensure that they are all connected securely.
- Test with a different power supply unit: If you suspect that your current power supply unit is causing electrical issues, you may want to test your graphics card with a different, reliable power supply unit. This can help determine if the noise issue is related to the power supply.
- Stabilize the voltage supply: Electrical fluctuations can also contribute to noise problems. Consider using an uninterruptible power supply (UPS) or voltage regulator to stabilize the voltage supply to your computer and graphics card. These devices can help protect against power surges and ensure a consistent and stable power flow.
By checking the power connections and supply, you can eliminate any potential issues related to electrical instability. Be sure to follow proper safety precautions and consult the manufacturer’s guidelines for your graphics card and power supply unit. If the noise issue persists or you are unsure about performing these steps yourself, it is best to seek professional assistance to accurately diagnose and resolve the problem.
Conclusion
Noise coming from your graphics card can be a source of annoyance and concern. Understanding the causes behind the noise and taking appropriate steps to address them is key to maintaining a quiet and optimal computing experience.
In this article, we explored some of the most common causes of graphics card noise, including dust accumulation, fan malfunction, coil whine, overheating, and electrical issues. By identifying these causes, you can troubleshoot and implement solutions to minimize noise and enhance performance.
First, cleaning your graphics card and ensuring proper airflow can help reduce noise caused by dust and debris accumulation. If the fan is malfunctioning, you may need to consider replacing or repairing it. Coil whine, although challenging to eliminate entirely, can be reduced through driver updates, adjusted settings, or the use of a power conditioner.
Overheating can lead to increased noise levels, so monitoring and managing the temperature of your graphics card is crucial. Lastly, checking power connections and supply stability will help address any electrical issues that contribute to noise problems.
Remember, if you are unsure about performing any troubleshooting or if the noise persists after attempting the solutions mentioned, it is always recommended to seek professional assistance. They can provide expert guidance and help resolve the issue without compromising the integrity of your graphics card.
By being proactive in maintaining and addressing graphics card noise, you can enjoy a quieter computing experience and prolong the longevity of your hardware.