Introduction
Welcome to the world of computer cooling! If you’re new to building or upgrading your own PC, you might be wondering about the various components and how they all fit together. One crucial aspect of keeping your computer running smoothly is proper cooling, and case fans play a vital role in dissipating heat generated by your hardware.
In this guide, we’ll explore the question of where to plug a case fan into on your computer. There are a few options, depending on your specific setup and equipment. Understanding these options will not only help keep your system cool but also ensure that you have adequate airflow, preventing overheating and potential damage.
Before we dive into the different ways to connect case fans, let’s first take a quick look at why proper cooling is so important. Modern computer components, such as the CPU and graphics card, generate significant amounts of heat during operation. If not effectively cooled, this heat can lead to performance degradation, unstable operation, and even permanent damage to your hardware.
That’s where case fans come in. They are responsible for actively exhausting hot air from the case and bringing in cool air to maintain optimum temperatures. Placing them strategically and connecting them correctly will ensure that hot air is efficiently removed, allowing your system to run at peak performance.
Now that we understand the importance of case fans and their role in cooling, let’s explore the different options for connecting them in your computer. We’ll look at motherboard headers, power supply units, fan controllers, and other components that may come into play.
Motherboard Headers
One of the most common ways to connect case fans is through the motherboard headers. Most motherboards have dedicated connectors specifically designed for fan connections. These headers are typically labeled “CHA_FAN,” “SYS_FAN,” or something similar.
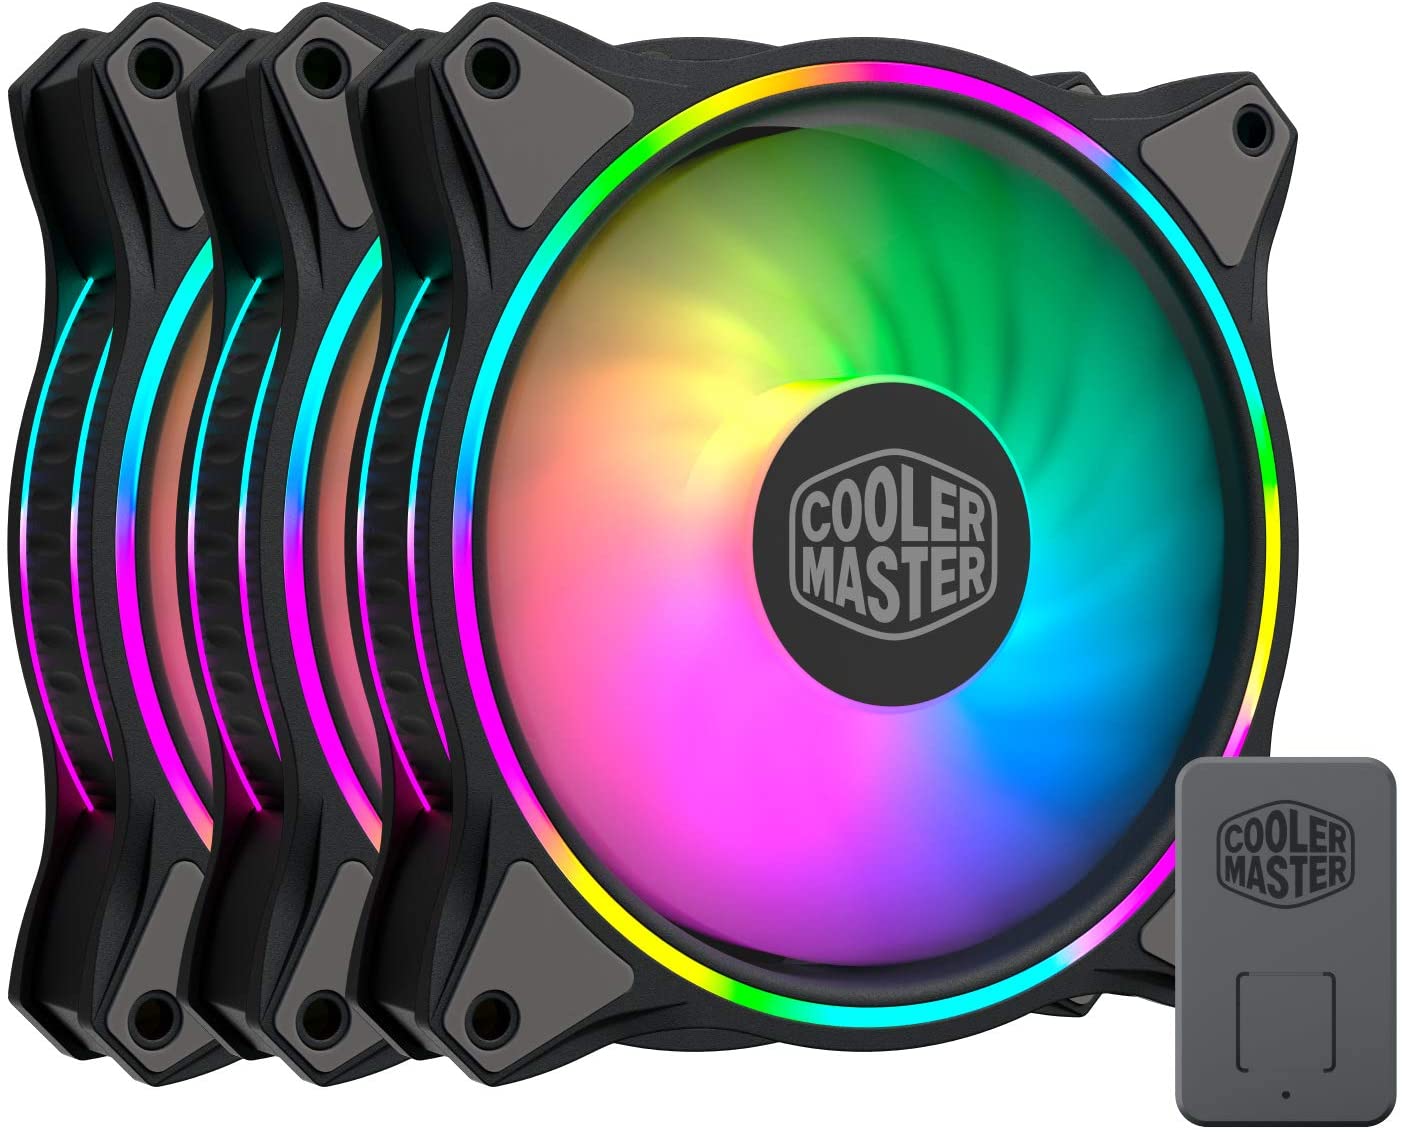
Connecting case fans to the motherboard headers offers several advantages. Firstly, it allows for easy control and monitoring of fan speeds through the BIOS or dedicated software. This means you can adjust the fan speed based on your system’s temperature or personal preference. Additionally, connecting fans to the motherboard headers allows for synchronization with other RGB lighting effects, if your fans support RGB lighting.
To connect case fans to the motherboard headers, it’s important to check the fan’s connector type. There are two common types: the 3-pin connector and the 4-pin connector (also known as PWM). The 3-pin connector provides basic fan control by adjusting the voltage to regulate the speed. The 4-pin connector, on the other hand, allows for more precise control of fan speed through pulse-width modulation (PWM).
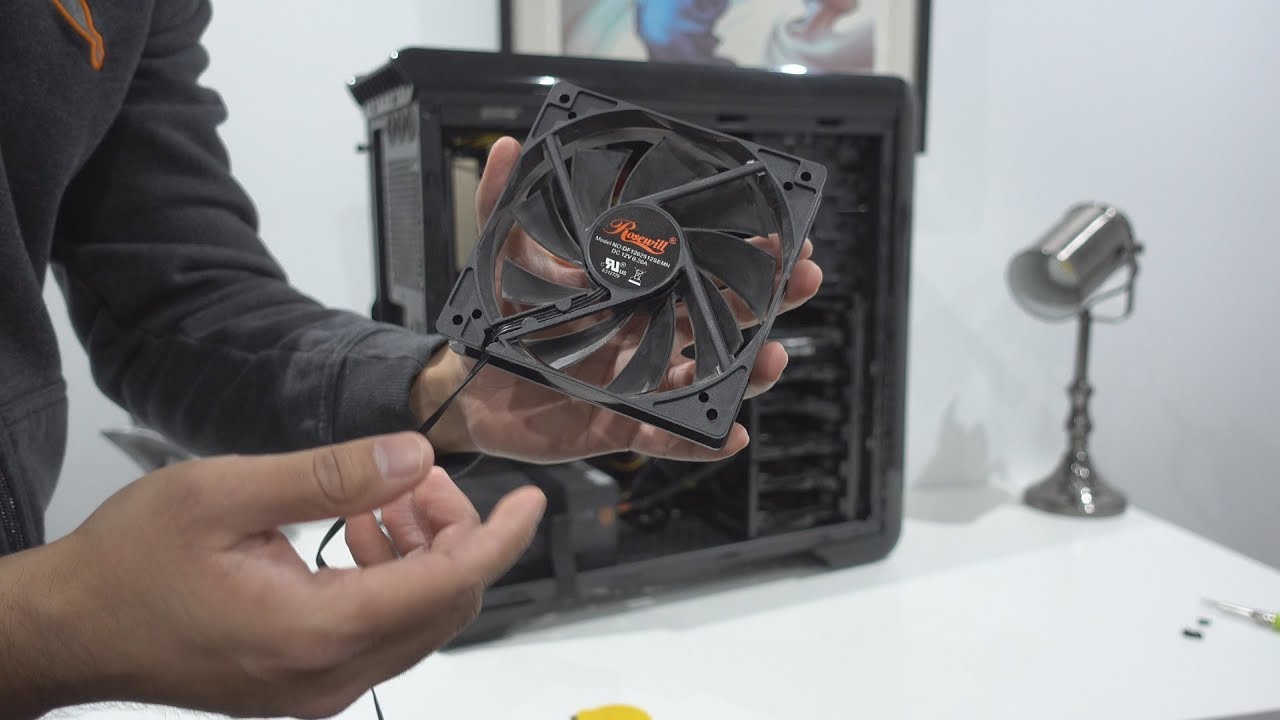
To connect a 3-pin fan, align the pins on the fan connector with the corresponding pins on the motherboard header and gently push them together. Make sure the connector is securely in place. For a 4-pin fan, the process is the same, but make sure to align the extra pin correctly. Refer to your motherboard manual for specific instructions on locating the fan headers and their corresponding labels.
It’s important to keep in mind that motherboard headers have a limited capacity in terms of the number of fans they can support. Check your motherboard’s specifications to determine the maximum number of fans that can be connected. If you have more fans than available headers, you may need to use a fan splitter or consider other connection options.
Using the motherboard headers to connect case fans is a convenient and effective method. It allows for easy control of fan speed and provides compatibility with RGB lighting effects. However, it’s essential to ensure that the number of fans you connect does not exceed the motherboard’s capacity.
Power Supply Units
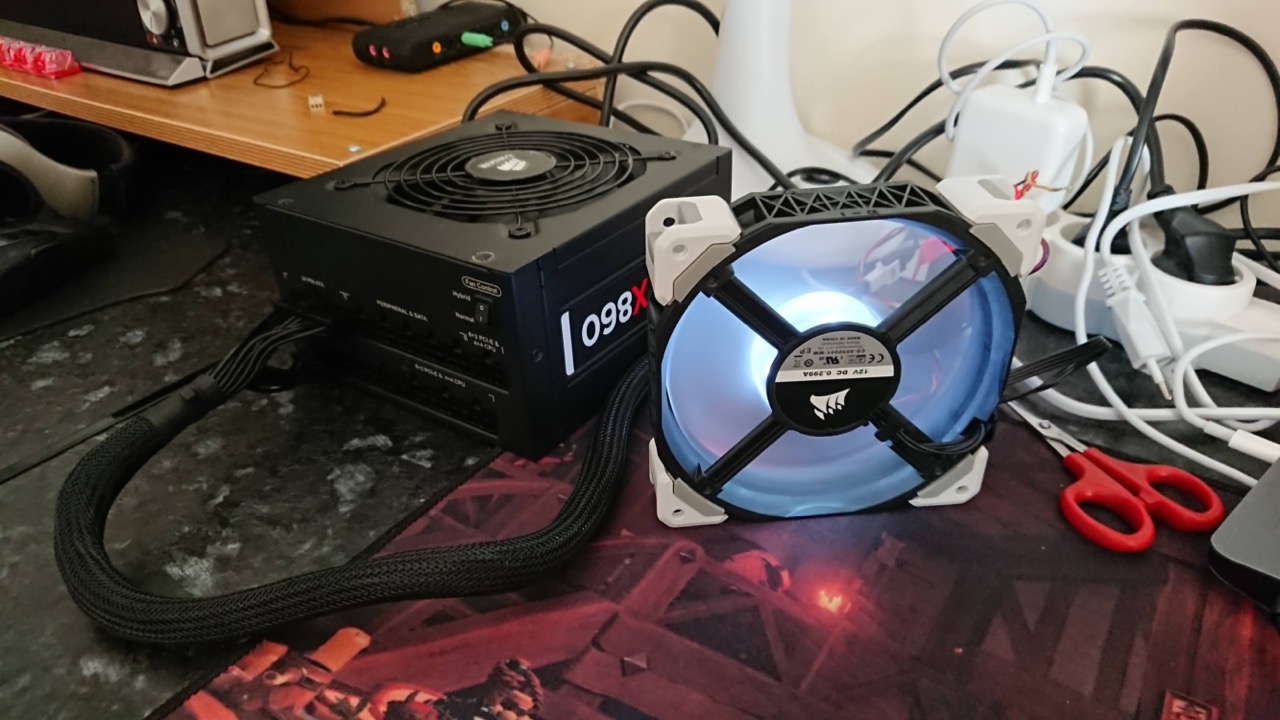
Another option for connecting case fans is through the power supply unit (PSU). The PSU is responsible for providing power to all the components in your computer, and it has built-in connectors specifically for fans.
Connecting case fans to the PSU has its advantages. One of them is that the fans will run at a constant speed, typically at their maximum capacity. This can be beneficial if you prefer maximum cooling power and don’t necessarily need precise control over fan speed. Additionally, connecting fans to the PSU can help reduce the load on the motherboard headers, allowing them to be used for other components.
To connect case fans to the PSU, you’ll need to use Molex connectors or SATA connectors, depending on the type of fan you have. Molex connectors have been around for a long time and are still commonly found on older PSUs. They have four pins and are relatively simple to connect. SATA connectors, on the other hand, are newer and found on modern PSUs. They have a different shape and are more streamlined.
Connecting the fans to the PSU is straightforward. For Molex connectors, locate the Molex cable from the PSU and connect the fan’s Molex connector to it. Ensure that the pins align properly and that the connection is secure. For SATA connectors, locate the SATA cable from the PSU and connect the fan’s SATA connector to it. Again, ensure a secure connection.
It’s important to note that when connecting case fans directly to the PSU, they will run at their maximum speed all the time. This may result in increased noise levels as the fans will be running at full power continuously. If noise is a concern, you may want to consider alternative methods of fan control.
Using the power supply unit to connect case fans is a straightforward option that ensures constant maximum cooling power. It can help offload the load on motherboard headers and free them up for other components. However, the lack of fan speed control may result in increased noise levels.
Fan Controllers
If you prefer more control over your case fans’ speed and want the ability to adjust them manually, a fan controller is an excellent option. Fan controllers are separate devices that allow you to independently control the speed of multiple fans.
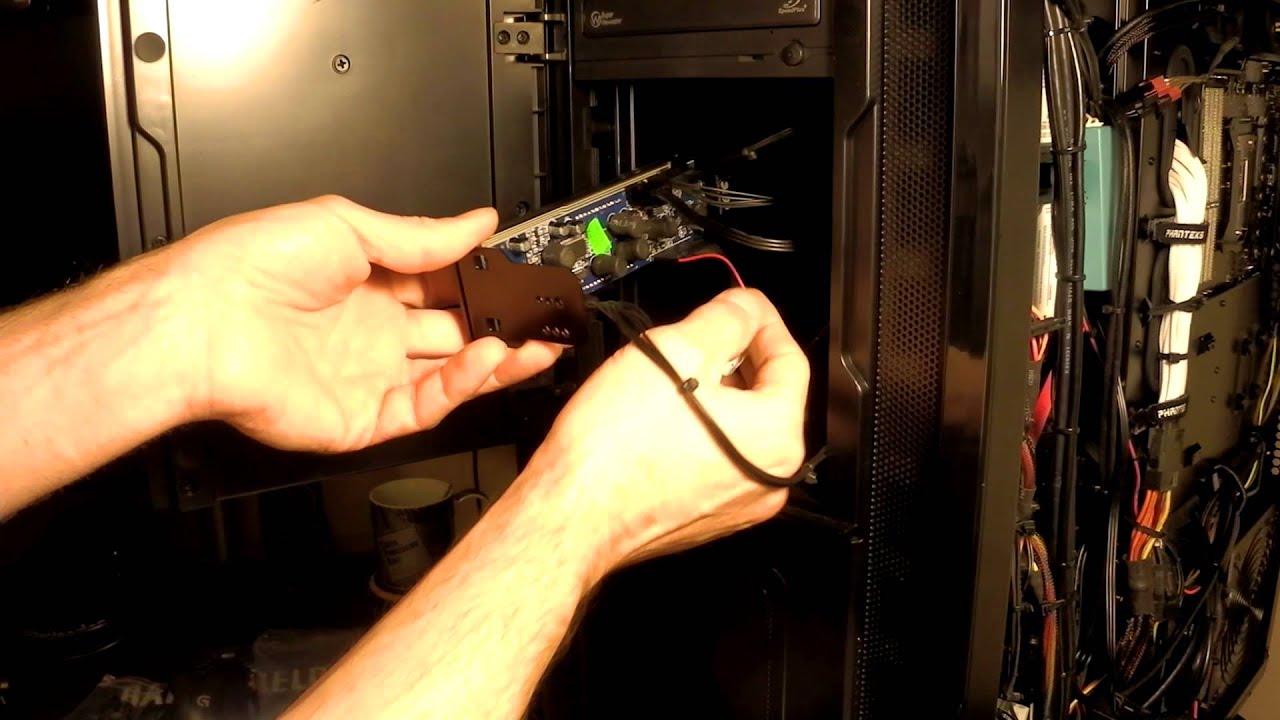
There are two main types of fan controllers: hardware fan controllers and software fan controllers. Hardware fan controllers are physical devices that you install in your system. They usually have knobs or buttons that allow you to adjust the fan speed manually. Software fan controllers, on the other hand, are programs or applications that you install on your computer. They provide a graphical user interface (GUI) through which you can control the fan speed.
When using a hardware fan controller, you typically connect the case fans directly to the fan controller. The fan controller itself is then connected to a power source, usually the power supply unit. This setup allows you to control the fan speed independently from the motherboard and provides a centralized control point for all your fans.
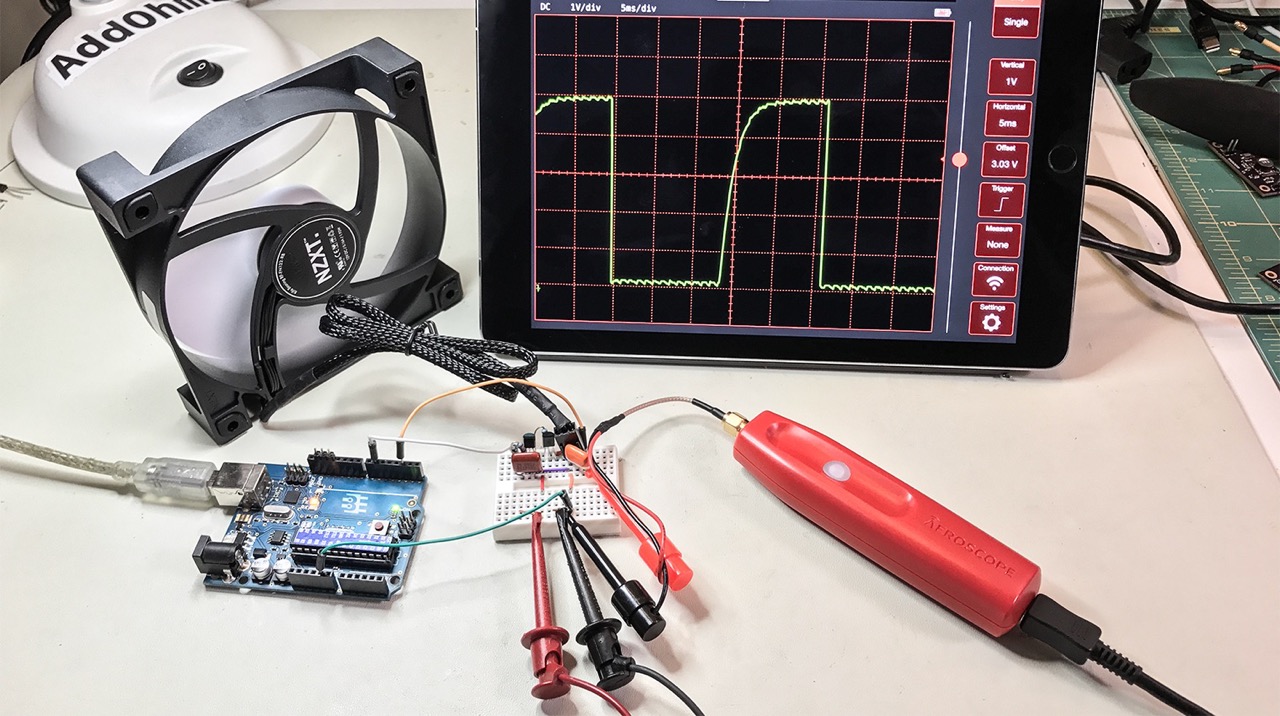
Software fan controllers, on the other hand, work by communicating with the motherboard and adjusting the fan speed through the BIOS or dedicated software. This type of fan control is usually more advanced and allows for more precise tuning of the fan speed based on temperature sensors and other parameters.
One advantage of using fan controllers is the ability to create custom fan profiles. This means you can set different fan speeds for different scenarios, such as gaming, video editing, or idle usage. By customizing the fan profiles, you can achieve the perfect balance between cooling performance and noise levels.
When considering a fan controller, it’s essential to ensure compatibility with your system and the number of fans you plan to connect. Some fan controllers have a limited number of slots, while others offer expandability options. Additionally, make sure to choose a fan controller that matches your preferred control method, whether it’s hardware-based or software-based.
Fan controllers provide a convenient way to manually adjust and control the speed of your case fans. Whether you opt for a hardware fan controller or a software fan controller, they offer more flexibility and customization options compared to motherboard or PSU-based fan connections. With a fan controller, you can fine-tune your cooling system to meet your specific needs and preferences.
Other Components
In addition to motherboard headers, power supply units, and fan controllers, there are a few other components that you can utilize to connect your case fans.
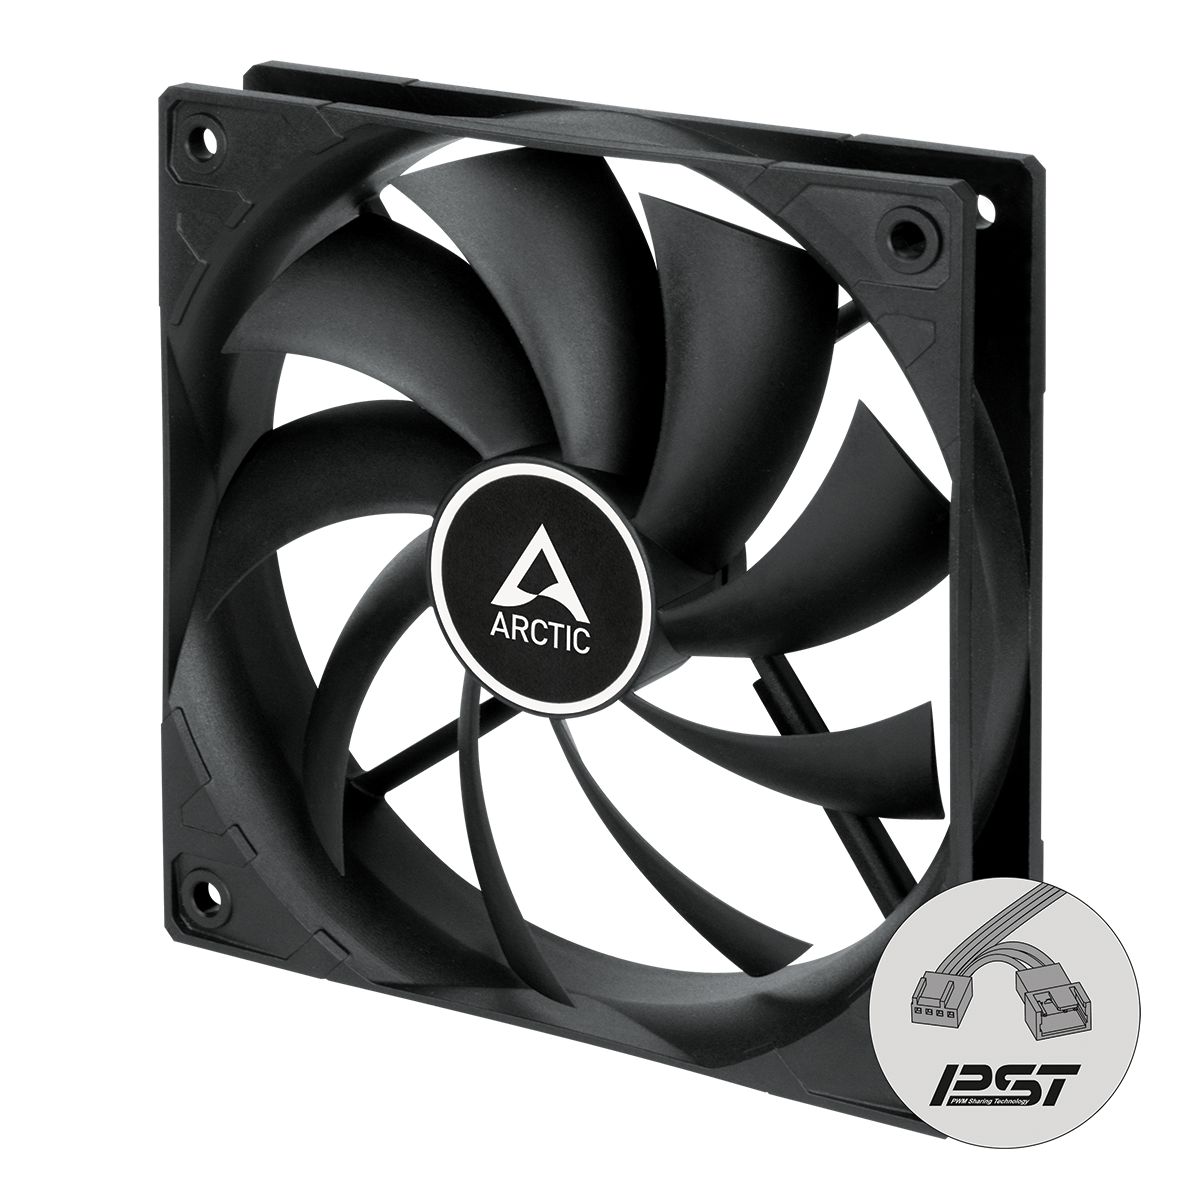
One such component is the fan hub. A fan hub is a device that allows you to connect multiple fans to a single header on your motherboard. It acts as a central hub, providing power and control signals to the connected fans. Fan hubs are particularly useful when you have more fans than available motherboard headers, as they allow you to expand the number of fans that can be connected.
Another option is the fan splitter. A fan splitter is a cable that allows you to connect multiple fans to a single motherboard header. It essentially splits the power and control signals from the single header to multiple fans. Using fan splitters is a cost-effective solution, especially when you only need to connect a few additional fans.
Some cases also come with built-in fan controllers or fan hubs. These cases have dedicated buttons or knobs on the front panel that allow you to control the fan speed. With built-in fan controllers, you can easily adjust the fan speed without the need for an external device. This option is convenient if you prefer a streamlined and integrated setup without the need for additional components.
It’s important to note that when using fan hubs or fan splitters, the control signals and fan speed adjustments will still be governed by the original motherboard header to which the hub or splitter is connected. This means that all the fans connected to the hub or splitter will share the same fan speed setting.
When considering other components for fan connection, make sure to check their compatibility with your system and the specific requirements of your case fans. Verify the number of fans they can support and whether they provide the desired level of control for your cooling needs.
By exploring these alternative components, you have more flexibility in connecting your case fans and expanding your cooling setup. Whether it’s using fan hubs, fan splitters, or cases with built-in fan controllers, these options offer convenience and customization for optimal cooling performance.