Introduction
A case fan plays a crucial role in keeping your computer’s temperature regulated and preventing overheating. However, not all case fans come with a regular plug that can be easily connected to a power source. Some case fans may use proprietary connectors, making it difficult to replace or upgrade them. If you are looking to convert a case fan to a regular plug for convenience or compatibility reasons, you’ve come to the right place.
In this guide, we will walk you through the step-by-step process of converting a case fan to a regular plug. By following these instructions, you will be able to use your case fan with any standard power source, providing you with more flexibility and ease of use when it comes to managing your computer’s cooling system.
Before we dive into the details, it’s important to note that converting a case fan to a regular plug requires some basic electrical knowledge and skills. If you are not comfortable working with electrical components or are unsure about any step in the process, it’s always best to consult a professional or seek assistance from someone with experience.
Now, let’s gather the necessary tools and materials before we begin the conversion process.
Tools and materials needed
Before starting the process of converting a case fan to a regular plug, it is important to gather all the necessary tools and materials. Having these items ready will ensure a smooth and efficient conversion process. Here are the tools and materials you will need:
- Screwdriver – Depending on your computer case, you may need a Phillips or flathead screwdriver to remove the case panel and access the fan.
- Wire cutters/strippers – These tools will be used to cut and strip the wires of the case fan for the conversion process.
- Electrical tape – Electrical tape will be used to insulate and secure the wire connections.
- Heat shrink tubing – Heat shrink tubing is an alternative to electrical tape and provides a more secure and professional-looking insulation for wire connections.
- Soldering iron and solder – If you want to create a more permanent and secure connection, a soldering iron and solder can be used to join the wires together.
- Wire connectors – Wire connectors, such as butt connectors or crimp connectors, can be used to join the wires together without the need for soldering.
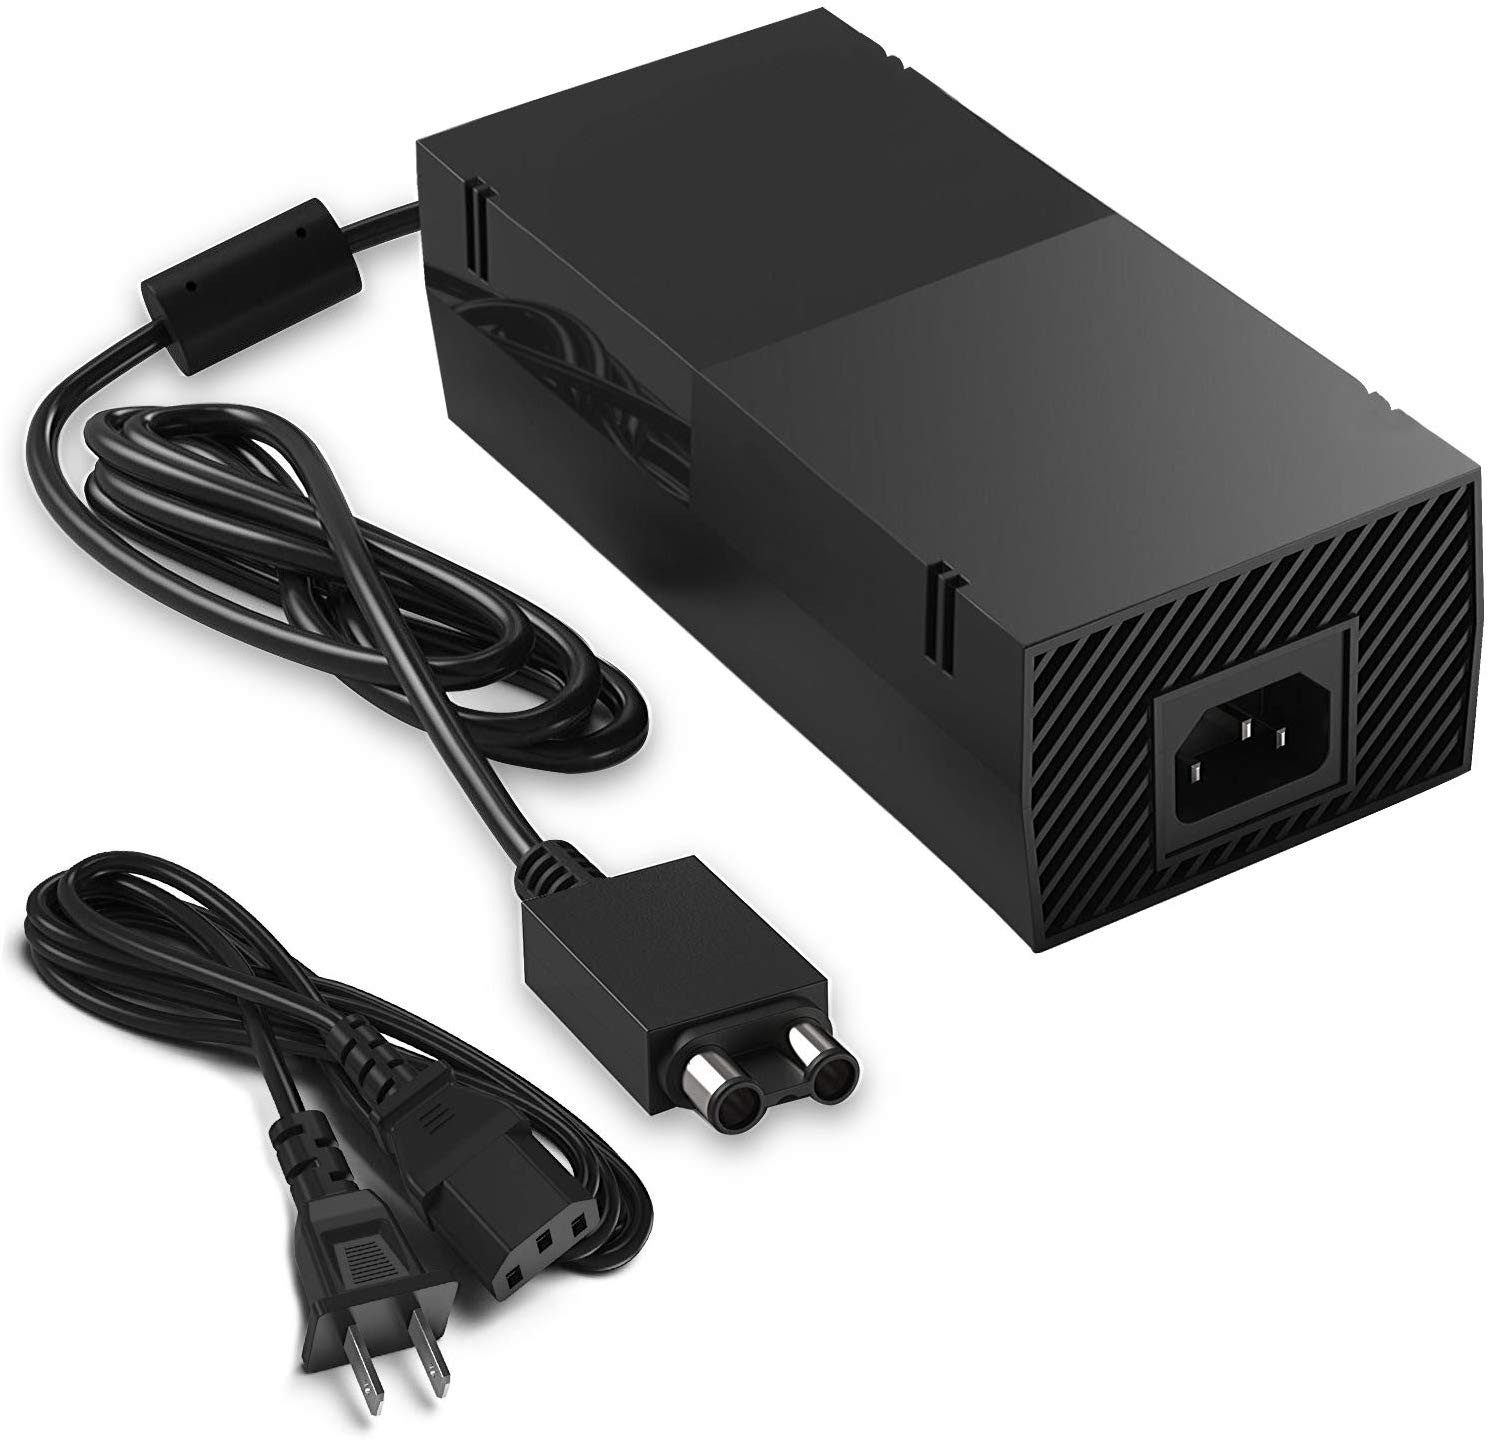
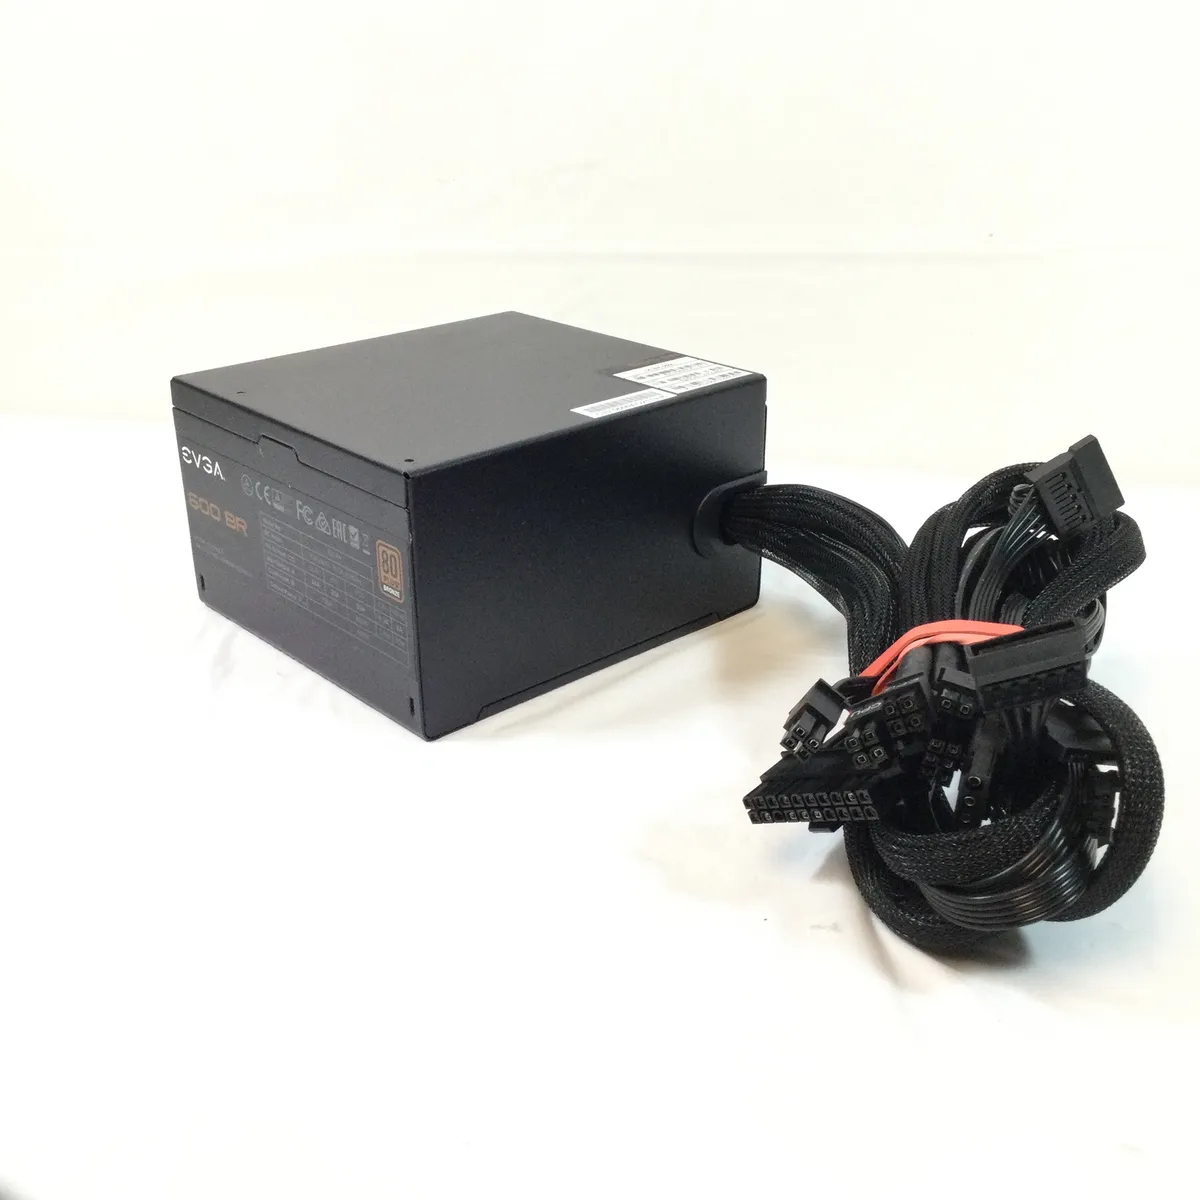
- Regular plug – You will need a regular plug that is compatible with your power source. This can be a standard AC plug or a DC plug depending on the requirements of your case fan.
By having these tools and materials prepared, you will be fully equipped to successfully convert your case fan to a regular plug. Now that we have everything we need, let’s move on to the first step of the conversion process.
Step 1: Gather all necessary supplies
Before diving into the process of converting a case fan to a regular plug, it’s crucial to gather all the necessary supplies. By having everything at hand, you can ensure a smooth and uninterrupted conversion process. Here’s what you’ll need:
- Screwdriver: Depending on your computer case, you might require a Phillips or flathead screwdriver to remove the case panel and access the case fan. Make sure you have the appropriate one for your computer case.
- Wire cutters/strippers: These tools will be essential for cutting and stripping the wires of the case fan during the conversion process. They allow you to prepare the wires correctly for the new connector plug.
- Electrical tape: Having electrical tape on hand is vital for insulating and securing wire connections. It provides a layer of protection and prevents any unexpected electrical mishaps.
- Heat shrink tubing: Alternatively, you can use heat shrink tubing as an insulation method instead of electrical tape. It provides a stronger and more professional-looking finish for wire connections.
- Soldering iron and solder: If you want a more secure and long-lasting connection, a soldering iron and solder will be necessary. They allow you to join the wires together permanently.
- Wire connectors: Wire connectors, such as butt connectors or crimp connectors, can be used as an alternative to soldering. They provide a reliable and secure way to join the wires together without the need for soldering.
- Regular plug: You will need a regular plug that is compatible with your power source. Depending on your case fan’s power requirements, this can be a standard AC plug or a DC plug.
Ensure that you have all these supplies readily available before proceeding to the next steps. Having them gathered in one place will save you time and allow for a more streamlined conversion process. Now that you’re equipped with all the necessary tools and materials, you’re ready to move on to the next step – disconnecting the case fan from the computer.
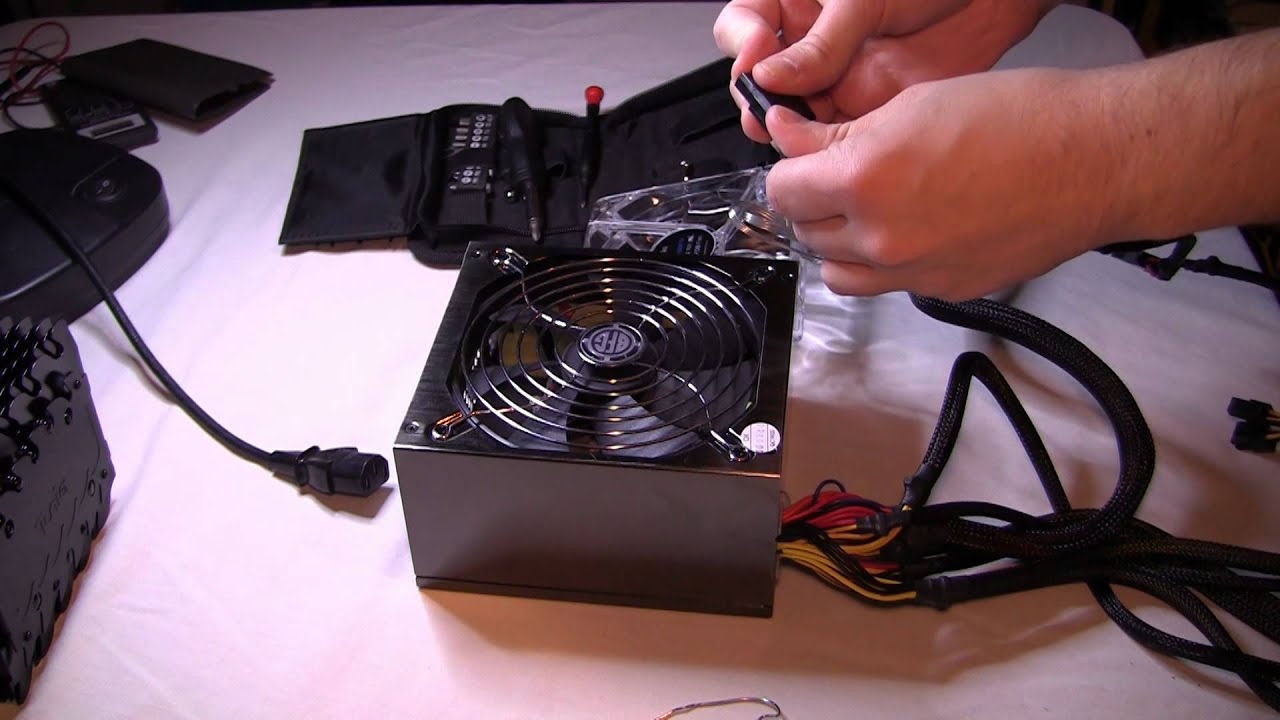
Step 2: Disconnect the case fan from the computer
The next step in converting a case fan to a regular plug is to disconnect the case fan from the computer. This ensures that you can work on the fan without any electrical interference or potential damage.
To disconnect the case fan, follow these steps:
- Power down your computer: Before working with any internal components, it’s crucial to power down your computer completely. This will prevent any potential electrical accidents and keep you safe during the process.
- Open the computer case: Use a screwdriver to remove the screws holding the side panel of your computer case in place. Carefully slide the panel off to expose the internal components.
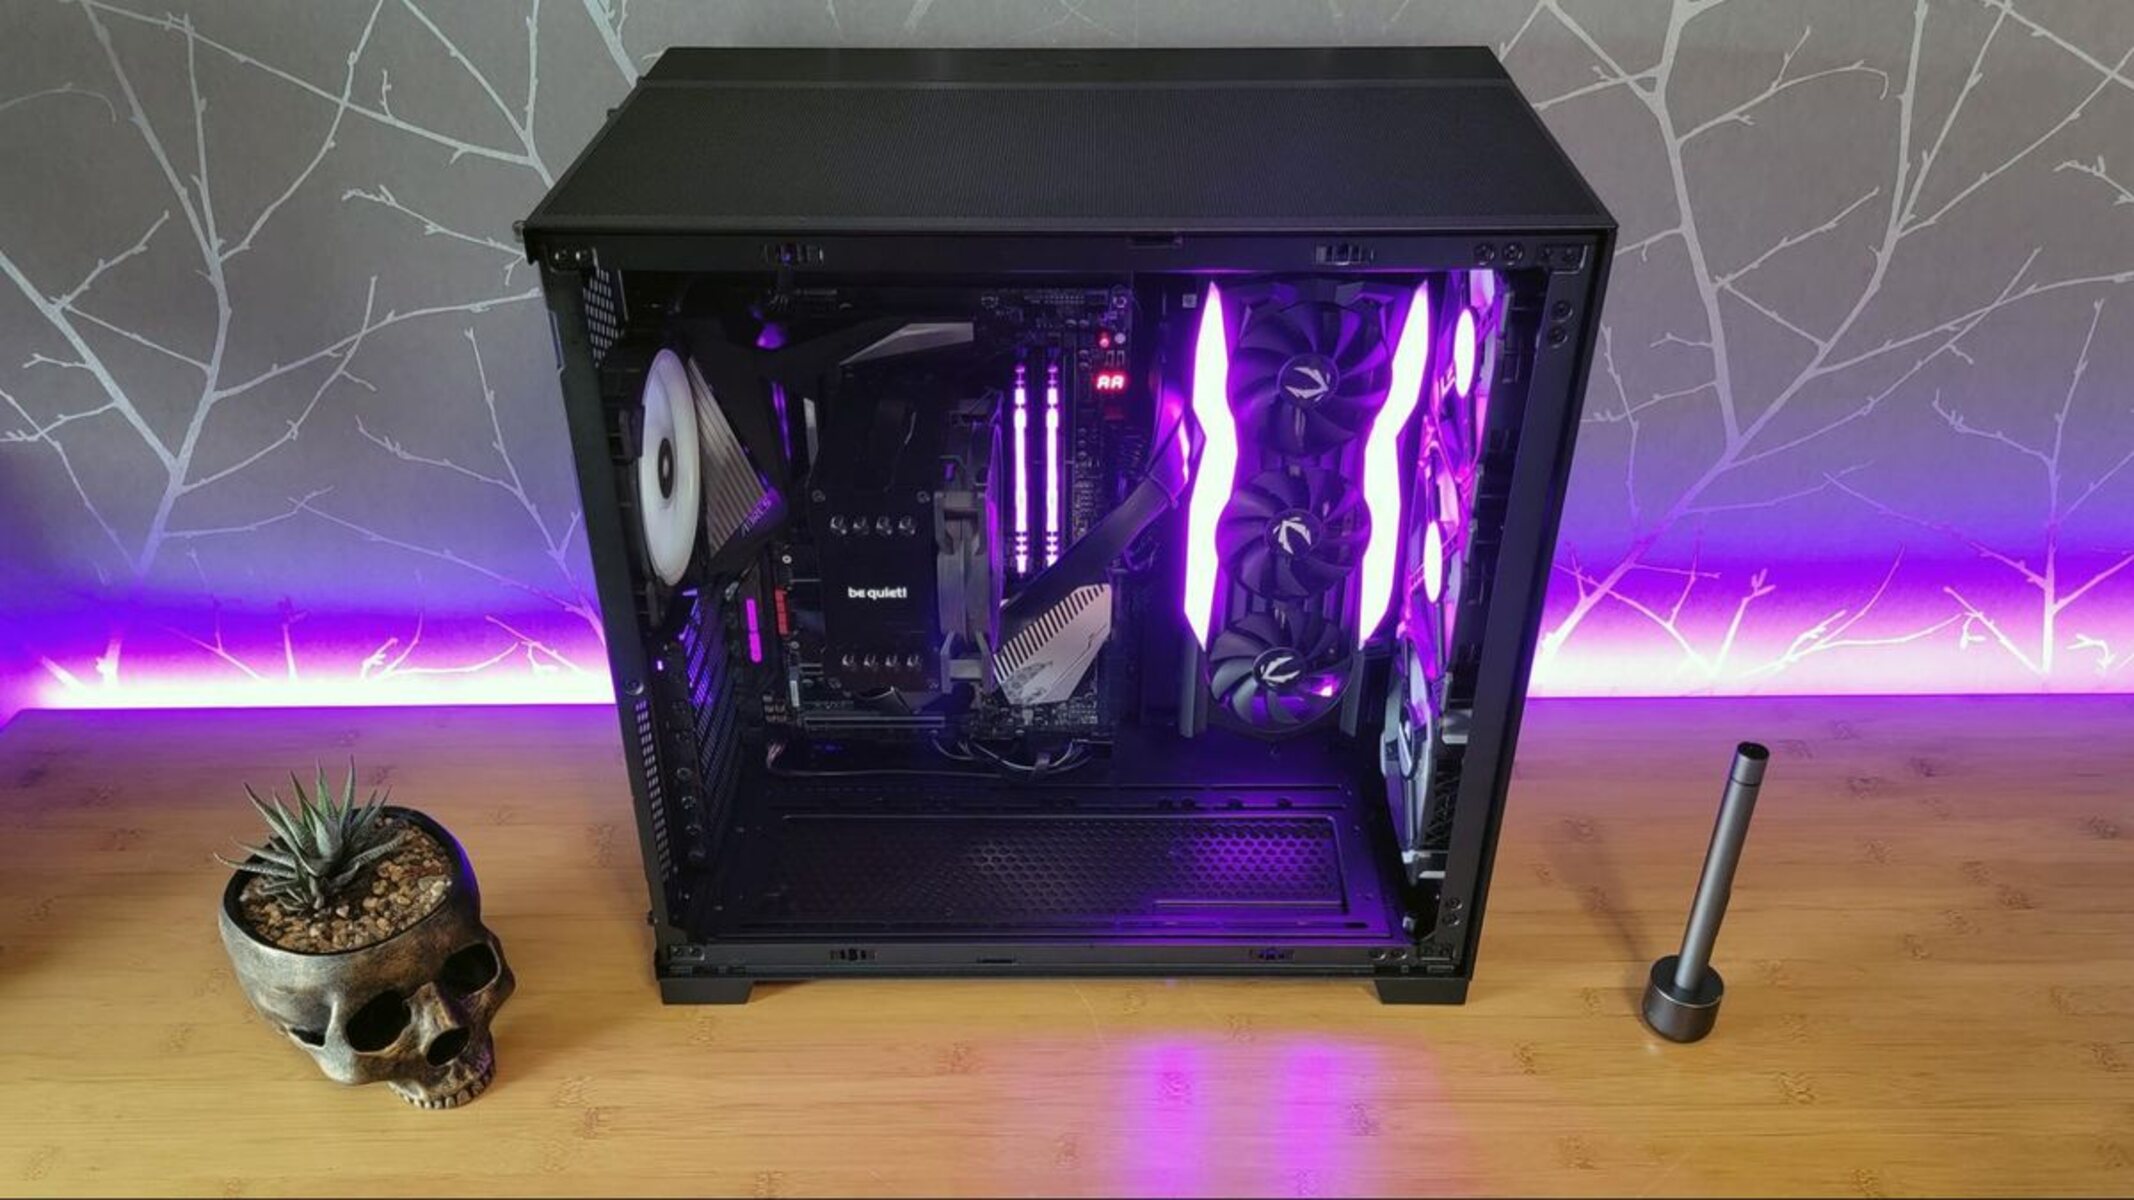
- Locate the case fan: Once the computer case is open, you’ll need to locate the case fan you want to convert. Most case fans are easily identifiable as they are connected to the motherboard or positioned near the front or back of the case.
- Unplug the fan connector: Look for the connector that attaches the case fan to the motherboard or power supply. Gently unplug the connector by pressing down on any locking mechanisms and pulling it away from the fan. If there are multiple case fans, repeat the process for each fan you plan to convert.
Once you have disconnected the case fan from the computer, you are ready to move on to the next step. Make sure to handle the case fan carefully and avoid applying any unnecessary force that could cause damage. With the case fan now separated from the computer, we can proceed to the next step: identifying the fan’s power supply type.
Step 3: Identify the fan’s power supply type
In order to convert a case fan to a regular plug, it’s essential to identify the type of power supply the fan requires. This information will help you determine the appropriate connector plug to use in the conversion process.
Here’s how you can identify the power supply type of the case fan:
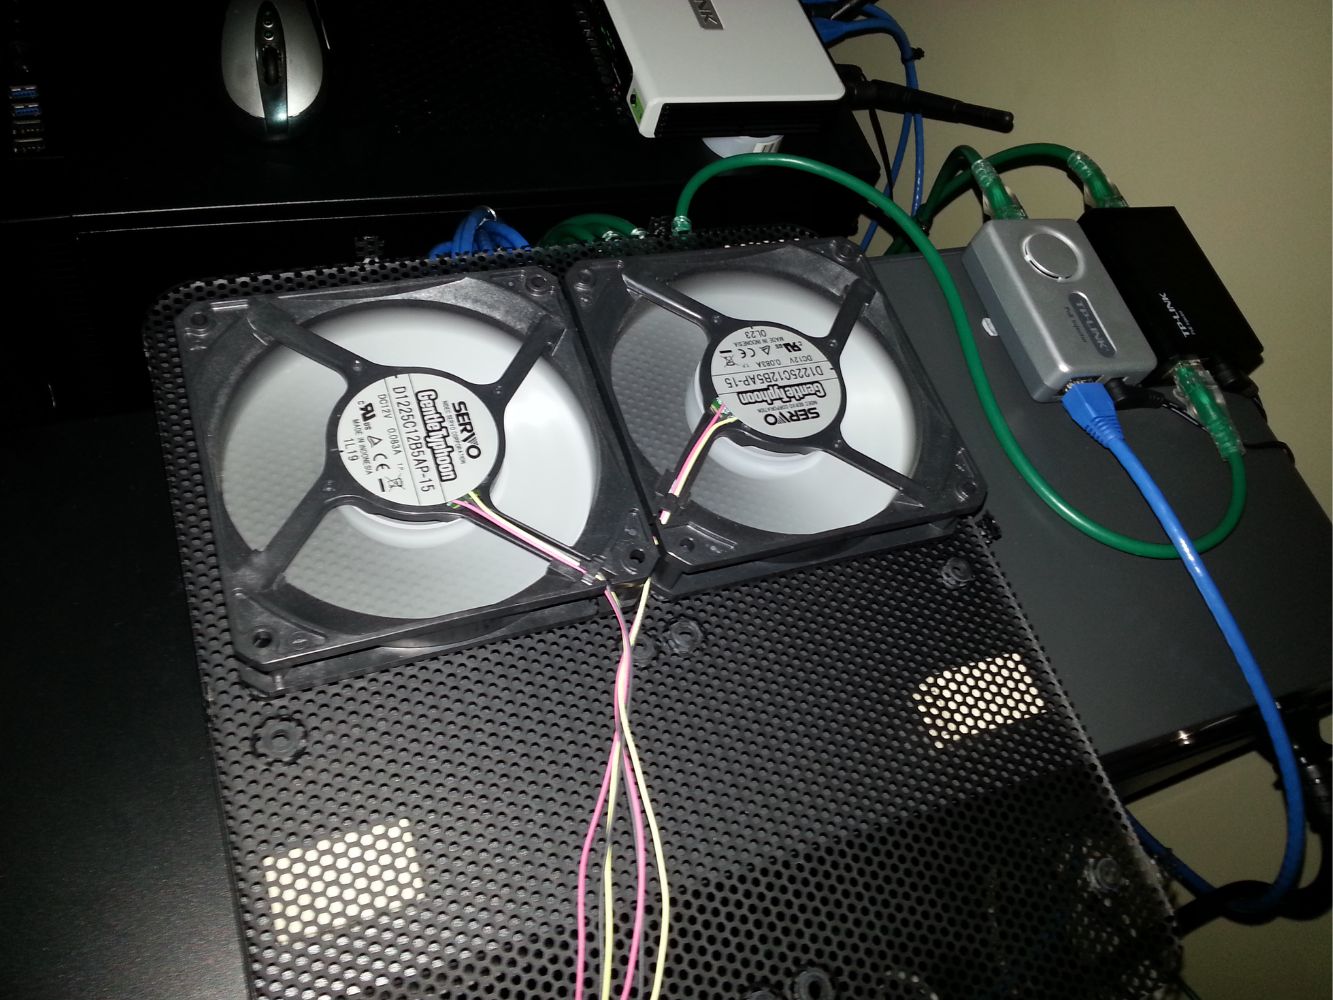
- Examine the fan connector: Take a close look at the connector at the end of the wires coming from the case fan. The connector will typically have multiple pins or prongs.
- Count the number of pins or prongs: Check the connector for the number of pins or prongs it has. Count how many there are, as this information will be significant in determining the power supply type.
- Reference the connector type: Compare the number of pins or prongs to known connector types. The most common types are 2-pin, 3-pin, 4-pin, or the newer 4-pin PWM (Pulse Width Modulation) connector.
- Consult the case fan documentation: If you have the documentation or user manual for the case fan, refer to it for information on the power supply type. The manual will usually specify the type of connector used.
- Research online: If you don’t have access to the documentation, do some research online. Search for the model number or brand of the case fan to find specifications and information about the power supply type.
By identifying the power supply type of the case fan, you will be better equipped to proceed with the conversion process. This knowledge will help you choose the correct connector plug that matches the power requirements of the fan. With the power supply type determined, we can move on to the next step: cutting and stripping the wires.
Step 4: Cut and strip the wires
Once you have identified the power supply type of the case fan, it’s time to cut and strip the wires. This step is necessary to prepare the wires for the installation of the new connector plug.
Follow these steps to cut and strip the wires:
- Gather your wire cutters/strippers: Retrieve your wire cutters/strippers, ensuring they are suited for the gauge of wires used in your case fan.
- Safety first: Before proceeding, remember to always prioritize safety. Make sure your computer is turned off and unplugged to avoid any electrical accidents.
- Determine the desired length: Decide on the appropriate length for the wires that will connect to the new connector plug. Leave a bit of extra length to allow for flexibility during installation.
- Secure the wires: Locate the end of the wires connected to the case fan. Use your wire cutters/strippers to carefully cut the wires at the desired length. Keep in mind that you may need to cut all the wires or only specific ones, depending on the power supply type of the fan.
- Strip the insulation: After cutting the wires, strip off a small portion of the insulation from the ends of each wire. This will expose the metal conductors for easy connection.
- Inspect the stripped ends: Once stripped, take a moment to examine the ends of the wires. Ensure that there is enough exposed conductor to make a secure connection with the new connector plug.
Remember to handle the wires with care and avoid any unnecessary force that could damage them. Cutting and stripping the wires successfully sets the stage for the next step: installing the connector plug.
Step 5: Install the connector plug
With the wires cut and stripped, it’s time to install the new connector plug on the case fan. This step will allow you to connect the fan to a regular power source conveniently. Follow these instructions to install the connector plug:
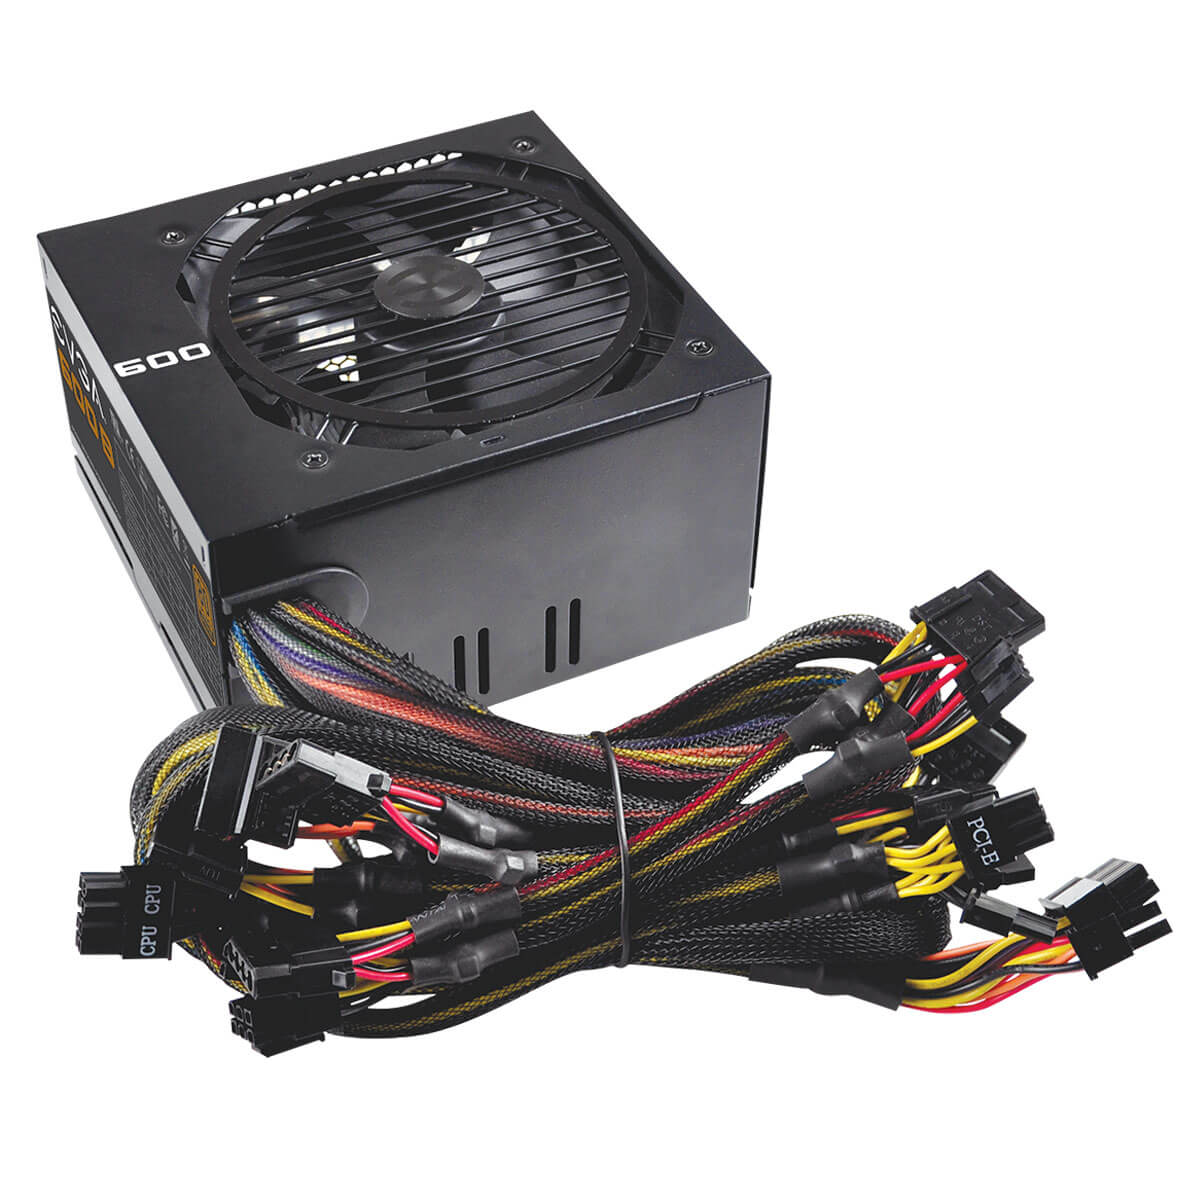
- Choose the appropriate connector plug: Based on the power supply type of your case fan, select a connector plug that matches. For example, if your fan has a 3-pin connector, you will need a 3-pin connector plug.
- Prepare the connector plug: Inspect the connector plug to identify the positive (+) and negative (-) pins or wires. It’s important to align the wires correctly during the installation process.
- Connect the wires: Take each stripped wire from the case fan and align it with the corresponding pin or wire on the connector plug. Ensure that the positive and negative connections match up correctly to avoid any electrical issues.
- Secure the connections: Depending on the type of connector plug you’re using, you may need to solder the wires together or use wire connectors. If soldering, heat the soldering iron and carefully join the wires, applying a small amount of solder to create a secure connection. Alternatively, if using wire connectors, insert the wires into the appropriate connectors and crimp them for a secure fit.
- Insulate the connections: After securing the wire connections, insulate them using electrical tape or heat shrink tubing. Wrap the tape tightly around the exposed wires or slide the heat shrink tubing over the connections before heating it to shrink and seal the tubing.
- Test the installation: Once the connections are insulated, give them a gentle tug to ensure they are secure. Perform a quick test by connecting the case fan to a power source to verify that it spins and operates correctly.
By following these steps, you can successfully install the connector plug on your converted case fan. Ensure that the connections are secure and well-insulated to prevent any electrical issues. With the connector plug installed, it’s time to move on to the next step: testing the converted case fan.
Step 6: Test the converted case fan
After installing the connector plug, it’s important to test the converted case fan to ensure that it functions properly. This step will help verify that the wiring and connections are correct and that the fan is ready to be used in your computer. Follow these steps to test the converted case fan:
- Prepare the power source: Make sure your computer is turned off and unplugged. If you are using an external power source, such as a wall outlet, ensure that it is properly grounded.
- Connect the converted case fan: Take the newly converted case fan with the installed connector plug and connect it to the appropriate power source. If using a wall outlet, insert the plug into a compatible power adapter.
- Power on the computer: If the converted case fan is connected to your computer, power it on. If not, simply plug in the power adapter to the wall outlet.
- Observe the fan’s performance: Watch and listen for any signs of movement or operation from the case fan. Check if the fan blades are spinning correctly and if you can feel any airflow being generated.
- Monitor the temperature: Keep an eye on the temperature of your computer components, especially those that the case fan is intended to cool. Ensure that the temperature remains within safe ranges and that the fan is effectively dissipating heat.
If the case fan is spinning, generating airflow, and effectively cooling your computer components without any unusual noise or heat buildup, then the conversion was successful. Congratulations! You now have a converted case fan with a regular plug ready for use in your computer.
However, if the case fan is not functioning properly, double-check the connections, ensure that the wires are securely fastened, and retest. If the issue persists, you might need to revisit the installation process or seek assistance from a professional.
Now that you have tested the converted case fan and confirmed its functionality, it’s time to reconnect it to your computer or consider using it with an external power source.
Step 7: Reconnect the converted case fan to the computer
Now that you have successfully tested the converted case fan and ensured its proper functionality, it’s time to reconnect it to your computer. By doing so, you can benefit from improved cooling and airflow within your system. Follow these steps to reconnect the converted case fan:
- Power down your computer: Before proceeding with any internal connections, make sure to power down your computer and unplug it from the power source. This is crucial for your safety and to avoid any potential damage to your computer components.
- Locate the fan headers: Identify the appropriate fan headers on your motherboard or fan controller where you will connect the converted case fan. These headers are specifically designed for powering and controlling case fans.
- Align the connector plug: Take the connector plug from the converted case fan and align it with the corresponding pins or slots on the fan header. Ensure that the pins match up correctly to avoid any potential damage to the fan or motherboard.
- Secure the connection: Once the plug is properly aligned, gently press it into place on the fan header. Ensure that it is firmly connected and properly seated. Depending on the type of connector, you may hear a click or feel a slight resistance when it is fully inserted.
- Manage the cables: Neatly organize the cables and ensure that they are positioned away from any moving parts or obstructing airflow within the computer case. Use cable ties or clips to secure the cables and maintain a clean and organized interior.
- Power on your computer: Once all connections are secure and the cables are managed, you can power on your computer and monitor the performance of the converted case fan. Pay attention to the airflow and temperature readings to confirm that the fan is working efficiently.
With the converted case fan successfully reconnected to your computer, you can now enjoy improved cooling and airflow, contributing to the overall performance and longevity of your system. Monitor the fan’s operation regularly and make any necessary adjustments or maintenance as needed.
Congratulations! You have completed the process of converting a case fan to a regular plug and successfully reconnected it to your computer. Enjoy the benefits of better cooling and a more efficient computer system.
Conclusion
Converting a case fan to a regular plug can provide greater convenience and compatibility for your computer cooling system. By following the step-by-step process outlined in this guide, you can successfully convert your case fan and enjoy the benefits of improved airflow and temperature regulation.
Throughout this process, we covered important steps such as gathering the necessary tools and materials, disconnecting the case fan from the computer, identifying the fan’s power supply type, cutting and stripping the wires, installing the connector plug, testing the converted case fan, and finally reconnecting it to the computer.
Remember, it’s crucial to prioritize safety when working with electrical components. If you’re unsure or uncomfortable with any step, it’s always best to seek assistance from a professional.
By converting a case fan to a regular plug, you gain the flexibility to use it with any standard power source and make upgrading or replacing fans easier in the future. Additionally, this process allows you to customize your computer cooling system to suit your specific needs.
Regularly monitor the performance of your converted case fan and ensure that it effectively cools your computer components. This will help maintain optimal system temperature and prevent overheating, prolonging the lifespan of your computer and enhancing its overall performance.
With the completion of the conversion process, you can now fully enjoy the benefits of a converted case fan in your computer system. Remember to conduct regular maintenance and keep an eye on the fan’s performance to ensure its longevity and efficiency.
Thank you for following this guide, and we hope it has been helpful in your journey to convert a case fan to a regular plug.