Introduction
When it comes to keeping your computer cool, case fans play a crucial role in maintaining optimal temperatures. If you’ve recently purchased a new case fan or are considering upgrading your cooling system, you may be wondering how to properly plug in a 3-pin case fan. Fortunately, this process is relatively simple and can be done by following a few easy steps.
In this guide, we will walk you through the process of plugging in a 3-pin case fan to ensure your computer stays cool and performs at its best. We will cover everything from identifying the 3-pin connector and locating the appropriate fan header on your motherboard to securely connecting the fan and testing its functionality. By the end of this article, you’ll have a clear understanding of how to successfully install and use a 3-pin case fan.
Before we dive into the step-by-step instructions, it’s important to note that working with computer components requires caution and awareness of potential risks. Always ensure that your computer is turned off and unplugged before attempting any hardware installations. Additionally, be gentle when handling delicate connectors and connectors on your motherboard to avoid any damage.
Now, let’s gather the necessary tools and equipment and get started on plugging in your 3-pin case fan.
Safety Precautions
When working with computer components, it’s essential to prioritize safety to avoid any accidents or damage to your hardware. Here are some important safety precautions to keep in mind before plugging in a 3-pin case fan:
- Turn off your computer: Before you start any hardware installation, make sure your computer is completely turned off. Disconnect the power cord from the electrical outlet to ensure there is no electrical current flowing through the system.
- Unplug your computer: Even after turning off your computer, it’s crucial to unplug it from the power source. This step will prevent any accidental electric shocks while handling the internal components of your computer.
- Ground yourself: Static electricity can damage sensitive computer components. To prevent any static discharge, touch a grounded metal surface before working on the hardware. Alternatively, you can wear an anti-static wrist strap during the installation process.
- Handle components with care: Computer components, including case fans and motherboard connectors, are delicate. Avoid applying excessive force or bending any pins, as this can lead to damage. Use gentle and precise movements when plugging in the 3-pin case fan.
- Keep a clean workspace: Ensure that your work area is clean and free of any debris, liquids, or other potential hazards. A clutter-free workspace will help you focus on the installation process and minimize the risk of accidental damage.
- Refer to the motherboard manual: If you are unsure about the location of the fan headers on your motherboard or have any doubts regarding the installation process, consult the motherboard manual. This resource contains valuable information specific to your motherboard model and can help ensure a successful installation.
By following these safety precautions, you can protect yourself, your computer, and its components while plugging in a 3-pin case fan. Remember, taking the necessary safety measures is essential for a smooth and hassle-free installation process.
Tools and Equipment Required
Before you begin plugging in a 3-pin case fan, make sure you have the following tools and equipment ready:
- Screwdriver: Depending on your computer case, you may need a Phillips or flat-head screwdriver to remove any panels or covers that provide access to the internal components.
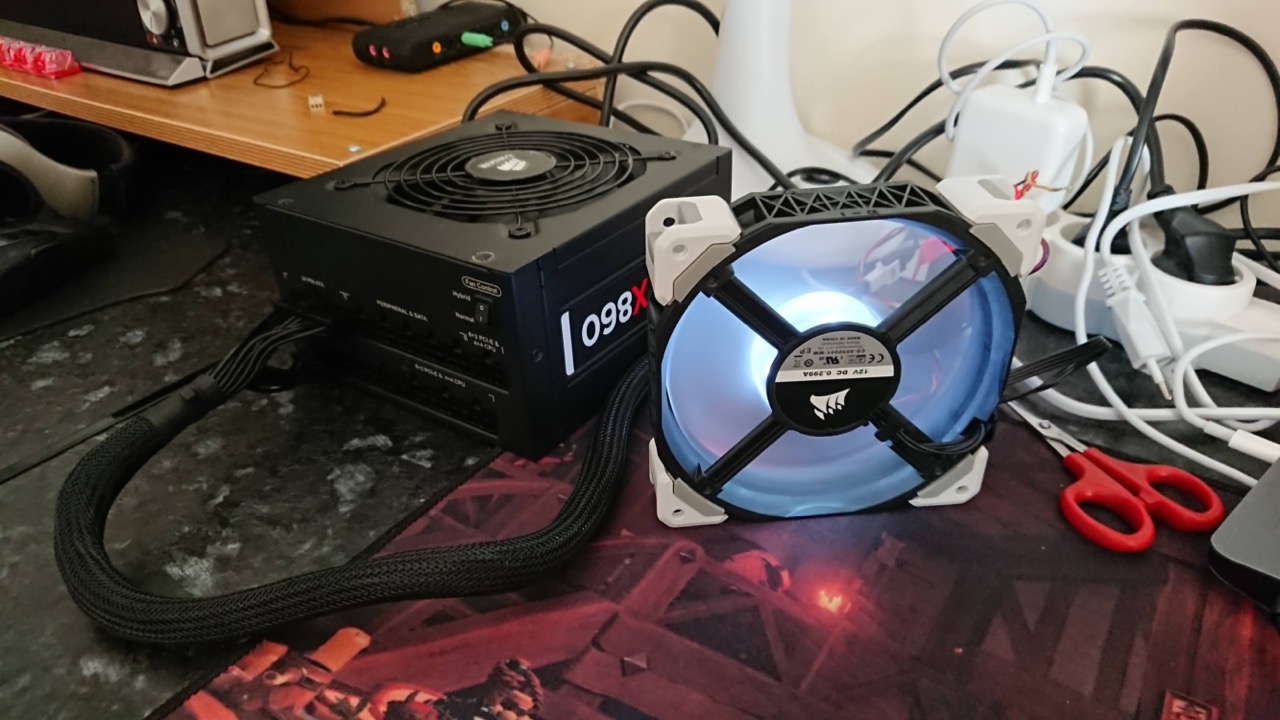
- Case fan: Ensure you have a 3-pin case fan available that is compatible with your computer case and meets your cooling requirements. It’s important to choose a fan with suitable airflow and noise levels to optimize your computer’s cooling performance.
- Anti-static wrist strap (optional): While not mandatory, an anti-static wrist strap can help prevent static electricity discharge and protect delicate computer components during the installation process.
- Motherboard manual: The motherboard manual contains valuable information about your specific motherboard model, including the location of fan headers. Refer to the manual to identify the appropriate fan header for connecting your 3-pin case fan.
- Work surface: Find a clean and stable surface on which you can safely work on your computer. This surface should be free of static-prone materials to prevent any potential damage due to static electricity.
- Cable ties or velcro straps: These can be handy for organizational purposes, allowing you to neatly manage the excess cables and wires connected to the case fan.
Having these tools and equipment ready before starting the installation process will help make the process smoother and more efficient. Double-check that you have everything listed above to ensure a successful connection of your 3-pin case fan.
Step 1: Identify the 3-Pin Connector
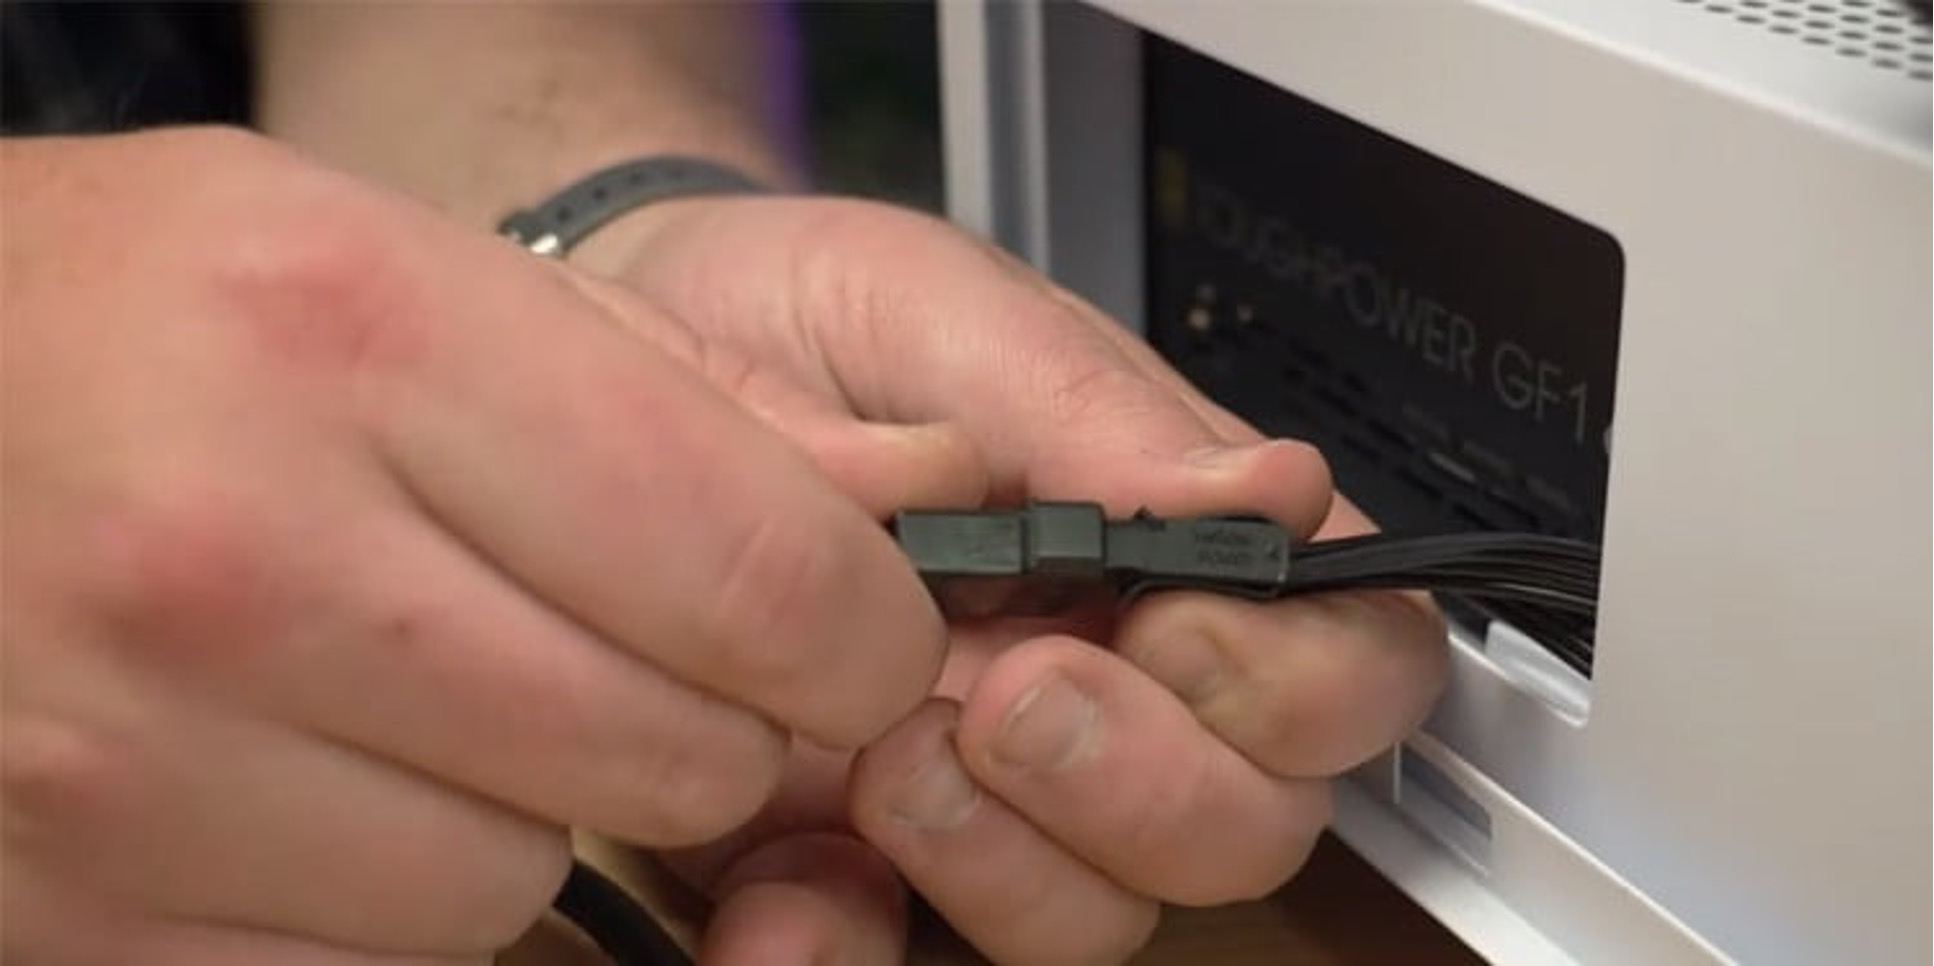
Before you can plug in your 3-pin case fan, you need to identify the 3-pin connector on the fan itself. This connector is the means by which the fan receives power and communicates with the motherboard.
Take a close look at your case fan and locate the connector at the end of the fan cable. The 3-pin connector should have three small, protruding metal pins inside it. These pins correspond to the power, ground, and tachometer (RPM) signals that the fan uses to function and provide feedback to the motherboard.
Typically, the 3-pin connector is black in color and is designed to match the fan header on the motherboard. It is essential to ensure that you have a 3-pin connector and not a 4-pin connector, as the two types have different pin configurations and are not interchangeable.
Additionally, keep in mind that some case fans may come with sleeved cables or additional features. While these variations do not affect the basic plugging-in process, they may require some attention to detail during the installation.
Once you have identified the 3-pin connector on your case fan, you can proceed to the next step of locating the appropriate fan header on your motherboard.
Step 2: Locate the Appropriate Fan Header on the Motherboard
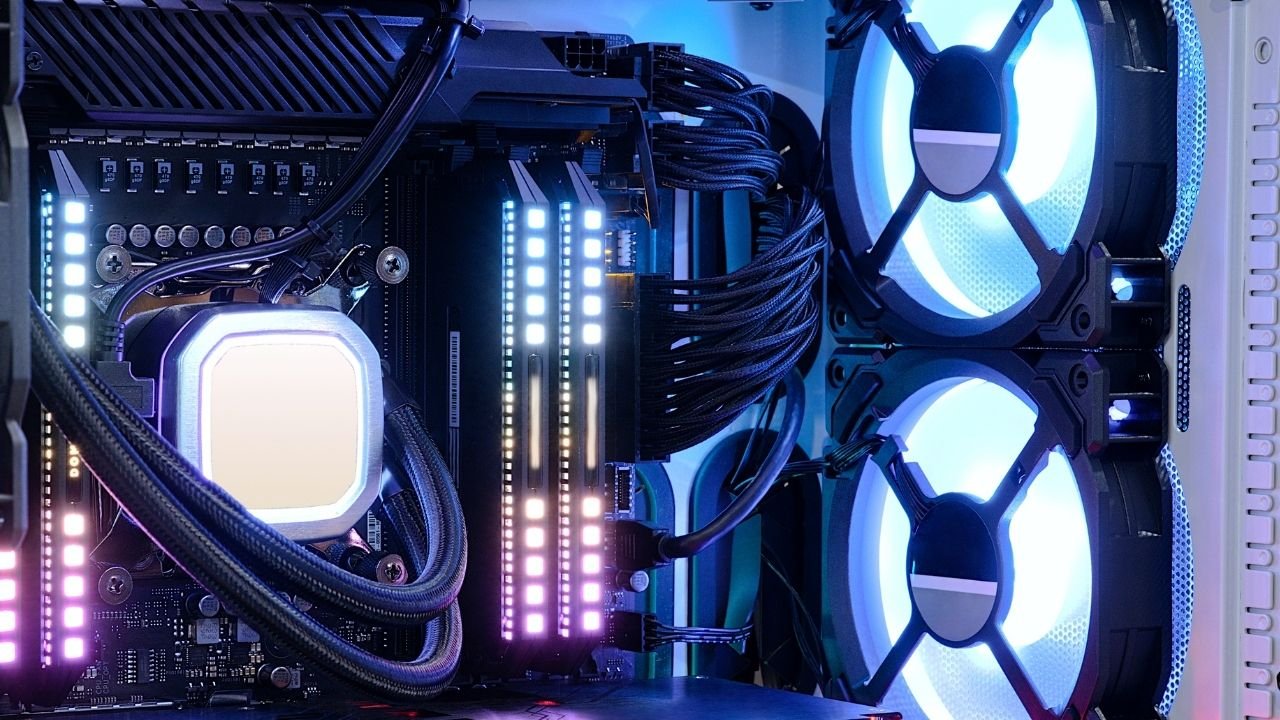
After identifying the 3-pin connector on your case fan, the next step is to locate the appropriate fan header on your motherboard. The fan header is a specialized connector on the motherboard that provides power and control signals to the case fan.
Consult your motherboard manual to find the location of the fan headers. They are typically labeled as “CHA_FAN,” “SYS_FAN,” or something similar, and are usually situated near the CPU socket or along the edges of the motherboard.
Once you have located the fan header, take note of its position and orientation. You should be able to see small pins or sockets inside the fan header that correspond to the pins on the 3-pin connector of the case fan.
It’s important to match the 3-pin connector with the fan header correctly. Align the pins of the connector with the corresponding sockets of the fan header to ensure a secure and proper connection.
If you have multiple fan headers on your motherboard, you may choose any available one to plug in your case fan. However, it’s advisable to prioritize using headers designated for case fans rather than those intended for other peripherals.
Once you have located the appropriate fan header on your motherboard, you are ready to move on to the next step of aligning the pins of the connector with the header.
Step 3: Align the Pins of the Connector with the Header
Now that you have identified the 3-pin connector on your case fan and located the appropriate fan header on your motherboard, it’s time to align the pins of the connector with the header. Ensuring proper alignment is crucial for a successful and secure connection.
Take a close look at both the 3-pin connector of the case fan and the fan header on the motherboard. The connector will have three small metal pins, while the fan header will have corresponding sockets or pins.
Hold the case fan and position it close to the fan header. Orient the 3-pin connector in such a way that the pins align with the sockets or pins inside the fan header. Take your time and ensure that you have a precise alignment to prevent any damage to the pins or the fan header.
If needed, gently rotate the case fan to adjust the alignment. Be careful not to apply excessive force or bend any pins during this process.
It’s crucial to note that the orientation of the connector is vital. The pins on the connector should align with the sockets or pins on the fan header, ensuring that each pin is correctly inserted into its corresponding socket.
Once you have successfully aligned the pins of the connector with the fan header, you are ready to proceed to the next step of inserting the connector into the header.
Step 4: Gently Insert the Connector into the Header
With the pins aligned, it’s time to carefully insert the 3-pin connector of the case fan into the corresponding fan header on the motherboard. This step requires a gentle touch to ensure a secure connection without causing any damage.
Hold the case fan and position the 3-pin connector near the fan header. Slowly and steadily guide the connector into the header, making sure that each pin neatly inserts into its corresponding socket or pin.
Avoid applying excessive force during the insertion process. The connector should slide in smoothly without any resistance. If you encounter resistance or feel that the connection is not aligning correctly, double-check the alignment and adjust as necessary.
Take note that the connector can only be inserted in one orientation due to its unique shape and pin configuration. Make sure you are inserting it in the correct position to prevent any damage to the pins or the fan header.
Once the connector is fully inserted into the fan header, give it a gentle tug to ensure it is securely locked in place. You should feel a slight resistance, indicating a proper connection.
It’s important to note that the connector may not fully seat flush with the fan header. This is normal, and as long as the pins are properly inserted and secure, the connection should be fine.
Now that you have successfully inserted the connector into the fan header, you are ready to move on to the next step of securing the connection.
Step 5: Secure the Connection
After inserting the 3-pin connector into the fan header, it’s essential to secure the connection to ensure stability and prevent any accidental disconnections. While the connection should be secure on its own, taking these extra precautions will provide added peace of mind.
First, check that the connector is firmly seated in the fan header. Give it a gentle tug to ensure that it is snug and does not easily come loose. If the connector feels loose or wobbly, remove it and repeat the insertion process, ensuring proper alignment.
Next, assess the cable length and position it neatly to avoid any interference with other components or obstructing airflow within the case. Using cable ties or velcro straps, secure the excess cable length to keep it organized and out of the way.
Be careful not to overtighten the cable ties or apply excessive force, as this can potentially damage the fan cable or create unnecessary strain on the connector. The goal is to secure the cable neatly without causing any stress on the connection.
Take a moment to inspect the overall placement of the case fan and ensure that it is securely mounted within the case. If necessary, use screws or any fastening mechanisms provided by the case to secure the fan in place. A stable and properly mounted fan ensures effective cooling performance.
Now that you have secured the connection and properly positioned the case fan, you are ready to proceed to the final step of testing the fan to ensure it’s working correctly.
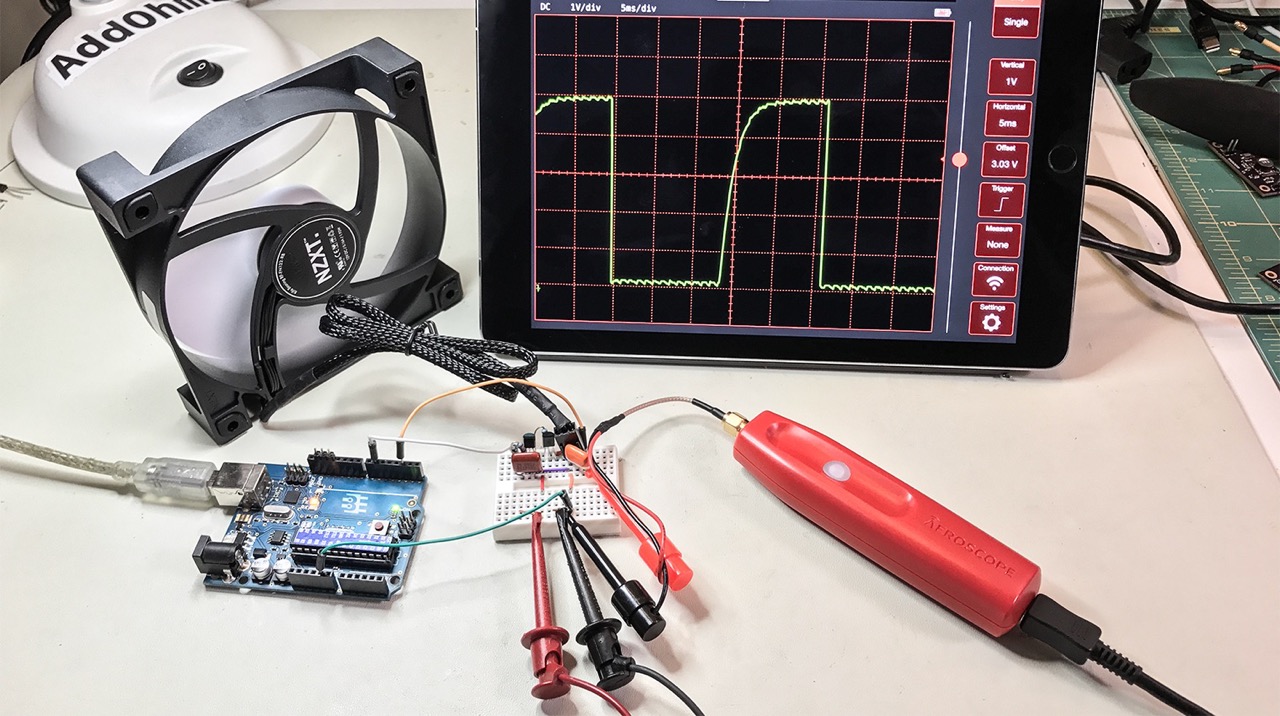
Step 6: Test the Fan
Once you have successfully plugged in and secured the 3-pin case fan, it’s essential to test its functionality to ensure that it is operating correctly. Testing the fan will confirm that it’s receiving power and spinning as expected, indicating that the connection is properly established.
To test the fan, power on your computer and wait for it to boot up. As the computer starts, the case fan should start spinning. Note that some motherboards may have fan control settings that require specific configurations in the BIOS or through software, so ensure that the fan is set to operate at an appropriate speed.
If the fan does not immediately start spinning, check the connection between the fan header and the 3-pin connector. It’s possible that the connection is loose or not properly aligned. Turn off your computer, disconnect the power, and recheck the connection. Make any necessary adjustments to ensure a proper and secure connection before testing again.
Monitor the fan’s performance to ensure it spins smoothly without any unusual noise, vibrations, or fluctuations in speed. Abnormal behavior may indicate underlying issues such as loose connections, faulty fan, or incorrect settings.
If the fan is operating as expected, you can be confident that the installation was successful. However, if you face any issues with the fan not functioning properly, consider troubleshooting steps such as checking the power supply, examining the fan itself for any physical damage, or consulting the motherboard manual for further guidance.
Remember, regular maintenance and cleaning of your case fan are important to keep it running smoothly and efficiently. Dust and debris can accumulate over time, hindering the fan’s performance. Periodically clean the fan using compressed air or a soft brush to remove any build-up and ensure optimal airflow.
With the fan successfully tested and functioning correctly, you can now enjoy improved cooling performance for your computer, keeping it running at an optimal temperature.
Conclusion
Plugging in a 3-pin case fan is a relatively straightforward process that can significantly improve the cooling performance of your computer. By following the step-by-step instructions outlined in this guide, you can ensure a secure and proper connection between your case fan and the motherboard.
We started by identifying the 3-pin connector on the case fan and then locating the appropriate fan header on the motherboard. Proper alignment of the pins with the header was emphasized to ensure a successful connection. We then gently inserted the connector into the header, taking care to avoid applying excessive force. After securing the connection and testing the fan, we confirmed that it was functioning correctly.
Throughout the installation process, we also highlighted the importance of safety precautions such as turning off and unplugging the computer, grounding yourself to avoid static discharge, and handling components with care. These precautions are essential to protect both you and your computer from any potential harm during the installation process.
Remember to consult your motherboard manual for specific instructions and reference in case of any uncertainties during the installation process. Additionally, maintaining and cleaning your case fan regularly will help ensure its efficiency over time.
By plugging in a 3-pin case fan, you can enhance the overall cooling performance of your computer, keeping temperatures low and promoting optimal operation. With a properly connected and functioning case fan, you can enjoy a smoother and more reliable computing experience.
So, go ahead and give your computer the cooling boost it deserves by following these steps to plug in your 3-pin case fan!