Introduction
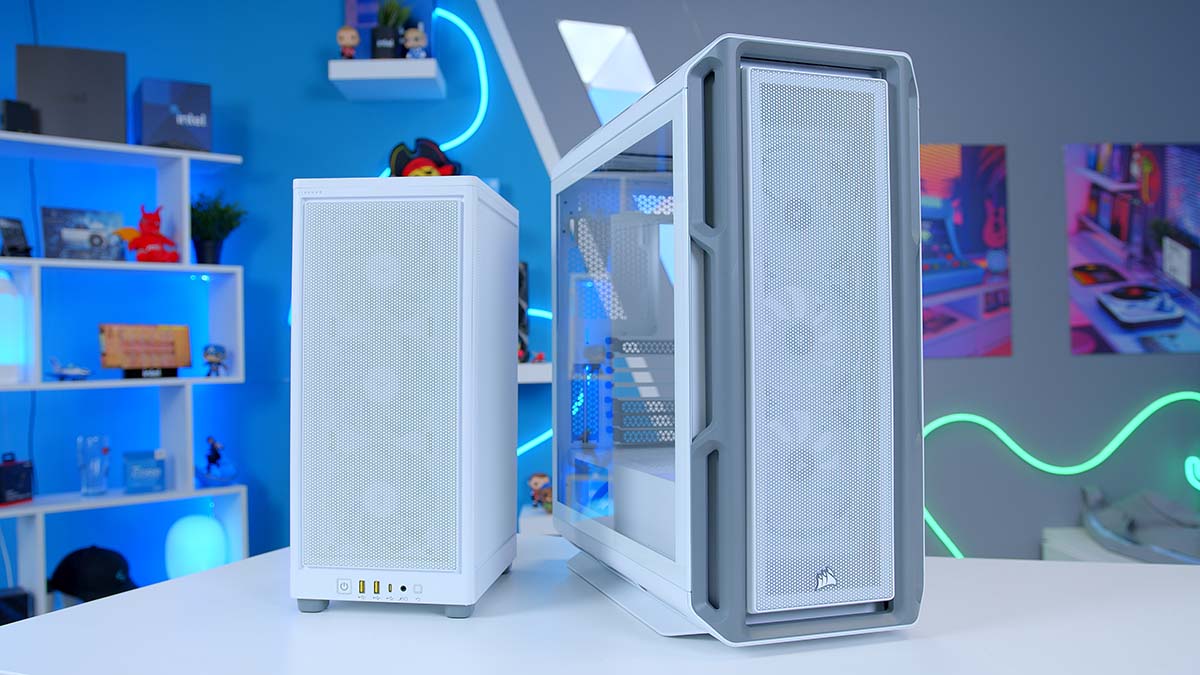
Welcome to the world of PC customizations! If you’re looking to improve the cooling capabilities of your Corsair Spec One case, adding an additional case fan can make a world of difference. A well-ventilated case not only aids in preventing your components from overheating but also enhances overall system performance.
Installing another case fan may seem like a daunting task, especially if you are new to PC building. But fear not, as we will guide you through the process step by step.
In this article, we will show you how to install another case fan in the Corsair Spec One case. By doing so, you can achieve better airflow, lower temperatures, and a more efficient cooling system.
Before we begin, it’s important to note that adding an additional case fan may require some basic tools and materials. Additionally, it is recommended to have a basic understanding of computer hardware and be comfortable working inside your PC case. Let’s dive in and make your PC even cooler!
Tools and Materials Needed
Before we start, let’s make sure we have all the necessary tools and materials for the installation. Here’s a list of what you’ll need:
- A screwdriver (typically a Phillips head or a flathead screwdriver, depending on your case)
- Extra case fan(s) – preferably one that matches the size and style of the existing fans
- Screws (usually provided with the case fan) for securing the fan to the case
- Anti-static wrist strap (optional but recommended to prevent any electrostatic discharge)
- Cable ties or Velcro straps for cable management
It’s always a good idea to have a clean and well-organized workspace, free of any static or dust that could potentially damage your components. Additionally, make sure to shut down your computer and unplug it from the power source before starting the installation process.
If you do not have any spare case fans, you can easily purchase them from your local computer hardware store or online retailers. Be sure to check the specifications of your case to ensure compatibility with the fan size. Most cases support 120mm or 140mm fans, but it’s important to double-check before making a purchase.
Once you have gathered everything you need, we can move on to the next step: identifying the ideal location for the new case fan.
Step 1: Identify the Ideal Location for the New Case Fan
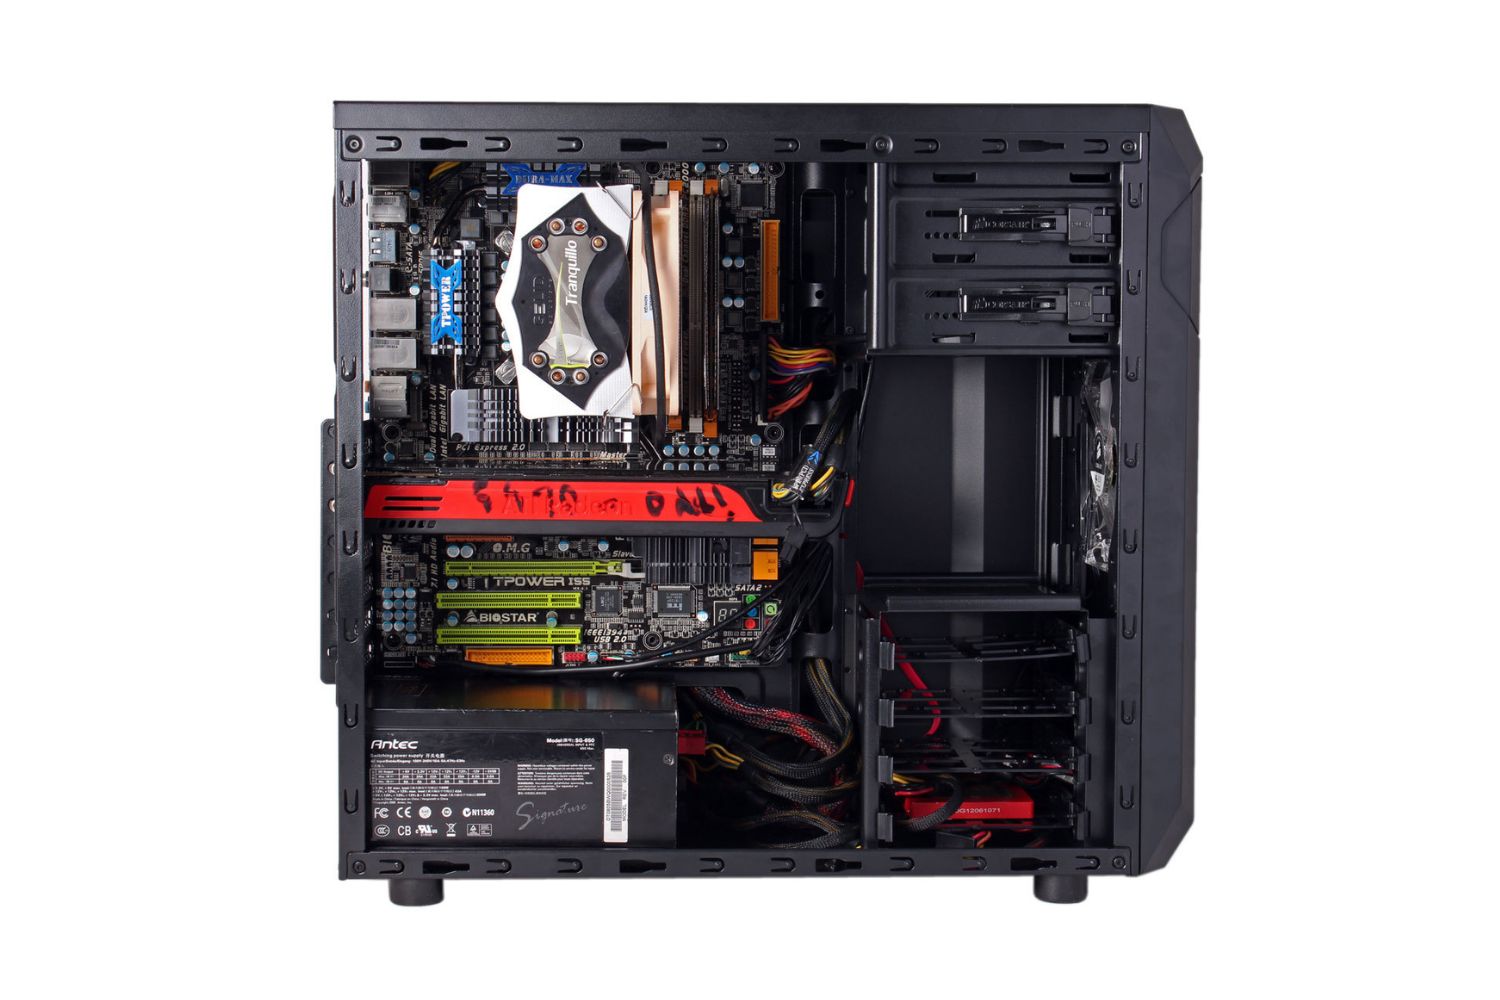
Before we proceed with the installation, it’s important to determine the best location for mounting the new case fan. The goal is to maximize airflow and improve cooling efficiency.
Start by examining your Corsair Spec One case and identifying potential areas where the additional fan can be installed. Common spots include the front, rear, top, or side panels of the case. Some cases also have specific mounting points for additional fans, so check your case’s manual or manufacturer’s website for guidance.
Consider the following factors when choosing a location:
- Placement of existing fans: Take note of the current fan locations and their intake/exhaust directions. The new case fan should be strategically placed to complement the airflow pattern and maintain a balanced cooling setup.
- Available space: Ensure that there is sufficient clearance for the new fan to fit without obstructing other components or cables. Avoid mounting the fan too close to GPU or CPU coolers, as it may interfere with their operation.
- Optimal airflow path: Aim to create a streamlined airflow path through the case, directing cool air towards critical components such as the CPU and GPU, and expelling hot air efficiently.
Once you’ve selected the ideal location for the new case fan, it’s time to move on to preparing the case and fan for installation.
Step 2: Prepare the Case and Fan for Installation
Now that we have identified the location for the new case fan, it’s crucial to prepare both the case and the fan before proceeding with the installation.
Here’s what you need to do:
- Remove the side panel: Depending on the specific design of your Corsair Spec One case, you may need to remove one or both side panels to gain access to the interior. Use your screwdriver to loosen and remove the screws securing the panel(s), and carefully slide the panel(s) off.
- Locate the mounting area: Identify the designated mounting area for the new case fan in your chosen location. Look for pre-drilled holes or mounting brackets specifically designed for fans.
- Prepare the fan: If the new case fan does not come pre-assembled, you may need to attach any included mounting brackets or rubber grommets to the fan. Refer to the fan’s manual for instructions on how to properly install these components.
- Prepare the case: Clean any dust or debris from the mounting area using a can of compressed air or a soft cloth. This ensures a secure and proper fit for the new fan.
By taking the time to properly prepare both the case and the fan, you can ensure a seamless and hassle-free installation process. With everything prepared, we can now move on to the next step: mounting the new case fan.
Step 3: Mount the New Case Fan
With the case and fan prepared, it’s time to mount the new case fan in the designated location. Follow these steps for a successful installation:
- Position the fan: Carefully place the prepared fan in the mounting area, aligning the screw holes or brackets with the corresponding holes in the case. Ensure that the fan is oriented in the correct direction for optimal airflow.
- Secure the fan: Once the fan is properly positioned, use the screws provided with the fan to secure it to the case. Tighten the screws firmly but not excessively, as overtightening can damage the fan or case. If you’re using rubber grommets, insert them into the screw holes to reduce vibrations and noise.
- Double-check the placement: After securing the fan, double-check its alignment and make sure there is enough clearance around it. Ensure that it does not block any other components or interfere with the operation of existing fans.
It’s important to note that depending on the design of your Corsair Spec One case, there may be variations in the mounting process. Some cases use tool-less mechanisms or different types of mounting brackets, so refer to your case manual for specific instructions.
Once you have successfully mounted the new case fan, let’s move on to the next step: connecting the fan to the motherboard.
Step 4: Connect the Fan to the Motherboard
Now that the new case fan is securely mounted, it’s time to connect it to the motherboard to ensure proper operation and control. Follow these steps to complete the connection:
- Locate the fan header: Identify the fan header on your motherboard where you will connect the new case fan. Typically, these headers are labeled “SYS_FAN,” “CHA_FAN,” or similar.
- Identify the connector type: Check the connector on the fan cable. Most modern case fans use a 3-pin or 4-pin connector, commonly known as a PWM (Pulse Width Modulation) connector.
- Connect the fan cable: Align the pinholes on the fan connector with the corresponding pins on the motherboard’s fan header. Gently press the connector onto the pins until it is fully seated. Pay attention to the alignment to avoid bending or damaging the pins.
- Secure the cable: To ensure a clean and organized setup, use cable ties or Velcro straps to secure the fan cable and prevent it from interfering with other components or blocking airflow.
It’s important to note that if you have multiple case fans, you can connect them to different fan headers on your motherboard. This allows you to control and monitor each fan independently through the system’s BIOS or fan control software.
Once the fan is successfully connected to the motherboard, we can move on to the next step: managing the cables for a clean and organized setup.
Step 5: Manage the Cables for a Clean and Organized Setup
With the new case fan successfully connected, it’s important to manage the cables for a clean and organized setup. Proper cable management not only improves airflow but also makes future upgrades and maintenance easier. Follow these steps to achieve a tidy cable arrangement:
- Identify cable routing options: Take a moment to assess the available cable routing options in your Corsair Spec One case. Look for dedicated cable management channels or routing holes behind the motherboard tray, as well as any hooks or tie-down points.
- Plan the cable paths: Before securing the cables, plan the optimal path for each cable, ensuring they are routed away from fans and critical components. This helps to avoid any interference or obstruction of airflow.
- Use cable ties or Velcro straps: Use cable ties or Velcro straps to secure the cables to designated hooks or tie-down points. Bundle the cables together neatly, but avoid over-tightening to prevent damage.
- Tuck away excess cables: If you have extra cable length, neatly fold and tuck it away in cable management channels or behind the motherboard tray. Avoid leaving excess cables hanging or obstructing airflow.
- Check for clearance: Double-check that there is enough clearance between the cables and any fans or components. Ensure that cables are not blocking any airflow pathways or impeding the operation of other fans.
Taking the time to manage the cables will not only improve the aesthetics of your PC but also contribute to better cooling performance and easier maintenance in the long run.
Now that the cables are managed, let’s proceed to the final step: testing and enjoying the improved airflow!
Step 6: Test and Enjoy Improved Airflow
After completing the installation and cable management, it’s time to test the new case fan and enjoy the improved airflow in your Corsair Spec One case. Here’s what you should do:
- Reassemble the case: Carefully replace the side panel(s) of your case, ensuring they are securely fastened with the screws.
- Power on your computer: Plug in your computer and press the power button to start it up. Listen for the hum of the newly installed case fan as it begins to spin.
- Monitor temperature and noise levels: Once your computer is up and running, keep an eye on temperature readings for your CPU and GPU through monitoring software. You should notice a decrease in temperatures, especially if the new case fan is located in a strategic position.
- Listen for noise levels: Pay attention to any changes in noise levels. A properly installed and balanced fan setup should maintain a quiet operation while effectively cooling your components.
- Monitor system stability: Run resource-intensive tasks or play games to stress your system and monitor its stability. Ensure that the new case fan, along with the existing fans, is providing adequate cooling to prevent any overheating issues.
By testing your system and monitoring its performance after the installation, you can ensure that the new case fan is functioning correctly and contributing to improved airflow and cooler operating temperatures.
Congratulations! You have successfully installed another case fan in your Corsair Spec One case, improving the cooling efficiency and overall performance of your PC.
Now you can enjoy a more efficiently cooled system, allowing you to push the limits of your hardware with confidence. Remember to regularly clean your case and check the fans for any dust buildup to maintain optimal airflow over time.
Conclusion
By following the steps outlined in this guide, you have successfully installed an additional case fan in your Corsair Spec One case. This improvement will enhance the airflow and cooling efficiency of your PC, allowing for optimal performance and preventing overheating issues.
We started by identifying the ideal location for the new case fan, considering factors such as existing fan placement, available space, and airflow path. Then, we prepared both the case and the fan for installation by removing the side panel, locating the mounting area, and ensuring the fan was ready for mounting.
In the subsequent steps, we mounted the new case fan securely to the designated location, connected it to the motherboard to enable proper operation and control, and managed the cables for a clean and organized setup. Lastly, we tested the system to ensure the fan was functioning effectively and enjoying the improved airflow.
Remember, regular maintenance and cleaning of your case and fans are essential to maintain optimal airflow. This will ensure your components stay cool and perform at their best for years to come.
With the added case fan, you can now enjoy a more comfortable computing experience, even during intense tasks or gaming sessions. Your system will benefit from the improved cooling, resulting in reduced temperatures and potentially extended hardware lifespan.
Thank you for choosing this guide to assist you in installing another case fan in your Corsair Spec One case. We hope this guide has been helpful, and we wish you many cool and enjoyable computing experiences!