Introduction
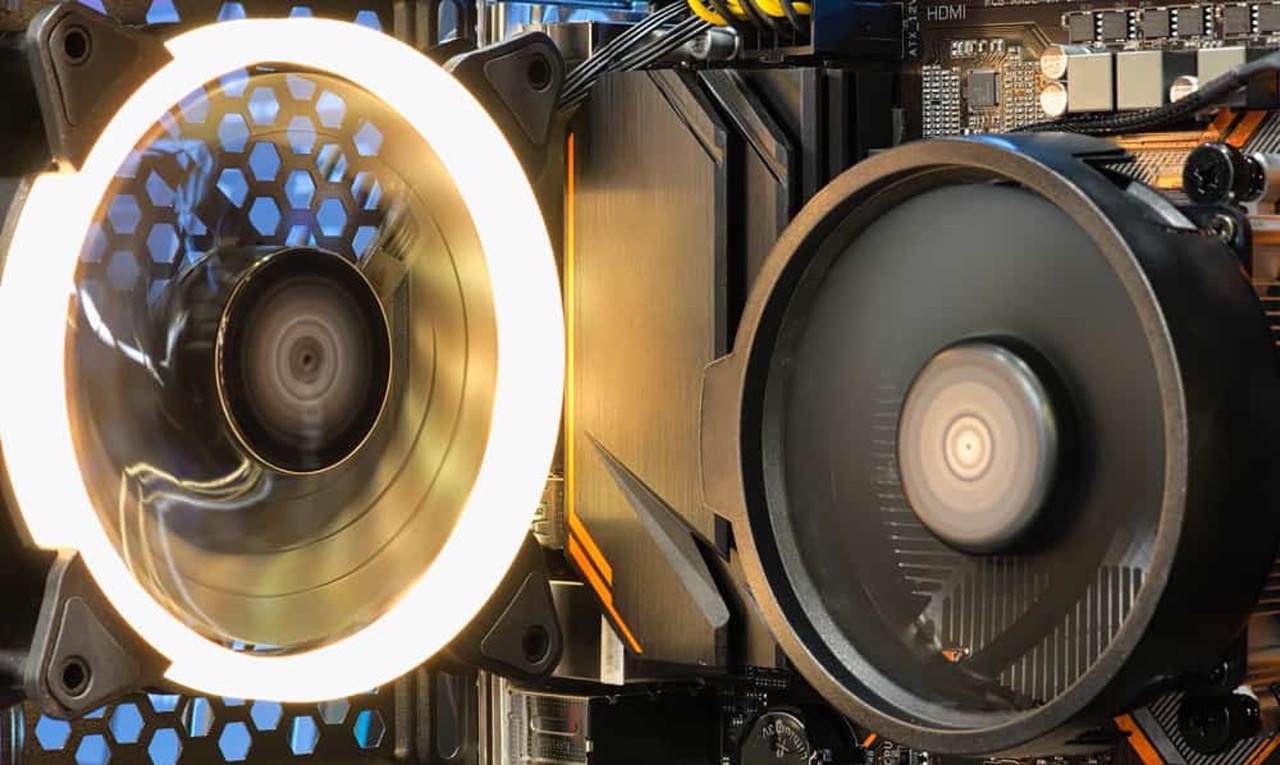
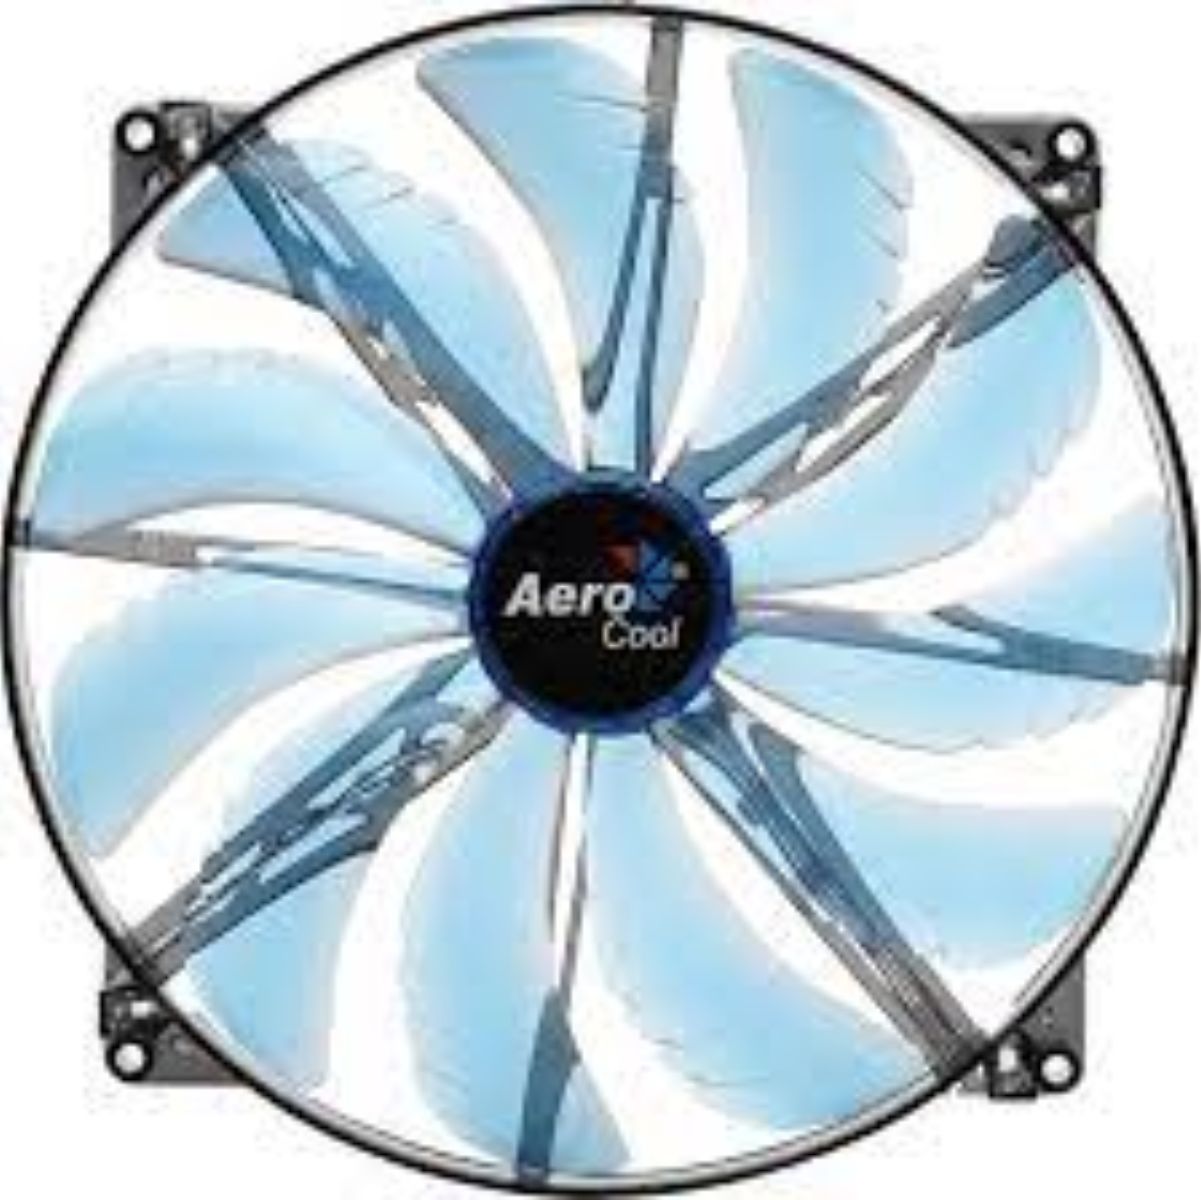
When it comes to keeping your computer cool, a case fan plays a crucial role in maintaining optimum temperature levels. Sometimes, you may find that your case fan is not running at its full speed, which can lead to increased heat buildup and potentially affect the performance of your system. In this guide, we will explore various methods to make your case fan run at full speed, ensuring optimal cooling for your computer.
A case fan is typically connected to the motherboard or a fan controller, and its speed is controlled by default settings or software. By increasing the fan speed, you can maximize airflow within your computer case, helping to dissipate heat generated by components such as the CPU and graphics card.
It’s important to note that running your case fan at full speed may result in increased noise levels. However, this can be a trade-off for improved cooling performance, especially during intense gaming sessions or when performing resource-intensive tasks. If noise is a concern, some of the methods discussed in this guide can be adjusted to find a balance between cooling performance and noise levels.
Now, let’s dive into the various steps you can take to make your case fan run at full speed. Whether you’re a beginner or an experienced computer enthusiast, you’ll find the methods presented here to be straightforward and easy to implement. By the end of this guide, you’ll have the knowledge and tools to enhance your computer’s cooling capabilities and protect your valuable hardware from overheating.
Step 1: Check the fan connections
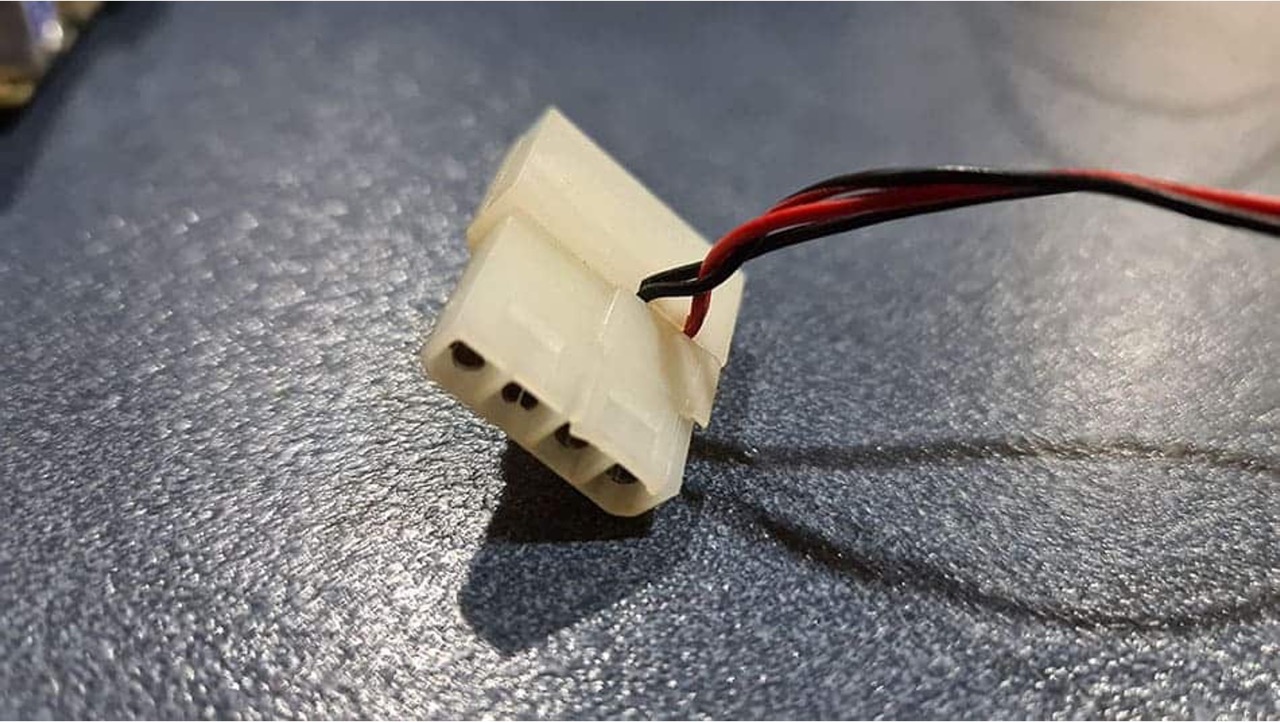
The first step in making your case fan run at full speed is to ensure that it is properly connected to your motherboard or fan controller. Sometimes, loose or faulty connections can prevent the fan from running at its maximum speed.
Start by powering off your computer and opening up the case. Locate the fan that you want to run at full speed. Check the connection between the fan and the motherboard or fan controller. Ensure that the fan’s power cable is securely plugged into the appropriate header on the motherboard or connected to the fan controller, if applicable.
In some cases, the fan may be connected to a fan controller, which allows you to manually control the fan’s speed. Make sure that the fan controller is set to its maximum speed or set to “Auto” mode, which will adjust the fan speed automatically based on the system’s temperature.
If you have multiple case fans, double-check the connections of each fan to ensure they are properly plugged in. It’s possible that one or more fans may be disconnected or connected incorrectly, leading to a decrease in their speed.
Once you have verified that the fan connections are secure, close the case and power on your computer. Enter the BIOS settings by pressing the designated key during startup (usually Del or F2). Navigate to the Hardware Monitor or Fan Control section, depending on your motherboard’s BIOS. Here, you can check if the fan speed is being detected correctly and adjust the fan speed settings if necessary.
By completing this step, you have ensured that the fan is properly connected and have checked the default settings in the BIOS. If the fan still does not run at full speed, proceed to the next step to explore software-based solutions for controlling and maximizing fan speed.
Step 2: Adjust fan settings in BIOS
If your case fan is not running at full speed after checking the connections, you can try adjusting the fan settings in the BIOS (Basic Input/Output System) of your computer. The BIOS allows you to access and modify various hardware settings, including fan speed control.
To access the BIOS, restart your computer and repeatedly press the designated key during startup (usually Del or F2). Once in the BIOS menu, navigate to the Hardware Monitor or Fan Control section. The exact location of these settings may vary depending on your motherboard’s BIOS interface.
In the Hardware Monitor or Fan Control section, look for options related to fan speed control. You may find settings such as “Fan Speed Control,” “Smart Fan,” or “Q-Fan Control.” Enable these settings and make sure they are set to “Full Speed” or “100%.” This will ensure that the fans connected to the corresponding headers run at their maximum speed.
Additionally, some modern motherboards offer advanced fan control features, allowing you to set different fan profiles based on temperature thresholds. This allows the fans to adjust their speed dynamically according to the system’s temperature. Explore these options and choose a profile that suits your needs, such as the “Performance” or “Turbo” profile.
After adjusting the fan settings in the BIOS, save the changes and exit the BIOS menu. Your computer will restart, and the case fans should now run at their maximum speed according to the configured settings.
It’s important to note that not all motherboards have extensive fan control options in the BIOS. In some cases, the BIOS may offer limited control, or fan speed may be determined automatically based on temperature sensors. If adjusting the fan settings in the BIOS does not yield the desired results, there are software-based solutions available that offer more granular control over fan speed.
In the following steps, we will explore these software solutions, as well as hardware-based methods to make your case fan run at full speed and achieve optimal cooling for your computer.
Step 3: Use fan control software
If adjusting the fan settings in the BIOS didn’t provide the desired results, you can try using fan control software to manage and maximize the speed of your case fan. Fan control software allows you to customize and fine-tune the fan speed according to your specific needs and preferences.
There are various fan control software options available, both third-party and manufacturer-specific. Some popular software includes SpeedFan, CAM, and MSI Afterburner. Before installing any software, check the compatibility with your motherboard and ensure that it supports fan speed control for your specific case fan.
Once you have installed the software, launch it and navigate to the fan control settings. Most fan control software offers an intuitive interface where you can see real-time fan speed information and modify the fan speed settings. Depending on the software, you may have options such as manual fan speed control, predefined fan profiles, or even the ability to create custom fan curves.
If manual control is available, set the fan speed to its maximum value. This will make the case fan run at full speed. Alternatively, you can choose a predefined fan profile that maximizes the fan speed for optimal cooling performance.
Some fan control software also allows you to monitor the temperatures of various components in your computer. This information can help you determine the ideal fan speed settings to keep your system cool while minimizing noise. Experiment with different settings and observe the temperature readings to find the optimal balance between cooling performance and noise levels.
It’s important to note that fan control software may not be supported by all motherboards or may have limited compatibility. In such cases, you can consider using hardware-based solutions, such as a fan controller, to gain more control over the fan speed.
By utilizing fan control software, you can harness the power of customization to make your case fan run at full speed. This will aid in keeping your computer cool and preserving the optimal performance of your hardware components.
Step 4: Use a fan controller
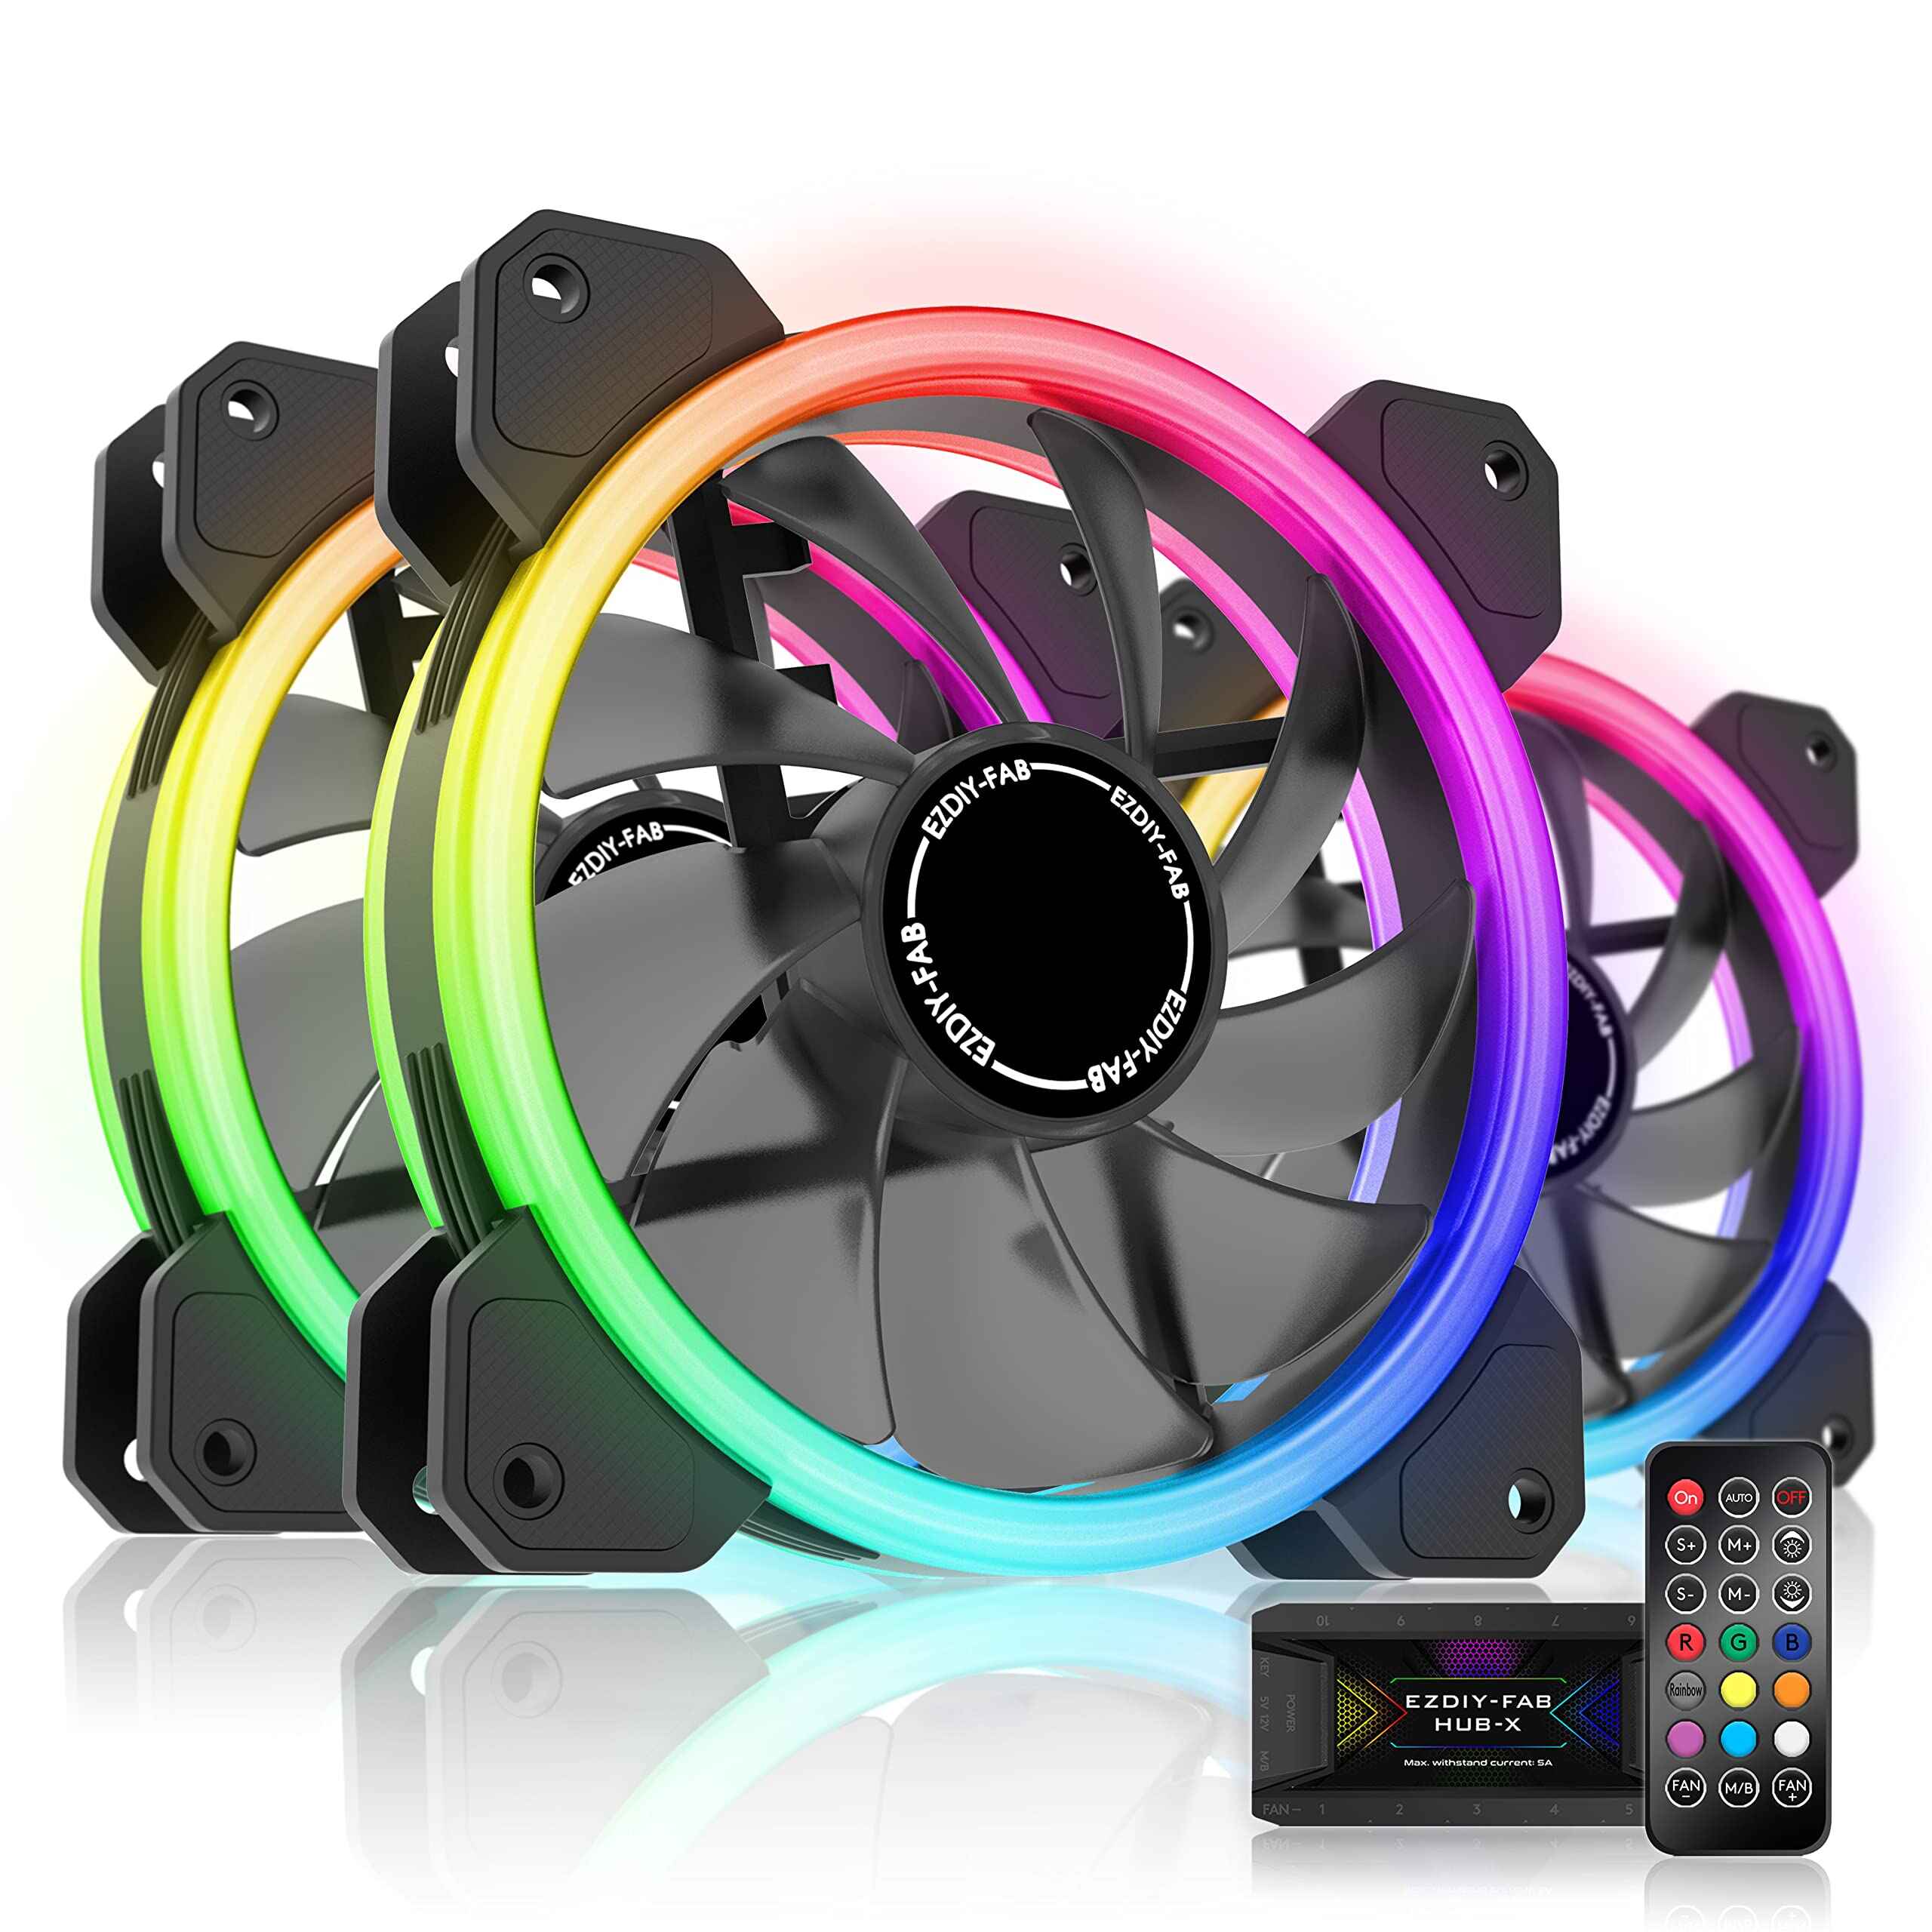
If adjusting the fan settings in the BIOS or using fan control software did not yield the desired results, another option to consider is using a fan controller. A fan controller is a hardware device that allows you to manually control the speed of your case fans. It offers a more granular and independent control over fan speed, separate from the default settings in the BIOS or software-based solutions.
To use a fan controller, you will need to purchase a compatible controller and install it in your computer. Fan controllers can be either internal or external. Internal fan controllers are installed directly into the computer case and typically feature physical knobs or buttons for adjusting fan speed. On the other hand, external fan controllers connect to your computer via USB and offer control through a software interface.
Once the fan controller is installed or connected, you can adjust the fan speed according to your preferences. Most fan controllers provide individual controls for each fan connected to it, allowing you to set precise speeds for optimal cooling performance. Some advanced fan controllers also offer additional features like temperature monitoring and customizable fan profiles.
To adjust the fan speed using a physical knob or button, simply turn the knob or press the button corresponding to the desired fan. Gradually increase the speed until the fan is running at its maximum setting. Alternatively, if using an external fan controller, launch the software interface and modify the fan speed settings accordingly.
Using a fan controller gives you the flexibility to fine-tune the speed of your case fan without relying on the default settings of your motherboard or software utilities. This can be particularly useful if you prefer a manual approach or require more control over the fan speed for specialized cooling requirements.
Remember to carefully follow the manufacturer’s instructions when installing and operating the fan controller. Ensure that you have chosen a fan controller that is compatible with your case fans and meets your specific needs.
Using a fan controller is an effective way to make your case fan run at full speed and achieve optimal cooling for your computer. However, if you prefer a simpler solution or want to explore other options, continue reading to learn about additional methods to maximize the speed of your case fan.
Step 5: Install a resistor
If you’re looking for a low-cost and straightforward solution to make your case fan run at full speed, installing a resistor can be an option worth considering. A resistor is an electrical component that can be used to reduce the voltage or current flowing through a circuit, which in turn can lower the speed of a fan.
To install a resistor, you will need to identify the power supply wires that are connected to your case fan. These wires typically include a positive (+) wire and a negative (-) wire. Before proceeding, ensure that your case fan can handle the maximum voltage supplied by your computer’s power source.
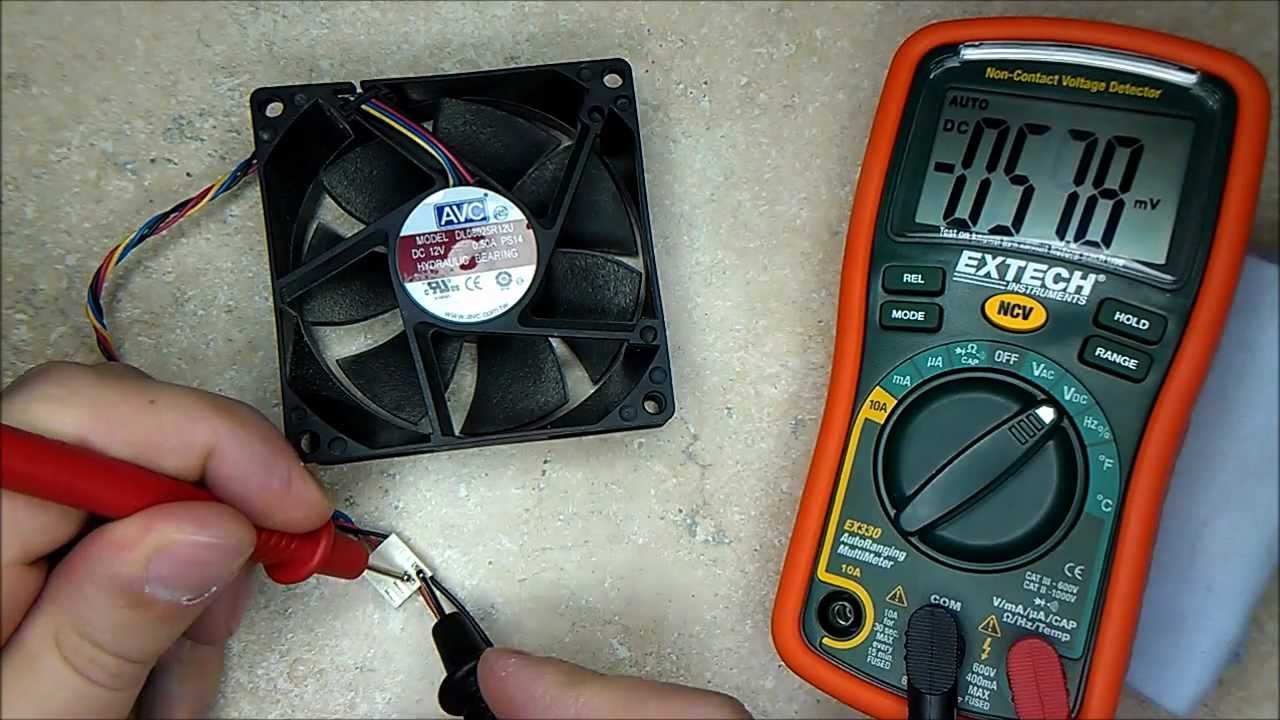
Once you have located the power supply wires, measure the resistance of the fan using a multimeter. This will help you determine the appropriate resistor value to achieve the desired fan speed. Resistors come in different values, typically measured in ohms (Ω). Refer to the fan manufacturer’s specifications or consult online resources to determine the compatibility and suitable resistor value.
Once you have obtained the resistor, connect it in series with the positive (+) wire of the fan. This means cutting the positive wire and inserting the resistor between the two cut ends. Make sure to securely reconnect the wire using wire connectors or soldering, ensuring stable and reliable contact.
The resistor will reduce the voltage supplied to the fan, resulting in a decrease in its speed. However, it’s important to note that installing a resistor may cause the fan to run at a fixed lower speed and may not provide the same level of control as other methods discussed earlier.
Before finalizing the installation, thoroughly test the fan to ensure that it is running at the desired speed without any abnormal noise or vibration. Monitor the system temperature to ensure that the reduced fan speed still provides adequate cooling for your computer components.
Installing a resistor can be a cost-effective solution to make your case fan run at full speed. However, it’s crucial to exercise caution and ensure that the resistor value is appropriate for your specific fan and power supply. If you are uncertain or uncomfortable with modifying electrical components, it’s recommended to seek professional assistance to avoid any potential damage or safety hazards.
If installing a resistor does not meet your requirements or if you’re looking for a more powerful and specialized solution, consider exploring the final step, which involves replacing the existing fan with a high-speed model.
Step 6: Replace the fan with a high-speed model
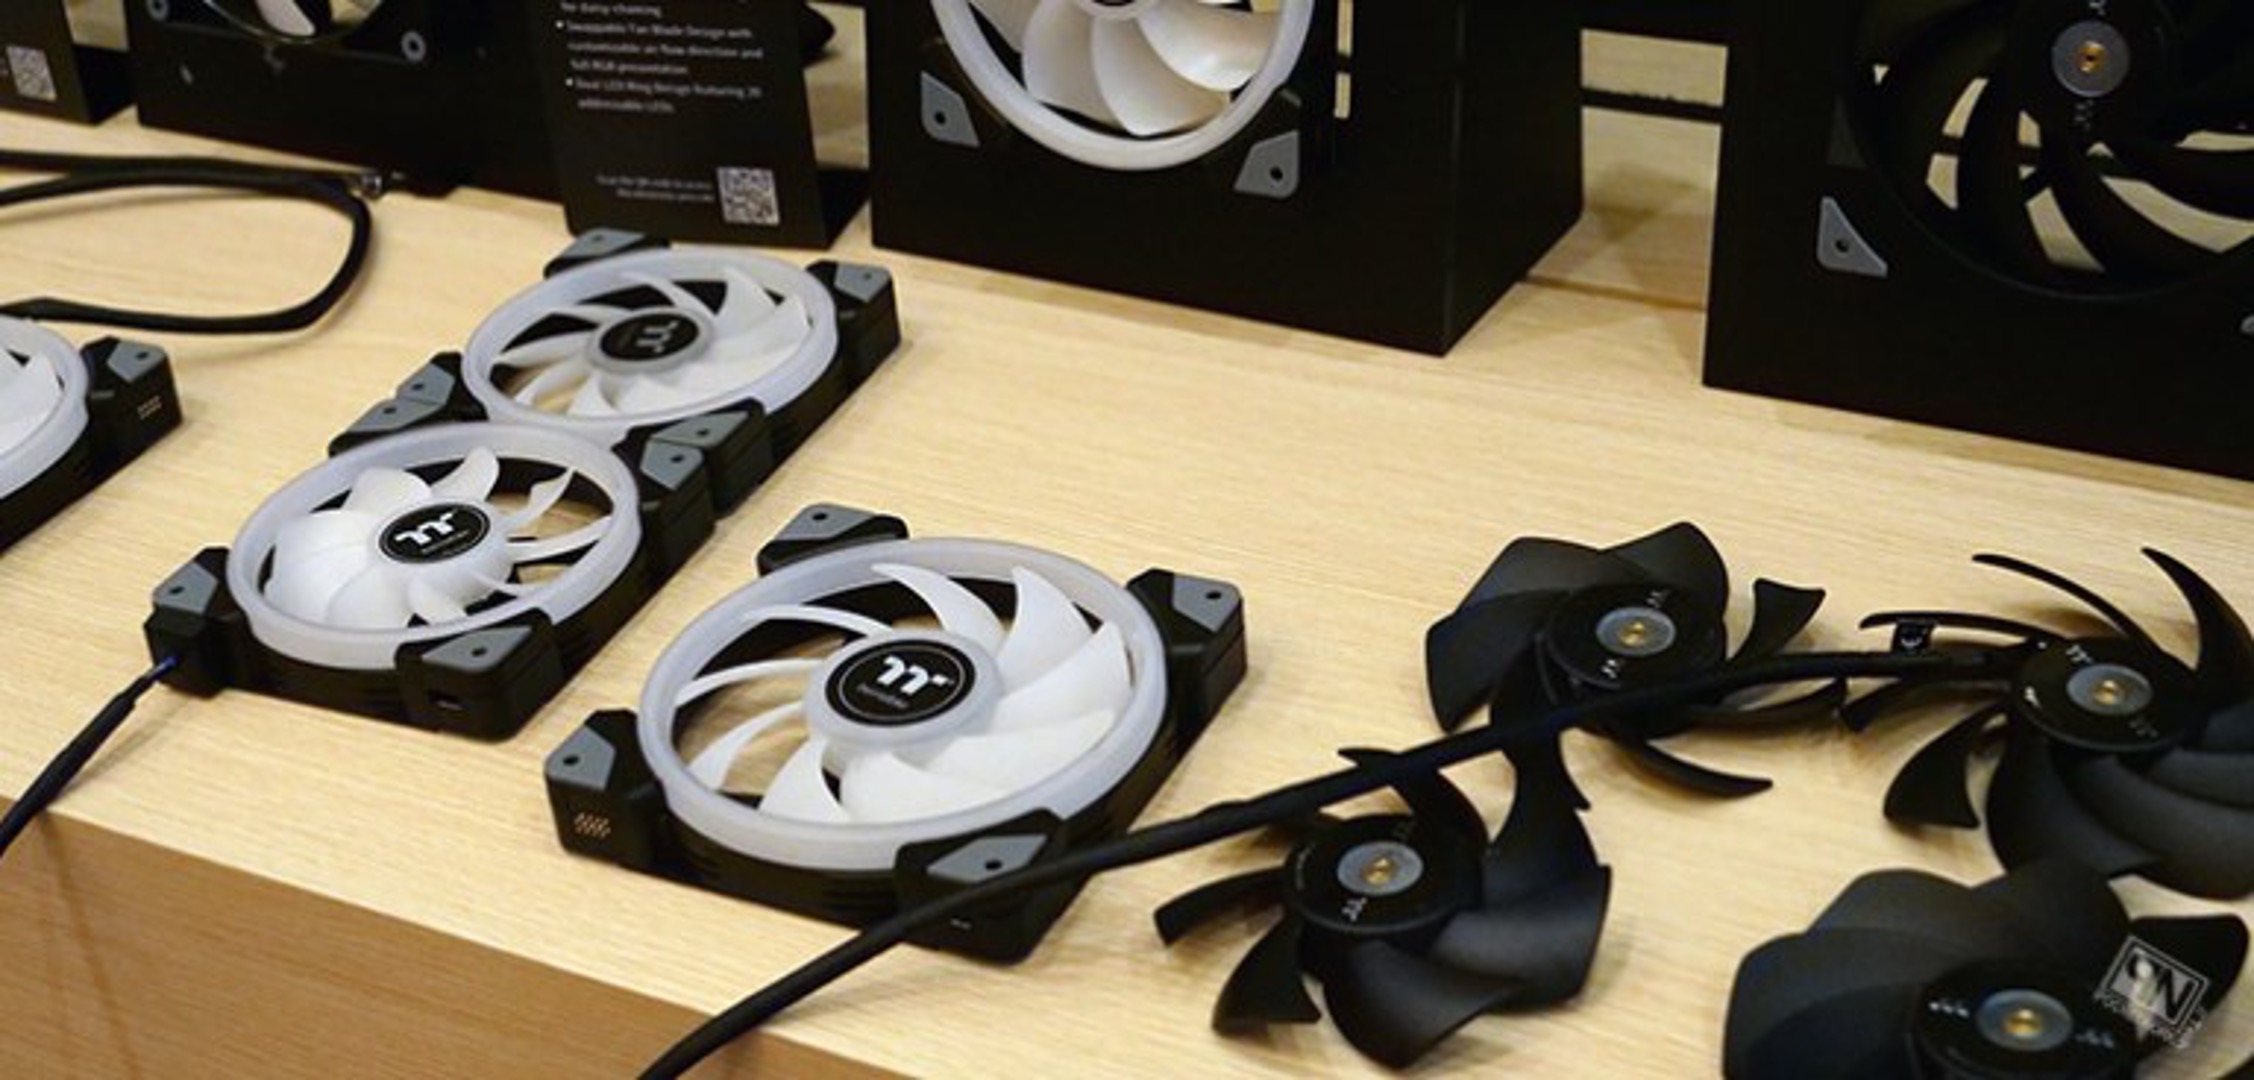
If all previous methods have not provided the desired results in making your case fan run at full speed, the final option to consider is replacing the existing fan with a high-speed model. By swapping out your current fan with a fan designed to run at higher speeds, you can achieve better cooling performance and increased airflow within your computer case.
Before purchasing a new fan, it’s essential to consider the specifications and compatibility requirements. Ensure that the fan size matches the available space in your computer case and that it is compatible with your motherboard or fan controller’s connectors. Additionally, check the fan’s power requirements to ensure that your computer’s power supply can handle the increased load.
When selecting a high-speed fan, pay attention to the airflow and noise specifications. Look for fans that are specifically designed for high-performance cooling, offering a high cubic feet per minute (CFM) rating and a low noise level (measured in decibels). This will help ensure that the new fan can effectively cool your components while keeping noise levels to a minimum.
To replace the fan, power off your computer and open the case. Locate the existing fan that you want to replace and disconnect its power cable from the motherboard or fan controller. Remove any screws or mounting brackets holding the fan in place, and carefully take out the old fan.
Align the new high-speed fan in the same position and securely attach it using the provided screws or mounting brackets. Connect the power cable of the new fan to the appropriate header on the motherboard or fan controller, ensuring a secure connection.
Once the replacement is complete, power on your computer and monitor the fan’s speed to confirm that it is running at its full speed. You can use the BIOS settings, fan control software, or hardware monitoring tools to verify the fan speed. Additionally, observe the difference in cooling performance and airflow within your computer case.
Replacing the fan with a high-speed model provides a direct and effective solution to make your case fan run at full speed. However, be mindful of any additional noise that may arise due to the increased fan speed. Consider adjusting the fan settings in the BIOS or using fan control software to fine-tune the speed according to your preferences and cooling requirements.
By following these steps, you can successfully make your case fan run at full speed, enhancing the cooling capabilities of your computer. Whether through adjusting settings, utilizing software or hardware solutions, or opting for a high-speed replacement, you can ensure optimal performance and prolong the lifespan of your valuable hardware components.
Conclusion
Keeping your computer cool is essential for maintaining optimal performance and prolonging the lifespan of your hardware components. In this guide, we explored various methods to make your case fan run at full speed, ensuring efficient cooling within your computer case.
We started by checking the fan connections and adjusting the fan settings in the BIOS. If these steps didn’t provide the desired results, we looked into using fan control software and installing a fan controller for more granular control over the fan speed. Additionally, we discussed the option of installing a resistor or replacing the existing fan with a high-speed model.
It’s important to remember that running your case fan at full speed may result in increased noise levels. Therefore, always consider finding a balance between maximum cooling performance and acceptable noise levels based on your specific needs and preferences.
Before attempting any modifications or installations, ensure that you have a good understanding of the hardware requirements and follow the manufacturer’s instructions. If you are unsure or uncomfortable with making changes to your computer’s components, it’s recommended to seek professional assistance.
By implementing the methods discussed in this guide, you can optimize your computer’s cooling capabilities and protect your valuable hardware from overheating. Remember to monitor your system’s temperatures regularly and make adjustments as necessary to maintain ideal operating conditions.
We hope this guide has provided you with valuable insights into making your case fan run at full speed. The ability to effectively control the fan speed ensures that your computer performs optimally, even during demanding tasks. By taking the necessary steps to maximize cooling, you can enjoy a more reliable and efficient computing experience.