Introduction
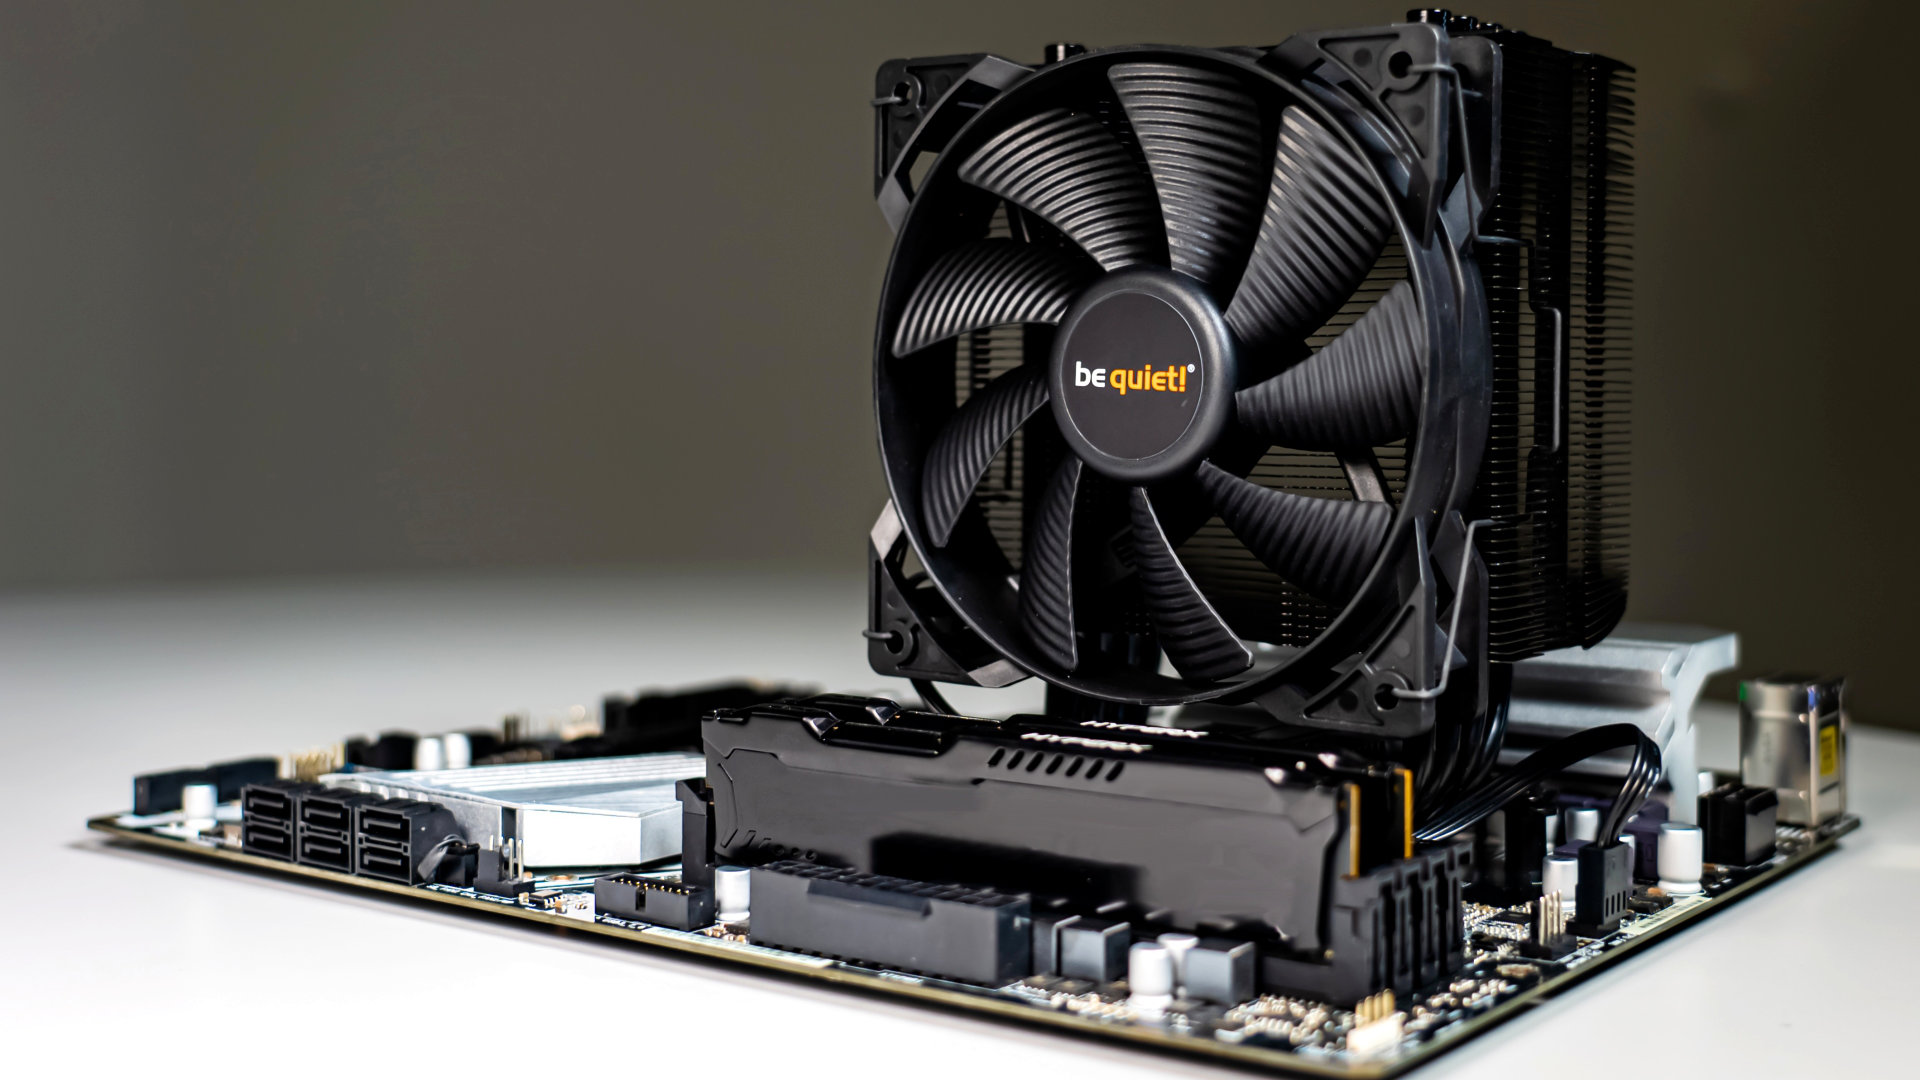
Welcome to the world of computer cooling! If you’re a computer enthusiast or someone who relies heavily on their machine for intensive tasks like gaming or video editing, you know how important it is to keep your system cool. One of the key components in maintaining optimal temperatures is the case fan. These fans play a crucial role in dissipating heat from inside your computer case, ensuring that your components stay within safe operating temperatures.
However, there may be times when you find that your case fan speed isn’t sufficient to handle the heat generated by your system. In such cases, it becomes necessary to increase the fan speed to ensure proper cooling. In this article, we’ll explore various ways to turn up the case fan speed, so you can keep your system running smoothly and efficiently.
Before we dive into the different methods, it’s essential to understand why increasing case fan speed is necessary. Your computer components generate heat when they’re in use, and prolonged exposure to high temperatures can lead to performance issues and even permanent damage. Increasing case fan speed helps in maintaining lower component temperatures, preventing overheating and protecting your investment.
In the next sections, we’ll discuss how to check your current fan speed, explore methods to increase fan speed, and provide step-by-step instructions for adjusting fan speed in the BIOS, using software to control fan speed, and installing additional fans. By the end of this article, you’ll have a thorough understanding of how to enhance your case fan’s performance.
So, let’s get started on our journey to unleash the full potential of your case fans and achieve optimal cooling for your system!
Why do you need to increase case fan speed?
Increasing the case fan speed is a crucial step in maintaining the overall health and performance of your computer system. Here are some reasons why you may need to turn up the fan speed:
- Improved Cooling Efficiency: The primary role of case fans is to circulate air inside the computer case and remove hot air generated by the components. By increasing the fan speed, you can enhance the airflow, ensuring that cool air reaches your components more effectively. This results in lower temperatures and prevents overheating.
- Enhanced System Stability: High temperatures can hamper the stability and performance of your system. When components reach their maximum temperature threshold, they may throttle their performance to prevent damage. This can lead to reduced performance, system crashes, and even data loss. Increasing the fan speed helps to keep temperatures in check, allowing your system to run smoothly and efficiently.
- Longevity of Components: Excessive heat can significantly reduce the lifespan of your computer components. Over time, continuous exposure to high temperatures can cause damage to delicate electronic circuits and degrade the performance of components like processors and graphics cards. By increasing the fan speed, you can keep temperatures within safe limits, prolonging the lifespan of your hardware investments.
- Overclocking Support: If you’re an enthusiast or power user looking to push your system’s limits through overclocking, increasing the case fan speed becomes even more important. Overclocking involves running components at higher frequencies, which generates more heat. To prevent thermal throttling and ensure stability during overclocking, an increase in fan speed is essential to maintain lower temperatures.
- Silent Operation: While increasing fan speed may result in slightly louder operation, it can actually help achieve a more silent overall system. When the fan speed is too low, the fans often have to work harder to dissipate the heat, leading to increased noise levels. By increasing the fan speed, you can achieve a more efficient cooling setup with lower overall noise levels.
Now that you understand the importance of increasing case fan speed, let’s explore different methods to achieve this and unleash the full potential of your cooling system.
Checking your fan speed
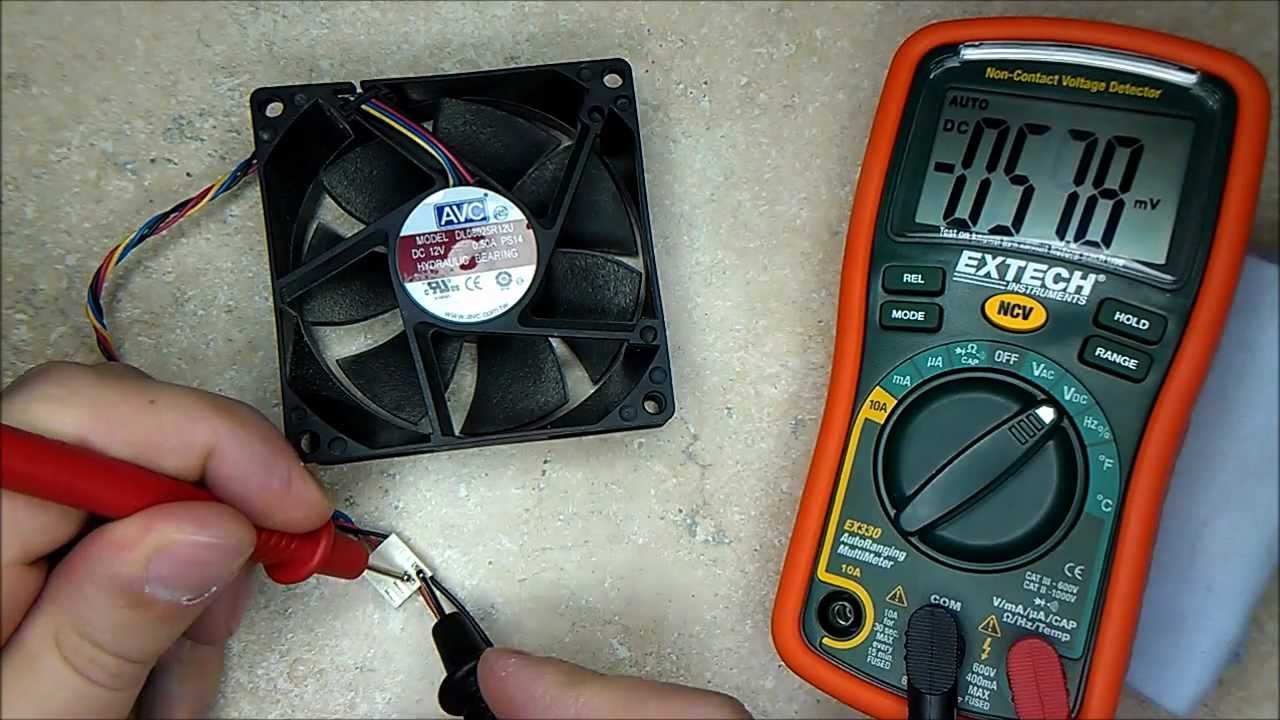
Before you take any steps to increase your case fan speed, it’s crucial to determine the current speed of your fans. This will help you gauge whether an increase in fan speed is necessary and provide a baseline for comparison after making any adjustments. Here are a few methods for checking your fan speed:
- BIOS Settings: One of the easiest ways to check your fan speed is by accessing your computer’s BIOS settings. Restart your computer and enter the BIOS by pressing the designated key during the boot process (common keys include Del, F2, or Esc). Once in the BIOS, navigate to the hardware or monitoring section, where you can usually find information about fan speeds. Note down the values provided for your case fans.
- System Monitoring Software: Another way to check your fan speed is by using system monitoring software. There are various free programs available, such as SpeedFan, HWMonitor, and Open Hardware Monitor, that provide real-time information about your hardware, including fan speeds. Install one of these programs and look for the fan speed readings in the interface.
- Manufacturer Software: Some computer manufacturers provide their own software for monitoring system health and fan speeds. This software is often specific to their brand and can be downloaded from their official website. Check if your computer manufacturer has such software available and use it to check your fan speed.
- Visual Inspection: If you want a quick estimate of your fan speed without using software, you can visually inspect the fans while your computer is running. Look at the rotation speed of the fans and see if they appear to be running slower or faster than usual. While this method may not provide exact values, it can give you a general idea of the fan speed.
Once you have determined the current fan speed of your case fans using one of these methods, you can proceed with increasing the fan speed to ensure efficient cooling for your computer system. In the following sections, we will explore different methods to adjust fan speeds in the BIOS, use software to control fan speed, and install additional fans if necessary.
Ways to increase case fan speed
Increasing the speed of your case fans can be done through various methods, depending on your specific hardware and preferences. Here are some common ways to achieve this:
- Adjusting fan speed in the BIOS: One of the most straightforward methods to increase case fan speed is through your computer’s BIOS settings. Access the BIOS by restarting your computer and pressing the designated key during the boot process (common keys include Del, F2, or Esc). In the BIOS, navigate to the hardware or fan control section. Here, you may find options to adjust fan speeds, either by setting them to a higher value or choosing a preset profile that increases fan speed. Note that the availability and level of control may vary depending on your motherboard model.
- Using software to control fan speed: Another way to increase case fan speed is by utilizing fan control software. There are numerous applications available, such as SpeedFan, Argus Monitor, and MSI Afterburner, that allow you to monitor and control fan speeds in real-time. These programs often provide a user-friendly interface where you can adjust fan curves, set custom profiles, or even let the software dynamically control fan speeds based on temperature readings. Install the desired software and explore the available options to increase fan speed.
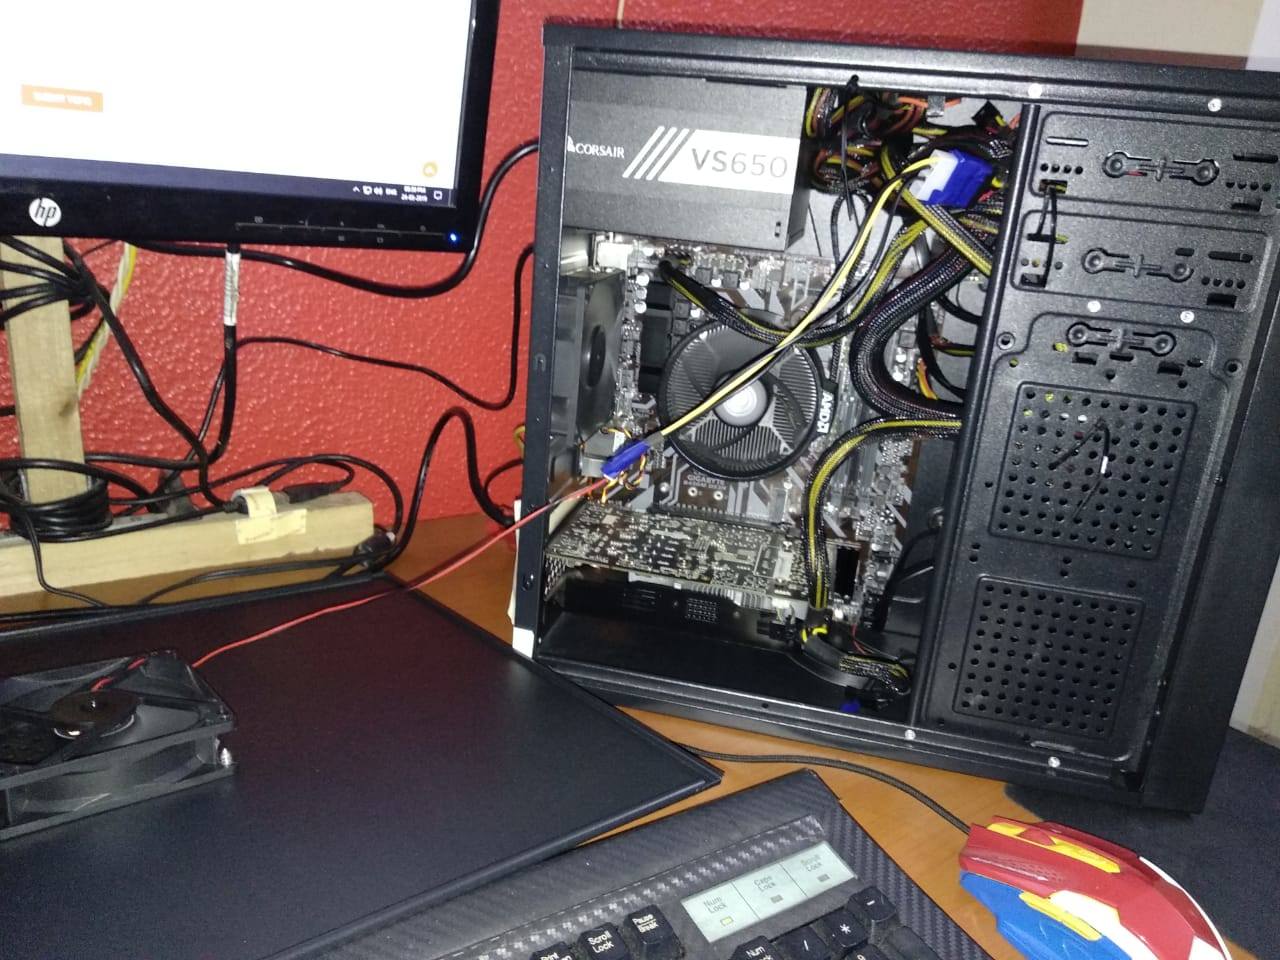
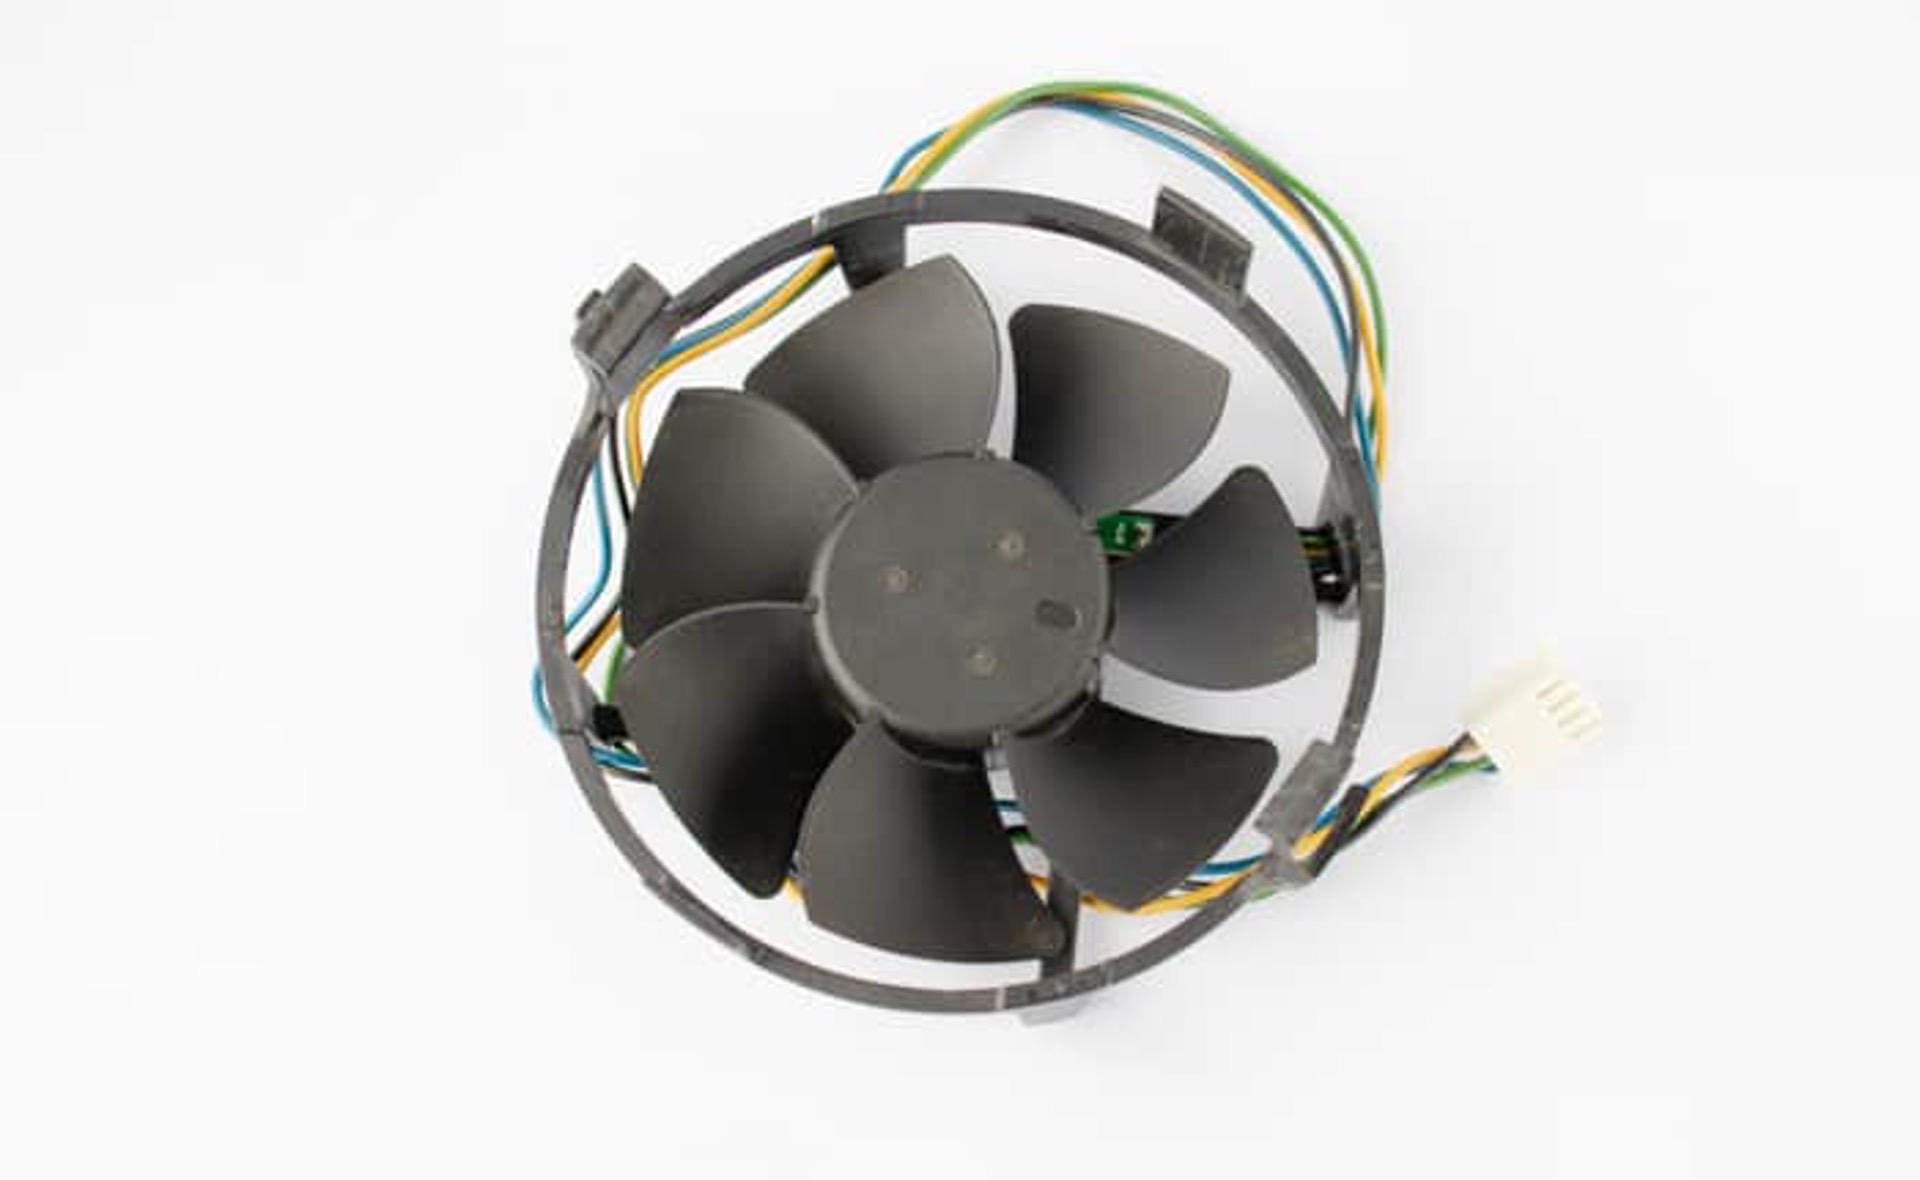
- Installing additional fans: If your current case fans are not providing sufficient airflow, you may consider installing additional fans. Depending on the available space and mounting locations in your computer case, you can add more fans to increase overall cooling capacity. Look for fan slots in the case and choose fans that match the size and compatibility requirements. By having more fans, you can distribute the airflow more effectively, allowing for increased cooling performance.
- Using fan controllers: Fan controllers provide an external hardware solution to adjust fan speeds. These devices connect to your case fans and provide manual control over the fan speed by adjusting voltage or using knobs and buttons. Fan controllers are typically mounted within a drive bay and offer convenient access to control fan speeds on-the-fly. If you prefer a physical control interface rather than relying solely on software, a fan controller can be a viable option.
- Cleaning and maintaining your fans: Sometimes, insufficient fan speed can be the result of dust and debris accumulation on the fan blades, leading to reduced airflow. Regularly cleaning your case fans can significantly improve their performance. Use compressed air or a soft brush to remove any dust buildup from the fan blades, ensuring unobstructed airflow. Additionally, lubricating fan bearings, if applicable, can also enhance fan speed and overall longevity.
By utilizing these methods, you can increase the speed of your case fans and achieve better cooling efficiency for your computer system. Experiment with different approaches to find the right balance between cooling performance and noise levels that suits your needs.
Adjusting fan speed in the BIOS
Adjusting the fan speed in the BIOS is a common and effective method to increase case fan speed. Here’s a step-by-step guide on how to do it:
- Restart your computer and continuously press the designated key to enter the BIOS during the boot process (common keys include Del, F2, or Esc). The key to access the BIOS may vary depending on your computer’s manufacturer, so consult your motherboard’s manual if you’re unsure.
- Navigate to the Hardware or Fan Control section in the BIOS. The specific location may vary depending on your motherboard model.
- Look for options related to fan control or fan speed. Depending on your BIOS, you may find options such as “Fan Speed Control,” “Smart Fan Control,” or similar labels.
- Select the desired option and adjust the fan speed setting. This may be done by choosing a preset profile (e.g., “Performance,” “Silent,” “Custom”) or manually inputting a fan speed percentage or RPM value. Higher percentages or RPM values increase the fan speed.
- Save the changes and exit the BIOS. Usually, you can do this by pressing the F10 key or selecting the “Save and Exit” option.
- Allow your computer to boot into the operating system and observe the fan speed changes. You can use system monitoring software or check the BIOS again to verify the new fan speed.
- If necessary, repeat the process and fine-tune the fan speed settings to achieve the desired cooling performance while considering noise levels.
It is important to note that not all motherboards provide extensive fan control options in the BIOS. The level of control and available settings may vary depending on your motherboard model and BIOS version. Some newer motherboards offer advanced fan control features, while others may provide only basic options like minimum and maximum fan speed. Consult your motherboard’s manual or visit the manufacturer’s website for specific instructions and information on your motherboard’s fan control capabilities.
In the next section, we’ll explore the option of using software to control fan speed, which can provide more flexibility and detailed control over your case fans.
Using software to control fan speed
Controlling fan speed through software is a popular method that offers greater flexibility and customization options compared to adjusting fan speed in the BIOS. Here’s how you can use software to control your case fan speed:
- Research and choose a fan control software that is compatible with your motherboard and operating system. There are various options available, such as SpeedFan, Argus Monitor, MSI Afterburner, and many more.
- Download and install the selected fan control software onto your computer.
- Launch the software and locate the fan control settings or options. They are typically found in the settings or configuration section of the software’s interface.
- Explore the available options for fan speed control. Depending on the software, you may be able to adjust fan curves, set custom profiles based on temperature thresholds, or even let the software dynamically control the fan speed based on real-time temperature readings.
- Select the desired fan speed control settings and apply them. Make sure to save the changes if prompted.
- Monitor the fan speed changes either through the software’s interface or by using system monitoring tools. This will help you verify that the software is effectively controlling the fan speeds according to your settings.
- Take the time to fine-tune the fan control settings to achieve the optimal balance between cooling performance and noise levels. Every computer system is unique, and finding the ideal fan configuration may require experimentation and adjustment.
Using software to control fan speed provides greater flexibility and real-time monitoring capabilities compared to adjusting fan speed in the BIOS. It allows you to create custom fan profiles, link fan speeds to specific temperature sensors, and dynamically adjust fan speeds as needed. Additionally, some fan control software also offers additional features like system health monitoring and real-time temperature displays, providing a comprehensive solution for managing your computer’s cooling system.
In the next section, we’ll explore the option of installing additional fans to further enhance your case cooling and increase airflow.
Installing additional fans
If your current case fans are not providing sufficient airflow or cooling performance, installing additional fans can be an effective way to increase case fan speed and improve overall cooling. Here’s how you can go about installing additional fans:
- Determine the available fan slots in your computer case. These usually include spots on the front, rear, top, and side panels of the case.
- Choose fans that are compatible with your case and meet your cooling requirements. Consider factors such as fan size (usually measured in millimeters), airflow (measured in cubic feet per minute or CFM), and noise levels (measured in decibels or dB).
- Check the specifications of your computer case and the available fan slots to ensure compatibility with the chosen fans.
- Prepare any necessary tools, such as a screwdriver, to aid in the installation process.
- Open your computer case by removing the side panels. Refer to your case’s manual for detailed instructions on how to access the interior of the case.
- Identify the desired locations for the additional fans based on optimal airflow. Typically, front fans intake cool air, while rear and top fans exhaust hot air.
- Attach the fans securely to the fan slots using the provided screws or mounting mechanisms. Ensure that the fans are oriented in the correct direction for optimal airflow, with the airflow arrows on the fan indicating the direction of airflow.
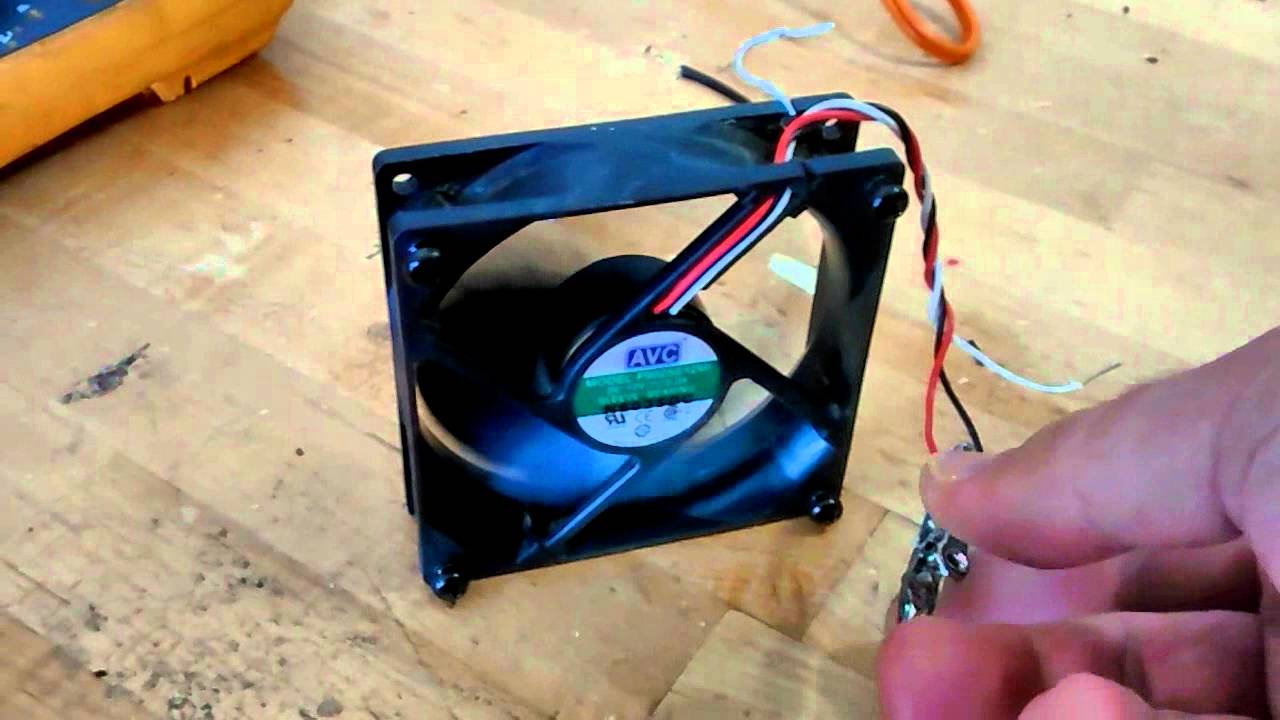
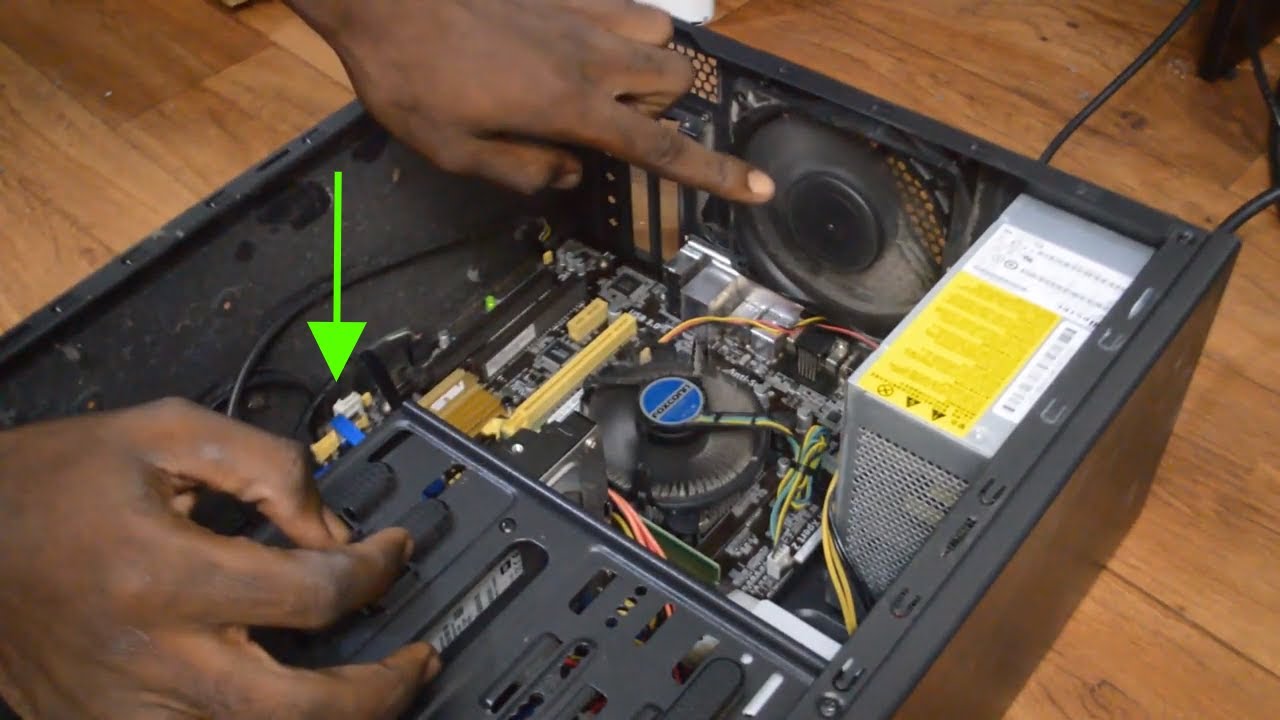
- Connect the fans to the appropriate fan headers on your motherboard. Refer to your motherboard’s manual for specific instructions on how to connect fans.
- Close your computer case by reattaching the side panels.
- Power on your computer and monitor the fan speeds using system monitoring software or the BIOS to ensure that the additional fans are functioning correctly.
- Monitor the temperatures of your computer components to determine if the additional fans have successfully improved cooling performance. You may need to make adjustments to fan speed settings using BIOS or software control to achieve the desired temperature levels.
Installing additional fans can provide an effective solution for increasing case fan speed and improving overall airflow and cooling performance in your computer system. By strategically placing the fans and ensuring proper orientation, you can create a balanced airflow setup that assists in dissipating heat and maintaining lower component temperatures.
In the next section, we’ll summarize the key points discussed and conclude our exploration of increasing case fan speed.
Conclusion
Ensuring proper cooling is essential for maintaining the performance and longevity of your computer system. Increasing case fan speed can significantly enhance cooling efficiency and protect your components from overheating. By following the methods and steps outlined in this article, you can unleash the full potential of your case fans and achieve optimal cooling.
We explored various methods to increase case fan speed, including adjusting fan speed in the BIOS, using software control, and installing additional fans. Each method offers its advantages, allowing you to find the most suitable solution based on your specific hardware and preferences.
Checking your current fan speed is crucial before making any adjustments. Whether through the BIOS, system monitoring software, or visual inspection, obtaining baseline fan speed readings enables you to gauge the effectiveness of the changes you make.
Adjusting fan speed in the BIOS provides a straightforward method, offering control over fan speeds directly from the motherboard. However, it’s important to note that not all motherboards provide extensive fan control options.
Using software to control fan speed offers more flexibility and customization options, allowing you to set fan curves, create custom profiles, and dynamically adjust fan speeds based on real-time temperatures. Fan control software provides precise control and real-time monitoring capabilities, making it a popular choice among users.
If your existing fans aren’t sufficient or additional airflow is needed, installing extra fans can provide a significant boost to your case cooling. By choosing compatible fans and strategizing their placement, you can create an efficient airflow setup, ensuring that cool air reaches your components while hot air is quickly expelled.
Remember to monitor your temperatures and fine-tune your fan speed settings to achieve the ideal balance between cooling performance and noise levels.
In conclusion, prioritizing proper cooling through increasing case fan speed is vital for maintaining system stability and safeguarding your computer components. By implementing the methods discussed in this article, you can optimize cooling efficiency and enjoy a cooler and more reliable computing experience.