Introduction
Welcome to our guide on connecting a 4-pin case fan! Case fans play a crucial role in maintaining the optimal temperature within your computer system, ensuring that it runs efficiently and remains cool during operation. However, connecting a case fan may seem daunting, especially for those who are new to the world of computer hardware.
In this article, we will provide you with a comprehensive overview of how to connect a 4-pin case fan and ensure it is properly integrated into your computer setup. Whether you’re building a new system or upgrading your existing one, understanding the process of connecting a case fan is essential for effective cooling and optimal performance.
We will guide you through the steps involved in connecting the 4-pin case fan to your motherboard. You will learn how to identify the appropriate header on the motherboard, how to orient the fan correctly, and how to secure the connection to ensure it remains stable.
Additionally, we will explore alternative methods for connecting your case fan, should your motherboard lack the necessary headers or if you want to explore different cooling configurations. This guide will equip you with the knowledge to troubleshoot common issues that may arise during the connection process as well.
So, whether you’re a seasoned computer enthusiast or a beginner just starting your journey, this guide is designed to help you navigate the intricacies of connecting a 4-pin case fan. Let’s jump in and ensure that your system stays cool and performs at its best!
Overview of 4-Pin Case Fan
Before we dive into the process of connecting a 4-pin case fan, let’s first understand what a 4-pin case fan is and why it is a popular choice for many computer enthusiasts.
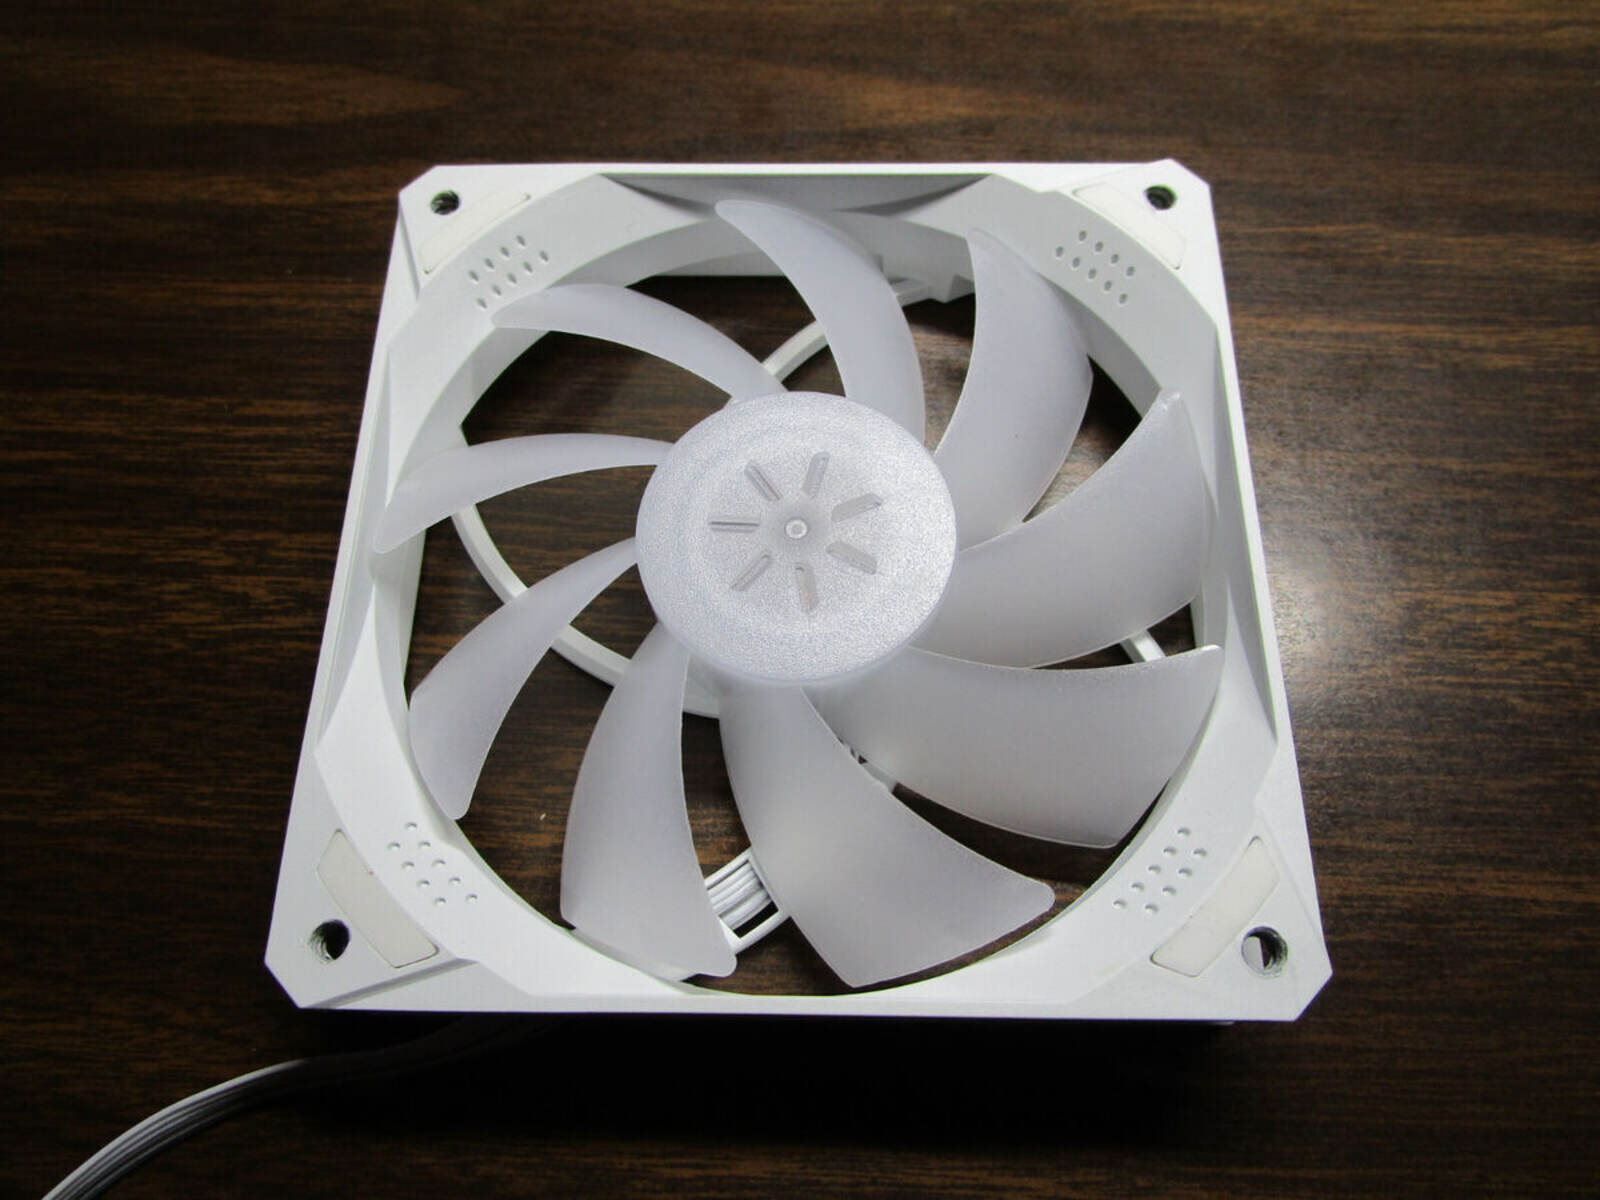
A 4-pin case fan, also known as a PWM (Pulse Width Modulation) fan, is a type of cooling fan commonly used in modern computer systems. It gets its name from the 4-pin connector that is used to connect it to the motherboard. These fans are known for their superior control over fan speed and quieter operation, making them ideal for maintaining optimal thermal management within your system.
One key advantage of a 4-pin case fan is its ability to adjust its speed based on the temperature of the system. This is accomplished through the PWM function, which allows the motherboard to vary the fan speed by adjusting the pulse width of the signal sent to the fan. This dynamic speed control ensures that the fan runs at an optimal speed, striking a balance between efficient cooling and reduced noise levels.
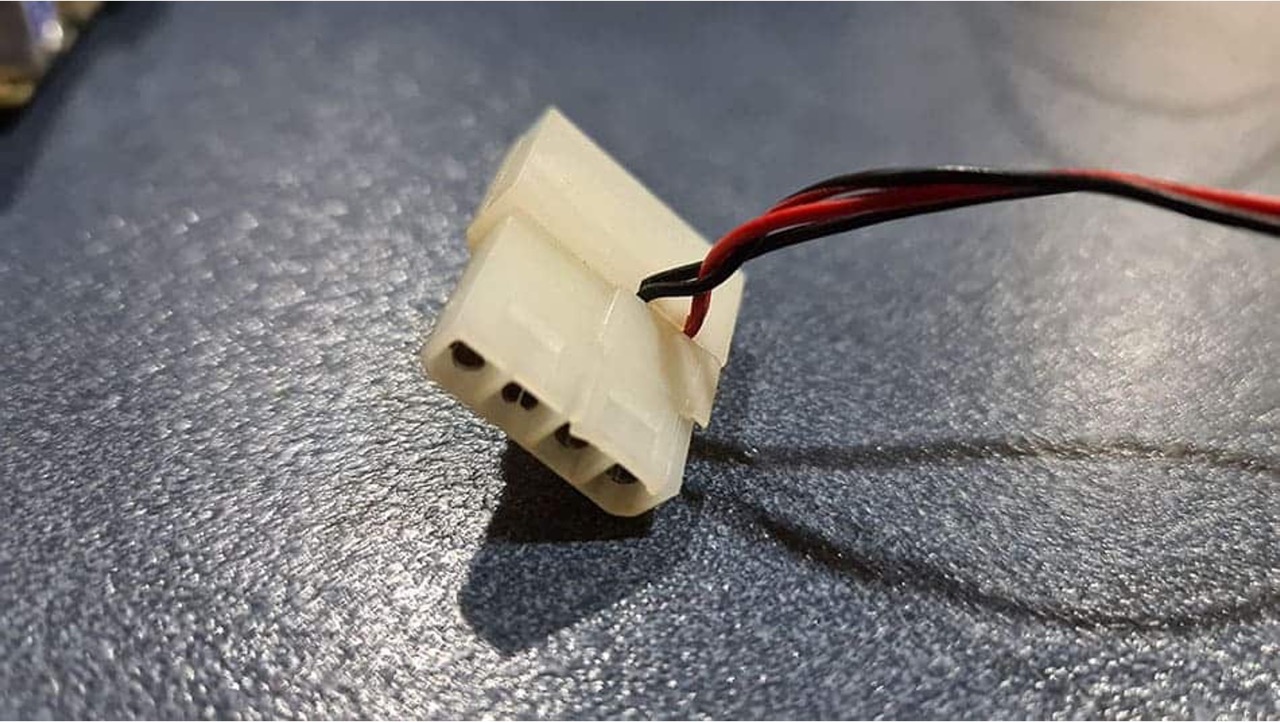
The 4-pin case fan features four wires in its connector: one for power (usually labeled “+12V” or “VCC”), one for ground (usually labeled “GND”), one for tachometer (usually labeled “TACH” or “RPM”), and one for the PWM control (usually labeled “PWM” or “CTRL”). These pins enable the fan to receive power, provide RPM feedback to the motherboard, and receive PWM signals to control its speed.
It’s important to note that a 4-pin case fan can also be connected to a 3-pin motherboard fan header. However, in this case, the fan will operate at full speed constantly without the ability to dynamically adjust its speed based on temperature. This can result in higher noise levels and potentially less efficient cooling. Therefore, it’s recommended to connect a 4-pin case fan to a 4-pin motherboard fan header whenever possible to take full advantage of its features.
Now that we have a basic understanding of what a 4-pin case fan is and its advantages, let’s proceed to the next section, where we will discuss the importance of properly connecting the case fan to ensure optimal performance and longevity of your system.
Importance of Properly Connecting the Case Fan
Properly connecting the case fan is crucial to maintaining the overall health and performance of your computer system. Here are a few reasons why it is important to ensure a correct and secure connection:
- Effective Cooling: The primary purpose of a case fan is to dissipate heat generated by the components inside your computer system. By connecting the fan properly, you can ensure that hot air is efficiently expelled and cool air is drawn in, preventing components from overheating. This, in turn, helps to maintain stable performance and prolong the lifespan of your hardware.
- Noise Reduction: Improperly connected or loose fans can result in excessive noise due to vibrations. When the fan is securely connected to the motherboard or case, it reduces the chances of vibrations, ensuring quieter operation, especially when the fan is running at lower speeds.
- Prolonged Fan Life: A secure and correct connection reduces the risk of damage to the fan or its wiring due to loose connections or accidental disconnections. This helps to extend the life of the fan, saving you from the hassle and cost of having to replace it prematurely.
- Optimal Performance: When the fan is properly connected, it can function as intended, adjusting its speed based on the temperature of the system. This allows it to provide the necessary cooling when the system is under heavy load and scale down when the load is lower. By enabling dynamic speed control, you can achieve a balance between efficient cooling and quieter operation.
It is important to note that incorrect or loose connections can lead to various issues, including overheating, system instability, and even potential damage to your components. Therefore, taking the time to properly connect and secure your case fan is an essential step in ensuring optimal cooling and performance.
In the next section, we will guide you through the process of connecting a 4-pin case fan to the motherboard. This includes identifying the appropriate 4-pin header and correctly orienting the fan for effective airflow. Join us as we discover the steps to an optimal connection.
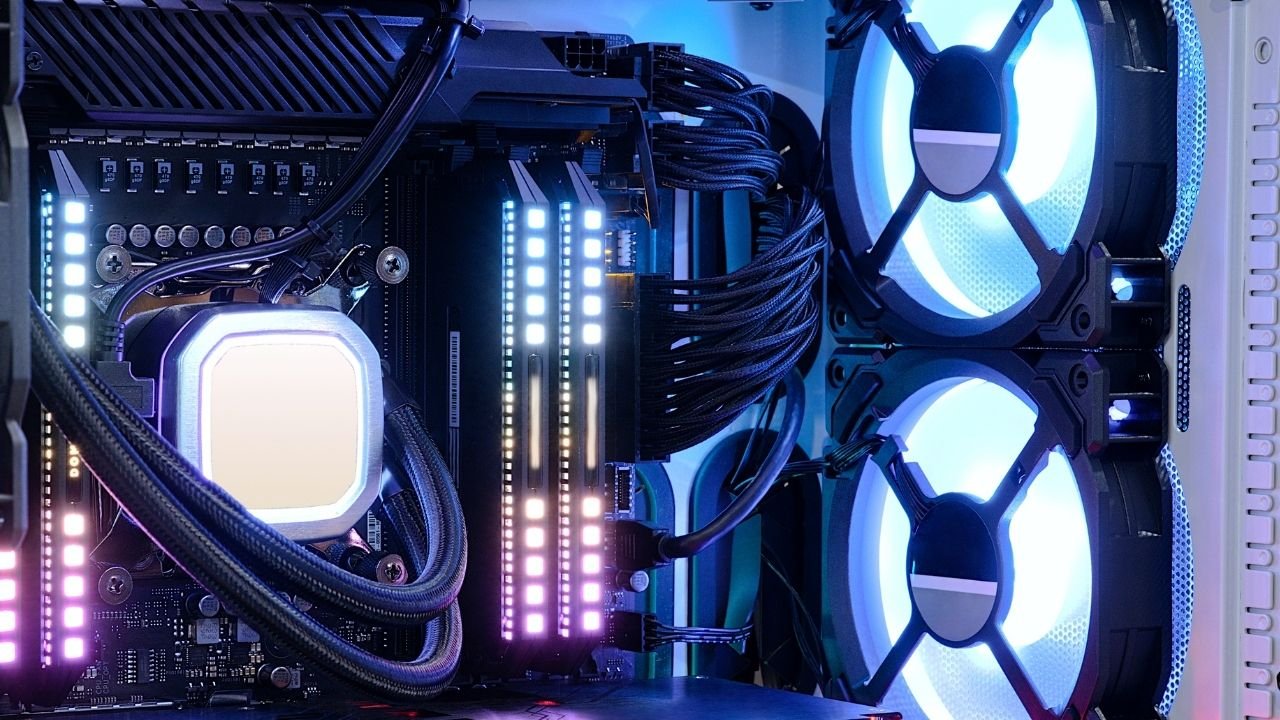
Connecting the 4-Pin Case Fan to the Motherboard
Now that we understand the importance of properly connecting the case fan, let’s dive into the process of connecting a 4-pin case fan to the motherboard. Follow these steps to ensure a successful and secure connection:
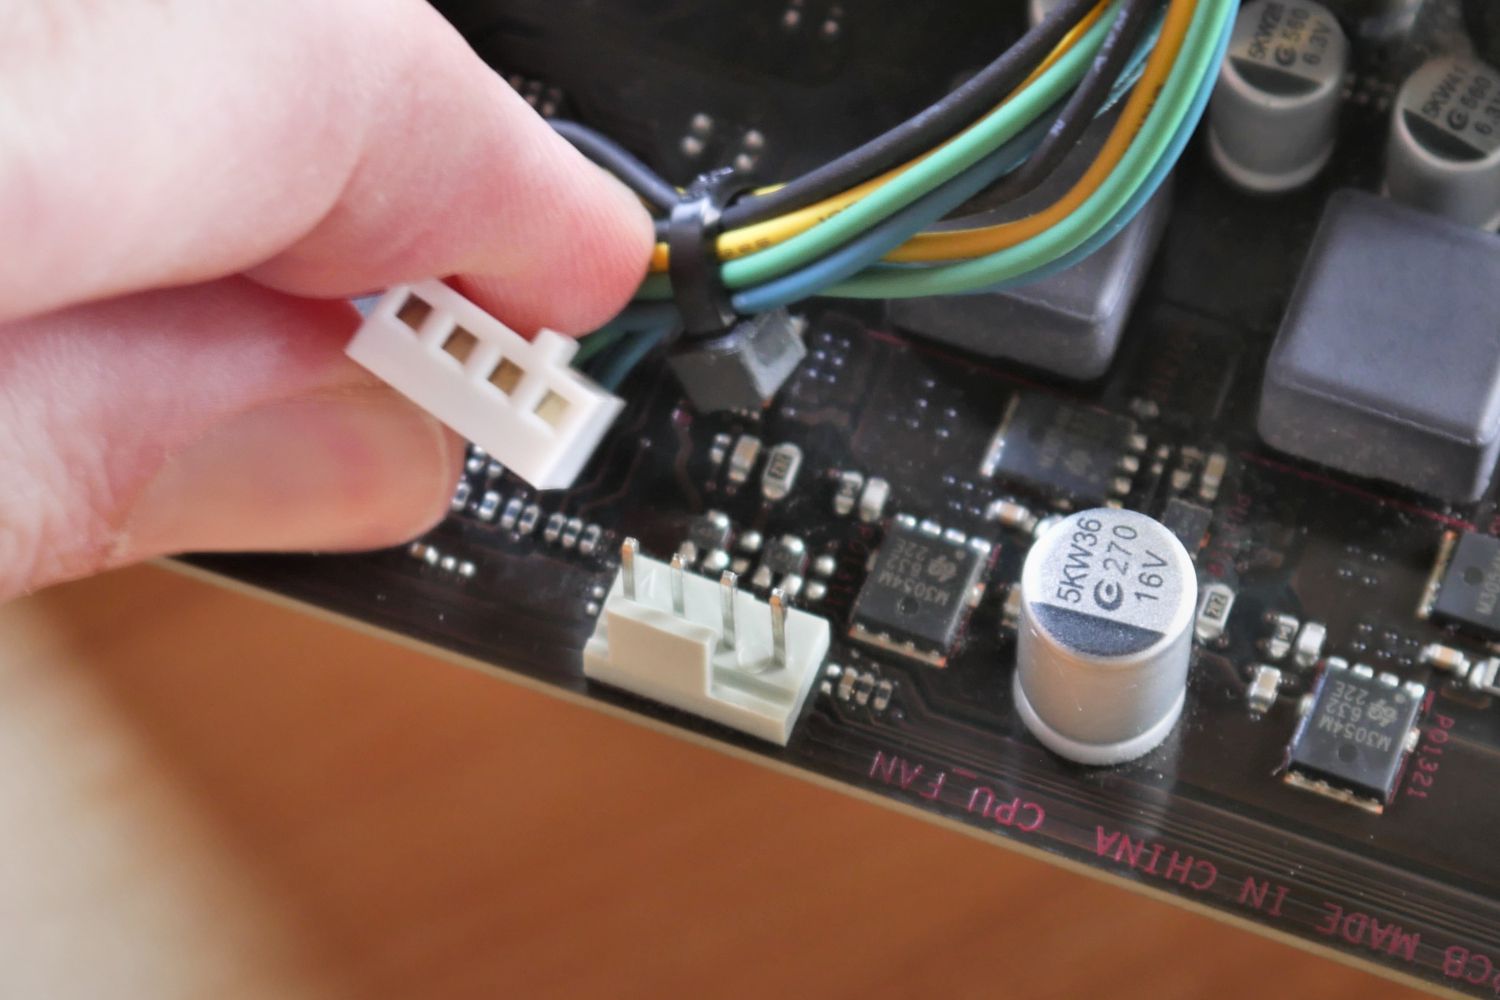
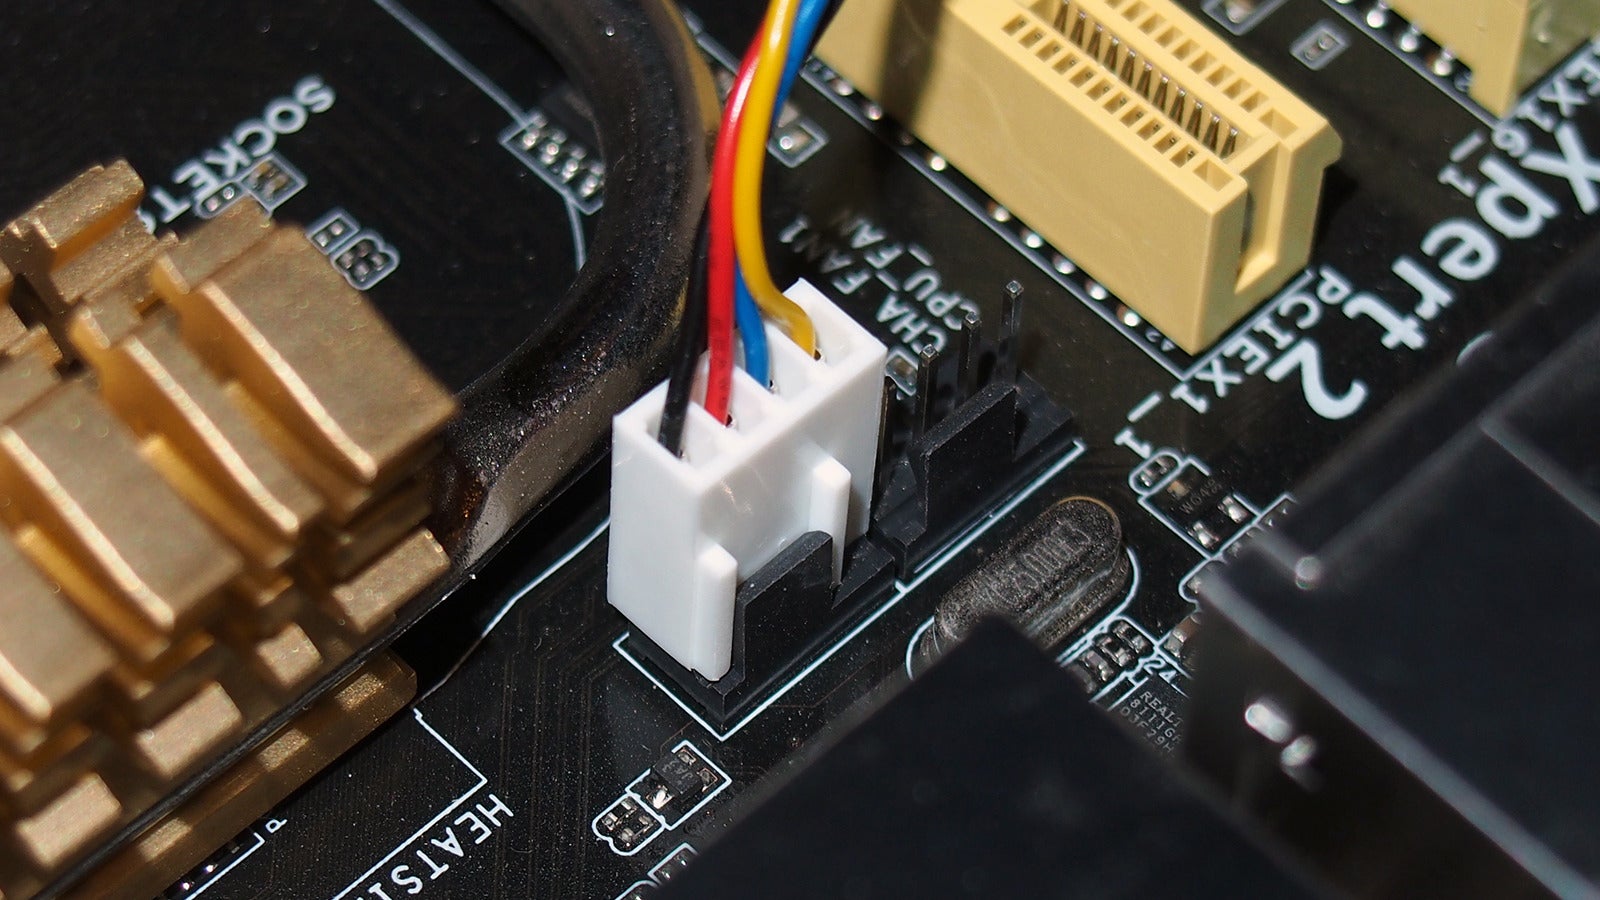
- Step 1: Locate the 4-pin header: Take a look at your motherboard and identify the 4-pin fan headers. These are usually labeled “CPU_FAN,” “SYS_FAN,” or something similar. Refer to your motherboard manual if you’re having trouble finding them. It’s important to note that not all fan headers on the motherboard support PWM control. Ensure you connect the fan to a header that supports PWM if you want to take advantage of the dynamic speed control.
- Step 2: Orient the fan correctly: Take a look at the fan’s connector and locate the tab or locking mechanism. On the motherboard, align the 4-pin connector with the header in the correct orientation. The tab or locking mechanism ensures that the connector is securely locked in place. Ensure that the pins on the connector and header are properly aligned, as forcing them may damage the pins or connector.
- Step 3: Secure the connection: Once the fan connector is aligned with the header, gently push the connector onto the header until you feel it snap into place. Give it a slight tug to ensure it is securely attached. This will prevent any accidental disconnections during operation. Be cautious not to put excessive pressure or force on the motherboard or fan during this process.
That’s it! You have successfully connected your 4-pin case fan to the motherboard. The fan is now ready to provide efficient cooling, thanks to the PWM functionality that allows for dynamic speed control based on the temperature of your system.
It’s important to note that if your motherboard doesn’t have enough 4-pin fan headers, you can use fan splitters or fan hubs to connect multiple fans to a single header. This allows you to control multiple fans simultaneously and keep your system running cool.
In the next section, we will discuss how to identify the 4-pin header on the motherboard and orient the case fan correctly for optimal airflow. Join us as we continue to explore the steps to effectively connect your case fan.
Identifying the 4-Pin Header on the Motherboard
To successfully connect your 4-pin case fan to the motherboard, you need to identify the appropriate 4-pin header. Here’s how you can locate the header on your motherboard:
- Refer to the motherboard manual: The easiest way to find the 4-pin fan header is by referring to the motherboard manual that came with your system or by downloading it from the manufacturer’s website. The manual will provide detailed diagrams and descriptions of the various headers and connectors on the motherboard, including the fan headers.
- Look for labels or markings: Some motherboards label their fan headers with names like “CPU_FAN,” “SYS_FAN,” or “CHA_FAN.” These labels indicate the purpose of the headers, such as connecting the CPU fan, system fans, or chassis fans. Look for these labels around the physical location of the header and make note of them.
- Inspect the motherboard visually: If you can’t find explicit labels, visually inspect the motherboard for the fan headers. Motherboards often have one or more 4-pin headers positioned near the CPU socket or around the edges of the board. These headers usually have small plastic housings with four pins inside.
Once you’ve identified the 4-pin fan header, take note of its location and label (if any). This information will be valuable when connecting your case fan later on.
In some cases, you may encounter headers that have more or fewer pins than the standard 4-pin configuration. It’s essential to check the motherboard manual to ensure compatibility and understand the specific functionality of these headers. Some motherboards may include specialized headers with additional pins for specific fan types, such as water cooling pumps or RGB lighting systems.
With the 4-pin header located, we can now proceed to orienting the case fan correctly to ensure optimal airflow within your computer system. Join us in the next section as we explore the steps for proper fan orientation.
Orienting the Case Fan Correctly
Properly orienting the case fan is essential for optimal airflow within your computer system. Follow these steps to ensure the fan is positioned correctly:
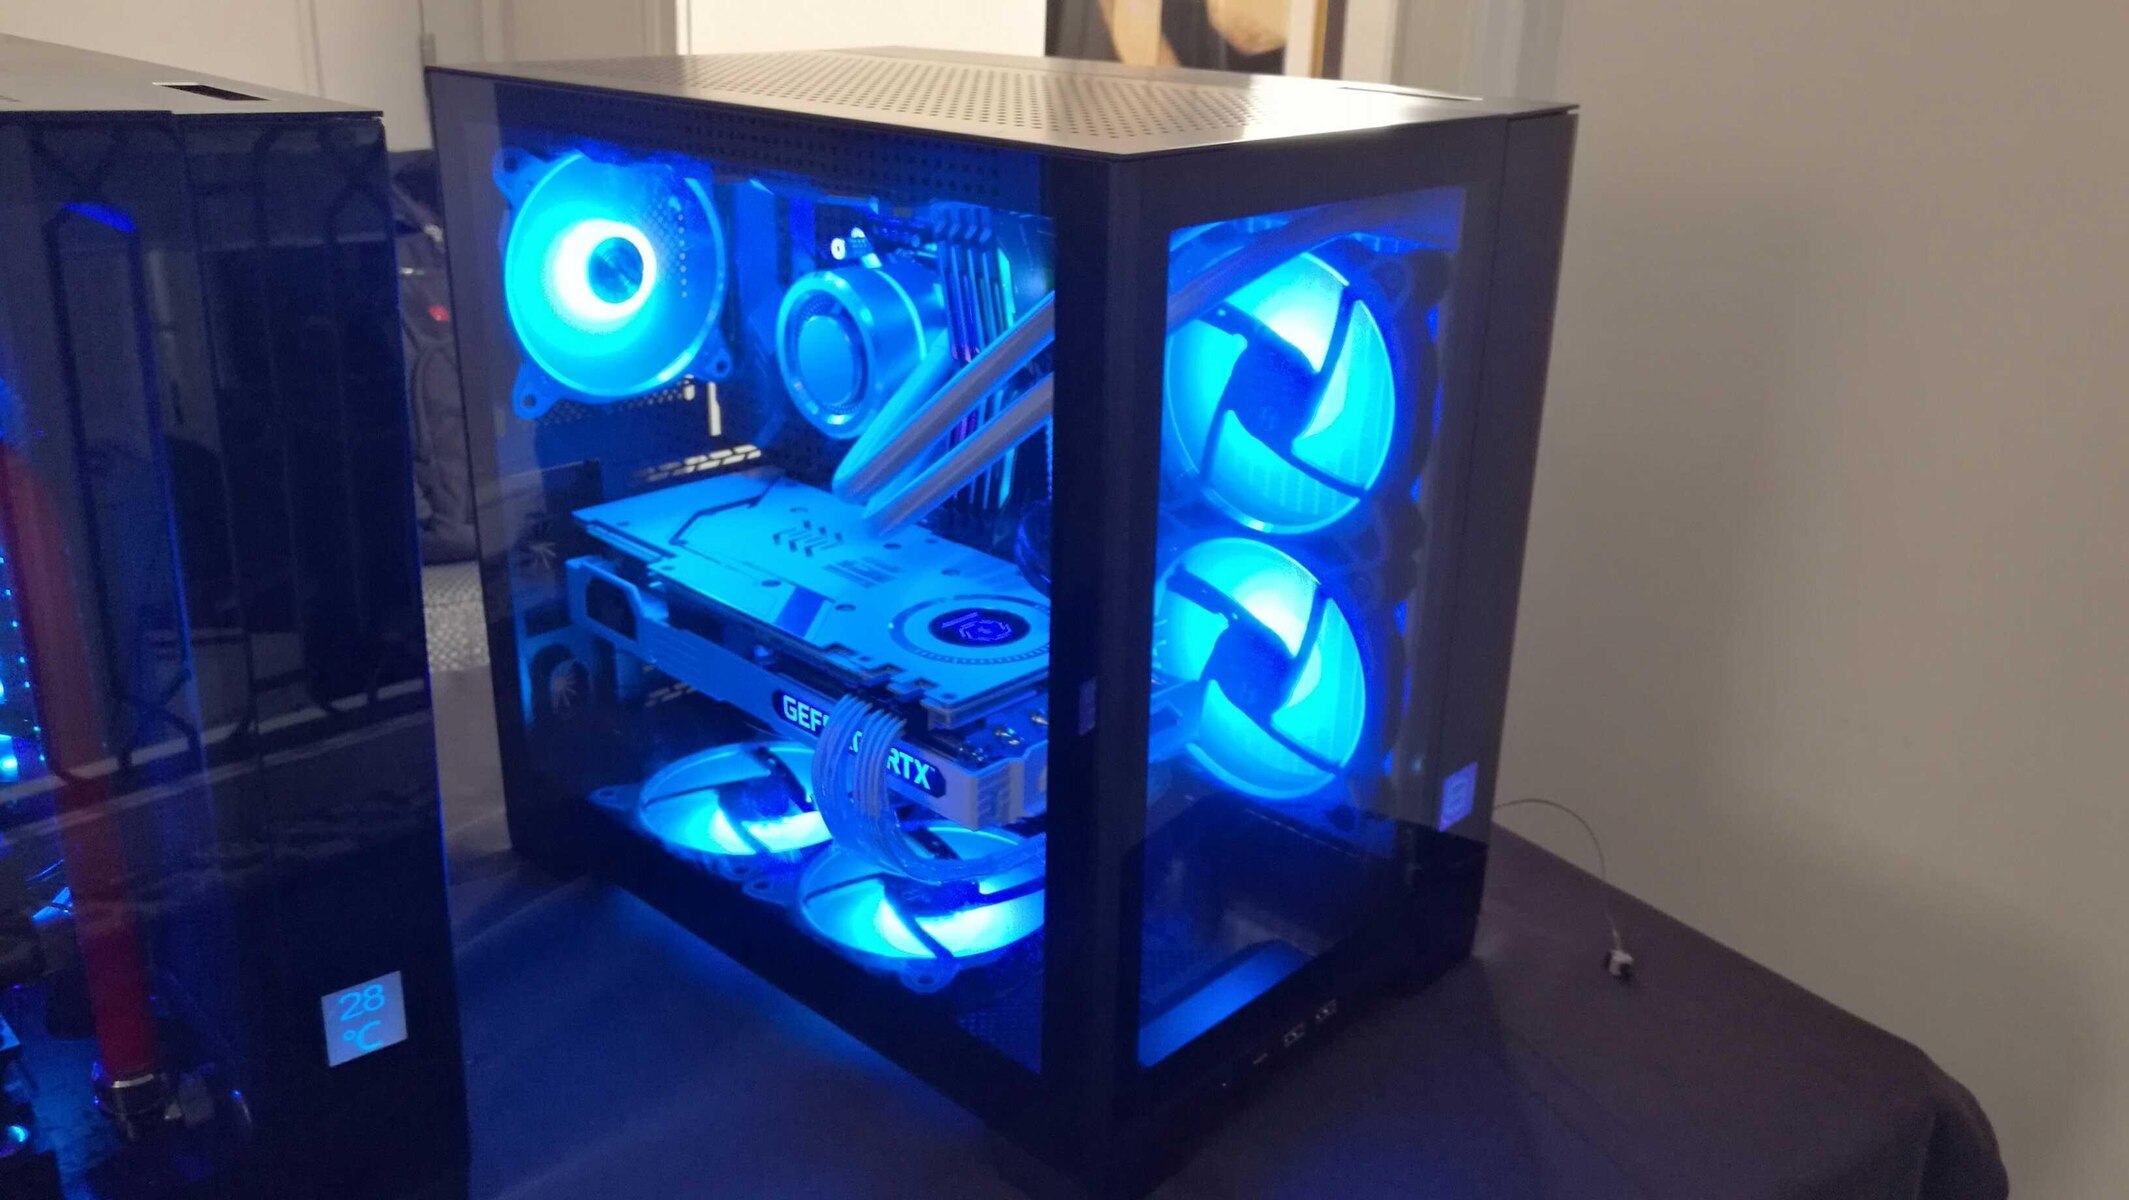
- Determine the airflow direction: Most case fans are designed to pull air from one side and push it out from the other. Look for arrows or indicators on the fan itself. The side with the fan blades typically indicates the direction of airflow. Ensure that the fan is positioned to pull in cooler air and exhaust hot air out of the case.
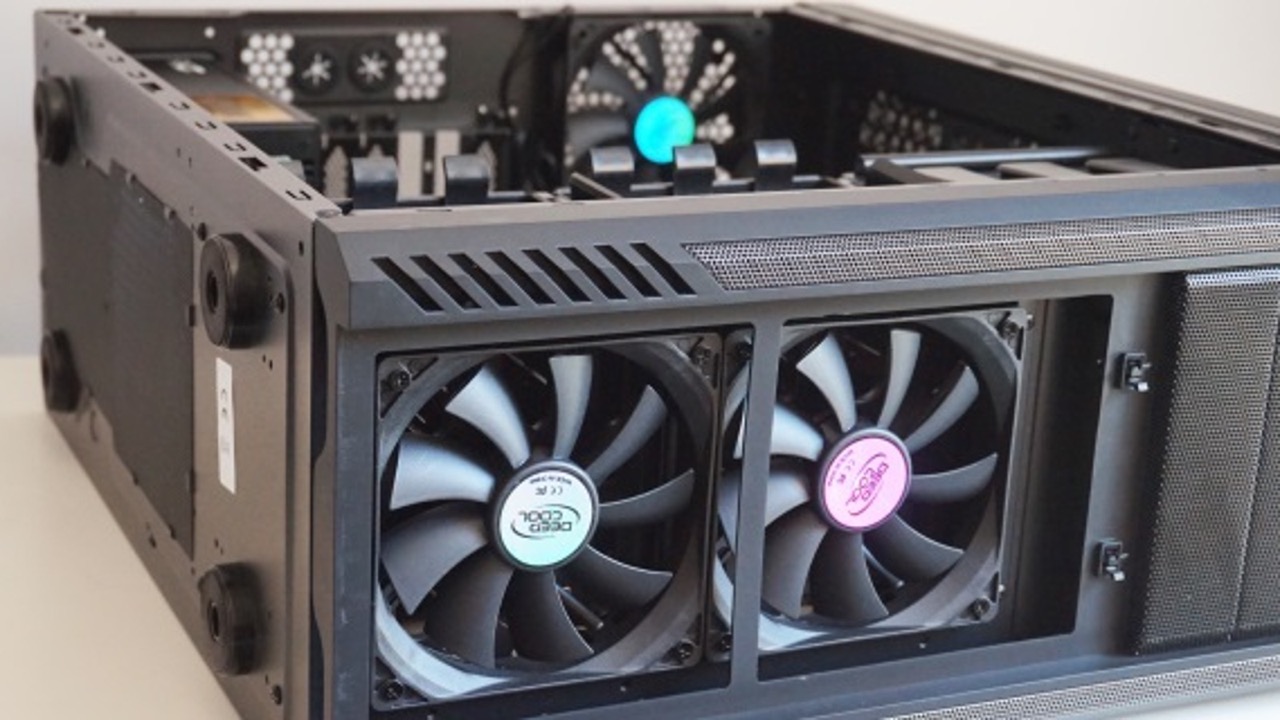
- Position the fan in the appropriate location: Determine the ideal location for the case fan within your system. The most common locations are the front, rear, or top of the case. The purpose of the fan placement will depend on your specific setup, but generally, it’s beneficial to have intake fans at the front and exhaust fans at the rear or top to facilitate proper airflow.
- Secure the fan to the case: Once you have determined the correct position, use the appropriate mounting screws or clips provided with your case to secure the fan in place. Make sure the fan is firmly mounted, as loose or improperly secured fans can cause unwanted vibrations and noise.
It’s worth noting that case fans often have built-in dust filters on the intake side to prevent dust and debris from entering the system. Ensure that the fan’s intake side is unobstructed and that the dust filter is clean. Regularly cleaning the filters will help maintain optimal cooling efficiency and reduce the accumulation of dust within your system.
Proper fan orientation plays a vital role in maintaining efficient cooling and preventing the buildup of heat within your computer system. By following these steps, you can ensure that your case fan is positioned correctly for optimal airflow and cooling performance.
In the next section, we will discuss how to secure the connection between the case fan and the motherboard to avoid any accidental disconnections or loose connections. Follow along as we explore the steps for a secure connection.
Securing the Connection
Once you have connected the 4-pin case fan to the appropriate header on the motherboard and ensured correct orientation, it’s crucial to secure the connection to prevent any accidental disconnections or loose connections. Follow these steps to secure the connection effectively:
- Ensure a proper fit: Before securing the connection, double-check that the 4-pin connector is fully inserted into the 4-pin header on the motherboard. Ensure that the pins on the connector are aligned with the corresponding pins on the header for a proper fit. Avoid applying excessive force, but make sure the connection is firm and secure.
- Engage the locking mechanism: Most 4-pin case fan connectors have a tab or locking mechanism that secures the connection to the header. Make sure to engage this locking mechanism by pushing down or sliding it into place. This ensures that the connector remains securely attached and prevents accidental disconnections.
- Gently tug on the connector: After securing the connection, give the connector a gentle tug to ensure it is securely attached. If it comes off easily, repeat the previous steps to ensure a proper fit. A loose connection can prevent the fan from receiving power or cause intermittent connections, leading to performance issues or system instability.
It’s important to note that while it’s necessary to secure the connection, avoid putting excessive pressure or force on the motherboard or fan during this process. Handle the components with care to prevent any damage.
By taking the time to properly secure the connection, you can ensure that your case fan remains stable and reliable, providing efficient cooling for your system. This will contribute to optimal performance and longevity of your components.
In the next section, we will explore alternative methods for connecting a case fan in case your motherboard lacks the necessary headers or if you want to explore different cooling configurations. Join us as we discuss these alternatives.
Alternative Methods for Connecting the Case Fan
In some cases, you may encounter situations where your motherboard lacks the necessary 4-pin fan headers or you wish to explore alternative cooling configurations. Fortunately, there are alternative methods for connecting your case fan. Here are a few options to consider:
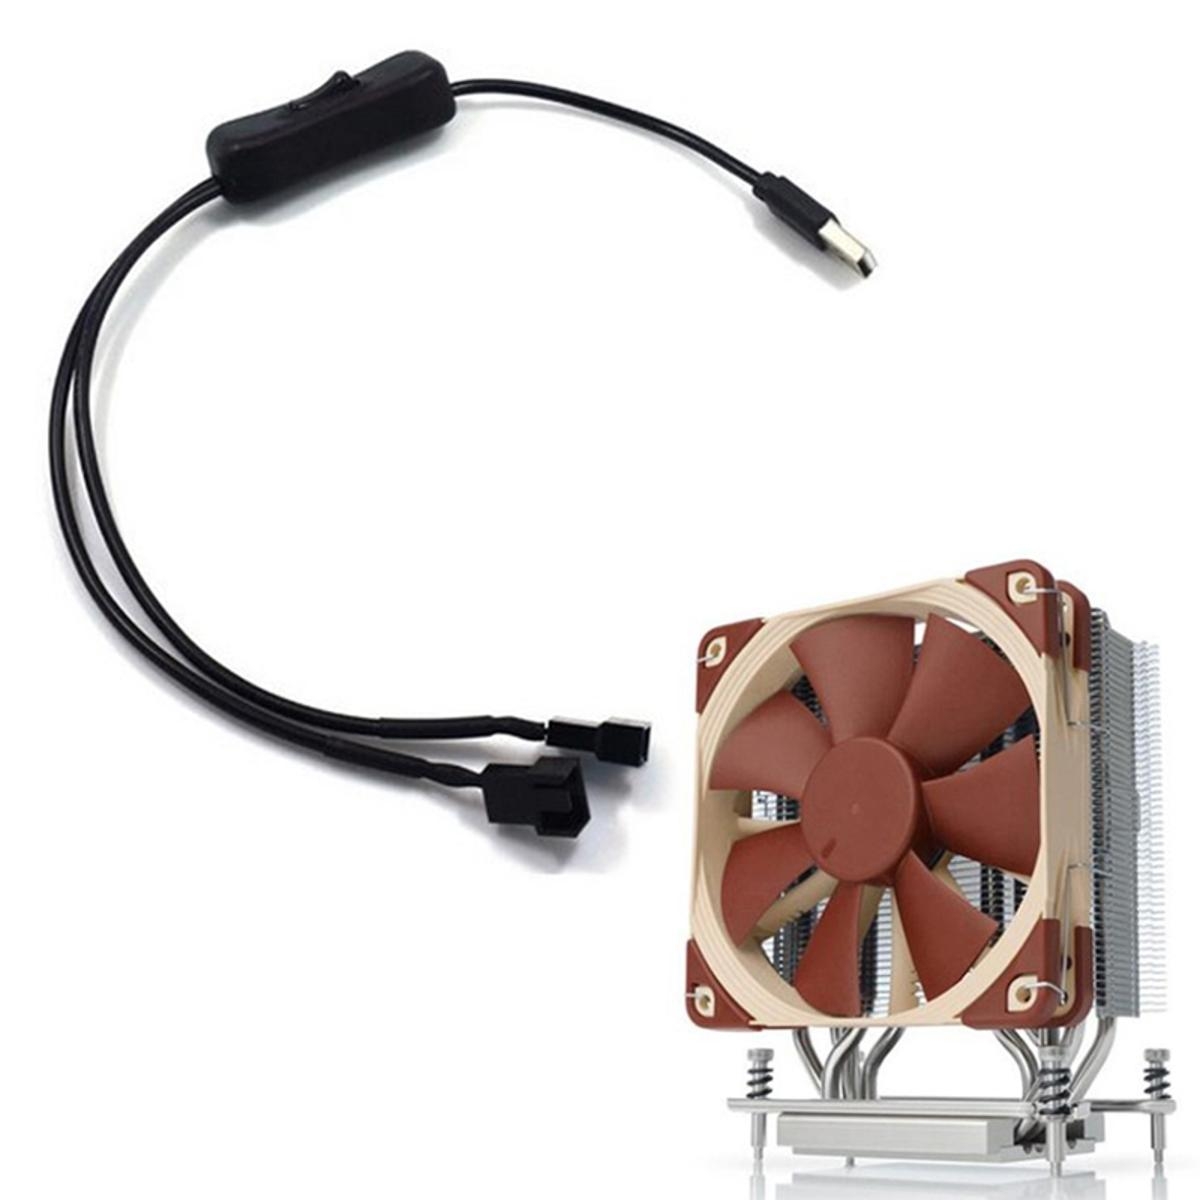
- 3-pin fan header: If your motherboard has a 3-pin fan header instead of a 4-pin header, you can still connect your 4-pin case fan to it. The 4-pin fan connector can be inserted into the 3-pin header by aligning the pins appropriately. However, it’s important to note that the fan will operate at full speed without the ability to adjust its speed dynamically based on temperature.
- Fan splitters: Fan splitters are cables with multiple fan connectors that allow you to connect multiple fans to a single header on the motherboard. If you have limited fan headers but need to connect multiple case fans, a fan splitter can be a convenient solution. However, keep in mind that the total power draw of the connected fans should not exceed the capability of the header.
- Fan hubs: Fan hubs are similar to fan splitters but allow you to connect multiple fans to a central hub, which, in turn, connects to the motherboard. Fan hubs often come with additional features like PWM control and the ability to adjust fan speed. This option can be ideal for systems with a large number of case fans or for those who want more control over their fan setup.
- Molex connectors: Molex connectors are a legacy power supply connector type. Some case fans come with adapters that allow you to connect them directly to the power supply using a Molex connector. This method ensures that the fan operates at full speed all the time, independent of the motherboard.
When using alternative methods for connecting your case fan, it’s important to consider the limitations and functionality of each option. If you require PWM control, dynamic speed adjustments, and RPM feedback, connecting the fan directly to a 4-pin header on the motherboard is the preferred method. However, if the motherboard lacks the necessary headers or you have a specific cooling configuration in mind, exploring alternative methods can provide you with the flexibility you need.
In the final section, we will discuss common issues that may arise during the connection process and provide troubleshooting tips. Stay tuned as we wrap up our guide on connecting a 4-pin case fan!
Troubleshooting Common Issues
While connecting a 4-pin case fan is generally a straightforward process, you may encounter some common issues. Here are a few troubleshooting tips to help you address these problems:
- No fan activity: If the case fan is not spinning or showing any signs of activity, double-check the connection. Ensure that the 4-pin connector is securely inserted into the 4-pin header on the motherboard. Verify that the fan is receiving power by checking the power cable or trying a different header on the motherboard.
- Fan running at full speed: If the case fan is constantly running at maximum speed, it may be connected to a 3-pin header instead of a 4-pin header. In this case, the fan cannot adjust its speed dynamically based on temperature. To address this, connect the fan to a 4-pin header that supports PWM control for proper speed regulation.
- Intermittent fan operation: If the fan intermittently starts and stops, ensure that the connection is secure. Check for loose or damaged pins on the fan connector and the header. If the issue persists, try using a different fan header or test the fan’s functionality by connecting it directly to the power supply using a Molex connector.
- Excessive noise or vibration: Loose connections or improper mounting can result in excessive noise and vibrations. Ensure that the fan is securely fastened to the case using the appropriate screws or clips. Verify that the fan blades are clean and free from any obstructions that may cause imbalance or noise.
If you have exhausted these troubleshooting tips and are still having issues with your case fan, it may be worthwhile to consult the manufacturer’s documentation or reach out to their customer support for further assistance. They can provide specific troubleshooting steps or guidance tailored to the fan model you are using.
Remember, effective troubleshooting requires a systematic approach and attention to detail. By addressing common issues promptly and seeking appropriate solutions, you can ensure that your case fan operates optimally and contributes to the overall cooling efficiency and performance of your computer system.
With our troubleshooting tips in mind, you should now be well-equipped to resolve any connection-related issues that may arise when connecting a 4-pin case fan. In the next section, we will conclude our guide on connecting a 4-pin case fan and summarize the key points discussed throughout the article.
Conclusion
In conclusion, properly connecting a 4-pin case fan is essential for maintaining efficient cooling and optimal performance within your computer system. By following the steps outlined in this guide, you can ensure a secure and reliable connection that contributes to the overall health and longevity of your hardware.
We discussed the importance of connecting the case fan correctly, emphasizing effective cooling, noise reduction, prolonged fan life, and optimal performance as key reasons for a proper connection. Understanding the overview of a 4-pin case fan, including its PWM functionality and the significance of its 4-pin connector, is crucial for making informed connections.
Identifying the 4-pin header on the motherboard and orienting the case fan correctly are crucial steps in ensuring optimal airflow and cooling efficiency. Additionally, securing the connection properly prevents accidental disconnections and loose connections that can lead to performance issues and instability.
We also explored alternative methods for connecting the case fan, such as using 3-pin headers, fan splitters, fan hubs, and Molex connectors. These options allow for flexibility in situations where the motherboard lacks the necessary headers or for specific cooling configurations.
Lastly, we provided troubleshooting tips for common issues such as no fan activity, fans running at full speed, intermittent operation, and excessive noise or vibration. By addressing these issues promptly, you can ensure that your case fan operates smoothly and effectively.
Remember, proper cooling is essential for maintaining the health and performance of your computer system. By following the guidelines in this guide, you can confidently connect a 4-pin case fan and enjoy a well-cooled system that runs optimally.
We hope that this guide has been informative and helpful in guiding you through the process of connecting a 4-pin case fan. If you have any further questions or concerns, don’t hesitate to consult the manufacturer’s documentation or seek professional assistance. Enjoy your well-cooled system and happy computing!