Introduction
When it comes to keeping your computer cool and running smoothly, the CPU (Central Processing Unit) fan plays a crucial role. You see, the CPU generates a significant amount of heat as it carries out complex calculations, and if the temperature is not properly regulated, it can lead to overheating and potential hardware damage. This is where the CPU fan comes into play.
The CPU fan, as the name suggests, is specifically designed to cool down the CPU by dissipating the heat produced during its operation. It does this by circulating the air and drawing the hot air away from the CPU, preventing it from overheating. Essentially, the CPU fan is responsible for maintaining the optimal temperature for the CPU to function efficiently and reliably.
Understanding the importance of the CPU fan and its connection to the motherboard is essential for any computer enthusiast or DIYer. Whether you’re building a new computer or troubleshooting an existing one, knowing where the CPU fan plugs in is crucial for proper installation and maintenance.
In this article, we will explore where exactly the CPU fan plugs in on the motherboard, the common types of CPU fan connectors you might encounter, and provide some troubleshooting tips if you encounter any issues with the CPU fan connection.
What is the CPU Fan?
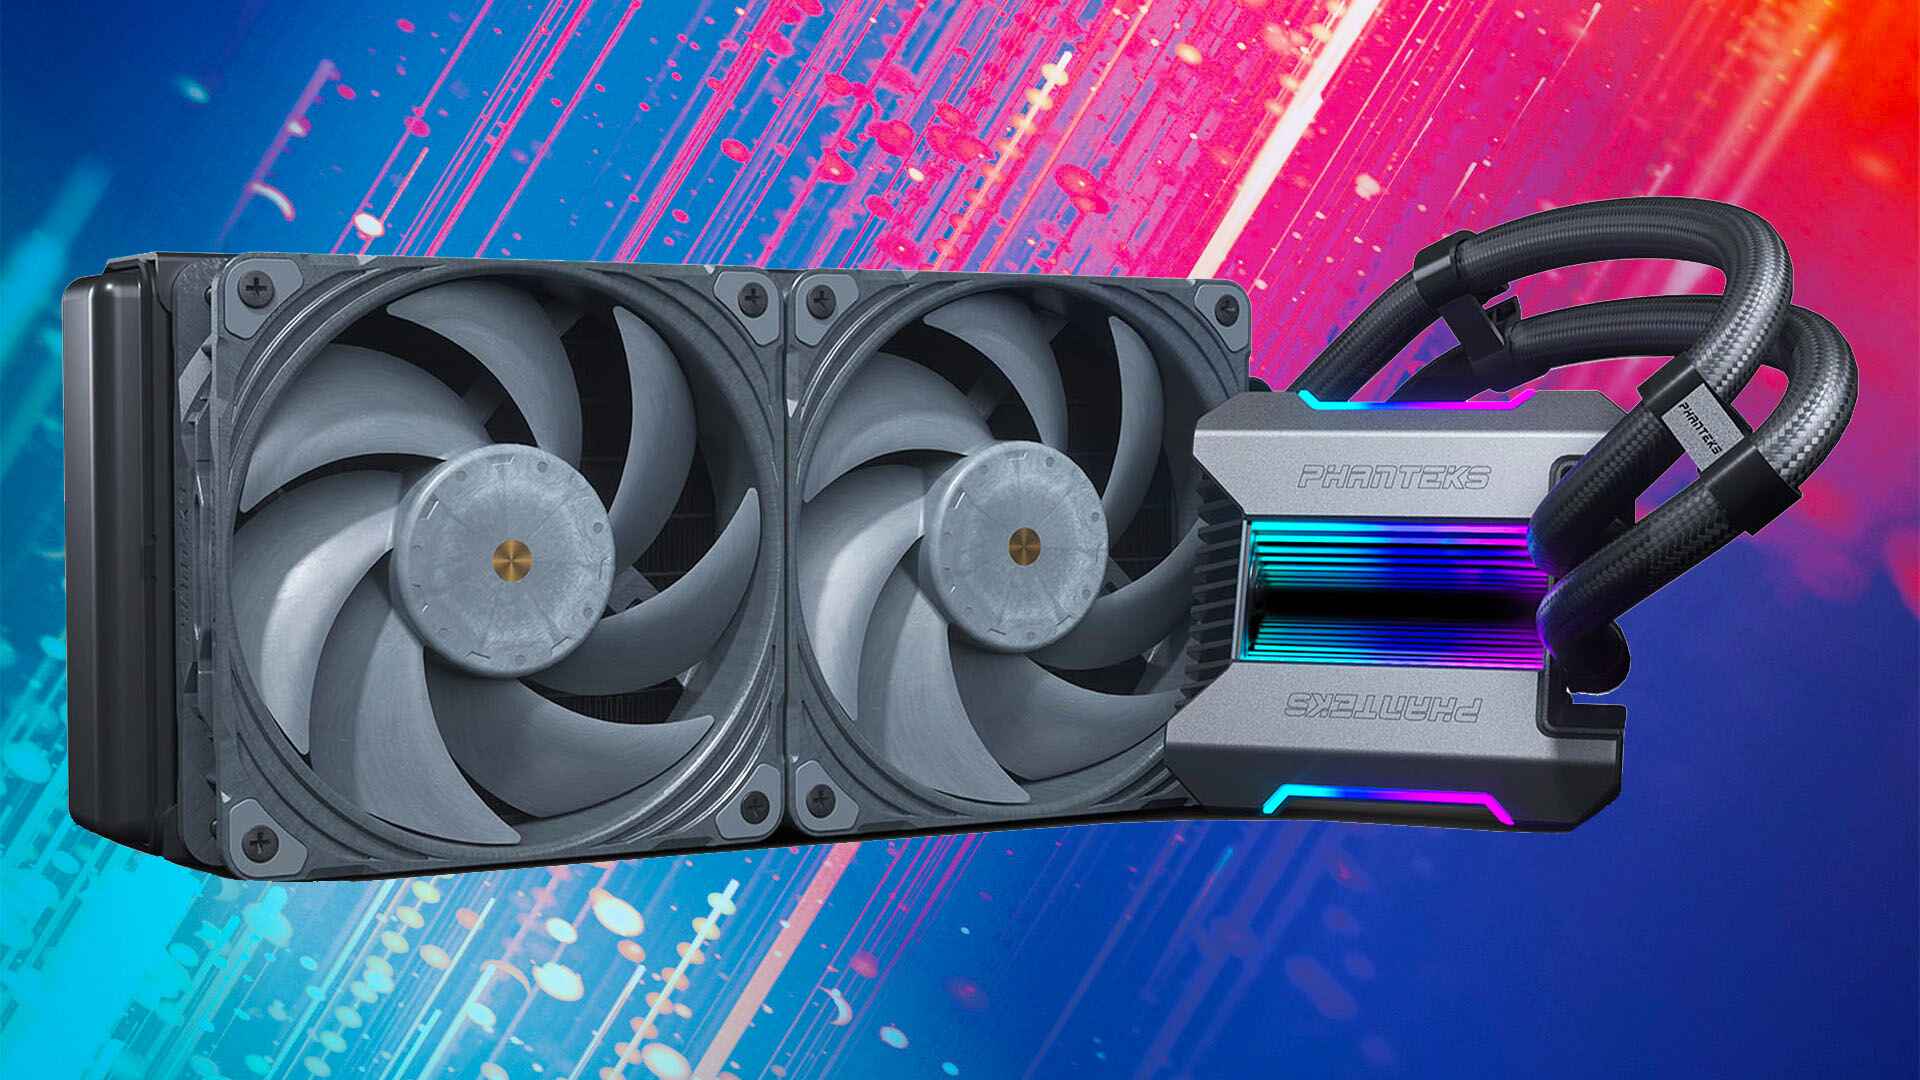
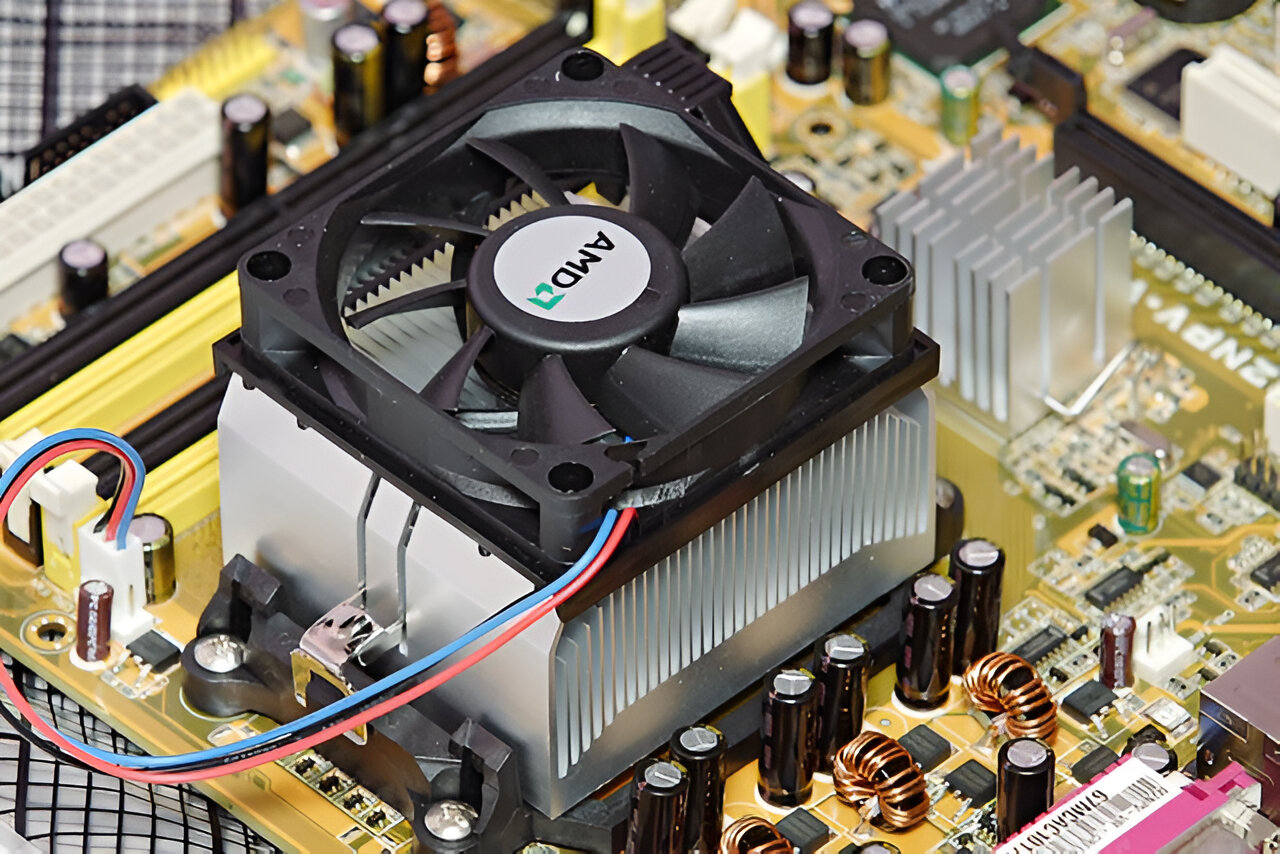
The CPU fan, also known as the processor fan, is a vital component of a computer’s cooling system. Its primary function is to dissipate the heat generated by the CPU during operation. The CPU fan is typically a small, rotating fan that is mounted directly on top of the CPU or attached to the heat sink, which is then connected to the CPU.
As the CPU performs its tasks, it produces heat due to the electrical currents flowing through its circuits. If this heat is not effectively managed and removed, it can cause the CPU to overheat, leading to system instability, crashes, or even permanent damage to the CPU itself. The CPU fan plays a crucial role in preventing these issues by constantly pulling in cool air and expelling the hot air away from the CPU.
The CPU fan operates by spinning at various speeds based on the temperature of the CPU. When the CPU is under heavy load or experiencing high temperatures, the fan will speed up to increase airflow and cool down the CPU more effectively. Conversely, when the CPU is idle or the temperature is within acceptable ranges, the fan will slow down to reduce noise and power consumption.
In addition to cooling the CPU, some CPU fans also incorporate advanced features such as PWM (Pulse Width Modulation) control, which allows for precise and dynamic control of the fan speed, and RGB lighting effects to enhance the aesthetics of the computer system.
It is worth noting that while the CPU fan is an essential component in most computer systems, there are some exceptions. In certain situations, such as using passive cooling solutions or liquid cooling systems, the CPU fan may not be present or may have a different configuration. However, in traditional air-cooled systems, the CPU fan is a critical component to ensure the stable and efficient operation of the CPU.
Why is the CPU Fan important?
The CPU fan serves a vital role in maintaining the optimal operating temperature of the CPU, and by extension, the entire computer system. Here are some key reasons why the CPU fan is important:
Prevents Overheating: The CPU generates a significant amount of heat during its operation, and if not properly cooled, it can lead to overheating. Overheating can cause the CPU to throttle its performance, leading to reduced processing power, system instability, and a higher risk of permanent damage to the CPU or other components.
Ensures System Stability: By effectively dissipating the heat generated by the CPU, the fan helps to maintain a stable operating temperature. This stability is essential for consistent and reliable performance, especially during resource-intensive tasks such as gaming, video editing, or running demanding software applications.
Prolongs Component Lifespan: The excessive heat produced by the CPU can degrade the lifespan of various components, including the CPU itself, motherboard, RAM, and other sensitive hardware. By keeping the CPU cool, the fan helps to extend the longevity of these components, reducing the risk of premature failure and the need for costly replacements.
Improves System Performance: When a CPU operates at higher temperatures, it can experience thermal throttling, a mechanism that reduces its clock speed to prevent overheating. This, in turn, negatively impacts system performance, as tasks take longer to complete. By keeping the CPU cool, the fan allows the CPU to operate at its full speed, optimizing overall system performance.
Enhances Noise Control: While the CPU fan does create some noise due to its spinning mechanism, it also plays a role in controlling overall system noise. By maintaining an appropriate temperature, the fan can operate at lower speeds, reducing noise levels in the process. This is especially important for users who value quiet computing environments.
Overall, the CPU fan is crucial for maintaining the stability, longevity, and optimal performance of the CPU and the entire computer system. It helps to prevent overheating, ensures system stability, prolongs component lifespan, improves system performance, and contributes to noise control. Understanding the importance of the CPU fan and ensuring its proper functionality and connection is essential for any computer enthusiast or builder.
Where does the CPU Fan plug in on the motherboard?
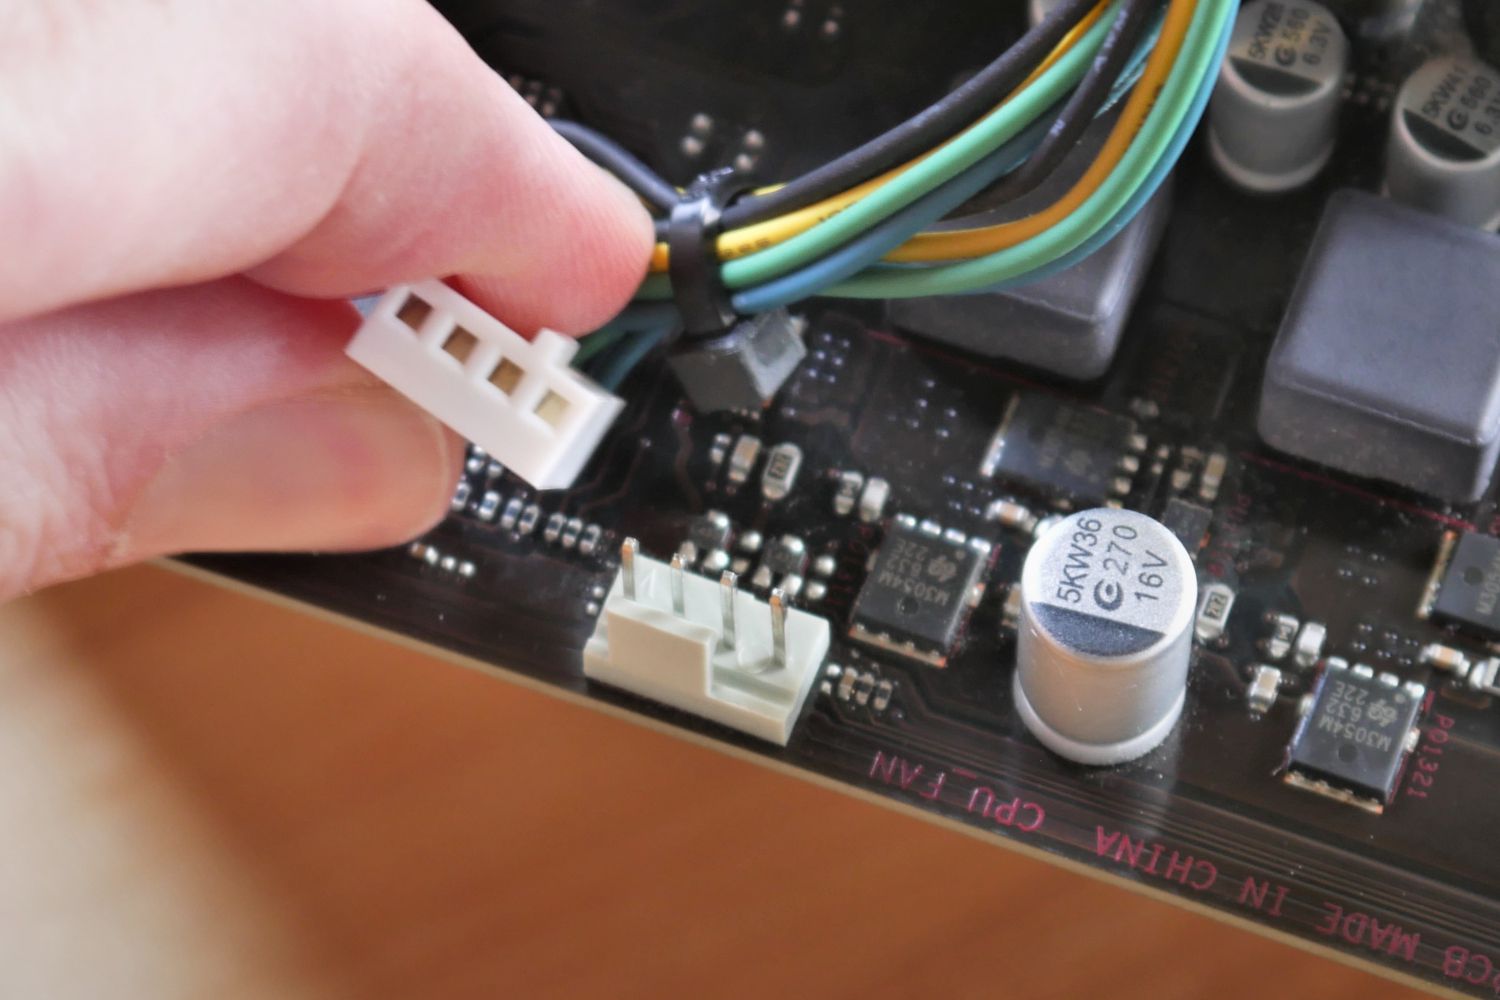
The CPU fan is typically connected to a specific header on the motherboard, known as the CPU fan header. This header is specifically designed to provide power and control the speed of the CPU fan. The location of the CPU fan header may vary slightly depending on the motherboard manufacturer and model, but it is usually located near the CPU socket.
If you’re unsure where to find the CPU fan header on your motherboard, refer to the motherboard’s user manual. The manual will provide detailed information and diagrams to help you locate the CPU fan header accurately.
In most cases, the CPU fan header is a 4-pin header, although older motherboards may utilize a 3-pin header. The pins on the header correspond to specific functions:
- Pin 1: This is the ground (GND) pin, which provides the electrical reference for the fan’s operation.
- Pin 2: This is the +12V power pin, which supplies power to the fan motor.
- Pin 3: This is the tachometer (TACH) pin, which provides RPM (Revolutions Per Minute) feedback to the motherboard to monitor and control the fan speed.
- Pin 4: This is the pulse width modulation (PWM) control pin, which allows the motherboard to adjust the fan speed dynamically.
It’s important to note that 3-pin fans can be plugged into a 4-pin CPU fan header, as the fourth pin on the header will simply not be used. However, it is not recommended to plug a 4-pin fan into a 3-pin header, as you will lose the ability to control the fan speed using PWM.
When plugging in the CPU fan, ensure that the orientation of the connector matches that of the header. Typically, the connector has a tab or guide that matches with a corresponding slot on the header, ensuring a secure and proper connection.
Once the CPU fan is properly plugged in, the motherboard will automatically detect it and may provide options in the BIOS settings to adjust the fan speed or create custom fan curves based on temperature thresholds. This can be helpful for fine-tuning the cooling performance of the CPU fan.
It’s worth mentioning that some motherboard models may have additional fan headers designated for CPU cooling, such as an auxiliary CPU fan header or a dedicated pump header for liquid cooling systems. If available, these headers provide convenient options for expanding the cooling capabilities of your computer system.
Common CPU Fan Connector Types
When it comes to connecting the CPU fan to the motherboard, there are a few common connector types that you may encounter:
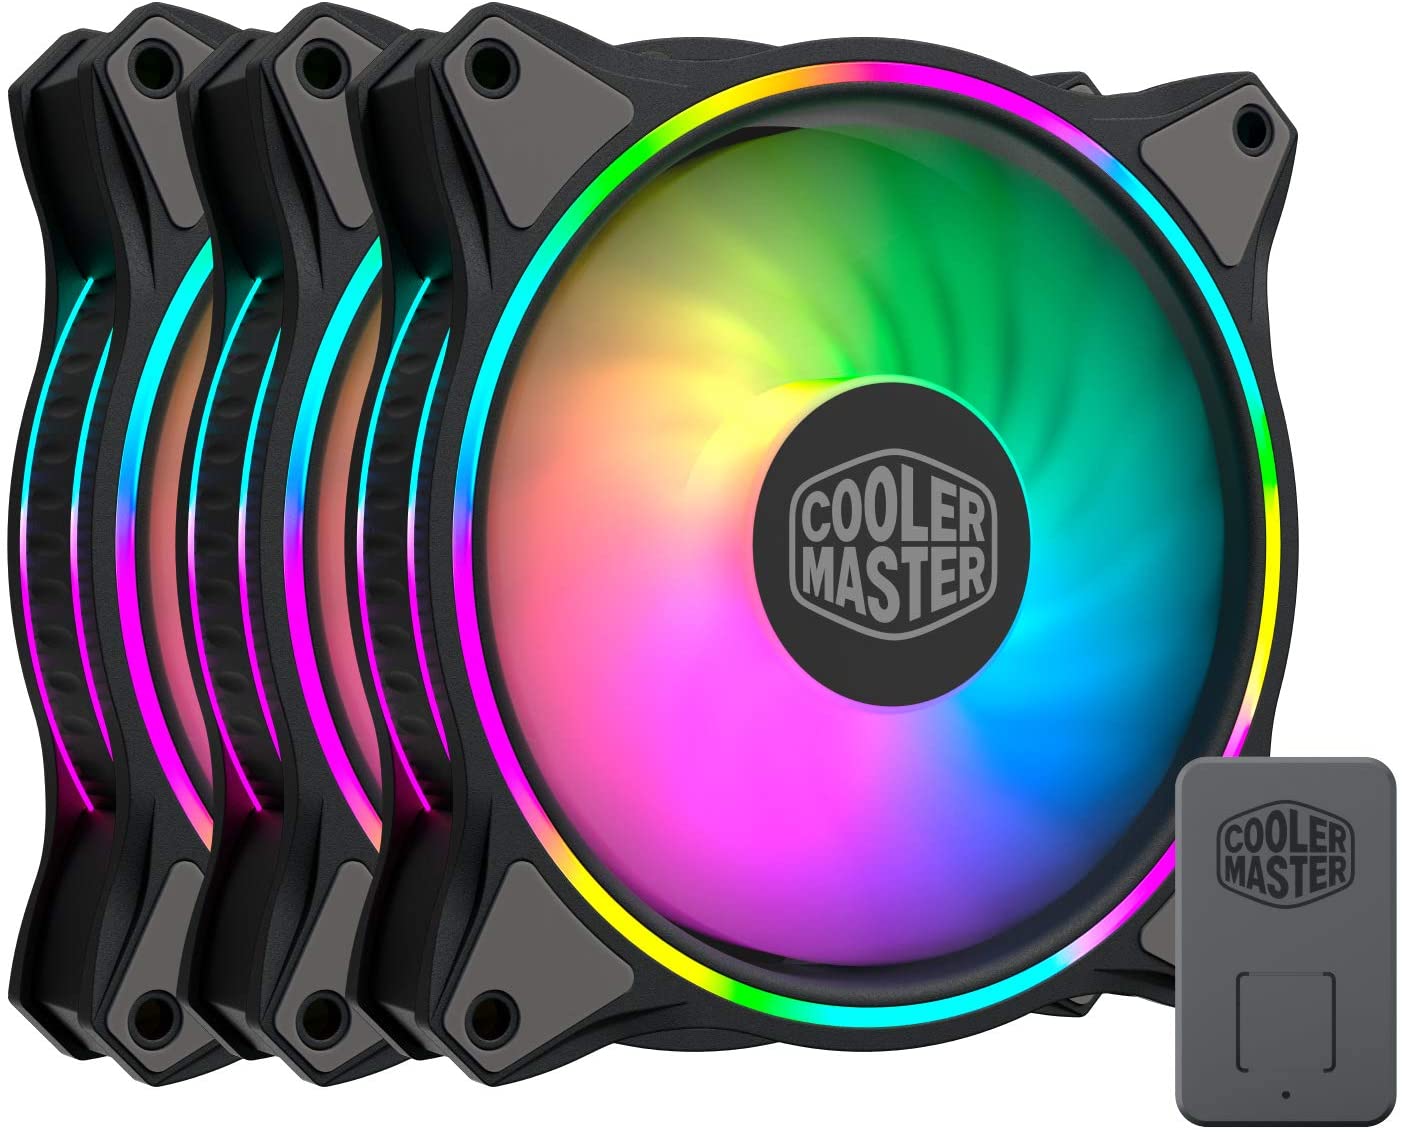
- 3-Pin Connector: The 3-pin connector is a standard connector found on older motherboards and fans. It consists of three pins – ground (GND), +12V power, and tachometer (TACH). This type of connector allows the motherboard to monitor the fan speed but does not provide PWM control for adjusting the fan speed.
- 4-Pin PWM Connector: The 4-pin Pulse Width Modulation (PWM) connector is the most common and widely used connector for CPU fans. It includes four pins – ground (GND), +12V power, tachometer (TACH), and the PWM control pin. This connector provides the ability to control the fan speed dynamically through PWM signals sent from the motherboard, allowing for more precise and efficient cooling.
- 4-Pin Voltage Control Connector: Some older motherboards and fans may use a 4-pin connector for voltage control instead of PWM control. This connector is similar to the PWM connector, with four pins – ground (GND), +12V power, tachometer (TACH), and the voltage control pin. The voltage control pin allows the motherboard to adjust the fan speed by varying the voltage supplied to the fan.
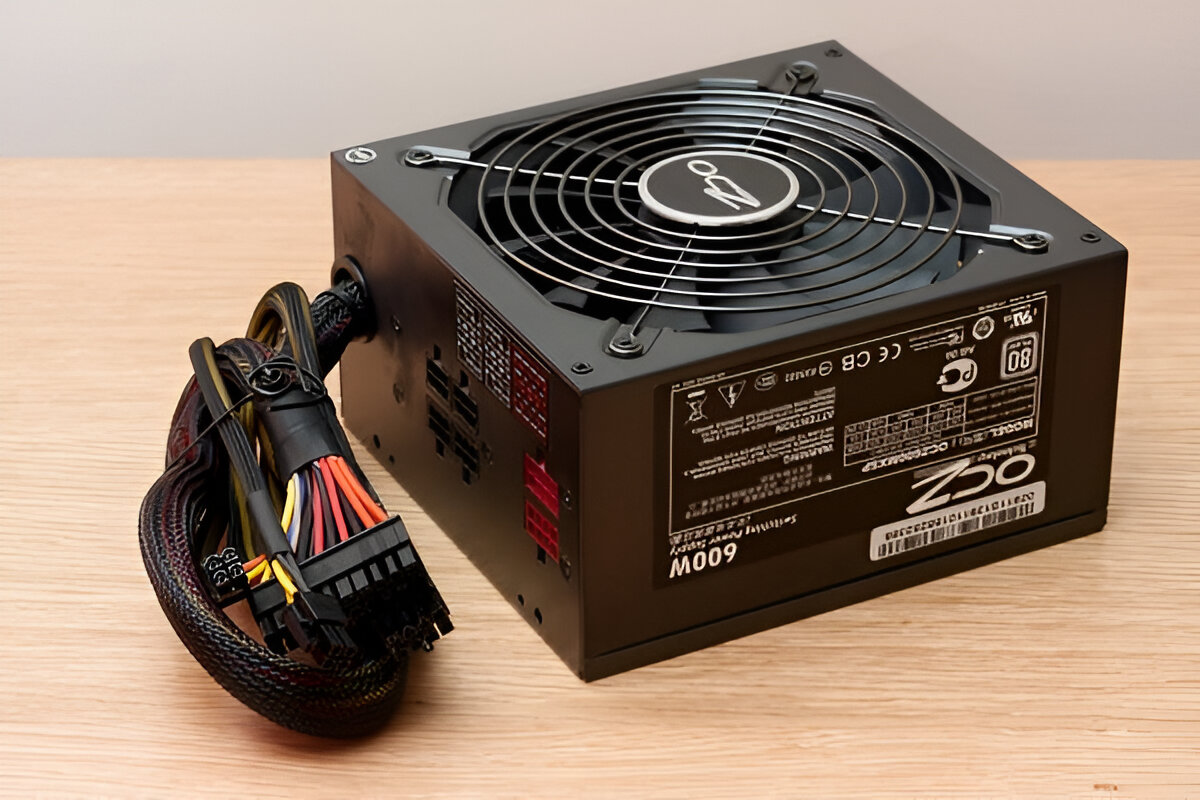
- Molex Connector: While less common for CPU fans, the Molex connector is a large, four-pin power connector that is often used for case fans or other peripherals. This connector provides a direct power connection to the fan, running it at full speed without any speed control or monitoring capabilities from the motherboard.
It’s important to note that most modern CPU fans come with both a 3-pin and a 4-pin connector, allowing for compatibility with different motherboard types. When connecting the CPU fan, it’s recommended to use the 4-pin PWM connector if available, as it provides better control over the fan speed and quieter operation compared to the 3-pin connector. However, if your motherboard only has a 3-pin header, you can still connect the fan without any issues.
It’s worth mentioning that in addition to the different connector types, CPU fans may also come with additional features such as RGB lighting connectors, which allow for synchronized lighting effects with other components, or fan splitter cables, which enable you to connect multiple fans to a single fan header on the motherboard.
Before connecting the CPU fan to the motherboard, always refer to the motherboard’s user manual and the instruction manual of the CPU fan to ensure the correct connection based on the specific connector type and pin configuration of your components.
How to Plug in the CPU Fan
Plugging in the CPU fan is a straightforward process, but it’s important to follow the correct steps to ensure a secure and proper connection. Here’s a step-by-step guide on how to plug in the CPU fan:
- Locate the CPU fan header on the motherboard. Consult the motherboard’s user manual or look for a label on the motherboard to identify the specific header.
- Identify the type of connector on the CPU fan. Determine if it is a 3-pin, 4-pin PWM, 4-pin voltage control, or Molex connector.
- Align the connector of the CPU fan with the corresponding pins on the CPU fan header. Ensure that the orientation is correct so that the pins align properly.
- Gently press the connector onto the CPU fan header, applying even pressure. Push it firmly until it is fully seated and the connection is secure.
- Double-check the connection to ensure it is secure. Give the connector a slight tug to confirm that it is firmly attached to the header.
- If using a 4-pin PWM connector, make sure to connect the fan’s tachometer (TACH) pin to the corresponding pin on the fan header. This allows the motherboard to monitor the fan speed.
- If using a 4-pin voltage control connector, connect the fan’s voltage control pin to the corresponding pin on the fan header. This enables the motherboard to adjust the fan speed by controlling the voltage supplied to the fan.
- If using a Molex connector, connect it directly to a Molex power cable from the power supply. Ensure that the connection is secure and snug.
- Once the CPU fan is properly plugged in, you can tidy up the cables and ensure they are neatly routed to avoid any interference with other components or obstructing airflow.
- Finally, power on the computer and enter the BIOS settings to verify that the CPU fan is detected and functioning correctly. Most modern motherboards will display the CPU fan speed in the BIOS interface.
By following these steps, you can successfully plug in the CPU fan and ensure that it is properly connected to the motherboard for effective cooling of the CPU.
Troubleshooting Tips for CPU Fan Connection Issues
While connecting the CPU fan to the motherboard is typically a straightforward process, you may encounter some common issues. Here are some troubleshooting tips to help you overcome CPU fan connection problems:
- Double-check the connection: Ensure that the CPU fan connector is fully inserted onto the CPU fan header. Sometimes a loose connection can lead to fan malfunctions or incorrect speed readings.
- Check for bent pins: Examine the CPU fan header and the fan connector for any bent or damaged pins. Bent pins can prevent a proper connection and may require careful straightening with a fine tool.
- Inspect for debris or obstructions: Make sure there are no foreign objects or debris obstructing the fan blades or the header pins. This can cause poor contact or interfere with the fan’s rotation.
- Verify compatibility: Ensure that the CPU fan and motherboard are compatible in terms of connector types and power requirements. Consult the manuals or manufacturer’s specifications to confirm compatibility.
- Update the BIOS: If the CPU fan is not being detected or functioning properly, consider updating the motherboard’s BIOS firmware. A firmware update can sometimes resolve compatibility or functionality issues.
- Check fan control settings: Enter the BIOS settings and ensure that the CPU fan control settings are correctly configured. You may need to enable or adjust fan control options to ensure proper fan operation.
- Test with a different fan or header: If possible, try connecting a different CPU fan to the header or try connecting the problematic fan to a different header. This can help determine if the issue lies with the fan or the motherboard.
- Inspect the fan cables: Examine the fan cables for any signs of damage or fraying. Damaged cables can cause intermittent connection issues and may require repair or replacement.
- Clean the fan: If the CPU fan is not spinning properly or making unusual noises, it might be due to accumulated dust or dirt. Carefully clean the fan blades and surrounding area to improve performance and airflow.
- Consult technical support: If you have exhausted all troubleshooting options and are still experiencing issues with the CPU fan connection, consider reaching out to the manufacturer’s technical support for further assistance.
By following these troubleshooting tips, you can resolve common CPU fan connection issues and ensure that your CPU fan is properly connected and functioning as intended.
Conclusion
The CPU fan plays a critical role in maintaining the proper temperature of the CPU, ensuring system stability, and prolonging the lifespan of computer components. Knowing where the CPU fan plugs in on the motherboard and understanding the common connector types are essential for proper installation and troubleshooting.
In this article, we explored the importance of the CPU fan and its function in cooling the CPU. We discussed the various CPU fan connector types, including the 3-pin, 4-pin PWM, 4-pin voltage control, and Molex connectors, and provided step-by-step instructions on how to plug in the CPU fan. Additionally, we shared troubleshooting tips to help resolve common CPU fan connection issues.
It is crucial to ensure that the CPU fan is properly connected to the CPU fan header, allowing for efficient cooling and preventing overheating. By following the recommended steps and considering troubleshooting techniques, users can ensure that their CPU fan is securely connected and functioning optimally.
Remember, the CPU fan’s role in maintaining an optimal operating temperature for the CPU cannot be understated. Proper cooling is essential for the overall performance, stability, and longevity of the computer system. Whether you’re building a computer from scratch or troubleshooting an existing system, understanding the CPU fan connection is a fundamental aspect of computer maintenance and DIY tasks.