Introduction
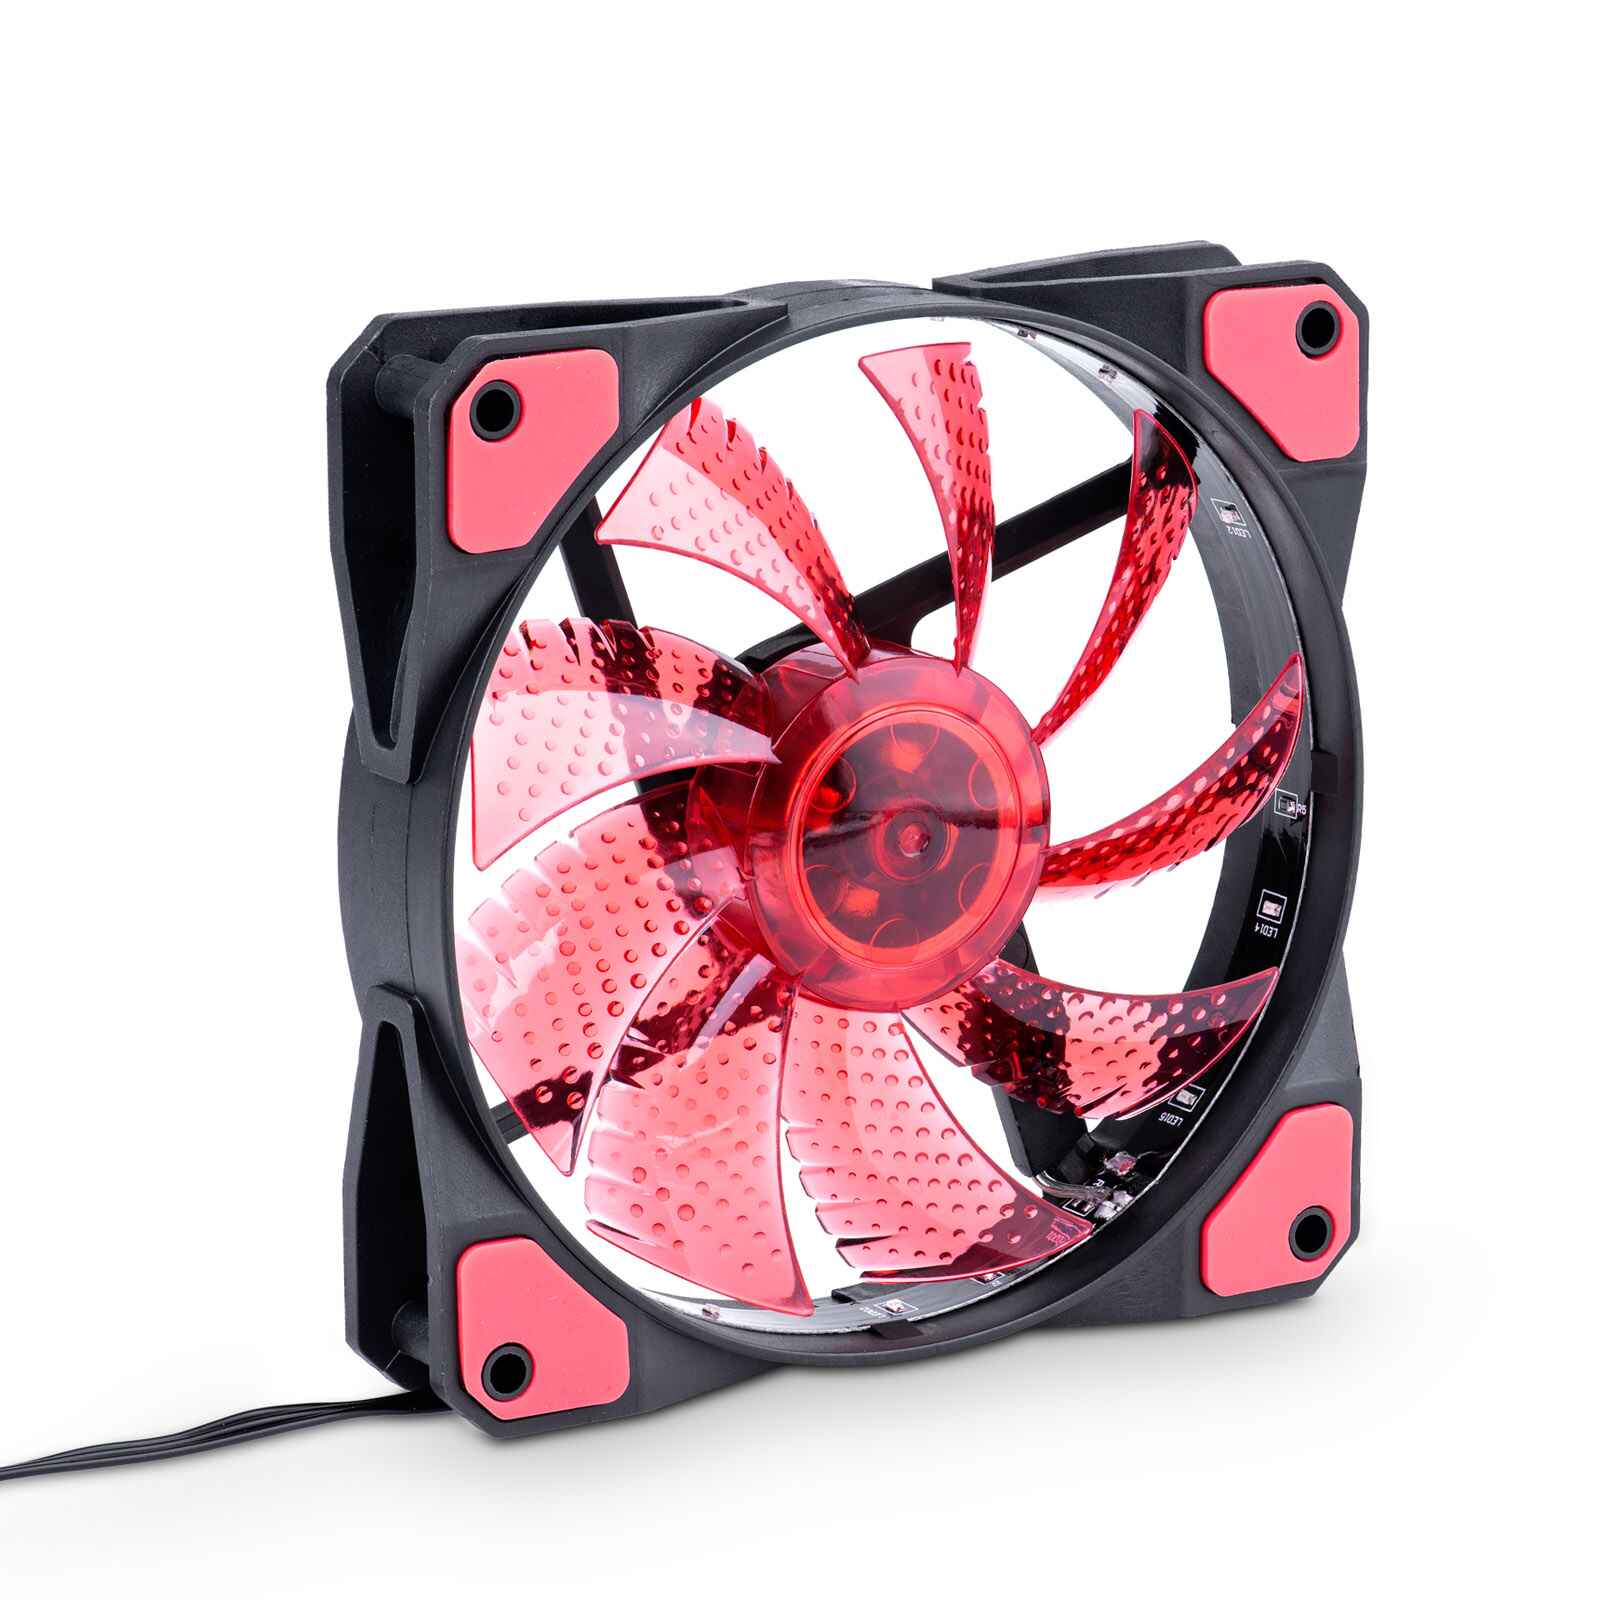
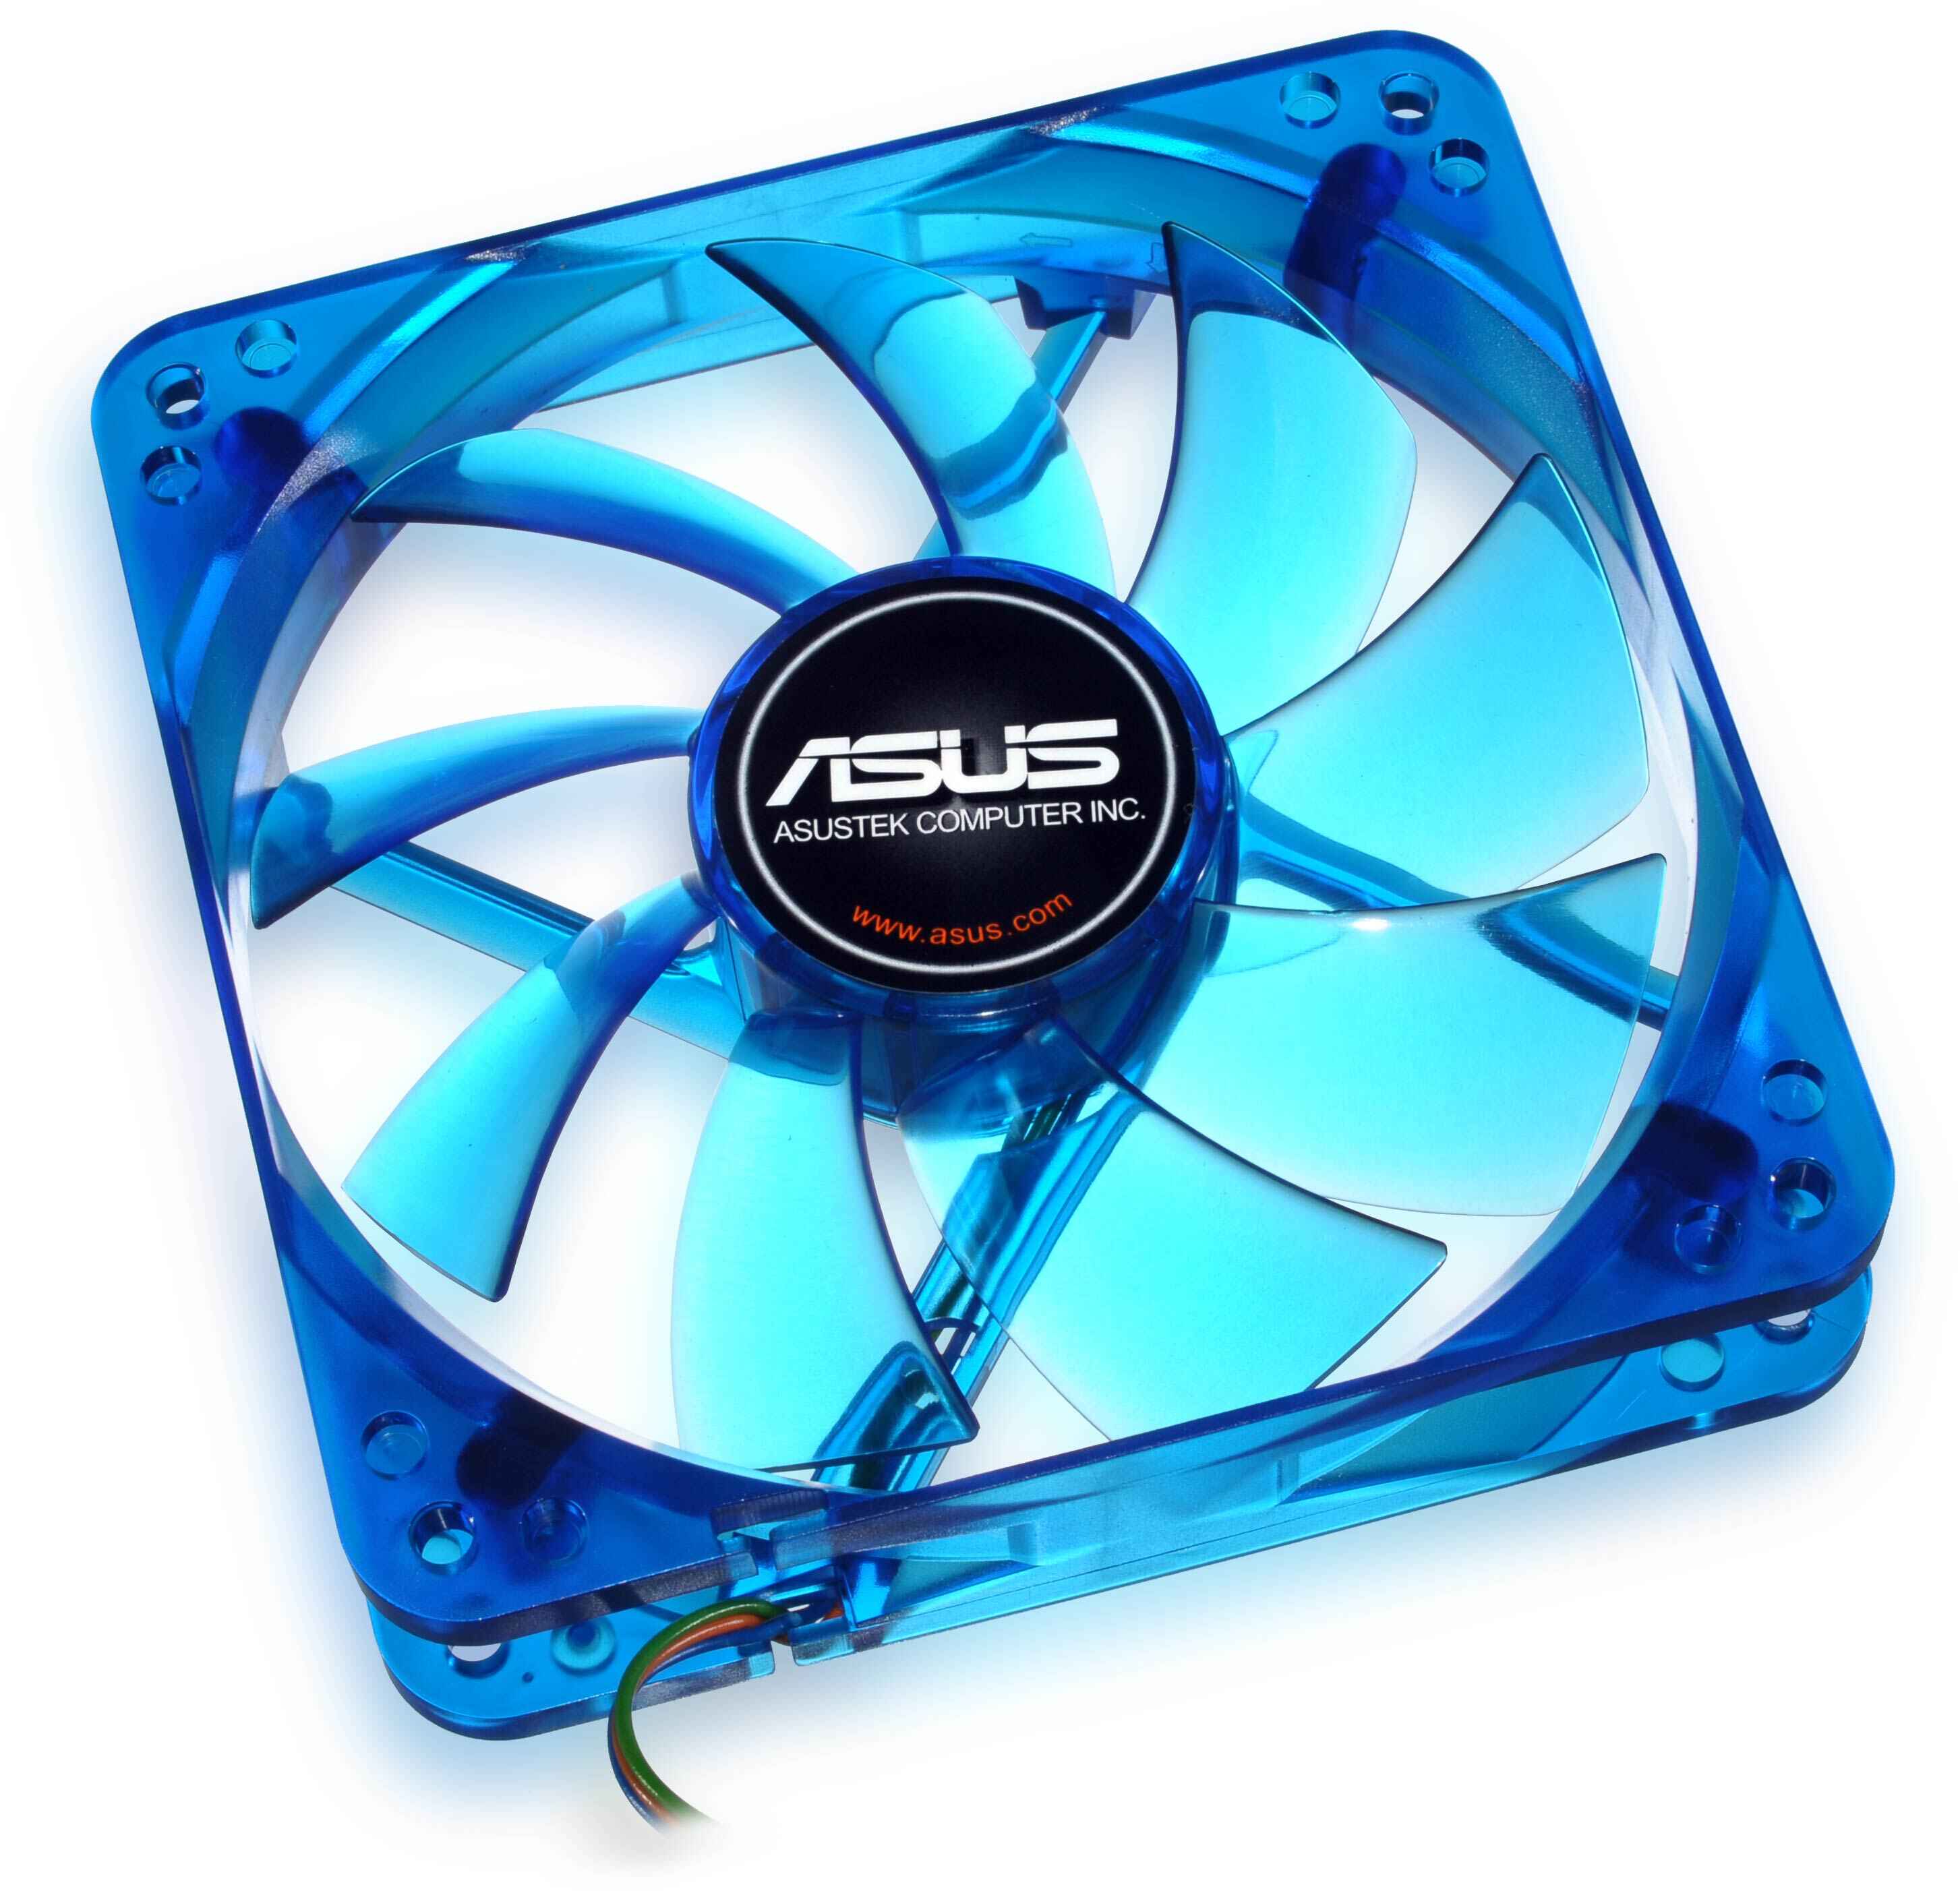
As computer hardware becomes more powerful, the issue of heat management has become increasingly important. Excess heat can cause damage to components and even lead to system failure. To combat this, computer cases are equipped with cooling fans to keep the internal components at optimal temperatures. One popular fan size is the 120mm case fan, known for its efficient cooling capabilities and quiet operation.
However, for those who are new to the world of PC building, understanding how to properly connect a 120mm case fan may seem daunting. With different types of fan connectors and various methods of connection, it’s important to have a clear understanding of the basics in order to ensure proper installation and functionality.
In this article, we will dive into the fundamentals of connecting a 120mm case fan. We will explore the difference between 3-pin and 4-pin connectors, learn how they work, and discuss the various methods of connecting them to your motherboard. Additionally, we will touch upon fan splitters and hubs for connecting multiple fans, as well as different methods of controlling fan speed.
By the end of this guide, you will have the knowledge and confidence to connect your 120mm case fans like a pro, ensuring efficient cooling and optimal performance for your system. So, let’s dive in and unravel the mystery of how to connect a 120mm case fan!
3-pin and 4-pin Fans: Understanding the Basics
Before we delve into the intricacies of connecting a 120mm case fan, let’s first understand the basics of the two main types of fan connectors: 3-pin and 4-pin. These connectors play a crucial role in determining how the fans operate and are controlled.
A 3-pin fan connector consists of three wires: one for ground (black), one for power (red), and one for RPM (yellow or blue). The ground wire provides the fan with a reference point, while the power wire supplies the necessary voltage for operation. The RPM wire allows the fan to send its rotational speed information back to the motherboard, enabling the system to monitor and adjust the fan speed accordingly.
On the other hand, a 4-pin fan connector includes an additional wire for pulse-width modulation (PWM) control. This wire (usually colored white) allows for more advanced fan speed control by varying the pulse width to adjust the voltage supplied to the fan. PWM fans offer more precise control over fan speed and are known for their ability to operate at lower speeds, resulting in quieter operation.
It’s important to note that while 3-pin fans can be connected to 4-pin headers on the motherboard, they will not benefit from the advanced PWM control. Instead, they will run at a fixed voltage determined by the motherboard or fan controller. On the other hand, 4-pin PWM fans can also be connected to 3-pin headers, but they will function as 3-pin fans without PWM control.
Understanding these distinctions between 3-pin and 4-pin fans sets the foundation for connecting them correctly and harnessing their full potential. In the next sections, we will explore the step-by-step process of connecting both types of fans to your motherboard, ensuring efficient cooling and optimal performance for your system.
3-pin Fan Connectors: How Do They Work?
3-pin fan connectors are commonly found on older motherboards and fan cables. They are relatively simple in design and do not offer the advanced control features of 4-pin PWM connectors. However, they are still widely used and provide effective cooling for most systems.
When connecting a 3-pin fan, it’s important to align the pins correctly. The three pins are labeled as ground (GND), power (VCC or +12V), and rotation speed (RPM). The GND pin aligns with the black wire, the +12V pin connects to the red wire, and the RPM pin is connected to the yellow or blue wire.
Once properly connected, the fan receives power from the motherboard and starts spinning. The rotation speed of the fan is detected by the RPM pin, which sends a signal back to the motherboard. This information allows the motherboard to monitor the fan’s speed and make adjustments as necessary.
It’s important to note that 3-pin fans lack the advanced speed control capabilities of PWM fans. Instead, their speed is determined by the voltage supplied to them. The motherboard or fan controller regulates the voltage based on the system’s temperature and cooling needs. As the temperature rises, the voltage increases, resulting in higher fan speeds. Conversely, as the temperature decreases, the voltage decreases, leading to lower fan speeds.
To access and control the fan speed on a 3-pin connector, you will need to enter the BIOS settings of your motherboard, where you can find options for fan speed control. Depending on your motherboard model, you may have access to features such as fan curves or temperature-based fan control. Adjusting these settings allows you to customize the fan speed according to your specific cooling requirements and noise preferences.
Overall, 3-pin fan connectors provide a straightforward and effective means of controlling fan speed based on voltage regulation. While they may lack the advanced features of PWM connectors, they are still capable of providing efficient cooling for most systems.
4-pin Fan Connectors: A Look into PWM Fans
4-pin fan connectors are commonly found on modern motherboards and offer more advanced control options compared to their 3-pin counterparts. These connectors are specifically designed for PWM fans, which stands for pulse-width modulation.
A 4-pin fan connector consists of four wires: ground (black), power (red), RPM/speed control (yellow or blue), and PWM control (usually white). The additional PWM wire allows for precise control of fan speed by varying the pulse width modulation signals.
When connecting a PWM fan to a 4-pin header on the motherboard, you will match the pins accordingly. The ground pin aligns with the black wire, the power pin connects to the red wire, the RPM/speed control pin connects to the yellow or blue wire, and the PWM control pin connects to the white wire.
PWM fans offer several advantages over 3-pin fans. One of the main benefits is their ability to operate at lower speeds efficiently. PWM control allows for fine-tuning of fan speed, enabling quieter operation when the system is not under heavy load or when temperatures are low. By adjusting the pulse width modulation signals, the motherboard can regulate the voltage supplied to the fan, resulting in precise control over its speed.
Another advantage of PWM fans is their ability to provide consistent cooling performance under varying system conditions. They can automatically adjust their speed based on the temperature sensors on the motherboard or within the system, ensuring efficient cooling even as the workload or temperature changes.
To control the fan speeds for PWM fans, you have multiple options. The most common method is through the BIOS settings of your motherboard, where you can customize fan curves or temperature-based fan control. Many motherboards also come with software utilities that provide more advanced control options, allowing you to adjust fan speeds and monitor temperature in real-time.
Overall, 4-pin PWM fan connectors offer enhanced control and flexibility for managing fan speeds. They allow for precise and efficient cooling while providing quieter operation when compared to 3-pin fans. With their ability to automatically adjust speed based on system conditions, PWM fans are an excellent choice for those seeking optimal cooling performance in their systems.
Connecting a 3-pin Fan to the Motherboard
Connecting a 3-pin fan to the motherboard is a relatively straightforward process. Here’s a step-by-step guide to ensure a successful connection:
- Locate the 3-pin fan connector on your motherboard. It is usually labeled as SYS_FAN or CPU_FAN.
- Align the 3-pin connector on the fan cable with the corresponding pins on the motherboard connector.
- Match the pins correctly: the black wire aligns with the GND pin on the motherboard, the red wire aligns with the +12V pin, and the yellow or blue wire aligns with the RPM pin.
- Ensure that the connection is secure and the pins are fully inserted into the corresponding slots.
- Once connected, the fan will receive power from the motherboard and start spinning.
It’s important to note that 3-pin fans do not offer PWM control. Instead, their speed is regulated based on the voltage supplied by the motherboard. To access and control the fan speed, you will need to enter the BIOS settings of your motherboard. Look for options related to fan speed control, such as fan curves or temperature-based control. Adjusting these settings allows you to customize the fan speed according to your cooling requirements and preferences.
Additionally, some motherboards may offer software utilities that allow for fan control within the operating system. These utilities provide an intuitive interface where you can adjust fan speeds and monitor temperature in real-time.
It’s worth mentioning that some motherboards also offer dedicated headers for specific types of fans, such as chassis fans or CPU fans. These headers may have additional features, such as adjustable voltage or temperature sensors. Consult your motherboard’s manual to identify the most appropriate header for connecting your 3-pin fan.
By following these steps and taking advantage of the available fan speed control options, you can ensure that your 3-pin fan operates at an optimal speed for effective cooling while keeping noise levels to a minimum.
Connecting a 4-pin PWM Fan to the Motherboard
Connecting a 4-pin PWM (pulse-width modulation) fan to the motherboard is a straightforward process. By following these steps, you can ensure a proper and efficient connection:
- Locate the 4-pin PWM fan header on your motherboard. It is usually labeled as SYS_FAN or CPU_FAN.
- Align the 4-pin connector on the fan cable with the corresponding pins on the motherboard connector.
- Match the pins correctly: the black wire aligns with the GND (ground) pin on the motherboard, the red wire aligns with the +12V (power) pin, the yellow or blue wire aligns with the RPM/speed control pin, and the white wire aligns with the PWM control pin.
- Ensure that the connection is secure and the pins are fully inserted into the corresponding slots.
- Once connected, the fan will receive power from the motherboard and start spinning.
With a 4-pin PWM fan successfully connected, you can take advantage of its advanced speed control capabilities. The PWM control pin enables the motherboard to regulate the fan speed by varying the pulse width modulation signals. This precise control allows the fan to operate at lower speeds when the system is idle or cool, reducing noise levels and energy consumption.
To control the fan speed of a PWM fan, you have multiple options. Most motherboards offer BIOS settings where you can customize fan speed profiles, set fan curves, or enable temperature-based fan control. These settings allow you to define specific fan speeds based on various temperature thresholds, ensuring optimal cooling for your system.
In addition to BIOS settings, many motherboards provide software utilities that allow for fan control within the operating system. These utilities provide an intuitive interface where you can adjust fan speeds and monitor temperature in real-time. Some even offer advanced features like syncing fan speeds with specific software or game profiles.
It’s worth mentioning that some high-end motherboards may have additional headers specifically designed for PWM fans, such as dedicated CPU fan headers or chassis fan headers. These headers might offer additional features like individual fan control, adjustable voltage, or smart fan technology. Consult your motherboard’s manual to identify the most suitable PWM fan header for connecting your 4-pin fan.
By following these steps and utilizing the available fan speed control options, you can ensure that your 4-pin PWM fan operates at the optimal speed, providing efficient cooling while maintaining a quiet system.
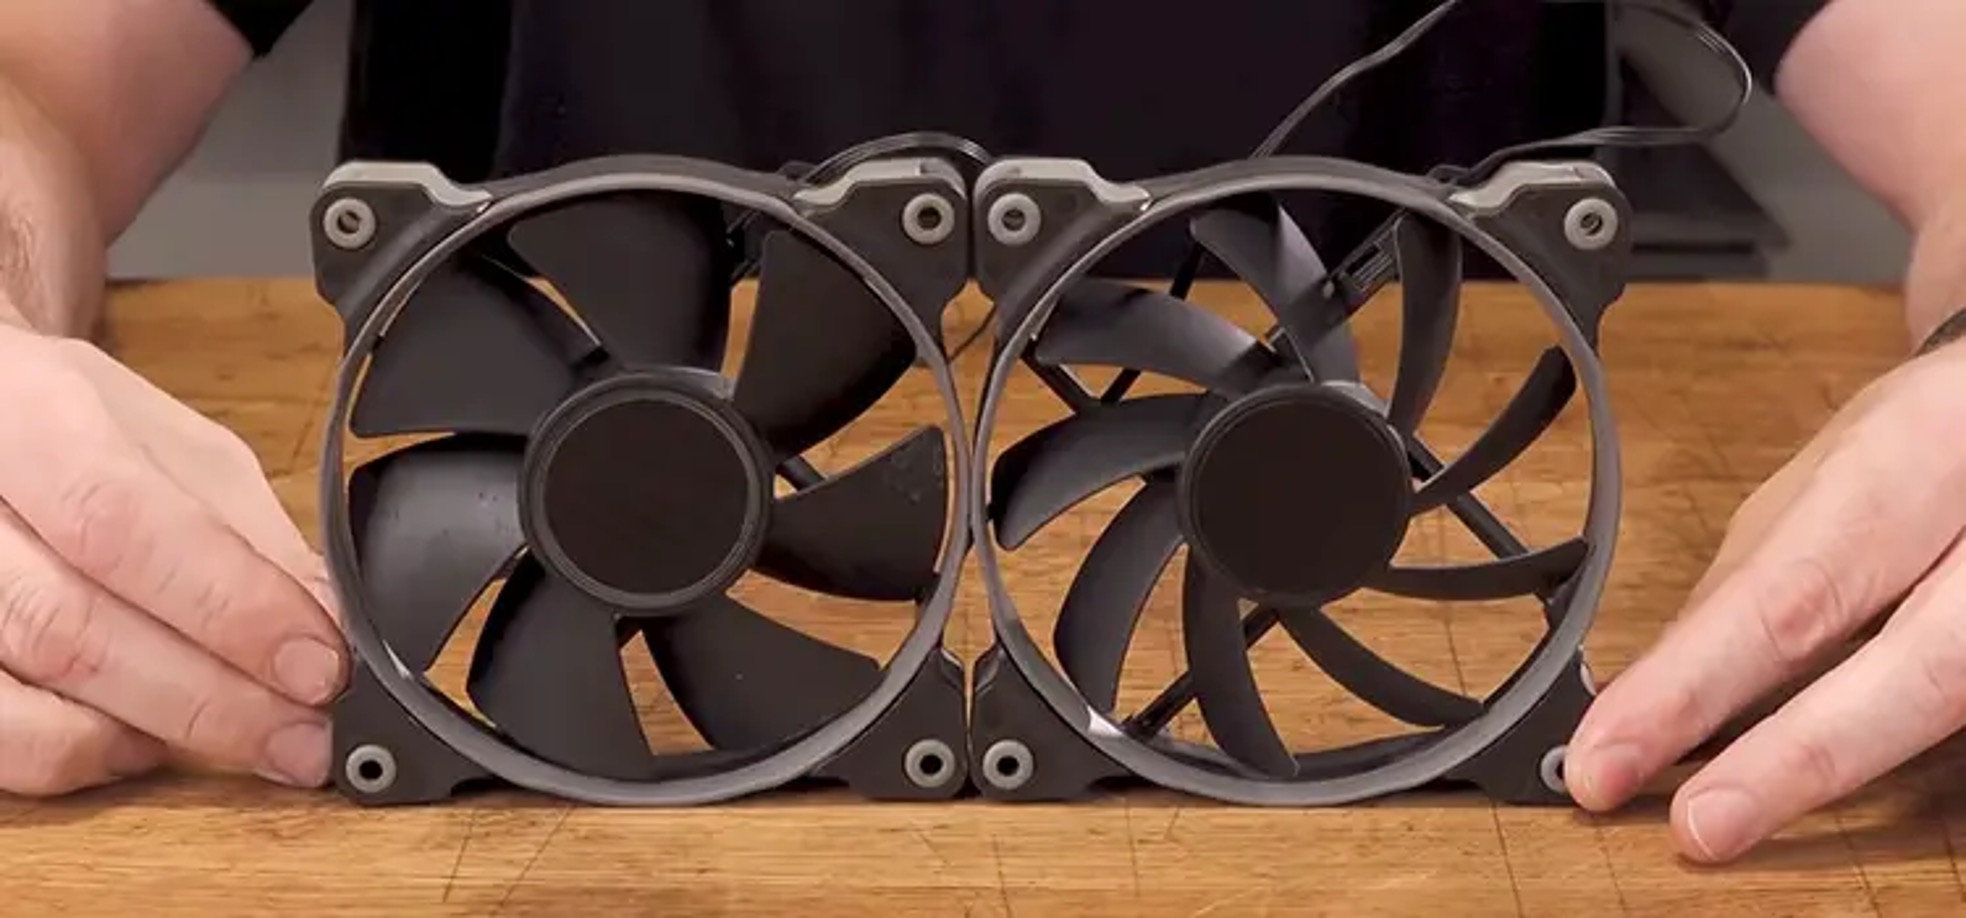
Connecting Multiple Fans: Using Fan Splitters and Hubs
In some cases, you may want to connect multiple fans to your motherboard or fan controller. This could be to improve cooling performance or achieve a desired airflow configuration. To accomplish this, you can use fan splitters or hubs. Let’s explore the options and steps involved in connecting multiple fans.
Fan Splitters: Fan splitters are cables that allow you to connect multiple fans to a single motherboard or fan controller header. They typically come in 2-fan or 3-fan configurations, allowing you to connect two or three fans, respectively. To use a fan splitter, follow these steps:
- Identify the fan header on your motherboard or fan controller where you want to connect the fans.
- Attach the fan splitter cable to the chosen header.
- Connect each individual fan to the corresponding splitter ports, ensuring proper alignment and secure connections.
- Make sure that the total power draw of the connected fans does not exceed the maximum power output of the header or fan controller.
Fan splitters are a convenient solution for connecting multiple fans, but they do not provide individual control over each fan’s speed. All the fans connected to a single header will operate at the same speed and follow the same fan curve or control settings.
Fan Hubs: Fan hubs, on the other hand, provide individual control over each fan’s speed and offer more flexibility in fan configuration. They are small devices that can be installed in your system’s case. Here’s how to connect multiple fans using a fan hub:
- Identify a suitable mounting location for the fan hub in your case.
- Connect the fan hub to a power source, such as a SATA power connector from your power supply.
- Connect each individual fan to the corresponding ports on the fan hub.
- Some fan hubs may require a connection to a motherboard or fan controller for speed control. Follow the manufacturer’s instructions for setting up the hub’s control interface.
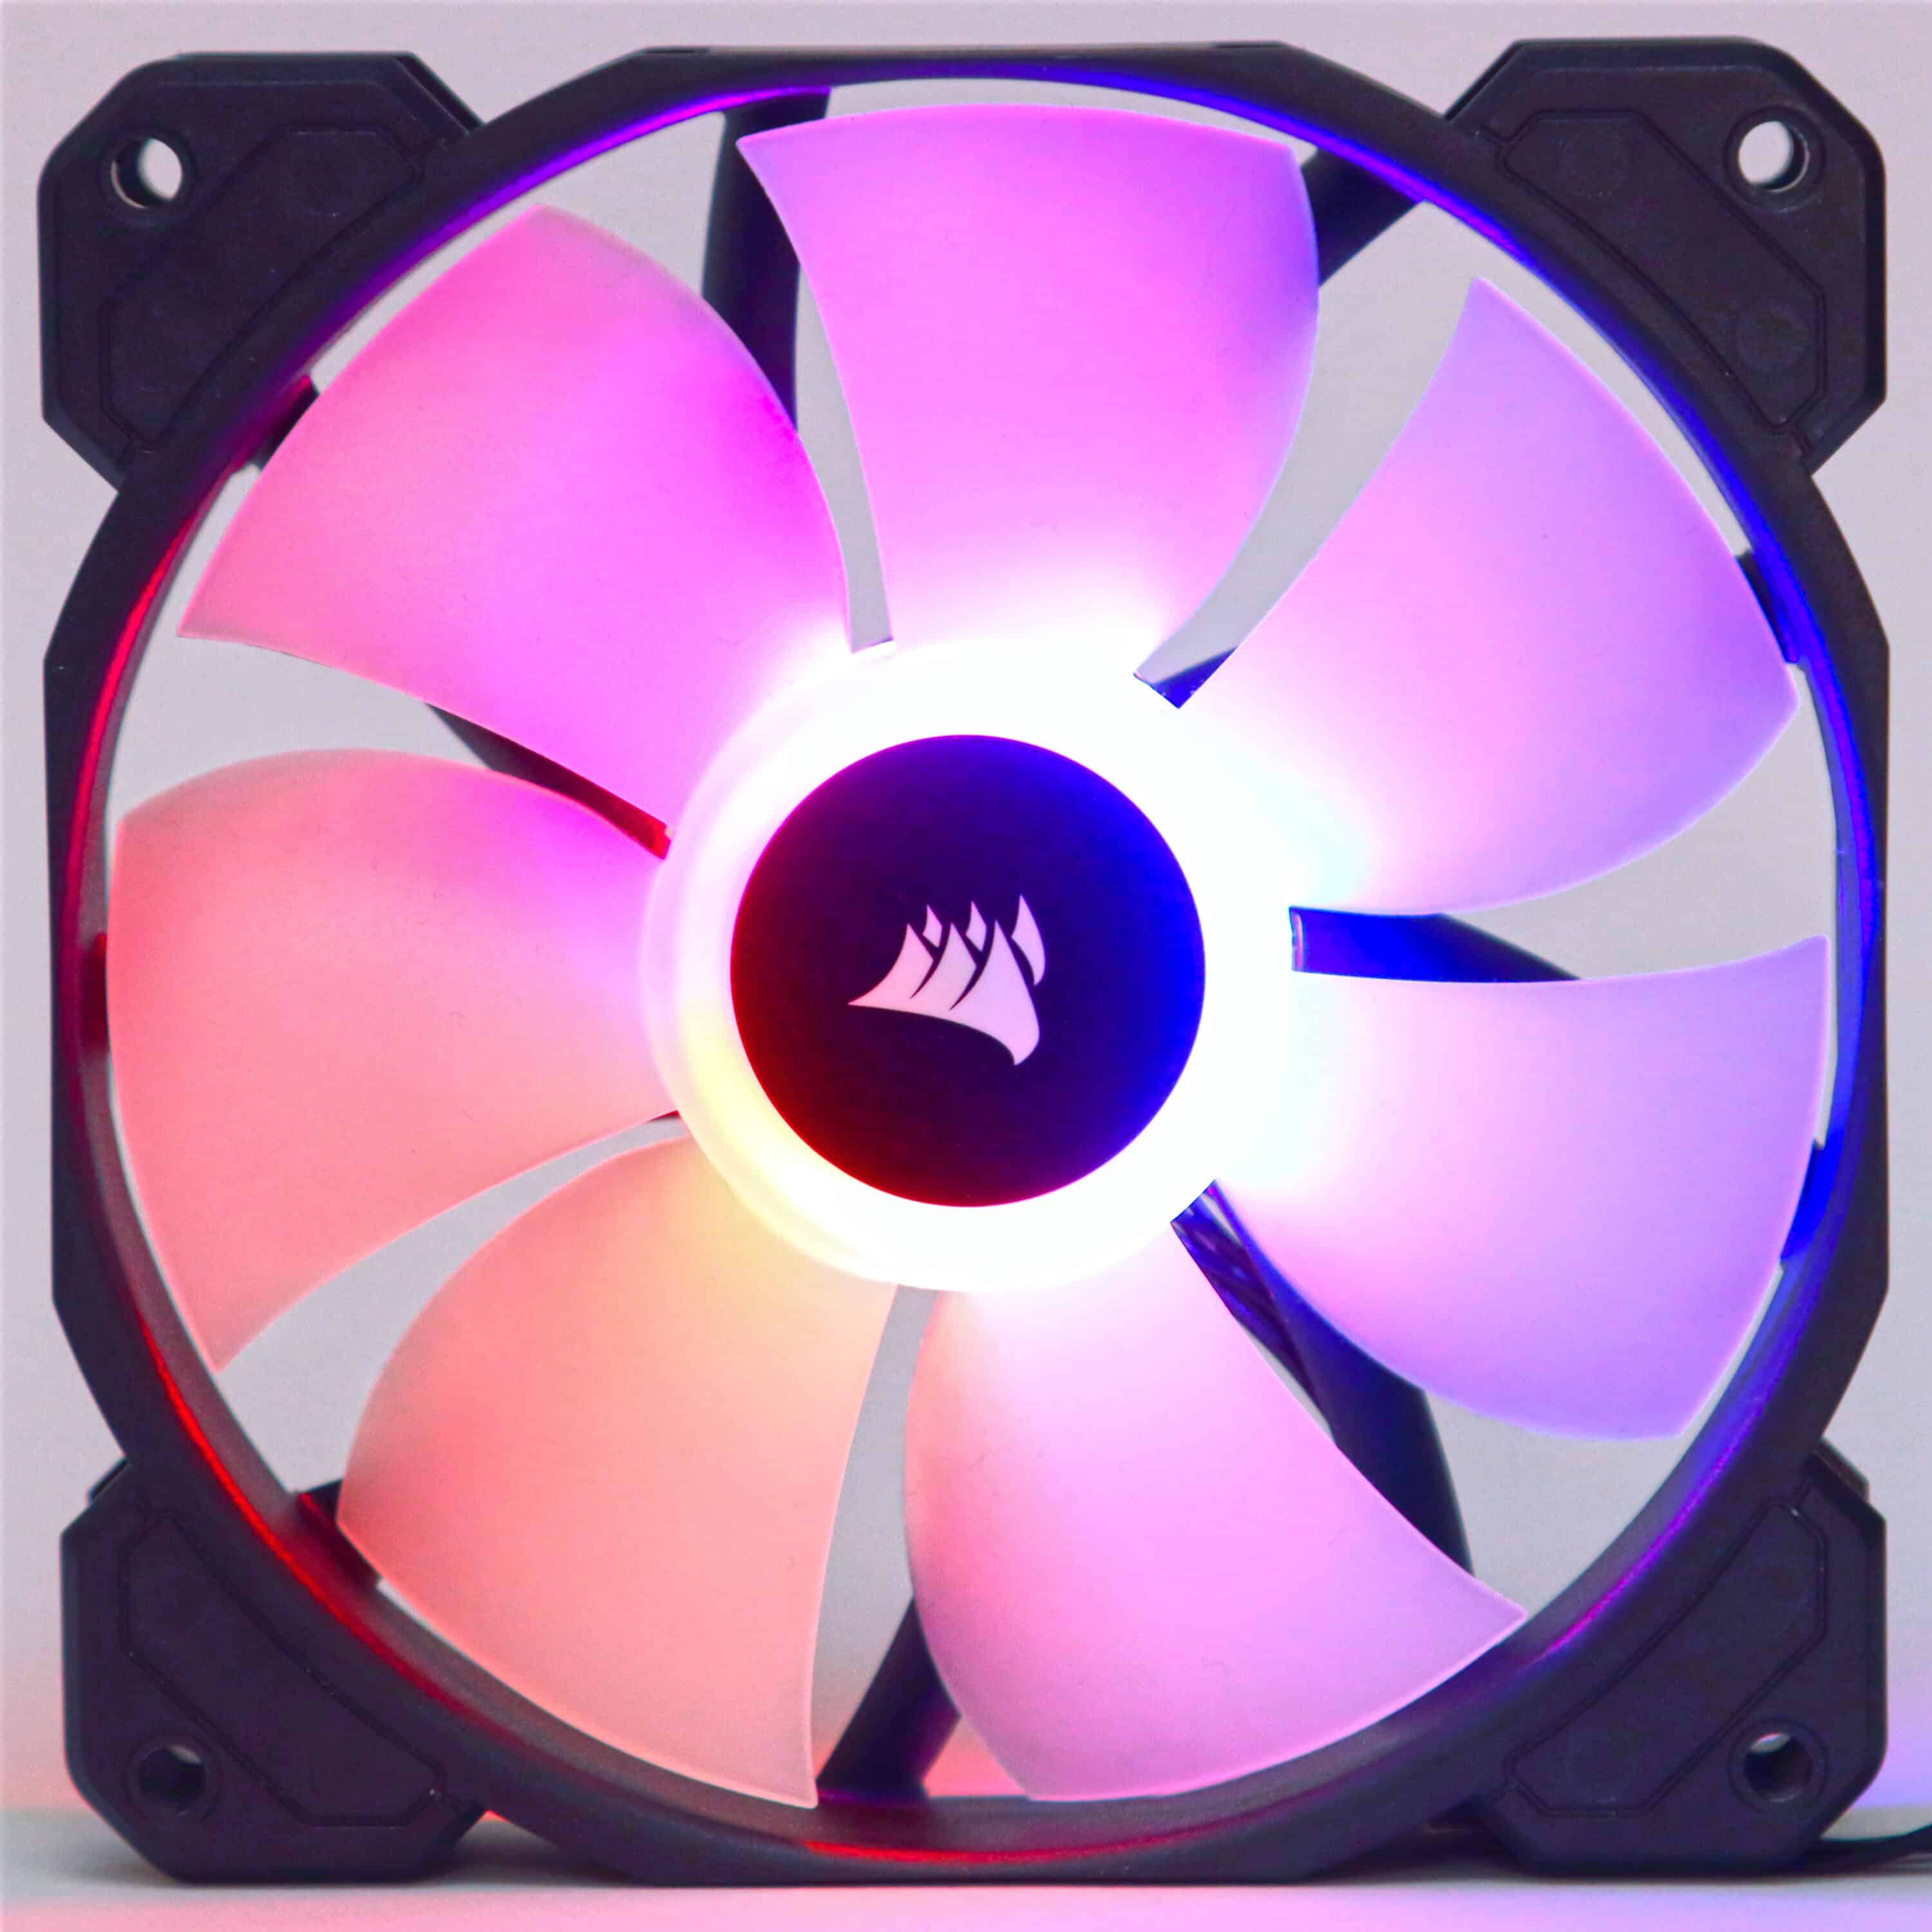
Fan hubs come in different sizes, allowing you to connect a varying number of fans. They provide flexibility in fan speed control, often allowing you to set individual fan curves or profiles. Some advanced fan hubs even offer additional features like RGB lighting control or temperature sensors.
Whether you choose to use fan splitters or hubs, it’s essential to ensure that the total power draw of the connected fans does not exceed the maximum power output of the header, fan controller, or hub. Overloading the header or hub could lead to system instability or damage.
By utilizing fan splitters or hubs, you can effectively manage and connect multiple fans, optimizing cooling performance and achieving the desired airflow configuration for your system. This ensures efficient cooling while maintaining a well-regulated temperature for your components.
Understanding Fan Speed Control: BIOS and Software Methods
Controlling the speed of your fans is essential to balance cooling efficiency and noise levels. There are two primary methods for adjusting fan speed: through the BIOS settings of your motherboard and using software utilities within the operating system. Let’s explore each of these methods in more detail.
BIOS Settings: Most modern motherboards provide BIOS settings that allow you to adjust fan speed control. These settings are accessed by entering the BIOS menu during system startup. Once inside the BIOS, you can typically find options related to fan speed control, such as fan profiles, fan curves, or temperature-based control.
Fan Profiles: Fan profiles in the BIOS allow you to choose predefined settings that optimize fan speed based on different criteria. These profiles might include settings like “silent,” “standard,” or “performance.” Each profile adjusts fan speed to balance cooling performance and noise levels, catering to various usage scenarios and personal preferences.
Fan Curves: Fan curves provide more granular control over fan speed by setting specific speed points based on temperature thresholds. You can adjust the fan curve by defining the fan speed at various temperature intervals. This allows the fan to spin faster or slower depending on the temperature of the system, ensuring optimal cooling performance.
Temperature-Based Control: Some motherboards offer intelligent temperature-based fan control. This feature adjusts fan speed dynamically based on the current system temperature. As the temperature rises, the fan speed increases to provide additional cooling, and vice versa. This approach allows for effective cooling without manual tweaking of fan speeds.
Software Utilities: Many motherboard manufacturers also provide software utilities that allow for fan control within the operating system. These utilities offer a graphical user interface (GUI) where you can adjust fan speeds, monitor temperature, and even create custom fan profiles. These software tools often provide real-time fan speed and temperature monitoring, offering more flexibility and ease of use compared to the BIOS settings.
Some third-party software applications also exist that enable fan control. These programs often offer more advanced features and customization options, allowing you to create intricate fan speed profiles, set up custom fan curves, or synchronize fan speeds with specific software or game profiles.
It’s important to note that not all motherboards and fans are compatible with software-based fan control. Ensure that your motherboard supports the software utility provided by the manufacturer or look for third-party options that are compatible with your specific motherboard model.
By leveraging both BIOS settings and software utilities, you can fine-tune your fan speeds to achieve an optimal balance between cooling performance and noise levels. Experiment with different settings and profiles to find the fan speed configuration that suits your system’s cooling requirements and your personal preferences.
Tips for Troubleshooting Fan Connections
Sometimes, despite your best efforts, you may encounter issues with fan connections. Here are some tips to help troubleshoot and resolve common problems that may arise:
- Double-check the connections: Ensure that all connections between the fan and the motherboard, fan controller, or hub are secure and properly aligned. Sometimes, a loose or mismatched connection can disrupt the fan’s operation.
- Check for power: Make sure that the fan is receiving power. Check the power cable connection and ensure that the proper voltage is being supplied. Use a multimeter if needed to test the voltage output.
- Verify the fan header: Ensure that the fan is connected to the correct header on the motherboard or fan controller. Consult the motherboard or fan controller manual for the correct placement of fans.
- Ensure compatibility: Check the compatibility of the fan with the motherboard or fan controller. Some fans may require specific connections or have compatibility limitations that could cause issues.
- Test with a different header: If possible, try connecting the fan to a different fan header to determine if the issue lies with the header itself. This can help identify whether the problem is with the fan or the connection.
- Inspect the fan cables: Check the fan cables for any signs of damage or fraying. A damaged cable may interfere with the fan’s operation and cause issues. If necessary, consider replacing the fan cable or the fan itself.
- Update firmware or drivers: Ensure that you have the latest firmware or drivers installed for your motherboard or fan controller. Sometimes, updating the software can resolve compatibility issues or provide better control over fan settings.
- Reset BIOS settings: If you have made changes in the BIOS settings related to fan control, but the fan is not behaving as expected, try resetting the BIOS to its default settings. This can help eliminate any incompatible settings that may be causing the problem.
- Consult manufacturer support: If you have exhausted all troubleshooting steps and are still encountering issues with the fan connections, reach out to the manufacturer’s technical support for assistance. They can provide specific guidance based on your hardware configuration.
By following these troubleshooting tips, you can identify and resolve common problems with fan connections. Remember to be patient and methodical in your troubleshooting process, checking each step carefully before moving on. With the right approach, you can ensure that your fans are properly connected and functioning to provide optimal cooling for your system.
Conclusion
In this article, we have explored the fundamentals of connecting 120mm case fans and the different methods of fan control. Understanding the basics of 3-pin and 4-pin connectors is crucial for successful fan connections. We learned how 3-pin fans work and how their speed is determined by voltage regulation, while 4-pin PWM fans offer advanced control options through pulse-width modulation.
We discussed the step-by-step process of connecting both 3-pin and 4-pin fans to the motherboard, ensuring secure connections for efficient cooling. We also explored the options of using fan splitters and hubs to connect multiple fans, enabling flexibility in fan configuration and control.
Furthermore, we delved into the different methods of fan speed control through BIOS settings and software utilities. Adjusting fan profiles, fan curves, and temperature-based control can optimize cooling performance while maintaining acceptable noise levels. Additionally, we mentioned the availability of software utilities that offer more advanced control options and real-time monitoring.
Lastly, we provided troubleshooting tips to help identify and resolve common issues with fan connections, ensuring smooth operation and performance.
By following the guidelines and utilizing the knowledge gained from this article, you can confidently connect and control your 120mm case fans. Achieving efficient cooling and maintaining optimal system performance will help prolong the lifespan of your hardware and enhance your overall computing experience.
Remember, proper fan connection and control are essential for keeping your system running at its best, providing a cool and stable environment for your components. Happy fan connecting!